
Misting Magic: Why a Spray Bottle is Your Artisan Bread Ally

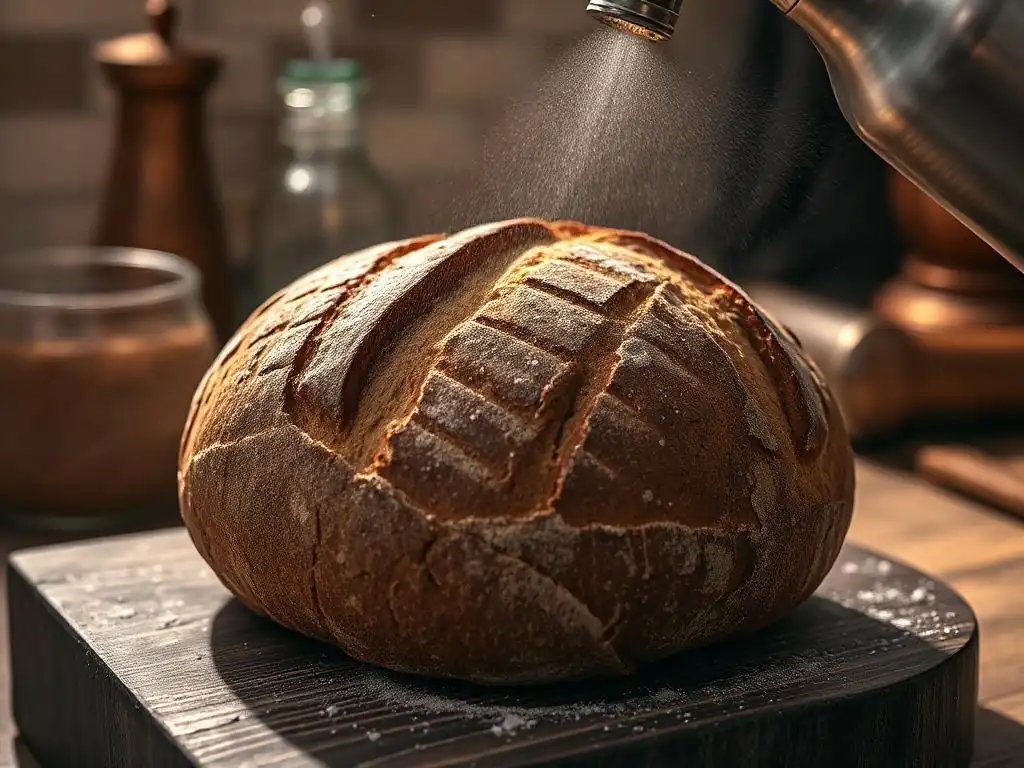
Welcome to BakeWithEase, your trusted guide to baking bliss! Ever wondered how professional bakers achieve that perfectly crisp crust on their artisan bread? The secret might be simpler than you think. Dive into our latest article, "Misting Magic: Why a Spray Bottle is Your Artisan Bread Ally," and discover how this humble tool can revolutionize your bread baking. Prepare to unlock the secrets to bakery-worthy loaves from the comfort of your own kitchen – let's get baking!
- The Secret Weapon for Crusty Artisan Bread: Your Spray Bottle
- Achieving Oven Spring: The Spray Bottle's Role in a Beautiful Rise
- Choosing the Right Spray Bottle for Artisan Bread Baking
- Step-by-Step Guide: Misting Your Artisan Bread for Professional Results
- Beyond Water: Experimenting with Flavor Enhancing Mists
- Troubleshooting Common Misting Mistakes
- Elevate Your Artisan Bread Baking: Recommended Baking Tools to Pair with Your Spray Bottle
- Where to Buy Your Artisan Bread Misting Essentials: Affiliate Links and Recommendations
-
Frequently Asked Questions
- What is the primary reason for using a spray bottle when baking artisan bread?
- What kind of water should I use in my spray bottle for artisan bread?
- When during the baking process should I spray my artisan bread dough?
- How close should I hold the spray bottle to the dough when misting?
- Can I use something other than a spray bottle to create steam for artisan bread?
- Final Reflection: The Humble Spray Bottle's Unexpected Power
- Unleash Your Inner Artisan: Elevate Your Bread Baking Today!
The Secret Weapon for Crusty Artisan Bread: Your Spray Bottle
Why a Simple Spray Bottle is Essential for Baking Artisan Bread at Home
For many home bakers, achieving that signature crackling crust on artisan bread can feel like chasing a mythical creature. While professional bakeries use sophisticated steam injection ovens, you can replicate this crucial humid environment right in your home oven with a surprisingly simple tool: a spray bottle artisan bread ally.
This humble gadget isn't just for watering plants or cleaning windows; it's a fundamental piece of equipment for anyone serious about elevating their bread game beyond soft sandwich loaves to crusty, bakery-quality boules and batards. Without adequate steam during the initial baking phase, the surface of your dough forms a hard crust too quickly, restricting the dough's ability to fully expand and preventing the development of those beautiful, open crumb structures often desired in artisan bread.
The primary function of the spray bottle for artisan bread is to introduce moisture into the hot oven environment just as the dough is placed inside. This creates a steamy microclimate around your loaf. The steam keeps the surface of the dough moist and pliable for a critical period, typically the first 10-15 minutes of baking.
This flexibility is key because it allows the dough to continue its final burst of rising – known as oven spring – without being inhibited by a prematurely hardened crust. Think of it as giving your bread a spa treatment before it sets its shape; the moisture keeps the 'skin' soft and stretchy, enabling maximum expansion before the heat finally dries and caramelizes the surface into that glorious, crispy crust we all love. It's a low-tech, effective solution to a high-tech problem, making artisan bread baking accessible to everyone.
Understanding the Science: How Moisture Creates the Perfect Crust
The science behind using a spray bottle artisan bread technique centers on starch gelatinization and enzyme activity. When the misted water hits the hot surfaces of the oven and the dough, it instantly turns into steam. This steam transfers heat to the surface of the dough more efficiently than dry air and, more importantly, prevents the rapid formation of a hard crust. The moisture allows the starches on the dough's surface to absorb water and gelatinize – a process where starch granules swell and burst. This gelatinized layer, often called the "gel layer," remains flexible and elastic.
As the bake progresses and the steam dissipates (usually after the first third of the baking time), the dough surface begins to dry out and heat up significantly. The gelatinized starches, now on the surface, undergo the Maillard reaction and caramelization.
These complex chemical processes, driven by high heat and the presence of sugars and amino acids, are responsible for the rich brown color, complex flavors, and the characteristic crispy, crackling texture of a well-baked artisan crust. Without the initial steam from your spray bottle for artisan bread, the surface would dry out too quickly, setting the crust prematurely, limiting expansion, and resulting in a thicker, less desirable crust that might even be pale or dull instead of deeply golden brown.
Achieving Oven Spring: The Spray Bottle's Role in a Beautiful Rise
Controlling Oven Humidity: The Key to Optimal Bread Expansion
Controlling humidity within your oven is arguably the most impactful use of your spray bottle artisan bread tool. When you introduce steam at the beginning of the bake, you create an environment where the dough's surface remains cooler and more extensible. Inside the dough, yeast is still active in the initial intense heat, producing carbon dioxide gas, and trapped gases are expanding rapidly due to the heat.
This internal pressure pushes outwards, causing the dough to expand dramatically – this is the oven spring. If the crust has already hardened because of a dry environment, this internal pressure is met with resistance, resulting in a loaf that is denser and flatter than it could be.
By using a spray bottle for artisan bread to generate steam, you effectively delay the setting of the crust. The moist, pliable surface stretches along with the expanding dough, allowing the loaf to achieve its maximum volume before the crust finally hardens and sets its shape.
This controlled expansion is vital not only for a taller loaf but also for developing a more open, airy crumb structure internally. The difference in volume and texture between a loaf baked in a steamy environment versus a dry one can be quite significant, often resulting in a loaf that's 20-30% taller and noticeably lighter with a more irregular, desirable crumb pattern when steam is used effectively.
From Dough to Delicious: Visualizing the Difference a Spray Bottle Makes
Imagine two identical loaves of dough, proofed to perfection. One goes into a dry oven, the other into an oven where steam has been introduced using a spray bottle artisan bread technique. The loaf in the dry oven quickly develops a firm skin as moisture evaporates rapidly from its surface. As the dough tries to expand from the internal heat and gas production, this rigid skin resists, potentially causing the loaf to burst unevenly or simply remain relatively flat. The crust sets early, often resulting in a thicker, less delicate texture.
Now, picture the loaf in the steamy environment created by your spray bottle for artisan bread. The moisture keeps the surface soft and elastic. As the dough expands, the moist 'skin' stretches easily, accommodating the increasing volume. The scoring marks open up beautifully, allowing controlled expansion and creating those lovely 'ears' or ridges characteristic of artisan bread.
The loaf achieves a significantly greater rise – perhaps expanding to 1.5 to 2 times its initial volume in the first minutes. Only after the steam dissipates does the crust finally set, resulting in a thinner, crispier exterior that shatters delightfully when sliced, perfectly complementing the airy interior. This visual transformation from a potentially restricted, dull loaf to a proudly risen, golden-brown masterpiece is the tangible result of effective misting.
Choosing the Right Spray Bottle for Artisan Bread Baking
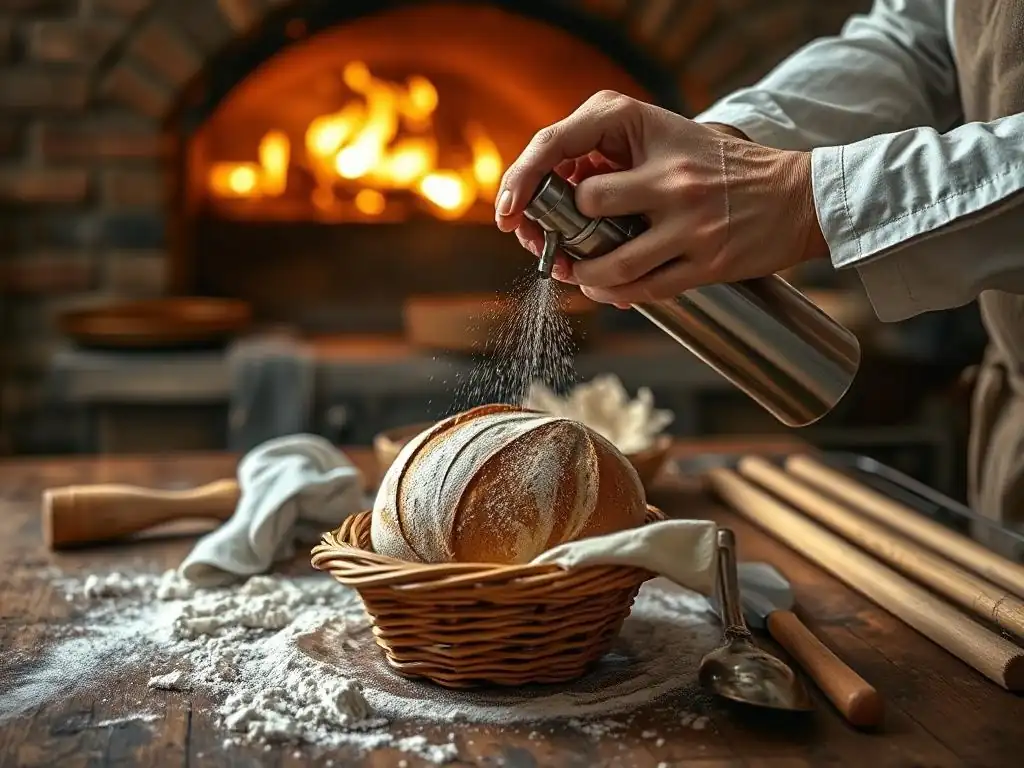
Comparing Spray Bottle Types: Fine Mist vs. Continuous Spray
When selecting a spray bottle artisan bread tool, the type of spray mechanism is a key consideration. Traditional trigger spray bottles offer a simple, robust puff of mist with each squeeze. While functional, they can sometimes deliver larger droplets or uneven coverage, requiring multiple pumps to cover the entire surface of the dough and oven. This stop-and-start action might slightly cool the oven environment between sprays.
On the other hand, continuous or aerosol-style pump sprayers (often found for hair products or cleaning solutions, but available empty) deliver a prolonged, ultra-fine mist with just a few pumps to build pressure. This type of spray bottle for artisan bread provides much more even coverage with smaller droplets, which vaporize more readily into steam upon contact with hot surfaces.
A finer mist is generally preferred as it creates a more uniform steamy environment and avoids creating larger wet spots on the dough that could lead to uneven crust development. While slightly more expensive, the consistent, fine mist delivery can significantly improve the results.
Features to Look For: Adjustable Nozzle, Durable Construction, and Food-Safe Materials
Beyond the mist type, several features make a spray bottle artisan bread worthy. An adjustable nozzle is highly beneficial, allowing you to switch between a stream (useful for wetting oven walls) and a fine mist (essential for the dough and general oven humidity). Look for a nozzle that provides a truly fine mist setting, not just a coarse spray.
Durability is also important. Your spray bottle for artisan bread will be used in a hot kitchen environment and potentially near a hot oven. A sturdy plastic construction or even a metal option will last longer than flimsy alternatives. Finally, and crucially, ensure the bottle is made from food-safe materials, especially if you plan to use it only for baking purposes. While plain water is typical, using a bottle designated for food use prevents any potential chemical residues from leaching into the water and then onto your bread.
Recommended Spray Bottles for Bakers: The Fine Mist Flairosol Sprayer, The Misto Olive Oil Sprayer
For achieving that perfect, even humidity with a spray bottle artisan bread technique, a continuous fine mist sprayer is often the top recommendation. These bottles use a pump mechanism to build pressure, allowing for a sustained, ultra-fine spray with just a few presses of the trigger. This type of sprayer is excellent for covering the entire surface of a large loaf or effectively misting the oven cavity without interruption. Their consistent output helps ensure even crust development and optimal oven spring across the entire loaf.
Another versatile option, though more commonly associated with oils, is a pump-style sprayer that you pressurize manually. While designed for liquids like olive oil, a clean, dedicated version can be used effectively for water. These sprayers also offer a fine mist, though the coverage might require more pumping than a continuous sprayer. The key is finding a sprayer that reliably produces a very fine, widespread mist, regardless of its original intended use, to maximize the steam generated and ensure uniform moisture application for your artisan bread spray bottle needs.
Step-by-Step Guide: Misting Your Artisan Bread for Professional Results
Preheating and Initial Misting: Setting the Stage for Success
Using your spray bottle artisan bread method begins even before the dough enters the oven. Proper preheating is crucial; aim for the target temperature specified in your recipe, usually between 450°F and 500°F (230°C - 260°C). Allow the oven and any baking surfaces (like a baking stone or steel) to preheat for at least 30-60 minutes after the oven signals it's reached temperature. This ensures everything is uniformly hot, which is necessary for immediate steam generation.
Just before loading your dough, carefully open the oven door and use your spray bottle for artisan bread to generously mist the walls and ceiling of the oven. Avoid spraying the light bulb or glass window directly if they are hot. The goal is to create an initial burst of steam. Close the door for 30-60 seconds to let the steam build slightly before you place the dough inside. This pre-misting step helps create a humid environment from the moment the dough enters the oven, maximizing the initial benefits of the steam.
The Initial Spray: Creating a Steamy Environment
Once the oven is preheated and you've done your initial wall misting, it's time for the most important spray using your spray bottle artisan bread. Carefully slide your proofed dough onto the hot baking surface. Immediately after closing the oven door, open it just slightly again (be quick to minimize heat loss!) and rapidly mist the surface of the dough itself from a distance of about 8-12 inches. Aim for even coverage across the entire loaf.
After misting the dough, quickly close the oven door. Some bakers also give another quick mist to the oven walls at this point. The heat of the oven will instantly turn the water into steam, enveloping your loaf.
Resist the urge to open the oven door again for at least the first 10-15 minutes. This is the critical period where the steam from your spray bottle for artisan bread works its magic, keeping the crust pliable and allowing maximum oven spring before you typically vent the oven or remove lids (like from a Dutch oven) to allow the crust to set and brown.
Post-Bake Misting (Optional): Adding Extra Shine and Crispness
While the most crucial misting happens at the beginning of the bake, some bakers use their spray bottle artisan bread tool for an optional final touch after the bread has finished baking. Immediately upon removing the hot loaf from the oven, you can lightly mist the entire surface of the crust with plain water.
This technique, sometimes used for baguettes or other crusty loaves, can theoretically enhance the shine of the crust and potentially contribute to a slightly thinner, glassier crunch. The heat from the bread quickly evaporates the mist, leaving behind a very thin, shiny layer. However, be cautious not to overdo this post-bake misting with your spray bottle for artisan bread, as excessive moisture can sometimes soften the crust you worked so hard to achieve. A light, even application is key if you choose to experiment with this step.
Beyond Water: Experimenting with Flavor Enhancing Mists
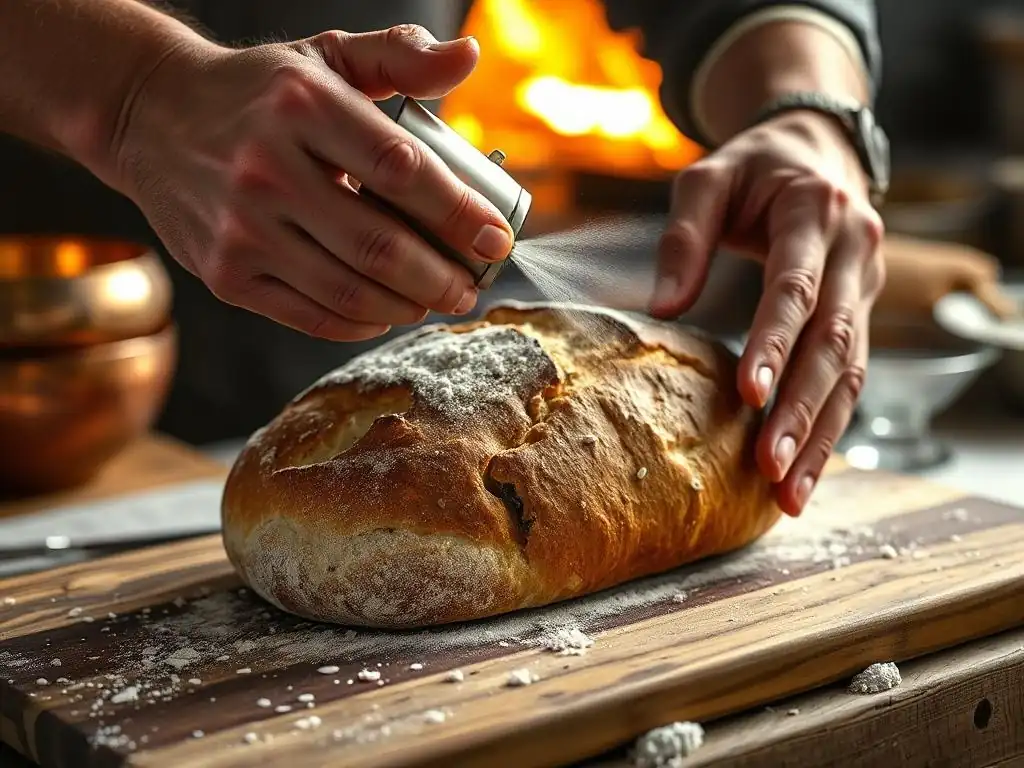
Using Flavored Water: Infusing Subtle Aromas into Your Crust
Your spray bottle artisan bread isn't limited to just plain water. For an extra layer of subtle flavor, you can experiment with infusing your misting water. Consider adding a few sprigs of fresh rosemary or thyme to the water in your spray bottle and letting it sit for an hour or two to infuse. Another option is adding a pinch of fennel seeds or a star anise pod for bread recipes that complement those flavors.
The idea isn't to heavily flavor the bread, but rather to impart a very delicate aroma and hint of taste to the crust as the flavored steam condenses and then evaporates during baking. For example, a simple country loaf might benefit from a rosemary mist, while a rye bread could be enhanced by a caraway or fennel infusion. Ensure any solid particles are strained out before adding the liquid to your spray bottle for artisan bread to prevent clogging the nozzle. Start with small amounts of flavoring; a little goes a long way.
Misting with Oils: Adding Richness and Enhancing Browning
While water misting is for steam and crust development, a separate spray bottle artisan bread tool can be used for applying a fine layer of oil. This is particularly useful for rolls, softer loaves, or sometimes applied before baking to the bottom of a loaf baked in a pan to prevent sticking and promote even browning. Using a dedicated oil sprayer (often a pump-style one that builds pressure) allows for a very fine, even application of a small amount of oil, such as olive oil or melted butter.
Misting with oil before baking contributes to a richer flavor and can significantly enhance the browning of the crust due to the fat. It's a different technique than water misting and serves a different purpose – promoting browning and adding richness rather than creating steam for oven spring. Never use the same spray bottle for artisan bread for both water and oil without thoroughly cleaning it, and ideally, keep separate bottles clearly labeled for each purpose.
Cautionary Notes: Avoiding Over-Misting and Soggy Bread
While steam is your friend when using a spray bottle artisan bread technique, too much of a good thing can be detrimental. Over-misting the oven or the dough can lead to several issues. Excess water can pool on the baking surface, creating a soggy bottom crust that never crisps up properly. It can also cool the oven temperature too much, hindering the bake.
Furthermore, maintaining a steamy environment for too long can prevent the crust from drying out and setting, resulting in a pale, soft crust instead of a golden, crispy one. The goal is to create intense steam for the initial phase of baking (the first 10-15 minutes) to allow for oven spring, and then allow the environment to dry out so the crust can develop color and crispness.
Pay attention to your recipe's instructions regarding steam and venting the oven. When using your spray bottle for artisan bread, aim for a rapid, even application and then close the door to let the magic happen, resisting the urge to continuously spray throughout the bake.
Troubleshooting Common Misting Mistakes
Soggy Crust: Identifying and Correcting Over-Misting
One of the most frustrating outcomes when using a spray bottle artisan bread method is a soggy or tough bottom crust. This is almost always a direct result of introducing too much water into the oven, either by over-misting the oven floor/walls or by spraying the dough excessively, causing water to pool around the base of the loaf. If you notice puddles of water after misting or if the bottom of your baked loaf is pale and dense instead of brown and crisp, you've likely used too much water.
To correct this, reduce the amount of water you spray. Instead of drenching the oven walls, use a more controlled application. Ensure you're using a spray bottle for artisan bread that provides a fine mist, which vaporizes quickly, rather than larger droplets that can sit on surfaces.
Also, make sure your baking surface (stone or steel) is thoroughly preheated, as this helps water flash into steam instantly. If baking on a tray, ensure the tray isn't warped, which could cause water to pool. Consider using a limited amount of water (e.g., half a cup total vaporized via misting) rather than just spraying until it looks "steamy."
Uneven Browning: Ensuring Consistent Moisture Distribution
Uneven browning on your artisan bread crust can sometimes be attributed to inconsistent application with your spray bottle artisan bread. If certain areas of the dough receive more mist than others, those spots will remain pliable longer and might brown differently or less intensely than the drier areas. Patchy browning can also occur if the steam in the oven is not evenly distributed, perhaps due to oven hot spots or how the mist was initially introduced.
To achieve more uniform browning when using your spray bottle for artisan bread, focus on applying an even layer of fine mist across the entire surface of the dough immediately after loading. If misting the oven walls, try to distribute the spray evenly across all hot surfaces. Some bakers find that rotating the loaf halfway through the bake (after the initial steam period) can also help promote even browning, compensating for any oven inconsistencies or slight variations in mist coverage. Using a continuous fine mist sprayer can significantly improve the uniformity of application compared to a standard trigger bottle.
Spray Bottle Maintenance: Keeping Your Tool Clean and Effective
Maintaining your spray bottle artisan bread ally is simple but essential for its performance and longevity. Plain water generally doesn't cause issues, but mineral deposits from hard water can build up over time and clog the fine nozzle, leading to poor spray patterns or complete blockage. If you use flavored water or oil in a dedicated sprayer, cleaning becomes even more critical to prevent residue buildup and bacterial growth.
After each use, empty any remaining water from your spray bottle for artisan bread. If you've used flavored water or oil, rinse the bottle and spray mechanism thoroughly with warm, soapy water. For mineral buildup, fill the bottle with white vinegar and spray some through the nozzle, then let it sit for an hour before rinsing thoroughly with water. Periodically spraying clean water through the nozzle helps keep it clear. Proper maintenance ensures your sprayer is always ready to produce that crucial fine mist for your next batch of artisan bread.
Elevate Your Artisan Bread Baking: Recommended Baking Tools to Pair with Your Spray Bottle
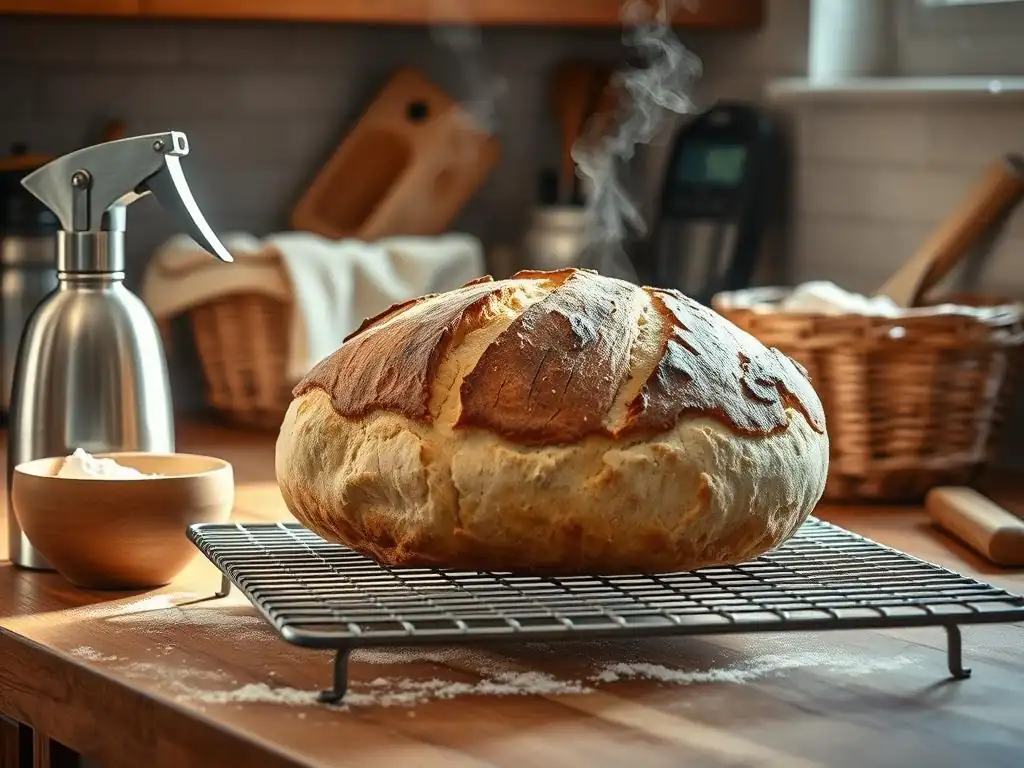
Achieving truly exceptional artisan bread spray bottle results is often a synergy between several key tools. While misting provides the essential steam, other pieces of equipment play crucial roles in shaping, baking, and finishing your loaves. Pairing your spray bottle with these items can elevate your baking from good to outstanding.
Banneton Baskets: For Perfect Dough Shaping and Proofing
Before your dough even sees the inside of the oven and your spray bottle artisan bread creates steam, it needs proper shaping and proofing. Banneton baskets are indispensable for this. These woven baskets, typically made from cane or wood pulp, provide structure for high-hydration doughs during their final rise. Lined with flour (often rice flour to prevent sticking), they help the dough maintain its shape as it expands and wick away a small amount of surface moisture, which can contribute to a better crust.
Using a banneton ensures your dough has a beautiful, taut surface and a consistent shape before it's transferred to the oven. A well-proofed loaf from a banneton is primed for excellent oven spring when it hits the heat and steam created by your spray bottle for artisan bread. The combination of good shaping/proofing and a steamy environment leads to a loaf that not only tastes great but also looks professionally made, with a high rise and well-defined structure.
Dutch Ovens: Creating a Professional Baking Environment
For many home bakers, a Dutch oven is the ultimate partner to the spray bottle artisan bread technique, or sometimes even a replacement for direct misting depending on the method. Baking bread in a preheated Dutch oven traps the moisture released by the dough itself during the initial baking phase, effectively creating a self-steaming environment similar to a professional oven's steam injection.
When using a Dutch oven, you typically place the dough inside, put the lid on, and bake for the first 20-30 minutes. The trapped steam keeps the crust pliable, allowing for maximum oven spring. After this initial period, the lid is removed, allowing the steam to escape and the crust to dry out and brown beautifully.
While some bakers still use a light mist from their spray bottle for artisan bread on the dough before putting it in the Dutch oven for extra assurance, the primary steam comes from the pot itself. This method is highly effective for achieving a consistently excellent crust.
Bread Lame: Scoring Your Dough for Optimal Expansion
A bread lame (pronounced "lahm") is a tool with a sharp blade used to score or slash the surface of the dough just before baking. This isn't just for aesthetics; scoring provides weak points on the surface of the dough, directing the oven spring and allowing the loaf to expand in a controlled manner. Without scoring, the expanding gases inside the dough would burst through the weakest point, often resulting in an uncontrolled, less attractive split.
When you use a bread lame to make clean, decisive cuts on your dough, and then place it in a steamy environment created by your spray bottle artisan bread, the cuts open up dramatically during oven spring. The steam keeps the edges of the cuts soft and flexible, allowing them to peel back and create those desirable 'ears' or ridges. A well-scored loaf baked with sufficient steam will have a more predictable shape, a higher rise, and a more visually appealing crust texture, showcasing the effectiveness of both your scoring technique and your spray bottle for artisan bread.
Where to Buy Your Artisan Bread Misting Essentials: Affiliate Links and Recommendations
Investing in the right tools is key to mastering artisan bread spray bottle methods and elevating your baking. Finding reliable sources for high-quality spray bottles and other essential baking equipment ensures you have the best chance for success with every loaf.
Purchasing High-Quality Spray Bottles: Links to Recommended Retailers (Amazon Affiliate, Sur La Table)
When looking for a dedicated spray bottle artisan bread tool, consider retailers known for kitchen gadgets and baking supplies. Look specifically for spray bottles designed for fine mist application, often described as continuous sprayers or aerosol-style pump bottles (without the actual aerosol). Ensure they are made from durable, food-safe materials. Checking reviews specifically from other bakers can provide insight into a particular bottle's performance for creating steam.
Beyond the spray bottle for artisan bread, expanding your collection of premium baking tools will significantly enhance your results. Look for reputable retailers that offer a wide selection of baking equipment. Prioritize items like sturdy banneton baskets in various shapes and sizes, reliable Dutch ovens (cast iron or enameled cast iron are popular choices), and sharp, easy-to-handle bread lames with replaceable blades. Investing in quality tools means they will perform better and last longer, making your journey into artisan bread baking more rewarding and successful.
Frequently Asked Questions
What is the primary reason for using a spray bottle when baking artisan bread?
The primary reason is to create steam in your oven. This initial burst of steam helps the dough expand fully, resulting in a crispier crust and a lighter, airier interior.
What kind of water should I use in my spray bottle for artisan bread?
Use filtered water for the best results. Avoid using tap water with a strong chlorine smell, as this can affect the flavor of your bread. Distilled water also works well.
When during the baking process should I spray my artisan bread dough?
Spray the dough immediately after placing it in the oven. Some bakers recommend spraying again a few minutes later to maintain the steam level at the beginning of the bake.
How close should I hold the spray bottle to the dough when misting?
Hold the spray bottle about 12-18 inches away from the dough. You want a fine mist, not a direct stream of water, to avoid soggy spots on the crust.
Can I use something other than a spray bottle to create steam for artisan bread?
Yes, alternatives include placing a hot pan of water in the oven or using a Dutch oven. However, a spray bottle is often the easiest and most direct method.
Final Reflection: The Humble Spray Bottle's Unexpected Power
The seemingly simple act of misting your artisan bread dough with water is, in reality, a crucial step towards unlocking its full potential. A consistent, even moisture level isn't just a detail; it's the key to achieving that coveted, perfectly textured crust and a light, airy crumb. This seemingly small detail can elevate your baking from good to truly exceptional.
The impact of this simple technique extends beyond just the final product. It's a reminder that even in the most complex culinary endeavors, attention to seemingly insignificant details can yield extraordinary results. This resonates deeply with me, as I've often found that the most satisfying creations arise from a meticulous approach, a careful observation of the subtle nuances of the process. The difference between ordinary and extraordinary is that little extra.
This quote perfectly encapsulates the power of the spray bottle in artisan bread baking.
Now, I invite you to consider your own baking practices. Think about the areas where a little extra attention to detail, a little extra care, might make a world of difference. Pick up that spray bottle, experiment with your misting technique, and observe the transformation in your bread. Embrace the magic of the mist, and unlock the artisan baker within you. The journey to perfecting your craft is ongoing, and every small step, like mastering the art of the spray bottle, brings you closer to your baking goals.
Unleash Your Inner Artisan: Elevate Your Bread Baking Today!
Thanks for taking the time to explore the world of misting magic with us! We hope you now see how this simple technique can unlock a whole new level of artisan bread baking. Ready to put your newfound knowledge into practice?
- Master the Mist: Practice your misting technique with your next loaf – you'll be amazed by the difference! Pay close attention to the crust development.
- Share Your Success: Post a picture of your beautifully misted loaf on social media and tag us—we'd love to see your baking triumphs!
- Explore Further: Dive deeper into our other bread-baking techniques and recipes here on BakeWithEase.com (This point would include an actual link to other relevant content on the site in a real-world scenario).
What unique ingredient will you mist next to elevate your bread baking?