
Quick Mini Fruit Tarts: Simple & Stunning Treats

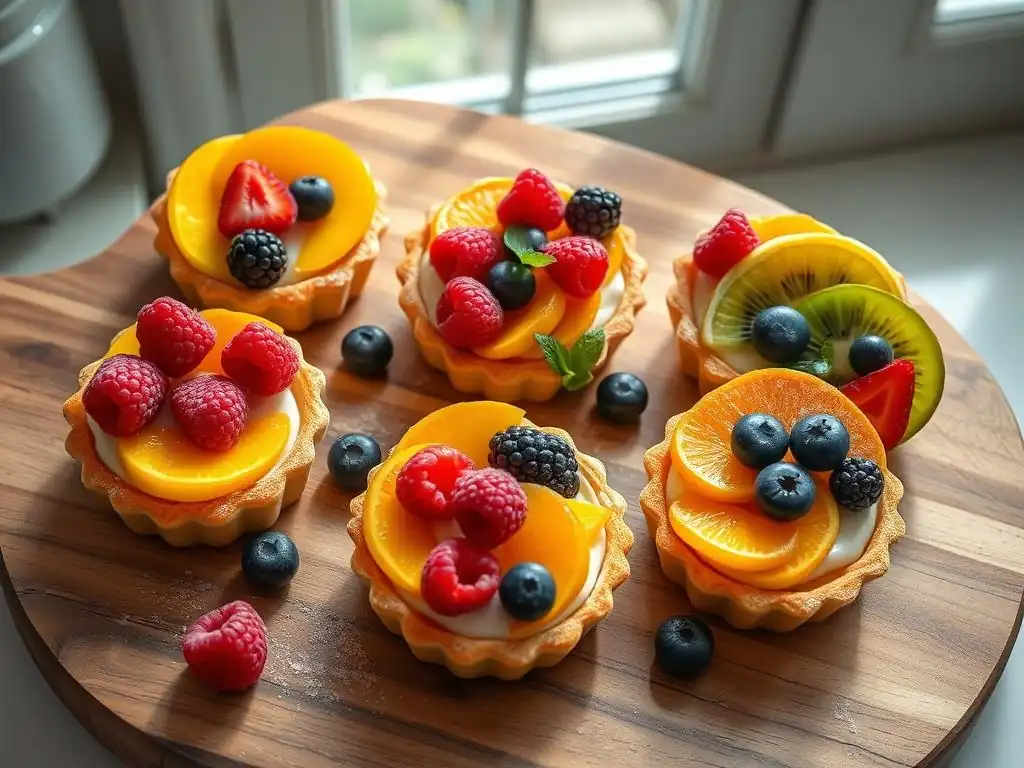
Welcome to BakeWithEase, where baking dreams become delicious reality! Ever wished for a dessert that's both stunning and surprisingly simple? Dive into our latest guide and discover the secrets to an easy mini fruit tart recipe that will impress everyone. Unlock the art of effortlessly creating these delightful pastries, and let your baking journey flourish!
- Lemon Curd Mini Fruit Tarts: Bright & Beautiful Treats
- Bake Easy Mini Fruit Tarts at Home
- Why You'll Love This Recipe
- Ingredients
- Step-by-Step Guide
- Tips for Baking the Best Mini Fruit Tarts
- Variations
- Enjoy Your Homemade Mini Fruit Tarts!
- Frequently Asked Questions
- Final Reflection: The Enduring Allure of Simple Elegance
- Unleash Your Inner Pastry Chef!
Lemon Curd Mini Fruit Tarts: Bright & Beautiful Treats
Bake Easy Mini Fruit Tarts at Home
Welcome to the delightful world of mini fruit tarts! These individual treats are not only stunning to look at but are surprisingly simple to make at home. Whether you're a seasoned baker or just starting out, this easy mini fruit tart recipe is designed for success. We'll guide you through creating a buttery tart shell, a zesty lemon curd filling, and finishing them off with a vibrant array of fresh fruit. Get ready to impress your friends and family with these portable bursts of sunshine!
Why You'll Love This Recipe
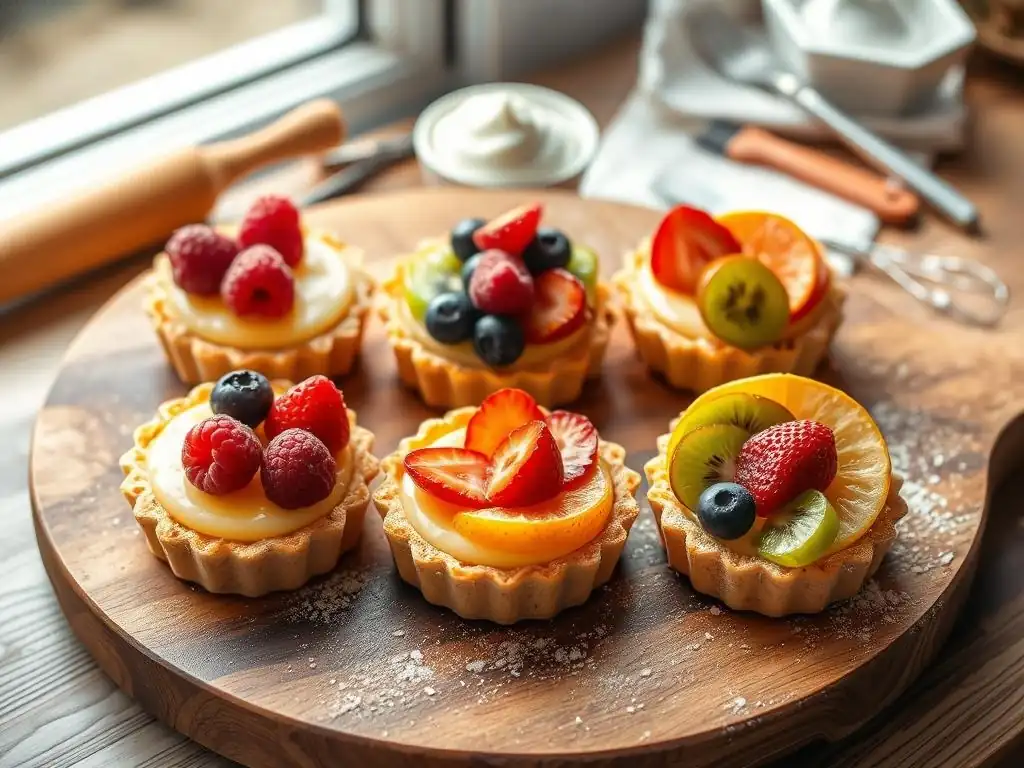
This specific recipe for mini fruit tarts stands out for several reasons, making it a favorite among home bakers looking for both simplicity and elegance. It strikes a perfect balance between achievable steps and stunning results.
Simple Recipe for Beginners
Embarking on your baking journey can feel daunting, but this easy mini fruit tart recipe is crafted specifically with beginners in mind. The process is broken down into manageable parts, starting with a straightforward sweet tart dough that requires minimal handling. Unlike complex laminated pastries, this dough comes together quickly in a food processor or by hand, reducing the chance of overworking the gluten and resulting in a tough crust. You can expect the active preparation time for the dough and curd combined to be approximately 45-60 minutes, with chilling and baking time accounting for the rest.
Furthermore, the lemon curd filling is a classic stovetop method that relies on just a few key ingredients – eggs, sugar, lemon juice, and butter. Cooking it gently until thickened is a skill easily mastered. The entire process, from mixing the curd ingredients to pouring it into the shells, typically takes less than 20 minutes. This simplicity ensures that even those new to baking can achieve a smooth, rich filling without complicated techniques or specialized equipment, making it a truly accessible easy mini fruit tart recipe.
Impress Guests with Elegant Mini Fruit Tarts
Serving these mini fruit tarts is guaranteed to elicit 'oohs' and 'aahs' from your guests. Their individual size and colorful fruit topping give them a sophisticated appearance, making them perfect for parties, brunches, or special occasions. Imagine a dessert table featuring these bright, jewel-toned treats – they look like they came from a high-end patisserie! This recipe typically yields 12-18 mini tarts, depending on the size of your molds, providing ample servings for a gathering without requiring hours of intricate decorating per piece.
Beyond their aesthetic appeal, these tarts offer a delightful combination of textures and flavors: the crisp, buttery crust, the smooth, tangy lemon curd, and the burst of fresh fruit. This layered sensory experience elevates them beyond a simple dessert. Compared to purchasing similar tarts from a bakery, which can cost anywhere from $4 to $8 per tart, making them at home is significantly more cost-effective, often costing less than $1 per tart in ingredients, allowing you to create an impressive spread without breaking the bank.
Customize Your Tarts: Endless Fruit Combinations
One of the joys of this easy mini fruit tart recipe is the incredible flexibility it offers for customization, particularly with the fruit topping. The neutral yet vibrant base of lemon curd pairs beautifully with a vast array of fruits, allowing you to tailor your tarts to the season, your preferences, or the colors of your event. For example, you could use a classic mix of berries like strawberries (approx. 5-8% sugar content), blueberries (approx. 10-15% sugar), raspberries, and blackberries for a vibrant summer look.
Alternatively, you could opt for sliced kiwi and mandarin segments for a tropical twist, or perhaps thinly sliced peaches and cherries in the late summer. The possibilities are nearly endless. Consider combining fruits with varying levels of sweetness and acidity for a balanced bite. For instance, pairing sweet mango with slightly tart passion fruit creates an exciting contrast. With dozens of fruits available throughout the year, you can reinvent this easy mini fruit tart recipe every time you bake it.
Ingredients
Here's what you'll need to create these beautiful and delicious mini fruit tarts. Using quality ingredients will make a noticeable difference in the final taste.
For the Sweet Tart Crust:
- 2 cups (250g) all-purpose flour
- ½ cup (100g) granulated sugar
- ¼ teaspoon salt
- ¾ cup (170g) cold unsalted butter, cut into cubes
- 1 large egg yolk
- 2-3 tablespoons ice water
For the Lemon Curd Filling:
- ½ cup (100g) granulated sugar
- 2 large eggs
- 2 large egg yolks
- ½ cup (120ml) fresh lemon juice (from about 2-3 lemons)
- 4 tablespoons (57g) unsalted butter, cut into cubes
- 1 tablespoon lemon zest (optional, for extra tang)
For the Fresh Fruit Topping:
Choose a vibrant mix of your favorite fresh fruits. Aim for about 2-3 cups total, washed and prepared.
- Strawberries, hulled and sliced
- Blueberries
- Raspberries
- Blackberries
- Kiwi, peeled and sliced
- Mandarin orange segments, peeled
- Grapes, halved
- Melon cubes (cantaloupe, honeydew)
Step-by-Step Guide
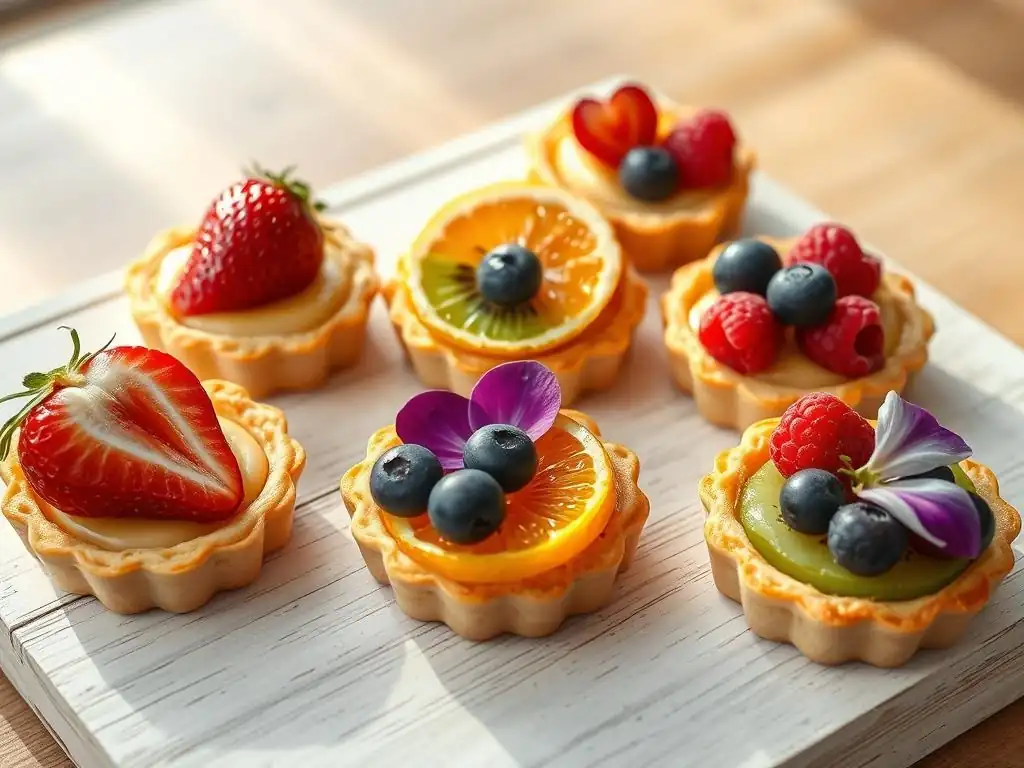
Follow these steps carefully to create your perfect mini fruit tarts. Breaking it down makes the process very approachable, confirming this is an easy mini fruit tart recipe.
Part 1: Preparing the Sweet Tart Crust
The foundation of a great tart is a crisp, flavorful crust. This part walks you through making and preparing the mini shells.
Step 1: Making the Dough
In a food processor, pulse together the flour, sugar, and salt. Add the cold butter cubes and pulse until the mixture resembles coarse meal with some pea-sized pieces of butter remaining. In a small bowl, whisk the egg yolk with 2 tablespoons of ice water. Add this liquid mixture to the food processor and pulse just until the dough starts to come together. If it seems too dry, add the remaining tablespoon of ice water, a teaspoon at a time, pulsing only until combined. Be careful not to overmix.
Step 2: Chilling the Dough
Turn the dough out onto a clean surface and gather it into a ball. Flatten the ball into a disk shape, wrap it tightly in plastic wrap, and refrigerate for at least 30 minutes. Chilling is crucial as it allows the gluten to relax, making the dough easier to roll, and hardens the butter, which helps create flakiness in the baked crust. A well-chilled dough is essential for a successful easy mini fruit tart recipe.
Step 3: Rolling Out and Shaping the Mini Tart Shells
Preheat your oven to 375°F (190°C). Lightly flour a clean surface and your rolling pin. Roll the chilled dough to about 1/8 inch thickness. Use a cookie cutter or round object slightly larger than your mini tart molds (about 3.5-4 inches in diameter for standard mini muffin tins) to cut out circles. Gently press each dough circle into the cups of your mini tart pan or muffin tin, pressing firmly against the bottom and up the sides. Trim any excess dough. You can re-roll scraps once.
Step 4: Blind Baking the Tart Shells
To prevent the crust from puffing up and shrinking during baking, we'll blind bake it. Prick the bottom of each tart shell several times with a fork. Line each shell with a small piece of parchment paper or a coffee filter and fill with pie weights, dried beans, or rice. Bake for 15-20 minutes, or until the edges are lightly golden.
Carefully remove the weights and paper, and bake for another 5-7 minutes, or until the bottoms are golden brown and appear dry. Let the shells cool completely in the pan before handling. This blind baking step is key to preventing a soggy bottom, a common issue addressed in this easy mini fruit tart recipe.
Part 2: Creating the Lemon Curd Filling
While the tart shells cool, prepare the bright and tangy lemon curd.
Step 1: Combining Ingredients
In a medium heatproof bowl, whisk together the granulated sugar, eggs, and egg yolks until well combined and slightly pale. Stir in the fresh lemon juice and optional lemon zest. The mixture will be quite liquid at this stage.
Step 2: Cooking the Curd
Set the bowl over a saucepan of simmering water (make sure the bottom of the bowl doesn't touch the water). Whisk constantly as the mixture heats. The curd will gradually thicken as the eggs cook. This should take about 8-12 minutes. You'll know it's ready when it coats the back of a spoon thickly, or reaches a temperature of about 170°F (77°C). Remove the bowl from the heat and immediately whisk in the cold butter cubes, one at a time, until fully melted and incorporated, creating a smooth, glossy curd.
Step 3: Cooling the Curd
Pour the hot lemon curd through a fine-mesh sieve into a clean bowl or container. This removes any cooked egg bits or zest, ensuring a perfectly smooth texture. Press a piece of plastic wrap directly onto the surface of the curd to prevent a skin from forming. Refrigerate the curd for at least 2-3 hours, or until it is completely chilled and set. It will thicken considerably as it cools.
Part 3: Assembling and Decorating
Now for the fun part – bringing it all together!
Step 1: Filling the Tart Shells with Lemon Curd
Once the tart shells are completely cool and the lemon curd is thoroughly chilled and set, it's time to fill them. You can spoon the curd into each shell, filling it nearly to the top. For a neater look, you can transfer the chilled curd to a piping bag (fitted with a plain or star tip, or just with the end snipped off) and pipe it into the shells. Fill each shell evenly.
Step 2: Arranging the Fresh Fruit Topping
Wash and prepare your chosen fresh fruits. Slice larger fruits like strawberries or kiwi. Arrange the fruit decoratively on top of the lemon curd in each tart. You can create patterns, mix colors, or pile them high. This is where you can get creative and make each mini tart a little work of art. Aim for a balance of colors and shapes.
Step 3: Glazing for a Stunning Finish (Optional)
For a professional look and to keep the fruit looking fresh and shiny, you can brush or dab a light glaze over the fruit topping. A simple glaze can be made by warming a couple of tablespoons of apricot jam or red currant jelly with a teaspoon of water until melted and smooth. Strain it if necessary. Gently brush this warm glaze over the fruit. This step adds a beautiful sheen and enhances the vibrant colors of the fruit.
Tips for Baking the Best Mini Fruit Tarts
Achieving perfection with your easy mini fruit tart recipe involves paying attention to a few key details.
Achieving a Perfectly Crisp Tart Crust
A soggy crust is the bane of any tart baker. To ensure your sweet tart crust is wonderfully crisp, chilling the dough is paramount – aim for at least 30 minutes, but an hour is even better. This hardens the butter, which then creates steam pockets during baking, resulting in flakiness. Blind baking is also non-negotiable; it pre-cooks the crust before the wet filling is added.
Ensure you bake with weights for the initial phase (approx. 15-20 minutes at 375°F or 190°C) and then without weights until the bottom is golden brown and feels dry to the touch (approx. 5-7 more minutes).
Another critical factor is the oven temperature. Baking at a sufficiently high temperature (like 375°F or 190°C) helps the crust set quickly before the butter melts entirely away. Ensure your oven is accurately calibrated; some ovens can be off by as much as 25-50°F. If your crusts consistently come out pale or soft, try slightly increasing the oven temperature or extending the baking time by a few minutes during the blind bake phase without weights, keeping a close eye on them to prevent burning.
Preventing a Soggy Bottom Crust
Beyond proper blind baking, several other factors contribute to a soggy bottom, a common pitfall this easy mini fruit tart recipe helps you avoid with careful steps. Ensure your tart shells are completely cooled before adding the lemon curd filling. Filling warm shells can cause condensation and soften the crust. The chilled, set lemon curd also helps, as it's less likely to seep into the porous crust compared to a warm, liquid filling.
Consider brushing the inside of the fully baked and cooled tart shells with a thin layer of melted white chocolate or a tiny amount of egg white and baking for another minute or two until set. This creates a barrier between the crust and the filling. While this recipe's blind baking and chilling steps are usually sufficient, this extra step can provide insurance, especially if you plan to fill the tarts hours before serving or if you're using very juicy fruit.
Choosing the Right Fruit
Selecting the best fruit for your mini fruit tarts is crucial for both flavor and appearance. Opt for fresh, ripe, but firm fruit. Overly ripe or bruised fruit can be difficult to slice neatly and may release too much juice, potentially affecting the tart's texture. Consider the moisture content of the fruit; berries generally work well, while fruits like watermelon are too watery. If using particularly juicy fruits like peaches or plums, you might want to briefly pat them dry after slicing.
Think about the flavor profile you want. The tangy lemon curd pairs wonderfully with both sweet berries and slightly more acidic options like kiwi or tart cherries. A mix of colors like vibrant red strawberries, deep blue blueberries, and bright green kiwi creates a visually stunning contrast against the yellow curd. Aim for variety in texture too, combining softer berries with firmer slices of stone fruit or grapes. Approx. 2-3 cups of prepared fruit should be enough for a batch of 12-18 mini tarts.
Storing Your Mini Fruit Tarts
Once assembled, mini fruit tarts are best enjoyed fresh, ideally within 1-2 days. Store them in a single layer in an airtight container in the refrigerator. The crispness of the crust will diminish over time as it absorbs moisture from the filling and fruit. While they are still edible after a couple of days, the texture will change.
If you want to prepare components ahead of time, you can bake and cool the tart shells up to 2-3 days in advance, storing them in an airtight container at room temperature. The lemon curd can be made and refrigerated for up to 4-5 days, kept in an airtight container with plastic wrap pressed directly on the surface. Assemble the tarts no more than a few hours before serving for optimal texture and freshness. This strategy makes preparing this easy mini fruit tart recipe less stressful for entertaining.
Variations
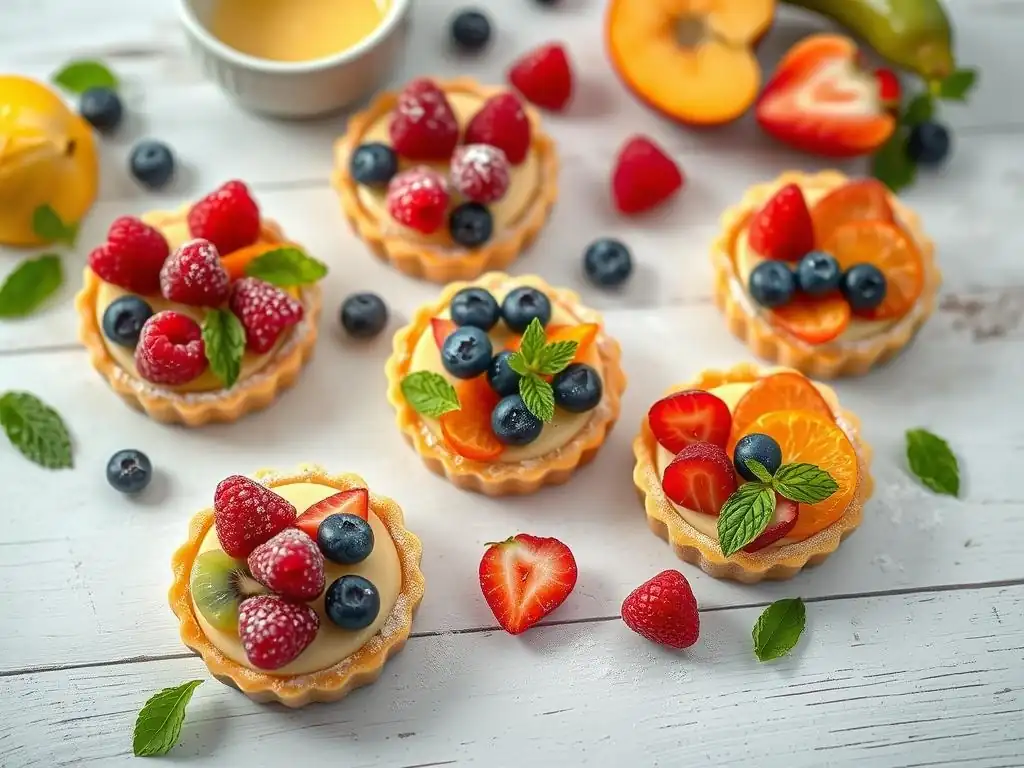
This easy mini fruit tart recipe is a fantastic base for exploring different flavors and textures. Don't be afraid to experiment!
Different Crust Options
While the sweet tart crust is a classic choice for this easy mini fruit tart recipe, you have other options. A simple graham cracker crust is incredibly easy and requires no baking (just chilling), offering a sweet, crumbly texture that pairs well with lemon. To make a graham cracker crust for mini tarts, crush about 1 ½ cups of graham crackers (approximately 10-12 full sheets) and mix with ¼ cup of sugar and 6 tablespoons of melted butter. Press firmly into mini tart molds and chill for at least 30 minutes before filling.
Another option is a shortbread crust, which is richer and more buttery than a standard tart crust. It typically uses a higher ratio of butter to flour and less sugar. A basic shortbread dough involves combining 1 cup of butter, ½ cup of sugar, and 2 cups of flour; it bakes similarly to the sweet tart crust but might be slightly more delicate. Each crust type offers a distinct flavor and texture profile, allowing you to customize your easy mini fruit tart recipe.
Explore Different Filling Flavors
The lemon curd is wonderfully bright, but you can easily swap it out for other delicious fillings. A classic alternative is pastry cream (Crème Pâtissière), a rich, vanilla-bean infused custard that provides a smooth, creamy contrast to the fruit. Chocolate ganache (simply melted chocolate mixed with hot cream) offers a decadent, rich base, pairing beautifully with berries like raspberries or strawberries.
Other options include a simple whipped cream filling, a light mascarpone cream, or even a fruit-based mousse. For instance, a raspberry mousse would offer a different kind of tanginess that complements fresh berries. The cooking time and method will vary significantly depending on the filling chosen, from no-bake options like whipped cream to stovetop custards like pastry cream, adding versatility to your easy mini fruit tart recipe repertoire.
Seasonal Fruit Tart Ideas: Autumn Apple Tart
Embracing the seasons allows you to use the freshest, most flavorful fruit, transforming your easy mini fruit tart recipe throughout the year. For autumn, consider an apple tart variation. Instead of lemon curd, you could fill the blind-baked tart shells with a spiced apple filling. Thinly slice apples (firm, slightly tart varieties like Granny Smith or Honeycrisp work well – over 120 apple varieties are suitable for baking) and toss them with cinnamon, nutmeg, a touch of sugar, and perhaps a tablespoon of flour or cornstarch to thicken the juices.
Pre-cook the apple filling slightly on the stovetop until softened before filling the tart shells, or fill raw and bake longer until tender. Top with a lattice crust made from extra tart dough or a simple crumble topping (flour, butter, sugar, cinnamon). Bake these apple tarts until the crust is golden and the filling is bubbling. This seasonal twist demonstrates the adaptability of the mini tart format beyond just berry and citrus fillings, making it a truly versatile easy mini fruit tart recipe.
Enjoy Your Homemade Mini Fruit Tarts!
You've done it! You've successfully created beautiful and delicious mini fruit tarts using this easy mini fruit tart recipe. Whether you followed the classic lemon curd version or experimented with variations, these individual treats are a testament to the joy of home baking. Share them with loved ones, bring them to a gathering, or simply enjoy one (or two!) with a cup of tea or coffee. The combination of the crisp crust, smooth filling, and fresh fruit is simply irresistible. Happy baking!
Frequently Asked Questions
### What makes this mini fruit tart recipe easy?
This recipe is considered easy due to its simplified pastry crust using readily available ingredients and a no-bake filling. The step-by-step guide ensures even beginners can achieve stunning results.
### What kind of fruit works best for these mini tarts?
You can use almost any fruit you like! Berries like strawberries, blueberries, and raspberries are popular choices. Other great options include sliced kiwi, peaches, or grapes.
### Can I make the pastry crust ahead of time?
Yes, absolutely! The pastry crust can be made up to 2 days ahead and stored in the refrigerator. This allows you to break up the preparation process.
### What if I don't have mini tart pans?
If you don't have mini tart pans, you can use a muffin tin. The resulting tarts will be slightly larger, but still delicious! Just remember to adjust the baking time accordingly.
### How should I store leftover mini fruit tarts?
Leftover mini fruit tarts should be stored in an airtight container in the refrigerator. They are best enjoyed within 2-3 days to maintain optimal freshness and prevent the crust from becoming soggy.
Final Reflection: The Enduring Allure of Simple Elegance
The ease of creating something beautiful remains a powerful draw, and these mini fruit tarts are a testament to that. Their simplicity belies the stunning results, proving that impressive desserts don't require hours of complicated techniques or a professional pastry chef's skill. This recipe, designed for accessibility, empowers anyone to experience the joy of baking and sharing delightful treats.
The impact of simple recipes like this extends beyond the individual baker; they foster connection and community. Sharing these tarts, whether with loved ones or as a thoughtful gift, creates moments of shared pleasure and appreciation. The best things in life are simple,
a sentiment perfectly encapsulated by the ease and elegance of these mini fruit tarts. The recipe itself becomes a vehicle for connection, a shared experience that transcends the act of baking itself.
Now, I invite you to consider the possibilities. Don't let the perceived complexity of baking hold you back. Try this recipe, adapt it to your own tastes, and experience the satisfaction of creating something beautiful and delicious with your own hands. Let the simple act of baking these mini fruit tarts be a reminder that joy can be found in the everyday, in the shared moments, and in the simple elegance of a perfectly crafted treat.
Unleash Your Inner Pastry Chef!
Thanks for joining us on this delicious journey into the world of mini fruit tarts! We hope you've gained some inspiration and confidence in your baking abilities. Now it's time to put those skills to the test!
- Bake your own batch of mini fruit tarts: Gather your ingredients and let's create something truly stunning. Don't be afraid to experiment with different fruits and flavors!
- Share your creations: Tag us on social media with your photos – we'd love to see your beautiful tarts! Use #BakeWithEaseFruitTarts.
- Explore our other easy dessert recipes: Find more inspiration for baking delicious treats on our website.
What unique twist will you add to your mini fruit tarts to make them extra special? Let us know in the comments!