
Mastering Your New Stand Mixer: A Beginner's Walkthrough

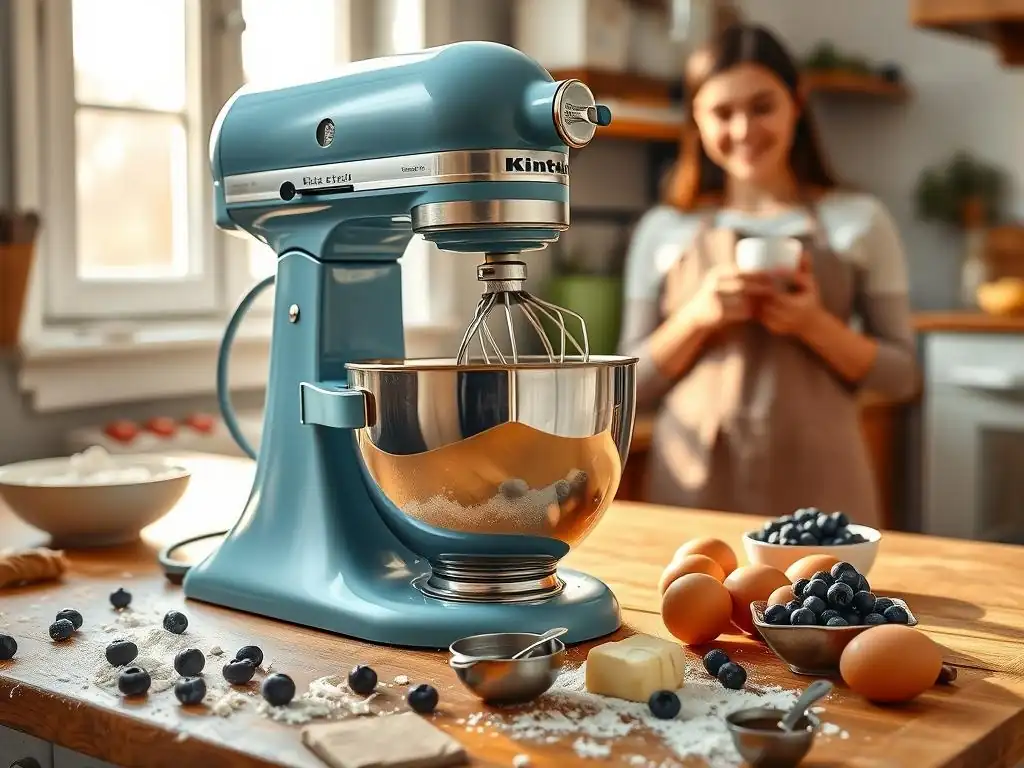
Welcome to BakeWithEase, your kitchen companion for all things baking! Ever felt overwhelmed by that gleaming stand mixer sitting on your counter? Unleash its full potential with our beginner's walkthrough. We'll guide you through the basics, from attachments to techniques, transforming you from a novice to a confident baking maestro. Ready to create delicious masterpieces with ease? Let's get started!
- Mastering Your Stand Mixer: A Beginner's Walkthrough
- Welcome to the World of Stand Mixers
- Understanding Your Stand Mixer: Essential Components and Their Functions
- Getting Started: Setting Up Your Stand Mixer
- Basic Stand Mixer Techniques: Mastering Essential Baking Tasks
- First Recipes: Easy Stand Mixer Recipes
- Stand Mixer Maintenance and Cleaning: Keeping Your Mixer in Top Condition
- Troubleshooting Common Stand Mixer Issues
- Expanding Your Stand Mixer Skills: Beyond the Basics
- Conclusion: Confidently Baking with Your Stand Mixer
-
Frequently Asked Questions
- How do I choose the right speed on my stand mixer for different baking tasks?
- What are the essential attachments I need for my stand mixer as a beginner?
- How do I properly clean and maintain my stand mixer to ensure its longevity?
- What are some common mistakes beginners make when using a stand mixer?
- Can I use my stand mixer for tasks other than baking, like making mashed potatoes?
- Final Reflection: The Joy of Baking, One Mixer at a Time
- Unleash Your Inner Baker: Take the Next Step!
Mastering Your Stand Mixer: A Beginner's Walkthrough
Welcome to the World of Stand Mixers
Congratulations on acquiring your new stand mixer! This powerful kitchen appliance is a game-changer for bakers of all levels, transforming tedious tasks like kneading dough and whipping cream into effortless processes. If you're new to the world of stand mixers, this stand mixer beginner tutorial guide is designed specifically for you. We'll walk you through everything you need to know, from understanding its components to tackling your first recipes. Get ready to unlock new levels of baking ease and expand your culinary horizons.
Whether you dream of perfectly kneaded sourdough, impossibly light cakes, or dozens of uniform cookies, your stand mixer is the key. It offers consistency, power, and saves you significant time and effort compared to hand mixing. This comprehensive stand mixer guide for beginners will provide you with the foundational knowledge and practical tips to use your new machine safely and effectively right from the start. Let's dive in and make baking even more enjoyable!
Understanding Your Stand Mixer: Essential Components and Their Functions
Getting familiar with the different parts of your stand mixer is the first step to mastering it. While models vary slightly, most share core components that perform essential functions. Understanding what each part does will help you use your mixer correctly and efficiently for various baking tasks. This foundational knowledge is crucial for any beginner stand mixer tutorial.
Knowing the purpose of each element ensures you use the right tool for the job and maintain your equipment properly. From the sturdy bowl to the versatile attachments and intuitive controls, each piece plays a vital role in the baking process. Let's break down the key components you'll encounter on your stand mixer.
Identifying Key Parts: Bowl, Attachments, and Controls
At the heart of your stand mixer is the mixing bowl, typically made of stainless steel or glass, which securely locks into the base. Common sizes range from 4.5 quarts, suitable for smaller batches, up to 6 quarts or more for larger baking projects. This bowl is where all the magic happens, holding your ingredients as they are mixed. Ensuring it's properly seated is essential for stability during operation.
Your mixer comes with a set of standard attachments, each designed for specific tasks. The flat paddle attachment (sometimes called the beaters) is your workhorse for creaming butter and sugar, mixing batters, and combining ingredients. The wire whisk attachment is perfect for whipping air into egg whites, cream, or light batters.
The dough hook is specifically shaped for kneading bread dough, pizza dough, and other yeast-based mixtures, saving you significant manual effort. Most mixers also feature a speed control dial or lever, often numbered from 1 (very low) to 10 (very high), allowing you to adjust the mixing intensity precisely.
Speed Settings Explained: Choosing the Right Speed for Every Task
Stand mixers typically offer a range of speeds, often from 1 to 10, though some models may have fewer or more. Low speeds ( Speed 1 to Speed 3) are ideal for gently combining dry and wet ingredients, starting to mix dough, or slowly incorporating additions like chocolate chips or nuts without splashing or overmixing. These speeds prevent flour clouds and ensure everything is just combined.
Medium speeds ( Speed 4 to Speed 6) are perfect for creaming butter and sugar, mixing cake batters until smooth, or beating cookie dough. This range provides enough power to properly aerate mixtures for light textures without overworking gluten in softer batters. High speeds ( Speed 7 to Speed 10) are reserved for tasks requiring significant aeration, such as whipping egg whites to stiff peaks or whipping cream until fluffy. Using the correct speed, as often indicated in recipes, is a key part of this stand mixer beginner tutorial guide.
Safety First: Important Stand Mixer Safety Tips
Operating your stand mixer safely is paramount. Always ensure the mixer is turned off and unplugged before attaching or removing the bowl or attachments. Never put your hands or any utensils into the bowl while the mixer is running, even at a low speed, as the powerful motor can cause serious injury. Use the tilt-head lock or bowl-lift handle to secure the mixing head or bowl before starting.
Keep loose clothing, hair, and jewelry away from the moving parts of the mixer. Always operate the mixer on a stable, flat surface to prevent it from tipping over, especially when working with heavy doughs that can cause the mixer to vibrate. Following these simple safety precautions outlined in this beginner stand mixer guide will help you enjoy your baking experience without incident.
Getting Started: Setting Up Your Stand Mixer
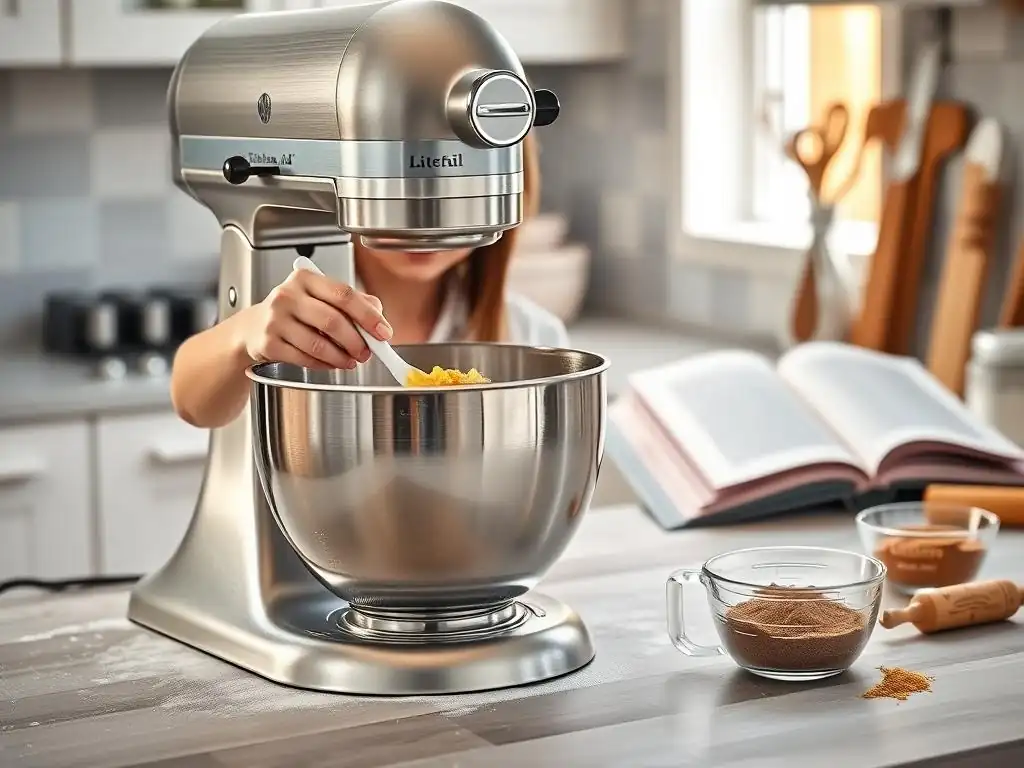
Unboxing your new stand mixer is exciting! Before you dive into baking, a few simple steps are needed to get it ready for action. Proper setup ensures your mixer functions correctly and safely. This section of our stand mixer beginner tutorial guide covers the initial assembly and preparation.
Taking a few minutes to set up your mixer correctly will save you frustration later on and ensure optimal performance. It's not complicated, but getting these initial steps right is important for a smooth baking journey with your new appliance.
Assembling Your Stand Mixer
Most stand mixers come with the main body and motor already assembled. Your first step is usually attaching the mixing head if it's a tilt-head model or ensuring the bowl-lift mechanism is in place for a bowl-lift model. Consult your specific model's manual, but generally, it involves tilting the head back (or lowering the bowl lift) and securing it in place.
Next, you'll need to attach the mixing bowl. For tilt-head models, the bowl typically twists or clips into the base. For bowl-lift models, the bowl arms slide onto pins on the mixer body and are secured by raising the bowl lift handle. Ensure the bowl is firmly seated and locked according to your manual's instructions before proceeding.
Properly Securing the Bowl: Ensuring Stability
A properly secured bowl is critical for safe and effective mixing, especially when dealing with dense doughs or large quantities that might cause vibration. For tilt-head mixers, the bowl usually has a notch or tabs that align with a locking plate on the base. Twist the bowl clockwise until it clicks or locks into place. Give it a gentle tug to ensure it's secure.
On bowl-lift models, the bowl's handles rest on support pins, and the bowl is lifted into the mixing position by a lever. Ensure the bowl is fully seated on the pins before lifting it. Once lifted, the lever should lock firmly into place, holding the bowl securely against the attachment. Always double-check the bowl's stability before adding ingredients or starting the mixer as part of your stand mixer beginner tutorial.
Choosing the Right Attachment: Paddle, Whisk, and Dough Hook
Selecting the correct attachment for your recipe is fundamental to achieving the desired results. The flat paddle attachment is the most versatile; use it for batters, cookie dough, frostings, and combining ingredients. If a recipe calls for "creaming," "beating," or "mixing" without specifying, the paddle is usually the right choice.
Use the wire whisk attachment when a recipe requires incorporating air, such as whipping egg whites for meringues or soufflés, whipping heavy cream for desserts, or making light and airy batters like sponge cake. The dough hook is specifically designed for kneading yeast doughs. Its shape mimics hand kneading, stretching and developing the gluten in bread, pizza, or pasta dough. Using the appropriate attachment is a key step in this stand mixer guide for beginners.
Basic Stand Mixer Techniques: Mastering Essential Baking Tasks
Now that your mixer is set up, it's time to learn the fundamental techniques that make stand mixers indispensable in the kitchen. Mastering these basic methods will allow you to confidently tackle a wide range of recipes. This section of our stand mixer beginner tutorial guide focuses on the core actions your mixer performs best.
Practicing these techniques with simple recipes will help you understand how your mixer works and how different ingredients behave when mixed mechanically. These skills form the foundation for more complex baking endeavors.
Creaming Butter and Sugar: Achieving Light and Fluffy Results
Creaming butter and sugar is a crucial step in many cookie, cake, and frosting recipes, as it incorporates air into the mixture, contributing to the final texture. Start with softened butter (it should yield slightly to pressure, not be melted) and granulated sugar in the mixing bowl. Use the flat paddle attachment.
Begin on a low speed ( Speed 2) to combine the ingredients, then increase to medium speed ( Speed 4 or Speed 6). Cream for typically 5 to 8 minutes, scraping down the sides and bottom of the bowl occasionally with a rubber spatula. The mixture should transform from dense and yellowish to light, fluffy, and pale yellow, almost airy. This aeration is vital for a tender crumb in baked goods.
Mixing Dry Ingredients: Preventing Overmixing
While some recipes call for whisking dry ingredients together separately before adding them to the wet, your stand mixer can also be used for the final step of combining wet and dry components. Once the wet ingredients are mixed, add the dry ingredients to the bowl. Use the flat paddle attachment.
Start mixing on the lowest speed ( Speed 1). Mix just until the dry ingredients are incorporated and no streaks of flour remain. This usually takes only 30 seconds to 1 minute. Avoid overmixing, especially when working with flour, as this can overdevelop gluten, resulting in tough cakes, muffins, or cookies. A quick, low-speed mix is sufficient.
Whipping Egg Whites: Creating Stiff Peaks
Whipping egg whites is where the whisk attachment shines. Ensure your bowl and whisk are spotlessly clean and free of any grease, which can prevent the whites from whipping properly. Add egg whites to the bowl.
Start on a low speed ( Speed 2) until the whites are foamy, then gradually increase the speed to medium-high ( Speed 8 or Speed 10). Whip until they reach the desired consistency – soft peaks (tips curl over) or stiff peaks (tips stand straight up). Adding sugar for meringue should be done gradually once soft peaks form. This process typically takes 3-5 minutes, depending on the quantity and mixer power, and is a key part of any stand mixer beginner tutorial guide.
Kneading Dough: Using the Dough Hook
Kneading dough by hand can be a labor-intensive task, but your stand mixer with the dough hook makes it easy. After combining your wet and dry ingredients (often done initially with the paddle or by hand), switch to the dough hook.
Attach the dough hook and start mixing on a low speed ( Speed 2 or Speed 3). The dough will initially look shaggy but will come together into a ball and start to pull away from the sides of the bowl as it kneads. Knead for the time specified in your recipe, often between 6 and 10 minutes. The dough is ready when it is smooth, elastic, and passes the windowpane test (you can stretch a small piece thin enough to see light through it). Using the dough hook effectively is a hallmark of a good stand mixer guide for beginners.
First Recipes: Easy Stand Mixer Recipes
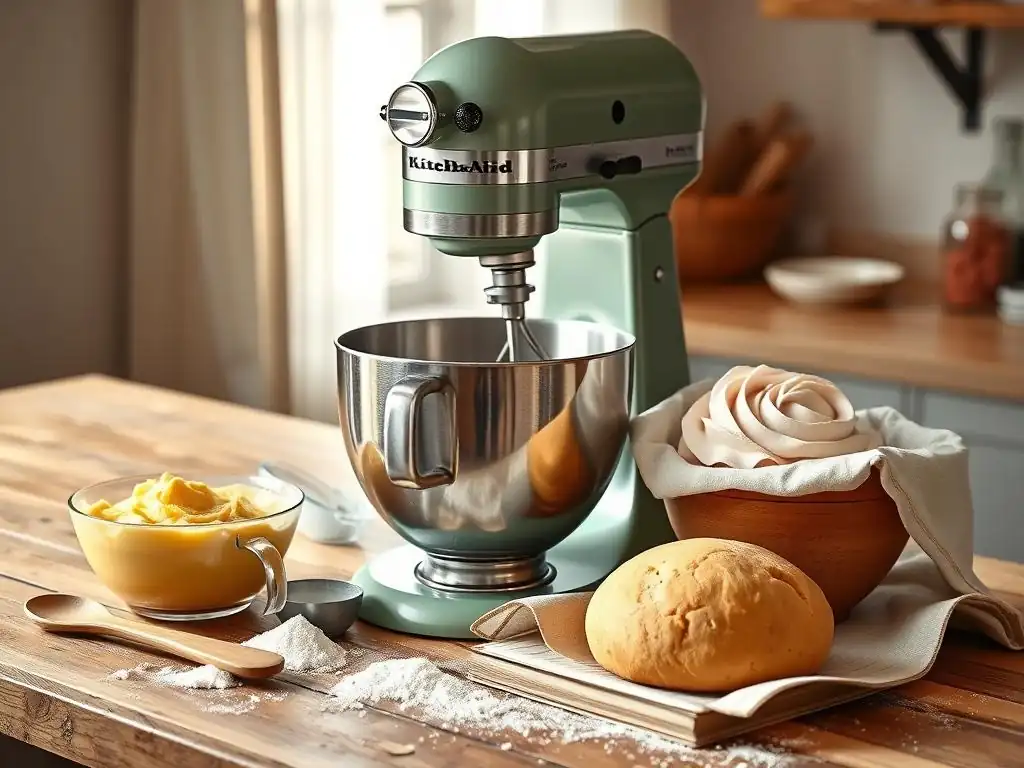
Ready to put your new skills to the test? Starting with simple, reliable recipes is a great way to build confidence with your stand mixer. These classic recipes showcase the versatility of your machine and are perfect for beginners. This section offers outlines for easy recipes suitable for a stand mixer beginner tutorial guide.
While we won't provide full ingredient lists here, these examples highlight how you'll use your stand mixer for common baking projects. Look for full recipes on BakeWithEase.com or in your favorite cookbooks!
Classic Vanilla Cake Recipe
A simple vanilla cake is a perfect first project. You'll typically use the paddle attachment for creaming butter and sugar (as discussed above). After adding eggs and vanilla, continue mixing with the paddle.
Next, you'll alternately add the dry ingredients (flour, baking powder, salt) and wet ingredients (milk, often with a little oil or melted butter) to the creamed mixture. Start and end with the dry ingredients, mixing on low speed ( Speed 1 or Speed 2) just until combined after each addition. Scrape the bowl down as needed. Your mixer ensures a smooth, lump-free batter effortlessly.
Chocolate chip cookies are a baking staple, and your stand mixer makes them incredibly easy. You'll start by creaming butter and sugars (granulated and brown) with the paddle attachment on medium speed ( Speed 4 or Speed 6) until light and fluffy.
Add eggs and vanilla extract, mixing on medium speed until fully incorporated. Then, add your dry ingredients (flour, baking soda, salt) and mix on low speed ( Speed 1 or Speed 2) just until the flour disappears. Finally, stir in chocolate chips and nuts (if using) on the lowest speed or by hand. The mixer handles the heavy lifting of mixing the thick dough.
Simple White Bread Recipe
Baking bread is incredibly rewarding, and the dough hook makes it accessible for beginners. You'll typically start by activating yeast in warm water with a pinch of sugar. Then, in your stand mixer bowl, combine the proofed yeast mixture with flour, salt, and often a little sugar or fat.
Using the dough hook on low speed ( Speed 2 or Speed 3), mix until a shaggy dough forms. Continue kneading with the hook for 6-10 minutes until the dough is smooth and elastic. The mixer does all the strenuous work, developing the gluten needed for a well-structured loaf. This is a prime example of how a stand mixer guide for beginners simplifies complex tasks.
Stand Mixer Maintenance and Cleaning: Keeping Your Mixer in Top Condition
Proper care and cleaning will extend the life of your stand mixer and keep it looking and performing its best. Cleaning is usually straightforward, but knowing the best practices is important. This section provides essential maintenance tips for your stand mixer beginner tutorial guide.
Regular cleaning after each use prevents buildup and ensures hygiene. While the motor base requires minimal cleaning, the parts that come into contact with food need immediate attention.
Cleaning the Bowl and Attachments: Best Practices
Most stand mixer bowls and standard attachments (paddle, whisk, dough hook) are dishwasher- safe. Check your specific model's manual to confirm. For stainless steel bowls and attachments, washing them in the dishwasher or by hand with warm, soapy water immediately after use is best to prevent food from drying on.
For attachments that are not dishwasher safe (some older models or specialized attachments might be hand-wash only), wash them promptly in warm, soapy water and dry thoroughly to prevent rust or damage. The whisk attachment can sometimes be tricky to clean; soaking it briefly can help loosen stubborn batter.
Wiping Down the Mixer Body: Preventing Dust Buildup
The main body of the stand mixer, which houses the motor and controls, should never be submerged in water. To clean it, ensure the mixer is unplugged. Use a damp cloth (not wet) to wipe down the exterior surfaces, removing any splatters or dust.
For sticky spots, a cloth dampened with a mild soap solution can be used, followed by wiping with a clean, damp cloth. Dry the exterior thoroughly with a soft, dry cloth. Regular wiping prevents dust and grime buildup and keeps your mixer looking pristine, an important step in any stand mixer guide for beginners.
Proper Storage: Protecting Your Stand Mixer
When not in use, store your stand mixer in a clean, dry place. Many bakers keep their mixer out on the counter as it's heavy and frequently used, but if you need to store it, ensure it's in a safe spot where it won't be knocked over.
Store attachments separately or in a designated attachment holder if your mixer came with one. Some people like to cover their mixer with a dust cover (often sold separately) to keep it clean between uses. Proper storage protects your investment and keeps it ready for your next baking adventure.
Troubleshooting Common Stand Mixer Issues
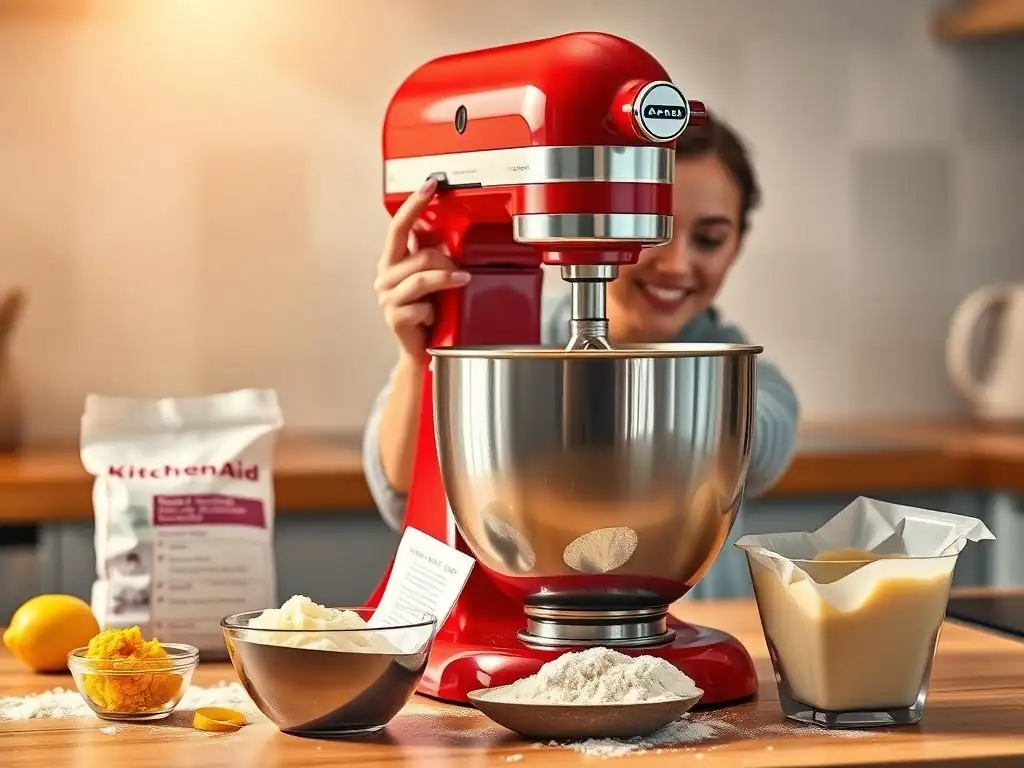
Even with a reliable appliance, you might encounter minor issues. Knowing how to identify and potentially resolve common problems can save you time and frustration. This troubleshooting guide is a helpful addition to your stand mixer beginner tutorial guide.
Most common issues have simple solutions. However, it's important to know when a problem might indicate a more serious internal issue that requires professional service.
Mixer Overheating: Causes and Solutions
It's normal for the top of your stand mixer's head or motor area to feel warm during prolonged or strenuous use, such as kneading heavy dough for 10+ minutes. However, if it becomes excessively hot to the touch or the motor sounds strained and slows down, it might be overheating. This can happen if you're mixing a batch size larger than the mixer's capacity or kneading a very stiff dough for too long.
If you suspect overheating, turn the mixer off immediately and unplug it. Allow it to cool down completely (this might take 30 minutes or more) before attempting to use it again. For future use, try reducing the batch size or breaking up the kneading into shorter intervals with rest periods if working with very stiff doughs. Refer to your manual for maximum capacities.
Attachment Not Securing Properly: Identifying the Problem
If your attachment (paddle, whisk, or hook) doesn't seem to fit onto the attachment shaft correctly or wobbles excessively, first ensure you have the correct attachment for your specific mixer model and size. Attachments are not always universally interchangeable between brands or even different series of the same brand.
Next, check the attachment shaft for any dried batter or debris that might be preventing the attachment from sliding on fully. Clean the shaft carefully. Ensure you are pushing the attachment up onto the pin and then twisting it to lock it into place according to your manual. If the attachment is bent or damaged, it may need to be replaced. A properly secured attachment is vital for safe operation, as highlighted in this beginner stand mixer guide.
Motor Making Strange Noises: When to Seek Help
Stand mixers make noise during operation, but you'll become familiar with the normal sounds of your machine. If you hear grinding, clicking, or unusually loud noises that are different from the typical motor hum and gear sounds, it could indicate an internal issue.
Stop the mixer immediately and investigate. Ensure no utensils or foreign objects have fallen into the bowl or are interfering with the attachment. If the strange noise persists after checking for obstructions and ensuring the attachment and bowl are properly secured, it's best to stop using the mixer. Consult your user manual's troubleshooting section or contact the manufacturer's customer support. Attempting to fix internal motor issues yourself is not recommended.
Expanding Your Stand Mixer Skills: Beyond the Basics
Once you're comfortable with the fundamental techniques, your stand mixer can do much more than just mix batters and knead dough. Many manufacturers offer a variety of optional attachments that can transform your mixer into a multi-functional kitchen appliance. Exploring these possibilities is a fun way to expand your culinary repertoire after mastering the basics with this stand mixer beginner tutorial guide.
From making fresh pasta to grinding your own meat, the range of tasks your stand mixer can perform with the right accessories is impressive. These optional attachments plug into a power hub located on the front of most stand mixers.
Exploring Advanced Techniques: Pasta Making and Ice Cream
Many stand mixer brands offer pasta roller and cutter attachments. These allow you to make fresh lasagna sheets, fettuccine, or spaghetti right at home using your mixer's motor to power the rollers. This is a fantastic way to elevate your cooking.
Another popular accessory is the ice cream maker attachment. This typically involves a freeze bowl that attaches to the mixer base and a churning paddle powered by the mixer head. You pour in your ice cream base, and the mixer churns it into frozen dessert, usually within 20-30 minutes. These are just two examples of the advanced techniques made possible by optional attachments.
Utilizing Different Attachments: Food Grinder and Slicer/Shredder
Beyond baking-specific tasks, stand mixers can handle food preparation. A food grinder attachment can process raw or cooked meat, vegetables, or bread for recipes like meatloaf or breadcrumbs. It usually comes with different grinding plates for fine or coarse results.
Slicer and shredder attachments are also available, allowing you to quickly slice vegetables for salads or casseroles, or shred cheese for tacos or pizzas. These attachments can significantly reduce prep time for various dishes. Investing in a few key attachments can turn your beginner stand mixer guide experience into a full culinary exploration.
Finding Inspiration: Online Resources and Cookbooks
The best way to continue learning and expanding your skills is through practice and seeking new recipes. BakeWithEase.com is a great resource for recipes specifically designed or easily adapted for stand mixer use. Look for recipes that mention using a stand mixer or require tasks like creaming, whipping, or kneading.
Many cookbooks are dedicated entirely to stand mixer recipes, offering inspiration for everything from complex bread to delicate pastries. Online baking blogs, forums, and instructional videos can also provide valuable tips and new ideas for utilizing your stand mixer to its full potential. Don't hesitate to try new things!
Conclusion: Confidently Baking with Your Stand Mixer
You've taken the first steps to mastering your new stand mixer! From understanding its components and basic techniques to learning about maintenance and exploring future possibilities, this stand mixer beginner tutorial guide has provided you with a solid foundation. Remember that practice makes perfect, and the more you use your mixer, the more comfortable and intuitive it will become.
Don't be afraid to experiment with different recipes and techniques. Your stand mixer is a powerful tool designed to make baking easier and more enjoyable. By following the tips in this beginner stand mixer guide, you are well-equipped to tackle a wide variety of baking projects with confidence and achieve consistent, delicious results.
Embrace the Joy of Baking with Your Stand Mixer
Your stand mixer is more than just an appliance; it's a partner in your baking journey. It takes the physical strain out of many tasks, allowing you to focus on the creative and enjoyable aspects of baking. Whether you're making a simple batch of cookies or attempting your first complex bread, your mixer is there to help you succeed.
So, plug in your mixer, choose a recipe that excites you, and start baking! The world of possibilities is vast and delicious. Enjoy the process, savor the results, and continue exploring all the wonderful things you can create with the help of your trusty stand mixer. Happy baking!
Frequently Asked Questions
How do I choose the right speed on my stand mixer for different baking tasks?
The right speed depends on the task. Generally, low speed is for kneading dough or gently combining ingredients, medium speed is for creaming butter and sugar, and high speed is for whipping cream or egg whites.
What are the essential attachments I need for my stand mixer as a beginner?
The three most common and essential attachments are the flat beater, the dough hook, and the wire whisk. These attachments cover most basic baking needs.
How do I properly clean and maintain my stand mixer to ensure its longevity?
Unplug the mixer and wipe it down after each use. The bowl and attachments are usually dishwasher safe, but the mixer body should be wiped clean with a damp cloth.
What are some common mistakes beginners make when using a stand mixer?
Overmixing is a frequent error, leading to tough baked goods. Also, not scraping down the bowl sides results in unevenly mixed batter.
Can I use my stand mixer for tasks other than baking, like making mashed potatoes?
Yes, stand mixers are versatile! You can use them for making mashed potatoes, shredding cooked chicken, and even making pasta with the appropriate attachments. Versatility is a key benefit of stand mixers.
Final Reflection: The Joy of Baking, One Mixer at a Time
Mastering a stand mixer isn't just about learning techniques; it's about unlocking a world of culinary creativity. The seemingly simple act of whipping cream or kneading dough transforms into a gateway to countless recipes and the satisfaction of creating something delicious from scratch. This journey, from hesitant beginner to confident baker, is a testament to the power of learning and the rewards of patience.
The impact of readily available kitchen technology like stand mixers on home baking is undeniable. It has democratized the process, allowing more people to explore their passion for baking without the physical strain of manual mixing. This accessibility has fostered a vibrant online community, sharing recipes, tips, and triumphs – a modern-day version of passing down family recipes. Baking is at once child's play and adult joy. And love, of course.
– Alma Flor Ada. This quote perfectly captures the essence of the experience, encompassing both the simple pleasure and the profound satisfaction derived from baking.
Now, it's your turn. Don't let the initial intimidation of your new stand mixer hold you back. Experiment, embrace the occasional mishap (flour explosions happen! ), and most importantly, enjoy the process. The journey of mastering your mixer is a journey of self-discovery, a testament to your capabilities, and a delicious path to creating memories – one perfectly risen loaf at a time. So, dust off that recipe book, gather your ingredients, and let the baking begin!
Unleash Your Inner Baker: Take the Next Step!
Thanks for taking the time to explore the world of stand mixers with us! We hope this guide has given you the confidence to tackle any baking challenge. Now it's time to put your new knowledge into action.
- Bake your dream recipe: What have you been wanting to bake but haven't dared to try? Now's the perfect time! Use your new stand mixer skills to create that amazing cake, bread, or pastry you've always dreamed of.
- Share your creations: Show off your baking prowess! Post pictures of your delicious masterpieces on social media and tag us – we’d love to see what you’ve whipped up.
- Explore advanced techniques: Ready to take your baking to the next level? Check out our blog for advanced stand mixer recipes and techniques – from perfectly whipped cream to artisan breads.
So, what delicious adventure will your stand mixer take you on today?