
The Stand Mixer Deep Dive: Everything You Need to Know for BakeWithEase

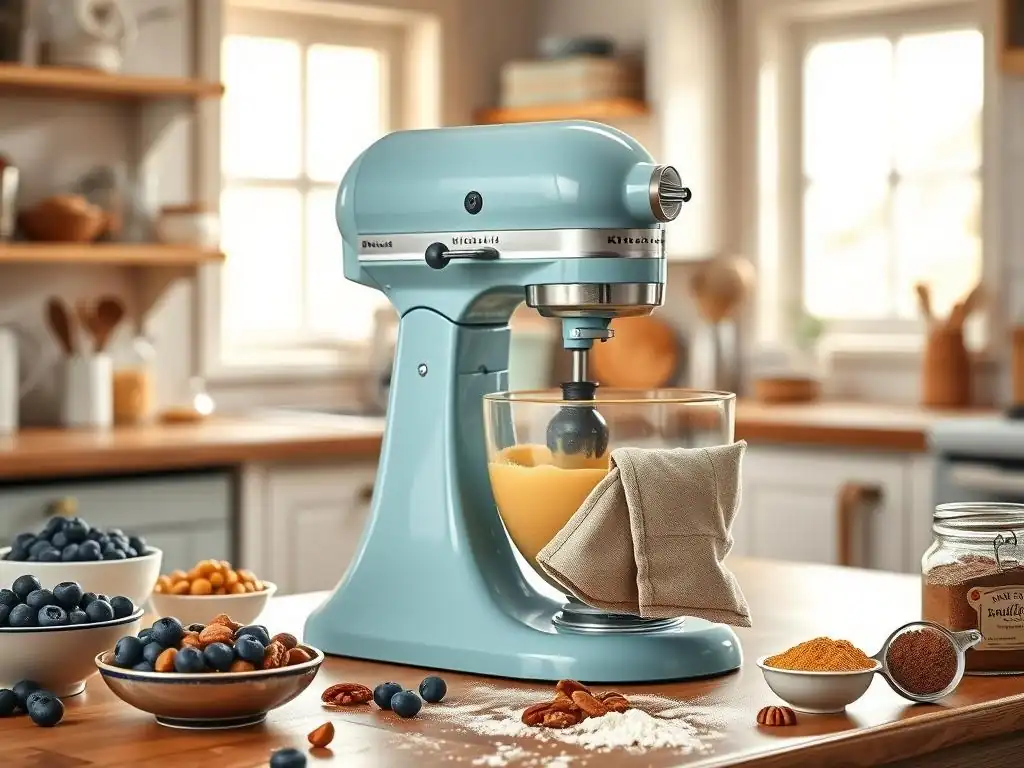
Welcome to BakeWithEase, your haven for baking brilliance! Ever wondered if the secret to perfectly whipped cream or effortlessly kneaded dough lies in the right equipment? We're diving deep into the world of stand mixers, particularly focusing on the best stand mixer for beginners. Could this be the key to unlocking your baking potential? Explore our guide to discover features, benefits, and recommendations that will transform your baking journey from daunting to delightful. Prepare to revolutionize your kitchen!
- Finding the Best Stand Mixer for Beginners: An Introduction
- Why Choose a Stand Mixer for Your Baking Journey?
- Key Features to Consider When Choosing a Stand Mixer
- Top Stand Mixer Recommendations for Beginner Bakers
- Stand Mixer Buying Guide: Factors to Consider
- Stand Mixer Maintenance and Care Tips
- Mastering Baking with Your Stand Mixer: Recipes for Beginners
- Beyond the Basics: Advanced Techniques with Your Stand Mixer
- Stand Mixer Accessories: Expanding Your Baking Options
- Conclusion: Investing in the Best Stand Mixer for Baking Success
-
Frequently Asked Questions
- What is the most important feature to look for in a stand mixer for beginners?
- What size stand mixer is best for someone just starting out with baking?
- Are stand mixers really necessary, or can I get by with hand mixers?
- What type of attachments should I prioritize when buying a stand mixer as a beginner?
- How much should I expect to spend on a good stand mixer for beginners?
- Final Reflection: Kneading the Future of Baking
- Unleash Your Inner Baker: Take the Next Step!
Finding the Best Stand Mixer for Beginners: An Introduction
Embarking on your baking adventure is exciting, and having the right tools can make all the difference. For many aspiring bakers, the stand mixer is a cornerstone appliance, transforming tedious tasks into simple steps. It's not just a time-saver; it's a powerful ally that can help you achieve consistent, professional-quality results right from your kitchen. Choosing the best stand mixer for beginners involves understanding your needs, budget, and the various features available.
This deep dive will walk you through everything you need to know about stand mixers, specifically tailored for those just starting out. We'll explore why a stand mixer is a worthwhile investment for new bakers, compare it to other mixing tools, break down key features to consider, review popular models often recommended as the best stand mixer for beginners, and even touch upon maintenance and how to unlock its full potential with simple recipes. Get ready to find your perfect baking companion!
Why Choose a Stand Mixer for Your Baking Journey?
The Benefits of Using a Stand Mixer in Baking
Using a stand mixer significantly elevates your baking experience by automating many labor-intensive processes. tasks like kneading dough or whipping egg whites to stiff peaks, which can be tiring and time-consuming by hand, become effortless with a stand mixer. This automation ensures consistency in mixing, leading to more reliable outcomes for your cakes, cookies, and breads. For instance, creaming butter and sugar until light and fluffy, a crucial step for many cookie and cake recipes, is achieved perfectly every time with a stand mixer's paddle attachment, unlike manual mixing which can be inconsistent.
Beyond saving physical effort, a stand mixer frees up your hands, allowing you to add ingredients gradually, prepare other components of your recipe, or simply clean up as you mix. This efficiency is particularly valuable when you're learning and need to focus on other aspects of a recipe.
Think about making meringue; achieving stable peaks requires continuous whipping for several minutes. A stand mixer handles this effortlessly, ensuring you get the volume and texture needed, typically taking around 5-7 minutes on high speed to reach stiff peaks, a feat that would be exhausting and difficult to maintain consistency if done manually.
Stand Mixer vs. Hand Mixer: Which is Right for You?
When deciding on the best mixer for your early baking efforts, the choice often comes down to a stand mixer versus a hand mixer. Hand mixers are lightweight, portable, and generally more affordable, making them a good entry point for very basic mixing tasks like combining wet and dry ingredients or whipping small amounts of cream. They are easy to store and require minimal counter space. However, they require you to hold the mixer throughout the process, which can be tiring for longer tasks, and they are typically less powerful, struggling with thicker batters or doughs.
A stand mixer, while a larger investment and requiring dedicated counter or storage space, offers superior power and capacity. Its hands-free operation is a major advantage for tasks like kneading bread dough, which requires sustained effort and a powerful motor, something most hand mixers cannot handle effectively.
Stand mixers usually have larger bowls, often ranging from 4.5 to 6 quarts, allowing you to make larger batches of dough or batter than the typical hand mixer can accommodate. For someone serious about exploring various baking techniques, especially breads and larger cake recipes, the power, capacity, and convenience of a stand mixer make it a more versatile and ultimately, the best stand mixer for beginners looking to grow their skills.
Key Features to Consider When Choosing a Stand Mixer
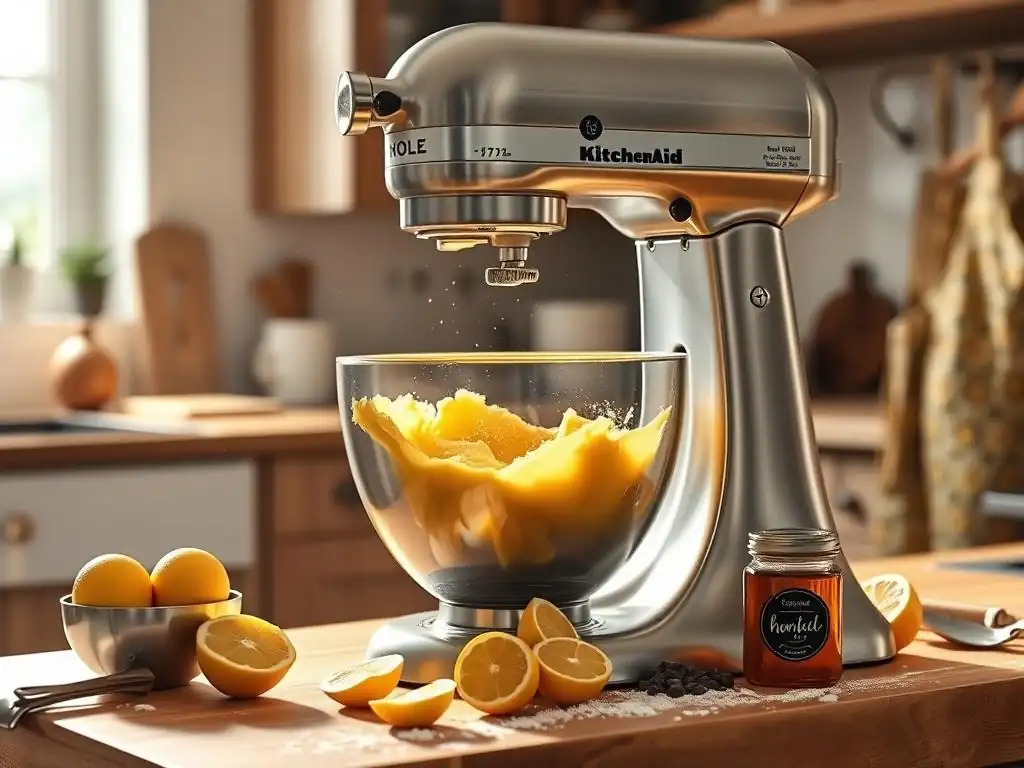
Bowl Size: Matching Capacity to Your Baking Needs
The size of the mixing bowl is a critical factor when selecting a stand mixer, directly impacting the quantity of ingredients you can comfortably mix at once. Bowl sizes are typically measured in quarts, with common capacities ranging from 4.5 quarts for smaller models up to 6 quarts or even larger for professional-style mixers. A 4.5 or 5-quart bowl is often recommended as the best stand mixer for beginners, as it's sufficient for most standard home baking recipes, such as a batch of 2-3 dozen cookies or a couple of loaves of bread.
Choosing a bowl size that matches your typical baking batch size prevents overflow when mixing larger volumes of batter or dough. For example, a 5-quart mixer can usually handle enough dough for about 9 dozen cookies or 4 standard loaves of bread. If you plan on baking frequently for a large family, entertaining often, or tackling double batches regularly, opting for a 6-quart model might be more suitable from the start, providing extra headroom for expansion during kneading or whipping.
Motor Power: Ensuring Smooth Mixing for Various Doughs and Batters
The motor's wattage indicates its power and ability to handle different consistencies, from light batters to heavy doughs. Stand mixer motors typically range from around 300 watts on the lower end to over 600 watts for more robust models. For a beginner stand mixer, a motor in the 300 to 450-watt range is usually sufficient for most common tasks like mixing cake batters, cookie doughs, and whipping cream.
However, if your baking interests lean towards bread making or other recipes involving stiff doughs that require significant kneading, a more powerful motor, perhaps 500 watts or higher, will perform better and last longer without overheating or straining. While more power is generally better, even a moderately powered stand mixer can handle many beginner-friendly recipes efficiently. The key is to match the motor power to the type of baking you anticipate doing most often to ensure smooth, consistent mixing.
Speed Settings: Achieving Perfect Consistency Every Time
Stand mixers come with a range of speed settings, giving you precise control over the mixing process. Most models offer anywhere from 6 to 12 distinct speeds. Lower speeds are ideal for gently combining ingredients without splashing flour or incorporating dry ingredients into wet. Medium speeds are used for creaming butter and sugar or mixing batters. High speeds are essential for whipping air into ingredients like egg whites or heavy cream to create meringues or whipped cream.
Having multiple speed options, including a "slow start" feature, is beneficial for beginners. A slow start prevents ingredients from flying out of the bowl when you first turn the mixer on, especially with dry ingredients like flour. The ability to gradually increase speed allows you to achieve the desired texture and consistency for various recipes, from incorporating delicate ingredients on speed 1 or 2 to reaching stiff peaks on speed 8 or 10.
Attachments: Expanding Your Stand Mixer's Capabilities
Most stand mixers come standard with three primary attachments: the dough hook, the paddle attachment, and the whisk attachment. These cover the vast majority of basic baking tasks and are essential for unlocking the full potential of your new appliance.
Dough Hook: Kneading Bread Dough with Ease
The dough hook is specifically designed for kneading yeast doughs, such as those used for bread, pizza, or pasta. Its unique shape mimics the action of hand kneading, stretching and folding the dough to develop gluten. Using a stand mixer with a dough hook takes the hard work out of kneading, which can typically take 8-10 minutes in a mixer compared to 15-20 minutes or more by hand to achieve the same level of gluten development.
Paddle Attachment: Creaming Butter and Sugar Perfectly
Often called the flat beater, the paddle attachment is the most versatile of the standard attachments. It's used for a wide range of tasks, including creaming butter and sugar, mixing batters for cakes, cookies, and brownies, combining ingredients for meatballs or meatloaf, and even shredding cooked chicken. Its broad surface ensures that ingredients are thoroughly incorporated from the bottom and sides of the bowl.
Whisk Attachment: Whipping Cream and Egg Whites to Perfection
The whisk attachment, also known as the wire whip, is designed to incorporate air into ingredients. It's essential for tasks like whipping egg whites into meringues, whipping heavy cream into whipped cream, or making fluffy frostings. The wire loops create maximum contact with the mixture, allowing you to achieve significant volume and light, airy textures quickly and efficiently.
Tilt-Head vs. Bowl-Lift Stand Mixers: Understanding the Differences
Stand mixers primarily come in two designs: tilt-head and bowl-lift. Tilt-head models feature a head that tilts back to allow easy access to the mixing bowl and attachments. They are generally smaller and lighter, making them a popular choice for home kitchens, especially for beginners. This design makes it simple to scrape down the sides of the bowl, add ingredients, or change attachments.
Bowl-lift models feature a bowl that is raised or lowered into position using a lever. The head of the mixer remains stationary. These models are typically larger, more powerful, and designed for heavier loads, making them common in commercial settings or for serious home bakers who tackle large batches or dense doughs frequently. While they offer stability and power, accessing the bowl can be slightly less convenient than with a tilt-head model. For the best stand mixer for beginners focusing on standard home baking, a tilt-head model is often the more user-friendly and accessible option.
Top Stand Mixer Recommendations for Beginner Bakers
When searching for the best stand mixer for beginners, several models consistently rise to the top due to their balance of performance, ease of use, and value. While specific features and prices can vary, here are some well-regarded options.
KitchenAid Artisan Series Review: Features, Pros, and Cons
The KitchenAid Artisan Series is often considered the gold standard for home bakers and a top contender for the best stand mixer for beginners, despite its higher price point. It typically features a 5-quart stainless steel bowl, a tilt-head design, and a 325-watt motor, which is surprisingly capable for its rating, handling everything from light whipping to moderately stiff doughs. It offers 10 speeds and comes with the standard three attachments (flat beater, dough hook, wire whip).
- Pros: Iconic design available in dozens of colors, durable metal construction, wide range of optional attachments (sold separately) for versatility, reliable performance for most home baking needs, excellent brand reputation.
- Cons: Higher cost compared to many other beginner options, can be heavy to move, 325W motor might struggle slightly with very large batches of heavy bread dough compared to more powerful models.
Cuisinart SM-50BC Review: Features, Pros, and Cons
The Cuisinart SM-50BC is another popular choice, often recommended as a reliable stand mixer for new bakers who want solid performance without the premium price tag of a KitchenAid. This model typically comes with a 5.5-quart bowl, a powerful 500-watt motor, and 12 speeds, offering excellent control and capacity for various tasks. It includes the standard attachments plus a splash guard.
- Pros: Powerful motor handles heavy doughs well, larger bowl capacity than many competitors in its class, competitive price point, robust build quality for its price range, included splash guard is a useful addition.
- Cons: Fewer color options compared to KitchenAid, some users report the attachments don't always reach the very bottom of the bowl requiring occasional scraping, accessory options are less extensive than KitchenAid.
Hamilton Beach Electric Stand Mixer Review: Features, Pros, and Cons
For beginners on a tighter budget, the Hamilton Beach Electric Stand Mixer is frequently mentioned as a highly affordable and functional option. While typically made with more plastic components than premium models, it offers a basic stand mixer experience. Features vary by specific model, but common configurations include a 4-quart or 4.5-quart bowl, motor power often around 300 watts, and 6-7 speeds. It usually includes the standard attachments.
- Pros: Very budget-friendly, lightweight and easy to move, sufficient power for basic tasks like mixing cake batters and whipping cream, good entry point to see if a stand mixer fits your baking style.
- Cons: Less powerful motor struggles with stiff doughs and large batches, less durable construction than metal mixers, fewer speed options and accessory attachments, may vibrate more at higher speeds.
Stand Mixer Buying Guide: Factors to Consider
Choosing the best stand mixer for beginners involves weighing several practical factors to ensure you select an appliance that meets your needs and fits your lifestyle.
Budget: Finding a Stand Mixer That Fits Your Price Range
Stand mixers vary significantly in price, from under $100 for basic models to $400+ for premium, well-known brands. As a beginner, it's important to set a realistic budget. While a high-end mixer offers durability and power, a mid-range or even a quality entry-level model might be sufficient for your initial baking endeavors. Consider how frequently you plan to bake and the types of recipes you'll tackle. A budget-friendly mixer is a great way to start without a large financial commitment, allowing you to upgrade later if your passion grows.
Setting a budget range, perhaps between $100 and $300, can help narrow down your options. Within this range, you can find mixers with decent motor power (e.g., 300-500 watts) and sufficient bowl capacity (4-5 quarts) from reputable brands that offer good value for the money. Remember to also factor in the potential future cost of additional attachments if you think you might want to expand your mixer's capabilities later on.
Kitchen Space: Choosing a Stand Mixer That Fits Your Countertop
Stand mixers are not small appliances. They require dedicated counter space or significant storage room. Before purchasing, measure the height of your cabinets above the counter to ensure a tilt-head model can fully open, or check the overall dimensions to see if it fits comfortably on your countertop without obstructing workflow. Bowl-lift models are often taller than tilt-head models, even when not in use.
Consider the weight as well. If you don't have permanent counter space and plan to store the mixer in a cabinet, choose a model that is manageable for you to lift and move. Entry-level mixers tend to be lighter due to more plastic components, while premium metal mixers are significantly heavier. For example, a KitchenAid Artisan typically weighs around 26 lbs, while some Hamilton Beach models might be closer to 12-15 lbs.
Frequency of Use: Selecting a Durable Stand Mixer for Regular Baking
How often you plan to use your stand mixer should influence your choice of model and brand. If you anticipate baking only occasionally, perhaps a few times a month, a less expensive, entry-level mixer might suffice. These models are designed for lighter use and less demanding tasks.
However, if you envision baking frequently, multiple times a week, or tackling more challenging recipes like dense bread doughs regularly, investing in a more durable mixer with a robust motor and metal construction is advisable. These mixers are built to withstand more stress and prolonged use without burning out. While the initial cost is higher, their longevity and consistent performance make them a better investment for passionate, frequent bakers looking for the best stand mixer for beginners who plan to stick with the hobby.
Brand Reputation: Opting for a Reliable and Trusted Stand Mixer Brand
Choosing a stand mixer from a brand with a strong reputation for quality and reliability can provide peace of mind. Established brands often have a track record of producing durable appliances and offer better customer support and warranties. Researching user reviews and expert opinions on brands like KitchenAid, Cuisinart, Breville, and Hamilton Beach can give you insight into their performance and longevity.
While a lesser-known brand might offer a lower price, ensure they have positive reviews regarding durability and customer service. For beginners, choosing a widely recognized brand often means easier access to troubleshooting tips, replacement parts, and a large community of users who share experiences and recipes. Opting for a trusted brand is a sensible step in selecting the best stand mixer for beginners, ensuring a positive and less frustrating experience.
Stand Mixer Maintenance and Care Tips
Proper maintenance is key to keeping your stand mixer running smoothly and extending its lifespan. A well-cared-for mixer will serve you reliably for years.
Cleaning Your Stand Mixer After Each Use
Cleaning your stand mixer immediately after use is crucial to prevent food residue from hardening, which makes cleaning more difficult.
- Unplug the mixer before cleaning.
- Remove the bowl and attachments. These are often dishwasher safe (check your manual), but hand washing with warm, soapy water is always a safe bet, especially for coated attachments which can sometimes chip in the dishwasher.
- Wipe down the head and base of the mixer with a damp cloth. Avoid using abrasive cleaners or submerging the base in water, as this can damage the motor and electrical components.
- Use a small brush or toothpick to remove any dough or batter from crevices around the attachment hub or speed control.
Proper Storage of Your Stand Mixer
Storing your stand mixer correctly protects it from dust and potential damage.
- Ensure the mixer is completely dry before storing.
- Store attachments separately or in a designated attachment holder if your model has one. Avoid leaving attachments attached to the mixer head during storage, especially if you plan to move it.
- If storing on a counter, consider using a dust cover to keep it clean.
- If storing in a cabinet, ensure it's in a stable location where it won't be easily knocked over. Keep the cord neatly wrapped or stored according to the manufacturer's instructions.
Troubleshooting Common Stand Mixer Issues
Even the best stand mixer for beginners might encounter minor issues occasionally.
- Mixer head bouncing: This can happen with very stiff doughs. Reduce the batch size or consider if your mixer's motor is powerful enough for the task. Ensure the head is locked properly on tilt-head models.
- Attachments not reaching the bottom: Some models have an adjustment screw on the attachment shaft to ensure the flat beater clears the bottom of the bowl by a small margin (about a dime's width). Consult your manual for instructions.
- Overheating: If the mixer feels hot or shuts off, the motor may be overloaded. This is common with heavy doughs or prolonged use. Turn the mixer off, unplug it, and let it cool down completely (this might take 20-30 minutes) before attempting to use it again. Reduce batch size or kneading time.
Mastering Baking with Your Stand Mixer: Recipes for Beginners
Once you have your stand mixer, it's time to put it to work! Starting with simple recipes designed for stand mixers is a great way to get comfortable with your new appliance.
Easy Cake Recipes Using a Stand Mixer
Stand mixers excel at creaming butter and sugar and mixing cake batters smoothly. Look for simple butter cake or pound cake recipes. These often start by creaming softened butter and sugar on medium-high speed with the paddle attachment for 5-8 minutes until light and fluffy. Then, eggs are added one at a time, followed by alternating additions of dry and wet ingredients on low speed until just combined. This process is significantly easier and more consistent with a stand mixer than by hand.
Classic chocolate chip or sugar cookies are perfect for using your stand mixer. The paddle attachment makes quick work of creaming the butter and sugar base. After creaming, eggs and vanilla are mixed in, followed by the dry ingredients (flour, baking soda, salt) added gradually on low speed until the dough just comes together. The stand mixer handles the thick cookie dough effortlessly, ensuring all ingredients are evenly distributed.
Basic Bread Recipes Using a Stand Mixer
Don't be intimidated by bread! Many basic yeast bread recipes, like simple white bread or pizza dough, are ideal for the stand mixer's dough hook. After activating the yeast and combining wet ingredients, you typically add flour gradually while mixing on a low speed with the dough hook. Once the dough comes together, increase the speed slightly (often to speed 2) and let the mixer knead for 6-10 minutes until the dough is smooth and elastic. This takes the physical labor out of developing the gluten needed for a good bread structure.
Beyond the Basics: Advanced Techniques with Your Stand Mixer
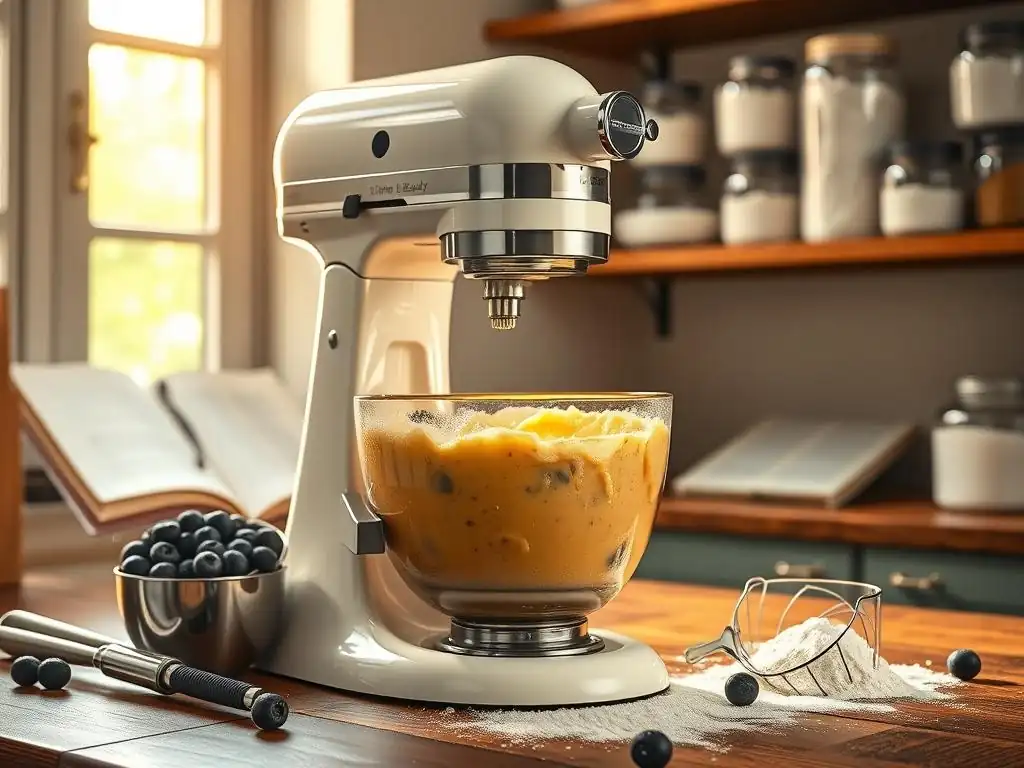
As you become more comfortable with your stand mixer, you can explore more advanced techniques and recipes.
Making Meringue with a Stand Mixer
Creating stable, glossy meringue requires whipping egg whites to stiff peaks, a task made easy by the stand mixer's whisk attachment. Start with clean, dry bowl and whisk. Whip egg whites on medium-high speed until foamy, then gradually add sugar while increasing speed to high. Continue whipping until stiff, glossy peaks form, which can take anywhere from 5 to 10 minutes depending on the mixer and the quantity of egg whites. The hands-free operation allows you to monitor the progress and ensure you don't over-whip.
Creating Pasta Dough with a Stand Mixer
Many stand mixers, especially those from brands like KitchenAid, offer pasta roller and cutter attachments (sold separately). Using the dough hook, you can mix and knead a firm pasta dough in your stand mixer. The process is similar to bread dough, combining flour, eggs, and sometimes a little water or oil, then kneading until smooth and elastic, usually for about 5-7 minutes. Once the dough is ready, you can use the pasta attachments to roll and cut fresh pasta sheets for lasagna, fettuccine, or spaghetti.
Churning Ice Cream with a Stand Mixer Attachment
Another popular accessory for some stand mixers is an ice cream maker attachment. This typically involves a special bowl with a freezing core that attaches to the mixer base, and a paddle that churns the ice cream base as the bowl rotates. You pour your chilled ice cream base into the frozen bowl, attach the paddle, and let the mixer run on a low speed (usually speed 1) for about 20-30 minutes until the mixture thickens to the consistency of soft-serve ice cream. This is a fun way to make homemade frozen treats using your stand mixer.
Stand Mixer Accessories: Expanding Your Baking Options
One of the reasons many bakers invest in certain stand mixer brands is the availability of a wide array of accessory attachments, transforming the mixer into a versatile kitchen machine. While not strictly necessary for baking, these can significantly expand your culinary horizons.
Meat Grinder Attachment: For Homemade Sausage and Ground Meat
A meat grinder attachment connects to the front power hub of many stand mixers. It allows you to grind your own meats for burgers, meatloaf, or homemade sausage. You can control the coarseness of the grind using different plates. This provides control over the quality and freshness of your ground meat and opens up possibilities for making custom sausage blends.
Juicer Attachment: For Fresh Fruit and Vegetable Juices
Some stand mixer systems include juicer attachments, typically citrus juicers or slow juicers that also connect to the power hub. The citrus juicer works like a powered reamer, extracting juice from halved citrus fruits. The slow juicer processes fruits and vegetables to extract juice, separating the pulp. While perhaps less common for a beginner focused purely on baking, it's an example of the mixer's multi-functionality.
Slicer/Shredder Attachment: For Quick and Easy Food Preparation
A slicer/shredder attachment comes with different cones for slicing vegetables (like cucumbers or potatoes) or shredding cheese, carrots, or cabbage. This attachment makes quick work of tasks that would be tedious by hand or require a separate food processor. It's particularly useful for preparing ingredients for savory dishes, salads, or large baking projects that require shredded components like carrots for cake.
Conclusion: Investing in the Best Stand Mixer for Baking Success
Choosing the best stand mixer for beginners is a significant step towards mastering the art of baking. It's an investment that pays dividends in time saved, effort reduced, and consistently excellent results. By understanding the key features like bowl size, motor power, speed settings, and attachments, you can select a model that perfectly suits your needs and budget.
Whether you opt for a premium model known for its durability and versatility or a more budget-friendly option to get started, a stand mixer will become an invaluable tool in your kitchen. From effortless cookie doughs and light, airy cakes to perfectly kneaded bread and beyond, your stand mixer will empower you to explore new recipes and techniques with ease. With proper care and a willingness to experiment, your stand mixer will undoubtedly contribute to countless delicious baking successes.
Frequently Asked Questions
What is the most important feature to look for in a stand mixer for beginners?
The most important feature is user-friendliness. Beginners should look for a mixer that is easy to assemble, operate, and clean.
What size stand mixer is best for someone just starting out with baking?
For beginners, a 4.5 to 5-quart stand mixer is generally recommended. This size is versatile enough for most common recipes without being overly bulky or expensive. It offers a good balance between capacity and ease of storage.
Are stand mixers really necessary, or can I get by with hand mixers?
While hand mixers are useful, stand mixers offer hands-free operation and more power for tasks like kneading dough or creaming butter. For frequent bakers, a stand mixer is a worthwhile investment.
What type of attachments should I prioritize when buying a stand mixer as a beginner?
Focus on the basic attachments: the flat beater for creaming, the dough hook for kneading bread, and the whisk for whipping. These will cover most beginner baking needs.
How much should I expect to spend on a good stand mixer for beginners?
You can find reliable stand mixers for beginners in the $200-$400 range. While more expensive models offer additional features, these mid-range options provide excellent value and performance.
Final Reflection: Kneading the Future of Baking
The humble stand mixer, once a luxury appliance, has become a cornerstone of modern baking, democratizing the creation of delicious treats for home bakers of all skill levels. Its impact extends far beyond simply whipping cream; it represents accessibility, empowerment, and the joy of creating something beautiful with your own hands. This accessibility is crucial in a world increasingly focused on mindful consumption and homemade goodness.
The rise of the stand mixer mirrors a broader cultural shift toward valuing handmade goods and the process of creation itself. It's more than just a kitchen appliance; it's a symbol of self-sufficiency and a connection to a richer, more tangible culinary experience. The best things in life are homemade.
This simple sentiment perfectly encapsulates the enduring appeal of the stand mixer and the satisfaction derived from using it. It's a tool that fosters creativity and allows us to share our passion for baking with loved ones, strengthening bonds over shared experiences in the kitchen.
So, as you consider your next baking adventure, remember the power held within that seemingly simple machine. Don't just bake a cake; craft an experience. Embrace the process, experiment with recipes, and let the whirring of the stand mixer be the soundtrack to your culinary journey. The best stand mixer for you isn't just about the features; it's about finding the tool that empowers you to create, to share, and to find joy in the simple act of baking. What will you create next?
Unleash Your Inner Baker: Take the Next Step!
Thanks for diving deep into the world of stand mixers with us! We hope you now feel confident and inspired to tackle any baking challenge. Ready to put your newfound knowledge to the test?
- Start baking your dream recipe today! Choose a recipe you've always wanted to try, and let your stand mixer do the heavy lifting. Don't be afraid to experiment!
- Share your baking triumphs (and even your flour mishaps!) on our BakeWithEase community forum. We love to see what you create!
- Explore our curated collection of stand mixer accessories to elevate your baking game even further.
What delicious creation will you bake first? Let us know in the comments below!