
Vegan Bread in a Dutch Oven: Crumb & Crust Perfection

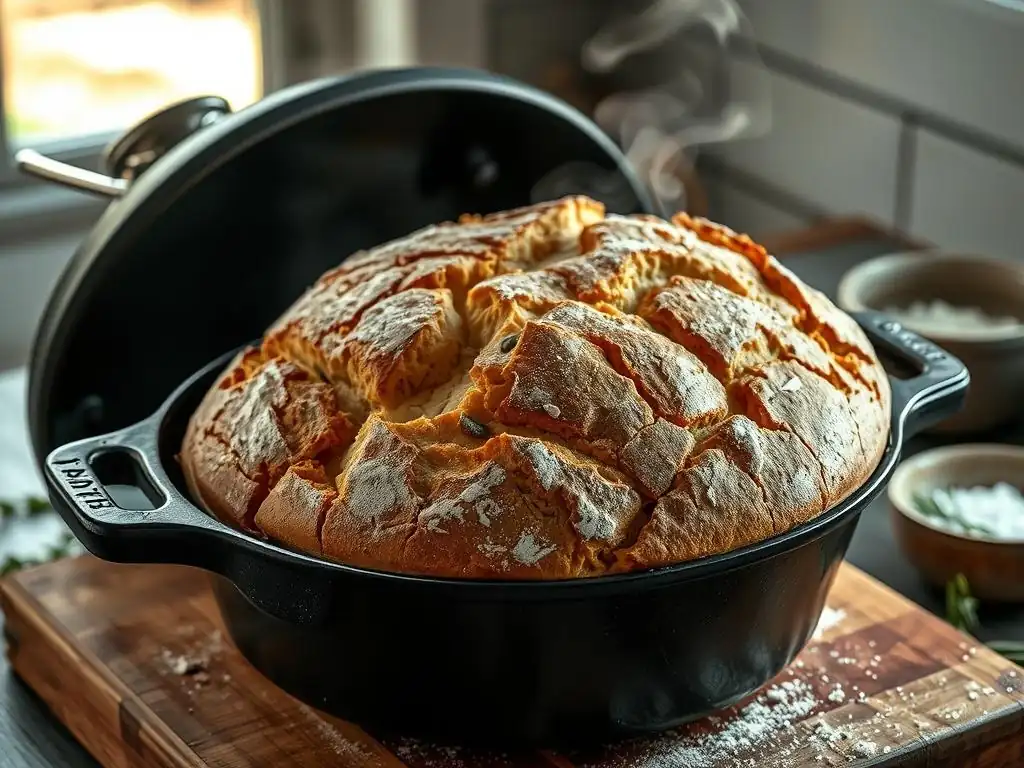
Welcome to BakeWithEase, your kitchen companion for baking adventures! Ever dreamt of pulling a perfect, crusty loaf of bread from your own oven? This week, we're diving deep into the secrets of Vegan Dutch oven bread. Discover how simple ingredients and the magic of a Dutch oven can create a bakery-worthy masterpiece, completely plant-based. Intrigued? Let's unlock the secrets to incredible crumb and crust...
- Sourdough Bread in a Dutch Oven: Crumb & Crust Perfection
- Bake Delicious Sourdough Dutch Oven Bread at Home
- Why Bake Sourdough Bread in a Dutch Oven?
- Essential Ingredients for Sourdough Dutch Oven Bread
- Step-by-Step Guide to Baking Sourdough Dutch Oven Bread
- Tips and Tricks for Baking the Best Sourdough Dutch Oven Bread
- Sourdough Dutch Oven Bread Recipe Variations
- Storing Your Sourdough Dutch Oven Bread
- Conclusion: Enjoying the Art of Sourdough Dutch Oven Bread Baking
-
Frequently Asked Questions
- How does using a Dutch oven improve vegan bread baking?
- What are some key ingredients to consider when making vegan bread, especially in a Dutch oven?
- What temperature and baking time are recommended for vegan Dutch oven bread?
- Can I use different types of flour for vegan Dutch oven bread?
- How do I prevent my vegan bread from sticking to the Dutch oven?
- Final Reflection: The Humble Loaf, a Testament to Vegan Baking
- Unleash Your Inner Baker: Craft the Perfect Vegan Loaf!
Sourdough Bread in a Dutch Oven: Crumb & Crust Perfection
Bake Delicious Sourdough Dutch Oven Bread at Home
There's nothing quite like the aroma and taste of freshly baked bread, especially sourdough. The tangy flavor, the chewy interior (crumb), and the delightfully crispy exterior (crust) are hallmarks of a great loaf. While baking sourdough might seem intimidating, especially achieving that perfect crust and open crumb structure, using a Dutch oven can dramatically simplify the process and elevate your results. This method creates an ideal environment for the dough to rise and bake beautifully right in your home kitchen.
Mastering the art of baking sourdough Dutch oven bread is a rewarding journey. It involves understanding a few key principles: nurturing your sourdough starter, handling the dough gently through its stages of fermentation and shaping, and harnessing the power of retained heat and steam within a lidded pot. Whether you're a seasoned baker or just starting your sourdough adventure, the Dutch oven technique is a reliable path to producing loaves that rival those from artisan bakeries. Let's dive into how you can achieve sourdough perfection with this simple yet effective tool.
Why Bake Sourdough Bread in a Dutch Oven?
Achieving Perfect Crust and Crumb with Dutch Oven Baking
The primary reason bakers flock to Dutch ovens for sourdough is the incredible control over steam they provide. When you place your dough into a preheated, lidded Dutch oven, the moisture naturally escaping from the dough is trapped inside. This trapped steam is crucial in the initial phase of baking (often called the "oven spring"). The steam keeps the surface of the dough moist and pliable, allowing it to expand fully before a hard crust forms. Without this initial steam, the crust would set too quickly, restricting the dough's rise and resulting in a denser loaf.
Think of it like a mini steam oven for your bread. This humid environment promotes maximum expansion, leading to a lighter, airier crumb structure with those coveted large holes. After about 20-25 minutes with the lid on, the crust begins to develop its structure. Removing the lid then allows the dry, intense heat to brown the crust beautifully, making it wonderfully crisp and crackly. This two-stage baking process – steam first, then dry heat – is significantly easier to achieve in a sealed Dutch oven than in a standard home oven, where maintaining high humidity is challenging.
The Benefits of Using a Dutch Oven for Sourdough Bread
Beyond the superior crust and crumb, baking sourdough Dutch oven bread offers several practical advantages. Firstly, it provides consistent, high heat. Cast iron Dutch ovens, especially, retain heat exceptionally well. Preheating the pot to a high temperature, typically between 450°F and 500°F (230°C - 260°C), ensures that the dough receives an immediate burst of intense heat upon contact, which is vital for oven spring. This consistent heat distribution minimizes cold spots and promotes even baking throughout the loaf.
Secondly, using a Dutch oven simplifies the process. You don't need to fuss with water trays, spray bottles, or baking stones to create steam – the pot does it for you. It also protects the dough from the direct, harsh radiant heat of the oven elements during the initial rise, preventing premature crust formation on the top. This method is particularly forgiving for beginners, helping them achieve professional-looking results with their sourdough Dutch oven bread loaves more reliably than baking on an open baking sheet.
Essential Ingredients for Sourdough Dutch Oven Bread
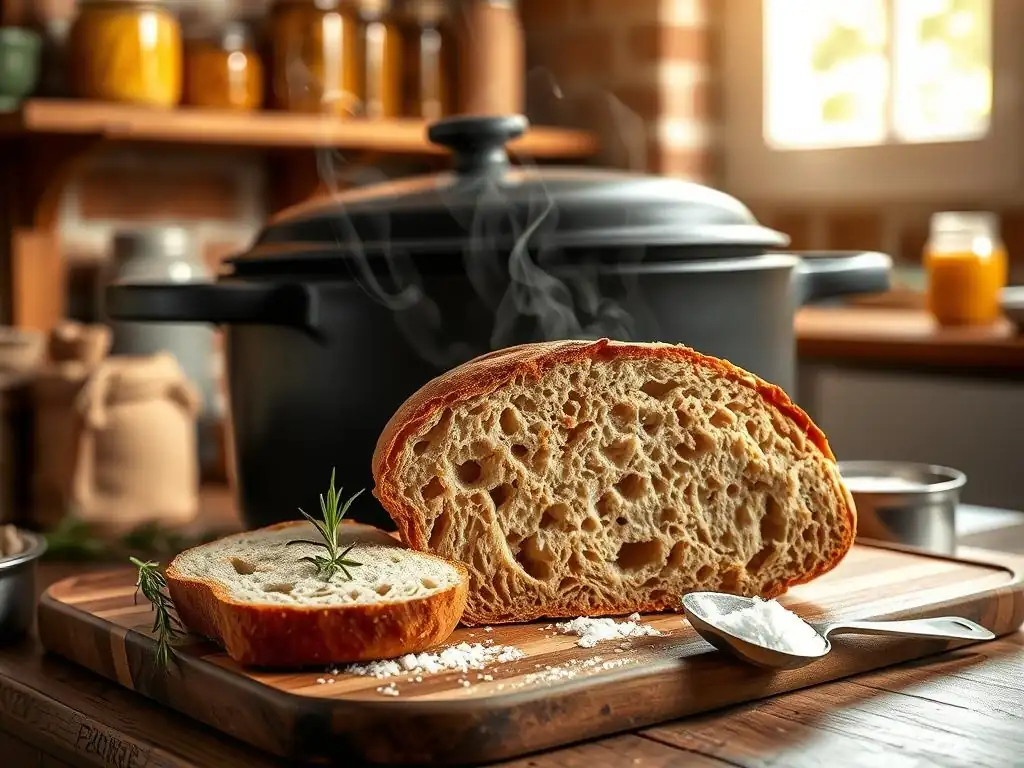
Flour Power: Choosing the Right Flour for Sourdough Bread
The type of flour you use significantly impacts the texture and flavor of your sourdough Dutch oven bread. All-purpose flour is a common starting point, offering a good balance of protein (typically 10-12%). However, bread flour, with its higher protein content (usually 12-14%), is often preferred because it develops stronger gluten networks.
Gluten is the protein structure that gives bread its elasticity and allows it to trap gases produced by the starter, resulting in a well-risen loaf with an open crumb. Using a mix, such as 80% bread flour and 20% whole wheat flour, can add depth of flavor and nutrition while maintaining good structure.
Experimenting with different flours is part of the fun of baking sourdough Dutch oven bread. Whole wheat flour, rye flour, or spelt flour can introduce unique flavors and textures. Keep in mind that whole grain flours absorb more water and can result in a denser loaf if not handled correctly or mixed with stronger white flours. Understanding the protein content and absorption rate of your chosen flour is key to adjusting hydration levels and achieving the desired outcome for your sourdough loaf.
Water and Starter: The Foundation of Your Dough
Water is more than just a liquid in sourdough baking; it's a crucial ingredient that activates the gluten and hydrates the flour. The ratio of water to flour is known as hydration, and it significantly affects the dough's consistency and the bread's final texture. A hydration level of around 70-75% (meaning the water weight is 70-75% of the flour weight) is common for sourdough Dutch oven bread, resulting in a slightly sticky but manageable dough that yields a nice open crumb. Higher hydration (80%+) can produce an even more open crumb but is more challenging to handle.
Your active sourdough starter is the heart of the bread. It's a living culture of wild yeasts and bacteria that leavens the dough and provides the characteristic tangy flavor. A healthy, active starter should double in size within 4-8 hours after being fed and pass the float test (a small piece should float in water). Using a starter that is at its peak activity ensures proper fermentation and oven spring for your sourdough Dutch oven bread. The amount of starter used, typically 15-25% of the total flour weight, influences the fermentation speed and the intensity of the sour flavor.
Salt: Enhancing Flavor and Controlling Fermentation
Salt is a non-negotiable ingredient in sourdough Dutch oven bread for several reasons. Firstly, it significantly enhances the flavor of the bread, bringing out the complex notes developed during fermentation. Without salt, bread can taste bland and flat. The typical salt percentage in sourdough recipes ranges from 1.8% to 2.2% of the total flour weight. Using a quality non-iodized salt, such as fine sea salt or kosher salt, is recommended as iodine can sometimes interfere with yeast activity.
Secondly, salt plays a vital role in controlling the fermentation rate. It slows down the activity of both the yeast and bacteria in the starter. This slower fermentation allows for better flavor development and gluten structure formation. Salt also strengthens the gluten network, making the dough more elastic and easier to handle. Adding salt too early in the mixing process (before autolyse, if you use that technique) or forgetting it entirely can lead to a sticky, difficult-to-manage dough and an underdeveloped flavor profile in your sourdough Dutch oven bread.
Optional Additions: Seeds, Herbs, and More
Once you've mastered the basic sourdough Dutch oven bread, you can get creative with additions. Seeds like sesame, poppy, sunflower, or flax seeds can be incorporated into the dough during mixing or pressed onto the exterior before baking. Adding seeds internally, such as 10-15% of the flour weight in seeds soaked overnight (a 'soaker'), can add moisture, texture, and nutritional value.
Fresh or dried herbs, roasted garlic, olives, or even cheese can transform a simple loaf into something extraordinary. When adding ingredients like cheese or olives, which can affect dough consistency and fermentation, it's often best to incorporate them during the final stages of dough development, perhaps during a fold or just before shaping. Be mindful that wetter additions like olives or roasted garlic might require slightly adjusting your hydration level. These variations offer endless possibilities to customize your sourdough Dutch oven bread.
Step-by-Step Guide to Baking Sourdough Dutch Oven Bread
Step 1: Preparing the Sourdough Bread Dough
Mixing the Dough: Achieving the Right Consistency
The journey to delicious sourdough Dutch oven bread begins with properly mixing your ingredients. A common method is the autolyse, where you mix just the flour and water and let it rest for 20-60 minutes. This allows the flour to fully hydrate and gluten development to begin naturally before the salt and starter are added. After the autolyse, add your active starter and salt. Mix using your hands, a stand mixer with a dough hook, or a dough whisk until the ingredients are combined and the dough starts to come together.
Continue mixing or kneading until the dough develops some strength. It will still be sticky, especially at higher hydration levels, but should start pulling away from the sides of the bowl slightly. For example, a typical 75% hydration dough might feel quite wet initially but will become more manageable after mixing and the subsequent folding steps. The goal is to achieve a dough where the gluten network is starting to form, indicated by a slightly smoother surface compared to the initial shaggy mixture.
First Rise: Bulk Fermentation for Flavor Development
Bulk fermentation, or the first rise, is a critical phase where the starter works its magic, developing both leavening and flavor. Place your mixed dough in a lightly oiled container, cover it, and let it rest. During this period, perform a series of 'stretch and folds' or 'coil folds' every 30-60 minutes for the first 2-3 hours. These gentle manipulations help build gluten strength and structure without degassing the dough too much. For instance, performing 4 sets of folds over 2 hours is a common practice.
The duration of bulk fermentation varies greatly depending on the ambient temperature and the activity of your starter. At room temperature (around 70-75°F or 21-24°C), it might take 4-6 hours. In a cooler environment (68°F or 20°C), it could take 8-12 hours or even longer. You're looking for the dough to increase in volume by about 30-50%, appear bubbly, and feel lighter. An experienced baker might gauge readiness by the dough's feel and appearance rather than strictly adhering to a time frame. This bulk ferment is where the characteristic tang of sourdough Dutch oven bread truly develops.
Step 2: Shaping the Sourdough Bread Loaf
Gently Deflating and Shaping the Dough
Once bulk fermentation is complete, gently turn the dough out onto a lightly floured surface. Avoid degassing it completely; you want to retain some of the air bubbles that have formed. Shape the dough into a rough round or rectangle depending on your desired final shape. Let it rest for a brief period, known as the bench rest (typically 15-30 minutes), covered with a damp cloth or plastic wrap. This allows the gluten to relax, making the dough easier to handle for the final shaping.
For the final shape, whether it's a boule (round) or a batard (oval), work carefully to build tension on the surface of the dough. This tension is crucial for the loaf to hold its shape during proofing and achieve good oven spring when baking sourdough Dutch oven bread. Techniques vary, but they generally involve folding the edges of the dough towards the center and then using your hands to create surface tension by pulling the dough towards you while pushing it away slightly, or by cupping your hands around the dough and rotating it.
Second Rise: Proofing for a Light and Airy Texture
After shaping, the dough needs a second rise, or proofing, before baking. The most common method for sourdough Dutch oven bread is cold proofing in the refrigerator. Place the shaped loaf, seam-side up, in a floured banneton (proofing basket) or a bowl lined with a floured cloth. Cover it tightly and refrigerate for anywhere from 8 to 24 hours, or even up to 48 hours. Cold proofing significantly slows fermentation, allowing flavors to deepen and making the dough firmer and easier to score just before baking.
Alternatively, you can proof at room temperature, which is much faster (typically 1-4 hours, depending on temperature). However, cold proofing is often preferred for sourdough Dutch oven bread as it makes handling the dough easier when transferring it to the hot Dutch oven and provides more control over the final stages of fermentation. A well-proofed loaf should feel light and airy, and when gently poked, it should spring back slowly, leaving a slight indentation. Over-proofing can lead to a loaf that collapses in the oven.
Step 3: Baking in the Dutch Oven
Preheating the Dutch Oven: Ensuring Even Baking
This is a critical step for achieving that amazing crust on your sourdough Dutch oven bread. Place your empty Dutch oven (including the lid) in your oven and preheat both to a high temperature, typically 450°F to 500°F (230°C - 260°C). It's essential to let the pot preheat for at least 30-60 minutes after the oven reaches temperature to ensure the cast iron is uniformly hot. This intense initial heat is what provides the necessary thermal shock for maximum oven spring and crust development.
Using oven mitts, carefully remove the hot Dutch oven from the oven. Remove the lid. Gently transfer your proofed dough into the hot pot. You can do this by carefully flipping the dough from the banneton onto a piece of parchment paper and then using the parchment paper to lower the dough into the Dutch oven. Parchment paper makes handling the hot pot and the dough much safer and easier, preventing burns and helping you position the loaf correctly.
Scoring the Dough: Controlling Expansion and Creating Art
Before placing the dough into the Dutch oven, or immediately after you've transferred it (if using parchment), you need to score it. Scoring involves making shallow cuts on the surface of the dough with a sharp blade (like a razor blade or a lame). Scoring serves a crucial purpose: it controls where the loaf expands during the intense heat of the oven spring. Without scoring, the crust might tear unpredictably.
Scoring patterns can range from a simple single slash down the length of a batard to intricate designs on a boule. A deep, angled slash (like a 'ear' cut) is often used on boules to encourage a dramatic opening. Aim for a depth of about 1/4 to 1/2 inch (about 0.5 - 1 cm). The angle and depth of the score will influence the final shape and appearance of your sourdough Dutch oven bread crust. Practice makes perfect when it comes to scoring!
Baking Time and Temperature: Monitoring for Perfection
Once the dough is scored and in the hot Dutch oven, immediately place the lid back on and return the pot to the preheated oven. Bake with the lid on for the first phase, typically 20-25 minutes at 450°F - 475°F (230°C - 245°C). This creates the steamy environment needed for maximum oven spring and keeps the crust soft.
After the initial covered bake, carefully remove the lid. Reduce the oven temperature slightly, usually to 425°F - 450°F (220°C - 230°C), and continue baking uncovered for another 20-30 minutes, or until the crust is a deep golden brown and the internal temperature of the loaf reaches 200-210°F (93-99°C). Using an instant-read thermometer is the most reliable way to check for doneness. Baking sourdough Dutch oven bread to the correct internal temperature ensures a fully cooked crumb.
Step 4: Cooling and Enjoying Your Sourdough Bread
Cooling the Bread Properly: Preventing a Soggy Crust
As tempting as it is to slice into a warm loaf of sourdough Dutch oven bread straight out of the oven, patience is key! Immediately transfer the baked loaf from the Dutch oven to a wire cooling rack. Cooling on a rack allows air to circulate around the entire loaf, preventing the bottom crust from becoming soggy from trapped steam.
Allow the bread to cool completely, which can take 1-2 hours for a standard-sized loaf. During this cooling period, the internal structure of the bread sets, and the complex flavors continue to develop. Slicing too early can result in a gummy or dense crumb texture. Resist the urge – that perfect crumb you worked so hard for is worth the wait!
Serving Suggestions: Enjoying Freshly Baked Sourdough Bread
Once your sourdough Dutch oven bread is fully cooled, it's ready to be enjoyed in countless ways. The classic pairing is simply with good quality butter. The crispy crust and tangy crumb are also perfect for dipping in olive oil, often with a sprinkle of flaky sea salt.
Consider using slices for open-faced sandwiches, toasting for bruschetta, or serving alongside soups and stews. Leftover bread, if there is any, can be transformed into croutons, breadcrumbs, or used in savory bread puddings. The versatility of homemade sourdough Dutch oven bread makes it a staple you'll want to bake again and again.
Tips and Tricks for Baking the Best Sourdough Dutch Oven Bread
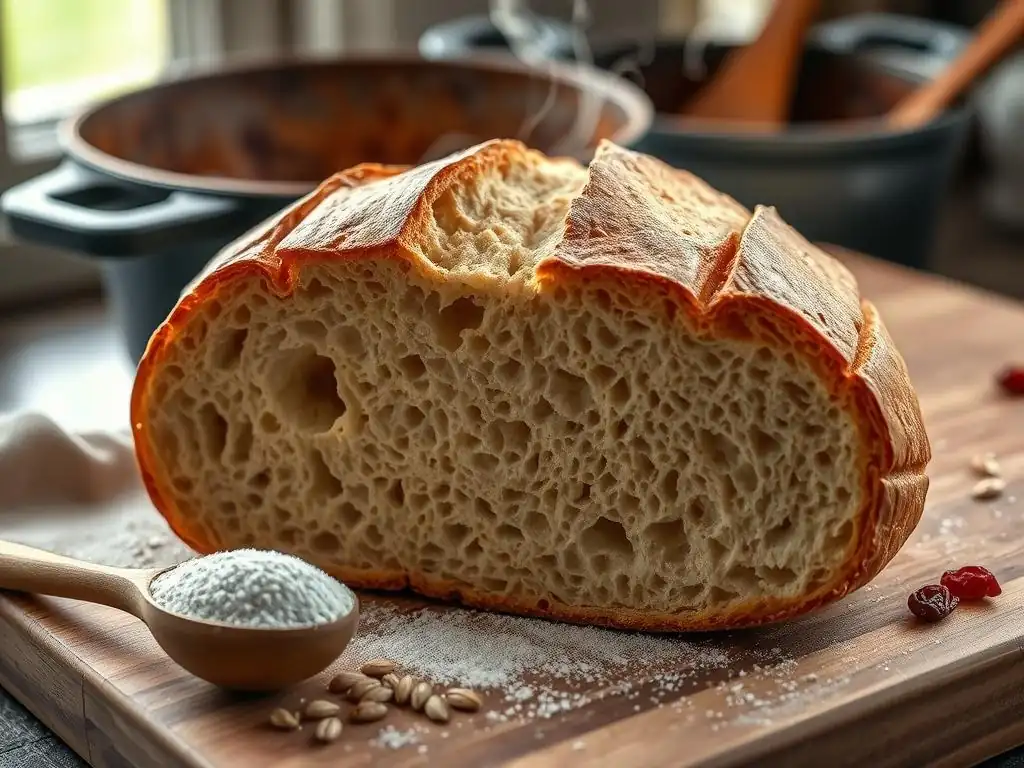
Mastering Dough Hydration for Optimal Results
Dough hydration, the ratio of water to flour, is a critical factor influencing the outcome of your sourdough Dutch oven bread. Higher hydration (e.g., 75% or more) generally leads to a more open, airy crumb but results in a stickier, harder-to-handle dough. Lower hydration (e.g., 65-70%) produces a denser crumb but is much easier for beginners to manage and shape. For instance, increasing hydration from 68% to 75% typically requires more careful handling during folds and shaping to maintain tension.
The 'right' hydration depends on your flour, environment, and skill level. Strong bread flour can handle higher hydration than all-purpose flour. Humid weather might require slightly less water than dry conditions. Don't be afraid to start with a lower hydration dough if you're new to sourdough Dutch oven bread. As you gain experience, you can gradually increase hydration to achieve a more open crumb. Observing how the dough feels and behaves is more important than strictly following a percentage; if the dough feels too stiff, add a little more water; if it's unmanageably sticky, use slightly less next time.
Controlling Fermentation Time and Temperature
Controlling the fermentation process is key to developing flavor and achieving proper leavening in sourdough Dutch oven bread. Temperature is the biggest variable. Warmer temperatures accelerate fermentation, while cooler temperatures slow it down. For example, dough fermented at 80°F (27°C) might be ready in 4-5 hours, whereas the same dough at 68°F (20°C) could take 8-12 hours. This is why recipes often give time ranges or suggest judging readiness by dough volume and appearance rather than strict timing.
Cold proofing in the refrigerator (typically 38-40°F or 3-4°C) is an excellent way to manage fermentation and fit baking into your schedule. A cold proof for 12-24 hours allows flavors to deepen significantly and makes the dough much easier to score. You can even push cold proofing longer, sometimes up to 48 hours, though this can increase the tanginess. Learning to read your dough – how it looks, feels, and smells – is crucial for mastering fermentation for your sourdough Dutch oven bread.
Troubleshooting Common Sourdough Bread Baking Problems
Even experienced bakers encounter issues. Troubleshooting is part of the learning process when making sourdough Dutch oven bread.
Dough is Too Sticky
If your dough is excessively sticky and hard to handle, it's likely due to high hydration for the flour used or insufficient gluten development. Try reducing the hydration slightly in your next batch, perhaps by 2-3%. Ensure you are performing enough stretch and folds or kneading to build sufficient gluten strength. Sometimes, simply giving the dough a longer rest can help. Using wet hands instead of floured hands when handling sticky dough can also make a big difference.
Bread is Too Dense
A dense crumb can result from several factors: an inactive starter, insufficient bulk fermentation (under-proofing), over-proofing, or lack of tension during shaping. Ensure your starter is active and bubbly before use. Check that your dough has increased in volume sufficiently during the first rise (30-50%). If it over-proofed, it might have collapsed slightly or feel overly airy but without structure. Make sure you are building good surface tension when shaping the sourdough Dutch oven bread loaf.
Crust is Too Hard
While a crisp crust is desired, a crust that's excessively hard or thick might indicate too long of a bake time at high heat, insufficient steam during the initial phase, or cooling issues. Ensure your Dutch oven is properly preheated and the lid stays on for the recommended time (usually 20-25 minutes) to trap steam. If you're baking at a very high temperature, try reducing it slightly. Always cool the bread completely on a wire rack; placing it on a solid surface can trap steam and make the bottom crust soggy or overly hard.
Sourdough Dutch Oven Bread Recipe Variations
Whole Wheat Sourdough Dutch Oven Bread
Incorporating whole wheat flour adds a deeper, nuttier flavor and increased nutritional value to your sourdough Dutch oven bread. Start by substituting a portion of the white flour with whole wheat, perhaps 20-30%. Whole wheat absorbs more water, so you might need to slightly increase the hydration (add a tablespoon or two of extra water). The dough might feel a bit less elastic due to the bran interrupting gluten development. Bulk fermentation might also be slightly faster due to the nutrients in the whole grain.
Seeded Sourdough Dutch Oven Bread
Adding seeds brings wonderful texture and flavor. A common approach is to include a 'soaker' or 'levain build' with seeds. For example, soak 50-100g of mixed seeds (like sunflower, pumpkin, flax) in an equal weight of hot water for several hours or overnight. Incorporate this mixture into your dough during the initial mix. Alternatively, you can fold dry seeds into the dough during the later stages of bulk fermentation or press them onto the exterior before proofing. Seeded sourdough Dutch oven bread is particularly delicious toasted.
Herb-Infused Sourdough Dutch Oven Bread
Fresh or dried herbs can add a fragrant dimension. Rosemary, thyme, chives, or a mix of Italian herbs work well. Finely chop fresh herbs or use dried herbs and fold them into the dough during the last set of stretch and folds or just before shaping. A typical amount might be 1-2 tablespoons of dried herbs or 2-4 tablespoons of fresh herbs per standard loaf. Be mindful that some herbs, like fresh rosemary, can be quite strong, so start with a smaller amount if unsure. Herb-infused sourdough Dutch oven bread is fantastic served with savory meals.
Jalapeño Cheddar Sourdough Dutch Oven Bread
For a savory kick, add diced pickled jalapeños and shredded cheddar cheese. Incorporate about 1/2 to 1 cup of drained, diced jalapeños and 1 cup of shredded sharp cheddar cheese during the final stages of dough mixing or during shaping. The cheese can interfere with gluten development, so handle the dough gently. This variation of sourdough Dutch oven bread is perfect served warm with chili or soup.
Storing Your Sourdough Dutch Oven Bread
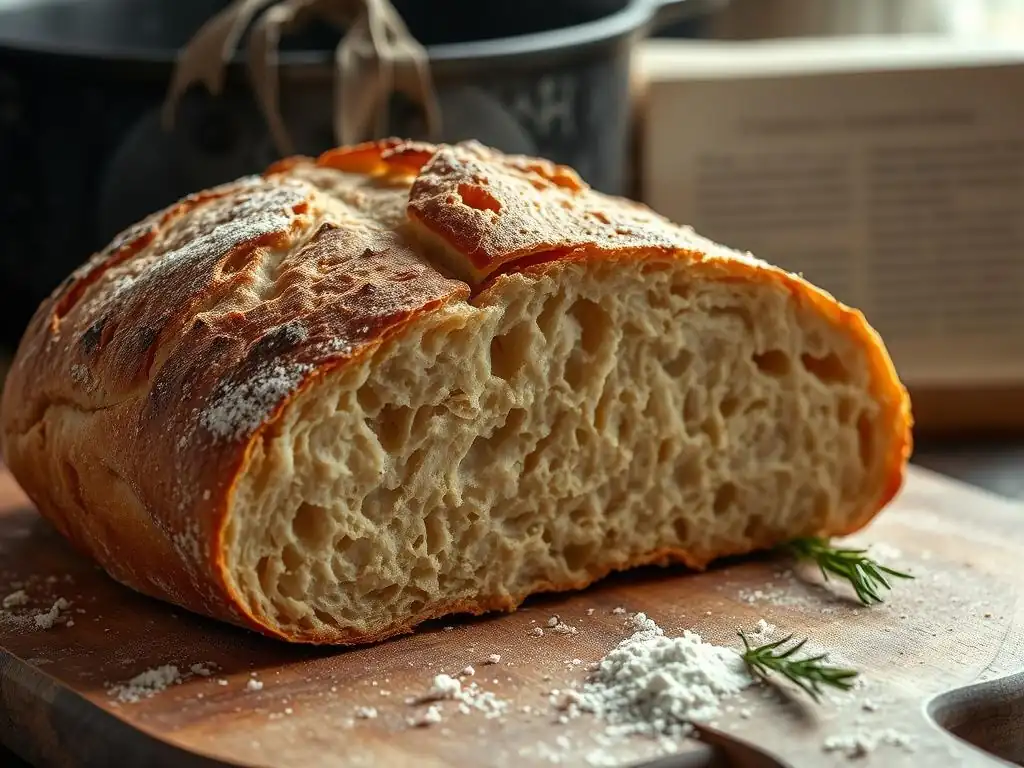
Keeping Your Bread Fresh for Longer
Proper storage is essential to maintain the quality of your sourdough Dutch oven bread. Once completely cooled, store the loaf at room temperature. Avoid refrigerating sourdough bread, as this can actually accelerate staling. The best way to store it for the first day or two is simply cut-side down on a cutting board or wrapped loosely in a clean linen towel. This allows the crust to remain crisp.
For longer storage at room temperature (up to 3-4 days), wrap the cooled bread tightly in a bread bag, beeswax wrap, or plastic wrap to prevent it from drying out. If the crust loses some crispness, you can refresh it by placing the loaf directly on the oven rack in a preheated 350°F (175°C) oven for 5-10 minutes. This warms the interior and crisps the crust beautifully.
Freezing Sourdough Bread for Future Enjoyment
Sourdough Dutch oven bread freezes exceptionally well. The best way to preserve its quality is to freeze it as soon as it has completely cooled. You can freeze a whole loaf, half a loaf, or even individual slices. Wrap the bread tightly in plastic wrap, ensuring no air pockets, and then place it in a freezer-safe bag or aluminum foil. Properly wrapped sourdough bread can be stored in the freezer for up to 3 months.
To thaw a whole loaf, remove it from the freezer wrapping and let it sit at room temperature for several hours. For best results, you can then reheat it in a 350°F (175°C) oven for 15-20 minutes to revive the crust. Individual slices can be popped directly into a toaster or heated in an oven. Freezing allows you to bake a batch of sourdough Dutch oven bread and enjoy fresh-tasting bread whenever you like.
Conclusion: Enjoying the Art of Sourdough Dutch Oven Bread Baking
Baking sourdough Dutch oven bread is a deeply satisfying process that yields truly exceptional results. From the careful nurturing of your starter to the magical transformation within the hot pot, each step contributes to the development of complex flavors, a beautiful open crumb, and a perfectly crisp crust. Using a Dutch oven simplifies the crucial steam phase, making artisan-quality bread achievable in any home kitchen.
Elevate Your Baking Skills with This Simple Technique
Embracing the Dutch oven method for your sourdough baking can significantly elevate your skills and confidence. It provides a controlled environment that helps mitigate common issues faced when baking sourdough on an open tray. Whether you're aiming for a classic country loaf or experimenting with exciting variations, the Dutch oven technique consistently delivers impressive results. So, feed your starter, preheat your pot, and get ready to enjoy the incredible satisfaction of pulling a stunning loaf of sourdough Dutch oven bread from your oven. Happy baking!
Frequently Asked Questions
How does using a Dutch oven improve vegan bread baking?
A Dutch oven creates a high-humidity environment that traps steam, leading to a crispier crust and a softer, chewier crumb in vegan bread. This mimics professional baking ovens.
What are some key ingredients to consider when making vegan bread, especially in a Dutch oven?
Instead of traditional dairy or eggs, focus on ingredients like flaxseed meal (as an egg replacer), plant-based milk, and high-quality flour for optimal structure. The right hydration level is also crucial.
What temperature and baking time are recommended for vegan Dutch oven bread?
Generally, a preheated Dutch oven at 450-475°F (232-246°C) is ideal. Bake covered for 20-30 minutes, then uncovered for another 15-25 minutes to achieve a golden-brown crust.
Can I use different types of flour for vegan Dutch oven bread?
Yes, you can experiment! Bread flour provides more gluten for structure, but whole wheat flour adds a nutty flavor. Adjust hydration levels as needed based on the flour type.
How do I prevent my vegan bread from sticking to the Dutch oven?
Thoroughly grease and flour the Dutch oven, or use parchment paper as a liner. This will ensure easy removal of the bread after baking and prevent sticking.
Final Reflection: The Humble Loaf, a Testament to Vegan Baking
The rise of vegan baking isn't just a trend; it's a revolution in flavor and accessibility, proving that plant-based cooking can achieve culinary heights previously considered exclusive to animal products. This article explored the surprisingly simple yet deeply rewarding process of crafting vegan Dutch oven bread, highlighting the unique texture and crust achieved through this method. The result? A loaf that rivals – and perhaps even surpasses – its traditional counterparts.
The journey of perfecting this recipe, from experimenting with different flour blends to mastering the art of steam injection, underscored the dedication and creativity inherent in vegan cooking. It's a testament to the power of resourcefulness and a commitment to ethical and delicious food. The best things in life are simple,
a phrase often repeated, rings especially true when considering the profound satisfaction derived from creating something so fundamental yet so exquisite as a perfectly baked loaf of bread.
Now, I invite you to consider your own kitchen as a canvas for culinary exploration. Don't be intimidated by the seemingly complex world of baking; embrace the challenge, experiment with different flours and techniques, and discover the joy of creating your own perfect vegan Dutch oven bread. The aroma alone is worth the effort, but the taste? That's a reward you'll savor long after the last crumb is gone. Let this be your starting point – your own personal journey towards crumb and crust perfection.
Unleash Your Inner Baker: Craft the Perfect Vegan Loaf!
Thanks for joining us on this delicious journey into the world of vegan Dutch oven bread! We hope you’ve gained the confidence to tackle this seemingly complex recipe. Now it's time to put your newfound skills to the test!
- Bake your masterpiece: Grab those ingredients and get baking! Remember, the key is patience and attention to detail – the reward is a crusty, perfectly textured loaf.
- Share your creation: Snap a picture of your beautiful bread and post it on social media using #BakeWithEaseVeganBread – let's inspire others!
- Explore our other recipes: Dive into our collection of vegan baking delights – from cakes to cookies, we’ve got something for every occasion.
What unique ingredient will you try adding to your next vegan loaf to elevate the flavor?