
Troubleshooting Dough That's Too Stiff: Bringing It Back to Life

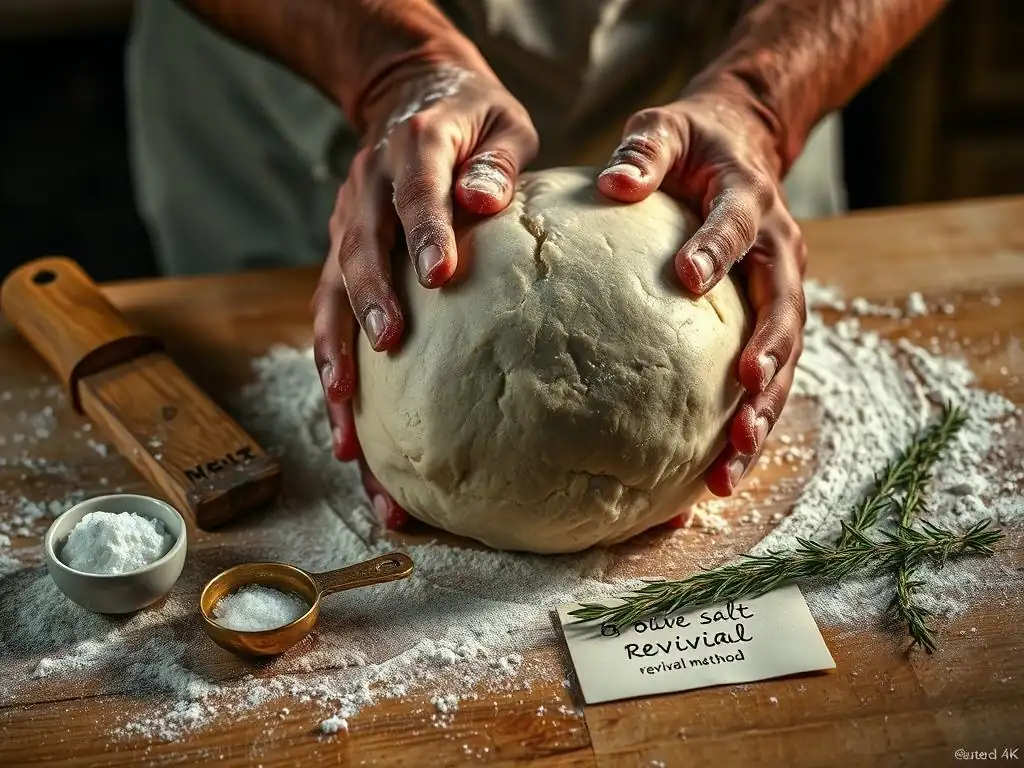
Welcome to BakeWithEase, your friendly guide to the wonderful world of baking! Ever faced the frustration of a dough that's just too stiff to work with? Don't despair! This article dives deep into how to revive stiff dough, transforming it from unmanageable to perfectly pliable. Discover the secrets and simple tricks to rescue your bread baking project and achieve that perfect rise. Curious to learn more? Let's get started and bring that dough back to life!
- Troubleshooting Stiff Bread Dough: Restoring Elasticity
- Understanding Why Bread Dough Becomes Stiff
- Restoring Stiff Dough: A Step-by-Step Guide
- Advanced Techniques for Reviving Stiff Dough
- Troubleshooting Common Issues During Dough Revival
- Preventing Stiff Dough in the First Place: Best Practices
- Achieving Optimal Texture After Revival: Baking Considerations
- Conclusion: Mastering Dough Hydration and Revival
- Frequently Asked Questions
- Final Reflection: The Resilience of Dough, the Resilience of Us
- Rediscover Your Dough: Tips for a Perfect Bake
Troubleshooting Stiff Bread Dough: Restoring Elasticity
Even experienced bakers occasionally encounter dough that feels too stiff, unyielding, and difficult to work with. This can be frustrating, especially when you're aiming for a light, airy loaf or a pliable pizza crust. Understanding the common culprits behind stiff dough is the first step towards bringing it back to life and ensuring your baking endeavors are successful. Don't worry; a stiff dough isn't necessarily a lost cause; with the right techniques, you can often restore its elasticity and usability.
Understanding Why Bread Dough Becomes Stiff
Dough stiffness is primarily a matter of hydration and gluten development. When these elements are out of balance, the dough structure becomes rigid rather than flexible. Several factors can contribute to this undesirable texture, often working in combination to create a challenging situation for the baker. Identifying the root cause helps in applying the most effective stiff dough revive recipe.
Insufficient Hydration: The Primary Culprit
The most common reason for stiff dough is simply not enough water relative to the flour. Flour absorbs liquid, and this absorption is crucial for gluten development and creating a workable dough. If the hydration percentage (water weight divided by flour weight) is too low, the flour particles don't have enough liquid to fully hydrate, resulting in a dry, crumbly, and stiff mass.
Typical bread dough hydration ranges from about 60% for a firm dough like some pizza doughs or bagels, up to 80% or even higher for wet, rustic loaves like ciabatta. A dough mixed at 55% hydration, for example, would likely feel quite stiff and require significant effort to knead compared to a 65% hydration dough made with the same flour. This lack of initial moisture prevents the gluten network from forming properly and staying pliable.
Over-Kneading: Tightening Gluten Strands
While kneading is essential for developing the gluten network that gives bread its structure and elasticity, too much kneading can actually have the opposite effect, particularly in lower hydration doughs. Over-kneading can cause the gluten strands to become excessively tight and aligned, making the dough feel tough and resistant rather than smooth and extensible.
Think of gluten strands like rubber bands. Moderate kneading develops them, making them elastic. Excessive kneading can twist and tighten these bands too much, making the dough feel rigid and difficult to stretch without tearing. This is often more noticeable with machine kneading, where the process is faster and less tactile than hand kneading, making it easier to push the dough past its optimal development point.
Flour Type: High Protein Content and Absorption
Different types of flour have varying protein levels and absorption capabilities, which directly impact dough hydration needs and potential stiffness. High-protein flours, like strong bread flour (typically 12-14% protein), require more water to achieve the same consistency as lower-protein flours, such as all-purpose flour (around 10-12% protein).
If a recipe calls for all-purpose flour and you substitute bread flour without increasing the hydration, the dough will almost certainly be significantly stiffer. Furthermore, the absorption rate of flour can vary based on factors like milling process and storage conditions. Using a flour that is particularly dry or has high absorption can lead to a stiff dough even if the initial hydration percentage seems appropriate based on typical ranges.
Restoring Stiff Dough: A Step-by-Step Guide
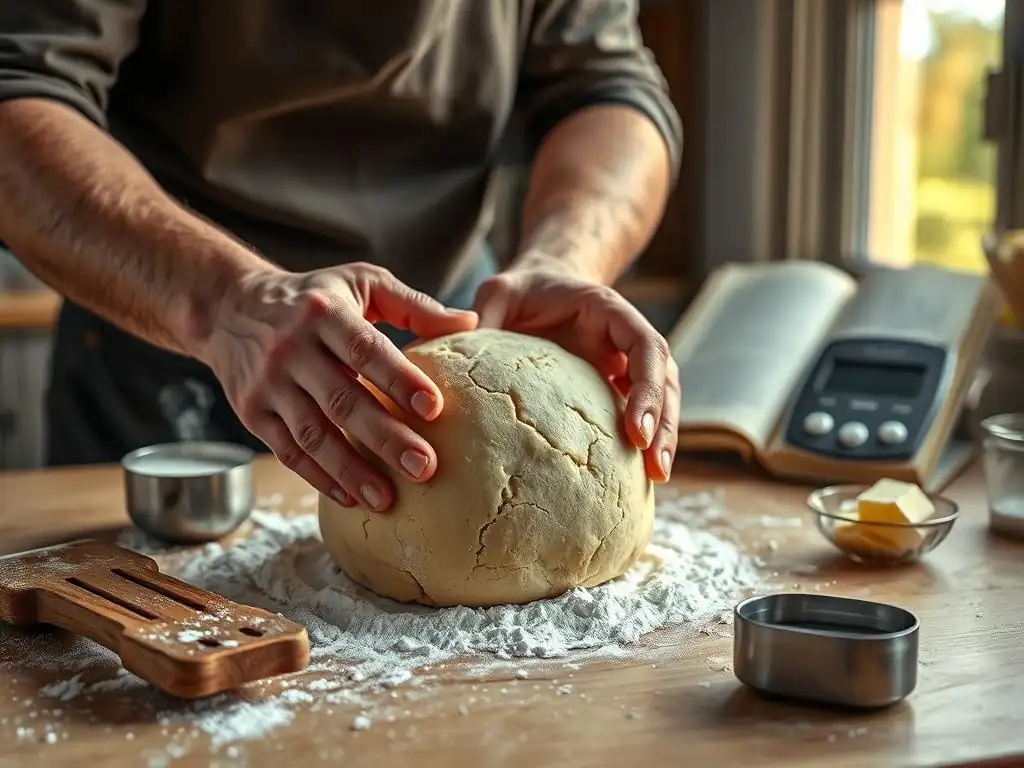
Fortunately, a stiff dough is often salvageable. The key is to gently introduce more moisture or flexibility back into the dough structure without disrupting the gluten network too harshly. These methods essentially form a manual stiff dough revive recipe tailored to the dough's needs. Patience is crucial, as forcing the process can do more harm than good.
Assessing Dough Stiffness and Dryness
Before attempting to revive your stiff dough, take a moment to evaluate just how stiff and dry it is. Does it feel like a brick, or is it just slightly resistant? Does it look visibly dry on the surface, or does it appear smooth but lacks elasticity? Poke the dough: does it spring back immediately and feel tight, or does it hold the indentation and feel dense?
- Very Stiff/Dry: Minimal elasticity, possibly crumbly edges, feels dense and heavy.
- Moderately Stiff: Resistant but might stretch slightly before tearing, feels tight.
- Slightly Stiff: Lacks the desired smooth, pliable feel, snaps back quickly when stretched.
Understanding the degree of stiffness will help you choose the most appropriate revival technique and determine how much additional moisture or oil might be needed.
The Water Spritz Method: Rehydrating the Surface
This technique is ideal for dough that feels only slightly stiff or has developed a dry skin during initial mixing or a short rest. It's a gentle way to add hydration without dramatically altering the dough's overall balance. It's one of the simplest stiff dough revive recipe approaches.
Lightly Spritzing with Lukewarm Water
Transfer the stiff dough to a clean work surface or back into its mixing bowl. Using a spray bottle filled with lukewarm water (around 90-100°F or 32-38°C), lightly mist the entire surface of the dough. Avoid soaking it; a fine mist is sufficient to start. You want to add hydration gradually.
Begin to gently knead or fold the dough to help the surface moisture absorb. If the dough still feels too dry after a minute or two, spritz it again lightly. Repeat this process, spritzing and gently working the dough, until it starts to feel more pliable and less resistant. This might take several rounds depending on how stiff the dough was initially.
Kneading and Resting for Absorption
After each spritzing, gently knead or fold the dough for a minute or two. This helps distribute the added moisture. Once you've added a few spritzes and the dough is slightly more pliable, let it rest covered for 10-15 minutes. This rest period is crucial; it allows the water on the surface to fully hydrate the flour particles inside the dough mass through osmosis.
After resting, check the dough consistency. If it's still too stiff, repeat the spritzing and gentle kneading/folding process, followed by another rest. Continue this cycle until the dough reaches the desired consistency – smooth, elastic, and no longer overly resistant. This gradual approach prevents the dough from becoming sticky too quickly.
The Oil Massage Technique: Adding Flexibility
Adding a small amount of oil can help lubricate the gluten strands, making the dough more flexible and less prone to stiffness, especially if it feels tight and resistant rather than just dry. This method is particularly useful for doughs like pizza dough or enriched bread doughs where a small amount of oil is already part of the recipe.
Choosing a Neutral Oil (Olive, Vegetable)
Opt for a neutral-flavored oil that won't impart a strong taste to your finished bread. Olive oil is a classic choice for pizza or rustic breads, while vegetable oil, canola oil, or sunflower oil are good all-purpose options. You'll only need a small amount, typically starting with just a teaspoon or two for a standard loaf-sized batch of dough (around 500g flour).
Measure out a small amount of oil. You can pour it directly onto the dough or onto your hands before handling the dough. Start conservatively; you can always add more if needed, but it's difficult to remove excess oil.
Gently Kneading Oil into the Dough
Place the stiff dough on a clean, lightly oiled surface if needed. Pour the measured oil over the dough. Begin to gently knead or fold the dough, working the oil into the mass. At first, the dough might feel slick, but as you continue to work it, the oil will be absorbed, and you should feel the dough start to relax and become more pliable.
Knead gently for 5-10 minutes, or until the oil is fully incorporated and the dough feels noticeably softer and more extensible. The oil helps to shorten the gluten strands slightly and provides lubrication, reducing internal friction and making the dough easier to stretch without tearing. This is a different approach compared to a water-based stiff dough revive recipe but effective for tightness.
Advanced Techniques for Reviving Stiff Dough
For particularly stubborn or very stiff doughs, or for bakers looking for more robust solutions, certain advanced techniques can be employed. These methods often involve pre-gelatinizing flour or leveraging environmental factors to aid hydration and relaxation.
The Tangzhong Method: Adding Pre-Gelatinized Flour
The Tangzhong method, originating from Asian baking, involves cooking a small portion of the flour and liquid (usually water or milk) into a thick paste before adding it to the main dough. This pre-gelatinizes the starches in the flour, allowing them to hold significantly more moisture. Incorporating a Tangzhong can drastically improve the hydration capacity and softness of a stiff dough.
Preparing a Tangzhong Roux
To prepare a Tangzhong, you typically use a ratio of 1 part flour to 5 parts liquid by weight. For reviving a stiff dough, you might start with a small amount, perhaps 5-10% of the original flour weight in the recipe. For example, if your recipe used 500g of flour, you might make a Tangzhong with 25g of flour and 125g of water. Whisk the flour and liquid together in a small saucepan.
Heat the mixture over medium-low heat, stirring constantly, until it thickens into a paste resembling a thick pudding or gravy (around 149°F or 65°C). This usually takes just a few minutes. Remove from heat and let it cool completely to room temperature before adding it to your stiff dough. The cooled paste is the Tangzhong.
Incorporating Tangzhong into Stiff Dough
Once the Tangzhong has cooled, add it to your stiff dough. Knead the dough gently, either by hand or using a mixer, to evenly distribute the Tangzhong throughout the mass. This will initially make the dough feel very sticky, but as you continue to knead, the Tangzhong's moisture will be absorbed by the dry flour particles in the stiff dough, and the dough will become smoother and more pliable.
Continue kneading until the Tangzhong is fully incorporated and the dough reaches a workable consistency. This method not only adds significant hydration in a way that's easily absorbed but also results in a softer crumb and improved keeping quality in the final baked product. It's a powerful stiff dough revive recipe component.
The Importance of a Warm Environment for Proofing
Temperature plays a significant role in dough relaxation and proofing. A warm environment helps the gluten strands loosen and become more extensible. If your stiff dough is also cold, warming it up can aid in its revival.
Place the stiff dough in a lightly oiled bowl, cover it tightly with plastic wrap or a damp towel, and place it in a warm spot. This could be a proofing box, a warm oven (turned off with just the light on), or simply a warm corner of your kitchen (ideally around 75-80°F or 24-27°C). The warmth helps the dough relax, making it more receptive to any added moisture or oil and allowing its own internal moisture to redistribute.
Adjusting Proofing Time Based on Dough Revival Method
Reviving a stiff dough, especially by adding hydration, can affect its proofing time. Doughs with higher hydration generally proof faster than stiffer doughs. Also, the act of kneading to incorporate moisture or oil restarts or significantly impacts the proofing process that may have already begun.
After successfully reviving your stiff dough, expect the first proof (bulk fermentation) and subsequent proofs to potentially take less time than originally anticipated, especially if you added significant moisture or used the Tangzhong method. Monitor the dough's volume and feel closely, rather than relying solely on the clock. The dough is ready for the next step when it has increased significantly in volume (often doubled) and feels airy and slightly expanded.
Troubleshooting Common Issues During Dough Revival
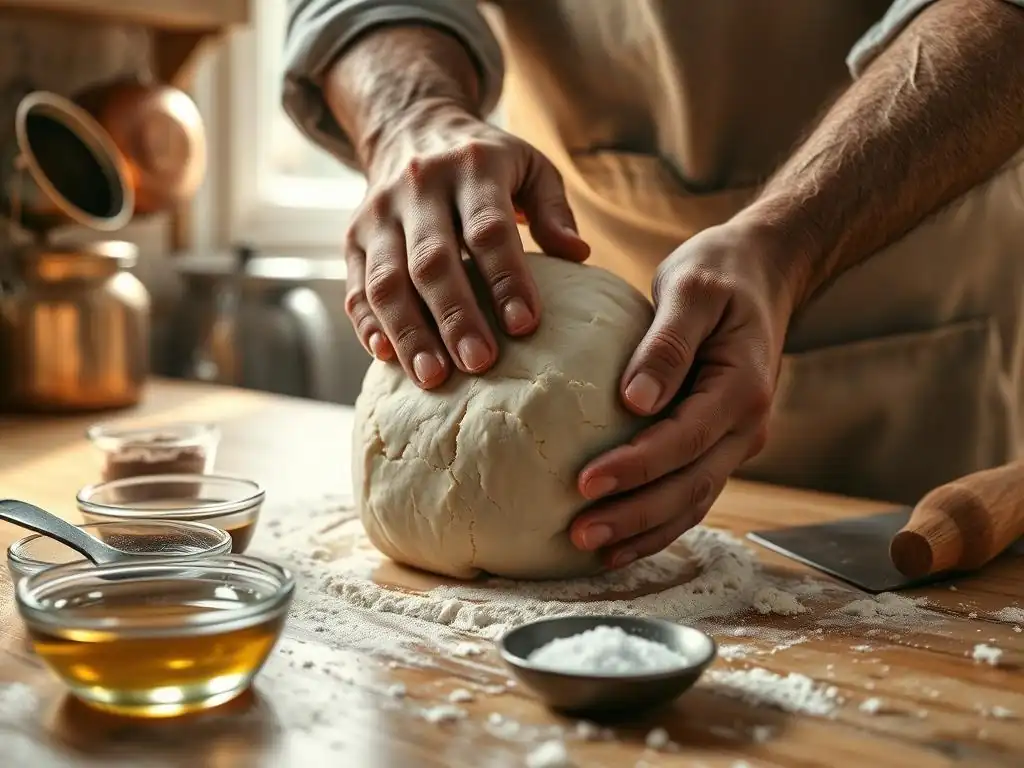
Even with the right techniques, reviving a stiff dough can present its own set of challenges. Being prepared for these issues will help you navigate the process smoothly and achieve a better outcome. Knowing how to course-correct is part of mastering the stiff dough revive recipe.
Dough Remaining Stiff After Hydration: Further Kneading
If you've added water or oil using the methods described, but the dough still feels resistant and stiff, it might require more gentle kneading or additional rest periods. Sometimes, the hydration needs time to fully penetrate the flour particles, especially in a dense, stiff dough.
Try kneading the dough gently for another 5-10 minutes after a rest period. If it still feels too stiff, consider adding another very small amount of water (just a teaspoon at a time) or oil, working it in slowly, and then letting the dough rest again for 15-20 minutes. Avoid the temptation to add large amounts of liquid at once, as this can quickly turn a stiff dough into a sticky, unmanageable mess. Patience and gradual adjustments are key.
Preventing a Sticky Dough: Controlled Hydration
The opposite problem – turning a stiff dough too sticky during revival – is a common pitfall. This usually happens when too much liquid is added too quickly without sufficient kneading or resting time for absorption. A sticky dough is difficult to handle and shape.
To prevent this, always add water or oil gradually and in small increments. Use the spritz method rather than pouring water. After adding moisture, knead or fold the dough to help absorption, and then rest it. Resting allows the flour to hydrate properly, reducing stickiness. If your dough does become too sticky, you can try incorporating a tiny amount of flour (a tablespoon or two at a time) while gently kneading, but this should be a last resort as it slightly changes the overall hydration ratio again.
Addressing a Tough Crust After Baking: Oven Humidity
Sometimes, even if you successfully revive a stiff dough and it proofs well, the final baked bread might have a tough or overly thick crust. This can sometimes be a residual effect of the initial stiffness or insufficient moisture, exacerbated by dry heat in the oven.
Increasing oven humidity during the initial phase of baking can help. This allows the dough to expand more freely before the crust sets, potentially leading to a thinner, crisper crust instead of a tough one. Methods include:
- Placing a tray of hot water on the bottom rack of the oven.
- Using a Dutch oven or covered baker, which traps the dough's own steam.
- Spritzing the oven walls with water (be cautious with oven elements).
Baking on a preheated baking stone or steel can also help promote good oven spring, which contributes to a better crust texture.
Preventing Stiff Dough in the First Place: Best Practices
While knowing how to execute a stiff dough revive recipe is a valuable skill, preventing the issue from occurring is even better. Adopting precise measuring and gentle handling techniques can significantly reduce the likelihood of ending up with a stiff dough.
Accurate Ingredient Measurements: Using a Scale
The most significant factor in dough consistency is the ratio of water to flour. Variations in flour density mean that volume measurements (cups) are notoriously inaccurate for flour. Using a digital kitchen scale to weigh your ingredients, especially flour and water, provides the most consistent and accurate results.
Weighing ensures you are using the exact hydration percentage intended by the recipe (or your desired percentage). For example, 500g of flour needs exactly 325g of water for a 65% hydration dough. Measuring flour by volume can easily result in using too much flour relative to the water, leading to a stiff dough. Invest in a scale; it's one of the best tools for consistent baking.
Hydration Percentage: Understanding Baker's Math
Familiarize yourself with baker's percentages, particularly hydration percentage. This is calculated as (Weight of Water / Weight of Flour) x 100%. Understanding this concept allows you to predict how a dough should feel based on its hydration level and adjust recipes if needed.
Different types of bread and different flours require different hydration levels. Pizza dough might be 60-70%, a standard loaf 65-75%, and a very wet dough like Focaccia or Ciabatta can be 80%+. If your recipe calls for a hydration that seems low for the type of bread, be prepared for a stiffer dough or consider slightly increasing the water from the start (e.g., adding an extra 1-2% hydration).
Gentle Kneading Techniques: Avoiding Overdevelopment
Pay attention to your kneading process. The goal is to develop the gluten network until the dough is smooth, elastic, and passes the windowpane test (you can stretch a small piece thinly enough to see light through it without tearing).
Avoid excessive force, especially when using a stand mixer. Monitor the dough's texture and stop kneading as soon as it reaches the desired development. If kneading by hand, use a rhythm that stretches and folds the dough rather than just pushing down. Incorporating rest periods during kneading (autolyse or intermittent rests) can also help gluten develop more easily without excessive manipulation, reducing the risk of over-kneading and stiffness.
Achieving Optimal Texture After Revival: Baking Considerations
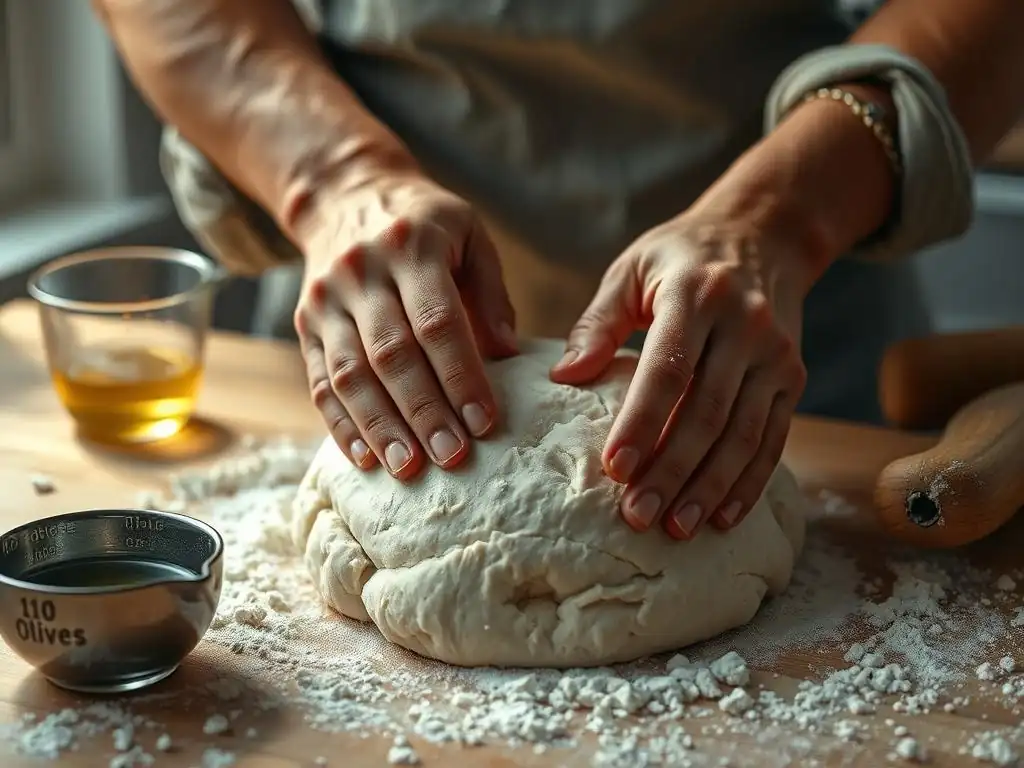
Successfully reviving a stiff dough is a major win, but the final steps before and during baking are crucial to ensure the effort results in a bread with a pleasant texture and crust.
Assessing Dough Consistency Before Shaping
Before you shape your revived dough, give it one final assessment. Does it feel smooth, elastic, and pliable? Is it still a little tighter than you'd ideally like, or did you manage to get it just right? Its consistency at this stage will give you clues about how it will behave during proofing and baking.
If it still feels a bit stiff or resistant, consider a slightly longer final proof (though be careful of over-proofing). If it feels just right, proceed with shaping as usual. If it became slightly sticky during revival, handle it with lightly floured or oiled hands and use a bench scraper for manipulation.
Adjusting Baking Temperature and Time
The baking process itself might need slight adjustments depending on how you revived the dough and its final consistency. If you added significant moisture, the dough might brown faster, requiring a slightly lower temperature or shorter baking time to prevent over-browning before the interior is cooked.
Conversely, if the dough is still on the stiffer side despite revival efforts, it might benefit from baking at a slightly higher temperature initially to encourage oven spring, followed by a reduction in temperature to ensure the interior cooks through without the crust becoming too thick or hard. Monitor the crust color and use an internal thermometer to check for doneness (usually 200-210°F or 93-99°C for most lean bread).
Understanding Oven Spring and Internal Temperature
Oven spring—the rapid expansion of the dough during the first few minutes in the hot oven—is heavily influenced by dough hydration and gluten development. A successfully revived, pliable dough with good gluten structure will have better oven spring than a dough that remains dense and stiff.
Ensuring adequate steam in the oven (as discussed earlier) is critical for maximizing oven spring, especially with dough that was initially stiff. Always check the internal temperature of the loaf to confirm it is fully baked. Baking to the correct internal temperature ensures the crumb is set and not gummy, which is vital for good texture regardless of the initial dough consistency or the stiff dough revive recipe used.
Conclusion: Mastering Dough Hydration and Revival
Dealing with a stiff dough can be a setback, but it's also a valuable learning opportunity. By understanding the causes – insufficient hydration, over-kneading, or flour type – and learning effective stiff dough revive recipe techniques like the water spritz, oil massage, or Tangzhong method, you can confidently tackle this common baking challenge. Prevention through accurate measurement and gentle handling is always the best approach, but knowing how to restore elasticity ensures that fewer batches of dough end up in the discard bin. Embrace these techniques, and you'll be well on your way to consistently producing beautifully textured bread.
Frequently Asked Questions
How do I know if my dough is too stiff?
A stiff dough will be difficult to knead, feel very dense, and may tear easily instead of stretching. It won't be smooth or pliable.
What's the most common reason dough becomes too stiff?
The most common culprit is insufficient hydration, meaning there wasn't enough liquid added during the initial mixing process. Improper measurements or dry ingredients are also factors.
What's the best way to revive a stiff dough?
Gradually add small amounts of liquid (usually water or milk), kneading well after each addition, until the dough reaches the desired consistency. Remember to add slowly to avoid over-hydration.
Can over-kneading cause a dough to become stiff?
Yes, over-kneading can lead to a tough and stiff dough because it develops too much gluten. Unfortunately, there's no easy fix for this, but letting it rest may help slightly.
How can I prevent my dough from becoming too stiff in the first place?
Always use a kitchen scale for accurate measurements, and add liquid gradually, observing the dough's texture as you mix. Refer to BakeWithEase recipes for precise ingredient ratios.
Final Reflection: The Resilience of Dough, the Resilience of Us
The struggle with stiff dough is more than just a baking mishap; it's a metaphor for life's unexpected challenges. We've all faced moments where plans go awry, where ingredients are off, and the final product seems hopelessly compromised. But just as a seemingly ruined dough can be salvaged with a little patience and the right techniques, so too can we overcome adversity.
The journey of reviving stiff dough mirrors our own personal journeys of overcoming obstacles. It requires a willingness to adapt, to troubleshoot, and to believe in the possibility of a positive outcome, even when things seem bleak. This process of rescuing something seemingly lost resonates deeply with me, reminding me that even in the face of setbacks, there's always room for redemption and growth. The greatest glory in living lies not in never falling, but in rising every time we fall.
This quote perfectly encapsulates the spirit of both baking and life.
Now, I invite you to consider your own "stiff dough" moments. What challenges have you faced that seemed insurmountable? What adjustments did you make, or could you make, to bring your project, your goal, or even your spirit back to life? Remember the lessons learned from reviving that stubborn dough: patience, adaptability, and a belief in the power of second chances. You have the resilience within you to rise to any occasion, just like that perfectly risen loaf.
Rediscover Your Dough: Tips for a Perfect Bake
Thanks for taking the time to learn about rescuing stiff dough! We hope you gained valuable insights into transforming a baking mishap into a delicious success. Now it's time to put those tips into action.
- Try the rescue methods: Experiment with the techniques we've outlined—adding liquid gradually, kneading gently, and giving your dough a little extra time to rest. This is your chance to practice and perfect the art of dough rescue!
- Share your experience: Tell us about your results! Did you manage to revive your dough? What was the most helpful technique? We'd love to hear your baking adventures in the comments below.
- Explore advanced techniques: Dive deeper into bread making by checking out our other articles on dough hydration and proofing techniques on BakeWithEase.com (you don't need to put this link here, just this sentence).
Ready to tackle that next stubborn dough? What unexpected ingredient might you try to improve the consistency next time?