
The Science Behind GlutenFree Bread Rising Explained

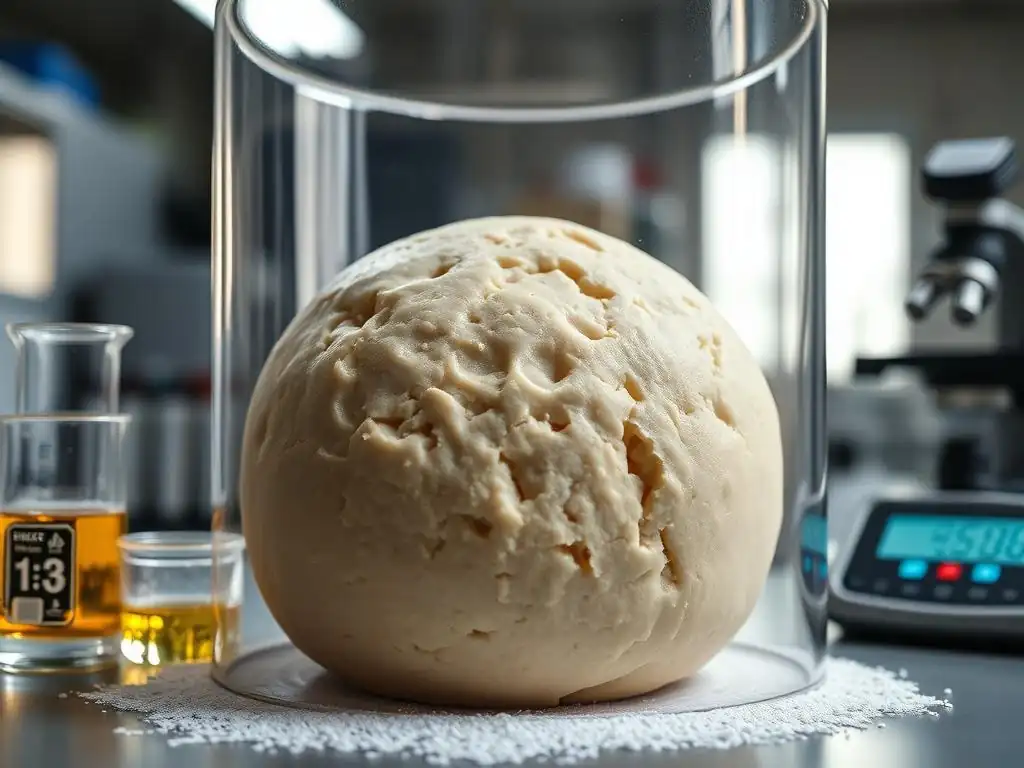
Welcome to BakeWithEase, your trusted companion in the delightful world of baking! Ever wondered about the secrets behind a perfectly risen loaf of gluten-free bread? Unravel the mysteries of GlutenFree bread rising science with our in-depth exploration. Prepare to unlock the full potential of your gluten-free baking endeavors and achieve that coveted airy texture – the answers await!
- Understanding Gluten-Free Bread Rising: A Baker's Guide
- The Role of Gluten in Traditional Bread Baking
- The Science of Gluten-Free Bread Rising: Key Ingredients and Processes
- Mastering the Gluten-Free Bread Rising Process
- Troubleshooting Common Gluten-Free Bread Rising Problems
- Advanced Techniques for Gluten-Free Bread Rising
- Conclusion: Unleashing the Secrets of Gluten-Free Bread Rising
-
Frequently Asked Questions
- How does gluten-free bread rise if it doesn't have gluten?
- What are the key differences in the rising process between gluten-free and traditional bread?
- What role do ingredients like xanthan gum and psyllium husk play in gluten-free bread rising?
- Why does gluten-free bread often require more moisture than traditional bread?
- What are some common mistakes that prevent gluten-free bread from rising properly?
- Final Reflection: The Rising Tide of Gluten-Free Baking
- Unleash Your Gluten-Free Baking Potential!
Understanding Gluten-Free Bread Rising: A Baker's Guide
Baking gluten-free bread presents unique challenges compared to traditional wheat-based baking. Without gluten, the protein network that provides structure and elasticity is absent, meaning the glutenfree bread rising science relies on entirely different principles. This journey into the science helps bakers understand why gluten-free dough behaves differently and how to achieve that coveted light and airy crumb. It requires a deeper understanding of alternative ingredients and processes.
Mastering the art of rising gluten-free dough involves more than just substituting flours. It's about recreating structure and trapping gases using a variety of binders, starches, and leavening agents in precise combinations. The goal is to replicate, as closely as possible, the texture and rise that gluten provides, making the science of baking gluten-free bread a fascinating and rewarding area of exploration for home bakers and professionals alike.
The Role of Gluten in Traditional Bread Baking
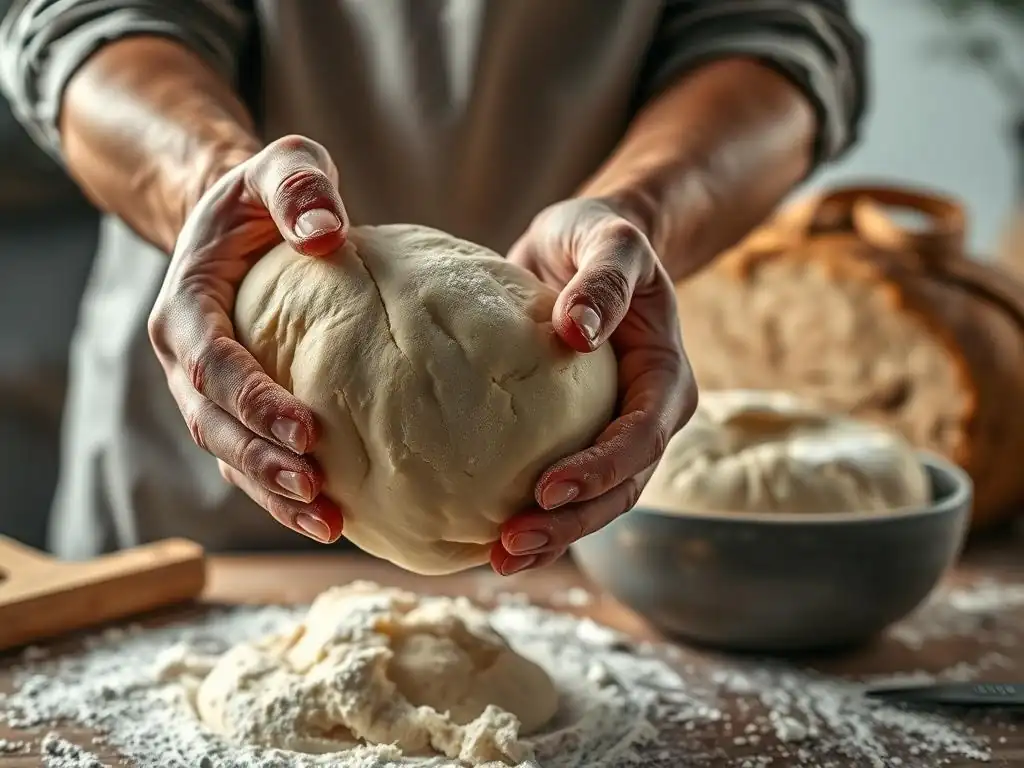
How Gluten Affects Bread Structure and Rise
In traditional bread making, gluten is the superhero. It's a complex protein network formed when two proteins, glutenin and gliadin, found in wheat flour, combine with water and are agitated through mixing or kneading. Glutenin provides elasticity, allowing the dough to stretch and expand, while gliadin provides extensibility, enabling the dough to hold its shape. As yeast produces carbon dioxide gas during fermentation, this elastic gluten network traps the gas bubbles, causing the dough to rise significantly.
This robust gluten structure is crucial for the final texture of wheat bread. It gives the loaf its characteristic chewiness and forms the airy pockets within the crumb. The strength and elasticity of the gluten network determine how much the dough can rise and how well it holds its shape during proofing and baking. Think of it like a balloon: the gluten is the flexible rubber that expands to hold the air (carbon dioxide). Without this strong, flexible structure, the dough would collapse as soon as the gas is produced.
The Absence of Gluten: A Challenge for Gluten-Free Bread
The fundamental challenge in gluten-free bread rising is the complete lack of this gluten network. Gluten-free flours, derived from grains like rice, corn, or sorghum, or starches like tapioca or potato, simply do not contain the gluten-forming proteins. This means that when you mix gluten-free flour with water, you get a batter or a crumbly dough, not an elastic, cohesive structure capable of trapping gas effectively on its own.
Consequently, the glutenfree bread rising science must find alternative ways to create structure and gas retention. This often involves using a blend of different flours and starches, combined with binders that can mimic some of gluten's properties. Without these additions, gluten-free dough would struggle to rise, resulting in dense, heavy loaves that lack the desirable texture and volume of traditional bread. The baker must strategically employ ingredients to compensate for gluten's absence.
The Science of Gluten-Free Bread Rising: Key Ingredients and Processes
The Power of Alternative Flours in Gluten-Free Bread
Gluten-free bread relies on a mix of different flours and starches, each contributing unique properties to the final loaf. A typical gluten-free flour blend might contain white rice flour, brown rice flour, sorghum flour, and starches like tapioca and potato starch. The science behind how gluten-free bread rises is heavily influenced by the specific blend used, as each component plays a role in structure, texture, and moisture retention.
Using a single gluten-free flour, like almond flour or coconut flour, often results in bread that is too dense or crumbly for a typical loaf. Successful gluten-free baking utilizes the strengths of multiple ingredients. For example, some flours provide structure, while others contribute softness or help with browning. Understanding the characteristics of different flours is key to formulating blends that support effective glutenfree bread rising science.
Rice Flour: Characteristics and Contribution to Rise
Rice flour, particularly white and brown rice flour, forms the base of many gluten-free flour blends. White rice flour is relatively neutral in flavor and color, providing bulk and structure. Brown rice flour adds more fiber, nutrients, and a slightly nutty flavor, contributing to the overall structure but can sometimes make the crumb a bit more fragile if used in very high quantities. Neither contains gluten, so they provide volume but rely on other ingredients for elasticity and gas trapping.
While rice flour doesn't contribute elasticity, it does absorb liquid and helps form the basic framework of the dough. In a typical blend, rice flour might constitute 40-60% of the total flour weight. Its fine texture helps create a smooth batter, which is often the consistency of gluten-free dough. The starches within rice flour gelatinize during baking, helping to set the structure, but they don't offer the stretch needed for significant rise without binders.
Tapioca Starch: Enhancing Texture and Binding
Tapioca starch, extracted from the cassava root, is a crucial component in many gluten-free bread recipes. It is a pure starch known for its ability to create a chewy texture and contribute to crust crispness. When heated, tapioca starch gelatinizes, absorbing a significant amount of water and becoming somewhat胶粘 (gelatinous), which helps bind the other ingredients together. This binding property is vital in the absence of gluten.
Beyond binding, tapioca starch contributes to the elasticity of the dough, albeit differently than gluten. It provides a slight stretchiness and helps the dough expand during rising and baking. A common ratio might include tapioca starch at 15-25% of the total flour blend. Its inclusion improves the overall texture, preventing the bread from becoming too dry or crumbly and supporting the glutenfree bread rising science by adding a necessary structural element.
Potato Starch: Adding Moisture and Softness
Potato starch, another popular gluten-free starch, is valued for its ability to absorb and retain moisture. This is particularly important in gluten-free baking, as these flours can often result in drier products. Potato starch helps keep the crumb soft and moist over time, preventing it from drying out quickly. It also contributes to a tender crumb texture, balancing the potential chewiness from tapioca starch or the dryness from rice flour.
Like tapioca starch, potato starch gelatinizes when heated, contributing to the overall structure of the baked loaf. It doesn't offer significant elasticity but excels at creating a light, fluffy texture. A typical blend might use potato starch at around 10-20% of the total flour weight. Its role in moisture retention and softness is key to producing palatable rising gluten-free dough that bakes into a pleasant loaf.
The Importance of Binders and Stabilizers
Since gluten is absent, binders are essential for holding gluten-free dough together and mimicking some of gluten's structural properties. These ingredients absorb water, become viscous, and help create a network that can trap gas bubbles produced by leavening agents. Without them, the dough would be too fragile to rise effectively, highlighting their importance in the glutenfree bread rising science.
Common binders include hydrocolloids like xanthan gum and guar gum, as well as psyllium husk. The amount used is critical; too little results in a crumbly loaf, while too much can lead to a gummy or dense texture. Precision in measuring these powerful ingredients is paramount for successful how gluten-free bread rises.
Xanthan Gum: Mimicking Gluten's Elasticity
Xanthan gum is a polysaccharide produced by the fermentation of sugar by the bacterium Xanthomonas campestris. In gluten-free baking, it acts as a powerful hydrocolloid, meaning it absorbs water and forms a gel-like substance. This gel provides viscosity and elasticity to the dough, helping to bind ingredients and create a structure capable of trapping the gases released during fermentation and baking.
A small amount of xanthan gum goes a long way. For a typical loaf of gluten-free bread using about 500g of flour blend, you might use anywhere from 1 to 3 teaspoons (about 3-9 grams). The exact amount often depends on the specific flour blend and recipe. It is highly effective at mimicking the stretch and elasticity of gluten, playing a crucial role in supporting the glutenfree bread rising science.
Guar Gum: Improving Moisture Retention
Guar gum, derived from the guar bean, is another hydrocolloid used as a binder and thickener in gluten-free baking. While similar to xanthan gum, it has slightly different properties. Guar gum is particularly effective at improving moisture retention in baked goods, helping to keep gluten-free bread from drying out quickly. It also contributes to the overall structure and texture of the loaf.
Guar gum can sometimes be used interchangeably with xanthan gum, or a combination of both might be used in a recipe. Like xanthan gum, only a small quantity is needed, typically around 1.5 to 2.5 teaspoons per 500g of flour blend. Its ability to hold onto water is key for producing a moist and tender crumb, contributing significantly to the success of rising gluten-free dough.
Psyllium Husk: Adding Structure and Fiber
Psyllium husk, the outer coating of the Plantago ovata seeds, is increasingly popular in gluten-free bread recipes, especially those aiming for a texture closer to traditional whole wheat bread. When mixed with liquid, psyllium husk forms a viscous gel that creates a strong, flexible network within the dough. This network provides structure and helps the dough hold its shape and trap gas effectively.
Unlike xanthan or guar gum, psyllium husk also adds significant dietary fiber to the bread. It absorbs a large amount of water, often requiring higher hydration levels in the dough. For a loaf using 500g of flour blend, you might use 15-25 grams of whole or ground psyllium husk. Its unique gel-forming property is a powerful tool in the glutenfree bread rising science, providing robust structure and aiding in a good oven spring.
Leavening Agents in Gluten-Free Bread: Beyond Yeast
Leavening agents are crucial for creating the gas that makes bread rise. While yeast is the primary leavener in many gluten-free bread recipes, chemical leaveners like baking powder and baking soda are often used in conjunction to provide an extra lift, especially when the dough structure might be less robust than traditional gluten dough.
Understanding how different leaveners work is key to achieving optimal gluten-free bread rising. Yeast produces gas through fermentation, while chemical leaveners produce gas through chemical reactions, often activated by moisture and heat. Combining these approaches can provide a more reliable and significant rise in gluten-free formulations.
Yeast: The Classic Leavening Agent for Bread
Yeast is a living microorganism that consumes sugars in the dough and produces carbon dioxide gas and alcohol as byproducts. This gas is what causes the dough to expand during fermentation (proofing). In gluten-free bread, yeast still performs this function, but the dough's ability to trap the gas relies heavily on the binders and starches present. Active dry or instant yeast are commonly used.
For effective yeast activity, the temperature of the liquid used to hydrate the dough is important, typically between 105°F and 115°F (40°C-46°C) for active dry yeast, or simply mixed with the dry ingredients for instant yeast. The proofing temperature, ideally 75°F to 85°F (24°C-29°C), also significantly impacts how quickly and effectively the yeast produces gas, influencing the overall gluten-free bread rising process.
Baking Powder and Baking Soda: Chemical Leavening for a Boost
Baking powder and baking soda are chemical leaveners that produce carbon dioxide gas through a rapid chemical reaction. Baking soda (sodium bicarbonate) requires an acidic ingredient (like buttermilk, yogurt, or vinegar) and moisture to react and produce gas. Baking powder, on the other hand, is a complete leavening agent containing both an alkali (baking soda) and an acid (often cream of tartar or sodium aluminum sulfate), along with a starch filler.
In gluten-free bread, these chemical leaveners are often used in addition to yeast, particularly in recipes that are more batter-like or contain significant amounts of heavy, gluten-free flours. They provide a quick burst of lift during the initial stages of baking (oven spring), helping to lighten the loaf and improve the crumb structure. For example, a recipe might use 1-2 teaspoons of baking powder per loaf to ensure good how gluten-free bread rises.
The Double-Acting Power of Baking Powder
Most commercially available baking powders are "double-acting." This means they produce carbon dioxide gas in two phases. The first reaction occurs when the baking powder is moistened in the dough, releasing some gas immediately. This helps the dough start expanding during mixing and initial proofing.
The second, more significant reaction occurs when the dough is exposed to heat in the oven. The heat activates the second acid component in the baking powder, causing a burst of gas production. This double action provides significant lift during the critical first few minutes of baking (oven spring), which is particularly beneficial for the glutenfree bread rising science as it helps set the structure before it has a chance to collapse.
The Role of Eggs and Dairy (or Alternatives)
Eggs and dairy (or their plant-based alternatives) play important roles in gluten-free bread, contributing beyond just flavor. They add moisture, richness, and help with the binding and structure of the dough, further supporting the glutenfree bread rising science.
These ingredients provide fats and proteins that can interact with starches and binders, enhancing the overall texture and stability of the loaf. While not strictly necessary for all gluten-free bread (some recipes are vegan), their inclusion often improves the quality of the final product.
Eggs: Binding, Structure, and Richness
Eggs are multi-taskers in gluten-free baking. The proteins in eggs, particularly the egg whites, coagulate when heated, contributing to the structure and stability of the crumb. Egg yolks add fat and emulsifiers, which contribute to richness, tenderness, and a smoother texture. Eggs also add moisture and help bind ingredients together, preventing the loaf from being crumbly.
A typical gluten-free bread recipe might call for 2-3 large eggs per loaf. They help create a slightly firmer dough structure than recipes relying solely on binders, aiding in better rising gluten-free dough. The protein content in eggs (around 6-7 grams per large egg) provides a structural element that complements the action of starches and gums.
Dairy (or Plant-Based Milk): Moisture and Flavor
Milk, whether dairy or a plant-based alternative like almond, soy, or oat milk, provides essential liquid for hydrating the gluten-free flours and starches. This hydration is necessary for the starches to gelatinize and for the binders to activate. Milk also contributes flavor and richness due to its fat and sugar content (lactose in dairy milk, added sugars in some plant milks).
The proteins in milk can also contribute slightly to the structure and browning of the crust. The sugars provide food for the yeast. Using milk instead of just water can lead to a softer crumb and a more golden crust. The amount of liquid is critical for how gluten-free bread rises, as gluten-free doughs often require significantly higher hydration (sometimes 80-100% or more of the flour weight) than traditional wheat doughs (typically 60-70%).
Mastering the Gluten-Free Bread Rising Process
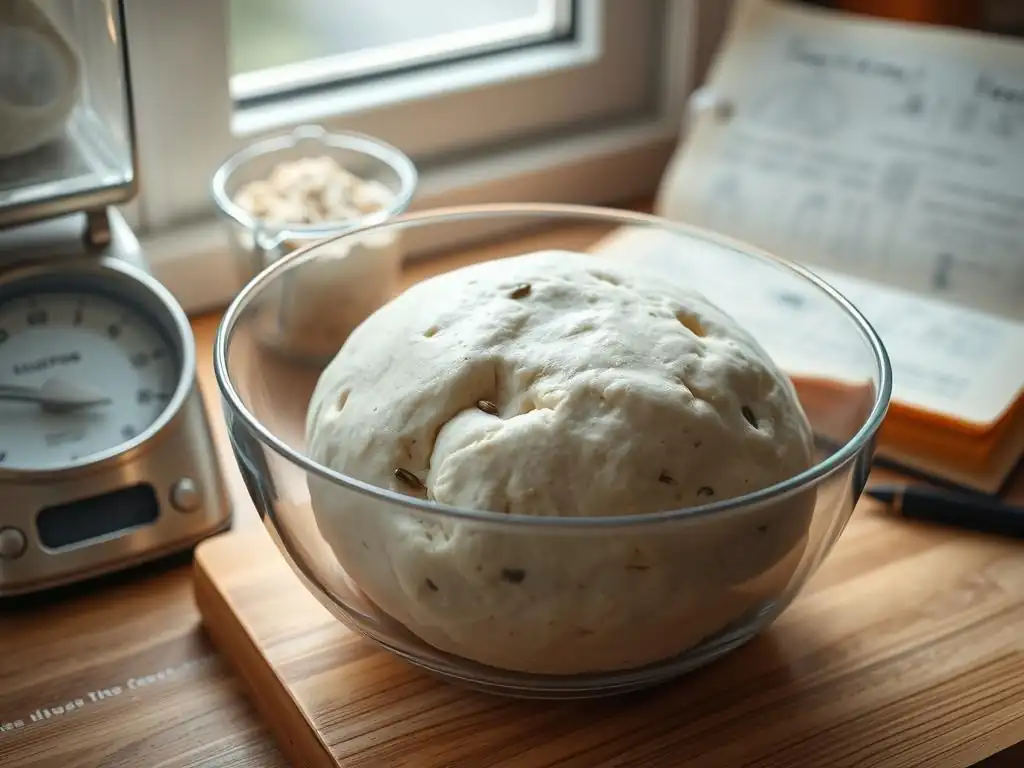
Achieving a good rise in gluten-free bread requires careful attention to several steps, from initial mixing to the final bake. Unlike wheat dough, which develops strength through kneading, gluten-free dough relies on precise hydration, proper mixing to activate binders, and controlled proofing and baking.
Understanding the glutenfree bread rising science means paying close attention to details like water temperature, mixing time, proofing environment, and oven temperature. Each step plays a vital role in ensuring the binders and leaveners can perform their functions effectively to create a well-risen loaf.
Hydration: Achieving the Right Dough Consistency
Hydration refers to the ratio of liquid to flour in the dough. Gluten-free flour blends typically require more liquid than wheat flour because the different starches and fibers absorb water differently and often at a higher rate. The correct hydration is crucial for activating binders like xanthan gum or psyllium husk and allowing the starches to swell.
Getting the hydration level right is key to successful gluten-free bread rising. Too little water and the dough will be dry, dense, and won't rise properly. Too much water and the dough will be too slack to hold its shape, potentially collapsing during proofing or baking. Gluten-free dough often resembles a thick batter or a very wet, sticky dough rather than the firm, elastic dough of traditional bread.
The Importance of Water Temperature
For recipes using yeast, the temperature of the water used for hydration is important. Water that is too cold will slow down yeast activity, resulting in a long or stalled rise. Water that is too hot can kill the yeast, preventing any rise at all. The ideal temperature range for activating active dry yeast is typically 105°F to 115°F (40°C-46°C).
Using warm water also helps the gluten-free flours and starches begin to absorb moisture and helps binders like psyllium husk form their gel more readily. Even in recipes relying primarily on chemical leaveners, using warm liquid can help create a smoother batter and ensure starches begin to hydrate effectively, supporting the overall structure needed for how gluten-free bread rises.
Adjusting Hydration for Different Flour Blends
Not all gluten-free flour blends are created equal. Different blends contain varying ratios of flours and starches, and some may contain binders while others do not. This means the optimal hydration level can vary significantly from one recipe or blend to another. A blend high in absorbent flours like sorghum or brown rice might need more water than one based primarily on white rice flour and starches.
If a recipe calls for a specific flour blend, it's best to start with the recommended liquid amount. If using a different blend, you may need to adjust the liquid slightly to achieve the correct consistency – typically a thick, scoopable batter or a very wet dough. Pay attention to visual cues and the dough's feel, as this is often more reliable than a fixed hydration percentage when learning the glutenfree bread rising science with different blends.
Mixing Techniques: Developing Structure Without Gluten
Unlike traditional bread where kneading develops the gluten network, gluten-free dough does not benefit from extensive kneading in the same way. The goal of mixing gluten-free dough is primarily to hydrate the ingredients, distribute the leavening agents evenly, and activate the binders. Overmixing can sometimes negatively impact the texture.
Most gluten-free bread doughs are best mixed using a stand mixer with a paddle attachment or dough hook (depending on consistency) or even just a sturdy spoon or spatula if the dough is very wet. The mixing process activates the binders, allowing them to create the necessary structure to support rising gluten-free dough.
Gentle Mixing vs. Overmixing Gluten-Free Dough
Gluten-free doughs require sufficient mixing to ensure all ingredients are well combined and binders are fully hydrated and activated. This typically takes a few minutes in a stand mixer. You'll notice the dough transforming from a shaggy mix into a more cohesive, albeit still sticky, mass.
However, overmixing gluten-free dough can sometimes lead to a gummy texture in the final bread. Once the dough comes together and the binders have done their work (often visible as a slightly thicker, more cohesive consistency), stop mixing. There's no need to develop "windowpane" or elasticity like with wheat dough. The focus is on hydration and binder activation for successful glutenfree bread rising science.
Using a Stand Mixer for Optimal Results
A stand mixer is often recommended for gluten-free bread dough, especially for wetter doughs, as it makes the mixing process much easier and more effective. Using the paddle attachment for very wet, batter-like doughs ensures thorough mixing without overworking. For slightly stiffer, yet still sticky, doughs, a dough hook can be used for a few minutes.
The consistent power of a stand mixer helps to evenly distribute the binders and ensure they fully absorb the liquid, creating a uniform structure throughout the dough. This uniform structure is essential for trapping gas bubbles evenly, leading to a more consistent rise and crumb texture, which is a key aspect of the glutenfree bread rising science.
Proofing Gluten-Free Bread: Patience is Key
Proofing is the stage where the dough rests and rises, typically due to the carbon dioxide gas produced by yeast fermentation. While chemical leaveners provide some initial lift, yeast requires a warm environment and time to work. Gluten-free dough often needs careful proofing conditions to achieve optimal gluten-free bread rising.
Unlike wheat dough, which can often double in size, gluten-free dough may not rise as dramatically during proofing. It's more about allowing the yeast to produce gas and the binders to solidify the structure around those gas bubbles before baking. Patience and observation are crucial during this stage.
Creating the Ideal Proofing Environment
A warm, draft-free environment is ideal for proofing gluten-free yeast dough. Temperatures between 75°F and 85°F (24°C-29°C) are generally optimal for yeast activity. You can create a warm proofing environment by placing the covered dough in a slightly warm oven (turned off) with the light on, or in a warm spot in your kitchen.
Ensuring the dough is covered (with plastic wrap, a damp towel, or placed in a proofing bag) is also important to prevent the surface from drying out and forming a crust, which can restrict the dough's ability to rise. Proper temperature and humidity control are part of the glutenfree bread rising science that ensures the yeast can perform effectively.
Recognizing When Your Dough is Ready to Bake
Knowing when gluten-free dough is properly proofed can be tricky, as it often doesn't double in size like wheat dough. Look for an increase in volume, perhaps 50-75%, and a slightly puffy appearance. The surface might look less dense.
A common test for traditional dough is the "poke test," where you gently press the dough, and if the indentation springs back slowly, it's ready. This test is less reliable for gluten-free dough, which is often stickier and less elastic. Rely more on visual cues: noticeable increase in size and a slightly domed top. Over-proofing can cause the structure to weaken and collapse, so timing is important for successful how gluten-free bread rises. Typical proofing times range from 45 to 90 minutes, depending on the recipe and temperature.
Baking Temperatures and Times: Achieving a Golden Crust
Baking is the final stage where the dough transforms into bread. The heat of the oven causes the trapped gases to expand rapidly (oven spring), the yeast activity to cease, starches to gelatinize, proteins (like egg proteins) to coagulate, and the crust to form and brown. Proper temperature and baking time are critical for setting the structure and achieving a good result in glutenfree bread rising science.
Gluten-free bread is often baked at slightly lower temperatures or for longer periods than traditional bread to ensure it cooks through without burning the crust. The high moisture content and different starch properties require careful heat management.
The Importance of Oven Temperature Accuracy
Oven temperature accuracy is crucial for consistent baking results. Many home ovens can be off by as much as 25-50°F (15-30°C). Using an oven thermometer can help you ensure your oven is preheated to the correct temperature specified in the recipe. Baking at too low a temperature might result in poor oven spring and a dense loaf, while too high a temperature can cause the crust to set too quickly before the interior has fully risen or cooked.
Preheating the oven thoroughly is also important. Often, gluten-free bread is baked in a hot oven (around 375°F - 425°F or 190°C - 220°C) initially to maximize oven spring, and the temperature may be reduced slightly later in the bake. Accurate temperature control is a fundamental aspect of the glutenfree bread rising science in the oven.
Monitoring Internal Temperature for Doneness
The best way to ensure gluten-free bread is fully baked is to check its internal temperature using an instant-read thermometer. The bread is typically done when the internal temperature reaches 200°F to 210°F (93°C-99°C). Baking to the correct internal temperature ensures the starches are fully gelatinized and the structure is set, preventing a gummy or undercooked interior.
Baking time is a guideline, but internal temperature is the most reliable indicator of doneness. A loaf baked for 50-60 minutes at 375°F-400°F (190°C-200°C) might be a typical duration for a standard loaf pan, but verifying with a thermometer is always recommended for achieving a well-baked loaf and understanding how gluten-free bread rises fully in the oven.
Troubleshooting Common Gluten-Free Bread Rising Problems
Despite following a recipe, sometimes gluten-free bread doesn't turn out as expected. Common issues include a dense or gummy texture, poor rise, or a collapsed loaf. Understanding the glutenfree bread rising science helps diagnose these problems and improve future baking attempts.
Troubleshooting often involves reviewing the key stages: ingredient measurement (especially binders), hydration level, mixing, proofing temperature/time, and baking temperature/duration. Minor adjustments can often make a significant difference in the outcome.
Dense or Gummy Texture: Identifying the Cause
A dense or gummy texture is a common complaint with gluten-free bread. Several factors can contribute to this. One primary cause is insufficient baking; the starches haven't fully gelatinized and set the structure, or the moisture hasn't properly evaporated. Baking to the correct internal temperature (200-210°F) is crucial.
Other causes include using too much binder (like xanthan gum or psyllium husk), which can lead to a gummy texture, or insufficient mixing which prevents binders from fully activating. Using a flour blend that is too heavy in certain flours (like bean flours) without enough starches or binders can also result in a dense crumb. Proper hydration is also key; too little or too much water can impact texture.
Bread Not Rising Properly: Common Mistakes to Avoid
Poor rise is another frequent issue. This can be due to inactive yeast (check the expiry date and use the correct water temperature), insufficient leavening agent (not enough yeast or baking powder), or a proofing environment that is too cold or too hot.
The structure of the dough is also critical for gluten-free bread rising. If there isn't enough binder (xanthan gum, psyllium husk, etc.) or the wrong type/ratio of starches, the dough won't have the structure to trap the gas produced by the leaveners. Using too little liquid can also result in a dough that is too stiff to expand properly. Ensuring accurate measurements of leaveners, binders, and liquids is vital.
Collapsed Bread: Preventing and Correcting Issues
Bread that rises well but then collapses during or after baking can be frustrating. This often happens if the internal structure isn't strong enough to support the loaf's height. Possible causes include over-proofing, where the yeast produces too much gas, stretching the weak gluten-free structure beyond its limit before it's set by the heat.
Insufficient baking is another common culprit; if the internal temperature hasn't reached the point where starches and proteins fully set, the structure will be weak and prone to collapse, especially when cooled. Using too much liquid can also contribute to a weak structure. Ensuring proper proofing time, baking thoroughly to the correct internal temperature, and allowing the bread to cool completely on a wire rack before slicing helps prevent collapse.
Advanced Techniques for Gluten-Free Bread Rising
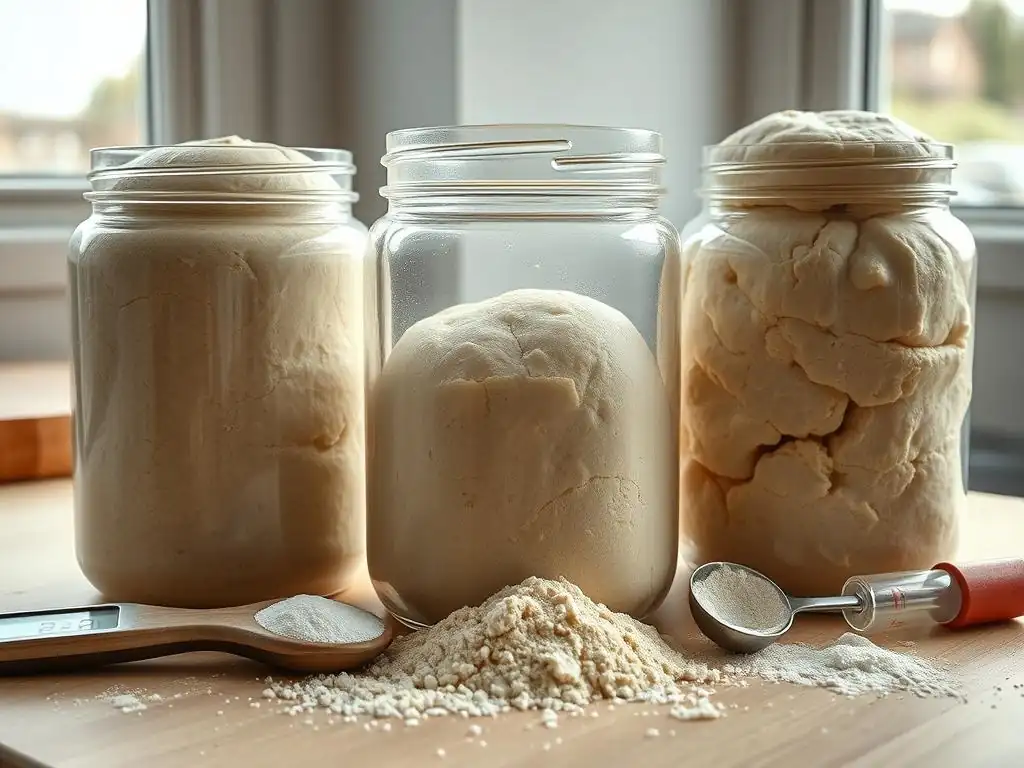
Once you've mastered the basics of glutenfree bread rising science, you can explore more advanced techniques to further improve texture, flavor, and rise. These methods often introduce new variables but can yield impressive results, pushing the boundaries of what's possible in gluten-free baking.
Experimenting with different starter cultures, incorporating enzymes, or creating custom flour blends allows bakers to gain even greater control over the final loaf.
Using Sourdough Starters in Gluten-Free Baking
Gluten-free sourdough baking utilizes a starter culture containing wild yeasts and beneficial bacteria (like Lactobacillus) that ferment gluten-free flour and water. This fermentation produces carbon dioxide for leavening and organic acids that contribute complex flavors and can improve the texture of gluten-free bread. The acidity can also help break down starches, making the bread easier to digest.
Using a gluten-free sourdough starter requires maintaining the starter with gluten-free flour and water and understanding its fermentation cycles. While the rise may be slower and less dramatic than commercial yeast, the resulting bread often has a more nuanced flavor and a slightly better crumb structure due to the starter's enzymatic activity. This adds another layer to the glutenfree bread rising science.
Incorporating Enzymes for Improved Texture and Rise
Food-grade enzymes, such as amylase or protease, are sometimes used in commercial gluten-free baking and can be explored by home bakers. Amylase breaks down starches into simpler sugars, providing more food for yeast and potentially improving crust browning and crumb softness. Protease can modify proteins (like egg proteins), potentially affecting dough handling and structure.
These enzymes are used in very small quantities and require precise measurement and understanding of their optimal working conditions (temperature, pH). While more technical, incorporating enzymes can be a way to scientifically manipulate dough properties to achieve a better rise and texture, offering a deeper dive into the glutenfree bread rising science.
Experimenting with Different Gluten-Free Flour Blends
Developing your own gluten-free flour blends is an advanced technique that allows customization based on desired texture, flavor, and nutritional profile. Instead of relying on pre-mixed blends, you can combine individual flours (rice, sorghum, millet, oat) and starches (tapioca, potato, corn) in varying ratios.
This requires understanding the properties of each component (e.g., rice flour for structure, tapioca for chewiness, potato starch for softness, sorghum for flavor/nutrition) and how they interact with binders and leaveners. Experimenting with different ratios (e.g., a blend might be 40% white rice, 20% brown rice, 20% tapioca, 20% potato starch, plus binders) allows you to fine-tune the glutenfree bread rising science to your specific needs and preferences.
Conclusion: Unleashing the Secrets of Gluten-Free Bread Rising
Understanding the glutenfree bread rising science is a journey of exploration and experimentation. Without the familiar framework of gluten, bakers must rely on a combination of alternative flours, starches, binders, and leavening agents to create structure and lift. Each ingredient plays a specific role, and their interaction dictates the success of the loaf.
From the gelatinization of starches and the gel-forming power of binders like psyllium husk and xanthan gum, to the gas production by yeast and baking powder, every step contributes to how gluten-free bread rises. By paying close attention to hydration, mixing, proofing conditions, and baking temperatures, bakers can overcome the challenges and consistently produce delicious, well-risen gluten-free bread. Mastering this science opens up a world of possibilities in the gluten-free kitchen.
Frequently Asked Questions
How does gluten-free bread rise if it doesn't have gluten?
Gluten-free bread relies on alternative starches and gums to provide structure and trap gas. Rising is achieved through yeast or chemical leaveners that produce carbon dioxide, similar to traditional bread.
What are the key differences in the rising process between gluten-free and traditional bread?
The primary difference is the absence of gluten. Gluten provides elasticity and strength in traditional bread, which gluten-free recipes must compensate for with different binding agents and specific hydration levels.
What role do ingredients like xanthan gum and psyllium husk play in gluten-free bread rising?
Xanthan gum and psyllium husk act as gluten replacements, providing structure and elasticity. They help trap the gas produced by the yeast or leaveners, allowing the bread to rise.
Why does gluten-free bread often require more moisture than traditional bread?
Gluten-free flours tend to absorb more liquid. Increased hydration is crucial to activate the starches and gums, creating a better dough consistency for rising and a more palatable final product.
What are some common mistakes that prevent gluten-free bread from rising properly?
Common mistakes include using expired yeast, not using enough binding agents (like xanthan gum), or insufficient hydration. Also, over-mixing can damage the structure and hinder rising.
Final Reflection: The Rising Tide of Gluten-Free Baking
The science behind gluten-free bread rising isn't just a niche topic; it's the key to unlocking delicious, satisfying gluten-free alternatives for millions. Understanding the complexities of starch gelatinization, gum interactions, and the role of leavening agents is crucial for bakers and consumers alike, ensuring that gluten-free bread isn't just edible, but truly enjoyable.
The quest for a perfect gluten-free loaf has profoundly impacted the culinary landscape, pushing innovation in ingredient technology and baking techniques. It's a testament to human ingenuity and our unwavering desire for delicious food, even when faced with dietary restrictions. The greatest glory in living lies not in never falling, but in rising every time we fall.
- Nelson Mandela. This quote resonates deeply with the challenges and triumphs of gluten-free baking, mirroring the constant experimentation and refinement required to achieve a successful rise.
Now, it's your turn. Consider the science you've learned today, and apply it to your own baking endeavors. Experiment with different starches, gums, and leavening agents. Don't be afraid to fail – each failed loaf is a step closer to mastering the art of gluten-free bread making. Embrace the challenge, and you'll discover the rewarding satisfaction of creating something delicious and nutritious, proving that even without gluten, bread can rise to the occasion.
Unleash Your Gluten-Free Baking Potential!
Thanks for taking the time to explore the science behind gluten-free bread rising! You've now unlocked valuable insights into creating lighter, fluffier loaves. Ready to put your newfound knowledge into practice?
- Bake your best gluten-free bread yet! Experiment with the techniques discussed and share your results with us – we'd love to see your creations!
- Explore alternative gluten-free flours and experiment with different ratios to find your perfect combination.
- Share this article with fellow gluten-free bakers – let's spread the baking love!
What innovative gluten-free bread recipe will you try first?