
Is Your Whole Wheat Bread Too Heavy? Here's Why.

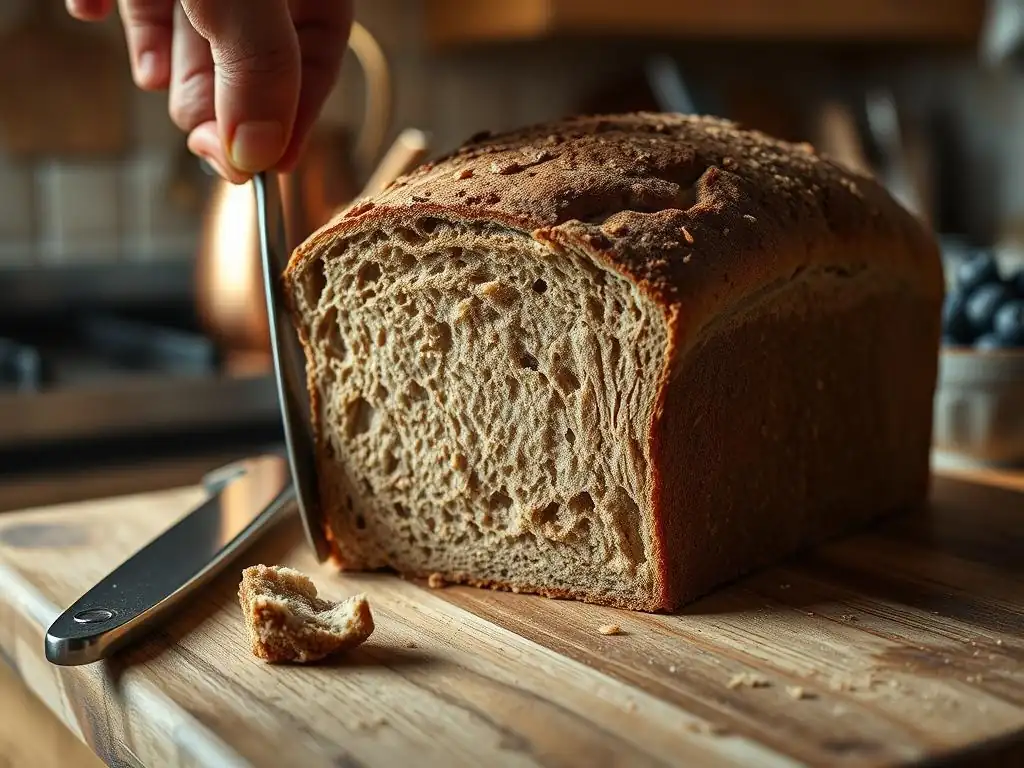
Welcome to BakeWithEase, your trusted companion in the baking journey!
Ever wondered why your whole wheat bread ends up dense and heavy instead of light and fluffy? You're not alone! We delve into the secrets behind perfect whole wheat bread in this article. Discover the common pitfalls and simple adjustments that will transform your loaves from leaden to luscious. Let's unlock the secrets to baking beautiful, airy whole wheat bread that you'll be proud to share!
- Is Your Sourdough Bread Too Sour? Here's Why.
- Understanding Sour Sourdough Bread: The Bake With Ease Guide
-
Why is My Sourdough Bread Too Sour? Common Causes
- The Role of Fermentation in Sourdough Bread Texture and Flavor
- Sourdough Starter: Acidity and Flavor Development Challenges
- Inadequate Starter Activity: How a Weak Starter Affects Sourdough
- Proofing Time and Temperature: A Critical Factor for Balanced Flavor
- Over-Proofing: When Too Much Time Leads to Excess Sourness
- Improper Shaping Techniques: Why Tension Matters for Sourdough
- Troubleshooting Sour Sourdough Bread: Practical Solutions
- Beyond the Basics: Advanced Tips for Baking Balanced Sourdough Bread
- Recipe Adjustments for Balanced Sourdough Bread [Example Recipe]
- Conclusion: Bake Balanced, Better Sourdough Bread with Ease!
-
Frequently Asked Questions
- Why is my whole wheat bread so dense and heavy?
- Does the type of whole wheat flour I use affect the heaviness of my bread?
- How can I improve the gluten development in my whole wheat bread dough?
- Is there anything I can add to my whole wheat bread recipe to make it lighter?
- Does the baking temperature or time affect the density of whole wheat bread?
- Final Reflection: The Weight of Whole Wheat and the Breadth of Choice
- Unlock the Secrets to Lighter, Fluffier Whole Wheat Bread!
Is Your Sourdough Bread Too Sour? Here's Why.
Understanding Sour Sourdough Bread: The Bake With Ease Guide
Many bakers strive for that perfect loaf of whole wheat bread – light, airy, and full of nutty flavor. However, a common frustration is ending up with a loaf that is unexpectedly dense and heavy. This isn't just a minor issue; a heavy whole wheat loaf can feel gummy or brick-like, far from the desired texture.
Understanding the unique properties of whole wheat flour is the first step to avoiding this pitfall. Unlike refined white flour, whole wheat flour contains the bran and germ in addition to the endosperm. These components are incredibly nutritious but also impact gluten development and dough structure, making it inherently more challenging to achieve a light crumb.
The bran particles in whole wheat flour can act like tiny razors, cutting through the delicate gluten strands that are essential for trapping the carbon dioxide gas produced during fermentation. Furthermore, whole wheat flour typically absorbs more water than white flour due to the presence of the bran and germ, but it can also release that water more readily during mixing and fermentation, affecting dough consistency.
These factors combined mean that whole wheat dough requires careful handling, precise hydration, and attentive fermentation and proofing to ensure it develops enough strength and gas production to rise properly and avoid becoming a heavy whole wheat bread. Mastering these aspects is key to transforming that dense dough into a beautifully risen loaf.
Why is My Sourdough Bread Too Sour? Common Causes
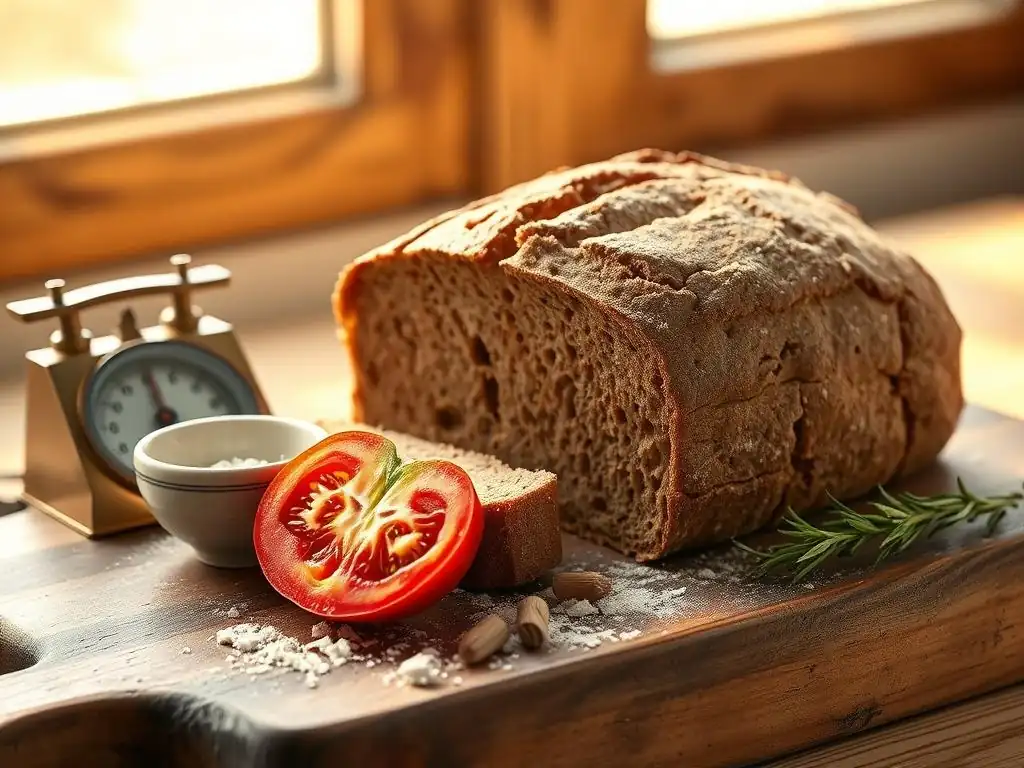
Finding your whole wheat bread consistently dense or "heavy" can be traced back to several common issues in the baking process. It's rarely one single factor but often a combination of how the dough was handled, leavened, and proofed. Understanding these causes is crucial for diagnosing what went wrong and preventing it in future bakes. The goal is to achieve sufficient lift and an open enough crumb structure to counteract the inherent density of whole wheat flour.
One primary reason why whole wheat bread heavy is insufficient gas production or retention. This can stem from issues with your leavening agent (whether yeast or sourdough starter), improper dough development, or mishandling the dough. Another significant contributor is related to hydration and flour quality; using too little water or a type of whole wheat flour with poor gluten potential can result in a tight, dense crumb. Finally, errors in proofing time and temperature, as well as shaping technique, play critical roles in determining the final volume and texture of your loaf.
The Role of Fermentation in Sourdough Bread Texture and Flavor
Fermentation is the engine of bread making, and its role in whole wheat bread texture is paramount. During the bulk fermentation phase, yeast or sourdough starter consumes sugars in the flour and produces carbon dioxide gas, which is trapped by the gluten network, causing the dough to rise. Simultaneously, enzymatic activity and microbial processes develop flavor and improve the dough's extensibility. For whole wheat dough, proper fermentation is even more critical because the bran impedes gluten development, making the dough less able to hold gas compared to white dough.
Insufficient bulk fermentation means the dough hasn't developed enough gas to achieve a good rise, resulting in a dense loaf. Conversely, over-fermentation can weaken the gluten structure, leading to collapse or a gummy texture. The duration and temperature of fermentation significantly impact these processes.
A typical bulk fermentation for a whole wheat dough might range from 2 to 4 hours at room temperature (around 70-75°F or 21-24°C), but this varies based on the leavening agent, hydration, and ambient conditions. Achieving the sweet spot where the dough has doubled in volume and shows signs of activity (bubbles) is essential for a lighter texture.
Sourdough Starter: Acidity and Flavor Development Challenges
While this header refers to sourdough specifics, let's apply the concept of "challenges" to the unique properties of whole wheat flour itself, which contribute to why whole wheat bread heavy. The bran and germ present in whole wheat flour pose significant challenges to achieving a light and airy loaf.
The sharp edges of the bran particles can physically slice through the developing gluten network during mixing and kneading, hindering its ability to form a strong, elastic structure capable of trapping gas. This is a primary reason whole wheat dough often feels less extensible and tears more easily than white dough.
Furthermore, the bran and germ contain enzymes that can break down proteins and starches, potentially weakening the dough over time, especially during long fermentation periods. Managing these enzymatic activities requires careful attention to fermentation time and temperature. Bakers often compensate for these challenges by increasing hydration (adding more water) to help the bran soften and reduce its cutting action, or by using techniques like autolyse (mixing flour and water first) to give enzymes time to start breaking down starches before yeast/starter and salt are added, promoting better water absorption and gluten development.
Inadequate Starter Activity: How a Weak Starter Affects Sourdough
Applying the concept of "inadequate activity" to leavening in whole wheat bread, whether using commercial yeast or sourdough starter, is crucial. A weak leavening agent simply won't produce enough carbon dioxide gas to lift the heavy whole wheat dough. If you're using commercial yeast, ensure it's fresh and active.
Yeast that is old or improperly stored can lose its potency. You can test yeast activity by dissolving a teaspoon of sugar in a quarter cup of warm water (around 105-115°F or 40-46°C) and sprinkling a teaspoon of yeast on top; it should bloom and become foamy within 5-10 minutes if active.
If you're using a sourdough starter, its activity level is even more variable. A starter that hasn't been fed recently, is kept too cold, or isn inconsistent can be sluggish. A weak sourdough starter will struggle to leaven a dense whole wheat dough effectively, leading to a very heavy result.
A vigorous starter, when fed, should double or triple in size within a few hours (typically 4-8 hours depending on temperature and feeding ratio) and be full of bubbles. Using a starter that is at its peak activity (just after it has doubled) is vital for providing the necessary lift for whole wheat bread.
Proofing Time and Temperature: A Critical Factor for Balanced Flavor
Proofing, the final rise before baking, is another critical stage that determines the final volume and texture of your whole wheat loaf. It's during this phase that the dough expands significantly as the trapped gases continue to expand and the dough relaxes. Getting the proofing time and temperature right is essential; under-proofing is a major reason why whole wheat bread heavy. If the dough hasn't proofed long enough, it hasn't developed sufficient internal structure or gas volume to achieve a light crumb.
The ideal proofing temperature for whole wheat dough is typically between 75-80°F (24-27°C). Warmer temperatures speed up proofing, while cooler temperatures slow it down. The duration varies greatly depending on the recipe, temperature, and leavening. A common range for a final proof might be 1 to 2 hours at room temperature, or longer in the refrigerator (cold proofing can develop flavor but requires careful timing). Learning to assess the dough's readiness by feel (the "poke test") is more reliable than relying solely on time.
Over-Proofing: When Too Much Time Leads to Excess Sourness
While the header mentions "excess sourness" which is specific to sourdough, over-proofing whole wheat bread (whether yeast or sourdough leavened) has its own detrimental effects on texture, often resulting in a dense or gummy loaf, which contributes to why whole wheat bread heavy. When dough over-proofs, the gluten structure becomes overly stretched and weakened, and the yeast or bacteria may have consumed too much of the available sugars. This leads to a lack of oven spring – the final burst of rising in the hot oven – because the weakened structure cannot hold the expanding gases.
Instead of rising robustly, an over-proofed whole wheat loaf may collapse slightly when transferred to the oven, resulting in a dense, flat, and often gummy texture. The internal structure can appear tight and compressed rather than open and airy. While sourdough over-proofing can lead to excessive sourness, yeast-leavened whole wheat that is over-proofed primarily suffers from structural failure and poor texture. Recognizing the signs of over-proofing – the dough looking very bloated, potentially starting to deflate, and not springing back readily when poked – is crucial for intervention (like reshaping if caught early) or adjusting future proofing times.
Improper Shaping Techniques: Why Tension Matters for Sourdough
Applying the principle of tension to whole wheat bread shaping is vital for building structure that supports the loaf during proofing and baking, helping to prevent a heavy whole wheat bread. Whole wheat dough, being less elastic than white dough, needs deliberate shaping to create surface tension. This tension creates a 'skin' on the outside of the loaf that helps the dough hold its shape and directs the upward expansion during oven spring. Without sufficient tension, the dough can spread outwards rather than rising upwards, resulting in a flatter, denser loaf.
Techniques like folding, rolling, or pulling and tucking the dough are used to create this tension. For a boule (round loaf), this involves pulling the dough towards you while rotating, tucking the underside to create a taut surface. For a batard (oval loaf), it involves folding and sealing seams tightly before rolling into shape. Practicing these techniques helps develop the muscle memory needed to shape whole wheat dough effectively without tearing the delicate structure. Proper shaping gives the loaf the best chance for a good rise and a lighter crumb.
Troubleshooting Sour Sourdough Bread: Practical Solutions
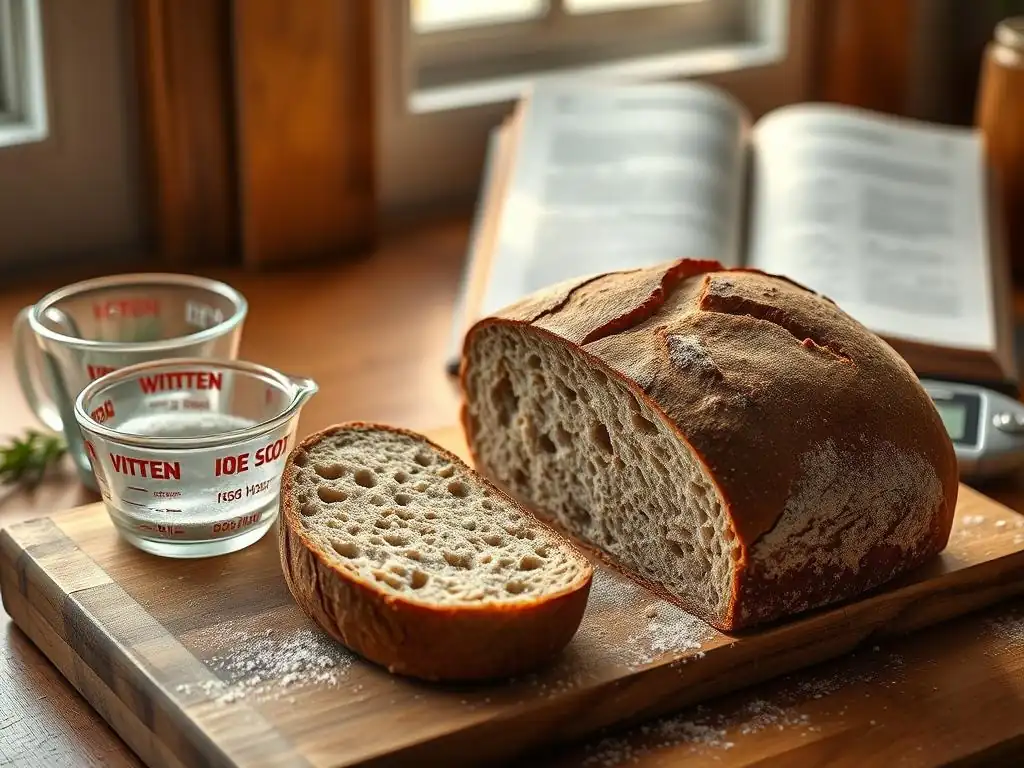
If you're consistently ending up with heavy whole wheat bread, don't despair! Baking is a process of learning and adjustment. Troubleshooting involves carefully examining each step of your process – from ingredients to baking – to identify where improvements can be made. Addressing the common causes discussed earlier will pave the way to lighter, airier whole wheat loaves. It often requires patience and a willingness to experiment with timing, hydration, and technique.
The key to troubleshooting why whole wheat bread heavy lies in understanding the specific challenges of this flour type and how they interact with your chosen leavening method (yeast or sourdough). Pinpointing the weak link in your process – whether it's insufficient gluten development, poor leavening activity, incorrect proofing, or inadequate shaping – is the first step towards baking success. Let's look at practical solutions for optimizing these areas.
Optimizing Starter Activity in Sourdough Dough
To avoid a heavy whole wheat loaf due to insufficient leavening, optimizing your leavening agent's activity is paramount. If using commercial yeast, ensure you're using the correct type (active dry vs. instant) and that it's not expired. Store yeast properly in an airtight container in the refrigerator or freezer to maintain its potency. Using the correct amount specified in the recipe is also crucial; too little yeast for the amount of heavy whole wheat flour can lead to a weak rise.
If you bake with a whole wheat sourdough starter, its health and activity directly impact your bread's lift. To ensure a vigorous starter, consistent feeding is essential. Feed your starter regularly, perhaps daily or twice daily if kept at room temperature, using a consistent ratio of starter, flour, and water (e.g., 1:1:1 or 1:2:2 by weight). Ensure you are using a good quality flour for feeding. Using the starter when it has peaked (doubled or tripled and is full of bubbles) ensures maximum leavening power for your whole wheat dough.
Feeding Schedules: Enhancing Starter Strength and Activity
Maintaining a consistent feeding schedule is vital for a strong sourdough starter capable of lifting a whole wheat loaf. For a starter kept at room temperature (around 70-75°F), daily feeding is typically required. If you bake frequently, feeding twice a day might be necessary to keep it very active. A common feeding ratio is 1 part starter, 2 parts water, and 2 parts flour by weight (e.g., 25g starter, 50g water, 50g flour). This higher ratio helps dilute the acidity and provides plenty of 'food' for the microbes, encouraging robust activity.
For less frequent bakers, storing the starter in the refrigerator slows down fermentation, requiring feeding only once a week. Remember to revive it with a couple of room-temperature feedings before baking. Pay attention to how your starter responds to feeding; a strong starter will double or triple within 4-8 hours at room temperature after feeding. If it's sluggish, more frequent feedings or a warmer spot might be needed to boost its activity before it can effectively leaven a heavy whole wheat dough.
Choosing the Right Flour for Your Starter: Impact on Flavor
The type of flour used to feed your sourdough starter influences its microbial balance, activity, and ultimately, its ability to leaven whole wheat bread effectively. While you can maintain a starter on white flour, using whole wheat flour or a blend (like 50% white, 50% whole wheat) to feed your starter can make it more robust and better adapted to fermenting a whole wheat dough. The nutrients in whole wheat flour can support a diverse microbial population.
Feeding your starter with the same type of whole wheat flour you plan to bake with can also help ensure compatibility. However, some bakers find that feeding with a mix of white and whole wheat flour keeps the starter very active while managing potential issues with whole wheat's enzymatic activity in the starter itself. Experiment to see what feeding regimen produces the most reliably vigorous starter for your whole wheat baking needs.
Achieving the Right Dough Fermentation for Sourdough Bread
Achieving the right bulk fermentation is paramount for preventing heavy whole wheat bread. Whole wheat dough often ferments faster than white dough due to the higher nutrient content in the bran and germ. However, it can also be harder to tell when it's ready because the bran obscures the internal bubble structure. The goal is sufficient gas production and gluten development without over-fermenting and weakening the structure.
Monitor the dough's volume increase – aim for roughly a 50-75% increase for whole wheat dough during bulk fermentation, rather than the 100% often sought for white dough. Look for visual cues like bubbles appearing on the surface and along the sides of the container. The dough should feel aerated and slightly puffy. Performing a "windowpane test" (gently stretching a small piece of dough) can indicate gluten development, though whole wheat will never be as translucent as white dough. Dough temperature plays a big role; fermenting at a consistent temperature (e.g., 75°F/24°C) helps control the process.
Measuring Flour and Water Accurately: The Baker's Percentage
Accurate measurement of ingredients, particularly flour and water, is fundamental to achieving the correct dough consistency and hydration, which directly impacts why whole wheat bread heavy or light. Using a kitchen scale and baker's percentage is the most reliable method. Baker's percentage expresses all ingredients as a percentage of the total flour weight. For example, if you use 500g of flour, 375g of water is 75% hydration (375/500 * 100).
Whole wheat flour typically requires higher hydration than white flour due to the bran's absorbency. A hydration level of 75-85% is common for a manageable whole wheat dough, but this varies significantly depending on the specific flour's absorption rate. Too low hydration results in a stiff, dense dough that's hard to leaven and prone to being heavy.
Too high hydration can make the dough difficult to handle and shape, potentially leading to a flat loaf, although high hydration can sometimes help achieve a lighter crumb if managed well. Precision in measuring is key to hitting the sweet spot for your flour.
Assessing Dough Consistency: Knowing When You've Added Enough Water
Beyond precise measurements, learning to assess the dough's consistency by feel is a crucial skill for whole wheat baking. Whole wheat dough should feel hydrated but still cohesive and manageable. It should be sticky but not so wet that it's impossible to handle. The exact feel will depend on your hydration target and the specific flour. As you mix, the dough should come together, pulling away from the sides of the bowl (if machine mixing).
If mixing by hand, the dough should be shaggy initially, then become smoother and more pliable as gluten develops through kneading or folds. A properly hydrated whole wheat dough will feel soft and slightly tacky. If it feels very stiff and dry, it likely needs more water. If it's a sticky, shaggy mess that won't come together, you might have added too much water or need more development time. Adding water gradually after the initial mix allows you to adjust based on the dough's feel.
Improving Proofing Time and Temperature for Balanced Flavor
Optimizing the final proof (or second rise) is just as important as bulk fermentation for preventing heavy whole wheat bread. This is the last chance for the dough to build volume and structure before baking. Under-proofing is a frequent cause of dense whole wheat loaves – the dough hasn't had enough time or warmth to reach its full potential rise.
The ideal proofing environment is warm and humid. A temperature of 75-80°F (24-27°C) is often recommended. You can create a warm proofing environment in a slightly warm oven (turned off) with a pan of hot water, or using a proofing box if you have one. The duration will vary; it could be 1-2 hours at room temperature or much longer in the refrigerator for a cold proof. Learn to use visual cues and the poke test to determine readiness, as time is just a guideline.
Monitoring Dough Temperature: The Sweet Spot for Proofing
Controlling dough temperature during proofing significantly impacts the rate of fermentation and thus the final outcome. Aiming for a consistent dough temperature, ideally within the 75-80°F (24-27°C) range, helps ensure predictable proofing times. Temperatures too low will drastically slow down proofing, potentially leading to under-proofed, heavy bread even after a long time. Temperatures too high can accelerate proofing too much, increasing the risk of over-proofing and structural collapse.
Using an instant-read thermometer to check your dough's internal temperature can be helpful. If your kitchen is cool, finding a warmer spot or using a proofing aid (like a proofer or warm oven method) is beneficial. Conversely, if your kitchen is very warm, you might need to shorten proofing times or consider a cooler spot. Consistent temperature control leads to more consistent results and helps avoid why whole wheat bread heavy.
Adjusting Proofing Time: Visual Cues for Optimal Rise and Flavor
Relying solely on recipe times for proofing whole wheat bread can be misleading due to variations in flour, temperature, and starter/yeast activity. Instead, learn to read the dough. Visual cues include the dough increasing significantly in volume – perhaps 70-90% increase from its shaped size, depending on the desired crumb structure. The surface should look smooth and puffy, not tight or deflated.
The most reliable test is the "poke test." Gently but firmly poke the side of the dough with a floured finger. If the indentation springs back immediately, the dough is under-proofed. If it springs back very slowly, leaving a small indentation, it's likely perfectly proofed. If the indentation remains completely, the dough is over-proofed. Adjust your proofing time based on this test, not just the clock, to prevent a dense, heavy whole wheat bread.
Mastering Shaping Techniques for Sourdough Bread
Proper shaping is a non-negotiable step for preventing heavy whole wheat bread. Shaping creates surface tension and gives the loaf structure, enabling it to hold the gas produced during proofing and baking. Whole wheat dough can be less forgiving than white dough during shaping because of the bran interrupting the gluten network, making it prone to tearing if handled roughly.
The goal is to create a taut outer skin without degassing the dough too much. Techniques vary depending on the desired loaf shape (boule, batard, pan loaf), but they all involve folding, tucking, and sealing to build internal structure and external tension. Don't be afraid to use a little flour on your work surface and hands to prevent sticking, but avoid using too much, which can interfere with sealing seams. Practice makes perfect, and effective shaping directly contributes to a well-risen, lighter whole wheat loaf.
Creating Surface Tension: The Importance of Tight Shaping
Creating sufficient surface tension is key to achieving a good rise in whole wheat bread. Imagine the taut skin of a balloon – that's the kind of tension you want on the outside of your shaped loaf. This tension helps the dough hold its shape and provides the structure needed to push upwards in the oven. Without it, the dough might spread outwards, resulting in a flat, dense loaf that feels heavy.
For a boule, this tension is created by pulling the dough towards you while rotating it on an unfloured surface, tucking the edges underneath to form a tight ball. For a batard, it involves folding the dough onto itself multiple times and sealing the seam tightly. The dough should feel firm and have a smooth, slightly shiny surface after shaping. A well-shaped whole wheat loaf will hold its form during proofing and achieve better oven spring, leading to a lighter crumb.
Understanding Dough Handling: Preventing Degassing During Shaping
While creating tension is important, it's equally important not to handle the dough too roughly during shaping, which can lead to excessive degassing. The gases produced during fermentation are what make the bread light. Punching down whole wheat dough vigorously or handling it roughly will expel much of this precious gas, resulting in a dense, heavy loaf.
Whole wheat dough often requires a gentler touch than white dough. Aim to handle it minimally, just enough to create tension and shape it. Use a bench scraper to help manipulate the dough without tearing it. Be mindful of how much air is being lost. You want to preserve as much of the gas as possible while building structure. Gentle folding and careful sealing of seams are key to maintaining the airy structure developed during fermentation.
Beyond the Basics: Advanced Tips for Baking Balanced Sourdough Bread
Moving beyond the fundamental troubleshooting steps can help you consistently bake lighter, more balanced whole wheat bread. These advanced considerations involve exploring ingredient variations, understanding how add-ins affect dough, and optimizing the final stages of baking. Implementing these tips can make a significant difference in achieving a less heavy whole wheat bread.
Consider experimenting with different types of whole wheat flour, adjusting hydration levels based on flour performance, and understanding how elements like salt and fat influence dough development and texture. These finer points of baking allow you to refine your process and achieve the desired light and airy crumb structure, even with the inherent challenges of whole wheat flour.
Using Different Grains: Exploring Flavor Profiles
The term "whole wheat" encompasses a variety of flours milled from different wheat varieties, and their properties can vary significantly, impacting why whole wheat bread heavy or light. Hard red wheat is common but can produce a denser loaf. Exploring other whole grain flours or using blends can help lighten the texture while adding complex flavors. For example, using whole white wheat flour (milled from white wheat berries) can result in a slightly softer texture than red wheat.
Blending whole wheat flour with a percentage of strong bread flour (made from hard red wheat endosperm) or even a small amount of vital wheat gluten can improve the dough's structure and ability to rise, counteracting the bran's effect. A blend of 70-80% whole wheat and 20-30% bread flour is a common approach for bakers seeking a lighter whole wheat loaf. Experimenting with ancient grains like spelt or kamut, or adding a small amount of rye, can also alter texture and flavor, sometimes resulting in a less dense crumb depending on the ratio used.
Incorporating Add-Ins: Flavor Enhancements and Interactions
Adding ingredients like seeds, nuts, dried fruit, or even cooked grains can enhance the flavor and texture of whole wheat bread, but they can also contribute to a heavy whole wheat loaf if not managed correctly. Heavy add-ins weigh down the dough, making it harder for the leavening to lift the loaf. They can also absorb moisture, potentially affecting the dough's hydration balance.
To minimize the impact of add-ins on loaf density, consider soaking seeds or grains before adding them to the dough; this prevents them from absorbing water from the dough itself. Incorporate add-ins gently during the later stages of mixing or during the first few folds in bulk fermentation to avoid tearing the gluten structure. The amount of add-ins matters too; using excessive quantities will inevitably result in a denser loaf. A common guideline is to limit add-ins to around 10-20% of the total flour weight.
The Importance of Scoring and Baking Time
The final steps of scoring and baking time play a crucial role in the ultimate texture of your whole wheat bread. Scoring, the act of cutting the surface of the shaped dough just before baking, allows the loaf to expand in a controlled manner during oven spring. Without scoring, the crust will split unpredictably, often restricting the dough's ability to rise fully and potentially contributing to a dense interior. A well-scored loaf can achieve better volume and a lighter crumb.
Baking time and temperature also impact the final texture. Baking at a high initial temperature (e.g., 450-500°F or 230-260°C) often in a Dutch oven or on a baking stone with steam, helps maximize oven spring before the crust sets. The rest of the bake at a slightly lower temperature ensures the interior is fully cooked. Underbaking whole wheat bread is another reason why whole wheat bread heavy; the crumb can be gummy and dense if not baked through completely (internal temperature should reach around 200-210°F or 93-99°C).
Recipe Adjustments for Balanced Sourdough Bread [Example Recipe]
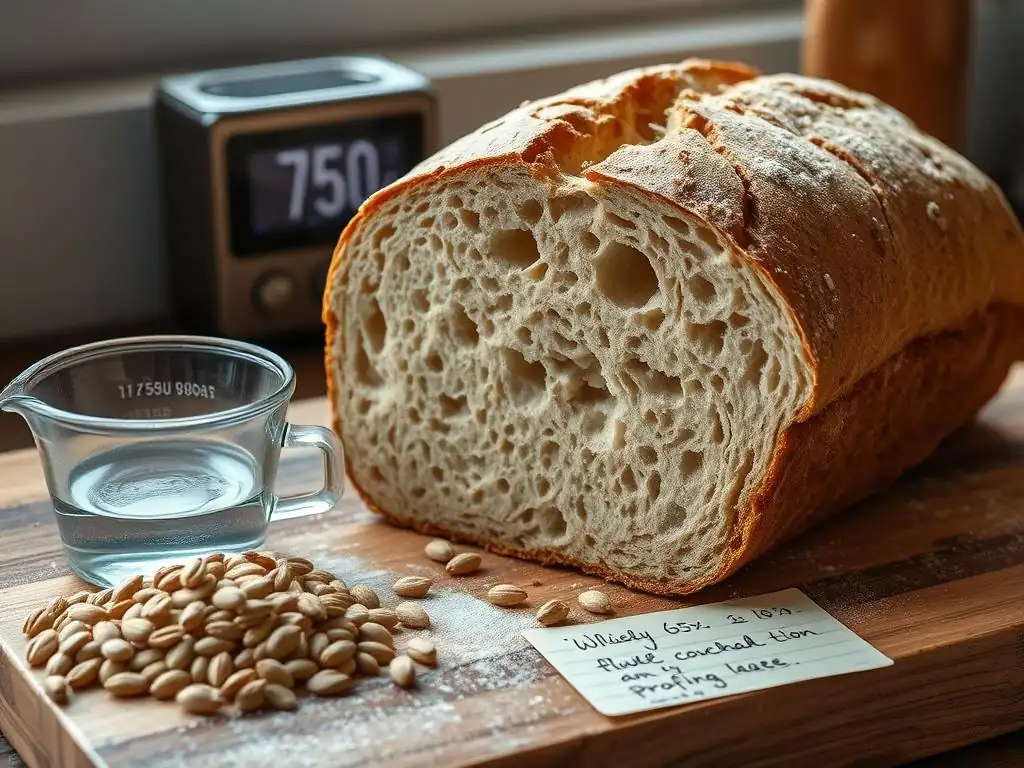
To illustrate how recipe adjustments can lead to a lighter whole wheat loaf, let's outline a basic approach focused on technique and hydration suitable for whole wheat flour. This isn't a full, precise recipe but highlights key ratios and steps often modified to counteract why whole wheat bread heavy. Many successful whole wheat recipes use techniques like autolyse and incorporate folds during bulk fermentation to build strength.
A common starting point might be a dough with 80% hydration and potentially using a small percentage of bread flour or vital wheat gluten to aid structure. The fermentation schedule would be carefully timed, perhaps with an initial autolyse, followed by incorporating leavening and salt, and then several sets of stretch-and-folds over the first hour or two of bulk fermentation. Proofing would be monitored closely using visual cues and the poke test.
[Brief Recipe Outline - Ingredients & Basic Steps]
- Ingredients: High-quality whole wheat flour (e.g., 500g), Water (approx. 400g - 80% hydration, adjust based on flour), Active dry yeast (approx. 1 tsp, or 100g active sourdough starter), Salt (approx. 10g).
- Basic Steps:
- Autolyse (Optional but Recommended): Mix flour and water only. Let rest 30-60 minutes.
- Mix: Add yeast/starter and salt. Mix until combined (a few minutes).
- Bulk Fermentation: ~2-4 hours at room temperature (75°F), performing 3-4 sets of stretch-and-folds during the first 1.5 hours. Dough should increase in volume by ~50-75%.
- Preshape: Gently shape into a loose ball. Rest 20 minutes.
- Final Shape: Shape tightly into a boule or batard, creating surface tension.
- Proof: Place in a proofing basket or pan. Proof at room temperature (~1-2 hours) or refrigerate (8-12 hours) until dough passes the poke test.
- Bake: Preheat oven with Dutch oven/baking stone to 475°F (245°C). Score loaf. Bake covered/with steam for 20 minutes, then uncovered for 20-30 minutes until crust is deep golden and internal temp is 200-210°F.
- Cool: Cool completely on a wire rack before slicing (essential for texture! ).
Conclusion: Bake Balanced, Better Sourdough Bread with Ease!
Baking whole wheat bread that is light and airy rather than dense and heavy is a rewarding achievement. While whole wheat flour presents unique challenges compared to white flour, understanding its properties and addressing the common pitfalls can transform your results. The key lies in optimizing each stage of the process: ensuring your leavening is active, achieving adequate gluten development and fermentation, mastering hydration, paying close attention to proofing cues, and employing proper shaping techniques.
Don't be discouraged if your first few whole wheat loaves are heavier than desired. Baking is a skill that improves with practice and observation. By carefully evaluating your process and making small adjustments based on the principles discussed – from accurate measurements to reading your dough's readiness – you can overcome the reasons why whole wheat bread heavy. With patience and attention to detail, you can consistently bake delicious, beautifully textured whole wheat bread right in your own kitchen. Happy baking!
Frequently Asked Questions
Why is my whole wheat bread so dense and heavy?
The heaviness of whole wheat bread is often due to the lower gluten development in whole wheat flour compared to white flour. This results in a less elastic dough and a denser final product.
Does the type of whole wheat flour I use affect the heaviness of my bread?
Yes, absolutely! Different whole wheat flours have varying protein content and grind coarseness. Using a finely ground whole wheat flour and one with a higher protein content can significantly improve your bread's texture.
How can I improve the gluten development in my whole wheat bread dough?
Techniques like autolysing (allowing the flour and water to hydrate before kneading) and longer kneading times can greatly improve gluten development. Adding a small amount of vital wheat gluten is also an option.
Is there anything I can add to my whole wheat bread recipe to make it lighter?
Adding a small amount of white bread flour to your whole wheat recipe can help lighten the texture. Other options include using honey or molasses as sweeteners, which can add moisture and improve the crumb.
Does the baking temperature or time affect the density of whole wheat bread?
Yes, baking temperature and time are crucial. Baking at a slightly lower temperature for a longer time can help ensure the bread is fully cooked without drying out, which can contribute to a heavier texture.
Final Reflection: The Weight of Whole Wheat and the Breadth of Choice
The seemingly simple question of why whole wheat bread is sometimes heavy reveals a much larger conversation about food choices, health, and the complexities of modern food production. Understanding the factors contributing to this density—from milling techniques to the type of wheat used—is not just about texture; it's about making informed decisions about what we put into our bodies.
The journey from understanding the science behind whole wheat bread's density to appreciating the diverse options available has been profoundly enlightening. It highlights the importance of considering not just the nutritional value, but also the sensory experience of food. Good food is good mood food.
This simple statement encapsulates the impact of our food choices on our overall well-being, extending beyond mere sustenance to encompass pleasure and satisfaction. The exploration of whole wheat bread has opened my eyes to the broader implications of mindful eating and the need to seek out options that align with both our health goals and our taste preferences.
Now, consider your own relationship with whole wheat bread. Do you gravitate towards lighter, fluffier loaves, or do you appreciate the denser texture and robust flavor of a truly whole grain? I encourage you to explore the world of whole wheat breads, experimenting with different brands and types to discover what best suits your palate and dietary needs. Don't let the weight of the bread discourage you; instead, let it be a reminder of the richness and complexity inherent in choosing wholesome, nourishing foods. The journey to finding your perfect loaf is a journey worth taking.
Unlock the Secrets to Lighter, Fluffier Whole Wheat Bread!
Thanks for taking the time to explore the world of whole wheat baking with us! We hope you now have a better understanding of what makes a truly great loaf. Are you ready to put your newfound knowledge into practice?
- Bake your own perfect whole wheat loaf: Use the tips and techniques shared here to experiment with different flours and methods. See what delicious results you can create!
- Share your baking triumphs (and challenges!): Join our BakeWithEase community on social media and share your experiences — we’d love to see your creations!
- Explore our other resources: Discover more baking tips and recipes on BakeWithEase.com.
What unique ingredient are you excited to try in your next whole wheat bread recipe?