
Bake Your First Loaf: An Easy Quick Bread Adventure

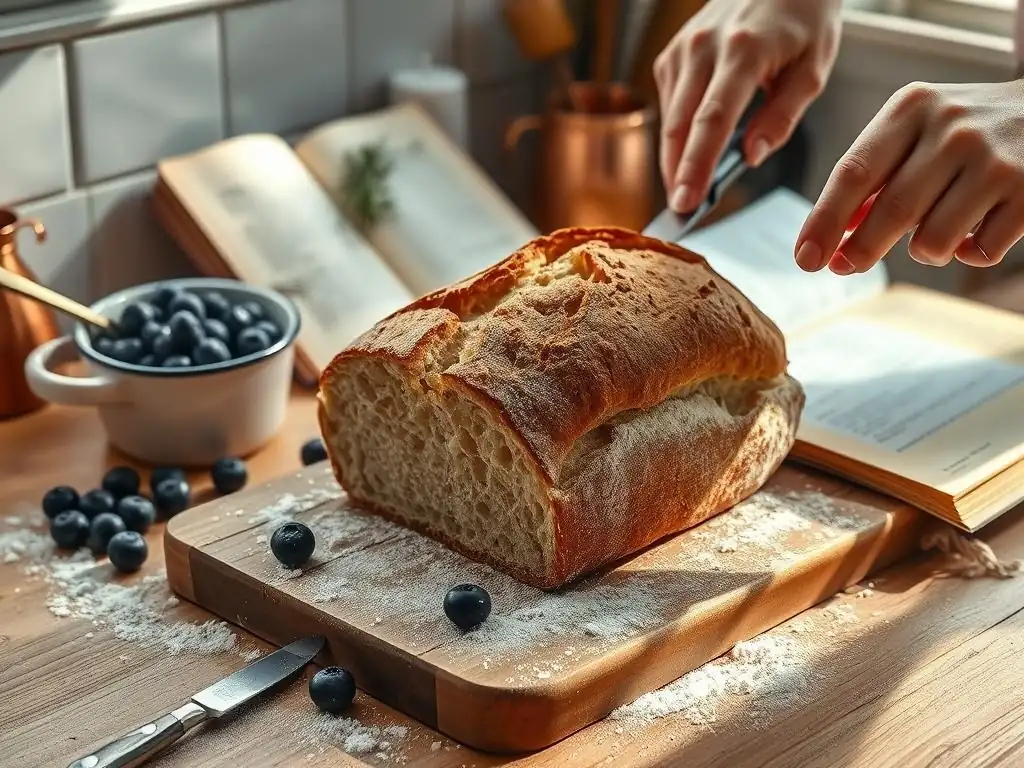
Welcome to BakeWithEase, your kitchen companion for all things baking! Ever dreamt of pulling a warm, crusty loaf from your oven? This week, we're demystifying the magic of sourdough. Dive into our easy sourdough bread recipe for beginners and discover how simple it can be to create bakery-worthy bread at home. Ready to unlock the secrets to effortless sourdough baking? Let's get started!
- Introduction to Quick Breads: The Perfect Starting Point for Beginner Bakers
- Easy Banana Bread Recipe for Beginners: A Step-by-Step Guide
- Preparing Your Bananas: The Key to Flavorful Bread
- Mixing the Dough: A Gentle Introduction to Quick Bread Making
- The Baking Process: Achieving a Golden Crust
- Cooling and Enjoying Your Homemade Banana Bread
- Troubleshooting Your Beginner Banana Bread
- Beyond the Basics: Exploring Other Quick Bread Recipes
- Conclusion: Celebrate Your Baking Success!
- Frequently Asked Questions
- Final Reflection: The Unexpected Joys of a Simple Loaf
- Unleash Your Inner Baker!
Introduction to Quick Breads: The Perfect Starting Point for Beginner Bakers
Why Quick Breads Are Ideal for New Bakers
Stepping into the world of baking can feel daunting, especially when faced with recipes requiring yeast, proofing times, and complex techniques. This is where quick breads shine as the ultimate entry point for beginners. Unlike traditional yeast-leavened loaves, quick breads rely on chemical leavening agents like baking soda and baking powder, meaning there's no waiting around for dough to rise.
You can mix, bake, and enjoy a delicious loaf in under an hour and a half, often much less for smaller items like muffins. This speed and simplicity drastically reduce the potential for errors related to yeast activity or proofing temperatures, offering a much higher chance of immediate success.
Furthermore, quick bread recipes often feature straightforward instructions and use common pantry ingredients. Their forgiving nature means small inaccuracies in measurement or mixing technique are less likely to result in a complete failure compared to delicate pastries or complex bread types. Mastering a simple quick bread provides a fantastic confidence boost and builds foundational skills, preparing you for more advanced baking projects down the line, perhaps even tackling an easy sourdough bread recipe for beginners when you feel ready. It's a low-stress, high-reward way to experience the joy of baking fresh goods at home.
Understanding the Basics of Quick Bread Baking
At its heart, quick bread baking is about the chemical reaction between a leavening agent (baking soda or baking powder, or both) and moisture/acid, which produces carbon dioxide gas. This gas gets trapped in the batter, causing it to rise during baking. The fundamental technique often employed is the "muffin method," which involves combining all the dry ingredients in one bowl and all the wet ingredients in another, then quickly mixing the wet into the dry until just combined. Overmixing is a common pitfall; it develops gluten too much, leading to a tough or dense texture.
A typical quick bread recipe follows a pattern: preheat oven, prepare pan, whisk dry ingredients, whisk wet ingredients, combine wet and dry briefly, pour into pan, and bake. The ratio of wet to dry ingredients, the type of fat used (butter, oil), and the specific leavening agents all contribute to the final texture and rise. Understanding these basic principles – the role of leaveners, the importance of gentle mixing, and the function of different ingredients – demystifies the process and sets you up for success with any quick bread recipe you choose to try.
Easy Banana Bread Recipe for Beginners: A Step-by-Step Guide
Gathering Your Simple Ingredients for Beginner Banana Bread
Essential Ingredients for Your First Banana Bread Loaf
To bake your first delicious banana bread loaf, you'll need just a few key ingredients, most of which you likely already have. For a standard 9x5 inch loaf, you'll typically use about 2-3 very ripe bananas (roughly 1 to 1.5 cups mashed), which provide moisture, sweetness, and that signature banana flavor.
You'll also need about 1 and 3/4 cups (around 220 grams) of all-purpose flour, the structural base of the bread. Sugar is essential for sweetness and tenderness; a common amount is around 3/4 cup (about 150 grams) of granulated sugar, though brown sugar is often used for added moisture and molasses notes.
Leavening comes from baking soda, usually 1 teaspoon (about 5 grams), activated by the acid in the bananas or perhaps a touch of buttermilk or sour cream if the recipe calls for it. A pinch of salt (about 1/4 teaspoon or 1-2 grams) balances the sweetness.
You'll need one or two large eggs (around 50-100 grams total) for binding and structure, and about 1/2 cup (115 grams or 4 oz) of melted butter or oil for moisture and richness. These core ingredients, simple as they are, combine to create a wonderfully moist and flavorful loaf, making this an ideal easy bread recipe for beginners.
Flour and Sweetener Variations
Once you're comfortable with the basic recipe, you can experiment with variations to tailor the banana bread to your taste. While all-purpose flour is standard, you can substitute up to half of it with whole wheat flour (e.g., 1 cup AP flour and 3/4 cup whole wheat flour) for a nuttier flavor and added fiber.
Be aware that whole wheat flour absorbs more liquid, so you might need a tiny splash more milk or yogurt if the batter seems too dry. Gluten-free flour blends can also be used, often on a 1:1 ratio, but results can vary depending on the blend.
For sweeteners, while granulated sugar works perfectly, using light or dark brown sugar instead can add moisture and a richer, caramel-like flavor due to the molasses content. Some recipes even call for a mix of granulated and brown sugar. Maple syrup or honey can also be used as partial or full substitutes for granulated sugar, though they add more liquid and can change the texture slightly.
For example, substituting 1/2 cup of sugar with about 1/3 cup of maple syrup might be a good starting point for experimentation. These simple swaps allow you to personalize your easy banana bread recipe beginners style.
Essential Baking Equipment for Easy Banana Bread
Must-Have Tools for Baking Your First Loaf
Baking your first quick bread doesn't require a professional kitchen setup. You really only need a few fundamental tools. Two mixing bowls are essential: one for your dry ingredients and one for your wet. A standard-sized loaf pan, typically 9x5 inches (approximately 23x13 cm), is necessary to shape your bread as it bakes. Ensuring it's properly greased and floured (or lined with parchment paper) is key to preventing your loaf from sticking.
You'll also need measuring tools: dry measuring cups for flour and sugar, liquid measuring cups for milk or oil, and measuring spoons for smaller amounts like baking soda and salt. A whisk is useful for combining dry ingredients and aerating them slightly, as well as for beating the eggs. Finally, a spatula or wooden spoon is needed for gently combining the wet and dry ingredients. These basic tools are affordable and versatile, forming the foundation for many other baking adventures, including potentially attempting an easy sourdough bread recipe for beginners down the road.
Optional but Helpful Baking Equipment
While not strictly required, a few additional pieces of equipment can make the process even smoother and improve your results. An electric mixer (handheld or stand mixer) can make creaming butter and sugar (if your recipe starts that way) or mixing the wet ingredients quicker, though it's crucial not to use it for combining the wet and dry ingredients, as this easily leads to overmixing. A cooling rack is very helpful for allowing air to circulate around your baked loaf as it cools, preventing the bottom from becoming soggy.
Parchment paper is excellent for lining your loaf pan, guaranteeing easy removal of the baked bread and making cleanup a breeze. A kitchen scale is invaluable for precise measurements, especially for flour, as scooping can lead to significant variations in weight. For instance, a cup of flour can weigh anywhere from 120 to 150 grams depending on how it's scooped and packed. Using a scale ensures consistent results every time. A toothpick or cake tester is vital for checking the doneness of your loaf's center.
Preparing Your Bananas: The Key to Flavorful Bread
Ripening and Mashing Your Bananas
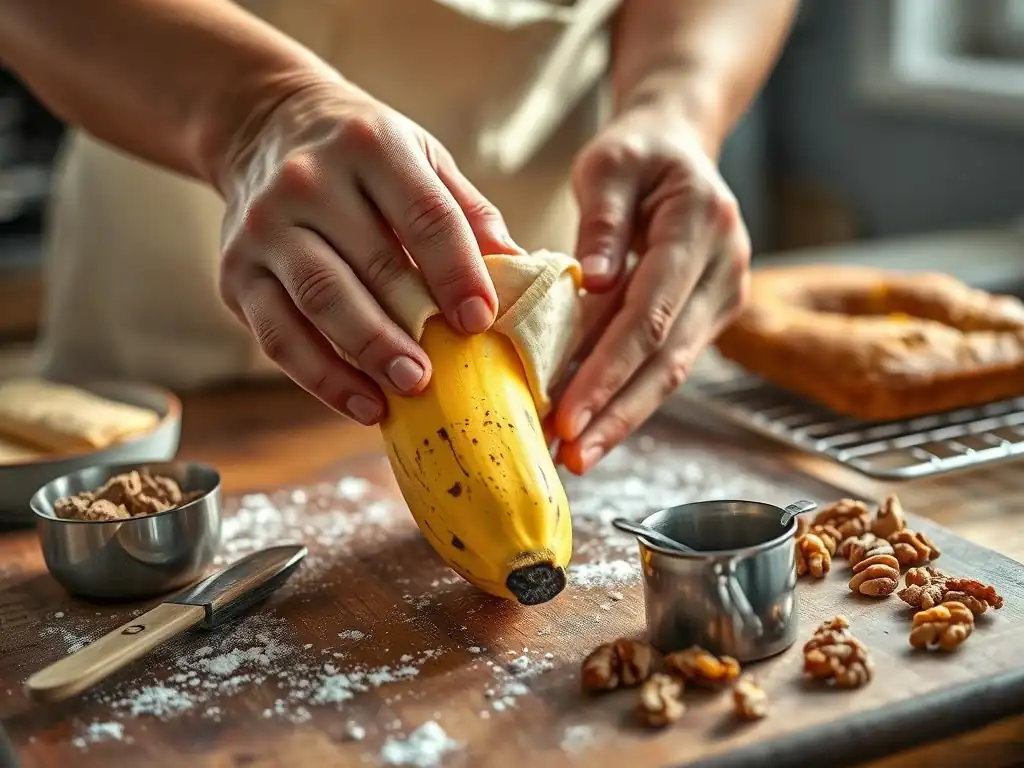
The secret to truly flavorful and moist banana bread lies in using very ripe bananas. As bananas ripen, their starches convert to sugars, making them sweeter. They also become softer and more easily mashed, releasing more moisture into the batter. Look for bananas that are heavily spotted with brown or are almost entirely brown – the darker, the better! Bananas that are still mostly yellow or green haven't developed enough sugar and moisture for optimal banana bread.
To mash the bananas, simply peel them and place them in a bowl. Use a fork or a potato masher to break them down into a lumpy consistency. Some small chunks are perfectly fine and even desirable, adding little pockets of intense banana flavor throughout the loaf. Avoid pureeing them completely into a smooth liquid, as this can sometimes lead to a gummy texture. Aim for a consistency similar to chunky applesauce. For a standard recipe using 2-3 bananas, this usually yields between 1 cup and 1.5 cups of mashed banana.
Tips for Using Frozen Bananas
Don't throw away those overripe bananas! Freezing them is an excellent way to save them for future baking projects. Simply peel the bananas and place them in a freezer-safe bag or container. When you're ready to bake, take out the required number of bananas (remembering that frozen bananas tend to be denser, so 3 frozen might yield a bit more than 3 fresh).
Thaw the frozen bananas at room temperature for several hours or in the refrigerator overnight. As they thaw, they will release a significant amount of liquid. This liquid is packed with flavor and sugar!
Drain off some of the excess liquid (you don't need all of it, as it can make the batter too wet), but keep enough to reach the desired mashed volume (e.g., 1 to 1.5 cups). Mash the thawed bananas as you would fresh ones. Using frozen, thawed bananas often results in an even more intensely flavored and moist banana bread due to the breakdown of cell walls during freezing.
Mixing the Dough: A Gentle Introduction to Quick Bread Making
Combining Ingredients for Your Beginner Banana Bread Recipe
The mixing process for quick breads is straightforward, emphasizing speed and minimal handling. Start by combining all your dry ingredients – flour, sugar, baking soda, and salt – in one large bowl. Use a whisk to aerate them slightly and ensure the leavening and salt are evenly distributed throughout the flour. In a separate, smaller bowl, whisk together your wet ingredients: the mashed bananas, melted butter or oil, eggs, and any other liquid like milk or vanilla extract called for in your specific easy banana bread recipe beginners guide.
Once your wet and dry ingredients are prepared, pour the wet mixture into the bowl with the dry ingredients. This is where the gentle touch is crucial. Using a spatula or wooden spoon, begin to fold the ingredients together. Mix just until you no longer see streaks of dry flour. It's okay – and even expected – for the batter to look lumpy. Small pockets of dry flour are far better than a tough loaf caused by overmixing. This brief mixing ensures the leavening agents are activated without developing excess gluten.
Achieving the Right Dough Consistency
The ideal consistency for banana bread batter is thick and lumpy, not smooth and runny like cake batter. When you've finished mixing, the batter should be scoopable but will hold its shape loosely. You should see some unmixed lumps of mashed banana and possibly a few small patches where the flour hasn't been perfectly incorporated – this is normal and desirable for a tender crumb. Overmixing develops the gluten in the flour, which is great for chewy yeast breads like an easy sourdough bread recipe for beginners, but disastrous for quick breads where tenderness is key.
If your batter seems too thick or dry after mixing, you might have accidentally used too much flour (a common issue if measuring by volume rather than weight) or your bananas weren't moist enough. You can add a tablespoon or two of milk or yogurt to loosen it up slightly, mixing minimally. Conversely, if it seems too wet, double-check your measurements. Resist the urge to keep mixing until it's smooth; embrace the lumpiness for a perfectly tender loaf.
The Baking Process: Achieving a Golden Crust
Baking Temperature and Time for Beginner Banana Bread
Proper oven temperature and baking time are critical for ensuring your banana bread bakes through evenly without drying out or burning. Most banana bread recipes for a standard 9x5 inch loaf pan call for a moderate oven temperature, typically around 350°F (175°C). Preheat your oven fully before placing the loaf inside; an oven that hasn't reached temperature can lead to uneven baking.
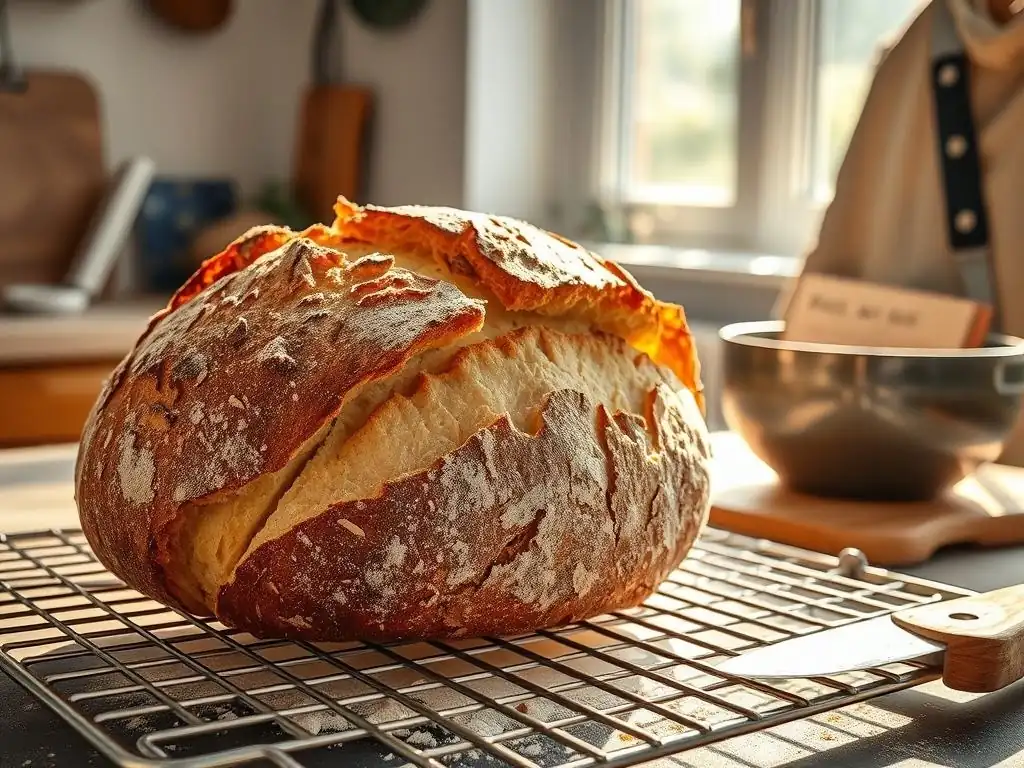
The baking time will vary depending on your oven, the exact size of your loaf pan, and the moisture content of your batter, but it commonly ranges from 50 to 70 minutes. Start checking for doneness around the 50-minute mark. The loaf should be golden brown on top, and the edges should appear set and pulling slightly away from the sides of the pan.
The best way to check if it's done is to insert a toothpick or thin skewer into the center of the loaf. If it comes out clean or with just a few moist crumbs attached (not wet batter), your bread is ready. If it comes out with wet batter, return it to the oven for 5-10 minute intervals, checking each time.
Tips for Achieving a Moist Interior
No one wants dry banana bread! Ensuring a moist interior involves a few key factors you can control during the baking process. First and foremost, do not overbake. Baking even a few minutes too long after the toothpick test comes out clean can transition your loaf from perfectly moist to slightly dry. Start checking early and trust the toothpick test.
Using very ripe bananas, as discussed earlier, is also crucial as they contribute significant moisture. If your recipe allows, incorporating a moist ingredient like sour cream, plain yogurt, or even applesauce (often 1/4 to 1/2 cup) can greatly enhance moisture and tenderness. Finally, consider covering the top of your loaf loosely with aluminum foil partway through baking if it starts browning too quickly before the center is done. For example, if the top is golden after 30-40 minutes but the center is still raw, tenting it with foil will prevent the top from burning while the inside finishes baking.
Cooling and Enjoying Your Homemade Banana Bread
The Importance of Cooling Before Slicing
Patience is a virtue, especially when it comes to slicing warm banana bread! While the aroma filling your kitchen is tempting, allowing the loaf to cool properly is essential for the best texture. As the bread cools in the pan, the internal structure sets, and residual heat continues to cook it slightly. Trying to slice a hot quick bread often results in a crumbly mess, as the starches haven't fully solidified, and the steam trapped inside will cause it to fall apart.
After removing the banana bread from the oven, let it sit in the loaf pan for about 10-15 minutes. This allows it to firm up slightly before you attempt to remove it. Then, carefully invert the pan or lift the loaf out using the parchment paper liner and transfer it to a wire cooling rack to cool completely.
Cooling on a rack allows air to circulate around all sides, preventing the bottom from becoming soggy from trapped steam. While it's hard to wait, letting it cool for at least an hour, or ideally until it reaches room temperature, will ensure clean slices and the best possible texture.
Serving Suggestions for Your Freshly Baked Bread
Once your homemade banana bread has cooled sufficiently, it's time to enjoy the fruits of your labor! The simplest way to serve it is sliced plain, allowing the pure, sweet banana flavor to shine. A thick slice is perfect with a cup of coffee or tea.
For a little extra indulgence, serve slices warmed slightly (a quick zap in the microwave or a few minutes in a toaster oven works well) and spread generously with butter. The butter melts into the warm bread, creating a truly comforting experience. Other popular serving suggestions include adding a dollop of cream cheese, a smear of jam or jelly, or even a drizzle of honey. Some people enjoy it topped with a sprinkle of cinnamon or a handful of chopped nuts. However you choose to serve it, savor the moment – you've successfully baked your first loaf!
Troubleshooting Your Beginner Banana Bread
Common Mistakes and How to Avoid Them
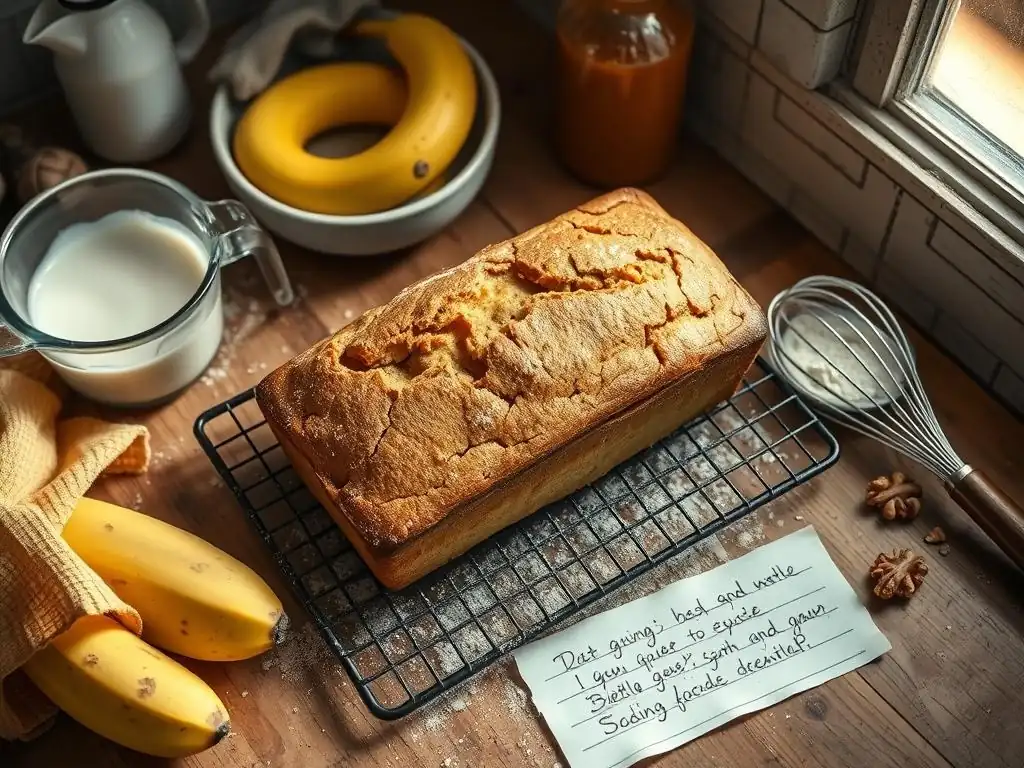
Even with an easy recipe, occasional hiccups can happen when you're just starting out. Understanding common issues and their causes will help you learn and improve with each loaf you bake. Don't be discouraged if your first attempt isn't perfect; every baking experience is a learning opportunity. Identifying the problem is the first step to baking success, whether you're making quick bread or working towards mastering an easy sourdough bread recipe for beginners.
For example, a loaf that doesn't rise properly or has a gummy texture often points to issues with leavening or mixing. A dry loaf might be overbaked, while a loaf that sinks in the middle could indicate it wasn't baked long enough or the oven temperature was off. Let's look at some specific common problems and how to fix them for your next baking adventure.
Problem: Dense Bread - Solution
If your banana bread turned out heavy, tough, or dense instead of light and tender, the most probable culprit is overmixing. Overmixing develops the gluten in the flour, leading to a tough texture. Remember the "muffin method" principle: mix wet and dry ingredients just until combined, leaving lumps of banana and visible streaks of flour is fine. For your next loaf, be extra mindful of your mixing technique.
Another potential cause for dense bread is using old or expired baking soda or baking powder. These leavening agents lose their potency over time. Check their expiration dates and ensure they are fresh. You can test baking soda by adding a pinch to vinegar (it should fizz vigorously) and baking powder by adding a pinch to hot water (it should also fizz). Using too much flour can also result in a dense loaf, especially if measuring by volume and packing the flour into the cups. Try measuring flour by weight (1 cup is approximately 125 grams) for greater accuracy.
Problem: Undercooked Center - Solution
Finding a raw, gooey center after the edges and top look perfectly baked is frustrating. This usually indicates the loaf didn't bake for long enough, or the oven temperature was inaccurate. Ensure your oven is fully preheated before putting the loaf in. Oven thermometers are inexpensive tools that can verify if your oven's thermostat is accurate; many ovens can be off by 25°F (about 15°C) or more.
If the top and sides are browning quickly but the center is still raw, tent the loaf loosely with aluminum foil. This shields the exterior from direct heat, allowing the inside to continue baking without the outside burning. Bake for longer, checking with a toothpick inserted into the absolute center every 5-10 minutes until it comes out clean. Remember that thicker or deeper loaf pans might require a longer baking time than shallower ones.
Problem: Dry Bread - Solution
If your banana bread is crumbly and dry, it's likely overbaked. Even a few extra minutes in the oven after it's done can strip away moisture. Start checking for doneness at the lower end of the recipe's suggested time range (e.g., 50 minutes for a typical loaf). Trust the toothpick test – as soon as it comes out clean, take the bread out of the oven.
Other factors contributing to dryness can include not using sufficiently ripe bananas (they add crucial moisture), using too much flour (again, accuracy in measuring is key), or not using enough fat (butter or oil). For your next attempt, ensure your bananas are very ripe, measure your flour accurately (ideally by weight), and stick to the specified baking time, checking early and often.
Beyond the Basics: Exploring Other Quick Bread Recipes
Expanding Your Baking Repertoire with More Easy Recipes
Successfully baking your first banana bread is a fantastic achievement and proof that you can bake! Quick breads offer a vast and delicious world to explore next. Once you've mastered banana bread, you'll find that the techniques and principles apply to a wide variety of other easy quick bread recipes. Consider trying classic blueberry muffins, which use a similar batter method but bake in individual portions. Zucchini bread is another popular choice, using shredded zucchini for moisture, much like bananas.
Cornbread is a savory quick bread that's incredibly simple and versatile, perfect with soups or stews. Scones, while often considered a pastry, are technically quick breads that use cold butter cut into the dry ingredients for a flaky texture. Each of these recipes builds upon the basic quick bread foundation you've learned, introducing slight variations in ingredients or mixing methods. They offer new flavors and textures to explore without the complexity of yeast or long fermentation times required for loaves like an easy sourdough bread recipe for beginners.
Next Steps: Adding Nuts, Chocolate Chips, and Spices
Once you're comfortable with the basic banana bread recipe, you can easily customize it with delicious add-ins. Chopped nuts, such as walnuts or pecans, are a classic addition, adding crunch and nutty flavor. A common amount is about 1/2 to 1 cup, folded in gently with the wet ingredients. Chocolate chips, especially semi-sweet or dark chocolate, are another popular choice, melting into gooey pockets of sweetness.
Experiment with spices! A pinch of cinnamon or nutmeg can enhance the flavor profile of your banana bread. You could also add a touch of vanilla extract if your recipe doesn't already include it.
Consider adding a streusel topping made from flour, sugar, butter, and cinnamon for added texture and sweetness. These simple additions allow you to put your personal spin on your easy banana bread recipe beginners journey and keep your baking exciting. As you gain confidence with quick breads, you might find yourself ready to tackle new challenges, perhaps even researching how to make an easy sourdough bread recipe for beginners.
Conclusion: Celebrate Your Baking Success!
Congratulations! By following this guide, you've embarked on your quick bread adventure and likely baked your very first loaf of delicious banana bread. You've learned essential techniques like understanding leavening, gentle mixing, and checking for doneness. This success is a significant milestone in your baking journey.
Remember the joy of transforming simple ingredients into something wonderful and the pride of sharing your homemade creation. Quick breads are just the beginning; they provide the perfect foundation for exploring countless other recipes. Keep practicing, keep experimenting, and most importantly, keep having fun in the kitchen. This easy bread recipe for beginners is just the first step on a path that could lead you to mastering muffins, scones, and perhaps one day, even tackling an easy sourdough bread recipe for beginners with confidence. Happy baking!
Frequently Asked Questions
What makes this sourdough recipe "easy" for beginners?
This recipe focuses on simplicity and speed. It uses a quick bread method that doesn't require extensive kneading or proofing times, making it less intimidating for first-time sourdough bakers.
What if I don't have a sourdough starter?
You must have a sourdough starter to make sourdough bread. BakeWithEase.com offers resources on creating and maintaining a healthy starter if you don't already have one.
Can I substitute ingredients in this easy sourdough bread recipe?
While some substitutions are possible, it's best to follow the recipe as written, especially when starting. Ingredient ratios are crucial for successful sourdough baking. Experiment later once you're comfortable with the process.
How long does it take to make this easy sourdough bread from start to finish?
The entire process, including mixing, resting, and baking, takes approximately 3-4 hours. This is significantly shorter than traditional sourdough recipes, thanks to the quick bread approach.
What should I do if my dough doesn't rise properly?
Several factors can affect rising. Ensure your starter is active and bubbly. Also, maintain a warm environment during the proofing stage. Check the BakeWithEase.com troubleshooting section for more tips.
Final Reflection: The Unexpected Joys of a Simple Loaf
The seemingly simple act of baking a loaf of bread transcends mere culinary skill; it's a journey of discovery, patience, and ultimately, immense satisfaction. In today's fast-paced world, taking the time to nurture a sourdough starter and bake a rustic loaf offers a powerful antidote to the pressures of modern life. This quiet process connects us to a long-standing tradition, reminding us of the simple pleasures found in creating something beautiful and delicious with our own hands.
The influence of homemade bread extends far beyond the kitchen table. It's a symbol of comfort, connection, and the enduring power of tradition. The aroma alone can evoke powerful memories and feelings of warmth and belonging. Bread is the staff of life,
a common saying, truly encapsulates its significance in our cultural heritage, providing sustenance and a sense of community for centuries. This simple act of baking, therefore, becomes a powerful act of self-care and a way to connect with something larger than ourselves.
Now, I invite you to consider your own journey. Perhaps you've already experienced the joy of baking your first loaf, or maybe this article has inspired you to embark on this rewarding adventure. Regardless, remember the lessons learned here: patience, attention to detail, and the unwavering belief in your ability to create something truly special. Don't be afraid to get your hands dirty, embrace the unexpected, and savor the delicious rewards of your labor. The journey of baking, like life itself, is best enjoyed one delicious loaf at a time.
Unleash Your Inner Baker!
Thanks for joining us on this quick bread adventure! We hope you've gained the confidence to tackle baking with ease. Now it's time to put your newfound skills to the test.
- Bake your first loaf today! Grab those ingredients and let's get baking. The recipe is designed for success, so don't be afraid to experiment.
- Share your creation! Post a picture of your masterpiece on social media using #BakeWithEase and inspire others to join the baking fun.
- Explore other delicious recipes on BakeWithEase.com for more baking inspiration. You might even discover your next favorite recipe!
What unique twist will you add to your first loaf? Let us know in the comments below!