
Simple Cherry Tartlets: BiteSized Bliss

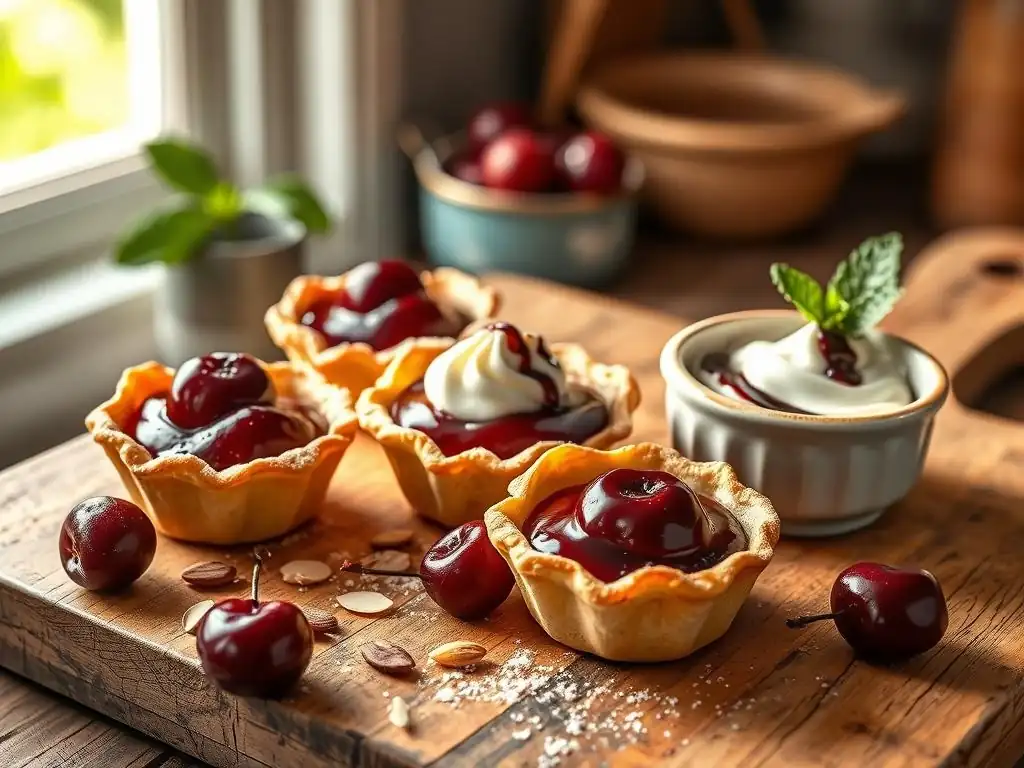
Welcome to BakeWithEase, where baking dreams become delicious reality! Ever wondered how to create a perfectly flaky, fruit-filled dessert that's both stunning and surprisingly simple? This week, we're diving into the delightful world of pastry and desserts with our Easy Cherry Tartlet Recipe. Intrigued? Discover the secrets to achieving bite-sized bliss that will impress your friends and family, and leave you wanting more. Let's get baking!
- Classic Cherry Tartlets: A Delightful Treat
- Introduction to Homemade Cherry Tartlets
- Cherry Tartlet Recipe: Ingredients & Equipment
- Step-by-Step Guide: How to Make Cherry Tartlets
- Tips and Tricks for Perfect Cherry Tartlets
- Serving and Storing Your Homemade Cherry Tartlets
- Troubleshooting Common Cherry Tartlet Baking Issues
- More Tart Recipes
- Conclusion: Enjoying Your Homemade Cherry Tartlets
-
Frequently Asked Questions
- What makes this cherry tartlet recipe "easy," especially for beginners?
- Can I substitute fresh cherries for canned or frozen ones in this recipe?
- What type of pastry crust is recommended for the easiest results?
- How should I store the cherry tartlets after baking?
- Can I make the cherry filling ahead of time?
- Final Reflection: The Enduring Allure of Simple Pleasures
- Unleash Your Inner Pastry Chef!
Classic Cherry Tartlets: A Delightful Treat
Introduction to Homemade Cherry Tartlets
Discover the Joy of Baking Individual Cherry Tartlets
There's something uniquely charming about individual desserts, and cherry tartlets are no exception. These miniature delights offer a perfect balance of flaky crust and sweet-tart filling, all in a convenient, personal size. Baking them at home brings immense satisfaction, allowing you to control the quality of ingredients and fill your kitchen with the irresistible aroma of warm cherries and butter. It's a rewarding process that culminates in a treat perfect for sharing or savoring all by yourself.
Creating individual cherry tartlets transforms a classic dessert into a bite-sized experience. Their small size makes them ideal for portion control, tasting parties, or simply enjoying a single, perfect pastry. The process of shaping the dough and filling each little shell can be quite therapeutic, leading to a batch of uniformly beautiful and delicious treats that look as good as they taste. It's a delightful project for bakers of any skill level.
Why This Cherry Tartlet Recipe is Perfect for Any Occasion
This specific easy cherry tartlet recipe is designed with simplicity and delicious results in mind, making it accessible for even novice bakers. We focus on straightforward techniques and readily available ingredients, ensuring you can whip up a batch without stress. Whether you're a seasoned pro or just starting your baking journey, you'll find this guide easy to follow, leading you to impressive results every time.
Cherry tartlets are incredibly versatile and suit a wide array of occasions. They are elegant enough for a formal tea party, yet casual and fun for a summer picnic or family gathering. Their individual size makes serving effortless, and they are always a crowd-pleaser. This easy cherry tartlet recipe proves that you don't need complex methods to create a truly delightful dessert that fits perfectly into any celebration or quiet moment.
Cherry Tartlet Recipe: Ingredients & Equipment
Essential Ingredients for Delicious Cherry Tartlets
For the sweet shortcrust pastry, or pâte sucrée, you'll need basic baking staples. This includes about 1 ½ cups of all-purpose flour, ½ cup of cold, unsalted butter cut into small cubes, ¼ cup of granulated sugar, a pinch of salt, and one egg yolk. Some recipes might call for a tablespoon or two of ice water or milk to bring the dough together. Using cold butter is crucial as it creates steam during baking, resulting in a wonderfully flaky crust.
The star of the show is the cherry filling. You'll need approximately 3 to 4 cups of pitted cherries. This can be about 1 ½ pounds of fresh cherries, or a equivalent weight of frozen cherries, thawed and well-drained. You'll also need sugar (adjusting the amount based on the sweetness of your cherries, perhaps ¼ to ½ cup), a thickener like 2 tablespoons of cornstarch or tapioca starch, and a squeeze of lemon juice (about 1 teaspoon) to brighten the flavor.
Equipment Needed for Baking Perfect Cherry Tartlets
To make the pastry, you'll need a food processor or a large mixing bowl and a pastry blender or fork to cut the butter into the flour. A rolling pin is essential for rolling out the dough, and you'll need a round cutter or even a glass rim, slightly larger than your tartlet molds, to cut out the pastry circles. Tartlet molds are ideal, but a standard muffin tin can also work perfectly for this easy cherry tartlet recipe, just be sure to grease it well.
For the filling and assembly, a medium saucepan is needed to cook the cherries. You'll also need measuring cups and spoons for accuracy. A cherry pitter is helpful if using fresh cherries, but not strictly necessary if you're willing to pit them by hand (it's a bit messy!). A wire cooling rack is important for letting the tartlets cool properly after baking.
Step-by-Step Guide: How to Make Cherry Tartlets
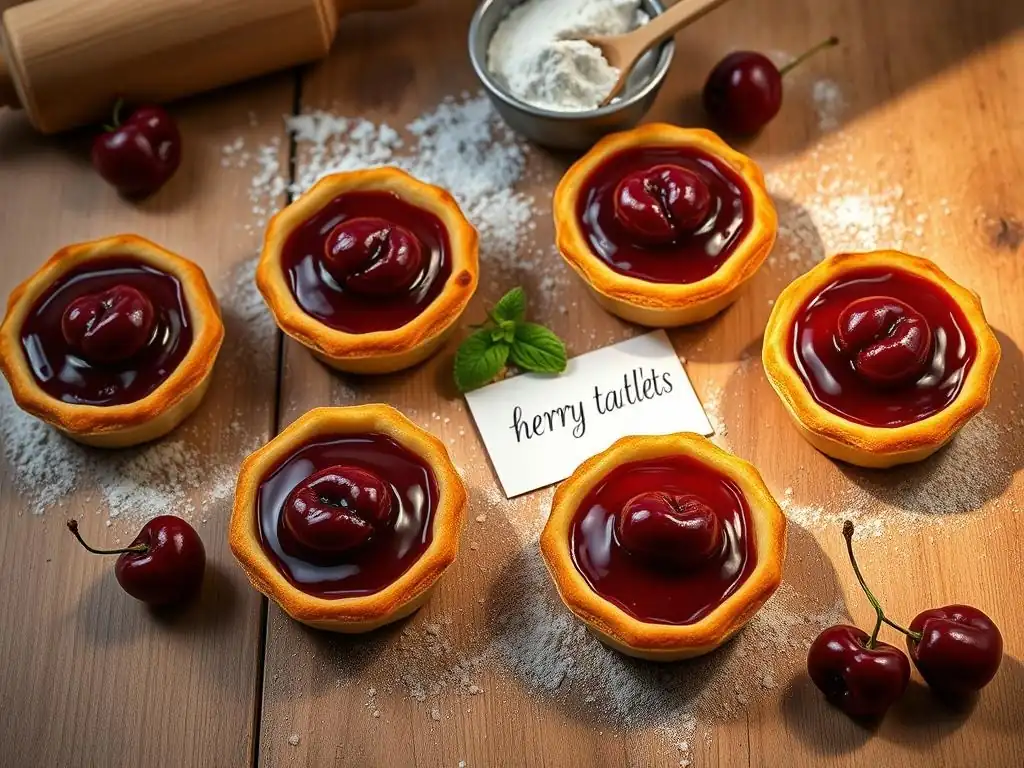
Preparing the Pâte Sucrée (Sweet Shortcrust Pastry)
Begin by combining the flour, sugar, and salt in your food processor or mixing bowl. Add the cold, cubed butter and pulse or cut it in until the mixture resembles coarse crumbs with some pea-sized pieces of butter remaining. This is where the flakiness comes from.
Next, add the egg yolk and pulse or mix until just combined. If the dough is too dry to come together, add ice water or milk, one teaspoon at a time, mixing until the dough just starts to form a ball. Be careful not to add too much liquid or overwork the dough, as this can lead to a tough crust. Gather the dough into a disc, wrap it tightly in plastic wrap, and refrigerate for at least 30 minutes to 1 hour. Chilling is vital for easy handling and preventing shrinkage.
Making the Cherry Filling: A Simple Cherry Compote
While the dough chills, prepare the cherry filling. In a medium saucepan, combine the pitted cherries, sugar, and lemon juice. If using frozen cherries, ensure they are thoroughly thawed and drained to avoid excess liquid. Cook the mixture over medium heat, stirring occasionally, until the cherries start to release their juices and the mixture comes to a gentle simmer.
In a small bowl, whisk together the cornstarch (or tapioca starch) with 1-2 tablespoons of water or cherry juice from the pan to create a slurry. Pour this slurry into the simmering cherry mixture, stirring constantly. Continue to cook for 1-2 minutes, stirring, until the filling thickens. It should coat the back of a spoon. Remove from heat and let the filling cool completely before using it in the tartlets. A warm filling can make the pastry soggy.
Assembling the Cherry Tartlets: Filling and Crimping
Preheat your oven to 375°F (190°C). Lightly grease your tartlet molds or muffin tin. On a lightly floured surface, roll out the chilled pastry dough to about ⅛ inch thickness. Use a round cutter or glass slightly larger than your tartlet cavities to cut out circles of dough. Gently press each dough circle into a mold, pressing it against the bottom and up the sides. Trim any excess dough.
Spoon the cooled cherry filling into each pastry shell, filling it generously but leaving a small margin at the top. If you wish, you can cut out shapes or strips from leftover dough to decorate the tops, or simply leave them open-faced for a rustic look. For a classic look, you can crimp the edges of the pastry dough around the rim of the mold. Place the filled tartlets on a baking sheet.
Baking the Cherry Tartlets to Golden Perfection
Place the baking sheet with the assembled cherry tartlets into the preheated oven. Bake for approximately 20 to 25 minutes. The exact time will vary depending on your oven and the size of your molds.
You'll know the tartlets are done when the pastry crust is a beautiful golden brown and the cherry filling is bubbling slightly in the center. This indicates that the crust is cooked through and the filling is set. Carefully remove the baking sheet from the oven and let the tartlets cool in the molds for 5-10 minutes before gently removing them to a wire rack to cool completely.
Tips and Tricks for Perfect Cherry Tartlets
Achieving a Crispy and Golden Tart Crust
The secret to a perfectly crispy and golden tart crust lies in using cold ingredients and not overworking the dough. Ensure your butter is very cold and cut into small pieces. When mixing, stop as soon as the dough just comes together. Overmixing develops gluten, which can lead to a tough, less flaky crust.
Chilling the dough is non-negotiable. Refrigerating the dough allows the butter to firm up again and the gluten to relax, making the dough easier to roll and preventing excessive shrinkage during baking. Baking at the correct temperature, typically around 375°F (190°C), ensures the crust cooks through and turns golden brown without the filling burning.
Preventing Soggy Bottoms in Your Cherry Tartlets
A common pitfall with fruit tarts is a soggy bottom crust. To prevent this with your easy cherry tartlet recipe, ensure your cherry filling is fully cooled before adding it to the raw pastry shells. A hot filling will start to cook the bottom crust prematurely and introduce too much moisture.
Another effective tip is to brush the bottom of the unbaked pastry shell with a thin layer of egg white before adding the filling. As it bakes, the egg white creates a thin barrier that helps seal the crust against the moisture from the fruit. Alternatively, a very light dusting of finely ground nuts or dry breadcrumbs on the bottom can absorb excess moisture.
Choosing the Best Cherries: Fresh vs. Frozen Bing Cherries
When cherries are in season, typically late spring through summer, using fresh, ripe cherries offers unparalleled flavor. Sweet varieties like Bing or Rainier are delicious, but slightly tart varieties like Montmorency can provide a wonderful contrast to the sweet pastry. If using fresh, you'll need to pit them, which can be a bit of a task, but yields about 3 cups of pitted fruit from 1.5 pounds.
Frozen cherries, often Bing or similar sweet varieties, are a fantastic and convenient option available year-round. They are usually pitted and ready to go. The most important step when using frozen cherries for your easy cherry tartlet recipe is to thaw them completely and drain off all the excess liquid. This prevents the filling from becoming too watery and potentially leading to a soggy crust. While they might lose a tiny bit of firmness compared to fresh, their flavor is excellent for baking.
Adding Flavor Variations: Vanilla Extract, Kirsch
While classic cherry is wonderful, you can easily enhance the filling's flavor. A simple addition of ½ teaspoon of pure vanilla extract stirred into the cooled cherry compote adds a warm, aromatic depth that complements the fruit beautifully. Vanilla is a versatile enhancer that pairs well with most fruit fillings.
For a more sophisticated twist, consider adding a splash of Kirsch (cherry brandy). About 1 tablespoon added to the simmering cherry filling towards the end of cooking provides a lovely, subtle cherry liqueur note. The alcohol will cook off during the simmering process, leaving behind just the concentrated flavor of the cherry spirit. This variation elevates the easy cherry tartlet recipe into a more adult dessert.
Serving and Storing Your Homemade Cherry Tartlets
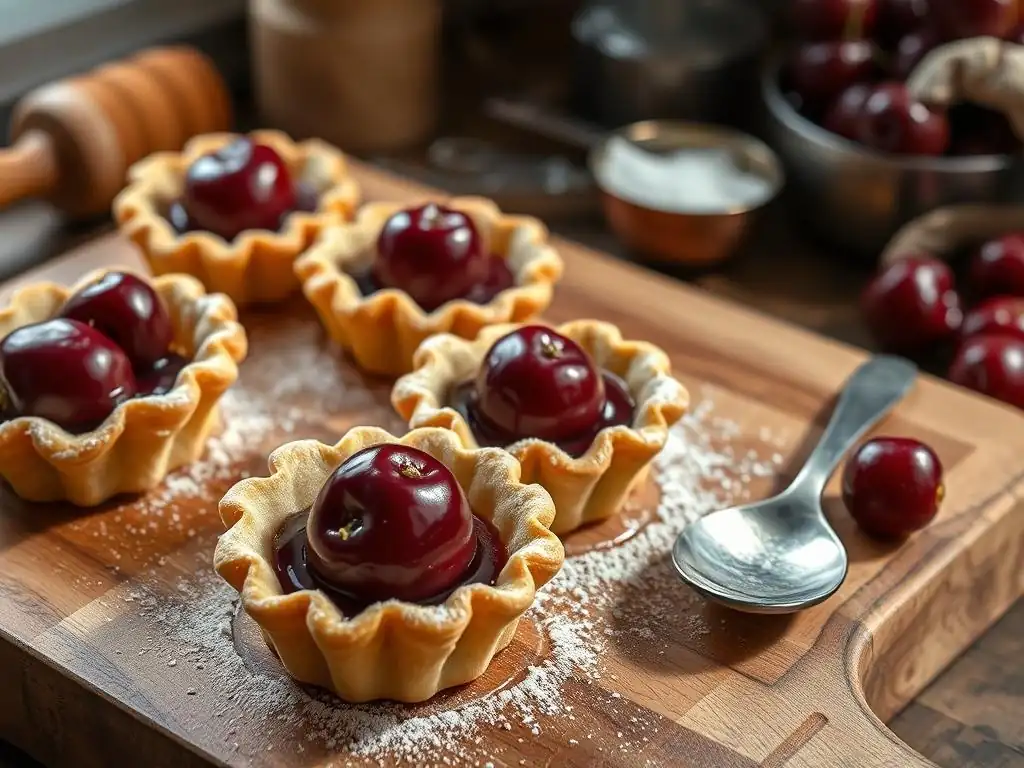
Serving Suggestions: Warm with Ice Cream or Whipped Cream
Cherry tartlets are delightful served slightly warm. The warmth enhances the aroma of the cherries and the flakiness of the crust. A classic pairing is a scoop of good quality vanilla ice cream, which melts slightly into the warm filling, creating a decadent combination.
Alternatively, a dollop of freshly whipped cream adds a light, creamy contrast to the sweet-tart cherries. For a simpler presentation, a light dusting of powdered sugar just before serving adds a touch of elegance. Enjoy them with a cup of coffee or tea for a perfect afternoon treat.
How to Store Cherry Tartlets for Maximum Freshness
Once completely cooled, cherry tartlets can be stored at room temperature for 1 to 2 days, loosely covered with plastic wrap or a cake dome. For longer storage, refrigeration is recommended to maintain freshness and quality, especially given the fruit filling.
Store cooled tartlets in a single layer in an airtight container in the refrigerator for up to 3 to 4 days. The crust may soften slightly in the refrigerator due to the moisture from the filling. You can gently rewarm them in a low oven ( 300°F / 150°C) for about 5-10 minutes to crisp up the crust again before serving.
Troubleshooting Common Cherry Tartlet Baking Issues
Addressing a Shrinking Tart Crust
Crust shrinkage is often caused by the dough being too warm or overworked, leading to gluten development. Ensure all your pastry ingredients are cold, especially the butter and any liquid used. Handle the dough as little as possible when mixing and rolling.
The most effective way to prevent shrinkage is proper chilling. Chill the dough disc for at least 30-60 minutes before rolling. After pressing the dough into the tartlet molds, chill the formed shells again for another 15-20 minutes before filling and baking. This second chill is crucial for relaxing the gluten strands that may have developed during handling.
Fixing a Weeping Cherry Filling
A weeping filling means excess liquid is seeping out, which can make the crust soggy. This usually happens if the filling wasn't thickened enough or if frozen fruit wasn't drained properly. Ensure you cook the filling long enough after adding the cornstarch slurry, stirring until it is visibly thickened and coats a spoon.
If using frozen cherries for your easy cherry tartlet recipe, make sure they are fully thawed and thoroughly drained before you start cooking them. You can even gently press them to remove excess water. If your filling seems thin after cooking, you can try adding a tiny bit more cornstarch slurry and cooking briefly, or accept it and use one of the soggy-bottom prevention methods like an egg white wash on the crust.
Preventing the Tartlets from Sticking to the Pan
Having your beautiful tartlets stick to the pan can be frustrating. The simplest solution is to ensure your tartlet molds or muffin tin are well-greased before you press the dough into them. Use butter, shortening, or a non-stick cooking spray, making sure to coat the bottom and sides thoroughly.
Allowing the baked tartlets to cool in the pan for 5 to 10 minutes before attempting to remove them is also helpful. As they cool slightly, the fat in the pastry firms up, making the tartlets easier to release. Tartlet pans with removable bottoms are specifically designed to make this process effortless.
More Tart Recipes
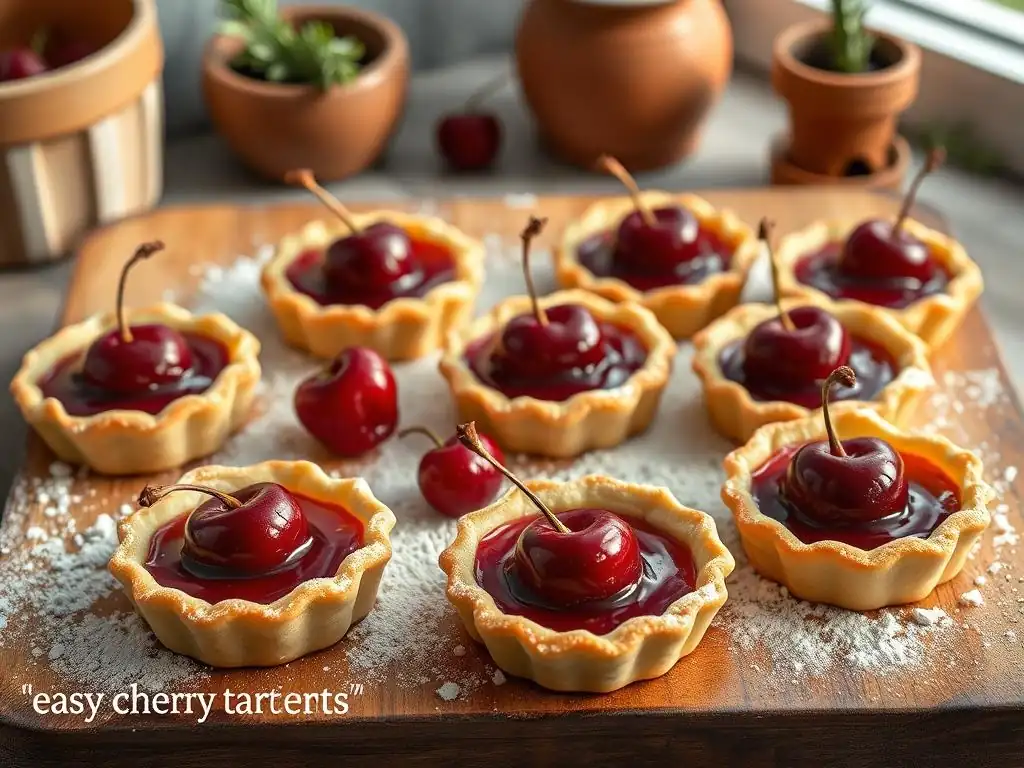
Explore Other Tart Recipes
Once you've mastered this easy cherry tartlet recipe, a world of other delicious tart possibilities opens up! Tarts are incredibly versatile, featuring a variety of crusts, from shortcrust like this one to puff pastry or even cookie crusts. The fillings can range from sweet fruits and creams to savory vegetables and cheeses.
Exploring different tart recipes allows you to experiment with new flavors and techniques. You can learn how different fruits behave when baked, how to make smooth custards or rich chocolate ganaches, and how different pastry types contribute to the final dessert. Each tart offers a unique baking challenge and a rewarding outcome.
Discover Delicious Tart Variations: Lemon, Chocolate
Beyond fruit, two incredibly popular and delicious tart variations are Lemon Tarts and Chocolate Tarts. A classic Lemon Tart features a bright, tangy lemon curd filling nestled in a sweet pastry crust, offering a refreshing contrast of flavors and textures. Making lemon curd from scratch is a simple process involving eggs, sugar, lemon juice, and butter.
Chocolate Tarts are a dream for chocolate lovers, often featuring a rich, smooth chocolate ganache or mousse filling in a crisp chocolate or standard pastry crust. These tarts are typically decadent and luxurious, perfect for special occasions. Mastering an easy cherry tartlet recipe provides a great foundation for tackling these and many other delightful tart variations.
Conclusion: Enjoying Your Homemade Cherry Tartlets
Celebrate Your Baking Success with These Delicious Treats
Congratulations on baking a batch of classic cherry tartlets! There's a unique sense of accomplishment that comes from creating something so delightful from simple ingredients. You've successfully navigated making pastry, preparing a fruit filling, and baking individual treats.
Take a moment to appreciate the results of your efforts – the golden, flaky crusts, the vibrant, bubbling cherry filling, and the sweet aroma filling your home. These homemade cherry tartlets are a testament to your baking skill, no matter your experience level, especially when starting with an easy cherry tartlet recipe like this one.
The best part about baking isn't just the process or the eating, but the sharing. These individual cherry tartlets are perfect for gifting to neighbors, bringing to a potluck, or simply sharing with loved ones over a cup of coffee.
Let others enjoy the bite-sized bliss you've created. Sharing your baked goods spreads joy and allows you to celebrate your success with those around you. Happy baking!
Frequently Asked Questions
What makes this cherry tartlet recipe "easy," especially for beginners?
The recipe focuses on simple ingredients and straightforward steps. We use pre-made pastry for convenience, making it quick and achievable for novice bakers.
Can I substitute fresh cherries for canned or frozen ones in this recipe?
Yes, you can! Just be sure to pit fresh cherries and potentially adjust the sugar content depending on their sweetness. Frozen cherries should be thawed and drained before use.
What type of pastry crust is recommended for the easiest results?
We recommend using pre-made, store-bought shortcrust pastry. It's the fastest and simplest option. Puff pastry can also work but requires more care.
How should I store the cherry tartlets after baking?
Store them in an airtight container at room temperature for up to 2 days, or in the refrigerator for up to 4 days. Keeping them in the fridge will help preserve their freshness.
Can I make the cherry filling ahead of time?
Absolutely! The cherry filling can be prepared up to 2 days in advance and stored in the refrigerator. This will save time when assembling the tartlets.
Final Reflection: The Enduring Allure of Simple Pleasures
The seemingly simple act of baking a cherry tartlet transcends mere culinary creation; it's a potent symbol of connection, joy, and the enduring power of homemade goodness in a fast-paced world. In a time dominated by instant gratification and pre-packaged treats, the deliberate process of crafting these bite-sized delights offers a refreshing counterpoint, reminding us of the satisfaction found in slowing down and savoring the fruits of our labor. The ease of the recipe, detailed in this article, makes this accessible to everyone, regardless of baking experience.
The influence of simple, comforting foods on our emotional well-being is undeniable. These little tarts, with their vibrant filling and delicate crust, evoke feelings of nostalgia, warmth, and shared moments. The best things in life are simple.
This quote perfectly encapsulates the essence of these cherry tartlets – their beauty lies not in complexity, but in their unpretentious charm and the happiness they bring. They represent a return to the basics, a celebration of fresh, seasonal ingredients, and the joy of creating something beautiful with your own hands.
Now, I invite you to consider the impact of simple pleasures in your own life. Don't just read this recipe; bake it. Feel the cool dough between your fingers, smell the sweet aroma of baking cherries, and experience the satisfaction of creating something delicious and beautiful. Let this simple act be a reminder to appreciate the small moments, to find joy in the everyday, and to share the sweetness of life with those you love. The cherry tartlets are just the beginning; what other simple pleasures will you embrace today?
Unleash Your Inner Pastry Chef!
Thanks for joining us on this delicious journey into the world of cherry tartlets! We hope you've gained some inspiration and confidence in your baking abilities. Ready to take your newfound skills to the next level?
- Bake a batch of your own cherry tartlets today! Use our recipe as a jumping-off point – experiment with different fillings or crusts.
- Share your creations with us! Post a picture on social media using #BakeWithEaseCherryTartlets and tag us – we'd love to see your delicious results.
- Challenge yourself: Try adapting this recipe to make another type of fruit tartlet. What will you create?
Ready to share your perfectly baked cherry tartlet masterpiece with the world? What unique twist will you add to this classic recipe?