
Rolling & Shaping Sweet Rolls Like a Pro Baker

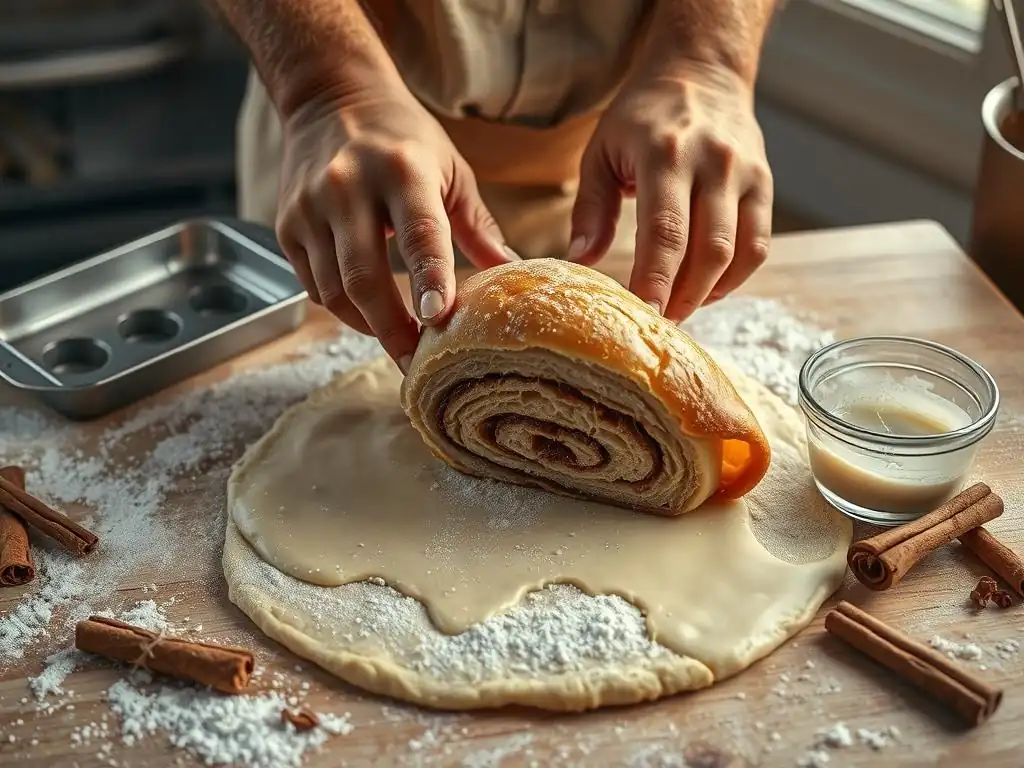
Welcome to BakeWithEase, your guide to baking bliss! Ever wondered how professional bakers achieve those beautifully shaped sweet rolls? Unlock the secrets with our latest article, " Rolling & Shaping Sweet Rolls Like a Pro Baker." We're diving deep into easy sweet roll shaping tips that will elevate your baking game from amateur to artisan. Ready to impress? Let's get rolling!
- Rolling & Shaping Sweet Rolls Like a Pro Baker: BakeWithEase Guide
- Introduction to Perfect Sweet Roll Shaping
- Essential Dough Preparation for Easy Sweet Roll Shaping
- Step-by-Step Guide to Rolling Sweet Roll Dough
- Easy Sweet Roll Shaping Tips & Techniques
- Filling Your Sweet Rolls for Maximum Flavor
- Baking Your Shaped Sweet Rolls to Golden Perfection
- Troubleshooting Common Sweet Roll Shaping Issues
- Advanced Sweet Roll Techniques for Experienced Bakers
- Mastering Easy Sweet Roll Shaping: Final Thoughts and Tips
-
Frequently Asked Questions
- How do I prevent my sweet roll dough from tearing when rolling it out?
- What is the best way to ensure my sweet rolls are evenly sized?
- What kind of filling works best for sweet rolls, and how much should I use?
- What are some creative shaping techniques besides the traditional spiral?
- How do I keep my sweet rolls from drying out while baking?
- Final Reflection: Mastering the Art of the Sweet Roll
- Unleash Your Inner Baker: Craft Perfect Sweet Rolls!
Rolling & Shaping Sweet Rolls Like a Pro Baker: BakeWithEase Guide
Introduction to Perfect Sweet Roll Shaping
Why Mastering Sweet Roll Shaping Matters for BakeWithEase Bakers
Shaping might seem like a minor detail, but it's a crucial step in transforming simple dough into delightful sweet rolls that are both beautiful and delicious. For home bakers on BakeWithEase, understanding how to shape dough effectively ensures that your sweet treats bake evenly, maintain their structure, and achieve that professional look you see in bakeries. Poor shaping can lead to rolls that unravel during baking, have uneven textures, or simply don't live up to their potential, making mastering these easy sweet roll shaping tips a valuable skill for anyone looking to elevate their baking game.
Beyond aesthetics, proper shaping directly impacts the texture and overall eating experience. A roll that is shaped too loosely might fall apart, while one shaped too tightly could result in a dense, heavy texture. Learning simple sweet roll shaping techniques helps control the rise and expansion of the dough in the oven, guaranteeing a consistent, tender crumb throughout. This is particularly important for popular varieties like cinnamon rolls or sticky buns, where uniform layers of filling are key to achieving that perfect bite.
Unlock Professional-Looking Sweet Rolls with These Easy Techniques
Achieving that bakery-quality appearance in your sweet rolls is more accessible than you might think. It starts with understanding the fundamental techniques for handling and manipulating enriched doughs. These methods, while seemingly complex, are built upon simple principles like tension, consistency, and uniformity. By focusing on these core concepts, even beginner bakers can start producing rolls that look like they were made by a seasoned professional, proving that beautiful baking is within reach for everyone using BakeWithEase guides.
This guide will walk you through various shaping methods, from the most basic to slightly more intricate designs, providing you with the easy sweet roll shaping tips needed to succeed. We'll cover classic rolls, charming pinwheels, and even touch upon more unique shapes. The goal is to equip you with the knowledge and confidence to experiment with different styles, ensuring every batch of sweet rolls you bake is not only incredibly tasty but also visually stunning, ready to impress friends and family.
Essential Dough Preparation for Easy Sweet Roll Shaping
Achieving the Ideal Dough Consistency for Rolling and Shaping
The texture of your dough is arguably the most critical factor in achieving successful shaping. An ideal sweet roll dough should be soft, elastic, and only slightly tacky – not sticky enough to cling relentlessly to your hands or the work surface. Dough that is too wet will be difficult to roll and shape, potentially requiring excessive flour which can make the final product tough. Conversely, dough that is too dry won't develop sufficient gluten structure, resulting in rolls that are crumbly and lack that desirable chewiness.
To achieve this perfect consistency, pay close attention to the hydration level specified in your recipe, typically ranging from 55% to 65% water relative to the flour weight for enriched doughs. During kneading, whether by hand or stand mixer, the dough should transition from a shaggy mass to a smooth, pliable ball. A good test is the "windowpane test": pull a small piece of dough and gently stretch it.
If you can stretch it thin enough to see light through it without tearing, the gluten is well-developed and the dough is ready for shaping. This foundation is essential for implementing any easy sweet roll shaping tips effectively.
Pro Tips for Proofing Your Sweet Roll Dough Effectively
Proper proofing allows the yeast to produce carbon dioxide, which makes the dough light and airy, crucial for tender sweet rolls. The first rise, or bulk fermentation, typically involves letting the dough double in size in a warm place, often taking anywhere from 1 to 2 hours at room temperature (around 70-75°F or 21-24°C), or longer if proofing in a cooler environment or refrigerating overnight. This slow fermentation develops flavor and structure.
For the second rise, after shaping, the rolls are proofed again until they are visibly puffy, often taking 30-60 minutes. Over-proofing can cause the rolls to collapse during baking, while under-proofing results in dense rolls. A simple test is to gently press a finger into the dough; if the indentation springs back slowly and partially, it's ready. If it springs back quickly, it needs more time. If it stays indented, it's likely over-proofed. Controlling these rises is fundamental to applying easy sweet roll shaping tips that result in perfect texture.
Step-by-Step Guide to Rolling Sweet Roll Dough
Rolling Out the Dough: Achieving the Perfect Rectangle
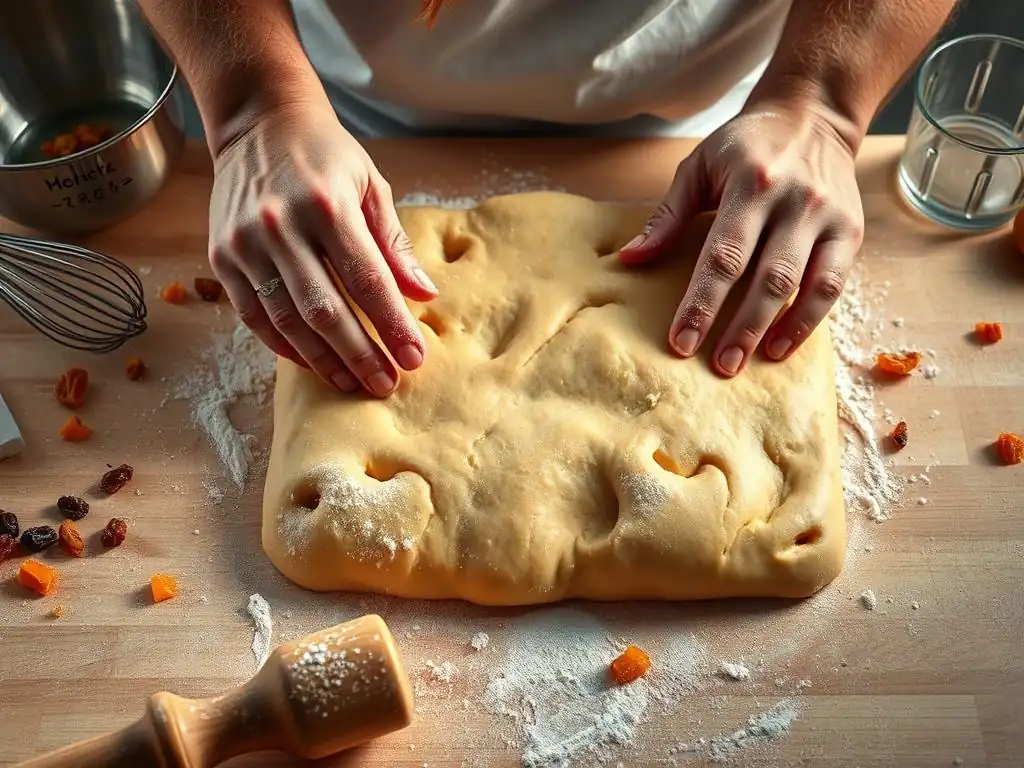
Once your dough has completed its first rise and has been gently punched down, the next step is rolling it into a uniform rectangle. This shape is ideal for most classic sweet roll preparations, like cinnamon rolls, as it allows for even distribution of filling and consistent roll sizes. Start by placing the dough on a lightly floured surface. Too much flour can prevent the dough from sealing properly when rolled. Use a rolling pin, starting from the center and rolling outwards, turning the dough occasionally to prevent sticking and maintain an even thickness.
Aim for a rectangle that is consistent in width and length, typically around 12 to 18 inches wide and 14 to 20 inches long, depending on the recipe and desired roll size. For example, a common size for cinnamon rolls might be a rectangle approximately 14x18 inches (35x45 cm), yielding about 12-15 standard-sized rolls. Pay special attention to the corners and edges, ensuring they are as square as possible. This attention to detail makes subsequent shaping steps much easier and contributes significantly to uniform easy sweet roll shaping tips.
Controlling Dough Thickness for Uniform Sweet Rolls
Maintaining a consistent dough thickness is paramount for achieving uniformly sized and baked sweet rolls. If the dough is too thin in some areas, it can tear when rolled or result in small, dry sections in the final product. If it's too thick, the rolls will be large and might not bake evenly, with the centers potentially remaining doughy. The ideal thickness for most sweet rolls is typically between 1/4 inch and 1/3 inch (about 6-8 mm).
Use a ruler or even the side of your rolling pin as a guide to check the thickness across the entire rectangle. Some bakers use rolling pins with adjustable rings to guarantee a specific thickness, which is an excellent tool for beginners focusing on easy sweet roll shaping tips.
As you roll, gently lift and reposition the dough occasionally to prevent it from sticking to the surface, adding just a minimal amount of flour underneath if necessary. Consistent thickness ensures that each roll receives the same amount of heat during baking, leading to a perfect texture from edge to center.
Easy Sweet Roll Shaping Tips & Techniques
The Classic Roll: A Beginner-Friendly Shaping Method
The classic roll is perhaps the most common and straightforward method for shaping sweet rolls, making it perfect for beginners practicing easy sweet roll shaping tips. After spreading your filling evenly over the rolled-out dough rectangle, you simply start rolling the dough tightly from one of the longer edges towards the opposite edge. The goal is to create a snug log without trapping too much air inside.
As you roll, try to keep the log even in thickness from one end to the other. Once rolled, the seam should be on the bottom. Use a sharp knife, bench scraper, or even dental floss (unwaxed, unflavored) to cut the log into individual rolls.
Cutting with floss creates clean cuts without squishing the dough layers. Standard thickness is often around 1 to 1.5 inches (2.5-3.8 cm) per roll, yielding about 12-15 rolls from a typical 14x18-inch rectangle. Place these cut rolls into your prepared baking pan, usually leaving a small gap between them as they will expand during the second proof and baking.
Shaping Sweet Rolls: The Pinwheel Technique Explained
The pinwheel technique is essentially the same as the classic roll but emphasizes the visible layers, creating a beautiful spiral effect. This method starts identically: roll your dough into a rectangle and spread your desired filling. The key to a distinct pinwheel is rolling the log tightly and evenly. As you roll, ensure the dough is under slight tension, pulling it gently towards you with each turn while pressing down slightly to seal the layers.
Once the log is formed, use a very sharp knife or dental floss to cut the individual rolls. The sharpest cut will best preserve the distinct layers of dough and filling, making the pinwheel pattern stand out. For a standard 14x18-inch rectangle rolled from the long side, cutting 1.5-inch thick rolls will give you about 12 beautiful pinwheels. Arrange them cut-side up in your baking pan. This is one of the most satisfying easy sweet roll shaping tips to master as the result is visually impressive.
Advanced Sweet Roll Shaping: The Braided Roll
While slightly more involved than the classic roll or pinwheel, the braided roll offers an elegant presentation. After rolling your dough into a rectangle, spread the filling, but instead of rolling it up, you'll prepare it for braiding. Cut the dough into three equal strips lengthwise. Spread filling on each strip, leaving edges clear. Then, carefully braid the three strips together, starting from one end.
Once braided, you can either form the braid into a circle or leave it as a long braid. For individual braided rolls, cut the long braid into desired lengths before proofing. This method requires a dough with good elasticity to handle the braiding without tearing. A brioche-style dough, known for its richness and pliability, works exceptionally well for braided shapes. This technique moves beyond basic easy sweet roll shaping tips into something a bit more decorative.
Creating Unique Shapes: Knots, Twists, and More: The Hedgehog
Beyond the standard rolls and braids, dough can be shaped into various charming forms. Knots and twists involve cutting strips of dough, sometimes filled, and then tying or twisting them before proofing. A simple knot can be made by taking a strip (say, 1x10 inches), perhaps filled and folded lengthwise, and tying it into a loose knot. Twists involve taking two strips, possibly with filling between them, and twisting them together before forming a shape like a circle or 'S'.
A more whimsical shape like the "Hedgehog" sweet roll is created by taking a small ball of dough, shaping one end into a snout, and then using kitchen shears to make small cuts along the back to resemble quills. These cuts should be shallow to avoid cutting completely through. After proofing, the cuts will separate, enhancing the quill effect. While perhaps not among the most common easy sweet roll shaping tips, these creative shapes demonstrate the versatility of sweet dough and add a fun element to your baking.
Filling Your Sweet Rolls for Maximum Flavor
Evenly Distributing the Filling for Delicious Sweet Rolls
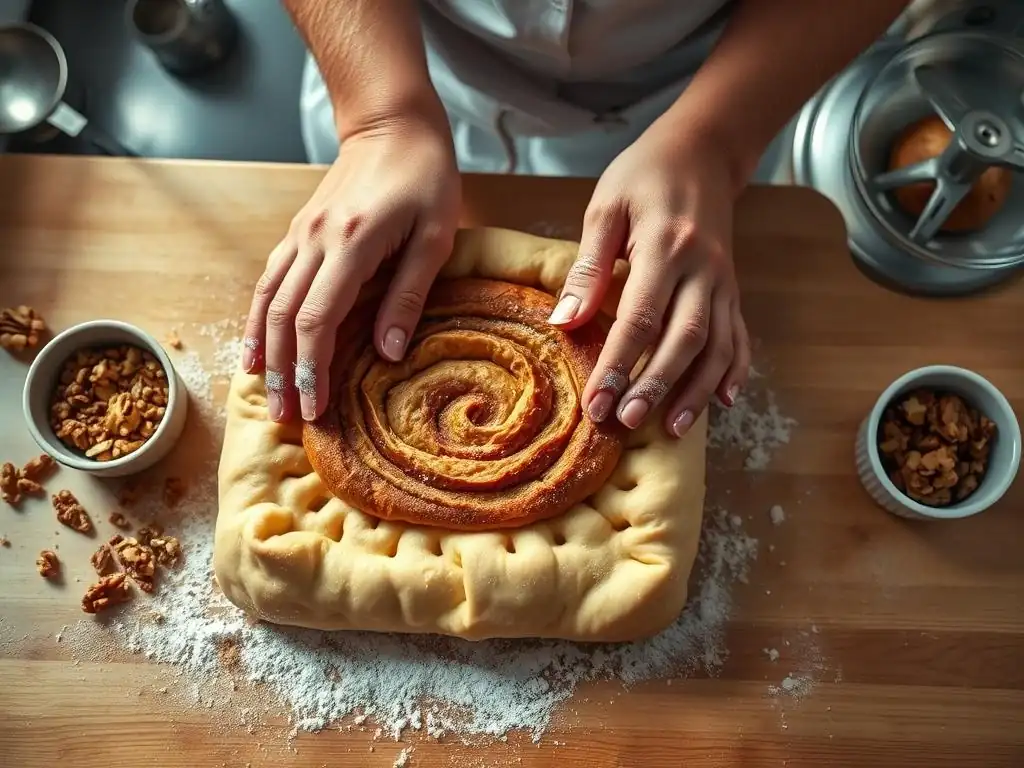
The key to a consistently delicious sweet roll is ensuring that every bite contains a balanced amount of filling. After rolling your dough rectangle, spread the filling evenly across the surface, leaving a small border (about 1/2 inch or 1 cm) along the edge you'll finish rolling towards. This border helps seal the roll and prevents filling from oozing out. Use an offset spatula or the back of a spoon to spread soft fillings like cinnamon sugar mixed with butter, cream cheese, or fruit compotes right to the edges you intend to roll from.
For fillings containing larger pieces, like nuts or chopped fruit, try to distribute them as evenly as possible to avoid clumps in some rolls and bare spots in others. A typical cinnamon sugar filling for a 14x18-inch rectangle might use around 1/2 cup (100g) of softened butter, 1 cup (200g) of brown sugar, and 2-3 tablespoons (30-45g) of cinnamon. Spreading this uniformly across the surface ensures each roll has that classic sweet and spicy kick. Proper filling distribution is a critical part of successful easy sweet roll shaping tips.
Preventing Filling Leakage During Baking
One common frustration is filling leaking out of sweet rolls during baking, creating a sticky mess in the pan. This often happens with wet fillings like fruit compotes or fillings that melt significantly, like large amounts of butter or sugar. To minimize leakage, ensure your dough is rolled and sealed tightly. The final seam of your rolled log should be pressed firmly against the dough to seal it securely.
If using a particularly wet filling, you might consider slightly thickening it beforehand or mixing it with a binder like a small amount of flour, cornstarch, or breadcrumbs (especially for fruit fillings). Baking the rolls in a pan where they fit snugly can also help contain the filling; as they expand, the sides of the pan provide support. Using a parchment paper liner in your baking pan makes cleanup much easier even if some leakage occurs. These preventative measures enhance the outcome of your easy sweet roll shaping tips.
Creative Sweet Roll Filling Ideas: Apple Cinnamon
While the classic cinnamon sugar filling is undeniably popular, sweet rolls are incredibly versatile and can be filled with a wide array of delicious combinations. An Apple Cinnamon filling is a wonderful variation, especially popular in the fall. To make it, you might sauté finely diced apples (like Honeycrisp or Granny Smith) with butter, brown sugar, cinnamon, and a pinch of nutmeg until slightly softened but still holding their shape. A typical amount for a batch might use 2 medium apples, 1/4 cup butter, 1/2 cup brown sugar, and 1-2 tsp cinnamon.
Other creative options include:
- Cream Cheese: A sweetened cream cheese filling (cream cheese, sugar, vanilla) is divine.
- Chocolate & Hazelnut: Spread Nutella or a similar chocolate-hazelnut spread.
- Poppy Seed: A traditional Eastern European filling made from ground poppy seeds, sugar, and milk.
- Savory-Sweet: Consider combinations like ham and cheese with a touch of maple syrup, though less common for typical 'sweet rolls'.
Experimenting with fillings adds a new dimension to your baking and pairs wonderfully with practicing easy sweet roll shaping tips.
Baking Your Shaped Sweet Rolls to Golden Perfection
Optimal Baking Temperature and Time for Sweet Rolls
Baking sweet rolls at the correct temperature and for the appropriate amount of time is crucial for achieving that perfect golden-brown exterior and fully baked interior. Most sweet roll recipes recommend baking at a moderate temperature, typically between 350°F and 375°F (175°C - 190°C). A lower temperature might result in rolls spreading too much before setting, while a higher temperature could cause the outside to brown too quickly, leaving the inside undercooked.
The baking time will vary depending on the size and thickness of your rolls, as well as your oven's calibration. For standard-sized cinnamon rolls (cut about 1.5 inches thick), baking usually takes between 15 to 25 minutes. Smaller rolls might take closer to 12-18 minutes, while larger or more densely packed rolls could require up to 30 minutes.
Look for visual cues: the rolls should be puffed up, golden brown on top and around the edges, and the internal temperature should register around 190-200°F (88-93°C) when tested with an instant-read thermometer. Getting the bake right is the final step after applying all your easy sweet roll shaping tips.
Achieving a Golden-Brown Crust: Baking Tips
A beautiful golden-brown crust isn't just for looks; it contributes to the flavor and texture of the sweet roll. To encourage even browning, ensure your oven is fully preheated to the correct temperature. Placing the baking pan in the center of the oven rack allows for optimal heat circulation. If you notice some rolls browning faster than others, you can loosely tent the pan with aluminum foil during the last 5-10 minutes of baking.
Some bakers like to brush the tops of their rolls with a little milk or egg wash before baking to promote a richer color and slightly softer crust. A simple milk wash (1-2 tablespoons of milk) or a beaten egg mixed with a tablespoon of water works well. Avoid opening the oven door too frequently during baking, especially in the first half, as this can cause temperature fluctuations and potentially impact the rise and browning. A consistent oven temperature is key to perfecting the results of your easy sweet roll shaping tips.
Cooling and Glazing Your Perfectly Shaped Sweet Rolls
Once your sweet rolls emerge from the oven, golden and fragrant, it's important to let them cool slightly before glazing. Allowing them to cool in the pan for about 5-10 minutes prevents them from collapsing or tearing when transferred. This also allows the internal structure to set. After this initial cooling, you can transfer them to a wire rack to cool further. Glazing them while they are still warm, but not hot, allows the glaze to melt slightly and cascade into the crevices, creating that signature gooey topping.
A standard glaze, like a simple powdered sugar and milk/vanilla mixture, is best applied when the rolls are warm. If they are too hot, the glaze will become completely liquid and run off. If they are too cool, the glaze might not spread smoothly.
For a batch of 12-15 rolls, a glaze made from 1.5 to 2 cups (180-240g) of powdered sugar mixed with 3-4 tablespoons of milk or cream and 1 teaspoon of vanilla extract is usually sufficient. Drizzle or spread it generously over the tops using a spoon or spatula. The contrast between the warm roll and the melting glaze is pure bliss, the delicious reward for mastering your easy sweet roll shaping tips.
Troubleshooting Common Sweet Roll Shaping Issues
Dough Too Sticky? Solutions for Easier Handling
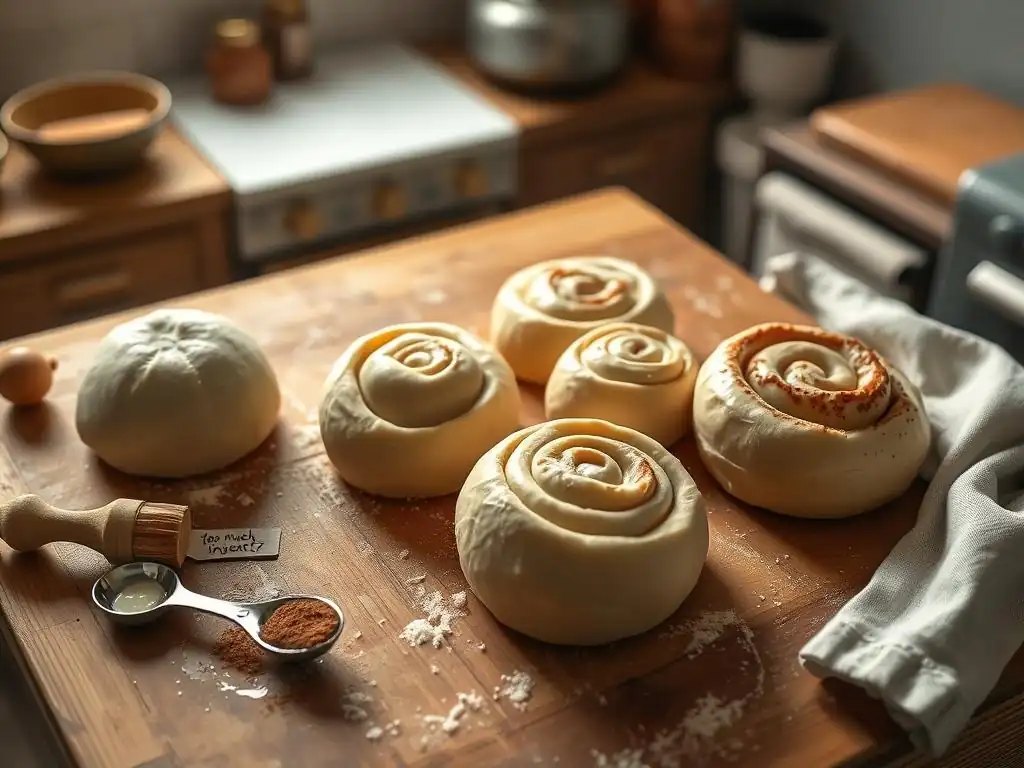
Working with sweet dough can sometimes be a sticky situation, literally. If your dough is excessively sticky after kneading, resist the urge to add large amounts of flour directly. Adding too much flour can make the final rolls dry and tough. Instead, try incorporating flour gradually, one tablespoon at a time, during the final stages of kneading until the dough is manageable but still soft.
Another effective solution is chilling the dough. Sweet doughs, especially those rich in butter or egg, become much easier to handle when cold. After the first rise, punch down the dough and refrigerate it for at least 30 minutes, or even overnight. The cold butter and gluten structure will firm up, making the dough less sticky and significantly easier to roll and shape. Working on a lightly floured surface or using a non-stick mat also helps. These simple adjustments are key easy sweet roll shaping tips for managing sticky dough.
Uneven Shapes? Tips for Consistent Results
Achieving uniform sweet roll shapes is a mark of a skilled baker, and it primarily comes down to consistency in your technique. The most common cause of uneven shapes is an irregularly shaped dough rectangle before rolling. Ensure your rectangle has straight edges and square corners as much as possible. Use your hands to gently push the dough into shape as you roll with the pin.
When cutting the rolled log, measure each section to ensure they are all the same width, for instance, exactly 1.5 inches (3.8 cm). Using a ruler or marking the log with a knife before cutting can help. For methods involving individual pieces like knots or braids, try to divide the dough into equal portions by weight using a kitchen scale. Consistent portioning and careful cutting are fundamental easy sweet roll shaping tips for uniform results.
Preventing Tearing During Rolling and Shaping
Dough tearing during rolling or shaping can be frustrating and usually indicates one of a few issues. The most common cause is insufficient gluten development during kneading. If the dough isn't elastic enough, it won't stretch without tearing. Ensure you've kneaded the dough sufficiently until it passes the windowpane test.
Another reason for tearing is trying to roll or shape the dough while it's too cold and stiff, or conversely, too warm and relaxed. Dough straight from the refrigerator needs a few minutes to warm up slightly to become pliable. If the dough feels very tight and resistant to stretching, let it rest covered for 10-15 minutes.
This allows the gluten to relax, making it easier to work with without tearing. Using just enough flour to prevent sticking, but not so much that it dries out the surface, also helps maintain elasticity. Mastering these aspects makes applying easy sweet roll shaping tips much smoother.
Advanced Sweet Roll Techniques for Experienced Bakers
Working with Different Doughs: Brioche, Sourdough, and More
As you gain confidence with easy sweet roll shaping tips and techniques, you might explore working with different types of enriched doughs, each offering unique characteristics. Brioche dough, rich with butter and eggs, is incredibly pliable and produces tender, flavorful rolls. Its elasticity makes it ideal for more complex shapes like braids or intricate knots. Working with brioche requires keeping it cool, as the high butter content can make it sticky at room temperature.
Sourdough sweet rolls offer a tangy depth of flavor and a unique texture. Sourdough starters require careful feeding and timing, and the dough often has a slightly different handling quality compared to commercial yeast doughs. It can sometimes be a bit stickier due to higher hydration levels. Other doughs like challah or even a lean dough with added fat can be adapted for sweet rolls, each presenting subtle differences in how they roll and shape. Experimenting with these doughs expands your baking repertoire.
Incorporating Unique Flavors and Textures in Your Shapes
Advanced shaping goes hand-in-hand with incorporating more complex fillings and textures directly into the dough or shape itself. Instead of just spreading a filling, you might fold in ingredients like chopped nuts, dried fruits, or even chocolate chips before shaping, creating pockets of flavor within the dough layers. Consider adding ingredients like orange zest or cardamom directly into the dough for an aromatic base.
For textural contrast, you could incorporate a streusel topping before baking or add a layer of crushed cookies or graham crackers mixed with butter over your filling. When creating shapes like knots or twists, you might use two different doughs (e.g., plain and cocoa dough) for a visually striking marble effect. These techniques require a good understanding of dough handling and how different inclusions affect the shaping process, building upon fundamental easy sweet roll shaping tips.
Creating Show-Stopping Sweet Roll Designs: Swan Shape
For experienced bakers looking for a challenge, crafting elaborate sweet roll designs can be incredibly rewarding. A "Swan" shape, for instance, is a decorative technique often used for pastries but can be adapted for sweet dough. This involves shaping a piece of dough into the body and neck of a swan, sometimes adding a separate piece for the head. The body is typically a puffed oval, while the neck is a thin, curved piece.
This level of shaping requires precise cutting, folding, and manipulation of the dough to achieve recognizable forms. It often involves techniques like scoring the dough or using scissors to create details before the second proof. While far removed from basic easy sweet roll shaping tips, mastering foundational techniques provides the dexterity and understanding of dough behavior needed to attempt such intricate designs, turning your sweet rolls into edible art.
Mastering Easy Sweet Roll Shaping: Final Thoughts and Tips
Practice Makes Perfect: Refining Your Shaping Skills
Like any baking skill, mastering sweet roll shaping comes with practice. Don't expect your first batch to be perfectly uniform. Each time you roll dough and practice different shaping techniques, you'll gain a better feel for the dough's consistency, how much pressure to apply when rolling, and how to achieve tighter, more even rolls. Start with simple shapes like the classic roll or pinwheel to build confidence.
Set aside dedicated time to practice, perhaps making smaller batches. Pay attention to how the dough feels at different stages – after kneading, after the first proof, and after chilling. Note what works and what doesn't. Maybe your dough needs slightly less flour, or perhaps rolling on parchment paper is easier for you than a floured surface. Consistent practice is the most reliable path to refining your easy sweet roll shaping tips and achieving beautiful results every time.
Once you've honed your easy sweet roll shaping tips and baked a batch of gorgeous sweet rolls, the best part is sharing them! Whether with family, friends, or your fellow bakers in the BakeWithEase community, showcasing your creations is a source of pride and inspiration. Take photos of your rolls, especially highlighting the shapes and how evenly they baked.
Share your experiences, including any challenges you overcame or creative twists you added. Did you perfect the pinwheel? Did you try a new filling? Your journey and tips can help others on their baking path. The BakeWithEase community thrives on shared knowledge and celebrating baking successes, big or small. Your beautifully shaped sweet rolls are a testament to your growing skills and a delicious contribution to any gathering.
Frequently Asked Questions
How do I prevent my sweet roll dough from tearing when rolling it out?
Tearing often happens due to dough that is either too cold or overworked. Make sure your dough is properly proofed and at room temperature for easier rolling. Avoid over-kneading.
What is the best way to ensure my sweet rolls are evenly sized?
Use a sharp knife or dough scraper to cut the rolled dough log into equal slices. A ruler can also help ensure consistent sizes.
What kind of filling works best for sweet rolls, and how much should I use?
A variety of fillings work, from cinnamon-sugar to fruit preserves. Don't overfill; usually, a thin, even layer is sufficient to prevent the rolls from becoming soggy.
What are some creative shaping techniques besides the traditional spiral?
You can try knotting, braiding, or creating pinwheel shapes. Look for visual tutorials online for inspiration.
How do I keep my sweet rolls from drying out while baking?
Baking at a slightly lower temperature and brushing the tops with melted butter or an egg wash before baking can help. Also, avoid over-baking.
Final Reflection: Mastering the Art of the Sweet Roll
The seemingly simple act of shaping a sweet roll is, in reality, a gateway to culinary artistry. From the perfectly formed spirals of cinnamon rolls to the delicate pleats of a buttery crescent roll, the final form speaks volumes about the baker's skill and attention to detail. This isn't just about creating a delicious treat; it's about expressing creativity through a fundamental baking technique.
The impact of mastering this seemingly small skill extends far beyond the kitchen. It's a testament to the power of patience and precision, qualities that translate to countless other aspects of life. The satisfaction derived from crafting beautiful, evenly-baked rolls is deeply rewarding, a quiet triumph in the face of potentially messy dough and intricate folding. As the renowned pastry chef, Pierre Hermé, once said: Baking is a science, but it's also an art. It's about precision, but also about passion.
This sentiment perfectly encapsulates the journey of learning to shape sweet rolls – a journey that blends technical skill with a heartfelt dedication to the craft.
Now, consider your own baking journey. What have you learned from the techniques explored in this article? Perhaps you've discovered a new level of confidence in your abilities, or maybe you've found a newfound appreciation for the simple elegance of a perfectly shaped roll. I encourage you to take this newfound knowledge and apply it to your next baking adventure. Don't be afraid to experiment, to push your boundaries, and to find your own unique style in the art of sweet roll shaping. The possibilities are as endless as your imagination.
Unleash Your Inner Baker: Craft Perfect Sweet Rolls!
Thanks for joining us on this sweet journey! We hope you’ve gained the confidence to tackle rolling and shaping sweet rolls like a pro. Now it's time to put your new skills to the test!
- Bake a batch of your favorite sweet rolls, using the techniques you've learned today. Experiment with different fillings and glazes – the possibilities are endless!
- Share your baking creations on social media and tag us – we'd love to see your delicious results! Use #BakeWithEaseSweetRolls.
- Consider trying a new, challenging sweet roll recipe – maybe a braided challah or intricately shaped croissants?
Ready to elevate your baking game? What unique filling or shaping technique will you try next?