
Sour Cherry Pie: Mastering This Tart Midwestern Delight Effortlessly

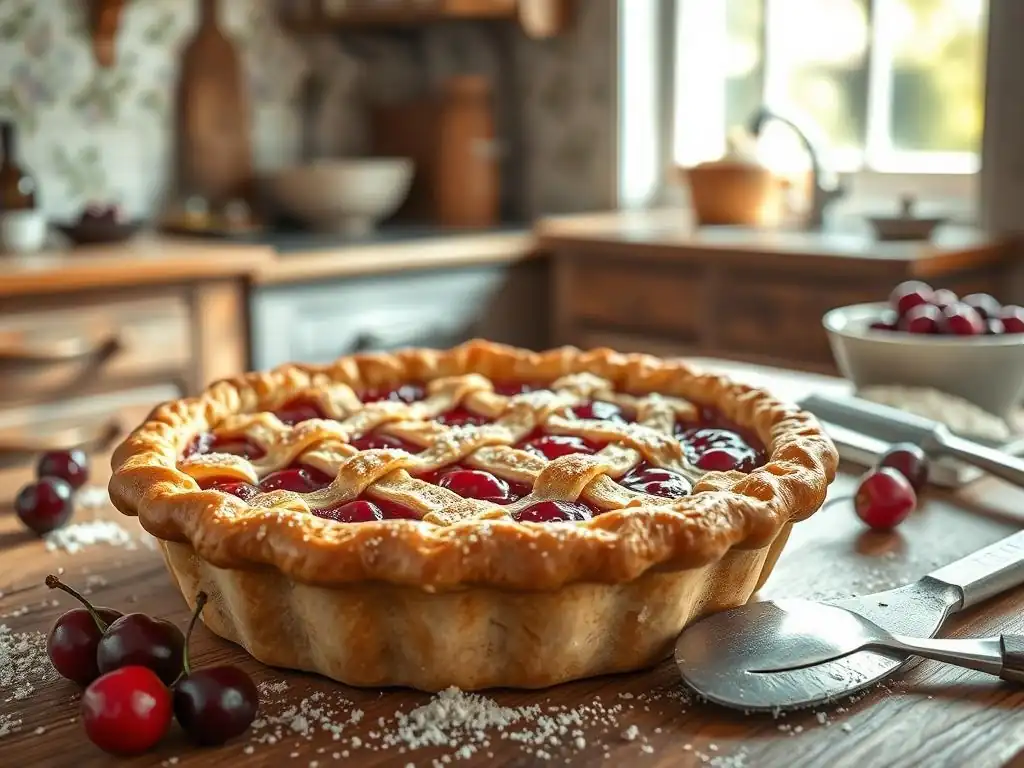
Welcome to BakeWithEase, your trusted companion on your baking journey! Ever dreamt of creating a show-stopping dessert with minimal fuss? Dive into our world of simplified baking, where we demystify even the most ambitious recipes. Today, we're unlocking the secrets to a perfectly tart and sweet treat with our Easy Sour Cherry Pie Recipe – a Midwestern classic you can master effortlessly. Intrigued? Let's get baking!
- Discover the Delight of Sour Cherry Pie: An Easy Recipe for Midwestern Classic
- Why Sour Cherry Pie is a Must-Bake for Every Baker
-
Simple Sour Cherry Pie Recipe: A Step-by-Step Guide
- Gathering Your Ingredients for the Perfect Sour Cherry Pie
- Crafting the Perfect Pie Crust: The Foundation of Your Sour Cherry Masterpiece
- Preparing the Sour Cherry Filling: Balancing Tartness and Sweetness
- Assembling and Baking Your Sour Cherry Pie: The Final Touches
- Cooling and Serving Your Sour Cherry Pie: The Perfect Presentation
- Tips and Tricks for an Unforgettable Sour Cherry Pie
- Troubleshooting Common Sour Cherry Pie Problems
- Variations on the Classic Sour Cherry Pie Recipe
- Enjoy Your Homemade Sour Cherry Pie!
- Frequently Asked Questions
- Final Reflection: The Enduring Allure of a Simple Sour Cherry Pie
- Unlock Your Inner Pie Master!
Discover the Delight of Sour Cherry Pie: An Easy Recipe for Midwestern Classic
Baking a pie from scratch can seem daunting, but mastering the easy sour cherry pie recipe is a rewarding experience that brings a burst of bright, tart flavor to your table. This classic American dessert, particularly beloved in the Midwest, offers a delightful contrast between its vibrant, tangy filling and a buttery, flaky crust. Whether you're a seasoned baker or just starting out, this guide will walk you through each step, making the process approachable and enjoyable. Get ready to create a pie that's not just delicious, but also a true reflection of simple, comforting baking.
Why Sour Cherry Pie is a Must-Bake for Every Baker
Every baker should add the easy sour cherry pie recipe to their repertoire. Its unique flavor profile challenges you to balance sweetness and tartness, a fundamental skill in dessert making. Unlike sweet cherries, sour cherries (like Montmorency or Morello varieties) retain their acidity when baked, creating a more complex and interesting taste. This pie isn't just a dessert; it's a lesson in harnessing natural flavors and creating a harmonious finished product. Plus, the vibrant red filling is visually stunning, making it a perfect centerpiece for any gathering.
The Unique Flavor Profile of Sour Cherries in Baking
Sour cherries, particularly the Montmorency variety widely grown in regions like Michigan, possess a distinct tartness that sweet cherries lack. When baked, this acidity concentrates, providing a bright, almost zingy counterpoint to the sugar and butter in the pie. A typical sour cherry pie filling might use anywhere from 3/4 cup to 1.5 cups of sugar per 6 cups of pitted cherries, depending on desired sweetness and the natural variation in the cherries' tartness.
This balance is key; too little sugar leaves the pie overwhelmingly tart, while too much mutes the cherries' characteristic flavor. This tartness also pairs beautifully with warming spices like cinnamon or a hint of almond extract, which complement rather than overpower the fruit.
Unlike many other fruits used in pies that become very sweet and soft, sour cherries maintain some structure and a refreshing tanginess even after baking. This makes them ideal for a pie filling that isn't cloyingly sweet. The high acidity also helps the cherries release juice, which, when properly thickened, creates that luscious, slightly jammy consistency that is the hallmark of a great easy sour cherry pie recipe. Understanding and working with this inherent tartness is the secret to a truly memorable sour cherry pie.
A Taste of Tradition: Sour Cherry Pie's Midwestern Roots
Sour cherry pie holds a special place in the culinary traditions of the American Midwest, particularly in states like Michigan, which is a leading producer of sour cherries. Traverse City, Michigan, for instance, hosts an annual National Cherry Festival celebrating the harvest, with sour cherry pie taking center stage. This regional connection means that for many, sour cherry pie evokes feelings of home, family gatherings, and summer abundance. The tradition often involves using freshly picked cherries, making the baking process a seasonal event.
The simplicity and honesty of an easy sour cherry pie recipe reflect the straightforward, hearty nature of Midwestern baking. It's a dessert meant to be enjoyed with friends and family, often served warm with a scoop of vanilla ice cream. The focus is on the quality of the ingredients and the balance of flavors, rather than elaborate decoration. Learning to make this pie connects you to a delicious history and a community that cherishes this vibrant, tart fruit.
Simple Sour Cherry Pie Recipe: A Step-by-Step Guide
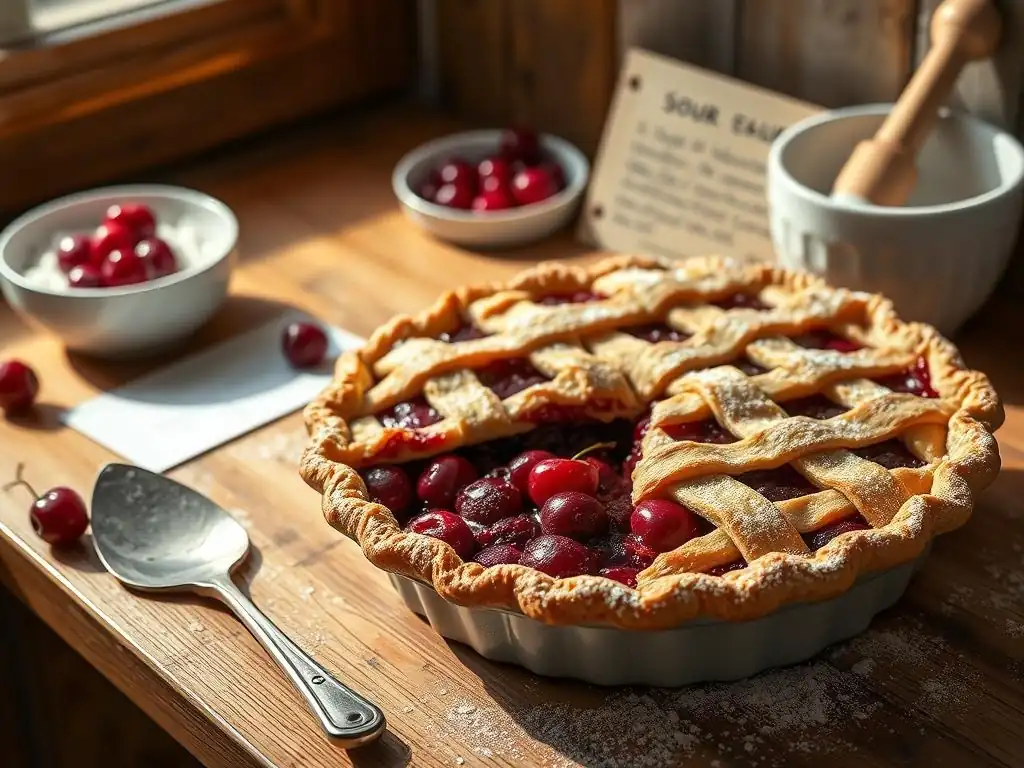
Creating a delicious sour cherry pie doesn't require advanced skills. This simple sour cherry pie recipe breaks down the process into manageable steps, ensuring success even for novice bakers. We'll cover everything from selecting your ingredients to the final cooling, demystifying each stage of pie making.
Gathering Your Ingredients for the Perfect Sour Cherry Pie
Having all your ingredients prepped and measured before you begin is crucial for a smooth baking process. For an easy sour cherry pie recipe, you'll need ingredients for both the filling and the crust. This typically includes sour cherries, sugar, a thickener (like cornstarch or tapioca), spices, butter, flour, and possibly lemon juice. Ensuring you have the right types and quantities of each will set you up for success.
Sour Cherries: Fresh vs. Frozen for Optimal Results
Using sour cherries is fundamental to an authentic easy sour cherry pie recipe. Fresh sour cherries, typically available in the summer months (often late June through July), offer the brightest flavor. You'll need about 5-6 cups (roughly 2-2.5 pounds) of pitted cherries for a standard 9-inch pie. If using fresh, you'll need to pit them, which can be done with a cherry pitter or even a sturdy straw or chopstick.
Frozen sour cherries are an excellent alternative and are available year-round. They are usually already pitted, saving a step. If using frozen, do not thaw them completely; use them while still partially frozen. You might need slightly more thickener (perhaps an extra tablespoon) as frozen cherries tend to release more liquid.
Whether fresh or frozen, the key is to use sour cherries. Sweet cherries will result in a completely different, much sweeter pie lacking that characteristic tartness that defines a true easy sour cherry pie recipe. Look specifically for varieties like Montmorency or Morello.
Choosing the Right Flour and Butter for a Flaky Crust
For a flaky pie crust, the type of flour and fat you use makes a significant difference. All-purpose flour is standard and works well, providing enough structure while allowing for flakiness. Some bakers prefer using a combination of all-purpose flour and pastry flour for a slightly more tender crust. The fat is perhaps even more critical.
Cold, unsalted butter is the gold standard for flakiness. As the butter melts in the oven, it creates steam pockets, separating the layers of dough. Using about 1 cup (two sticks, 8 ounces) of very cold, cubed butter for a double-crust 9-inch pie dough is a common ratio. Some recipes also incorporate a portion of shortening (like Crisco) for added tenderness and ease of handling, often using a 50/50 mix with butter.
The temperature of your fat is paramount. Ensure your butter (and shortening, if using) is ice-cold, cut into small pieces, and incorporated into the flour until it resembles coarse crumbs with some pea-sized pieces of fat remaining. These larger pieces are what create the flaky layers. Using cold ingredients throughout the dough-making process is non-negotiable for achieving that desired texture in your easy sour cherry pie recipe.
Other Essential Ingredients: Sugar, Spices, and Lemon Juice
Beyond cherries, flour, and butter, a few other ingredients are vital for your easy sour cherry pie recipe. Sugar is necessary to balance the cherries' tartness; granulated sugar is standard, typically ranging from 3/4 cup to 1.5 cups depending on the tartness of the cherries and your preference. A thickener is crucial to prevent a watery pie filling.
Cornstarch and tapioca are common choices. For about 5-6 cups of cherries, you'll likely need 3-4 tablespoons of cornstarch or 4-5 tablespoons of tapioca starch. Tapioca tends to create a slightly clearer, less cloudy filling than cornstarch and holds up well when frozen and reheated.
Spices add depth to the flavor. A touch of cinnamon (1/4 to 1/2 teaspoon) is classic, but some bakers also add a pinch of nutmeg or even a tiny amount of almond extract (1/4 teaspoon) which beautifully complements the cherry flavor. A tablespoon of lemon juice can brighten the flavor profile further, enhancing the natural acidity of the cherries. Salt is also essential in both the crust and the filling to enhance all the other flavors; about 1/2 teaspoon for the filling and 1/4 teaspoon for the crust is typical.
Crafting the Perfect Pie Crust: The Foundation of Your Sour Cherry Masterpiece
A truly great easy sour cherry pie recipe starts with a fantastic crust. While making pie dough from scratch might seem intimidating, it's a straightforward process once you understand the basics. The key principles are keeping ingredients cold, not overworking the dough, and allowing it to rest.
Making Homemade Pie Crust: A Detailed Walkthrough
To make a standard double-crust dough for a 9-inch pie (enough for the bottom and top), you'll typically combine about 2.5 cups of all-purpose flour with 1/2 teaspoon of salt. Cut in 1 cup (8 oz) of very cold, cubed unsalted butter (and optionally 1/2 cup of cold shortening) using a pastry blender, forks, or your fingertips until the mixture resembles coarse crumbs with some pea-sized pieces of fat remaining. Gradually add 6-8 tablespoons of ice water, one tablespoon at a time, mixing until the dough just comes together.
Be careful not to add too much water, which can make the crust tough. The dough should be shaggy but hold together when squeezed.
Divide the dough in half, flatten each half into a disc, wrap tightly in plastic wrap, and refrigerate for at least 30 minutes, preferably longer (up to 2 days). This resting period allows the gluten to relax, making the dough easier to roll out and resulting in a more tender crust.
Rolling out the dough requires a lightly floured surface and rolling pin. Roll one disc from the center outwards, rotating it frequently and lifting it to prevent sticking, until it's about 1/8 inch thick and large enough to fit your pie plate with some overhang (around 12-13 inches in diameter for a 9-inch plate). Carefully transfer the dough to the pie plate, pressing it gently into the bottom and up the sides. Trim the excess dough, leaving about a 1-inch overhang, which you'll then crimp or flute with the top crust.
The Chill Factor: Why Cold Ingredients are Key
Maintaining cold temperatures throughout the pie crust making process is paramount for achieving a flaky texture, a hallmark of a great easy sour cherry pie recipe. Cold butter remains in solid pieces within the dough. When the pie bakes, these butter pieces melt and release steam, creating tiny pockets that separate the layers of dough, resulting in flakiness. If the butter is too warm, it will blend too thoroughly with the flour, leading to a more cookie-like or tough texture rather than distinct, flaky layers.
This principle applies not just to the butter but also to the water added to the dough, which should be ice water, and the dough itself, which should be chilled before rolling and again before baking. Chilling the dough allows the fat to firm up again and gives the gluten a chance to relax, preventing toughness. A well-chilled dough is also much easier to handle and roll out without sticking or tearing.
Alternative: Using a Store-Bought Pie Crust for Convenience
While homemade crust is ideal for flavor and texture, using a store-bought pie crust is a perfectly acceptable alternative for making an easy sour cherry pie recipe even simpler. High-quality refrigerated or frozen pie crusts can save significant time and effort, making pie baking accessible on busy schedules. Look for brands that use real butter or a blend of butter and shortening for the best flavor and flakiness.
If using refrigerated crusts that come rolled up, simply unroll them and fit them into your pie plate. If using frozen crusts in foil pans, you can often use them directly in their pan or transfer them to your own pie plate if desired (though this can be tricky with frozen dough). Be sure to follow the package instructions regarding thawing (usually just a few minutes at room temperature for refrigerated, longer for frozen discs you need to roll). Using a store-bought crust simplifies the process, allowing you to focus on perfecting that delicious sour cherry filling.
Preparing the Sour Cherry Filling: Balancing Tartness and Sweetness
The heart of the easy sour cherry pie recipe is its vibrant, tart filling. Getting the balance of flavors and the right consistency is key to a successful pie. This involves properly preparing the cherries, combining them with sugar and spices, and using a suitable thickener.
Pitting Sour Cherries: Tips and Tricks for Efficiency
Pitting sour cherries can be the most time-consuming part of making an easy sour cherry pie recipe if you're using fresh fruit. For about 5-6 cups of pitted cherries, you'll start with roughly 2 to 2.5 pounds of unpitted fruit. A dedicated cherry pitter is the most efficient tool, capable of pitting a cherry in seconds with minimal mess. Simply place the cherry in the cradle and press down to push the pit out.
If you don't have a pitter, you can use a few common kitchen items. A sturdy straw, a chopstick, or even the open end of a metal piping tip can be used to push the pit out through the stem end of the cherry. Be prepared for some juice splatter, as sour cherries are quite juicy. Wearing gloves and working in a bowl can help contain the mess. While it takes time, pitting fresh cherries ensures the best flavor and texture for your pie filling.
Combining Cherries, Sugar, and Spices: Achieving the Ideal Flavor
Once pitted, the sour cherries are combined with the other filling ingredients. In a large bowl, gently mix the pitted cherries with the sugar. The amount of sugar can be adjusted based on your preference and the tartness of the specific cherries, but starting with 1 cup for 6 cups of cherries is a good baseline for an easy sour cherry pie recipe. Let the mixture sit for 10-15 minutes; the sugar will start to draw out some of the cherry juice, which helps dissolve the sugar and hydrate the thickener later.
Next, stir in your chosen thickener (cornstarch or tapioca), spices (like cinnamon or almond extract), and a pinch of salt. Ensure the thickener is evenly distributed to prevent lumps and ensure the filling sets properly. If using lemon juice, add it now. Taste a cherry coated in the mixture (being mindful of the raw thickener) to get an idea of the sweetness level and adjust the sugar if necessary before filling the pie. This careful mixing ensures that every bite of your easy sour cherry pie will have that perfect balance of tartness and sweetness.
Thickening the Filling: Cornstarch vs. Tapioca
Choosing the right thickener is vital for preventing a runny sour cherry pie filling. Cornstarch and tapioca starch are the most common options for an easy sour cherry pie recipe. Cornstarch provides a clean flavor and sets firmly, resulting in a classic, slightly opaque filling. For 5-6 cups of cherries, about 3-4 tablespoons of cornstarch are typically needed. It's best to mix the cornstarch with the sugar and spices before adding it to the cherries to prevent clumping. Cornstarch thickened fillings can sometimes become less stable if frozen and thawed.
Tapioca starch (often sold as instant tapioca, which is pre-gelatinized) is another excellent choice. It creates a slightly glossier, clearer filling and is less prone to breaking down during freezing and reheating. For the same amount of cherries, you'll usually need 4-5 tablespoons of instant tapioca. Tapioca needs a little time to absorb the juices before baking, so letting the filling mixture sit for 15-20 minutes after adding the tapioca is beneficial. Both thickeners work well, but tapioca is often preferred for its reliability and clarity in fruit pies.
Assembling and Baking Your Sour Cherry Pie: The Final Touches
With your crust ready and your filling prepared, it's time to assemble and bake your masterpiece. Proper assembly ensures an even bake and a beautiful presentation for your easy sour cherry pie.
Filling the Pie Crust: Ensuring Even Distribution
Carefully pour the prepared sour cherry filling into the bottom pie crust. Use a spoon or spatula to distribute the cherries evenly across the bottom. Ensure the cherries are spread out and not mounded too high in the center, as this can cause the top crust to brown too quickly or the filling to overflow during baking. The filling should come up to the rim of the pie plate or slightly above, as it will settle slightly as it bakes.
If your filling seems excessively juicy after sitting, you can drain off a few tablespoons of liquid, but be cautious not to remove too much, as you need enough moisture to activate the thickener. Smooth the top of the filling slightly before adding your chosen top crust. This simple step ensures that each slice of your easy sour cherry pie has a generous and consistent amount of delicious filling.
Creating a Top Crust: Lattice, Full Crust, or Crumble Topping
For the top of your easy sour cherry pie, you have several options, each offering a different look and texture. A full top crust is classic; simply roll out the second disc of dough and place it over the filling. Trim the edges, leaving about a 1-inch overhang, then crimp the top and bottom crusts together to seal. Remember to cut vents in the top crust (at least 4-5 slits) to allow steam to escape during baking, preventing the crust from puffing up or the filling from bursting out.
A lattice top is visually appealing and allows some steam to escape naturally. Roll out the dough and cut it into strips (about 1/2 to 1 inch wide) using a knife or pastry wheel. Arrange half the strips parallel across the pie, then fold back alternate strips to weave the remaining strips perpendicularly over and under, creating a woven pattern. Trim and crimp the edges. For an even easier top, consider a crumble topping made from flour, sugar, butter, and sometimes oats or nuts, sprinkled generously over the filling.
Baking to Golden Perfection: Temperature and Time Guidelines
Baking your easy sour cherry pie at the correct temperature and for the right amount of time is crucial for a golden, flaky crust and a bubbly, set filling. A common method is to start the pie at a higher temperature (like 400°F or 425°F) for the first 15-20 minutes to help set the bottom crust and promote flaking, then reduce the temperature (to 375°F or 350°F) for the remaining baking time.
Total baking time for a 9-inch pie is typically 45-60 minutes. The pie is done when the crust is deep golden brown and the filling is visibly bubbling, especially in the center vents (if using a full or lattice crust). If the crust edges start browning too quickly, you can cover them loosely with foil or use a pie crust shield. Baking until you see bubbles in the center is important to ensure the thickener has fully activated.
Cooling and Serving Your Sour Cherry Pie: The Perfect Presentation
Patience is key after baking! Allowing your easy sour cherry pie to cool properly is essential for the filling to set and for the flavors to meld. Immediately after removing the pie from the oven, the filling is still very hot and liquid.
Place the pie on a wire rack to cool completely. This can take 2-4 hours, or even longer. Cutting into the pie too soon will result in a runny, unset filling. As it cools, the thickener will finish its job, and the filling will become sliceable. Serving the pie warm is lovely, especially with a scoop of vanilla ice cream or a dollop of whipped cream, but ensure it has cooled enough to hold its shape when sliced. Enjoy the fruits of your labor – your delicious homemade easy sour cherry pie!
Tips and Tricks for an Unforgettable Sour Cherry Pie
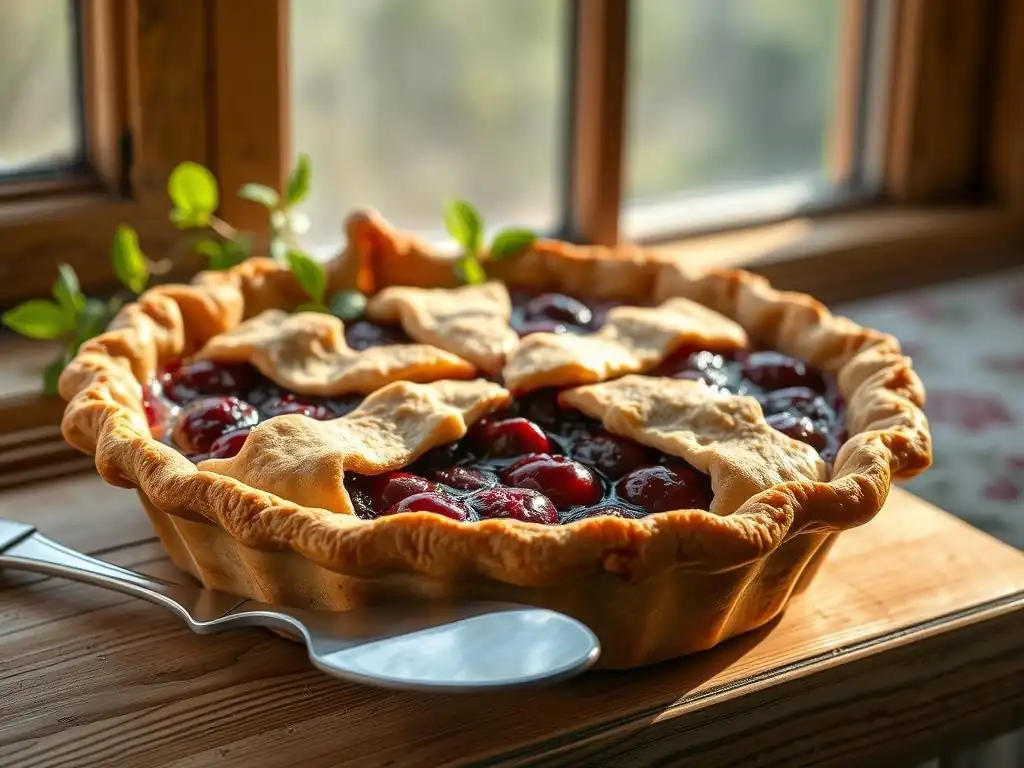
Elevate your easy sour cherry pie recipe with a few extra tips and tricks. These simple additions and techniques can enhance flavor, improve texture, and ensure your pie is truly unforgettable.
Preventing a Soggy Bottom Crust: Baking Techniques
A soggy bottom crust is a common pie problem, but it can be avoided in your easy sour cherry pie recipe with a few strategic steps. Firstly, ensure your bottom crust is properly chilled before adding the filling. Secondly, baking at a higher temperature for the initial part of the bake (e.g., 400-425°F for 15-20 minutes) helps the bottom crust set quickly before the filling releases too much juice.
Another effective technique is blind baking or par-baking the bottom crust. This involves partially baking the empty bottom crust before adding the filling. To do this, line the chilled crust with parchment paper, fill it with pie weights or dried beans, and bake at 375-400°F for about 15-20 minutes, or until the edges are lightly golden. Remove the weights and paper and bake for another 5-10 minutes until the bottom looks dry. Then, add the filling and top crust and continue baking as directed. This gives the bottom crust a head start against the moist filling.
Enhancing the Flavor: Adding Almond Extract or Cherry Liqueur
While the natural tartness of sour cherries is the star, a few additions can enhance their flavor profile in your easy sour cherry pie recipe. A small amount of almond extract (about 1/4 teaspoon for a standard pie) pairs wonderfully with cherries, bringing out a subtle, complementary nuttiness. Be careful not to add too much, as it can easily overpower the delicate cherry flavor.
For an adult twist, consider adding a splash of cherry liqueur (like Kirsch or Cherry Brandy) to the filling. About 1-2 tablespoons added with the other filling ingredients can deepen the cherry flavor and add a layer of sophistication. The alcohol will largely evaporate during baking, leaving behind a concentrated cherry essence. These small additions can take your easy sour cherry pie from good to exceptional.
Storing Your Sour Cherry Pie: Keeping it Fresh and Delicious
Proper storage ensures you can enjoy your easy sour cherry pie for several days. Once the pie has completely cooled, it can be stored at room temperature for up to 2 days, loosely covered with foil or plastic wrap. The sugar and acidity in the filling help preserve it.
For longer storage, the pie can be refrigerated for up to 4-5 days. Cover it tightly with plastic wrap or place it in an airtight pie carrier. Leftover slices can also be individually wrapped. For best quality, especially if the pie has a double crust, it's often recommended to store it in the refrigerator due to the high moisture content of the fruit filling. To reheat, you can warm slices in a microwave for a short time or in a low oven (300-325°F) for 10-15 minutes until heated through.
Troubleshooting Common Sour Cherry Pie Problems
Even with an easy sour cherry pie recipe, sometimes things don't go exactly as planned. Knowing how to troubleshoot common issues like runny filling or a burnt crust can save your pie and your sanity.
Dealing with a Runny Filling: Solutions and Prevention
A runny filling is perhaps the most frequent issue with fruit pies, including the easy sour cherry pie recipe. Prevention is best: use the correct amount of thickener (4 tablespoons cornstarch or 5 tablespoons tapioca per 6 cups cherries is a good starting point), ensure it's evenly mixed, and most importantly, bake the pie long enough. The filling must reach a high enough temperature for the thickener to activate and set. You should see the filling bubbling vigorously in the center vents.
If your baked pie still seems runny after cooling completely, you can try salvaging it. One method is to scoop the filling out, reheat it in a saucepan, whisk in a slurry of more thickener (1-2 tablespoons cornstarch mixed with an equal amount of cold water), cook until thickened, and then return it to the pie shell (or a new one if the bottom crust is too soggy). Alternatively, serve slices in bowls with ice cream, embracing the saucy filling.
Avoiding a Burnt Crust: Protecting the Edges
Pie crust edges are thinner than the rest of the crust and tend to brown much faster, sometimes burning before the rest of the pie is done. This is a common issue when making an easy sour cherry pie recipe with a traditional double crust. To prevent this, you can protect the edges once they reach your desired level of golden brown, usually about halfway through the baking time.
The simplest method is to loosely tent the entire pie with foil. Alternatively, you can use strips of foil molded around the edges of the pie plate, or invest in a reusable silicone pie crust shield that fits over the rim. If using a high initial baking temperature, put the shield on earlier, perhaps after the first 15-20 minutes when you reduce the heat.
Fixing a Tough Pie Crust: Tips for Tenderizing
A tough pie crust usually results from overworking the dough or adding too much water. When making your easy sour cherry pie recipe, handle the dough minimally once the water is added. Mix until it just comes together; it should look shaggy, not smooth like bread dough. Also, ensure your water is ice cold. Overmixing develops gluten, which leads to a tough texture.
Unfortunately, it's difficult to fix a tough crust after it's baked. However, you can learn from the experience for your next pie. Ensure your fat is very cold and cut into the flour properly, use ice water sparingly, and chill the dough adequately before rolling and baking. If you end up with a tough crust this time, focus on the delicious sour cherry filling and serve it with plenty of ice cream or whipped cream to add moisture and richness.
Variations on the Classic Sour Cherry Pie Recipe
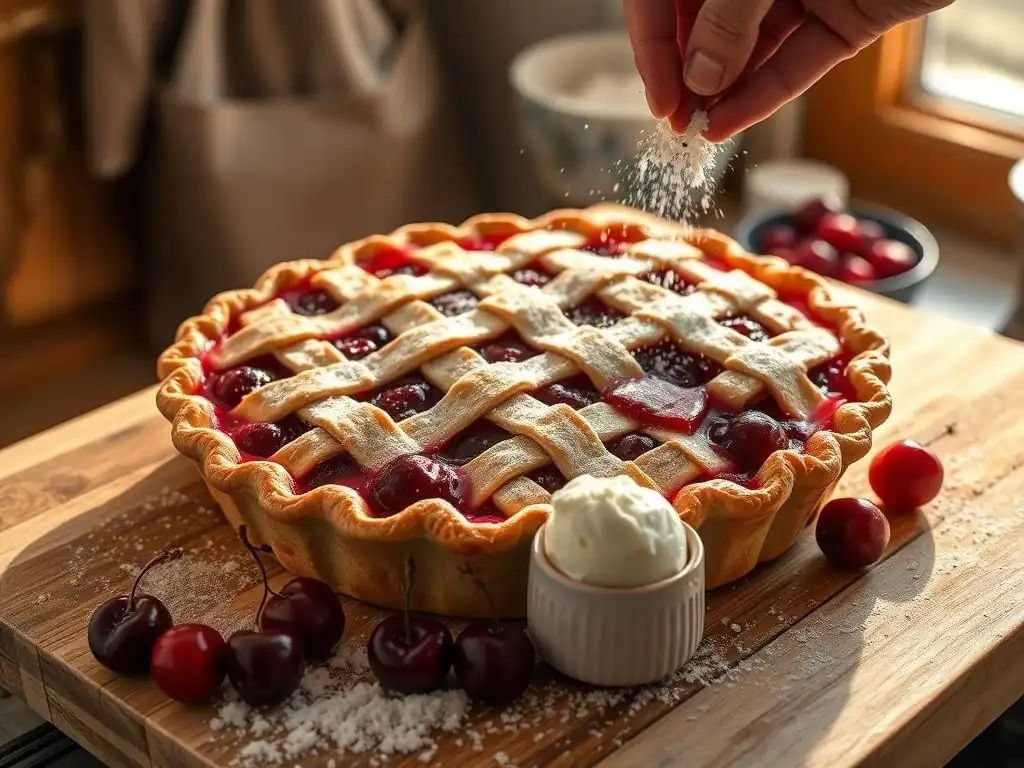
Once you've mastered the easy sour cherry pie recipe, you might want to experiment with delightful variations. Changing the fruit combinations, crust type, or spices can create exciting new flavors and textures while staying true to the spirit of a simple, delicious pie.
Adding Other Fruits: Combining Cherries with Raspberries or Rhubarb
Sour cherries pair wonderfully with other fruits, adding complexity to your easy sour cherry pie recipe. A popular combination is cherry-raspberry pie. Raspberries add sweetness and a different kind of tartness, creating a vibrant red filling. You can substitute 1-2 cups of the sour cherries with raspberries, adjusting the sugar slightly as raspberries are generally sweeter than sour cherries.
Another fantastic pairing is cherry-rhubarb pie. Rhubarb, known for its intense tartness, complements the cherries beautifully. Use equal parts cherries and chopped rhubarb (e.g., 3 cups cherries, 3 cups rhubarb). Rhubarb releases a lot of liquid, so you might need an extra tablespoon of thickener. This combination offers a delightful contrast in both flavor and texture.
Different Crust Options: Graham Cracker Crust or Shortbread Crust
While a traditional flaky pastry is classic for an easy sour cherry pie recipe, different crusts can offer a unique twist. A graham cracker crust provides a sweet, crumbly base that requires no rolling or chilling. Simply combine graham cracker crumbs (about 1.5 cups), melted butter (1/2 cup), and a little sugar (1/4 cup), press into the pie plate, and chill or bake briefly. This no-bake option is perfect for a quick dessert.
A shortbread crust offers a rich, buttery, cookie-like base. Made from flour, butter, and sugar, it's pressed into the pie plate and often partially baked before adding the filling. This creates a sturdy, flavorful base that holds up well to the juicy cherry filling. These alternative crusts offer different textures and flavors that can complement the tart cherries in unexpected ways.
Exploring Spice Combinations: Cardamom or Cinnamon Spice Suggestions
Beyond the classic cinnamon, experimenting with other spices can add intriguing dimensions to your easy sour cherry pie recipe. Cardamom, with its warm, slightly citrusy notes, pairs exceptionally well with cherries. A pinch (1/4 teaspoon) of ground cardamom added to the filling mixture can provide a sophisticated aromatic layer.
While cinnamon is traditional, you can adjust the amount or combine it with other spices. A tiny pinch of nutmeg or allspice can add depth. Some bakers even add a tiny amount of black pepper to fruit fillings; the heat is not noticeable, but it can make the fruit flavors pop. Don't be afraid to try adding a 1/8 teaspoon of another warming spice like ginger or cloves for a unique twist on the classic easy sour cherry pie recipe.
Enjoy Your Homemade Sour Cherry Pie!
Frequently Asked Questions
What makes this sour cherry pie recipe "easy"?
This recipe focuses on simplified steps and readily available ingredients, unlike some complicated pie recipes. It's designed to be approachable for bakers of all skill levels, ensuring baking success.
Can I use frozen sour cherries instead of fresh?
Yes, you can! Just ensure the frozen cherries are thoroughly thawed and drained well before using them in the filling. This prevents a soggy pie crust.
What if I don't have a pre-made pie crust?
While the recipe aims for ease, you can make your own pie crust if desired. BakeWithEase.com offers resources for creating a simple homemade crust.
How do I prevent my pie crust from burning?
To prevent burning, use a pie shield or foil strips to cover the edges of the crust during the latter part of baking. This ensures even browning.
What are some variations or additions I can make to this pie?
You can add a crumb topping, a lattice crust, or a splash of almond extract to the filling for added flavor. Feel free to experiment and customize!
Final Reflection: The Enduring Allure of a Simple Sour Cherry Pie
The seemingly simple act of baking a sour cherry pie transcends mere culinary creation; it's a connection to heritage, a celebration of seasonal bounty, and a testament to the enduring power of comfort food. This article explored the ease with which even novice bakers can master this Midwestern classic, focusing on techniques that prioritize simplicity and delicious results. The accessibility of this recipe, coupled with the vibrant flavor of the sour cherries, makes it a perfect entry point for anyone looking to expand their baking repertoire.
The enduring appeal of the sour cherry pie lies not just in its taste, but in its ability to evoke strong memories and feelings of home and family. For many, the aroma of baking cherries is intrinsically linked to childhood, holidays, and cherished traditions. This simple pie, with its tart-sweet balance, becomes a symbol of connection and shared experience. Food is symbolic of love when words are inadequate.
- Alan D. Wolfelt. This sentiment perfectly encapsulates the emotional resonance of baking and sharing a pie like this, a sentiment that transcends generations and geographical boundaries.
Now, I invite you to consider the possibilities. Don't just read this recipe; bake it. Embrace the simplicity, savor the process, and share the joy of this tart and delightful creation with those you love. Let the aroma fill your kitchen, and let the taste transport you to a place of warmth, comfort, and connection. The journey of baking this pie is as rewarding as the delicious result itself – a testament to the enduring power of simple pleasures and the magic found in the kitchen.
Unlock Your Inner Pie Master!
Thanks for joining us on this delicious journey into the world of sour cherry pie! We hope you've gained the confidence to tackle this tart and tempting treat. Now it's time to roll up your sleeves and get baking!
- Bake your own masterpiece: Grab your ingredients and follow our recipe – you'll be amazed at how easy it is to create this classic. This is the time to put your newfound skills to the test!
- Share your cherry creations: Snap a photo of your stunning pie and share it with us on social media using #BakeWithEaseCherryPie – we'd love to see your baking brilliance!
- Explore other seasonal recipes: Dive deeper into our recipe collection and discover more amazing seasonal bakes to delight your taste buds. You might be surprised at what deliciousness you uncover!
Ready to transform your kitchen into a bakery haven? What's your favorite part of the sour cherry pie baking process?