
Easter Nests: Simple Cookie Recipe & Decorating

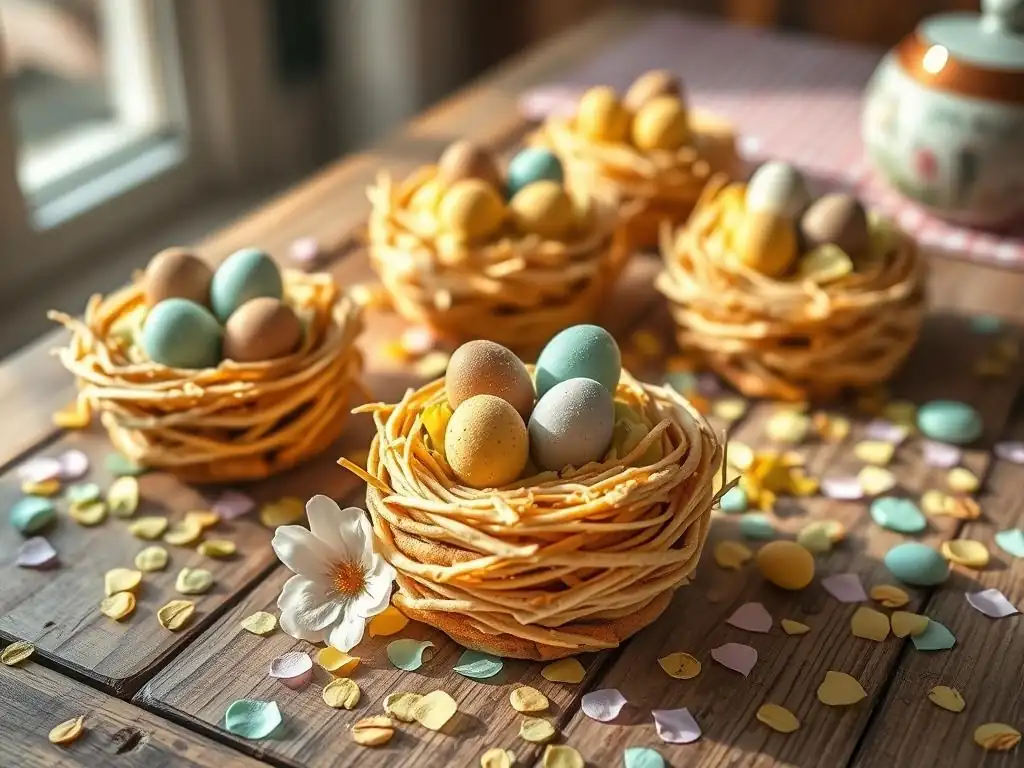
Welcome to BakeWithEase, your haven for stress-free baking! Ever dreamt of creating delightful treats without the fuss? You're in the right place. This Easter, let's ditch the complicated and embrace simplicity with our Easy Easter cookie nests. Read on to discover how to craft these adorable and delicious treats – a perfect project for bakers of all skill levels! Intrigued to learn how to make them?
- Peanut Butter Chocolate Easter Nests
- Introduction: Make Delicious Peanut Butter Chocolate Easter Nests This Year!
- Peanut Butter Chocolate Easter Nests Recipe: Ingredients & Equipment
- Step-by-Step Guide: How to Make Peanut Butter Chocolate Easter Nests
- Decorating Ideas for Your Easter Nests: Get Creative!
- Tips & Tricks for Perfect Peanut Butter Chocolate Easter Nests
- Variations & Adaptations for Your Cookie Nests
- Troubleshooting Your Peanut Butter Chocolate Easter Nests
- Enjoy Your Homemade Easter Nests!
- Frequently Asked Questions
- Final Reflection: The Enduring Sweetness of Tradition
- Unleash Your Inner Easter Bunny: Decorate & Delight!
Peanut Butter Chocolate Easter Nests
Introduction: Make Delicious Peanut Butter Chocolate Easter Nests This Year!
Welcome Spring with Delicious and Adorable Easter Treats
As the days get longer and the first spring flowers start to bloom, our thoughts naturally turn to Easter celebrations and, of course, delicious baking! There's something truly special about creating festive treats to share with loved ones during this cheerful season. Imagine bite-sized delights that capture the essence of spring, looking like miniature bird's nests filled with colorful candy eggs. These easy Easter cookie nests are not just a dessert; they're a charming addition to any Easter table, perfect for dessert or even as a fun activity to do with children.
Welcoming spring with these simple Easter cookie nests is a delightful way to embrace the holiday spirit. They offer a wonderful opportunity to spend quality time in the kitchen, filling your home with the comforting aroma of warm cookies and melted chocolate. Whether you're an experienced baker or trying your hand at holiday treats for the first time, this recipe is designed to be accessible and fun. The combination of classic flavors and festive decoration makes these peanut butter chocolate Easter nests an instant favorite for all ages.
Why These Peanut Butter Chocolate Easter Nests Are Perfect for Baking
This particular recipe for peanut butter chocolate Easter nests stands out for its simplicity and incredibly satisfying result. Peanut butter cookies are inherently forgiving and easy to work with, requiring minimal fuss compared to more complex doughs. The flavor combination of rich peanut butter and sweet chocolate is a timeless classic that appeals to almost everyone. Furthermore, the "nest" shape is achieved with relative ease, often requiring just a gentle press in the center of the warm cookie.
Beyond their delicious taste, these easy Easter cookie nests are perfect for baking because they offer a fantastic canvas for creativity, especially when it comes to decorating. The basic cookie provides a sturdy base for the chocolate coating and candy eggs. This recipe also typically uses common pantry staples, meaning you likely won't need to make a special trip to the store for obscure ingredients. Baking these nests is a straightforward process that yields impressive results, making them an ideal project for busy individuals or families looking for a fun holiday activity.
Peanut Butter Chocolate Easter Nests Recipe: Ingredients & Equipment
To create the base for your delightful easy Easter cookie nests, you'll need a few simple ingredients commonly found in most kitchens. Start with about 1 cup (around 250g) of creamy peanut butter – natural or conventional works, though conventional often results in a slightly firmer cookie. You'll also need approximately half a cup (around 115g) of unsalted butter, softened to room temperature, which helps create that tender texture. Granulated sugar and brown sugar, about half a cup of each (totaling around 200g), provide sweetness and moisture.
The dry ingredients typically include about 1 large egg to bind everything together, a teaspoon of vanilla extract for flavor, and about 1 and a quarter cups (around 150g) of all-purpose flour. Don't forget a teaspoon of baking soda and a pinch of salt (about half a teaspoon) to help the cookies rise slightly and balance the sweetness. These ingredients combine to form a classic, easy-to-handle peanut butter cookie dough that's the perfect foundation for your festive nests. Ensure your ingredients are at room temperature for easier mixing and a smoother dough consistency.
Topping Ingredients for Easter Nests
Once your cookie bases are baked, the fun part begins with the toppings that transform them into charming easy Easter cookie nests. The key ingredient here is chocolate – you'll need about 1 cup (around 175g) of chocolate chips or chopped chocolate. Milk chocolate, semi-sweet, or even dark chocolate works well, depending on your preference. This chocolate will be melted down to create the "nest" effect.
For the "eggs" nestled in the chocolate, small, candy-coated chocolate eggs are traditional and visually appealing. You'll need enough to place about 2-3 eggs in the center of each cookie, so a small bag, perhaps around 100-150g, should suffice for a batch of 2-3 dozen cookies. Other potential topping ingredients, depending on your decorating style, might include sprinkles, shredded coconut (to mimic grass), or small pretzel sticks.
Having the right tools on hand makes baking these easy Easter cookie nests a breeze. You'll definitely need mixing bowls – one large bowl for the cookie dough and a smaller, heatproof bowl for melting the chocolate. An electric mixer, either a stand mixer or hand mixer, is highly recommended for creaming the butter and sugars, though you can certainly mix the dough by hand with a sturdy spoon.
Baking sheets are essential, ideally lined with parchment paper or silicone baking mats to prevent sticking and ensure even baking. You'll also need measuring cups and spoons for accurate ingredient proportions. A cooling rack is crucial for letting the baked cookies cool completely before decorating. Finally, a spoon or a small offset spatula will be useful for pressing the indentations into the warm cookies and for applying the melted chocolate.
Step-by-Step Guide: How to Make Peanut Butter Chocolate Easter Nests
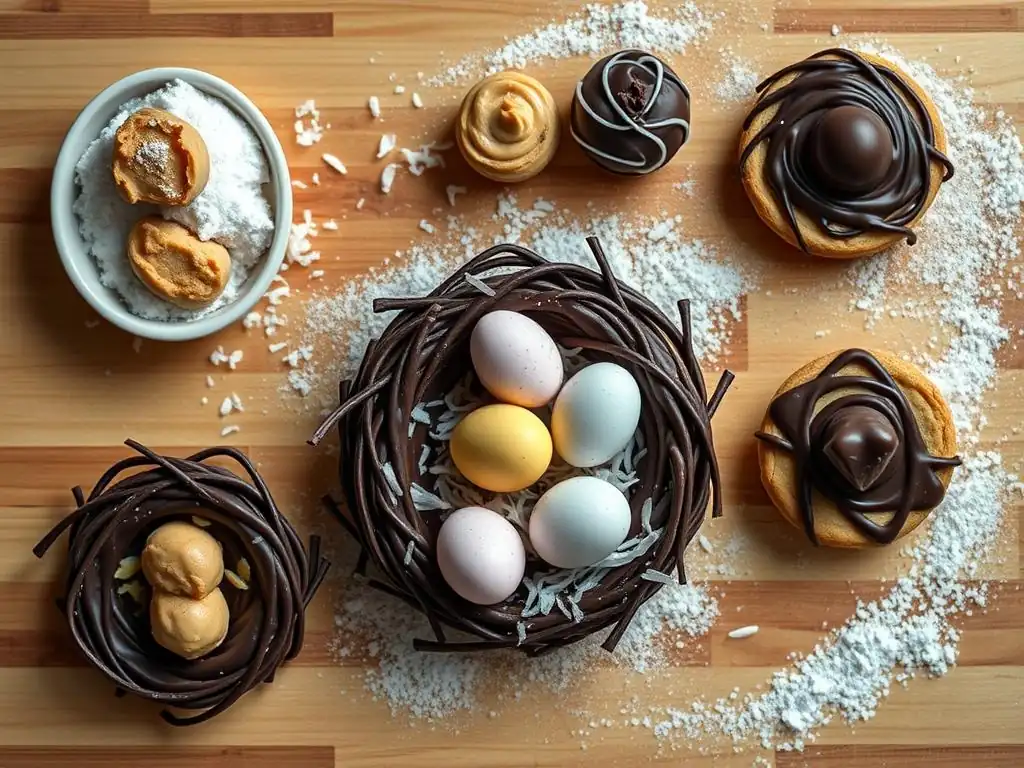
Begin by creaming the softened butter and both granulated and brown sugars in your large mixing bowl until the mixture is light and fluffy. This process usually takes about 2-3 minutes with an electric mixer. Ensure the sugars are well incorporated into the butter. Next, add the peanut butter and continue mixing until everything is combined smoothly. Scrape down the sides of the bowl as needed to ensure all ingredients are blended.
Now, beat in the egg and vanilla extract until just combined. In a separate bowl, whisk together the flour, baking soda, and salt. Gradually add the dry ingredients to the wet ingredients, mixing on low speed until the dough just comes together. Be careful not to overmix; stop as soon as no dry streaks of flour remain. At this point, the dough should be relatively soft but manageable. Many bakers find chilling the dough for at least 30 minutes at this stage makes it easier to handle and helps prevent excessive spreading during baking.
Preheat your oven to a standard cookie baking temperature, typically around 350°F (175°C). While the oven heats, roll the chilled dough into balls about 1 inch (2.5 cm) in diameter. Place these dough balls about 2 inches apart on your prepared baking sheets. This spacing is important to allow for a little spread without the cookies running into each other.
Bake the cookies for approximately 10-12 minutes, or until the edges are lightly golden and the centers appear set but still soft. As soon as you remove the cookies from the oven, while they are still warm and pliable, use the back of a spoon or a small round object (like the bottom of a shot glass) to gently press an indentation into the center of each cookie. This creates the "nest" shape. Let the cookies cool on the baking sheet for a few minutes before transferring them to a wire rack to cool completely.
Preparing the Chocolate Coating
Once the cookies are completely cool, it's time to prepare the chocolate that will form the base of your easy Easter cookie nests. Place your chocolate chips or chopped chocolate in a heatproof bowl. You can melt the chocolate using a double boiler method (setting the bowl over a pot of simmering water, ensuring the bottom of the bowl doesn't touch the water) or carefully in the microwave. If using the microwave, heat in 20-30 second intervals, stirring well after each interval, until the chocolate is smooth and melted. Avoid overheating, which can cause the chocolate to seize.
Once the chocolate is melted and smooth, it's ready to be applied to the cooled cookies. A small spoon or a piping bag with the tip snipped off works well for this. Carefully spoon or pipe a small amount of melted chocolate into the indentation of each cookie, filling the "nest." The chocolate doesn't need to be perfectly smooth at this stage, as the next step involves adding the eggs, which will help define the nest shape.
Decorating Your Easter Nests: Speckled Eggs
Immediately after filling the indentation with melted chocolate, gently place 2 or 3 small candy-coated chocolate eggs into the center of the melted chocolate in each cookie. The warm chocolate will slightly melt around the eggs, helping to secure them in place as it cools and sets. Arrange the eggs so they look like they are nestled comfortably in the chocolate.
Allow the chocolate to set completely before handling or storing the easy Easter cookie nests. This can take anywhere from 30 minutes to a couple of hours at room temperature, or you can speed up the process by placing the baking sheets in the refrigerator for about 15-20 minutes. Once the chocolate is firm to the touch, your adorable peanut butter chocolate Easter nests are ready to be enjoyed or further decorated.
Decorating Ideas for Your Easter Nests: Get Creative!
Speckled Chocolate Eggs: A Classic Easter Nest Decoration
The most traditional and charming way to decorate your easy Easter cookie nests is by using small, speckled candy eggs. These miniature chocolates, often pastel-colored with tiny speckles, perfectly mimic bird's eggs and fit snugly into the chocolate-filled indentation of the cookie. Placing 2-3 eggs in each nest creates a realistic and adorable look that is instantly recognizable as an Easter treat.
To enhance the look, you can sometimes find eggs with slightly different sizes or color variations, adding visual interest. Ensure the eggs are added while the chocolate is still melted so they adhere properly. This classic decoration is simple, effective, and requires minimal effort, making it perfect for bakers of all levels and ensuring your peanut butter chocolate Easter nests look festive and inviting.
Using Pastel Sprinkles for a Festive Easter Touch
Beyond the classic eggs, pastel sprinkles are a simple yet effective way to add a burst of color and festivity to your easy Easter cookie nests. Before the chocolate sets, you can sprinkle a small amount of green sprinkles around the edges of the chocolate indentation to resemble grass. Alternatively, a mix of pastel nonpareils or jimmies scattered over the chocolate can add a playful, celebratory look.
Applying sprinkles while the chocolate is still wet ensures they stick well. Just a light dusting is often enough to add visual appeal without overpowering the look of the nest. This method is particularly fun for baking with children, allowing them to customize each nest with their favorite colors. Pastel sprinkles instantly evoke the soft colors of spring and Easter, making your easy Easter cookie nests even more cheerful.
Edible Glitter: Adding Sparkle
For a touch of magic and sparkle, consider using edible glitter on your easy Easter cookie nests. Edible glitter comes in various colors, including iridescent or gold, which can add a subtle shimmer to the chocolate or the candy eggs. A light sprinkle over the wet chocolate before it sets can catch the light beautifully, making your nests look extra special and enchanting.
Using edible glitter is a simple way to elevate the appearance of your cookies without adding complex steps. It's best applied sparingly for just a hint of sparkle. You can find edible glitter in baking supply stores or online. This small addition can make your peanut butter chocolate Easter nests truly shine and stand out on your holiday dessert table.
Creating a Realistic Nest Look with Pretzel Sticks
For a more rustic and realistic nest appearance, broken pretzel sticks can be used. After pressing the indentation and before adding the chocolate, you can arrange small pieces of thin pretzel sticks around the edges of the indentation, sticking them slightly into the cookie dough. Once baked, these pretzels create a textured, twig-like edge.
Alternatively, after adding the melted chocolate, you can place small pretzel pieces onto the wet chocolate, arranging them to look like twigs forming the nest structure before adding the eggs. This technique adds a salty contrast to the sweet peanut butter and chocolate flavors and creates a more naturalistic look for your easy Easter cookie nests. It's a creative option that adds both visual interest and a little crunch.
Tips & Tricks for Perfect Peanut Butter Chocolate Easter Nests
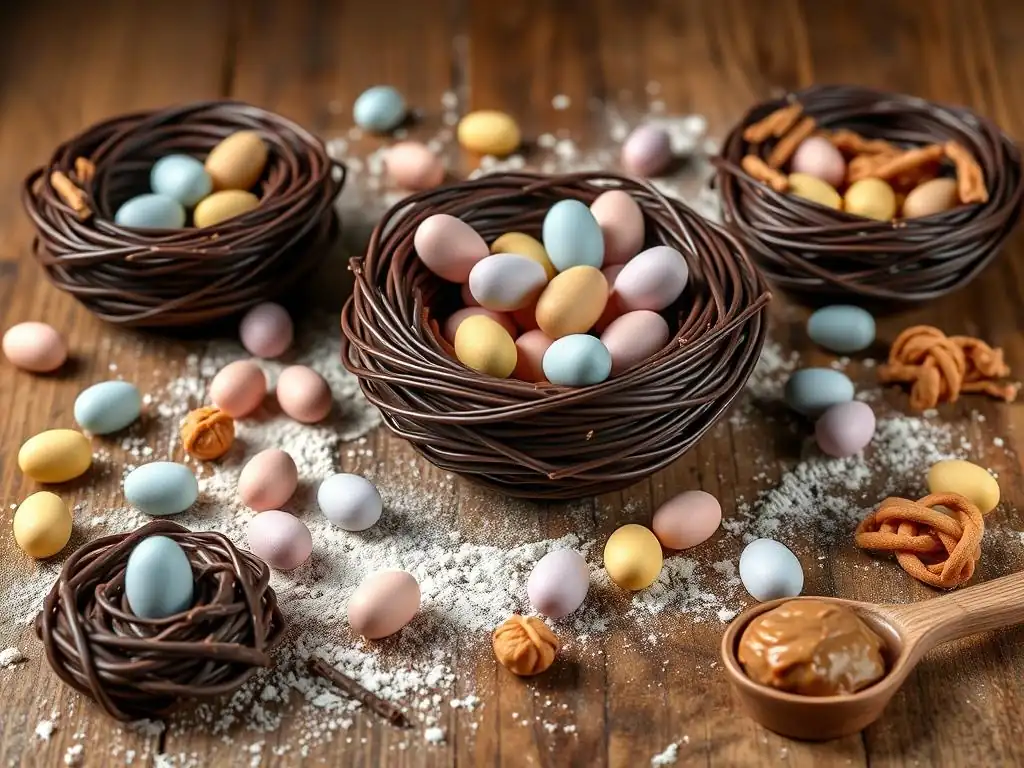
To ensure all your easy Easter cookie nests bake evenly and have a consistent texture, start by making sure your oven is accurately calibrated. Oven temperatures can vary significantly, so using an oven thermometer can be helpful. Also, try to make your cookie dough balls as uniform in size as possible. Using a small cookie scoop (about 1 tablespoon size) is a great way to achieve this consistency effortlessly.
When baking, rotate your baking sheets halfway through the baking time. Ovens often have hot spots, and rotating the sheets ensures that all cookies receive the same amount of heat. Bake one sheet at a time if possible, especially if your oven struggles with even heat distribution when multiple sheets are loaded. Baking until the edges are just set and slightly golden, but the centers still look a little soft, is key to a tender cookie that's easy to indent after baking.
One common issue with cookies, including easy Easter cookie nests, is excessive spreading during baking. This can make it difficult to form a distinct nest shape. The most effective way to combat this is by chilling your cookie dough. After mixing, wrap the dough tightly in plastic wrap and refrigerate it for at least 30 minutes, or even up to 2-3 days.
Chilling solidifies the fats in the dough, which helps the cookies hold their shape better in the initial stages of baking before the fat melts. If your kitchen is warm, you might even find it beneficial to chill the rolled dough balls briefly before placing them in the oven. Using parchment paper or silicone mats also helps prevent sticking and can contribute to slightly less spread compared to greased baking sheets.
Working with Chocolate: Achieving the Perfect Consistency
Melting chocolate for the nest indentation requires a smooth, fluid consistency. Overheating chocolate can cause it to become thick, lumpy, or "seize," making it difficult to work with. When melting chocolate chips or chopped chocolate, use gentle heat. The double boiler method is very forgiving, providing indirect heat. If using a microwave, heat in short bursts (20-30 seconds) and stir thoroughly after each interval, even if the chocolate doesn't look fully melted initially. Residual heat will continue to melt the chocolate as you stir.
If your melted chocolate is slightly too thick, you can try stirring in a very small amount (perhaps half a teaspoon to a full teaspoon) of a neutral oil like vegetable or canola oil, or even melted shortening. Add it gradually and stir until you reach the desired consistency. However, avoid adding water or milk, as this will cause the chocolate to seize instantly. Proper melting technique is key to creating smooth, appealing chocolate nests.
Storing Your Delicious Easter Nests for Freshness
Once your easy Easter cookie nests are fully decorated and the chocolate has set, proper storage will keep them fresh and delicious. Store the cooled cookies in an airtight container at room temperature. Layering them between sheets of parchment paper can help prevent them from sticking together, especially if the weather is warm.
These cookies generally stay fresh for about 3-5 days at room temperature. If you need to store them for longer, they can be frozen. Place the set cookies in a single layer on a baking sheet until frozen solid, then transfer them to a freezer-safe airtight container or bag, again using parchment paper between layers. Thaw them at room temperature before serving.
Adapting this recipe for gluten-free diets is quite straightforward, allowing everyone to enjoy easy Easter cookie nests. The primary change involves substituting the all-purpose flour with a gluten-free all-purpose flour blend. Look for a blend that is specifically formulated for baking and contains a mix of flours (like rice flour, potato starch, and tapioca starch) along with a binder like xanthan gum.
When using a gluten-free blend, you might need to adjust the liquid slightly, as absorption rates can vary. Start with the amount specified in the original recipe and add a teaspoon or two of milk or a non-dairy alternative if the dough seems too dry or crumbly. Gluten-free dough can sometimes be a bit more delicate, so chilling it thoroughly (perhaps for an hour or more) before rolling and baking is highly recommended to help the cookies hold their shape. The baking time might also need slight adjustment, so watch the cookies carefully as they bake.
While peanut butter is a classic choice, the base cookie for these easy Easter cookie nests can be made with other nut or seed butters for different flavors and to accommodate allergies. Almond butter works beautifully, offering a slightly milder, nuttier taste. Cashew butter provides a rich, creamy alternative. For those with nut allergies, sunflower seed butter is an excellent option, although it can sometimes give baked goods a slightly green tint due to a natural reaction with baking soda – this is harmless but worth noting.
When substituting nut or seed butters, use the same quantity as the peanut butter. The consistency of different butters can vary, so you might need minor adjustments to the flour (a tablespoon more or less) to achieve a dough that is easy to roll into balls without being too sticky or crumbly. Experimenting with different nut butter bases allows you to create a variety of easy Easter cookie nests tailored to different tastes or dietary needs.
Alternative Toppings: Mini Marshmallows
Looking for a different topping idea beyond chocolate and candy eggs for your easy Easter cookie nests? Mini marshmallows offer a fun and chewy alternative. After baking the cookies and pressing the indentation, you can fill the "nest" with a small cluster of mini marshmallows while the cookie is still warm. The residual heat will cause the marshmallows to soften and slightly melt together, creating a gooey, nest-like center.
Alternatively, you can add the marshmallows to the indentation just a minute or two before the cookies are finished baking. This allows them to puff up slightly and become golden brown. Once removed from the oven, quickly press them down gently with the back of a spoon to form the nest shape. While not as traditional as chocolate, mini marshmallows provide a simple, delicious, and visually appealing variation for your easy Easter cookie nests.
Troubleshooting Your Peanut Butter Chocolate Easter Nests
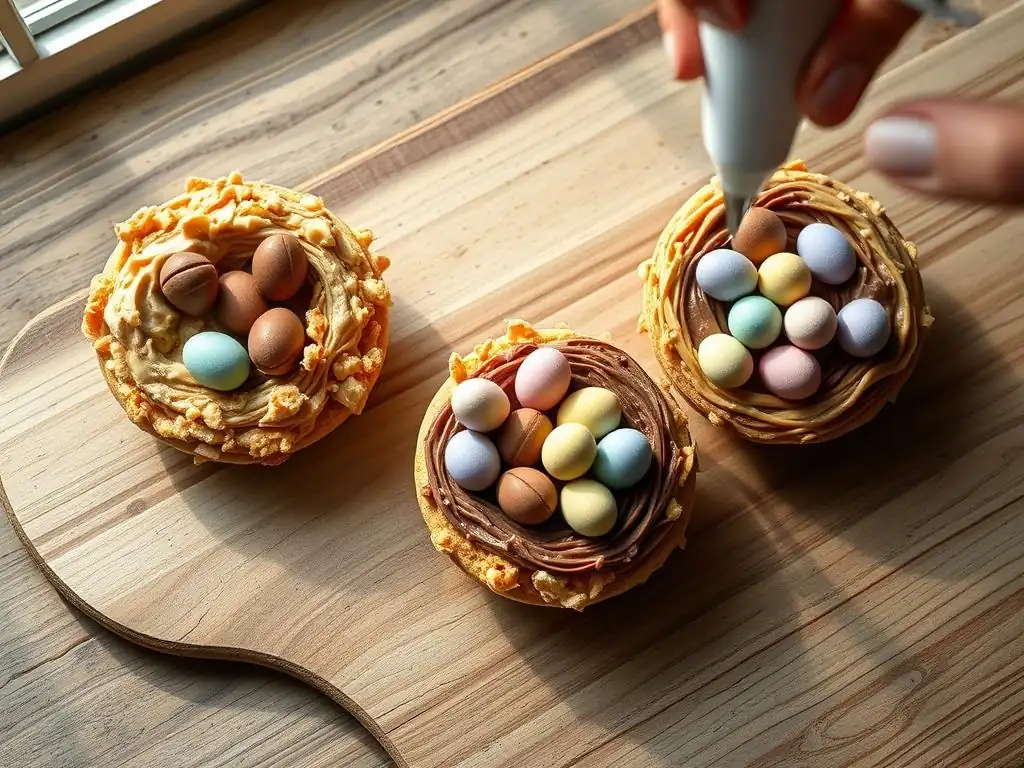
If your easy Easter cookie nests turn out too dry or crumbly, several factors could be the cause. Over-baking is a common culprit; even an extra minute or two in the oven can significantly dry out a cookie. Ensure you are removing them when the edges are just lightly golden and the centers still look a bit soft. They will continue to set as they cool on the baking sheet.
The ratio of wet to dry ingredients also plays a role. If the dough seemed overly dry before baking, it might benefit from a touch more moisture. Next time, try adding an extra tablespoon of softened butter or a teaspoon of milk or cream if the dough feels crumbly during mixing. Accurate measuring is key – ensure you are scooping flour correctly (spooning it into the measuring cup and leveling it off, rather than scooping directly from the bag, which can compact the flour).
Chocolate Too Thick? Thinning Techniques
Sometimes, melted chocolate can become thicker than desired, making it hard to spoon smoothly into the cookie indentations for your easy Easter cookie nests. As mentioned earlier, overheating is a primary reason for this. If your chocolate thickens, try gently warming it again over a double boiler or in very short microwave bursts (5-10 seconds), stirring continuously.
If rewarming doesn't achieve the desired consistency, you can try adding a small amount of fat. Stir in half a teaspoon to a full teaspoon of a neutral vegetable oil, melted coconut oil, or shortening. Add it gradually, stirring until the chocolate smooths out. Avoid adding water or any liquid containing water, as this will cause the chocolate to seize and become a solid, unusable mass.
If your easy Easter cookie nests are spreading too much or not holding the indentation shape well, the issue is likely related to dough consistency or temperature. Insufficient chilling is a common reason for excessive spread. Make sure you chill the dough for at least 30 minutes, and preferably longer, especially if your kitchen is warm. The colder the dough, the less it will spread initially in the oven.
The ratio of fat to flour can also affect spread. If the dough feels overly soft or greasy, you might need to add a tablespoon or two more flour to the mixture. Conversely, if it's too stiff, it might crack when you try to form the indentation. Ensure your butter isn't overly softened or even melted when you start mixing. Using room-temperature butter (softened but not greasy) is crucial for the correct dough structure that will yield sturdy easy Easter cookie nests.
Enjoy Your Homemade Easter Nests!
Baking, especially around holidays like Easter, is about more than just making treats; it's about creating memories and sharing joy. These easy Easter cookie nests are perfect for gifting to neighbors, bringing to a potluck, or simply enjoying with your own family. The process of making them, from mixing the dough to decorating the final nests, can be a wonderful activity to share, particularly with children who will love placing the candy eggs.
Presenting these charming peanut butter chocolate Easter nests on a festive platter adds a beautiful touch to any celebration. Seeing the smiles on faces as people enjoy these homemade delights is incredibly rewarding. The simplicity of the recipe ensures that even novice bakers can experience the satisfaction of creating something delicious and visually appealing. So go ahead, bake a batch (or two!) and spread the joy of these delightful easy Easter cookie nests this spring season.
Frequently Asked Questions
This recipe emphasizes simple ingredients and a straightforward process, making it perfect for beginner bakers. The decorating is also kept simple with readily available candies.
A shortbread, sugar cookie, or oatmeal cookie base works well. They are sturdy enough to hold the "nest" filling and decorations.
What are some alternatives to using chocolate in the nests?
You can use butterscotch chips, melted peanut butter, or even a caramel sauce to create the "nest" effect. These offer different flavor profiles.
Mini chocolate eggs, jelly beans, or candy-coated chocolate eggs are popular choices. Consider using different sizes and colors for a vibrant nest.
Stored in an airtight container at room temperature, these cookies will typically stay fresh for 3-5 days. The texture may change slightly over time.
Final Reflection: The Enduring Sweetness of Tradition
The simple act of baking and decorating Easter nests connects us to a timeless tradition, a testament to the enduring power of shared experiences and creative expression. These seemingly small cookies, crafted with readily available ingredients and a touch of imagination, offer a surprisingly profound connection to the spirit of Easter. More than just a recipe, they are a vehicle for family bonding, a celebration of spring's arrival, and a delightful way to spread joy.
The impact of these simple traditions, passed down through generations, is immeasurable. They create lasting memories, fostering a sense of belonging and continuity. The best things in life are simple,
a sentiment perfectly encapsulates the charm of these Easter nests. From the careful shaping of the cookie dough to the vibrant hues of the candy filling, each step is a small act of love, a tangible expression of care that transcends the recipe itself. The joy of sharing these treats, watching the smiles they bring, is a reward far greater than any perfectly formed nest.
This Easter, I invite you to embrace the simplicity of this tradition. Don't just bake cookies; create memories. Gather your loved ones, roll up your sleeves, and let the sweet aroma of baking fill your home with warmth and laughter. Let the creation of these Easter nests be a symbol of connection, a testament to the enduring power of simple pleasures, and a reminder of the beauty found in shared moments. The recipe is just a starting point; let your creativity flourish and make this Easter truly unforgettable.
Unleash Your Inner Easter Bunny: Decorate & Delight!
Thanks for joining us on this sweet Easter baking adventure! We hope you've gained some delicious inspiration and a simple recipe to impress your loved ones. Ready to bring those adorable Easter nests to life?
- Craft your masterpiece: Whip up a batch of those delicious cookies and get creative with your decorating! Think colorful candies, mini eggs, and maybe even a tiny chocolate bunny.
- Share your creations: Show us your beautiful Easter nests on social media using #BakeWithEaseEaster! We’d love to see your unique designs.
- Experiment with flavors: Try adding different extracts or spices to the cookie dough next time – what unique Easter nest flavor combinations will you discover?
Ready to share the joy of baking this Easter? What's your favorite Easter treat to make or receive?