
Vegan Artisan Bread at Home: Simple Ingredients

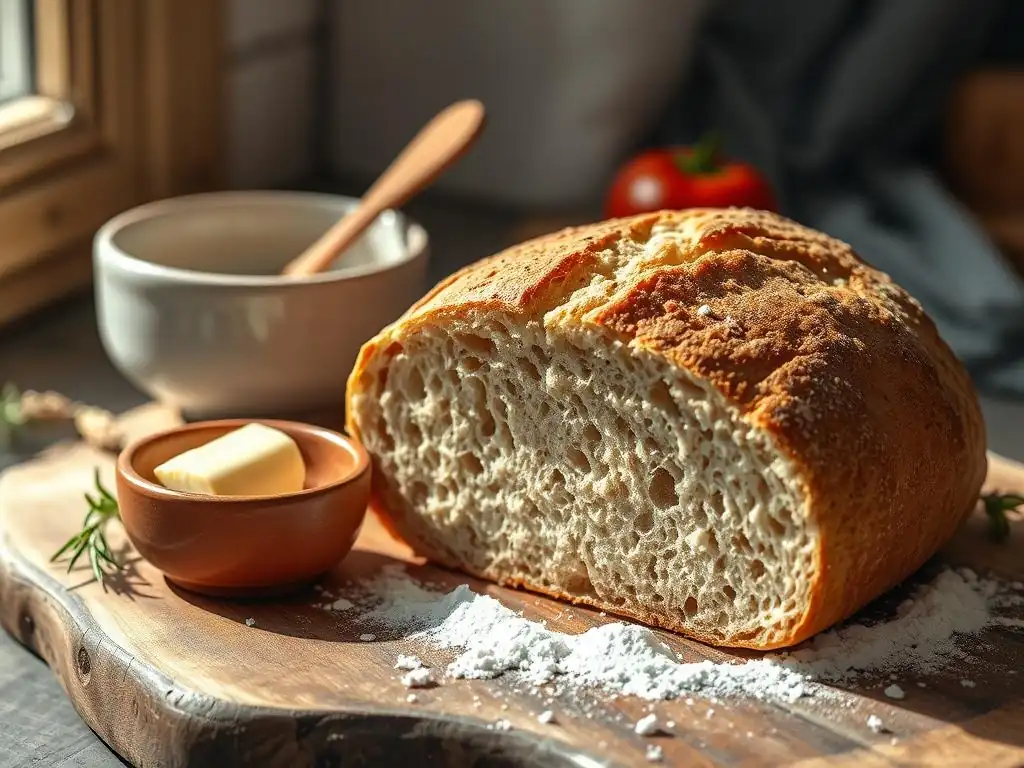
Welcome to BakeWithEase, where baking dreams become delicious reality! Ever dreamt of crafting a vegan sourdough bread with that perfect artisan crust, but thought it too complex? Think again! Discover our easy-to-follow guide to creating a stunning, plant-based loaf right in your own kitchen, and unlock the secrets to effortlessly impressive baking.
- Vegan Sourdough Bread at Home: A Beginner's Guide
- Understanding Vegan Sourdough: An Introduction
- Simple Vegan Sourdough Bread Recipe: Step-by-Step
- Tips for Baking Perfect Vegan Sourdough Bread
- Variations and Flavor Ideas
- Enjoy Your Homemade Vegan Sourdough Bread!
- Frequently Asked Questions
- Final Reflection: The Humble Loaf, a Revolution in the Making
- Unleash Your Inner Baker: Craft Delicious Vegan Bread!
Vegan Sourdough Bread at Home: A Beginner's Guide
Understanding Vegan Sourdough: An Introduction
What is Vegan Sourdough Bread?
Vegan sourdough bread is a traditional leavened bread that relies solely on a natural leavening agent – a sourdough starter – made from fermented flour and water, completely excluding any animal products. Unlike conventional bread that often uses commercial yeast derived from a fermentation process that can sometimes involve animal-derived nutrients, or recipes that might include milk or eggs, vegan sourdough uses only plant-based ingredients.
The magic lies in the starter, a living culture of wild yeasts and beneficial bacteria that consume sugars in the flour and produce carbon dioxide gas, causing the dough to rise, and organic acids, which give sourdough its characteristic tangy flavor and chewy texture.
This simple, centuries-old method creates a bread that is not only naturally vegan but also often easier for many people to digest due to the long fermentation process breaking down complex starches and proteins. A basic vegan sourdough bread recipe easy enough for beginners typically involves just four main ingredients: flour, water, salt, and the sourdough starter. The process requires patience and attention to detail rather than complex techniques or specialized equipment, making it an accessible project for home bakers looking to explore natural leavening without animal products.
Why Bake Vegan Sourdough?
Baking vegan sourdough offers numerous benefits, from health advantages to environmental considerations and the sheer joy of creating something delicious from simple ingredients. For those following a vegan diet or looking to reduce their consumption of animal products, it provides a delicious and satisfying bread option without compromise.
The fermentation process inherent in sourdough can also improve the bioavailability of certain nutrients and reduce phytic acid, an anti-nutrient found in grains, which can help the body absorb minerals more effectively. Furthermore, the long fermentation contributes to a lower glycemic index compared to breads made with commercial yeast, potentially leading to more stable blood sugar levels.
Beyond the dietary benefits, baking vegan sourdough bread at home allows for complete control over ingredients, avoiding additives, preservatives, and commercial yeasts that some people prefer to omit. It's also a deeply rewarding process; nurturing a starter and transforming simple flour and water into a beautiful, crusty loaf is incredibly satisfying. Choosing to bake vegan bread aligns with a lifestyle that seeks to minimize environmental impact, as plant-based baking generally has a smaller carbon footprint compared to baking that uses dairy or eggs. It's a step towards self-sufficiency and a delicious way to embrace natural baking methods.
Essential Ingredients: Flour, Water, Salt, and Starter
The foundation of any vegan sourdough bread recipe easy enough for a beginner rests on just four core ingredients. Flour provides the structure (gluten, primarily) and the food source for the starter's microorganisms. While all-purpose bread flour is a common starting point due to its consistent protein content (typically 11-13%), bakers often experiment with combinations, like adding whole wheat or rye flour, which contribute more nutrients and flavor but can affect hydration needs. The quality of your flour matters; organic, unbleached flours are often preferred as they contain more of the natural microorganisms needed to establish a healthy starter.
Water is equally crucial, playing a vital role in hydrating the flour to develop gluten and providing the necessary environment for microbial activity in the starter and dough. Filtered or non-chlorinated water is recommended because chlorine can inhibit the beneficial bacteria and yeasts in the starter. The ratio of water to flour (hydration) significantly impacts the dough's handling and the final crumb structure, with typical sourdough recipes using hydration levels ranging from 65% to over 80%.
Salt is not just for flavor; it helps control the fermentation rate, strengthens the gluten network, and contributes to a better crust and overall texture. Non-iodized salt, such as sea salt or kosher salt, is usually preferred. Finally, the active vegan sourdough starter is the heart of the bread, providing the leavening power and the signature tangy flavor developed through its unique microbial ecosystem.
Simple Vegan Sourdough Bread Recipe: Step-by-Step
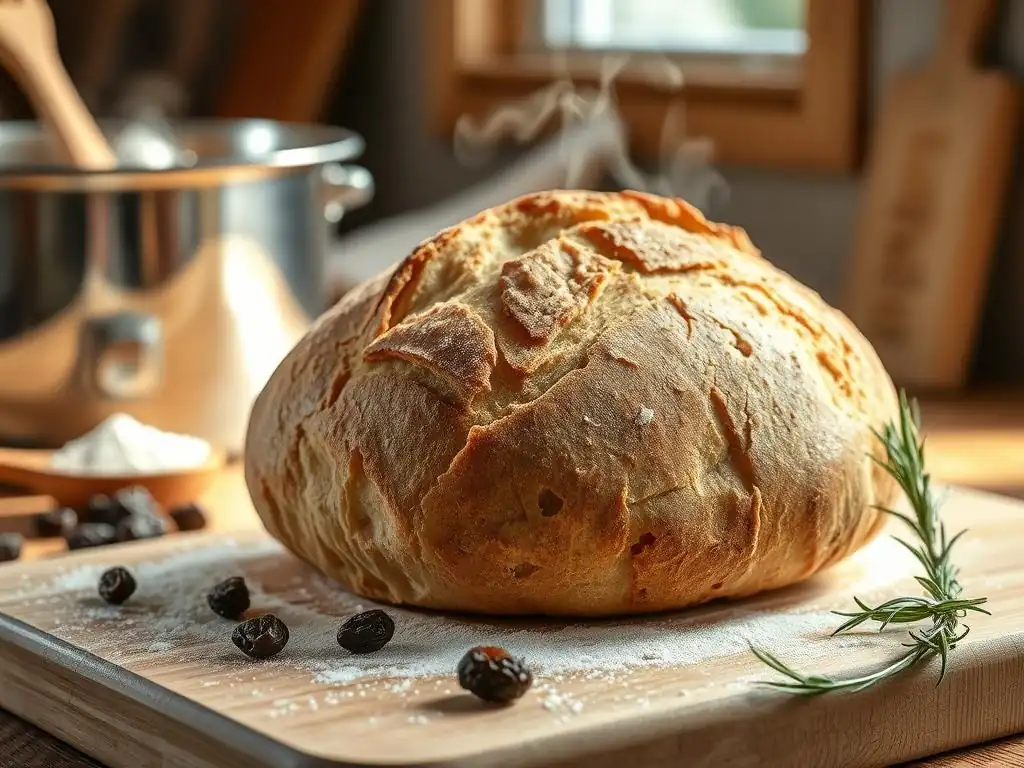
Step 1: Preparing Your Sourdough Starter
Before you can bake a beautiful vegan sourdough bread recipe easy to follow, you need an active, healthy sourdough starter. If you don't have one, you'll need to create one from scratch using just flour and water, which typically takes about 7-14 days. Once established, maintaining a starter involves regular feeding.
A common feeding ratio is 1:1:1 by weight – one part starter, one part water, and one part flour. For example, you might feed 50 grams of existing starter with 50 grams of water and 50 grams of flour.
This provides the microorganisms with fresh food, keeping them active and ready to leaven your bread. Feeding frequency depends on storage; a starter kept at room temperature needs daily feeding, while one in the refrigerator can be fed less often, perhaps once a week, but will need several days of consistent feeding at room temperature to become vigorous enough for baking.
An active starter should show clear signs of fermentation. After feeding, it should double or even triple in size within 4-8 hours at typical room temperature (around 70-78°F or 21-26°C), depending on the flour used and the starter's maturity. You will see numerous bubbles throughout the culture, and the surface will be dome-shaped before starting to recede as the food supply is depleted.
A simple test for activity is the "float test": drop a small spoonful of starter into a glass of water; if it floats, it's generally ready to use for baking. If it sinks, it likely needs more time to ferment or more consistent feeding to build strength. Using a starter at its peak activity is crucial for achieving a good rise in your simple vegan sourdough bread.
Step 2: Mixing the Dough
The first step in mixing your dough for a simple vegan sourdough bread recipe involves combining the active starter with water and flour. For a standard loaf, you might start with 100 grams of active starter, 350 grams of water (at around 70-80°F or 21-27°C), and 500 grams of strong bread flour. Begin by whisking the starter into the warm water until mostly dissolved, then add the flour and mix everything together by hand or with a stand mixer until no dry spots remain.
This initial mix is called the autolyse phase (though salt is sometimes added later), allowing the flour to hydrate and gluten development to begin passively. Let this mixture rest for 20-30 minutes, covered, to allow the flour to absorb the water fully.
After the autolyse rest, it's time to add the salt. For the quantities mentioned above, around 10 grams of fine sea salt is typical (about 2% of the flour weight). Incorporate the salt by mixing and gently kneading the dough for a few minutes. The goal isn't intensive kneading like traditional yeast bread; the long fermentation will build strength.
You're aiming for a shaggy dough that is just coming together. The consistency will depend on your hydration level and flour type. A dough with 70% hydration will be quite wet and sticky initially, while a 60% hydration dough will be firmer. Don't be discouraged by stickiness; this is normal and improves as gluten develops.
Step 3: Bulk Fermentation
Bulk fermentation, also known as the first rise, is a critical phase where the sourdough starter gets to work leavening the dough and developing flavor. This process typically takes several hours, ranging from 4 to 8 hours or even longer, depending on the ambient temperature and the starter's activity. During this time, the dough should increase significantly in volume, usually by 50% to 100%.
The ideal temperature for bulk fermentation is often cited as 75-80°F (24-27°C), which encourages optimal yeast and bacterial activity. Warmer temperatures speed up fermentation, while cooler temperatures slow it down. Monitoring the dough's expansion and feel, rather than strictly adhering to a time, is key.
Throughout bulk fermentation, a series of 'folds' are performed to strengthen the dough's gluten structure without intensive kneading. Typically, 3-5 sets of stretch and folds are done during the first 2-3 hours of bulk fermentation, with rests of 30-45 minutes in between. To perform a stretch and fold, wet your hand slightly, grab one edge of the dough, stretch it upwards gently, and fold it over the opposite side.
Rotate the bowl and repeat this action 3-4 times until all sides have been stretched and folded. This technique helps build tension and structure, which is essential for achieving a good oven spring and crumb in your simple vegan sourdough bread. By the end of bulk fermentation, the dough should feel airy, slightly bubbly, and much stronger, holding its shape better.
Step 4: Shaping Your Sourdough Loaf
Once the bulk fermentation is complete and the dough is visibly risen and airy, it's time to pre-shape and shape your loaf. First, gently turn the dough out onto a lightly floured surface. Avoid using too much flour, as this can prevent the dough from sealing properly. Gently pat the dough into a rough rectangle or circle, depending on your desired final shape (round 'boule' or oval 'bâtard'). Allow the dough to rest for 15-20 minutes, uncovered, which helps the gluten relax and makes the final shaping much easier. This resting period is called the bench rest.
For the final shape, you need to create tension on the surface of the dough. For a boule, gently pull the edges of the dough towards the center, rotating as you go, until you have a relatively tight ball. Flip the dough over so the seam is on the bottom and cup your hands around it, gently pulling it towards you across the surface to create tension. For a bâtard, gently shape it into a rectangle, fold the top third down, then the bottom third up, and finally fold it in half lengthwise, sealing the seam.
Roll the dough gently to even out the shape. Once shaped, place the dough seam-side up into a proofing basket (banneton) that has been well-floured, typically with rice flour to prevent sticking. The basket supports the dough during its final rise and gives it a nice pattern.
Step 5: Proofing the Dough
Proofing, or the final rise, is the last stage before baking where the shaped dough sits and allows the yeast to produce more gas, expanding the loaf. For vegan sourdough, cold proofing in the refrigerator is highly recommended, especially for a beginner's simple vegan sourdough bread recipe. Placing the shaped dough in the fridge (covered with a plastic bag or lid) for 8-12 hours, or even up to 24 hours, offers several advantages.
The cold temperature significantly slows down fermentation, allowing the baker more control over the baking schedule. More importantly, the long, cold proof develops deeper, more complex flavors in the bread and strengthens the dough's structure, leading to better oven spring and a more open crumb.
While cold proofing is standard, you can also do a shorter proof at room temperature (1-3 hours), but this requires closer monitoring as the dough rises much faster. To check if your dough is properly proofed, you can perform the poke test. Gently press your finger into the side of the dough about half an inch deep.
If the indentation springs back immediately, the dough is under-proofed. If it stays indented and springs back very slowly, it is likely perfectly proofed and ready to bake. If the indentation stays completely and doesn't spring back at all, it is likely over-proofed, which can result in a loaf that collapses in the oven.
Step 6: Baking Your Sourdough Bread
Baking vegan sourdough bread often involves using a Dutch oven or a lidded pot to mimic the environment of a professional bread oven, trapping steam around the loaf during the initial baking phase. Preheat your oven to a high temperature, typically 450-500°F (230-260°C), with the Dutch oven inside, for at least 30-60 minutes. This ensures the pot is scorching hot, which helps the loaf achieve maximum oven spring. Carefully remove the hot pot, invert your proofed dough into it (seam-side down if proofed seam-side up), score the top surface of the dough, and quickly place the lid back on.
Scoring the dough before baking is essential. Using a sharp blade (like a razor blade or 'lame'), make one or more cuts on the surface of the dough. This allows the steam trapped inside the loaf to escape in a controlled manner during the initial intense heat of the oven, preventing the crust from bursting unpredictably and guiding the oven spring.
A classic score is a single slash along the length of an oval loaf or a cross or square on a round loaf. Bake with the lid on for the first 20-25 minutes. This traps steam, keeping the crust soft and allowing the loaf to expand fully.
After this time, remove the lid and continue baking for another 20-25 minutes, or until the crust is a deep golden brown and the internal temperature of the bread reaches around 205-210°F (96-99°C). Achieving a beautiful, crusty exterior while maintaining a soft, airy interior is the hallmark of a well-baked simple vegan sourdough bread.
Tips for Baking Perfect Vegan Sourdough Bread
Troubleshooting Common Sourdough Problems
Even with a simple vegan sourdough bread recipe, beginners can encounter challenges. One common issue is dense bread, often resulting from an inactive starter, insufficient fermentation time (bulk or proofing), or inadequate gluten development. If your starter isn't doubling reliably, feed it more frequently for a few days to build its strength.
Ensure your bulk fermentation allows the dough to increase significantly in volume and that you perform enough folds to build structure. If your dough feels weak and doesn't hold tension during shaping, it might need more time or more gentle handling. Baking at the correct temperature is also vital; a too-cool oven can lead to poor oven spring and a denser crumb.
Another frequent concern is a sour taste that is too strong or unpleasant. While sourdough is meant to be tangy, an overly sour flavor can indicate that the starter hasn't been fed recently enough or that the dough has been over-fermented, especially during a long, warm bulk fermentation. Feeding your starter more frequently (twice a day if kept at room temperature) with a higher ratio of fresh flour can help mitigate excessive acidity.
Using the starter when it's at its peak (just after doubling) rather than when it has started to collapse also contributes to a milder flavor. Experimenting with different flours can also influence the taste; rye and whole wheat flours tend to produce a tangier loaf than white bread flour.
Mastering Vegan Bread Baking: Advanced Techniques
Once you've successfully baked a basic simple vegan sourdough bread recipe, you might want to explore more advanced techniques to refine your skills and results. One such technique is the 'levain build', where you take a small amount of your mature starter and feed it specifically for your bake, allowing it to peak before mixing the main dough. This ensures you are using a young, vigorous culture for optimal leavening.
Another technique is adjusting hydration levels. Working with wetter doughs (75% hydration or higher) can be challenging to handle but often results in a more open, airy crumb structure. Mastering the stretch and fold or coil fold techniques becomes even more crucial with high-hydration doughs to build sufficient strength.
Baking methods can also be advanced. While a Dutch oven is great, exploring baking on a preheated baking stone or steel can also yield excellent results, especially when combined with steam created by adding water to a hot tray on the oven floor. Understanding the nuances of fermentation based on temperature is also key; professional bakers often use temperature-controlled environments or retarders (specialized refrigerators) to precisely control fermentation speed and flavor development. Experimenting with different flours, like ancient grains or specialty flours, introduces new challenges and flavors, pushing your vegan bread baking skills further.
Storing Your Vegan Sourdough Bread
Proper storage is essential to keep your homemade simple vegan sourdough bread fresh and delicious for as long as possible. Once the bread has cooled completely on a wire rack (this is crucial; slicing too early traps steam and makes the crumb gummy), you have a few options. For short-term storage (1-2 days), simply storing the loaf cut-side down on a clean surface or in a paper bag is often sufficient to maintain a crisp crust. Avoid plastic bags during the first day, as they trap moisture and soften the crust.
For longer storage, wrapping the cooled loaf tightly in a linen or cotton bread bag works well for 2-3 days. If you need to store it for longer, or if you live in a humid climate, storing the bread in a sealed plastic bag or container after the first day will keep the interior soft, though the crust will soften. For maximum freshness beyond a few days, freezing is the best option.
Slice the cooled loaf, wrap the slices tightly in plastic wrap or place them in a freezer-safe bag, and freeze for up to a few months. You can then toast slices directly from frozen or thaw them. Freezing a whole or half loaf works too; wrap it tightly in plastic wrap and then foil before freezing.
Variations and Flavor Ideas
Adding Seeds and Grains
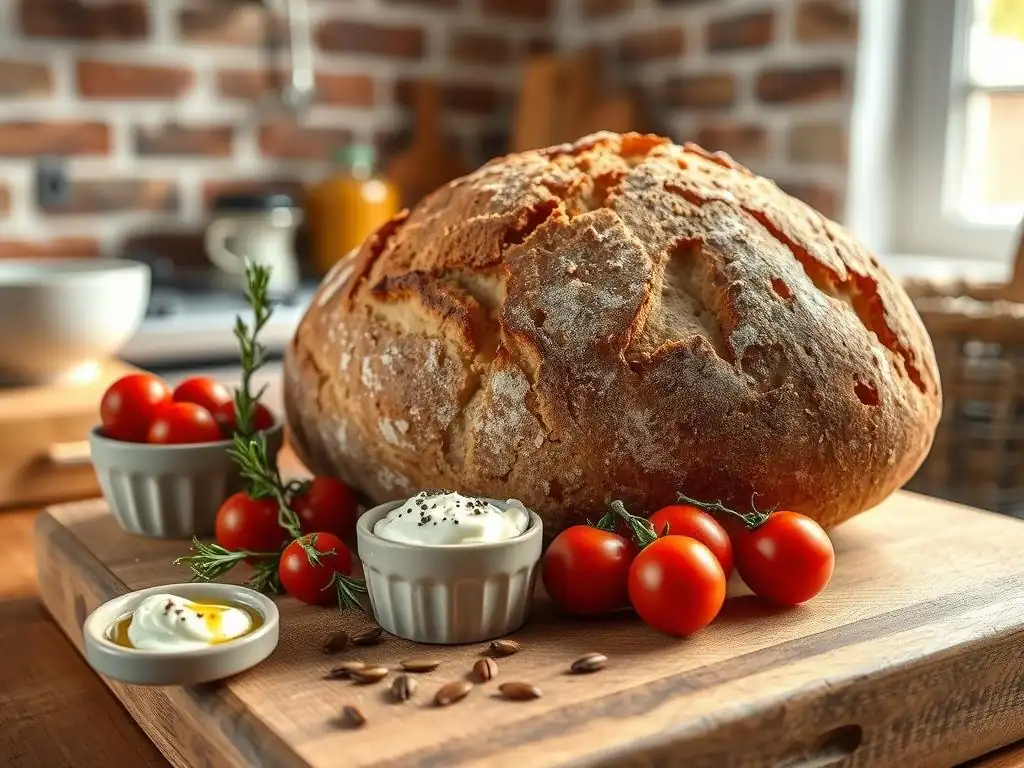
Once you've mastered the basic simple vegan sourdough bread recipe, incorporating seeds and grains is a fantastic way to add texture, flavor, and nutritional value. Seeds like sesame, poppy, sunflower, and pumpkin seeds can be added directly into the dough during the mixing phase, typically at a rate of 10-20% of the total flour weight. You can also pre-soak some seeds (like flax or chia) in water before adding them to prevent them from absorbing moisture from the dough later. Grains, such as rolled oats, cracked wheat, or even cooked quinoa or rice, can also be incorporated.
For a more intense flavor and softer crumb, consider making a 'soaker' or 'porridge' with grains. A soaker involves soaking grains or seeds in hot water for several hours or overnight, while a porridge involves cooking them into a thick consistency. These additions not only enhance the taste and texture but also increase the bread's moisture content, potentially extending its shelf life. For example, adding a soaker made from 50 grams of mixed seeds soaked in 50 grams of hot water to a 500-gram flour recipe adds a delightful crunch and nutty flavor.
Experimenting with Different Flours: Spelt, Einkorn, and More
Beyond standard bread flour, exploring other flours can dramatically change the character of your simple vegan sourdough bread. Whole wheat flour is a common addition, providing more nutrients and a stronger flavor. It's often used in combination with white bread flour, perhaps 20-50% whole wheat, as using 100% whole wheat can result in a denser loaf and requires higher hydration. Rye flour, even in small amounts (5-10%), contributes a distinct tangy flavor and can improve starter activity, but it has less gluten development than wheat, so using too much can make the dough sticky and hard to handle.
Ancient grains like spelt and einkorn offer unique flavors and nutritional profiles. Spelt is an ancient form of wheat with a slightly nutty flavor and a more delicate gluten structure than modern wheat, often requiring less mixing.
Einkorn is one of the oldest cultivated wheat varieties and has a lovely rich, slightly sweet flavor but its gluten is very weak, making it best used in blends with stronger flours. Using a mix of flours, such as 70% strong white bread flour, 20% whole wheat, and 10% rye, is a common approach to balancing flavor, nutrition, and dough handling characteristics in a vegan sourdough bread recipe.
Flavor Infusions: Herbs and Spices
Infusing your simple vegan sourdough bread with herbs and spices is an easy way to create unique and delicious variations. Dried herbs like rosemary, thyme, or oregano can be added to the dough during the initial mixing phase. For a more potent flavor, consider rehydrating dried herbs in a small amount of warm water before adding them. Fresh herbs can also be used, though they might require slightly different hydration adjustments. A popular choice is adding finely chopped fresh rosemary and flaky sea salt just before the final shaping.
Spices such as black pepper, caraway seeds, or even a touch of smoked paprika can add intriguing layers of flavor. Sweet spices like cinnamon or cardamom can be used if you're venturing into sweeter sourdough variations, perhaps combined with dried fruits. Garlic, roasted or granulated, is another excellent addition for a savory loaf.
Add herbs and spices during the final mixing stage or during the first few sets of folds to ensure even distribution throughout the dough. Typically, 1-2 tablespoons of dried herbs or spices per 500 grams of flour is a good starting point, but feel free to adjust based on your preference.
Enjoy Your Homemade Vegan Sourdough Bread!
Serving Suggestions
There's nothing quite like the aroma and taste of freshly baked simple vegan sourdough bread straight from your own oven. Once it's cooled and sliced, the possibilities for enjoying it are endless. A classic way is simply with a good quality vegan butter or olive oil. The tangy flavor pairs wonderfully with savory toppings. Think bruschetta with fresh tomatoes, basil, and garlic, or topped with mashed avocado and a sprinkle of chili flakes. It's also the perfect base for hearty sandwiches, like a grilled vegan cheese or a plant-based 'BLT'.
Vegan sourdough also makes excellent toast, providing a sturdy and flavorful foundation for everything from jam to hummus. Consider using slightly stale sourdough to make croutons for salads or breadcrumbs for cooking. It holds up well when dipped in soups or stews. For a delightful appetizer, slice the loaf, drizzle with olive oil, sprinkle with flaky salt and perhaps some fresh herbs, and toast until golden brown. Sharing a loaf of warm, homemade vegan sourdough bread with friends and family is a simple pleasure that truly highlights the rewards of home baking.
Further Exploration: More Vegan Baking Recipes
Mastering a simple vegan sourdough bread recipe is a fantastic achievement and can open the door to a whole world of vegan baking. The techniques learned, particularly understanding fermentation and dough handling, are transferable to other naturally leavened goods. You might explore baking other types of vegan sourdough, such as enriched loaves with added vegan milk or sugar, or perhaps naturally leavened vegan pizza dough or focaccia.
Beyond sourdough, the skills gained in measuring accurately, understanding ingredient functions, and managing baking temperatures are fundamental to all baking. You could venture into yeasted vegan breads, vegan cakes, cookies, muffins, and pastries. Websites like BakeWithEase.com offer a wealth of resources and easy-to-follow guides for various vegan baking projects, from flaky vegan pie crusts to moist plant-based muffins. Each new recipe is an opportunity to learn, experiment, and expand your repertoire, bringing the joy of delicious, homemade vegan treats into your kitchen.
Frequently Asked Questions
What exactly is vegan sourdough bread?
Vegan sourdough bread is simply sourdough bread made without any animal-derived ingredients. It relies on a sourdough starter, flour, water, and salt, making it naturally vegan.
Is it difficult to make vegan sourdough bread at home?
Not at all! While sourdough can seem intimidating, our recipes focus on simple ingredients and easy-to-follow steps, perfect for beginners.
What makes a sourdough bread recipe easy?
An easy recipe uses readily available ingredients, has clear and concise instructions, and minimizes complex techniques like long fermentation times or complicated shaping methods.
Can I use any type of flour for a vegan sourdough bread recipe?
While all-purpose flour works well, using bread flour will result in a chewier and more structured loaf. Experiment to find your preferred texture!
Where can I find a reliable vegan sourdough bread recipe easy to follow?
BakeWithEase.com offers a range of beginner-friendly recipes, including a delicious and simple vegan sourdough bread recipe that you can easily make at home!
Final Reflection: The Humble Loaf, a Revolution in the Making
The accessibility of vegan baking, once a niche pursuit, is exploding, and the humble sourdough loaf is leading the charge. This isn't just about dietary restrictions; it's a testament to the power of simple ingredients and accessible techniques to create something truly delicious and deeply satisfying. The ease with which you can craft a beautiful, flavourful vegan sourdough at home, as detailed in this article, speaks volumes about the evolving culinary landscape.
The journey of making sourdough, whether vegan or not, is a journey of patience and connection – a connection to the ancient art of bread making and a connection to the very earth from which our ingredients spring. This process, more than just a recipe, fosters a mindful appreciation for food and its origins. Bread is the staff of life,
they say, and in making it ourselves, we truly grasp the weight and wonder of that statement. The increasing popularity of vegan baking reflects a growing awareness of ethical and environmental considerations, a shift towards mindful consumption that extends far beyond the kitchen.
Now, consider your own kitchen. Imagine the aroma of freshly baked sourdough filling your home, the satisfying crust yielding to a soft, tangy interior. You have the power to create this magic. Don't let the perceived complexity of sourdough intimidate you. Embrace the simplicity of the process, the joy of creation, and the delicious rewards. Try the recipe, adapt it to your taste, and share your own sourdough journey with others. The world needs more delicious, ethically-sourced, and home-baked bread. Let's rise to the occasion, together.
Unleash Your Inner Baker: Craft Delicious Vegan Bread!
Thanks for joining us on this journey into the world of delicious, homemade vegan bread! We hope you've discovered the ease and satisfaction of creating artisan loaves from simple ingredients. Ready to take your baking to the next level?
- Bake your own masterpiece: Try out one of the recipes from the article today – we bet you'll be surprised by how easy it is! This is your chance to create something truly special.
- Share your creations: Post a picture of your loaf on social media and tag us – let's inspire each other! Use #BakeWithEaseVeganBread to connect with fellow bread lovers.
- Explore further: Dive deeper into the world of vegan baking by browsing other recipes on BakeWithEase.com (replace with actual domain if different). Discover exciting new possibilities!
What unique flavor combination will you try in your next vegan bread adventure?