
The Easiest Basic Fruit Pie Recipe

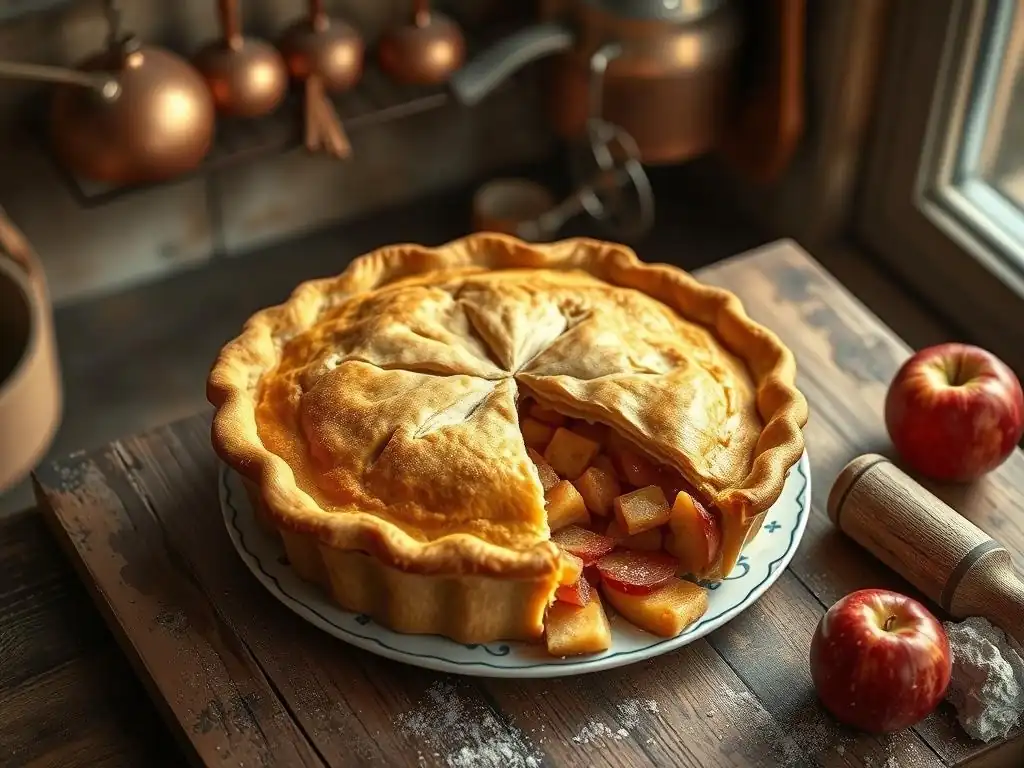
Welcome to BakeWithEase, your trusted guide to unlocking the sweet secrets of baking! Ever dreamed of creating a picture-perfect pie without the fuss? You're in the right place. This article dives into an easy fruit pie recipe so simple, even beginner bakers can achieve delicious results. Ready to impress your friends and family with a homemade masterpiece? Let's get baking!
- The Easiest Apple Pie Recipe
- BakeWithEase's Guide to a Simple Apple Pie
- Why This is the Perfect Easy Apple Pie Recipe for Beginners
- Easy Apple Pie Recipe: Step-by-Step Instructions
- Preparing the Easy Apple Pie Dough
- Assembling and Baking Your Easy Apple Pie
- Tips for the Best Easy Apple Pie
- Serving and Storing Your Easy Apple Pie
- Frequently Asked Questions
- Final Reflection: The Sweet Simplicity of Sharing
- Unlock Your Inner Baker: Make This Pie Today!
The Easiest Apple Pie Recipe
BakeWithEase's Guide to a Simple Apple Pie
Welcome to BakeWithEase, where we believe baking should be fun and accessible to everyone! If you've ever dreamed of pulling a warm, bubbly apple pie from your oven but felt intimidated, this is the recipe for you. We've stripped away the complexity to create an easy apple pie recipe that guarantees delicious results, even if it's your very first time making an easy fruit pie recipe from scratch. This guide walks you through every step, focusing on simple techniques and straightforward ingredients, proving that a show-stopping dessert doesn't require expert skills.
This particular easy apple pie recipe is designed with beginners in mind. We focus on minimizing potential pitfalls, like tough crusts or runny fillings, using methods that are forgiving and reliable. Think of this as your foundation – once you master this easy fruit pie recipe, you'll feel confident tackling other fruit pies with ease. Our goal is to build your baking confidence, one delicious slice at a time, showing you just how achievable homemade pie can be.
Why This is the Perfect Easy Apple Pie Recipe for Beginners
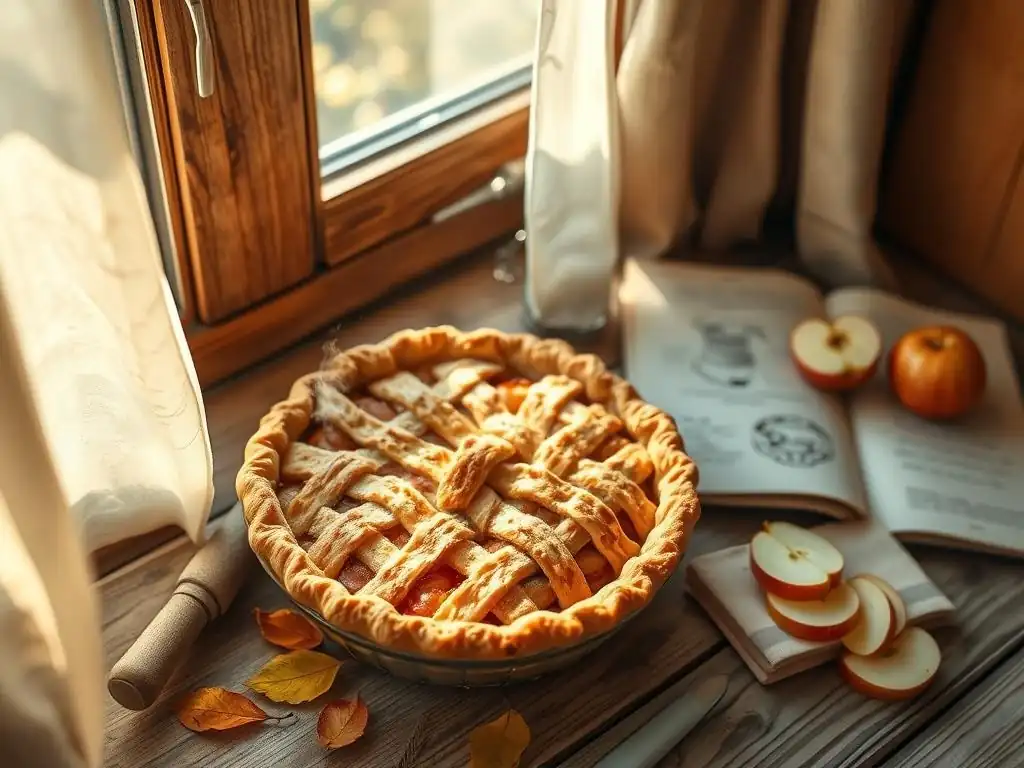
No-Fuss Pie Crust: The Key to an Easy Apple Pie
A common hurdle for novice bakers is the pie crust. Traditional methods can seem daunting, involving precise techniques and the fear of overworking the dough, which leads to a tough crust. Our approach simplifies this process significantly. We focus on using cold ingredients and minimal handling, which are fundamental principles for a flaky crust, but explain them in a way that removes the mystery. By cutting in cold fat (like butter or shortening) into the flour, you create small pockets of fat that melt during baking, producing steam and those desirable flaky layers.
This easy apple pie recipe emphasizes a forgiving crust method. We provide clear indicators for when the dough is just right – typically when it holds together when squeezed but isn't sticky. Overmixing develops gluten, making the crust tough, so our instructions guide you to stop mixing as soon as the dough comes together. Chilling the dough is another crucial, yet simple, step that makes rolling easier and contributes significantly to flakiness by solidifying the fat. By following these straightforward steps, you'll conquer the crust and unlock the secret to a truly easy homemade apple pie.
Simple Apple Filling for Your First Pie
Creating a delicious filling for your easy fruit pie recipe shouldn't require a complex list of ingredients or tricky cooking methods. For this easy apple pie, we stick to the basics: apples, sugar, spices, and a simple thickener. The beauty of apple pie is its inherent simplicity; the star is the fruit itself. We guide you on selecting the right apples – typically a mix of sweet and tart varieties works best, like Granny Smith paired with Honeycrisp or Fuji, to balance flavor and texture as they bake.
The preparation involves straightforward tasks: peeling, coring, and slicing the apples. We discuss how to mix them with the sugar, cinnamon (a classic! ), and a thickener like flour or cornstarch. The thickener is key to preventing a watery filling, and we provide guidance on the right amount to use for a typical batch, ensuring your easy apple pie filling sets up beautifully without being gluey. This minimal-fuss approach means you spend less time on complicated steps and more time enjoying the process and the wonderful aroma filling your kitchen.
Easy Apple Pie Recipe: Step-by-Step Instructions
Ingredients for the Easy Apple Pie Crust
- 2 ½ cups all-purpose flour
- 1 teaspoon salt
- 1 cup (2 sticks) cold unsalted butter, cut into ½-inch cubes
- ½ cup ice water (or slightly more, as needed)
Ingredients for the Easy Apple Pie Filling (Apple)
- 6-8 cups sliced apples (about 2-2 ½ pounds), peeled and cored (a mix of varieties like Granny Smith, Honeycrisp, or Fuji works well)
- ¾ cup granulated sugar (adjust slightly based on apple sweetness)
- 2 tablespoons all-purpose flour or cornstarch (use flour for a slightly cloudier filling, cornstarch for clearer)
- 1 teaspoon ground cinnamon
- ¼ teaspoon ground nutmeg
- 1 tablespoon lemon juice (optional, helps prevent browning and adds brightness)
- 1 tablespoon unsalted butter, cut into small pieces
Preparing the Easy Apple Pie Dough
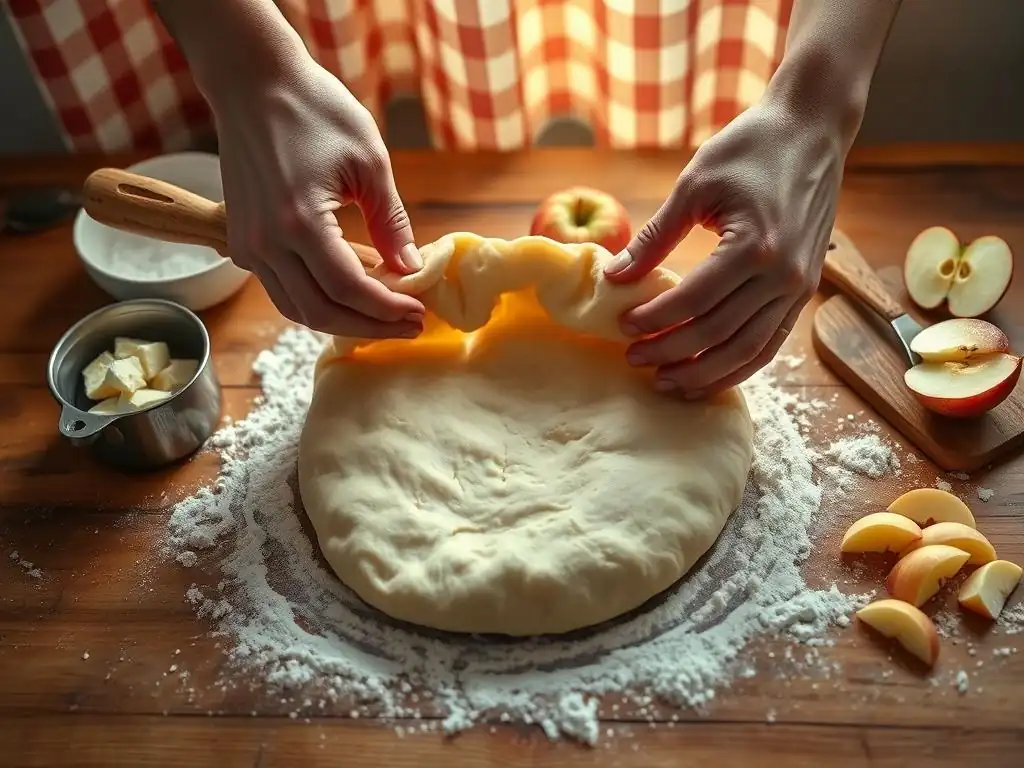
Step 1: Mixing the Dough for the Easy Apple Pie Crust
Begin by combining the flour and salt in a large bowl. Add the cold, cubed butter. Using a pastry blender, fork, or your fingertips, cut the butter into the flour until the mixture resembles coarse crumbs with some pea-sized pieces of butter remaining. This step is crucial for creating a flaky texture, as the small butter pieces will melt and create steam during baking. Avoid overworking the mixture; you want those distinct butter pieces.
Next, gradually add the ice water, 1-2 tablespoons at a time, mixing gently with a fork or your hands until the dough just comes together. Be careful not to add too much water; the dough should be moist enough to hold together but not sticky. Gather the dough into a ball, then divide it in half. Flatten each half into a disk, wrap them tightly in plastic wrap, and refrigerate for at least 30 minutes. This chilling time is essential for making the dough easier to roll and contributing to flakiness.
Step 2: Chilling the Dough for a Flaky Pie Crust
Chilling the dough is a non-negotiable step for achieving a truly flaky and easy pie crust. When the dough is cold, the fat (butter/shortening) is solid. As the pie bakes, this solid fat melts and releases steam, which creates tiny air pockets within the dough layers. These pockets are what give a pie crust its desirable flaky texture. Chilling also allows the gluten in the flour to relax, which prevents the crust from shrinking excessively during baking and makes the dough much easier to handle and roll out without tearing.
Allow the dough disks to chill in the refrigerator for a minimum of 30 minutes, though an hour is even better if time permits. You can even chill the dough for up to 2 days ahead of time, making this an excellent make-ahead option for your easy fruit pie recipe preparation. Just be sure to let it sit at room temperature for about 10-15 minutes before rolling if it's been chilled for a longer period, to make it pliable enough.
Step 3: Rolling Out the Dough for Your Easy Apple Pie
Once the dough is properly chilled, lightly flour a clean, dry surface and your rolling pin. Take one disk of dough and place it on the floured surface. Begin rolling from the center outwards, rotating the dough occasionally to prevent sticking and to help maintain a circular shape. If the dough cracks at the edges, simply pinch it back together. Roll the dough until it is about 1/8 inch thick and large enough to fit into your 9-inch pie plate, typically about a 12-inch diameter circle.
Carefully transfer the rolled dough to your pie plate. The easiest way to do this is to gently roll the dough around your rolling pin and then unroll it over the plate, or fold it in half or quarters, place it in the plate, and unfold it. Gently press the dough into the bottom and sides of the plate, ensuring there are no air bubbles.
Trim any excess dough, leaving about a 1-inch overhang around the edge. Place the pie plate with the bottom crust in the refrigerator while you prepare the filling. Repeat the rolling process for the second disk of dough, which will be used for the top crust or lattice.
Assembling and Baking Your Easy Apple Pie
Step 4: Preparing the Easy Apple Pie Filling (Apple)
While your bottom crust chills, prepare the simple apple filling. In a large bowl, combine the peeled, cored, and sliced apples. Add the granulated sugar, flour or cornstarch (whichever you chose), cinnamon, nutmeg, and optional lemon juice. Gently toss everything together until the apple slices are evenly coated. The thickener is crucial here; for a 9-inch pie using about 2 to 2.5 pounds of apples, 2 tablespoons of flour or cornstarch is a good starting point to absorb the juices released during baking and ensure your easy apple pie filling isn't too watery.
Let the apple mixture sit for about 10-15 minutes. This allows the sugar to start drawing out juices from the apples, which will then mix with the thickener. This brief resting period helps the filling set better during baking. You'll notice some liquid forming at the bottom of the bowl; this is normal. Give it another gentle stir before filling the pie crust to ensure the thickener is evenly distributed.
Step 5: Filling the Pie Crust with Apples
Retrieve the chilled bottom pie crust from the refrigerator. Pour the prepared apple filling into the crust, mounding the apples slightly in the center. The apples will cook down as they bake, so a slight mound is perfectly fine. Distribute the small pieces of butter evenly over the top of the apple filling. These butter pieces will melt during baking, adding richness and helping to create a lovely, bubbly filling.
Ensure the apples are distributed relatively evenly within the crust. Avoid packing them down too tightly, as this can lead to a dense filling. Just gently pile them in. The goal is to fill the crust generously so your easy homemade apple pie looks full and inviting once baked.
Step 6: Topping and Crimping the Pie Crust
Now it's time to add the top crust to your easy apple pie. You have options: a full top crust or a lattice top. For a full top crust, place the second rolled dough circle over the filled pie. Cut several vents in the top crust using a knife to allow steam to escape during baking; this prevents the crust from puffing up excessively or even bursting. For a lattice top, cut the rolled dough into even strips (about ¾ to 1 inch wide) and weave them over the filling.
Once the top crust is in place, trim the edges to match the bottom crust overhang (about 1 inch). Crimp the edges of the top and bottom crusts together to seal the pie. You can do this by pressing the edges together with a fork or using your fingers to create a fluted edge. This seal is important to keep the filling contained while baking. For a golden-brown finish, you can brush the top crust with an egg wash (one egg whisked with a tablespoon of water or milk) and sprinkle with a little sugar if desired.
Step 7: Baking Your Easy Homemade Apple Pie to Golden Perfection
Preheat your oven to 425°F (220°C). Place the assembled pie on a baking sheet (this catches any drips and makes it easier to handle). Bake for 15-20 minutes at the higher temperature. This initial blast of heat helps set the crust and get the flaking process going. After 15-20 minutes, reduce the oven temperature to 375°F (190°C).
Continue baking for another 30-45 minutes, or until the crust is deeply golden brown and you see the filling bubbling through the vents or lattice. If the edges of the crust start browning too quickly, you can loosely cover them with strips of aluminum foil or a pie crust shield. The total baking time for an easy apple pie is typically between 45 and 65 minutes, depending on your oven and the type of apples used. You can also gently insert a knife through a vent into the filling to check if the apples are tender.
Tips for the Best Easy Apple Pie
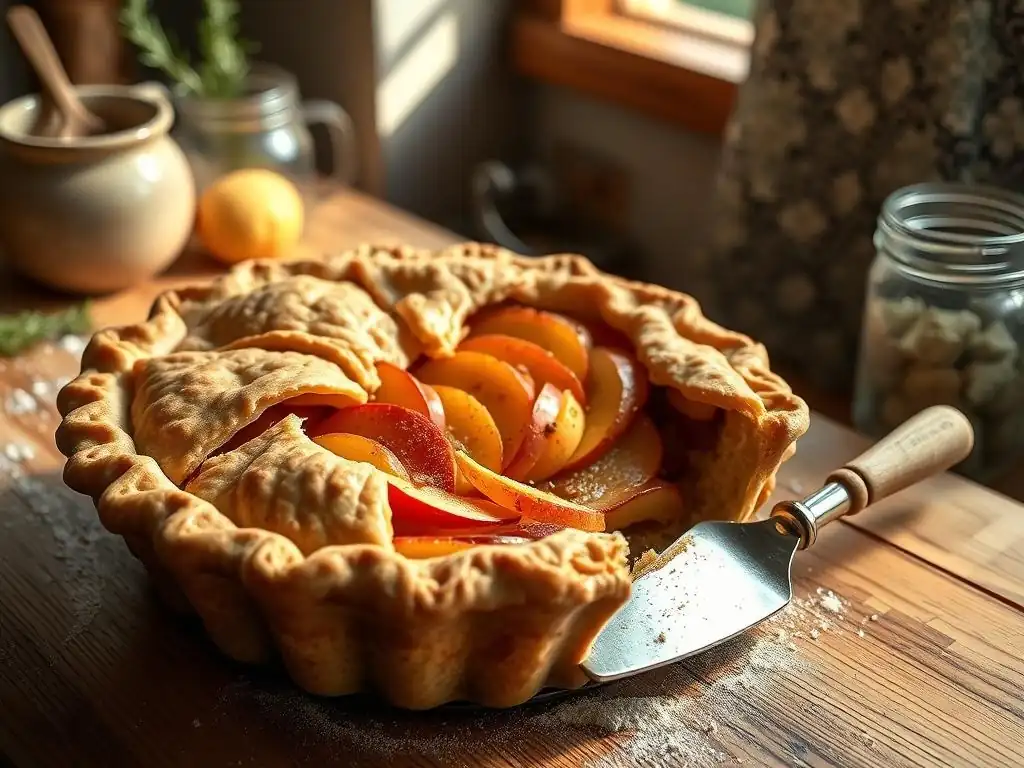
Achieving a Golden-Brown Pie Crust
A beautifully golden-brown crust is the hallmark of a perfectly baked easy fruit pie recipe. To achieve this, ensure your oven is properly preheated and that you bake the pie long enough. The color develops as the crust bakes and the sugars in the flour caramelize. Brushing the top crust with an egg wash (a mixture of beaten egg and a little water or milk) before baking is an excellent way to promote a rich, glossy, golden finish. A simple milk or cream wash also works, yielding a slightly less shiny but still golden result.
Starting the bake at a higher temperature for the first 15-20 minutes, as outlined in our recipe, helps to quickly set the crust structure and initiate browning. After lowering the temperature, continue baking until the desired color is reached. If the edges of your crust are browning too quickly compared to the center, protect them with aluminum foil strips or a reusable pie crust shield.
This allows the rest of the crust to catch up in color without the edges burning. Remember, a pale crust often means the pie is underbaked and the bottom may be soggy, so don't be afraid of a deep golden hue.
Preventing a Soggy Bottom Crust on Your Easy Apple Pie
A common challenge with fruit pies, including an easy apple pie, is preventing a soggy bottom crust. Apples release a significant amount of juice as they cook, which can make the bottom crust wet if not managed. One effective strategy is to place the pie on a preheated baking sheet when you put it in the oven. The hot baking sheet provides immediate heat to the bottom crust, helping it set and crisp up quickly before the apple juices fully saturate it.
Another key technique is using the correct amount of thickener in your filling. As mentioned, flour, cornstarch, or tapioca starch work well. For a standard 9-inch pie, 2 tablespoons of flour or cornstarch is usually sufficient, but you might need slightly more if using particularly juicy apples.
Ensuring the pie bakes for the full recommended time, until the filling is visibly bubbling in the center, is also crucial. This bubbling indicates that the filling has reached a high enough temperature for the thickener to activate and absorb the juices effectively, leading to a well-set filling and a less soggy bottom.
Getting the Perfect Apple Filling Consistency
The ideal apple pie filling is tender but not mushy, with a sauce that is thick enough to hold together when sliced but not gluey. The type of apples you use significantly impacts consistency. Some apples, like McIntosh or Cortland, break down easily and become quite soft, potentially leading to a mushier filling. Others, like Granny Smith or Honeycrisp, hold their shape better, resulting in a filling with more distinct apple pieces. Using a mix often provides the best balance of flavor and texture.
The amount and type of thickener are also critical. Flour is a reliable thickener but can make the sauce slightly cloudy. Cornstarch results in a clearer, glossy sauce and provides a firmer set.
Tapioca starch is another option, often preferred for fruit pies as it thickens well at lower temperatures and provides a very clear finish. Ensure the thickener is well mixed with the sugar and spices before adding it to the apples. Baking the pie until the filling is visibly bubbling ensures the thickener has reached its activation temperature (around 200-212°F or 93-100°C for flour/cornstarch), guaranteeing a properly set filling for your easy homemade apple pie.
Apple Pie Recipe Variations: Exploring Different Apple Types
The type of apples you choose dramatically affects the flavor, texture, and sweetness of your easy apple pie. Using a single type is fine, but combining varieties often yields the most complex and satisfying results. Tart apples like Granny Smith are classic for their bright, acidic flavor that cuts through the sweetness, and they hold their shape well during baking. Sweet-tart apples such as Honeycrisp, Fuji, or Gala offer a good balance of sweetness and acidity and maintain a pleasant texture when cooked.
For a more nuanced flavor profile in your easy fruit pie recipe, consider mixing at least two or three types. A popular combination is Granny Smith (for tartness and structure) with Honeycrisp (for sweetness and crispness) and perhaps a softer apple like McIntosh or Cortland (which break down more, creating a saucier element). Experimenting with different apple blends is part of the fun of making an easy homemade apple pie, allowing you to discover your personal favorite combination. Aim for about 2 to 2.5 pounds of apples total for a standard 9-inch pie.
Serving and Storing Your Easy Apple Pie
Cooling and Slicing Your Homemade Pie
One of the hardest parts of making an easy apple pie is waiting for it to cool before slicing, but this step is absolutely essential for the filling to properly set. If you slice into a hot pie, the filling will likely be runny. As the pie cools, the thickener in the filling continues to absorb juices and solidify, resulting in clean, neat slices. For best results, let your easy homemade apple pie cool on a wire rack for at least 2-3 hours, or even longer, until it is just warm or at room temperature.
Once cooled, slice your easy apple pie with a sharp knife. Running the knife under hot water and wiping it dry between slices can help achieve cleaner cuts. Serve slices warm or at room temperature. Apple pie is famously delicious served with a scoop of vanilla ice cream, a dollop of whipped cream, or a slice of cheddar cheese (a New England tradition! ).
Storing Leftover Apple Pie to Maintain Freshness
If you have any leftover easy apple pie (a rare occurrence! ), proper storage will help maintain its freshness and quality. If the pie contains dairy (like butter in the crust or filling, or served with ice cream), it's generally best to store it in the refrigerator. Cover the pie loosely with plastic wrap or aluminum foil, or place individual slices in airtight containers. Refrigerated apple pie is typically best eaten within 3-4 days.
For short-term storage at room temperature (if your kitchen isn't too warm), an easy homemade apple pie can usually be left out, loosely covered, for about 1-2 days. However, refrigeration is safer, especially in warmer climates or if the pie contains ingredients prone to spoilage. To reheat a slice, you can warm it gently in a microwave or in a toaster oven or conventional oven at about 300°F (150°C) until just heated through, which helps re-crisp the crust slightly.
Frequently Asked Questions
What makes this fruit pie recipe so easy?
This recipe emphasizes simple techniques and minimal ingredients, making it approachable for even beginner bakers. It focuses on a pre-made crust option for added convenience.
What kind of fruit can I use in this pie?
Almost any fruit! Berries, apples, peaches, and cherries all work well. Just be sure to adjust the sugar and thickening agent based on the fruit's sweetness and moisture content.
Can I use a homemade pie crust instead of a store-bought one?
Absolutely! While the recipe focuses on ease, a homemade crust will definitely elevate the pie. Just ensure you have a reliable crust recipe and adjust baking time as needed.
How do I prevent my fruit pie from having a soggy bottom crust?
Several factors can help: Pre-baking the bottom crust (blind baking), using a thickening agent like cornstarch or tapioca, and ensuring the oven is hot enough.
How long will this fruit pie last, and how should I store it?
The pie is best enjoyed within 2-3 days. Store it covered in the refrigerator to maintain its freshness and prevent the crust from becoming too soft.
Final Reflection: The Sweet Simplicity of Sharing
The enduring appeal of a homemade fruit pie lies not just in its deliciousness, but in its ability to connect us to simpler times and foster a sense of community. In a world increasingly dominated by fast food and convenience, the act of baking a pie, especially one as straightforward as the recipe detailed above, becomes a powerful counterpoint; a reminder of the joy found in creating something beautiful and delicious from scratch.
The comforting aroma of baking fruit, the satisfying crumble of the crust, the shared smiles around a table laden with pie – these are the enduring legacies of this seemingly simple dessert. It's more than just a recipe; it's a tradition, a gesture of love, a way to bring people together. As the great Julia Child once said, A party without cake is just a meeting.
And while a fruit pie isn't strictly a cake, the sentiment rings true: it elevates a gathering to something special, something memorable.
So, I encourage you, dear reader, to try your hand at this easy fruit pie recipe. Don't be intimidated by the seemingly complex process; embrace the simplicity, the creativity, and the opportunity to share a piece of homemade happiness with those you cherish. Let the sweet aroma fill your kitchen, and let the warmth of sharing a pie fill your heart. The reward is far greater than just a delicious dessert; it's a connection to something timeless and profoundly human.
Unlock Your Inner Baker: Make This Pie Today!
Thanks for taking the time to explore this easy fruit pie recipe! We hope you gained some delicious inspiration and confidence in the kitchen. Now, let's get baking!
- Bake your own masterpiece! Grab your ingredients and follow the recipe – we're confident you'll love the results.
- Share your creation: Post a picture of your finished pie on social media and tag us – we'd love to see your baking skills!
- Challenge a friend: Nominate a friend to try this recipe and share their experience in the comments below.
Ready to transform simple ingredients into a sweet treat? What's your favorite fruit to use in a pie?