
Simple Coconut Cream Pie Base

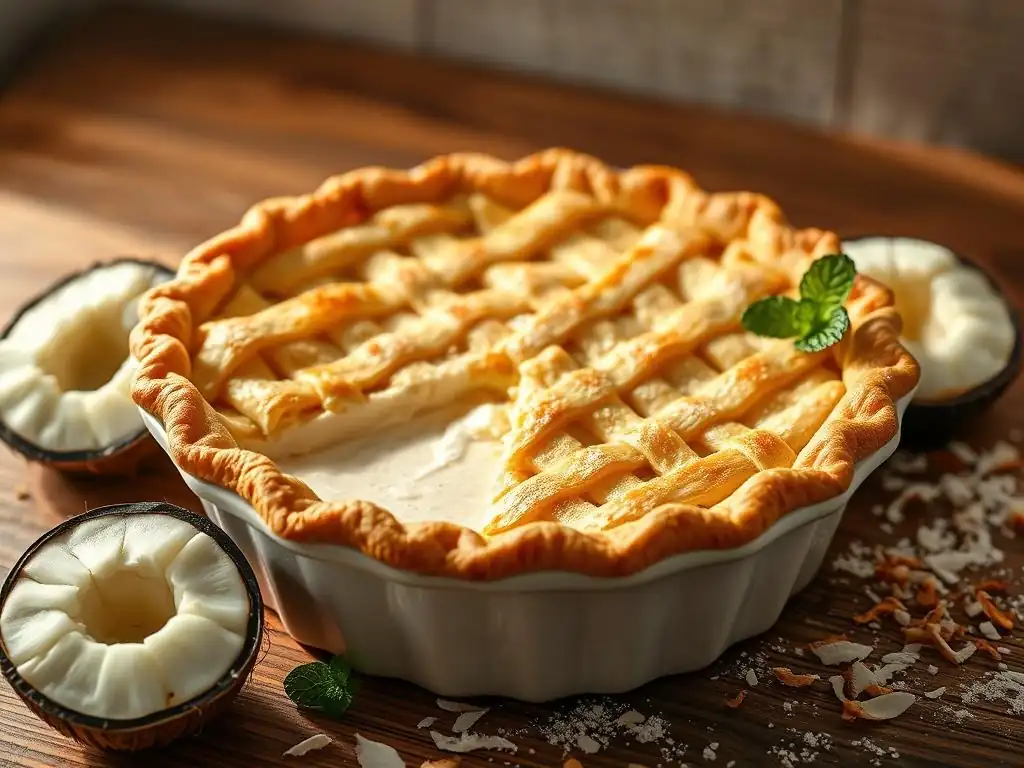
Welcome to BakeWithEase, your ultimate destination for mastering the delightful art of baking! Whether you're a novice just starting out or an experienced baker perfecting your craft, we provide you with simple recipes, techniques, and tips to elevate your baking game. Today, we invite you to dive into the world of delightful desserts with our featured article on the Easy Coconut Cream Pie Crust.
Ready to embark on a sweet journey? Let’s explore how this simple base can transform your coconut cream pie into a show-stopping dessert that’s sure to impress. Keep reading to discover the secrets behind this delicious recipe!
- Classic Pie Crust Recipe: A Foundation for Delicious Pies
- Introduction to Perfect Pie Crust
- Understanding the Key Ingredients for a Flaky Pie Crust
- Step-by-Step Guide: Making Your Classic Pie Crust
- Rolling Out Your Pie Dough
- Pre-Baking (Blind Baking) Your Pie Crust
- Troubleshooting Common Pie Crust Problems
- Variations and Additions to Your Pie Crust Recipe
- Tips for Storing Your Baked Pie Crust
- Next Steps: Filling Your Pie
- Enjoy Your Homemade Pie!
-
Frequently Asked Questions
- What makes this crust recipe specifically "easy" for a coconut cream pie?
- Can I use a store-bought crust instead of making this "Easy Coconut Cream Pie Base"?
- What kind of flour is best for an "Easy Coconut Cream Pie Base"?
- How do I prevent my pie crust from shrinking during baking?
- Can I freeze the "Easy Coconut Cream Pie Base" dough for later use?
- Final Reflection: The Unexpected Joy of a Simple Crust
- Unlock Your Inner Pastry Chef: Make This Coconut Cream Pie Base!
Classic Pie Crust Recipe: A Foundation for Delicious Pies
Introduction to Perfect Pie Crust
Why Start with a Reliable Pie Crust Recipe?
Embarking on your baking journey or looking to perfect your pie game? A reliable pie crust recipe is the absolute cornerstone. Think of it as the canvas for your culinary masterpiece. A flaky, tender crust provides the essential texture contrast to smooth, rich fillings, especially something delightful like a coconut cream pie. Mastering a simple, classic dough empowers you to create countless variations, from sweet fruit pies to savory quiches, making it a fundamental skill in any baker's repertoire. Starting with a solid foundation ensures your efforts in creating a delicious filling aren't undermined by a less-than-stellar base.
Developing confidence with an easy coconut cream pie crust recipe means you're halfway to dessert heaven. It removes the intimidation factor often associated with pastry. With a straightforward approach, you can achieve that coveted golden-brown edge and delicate crumble that elevates a simple pie into something truly memorable. This foundational recipe is designed to be forgiving yet yield consistently excellent results, making it the ideal starting point for anyone eager to bake beautiful and tasty pies.
BakeWithEase: Your Guide to Classic Baking
At BakeWithEase, we believe that baking should be joyful and accessible to everyone, regardless of their experience level. Our mission is to demystify classic techniques and provide clear, step-by-step guidance, helping you build confidence in the kitchen. This easy coconut cream pie crust recipe is a perfect example of our philosophy – taking a traditional method and breaking it down into manageable steps that ensure success. We focus on understanding why certain ingredients and techniques are used, giving you the knowledge to adapt and experiment as you grow as a baker.
We've tested this classic pie base recipe extensively to ensure it's simple, reliable, and delivers that perfect flaky texture ideal for holding creamy fillings like a luscious coconut cream. By following our detailed instructions, you'll learn the essential principles of pastry making, from handling cold butter to achieving the right dough consistency. This fundamental skill will unlock a world of possibilities, making BakeWithEase your trusted partner in creating delicious homemade treats.
Understanding the Key Ingredients for a Flaky Pie Crust
All-Purpose Flour: The Structure of Your Pie Crust
All-purpose flour is the primary building block for most pie crusts. It provides the necessary structure, thanks to its gluten content. When flour is mixed with liquid and kneaded, gluten develops, creating a network that gives dough elasticity and chewiness. However, for a tender, flaky pie crust, we want minimal gluten development. Using all-purpose flour with a moderate protein content (typically around 10-12%) strikes a good balance, providing enough structure to hold the crust together without making it tough, which is crucial for an easy coconut cream pie crust that doesn't become hard.
The quality and type of flour can impact the final texture. Some bakers prefer using pastry flour for an even more tender result due to its lower protein content, but all-purpose flour is widely available and works wonderfully when handled correctly. For a standard single crust, you might use around 1 ¼ to 1 ½ cups of all-purpose flour, sifted lightly before measuring to ensure accuracy. Proper measuring (spooning flour into the cup and leveling, rather than scooping) is key to avoiding too much flour, which can lead to a dry, crumbly, or tough dough.
Cold Butter: Achieving Flaky Layers
Cold butter is arguably the most critical ingredient for achieving a truly flaky pie crust. As the dough bakes, the small pieces of cold butter melt, creating steam. This steam pushes apart the layers of dough, forming those desirable flaky pockets. If the butter is too warm or fully incorporated into the flour, it coats the flour particles too much, inhibiting gluten development but also preventing the formation of distinct layers. Using very cold butter, cut into small pieces, is essential for success.
The technique of "cutting in" the butter involves working it into the flour until it resembles coarse crumbs with some pea-sized pieces remaining. These larger pieces are what create the significant flakes.
For a standard single crust, you might use about ½ cup to ¾ cup (or one stick to one and a half sticks) of unsalted butter, chilled and cut into ½-inch cubes. Keeping the butter cold throughout the process, perhaps even freezing the cubed butter for 10-15 minutes before use, dramatically increases your chances of achieving that perfect flaky texture ideal for an easy coconut cream pie crust base.
Iced Water: Binding and Hydration
Iced water serves a dual purpose in pie dough: it hydrates the flour, allowing gluten to develop just enough to bind the ingredients, and it helps keep the butter cold. The 'iced' part is crucial – using very cold water maintains the temperature of the dough and the butter pieces, which, as we know, is key to flakiness. Adding just enough water is a delicate balance; too little results in a dry, crumbly dough that's hard to roll, while too much leads to a sticky, tough dough due to excessive gluten development.
The exact amount of water needed can vary depending on humidity and the type of flour used, but a good starting point for a single crust is typically ¼ to ½ cup of iced water. It's best to add the water gradually, often a tablespoon at a time, mixing until the dough just comes together.
You're looking for a dough that holds together when squeezed but isn't sticky. Using iced water ensures that the butter stays firm, contributing to those beautiful flaky layers as the pie bakes, making this an easy coconut cream pie crust that holds its shape well.
Salt: Enhancing Flavor and Controlling Gluten
Salt plays a more significant role in pie crust than just seasoning. While it certainly enhances the overall flavor, balancing the richness of the butter and the potential sweetness of the filling, salt also has an impact on gluten development. A small amount of salt helps to tighten the gluten structure, which might seem counterintuitive for a tender crust. However, it also slows down enzymatic activity in the flour, which can lead to less desirable textures if left unchecked.
The amount of salt is usually quite small, typically around ½ teaspoon to 1 teaspoon per single crust recipe. This amount is enough to brighten the flavor and improve the dough's handling properties slightly without making it tough. It's a subtle but important ingredient that contributes to the overall balance and palatability of the finished easy coconut cream pie crust, ensuring it complements, rather than competes with, your creamy filling.
Step-by-Step Guide: Making Your Classic Pie Crust
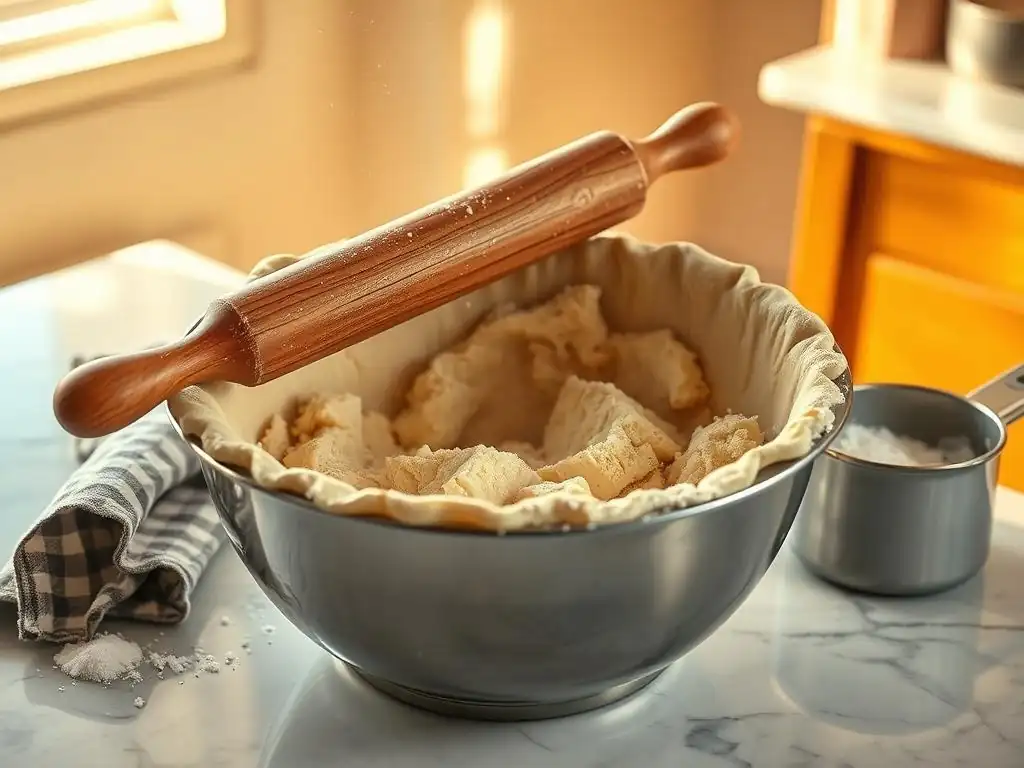
Step 1: Combining the Dry Ingredients
The first step in making a simple pie base is to combine the dry ingredients. In a large bowl, measure out your all-purpose flour and add the salt. Some recipes might also include a pinch of sugar, especially for sweet pies, as it can help with browning, but it's optional for a classic, versatile crust. Whisk or stir these ingredients together thoroughly. This ensures the salt is evenly distributed throughout the flour, which is important for both flavor and its effect on gluten structure.
Using a large bowl provides ample space to work the butter into the flour without making a mess. Ensure your bowl is dry before adding the flour. A typical amount for a single crust would be about 1 ¼ cups of flour and ½ teaspoon of fine salt. Give it a good whisk for about 30 seconds to make sure everything is well combined.
Step 2: Cutting in the Cold Butter
Next, add the cold, cubed butter to the dry ingredients. The goal here is to break the butter into smaller pieces and coat them with flour, but not to fully incorporate them. You can use a pastry blender, two forks, or even your fingertips for this step. Work quickly to avoid warming the butter with your hands. Cut the butter into the flour until the mixture resembles coarse crumbs with some pea-sized pieces of butter still visible.
This process should take a few minutes. If using your fingertips, pinch the butter into the flour, lifting and dropping the mixture to keep it airy. Avoid overworking the dough at this stage; you want those distinct pieces of butter. For a single crust, using about 6-8 tablespoons (or ¾ cup) of cold butter cut into ½-inch cubes is standard. The mixture should look uneven and crumbly, not like a uniform paste.
Step 3: Adding the Iced Water
Now it's time to add the iced water, a tablespoon at a time. Drizzle the water over the flour-butter mixture and gently mix with a fork or your hands. Continue adding water, one tablespoon at a time, mixing just until the dough starts to come together. You'll know you've added enough water when the mixture looks shaggy and holds together loosely when you squeeze a handful.
Avoid adding too much water, as this will make the dough sticky and tough. For a single crust, you might need anywhere from ¼ cup to ½ cup of iced water. It's better to err on the side of slightly too dry than too wet, as you can always add a tiny bit more water if needed during the forming stage. The goal is to hydrate the flour just enough to form a cohesive dough without developing too much gluten, ensuring an easy coconut cream pie crust that is tender.
Step 4: Forming the Dough
Once the dough mixture is shaggy and holds together when squeezed, gently gather it and press it together to form a disc. Do not knead the dough like bread dough; this will develop too much gluten and result in a tough crust. Simply bring the mixture together, pressing it lightly until it forms a cohesive disc.
For a single crust, form one disc. If making a double-crust pie, divide the dough roughly in half and form two discs. Shape the disc(s) into a flattened shape, about 1 inch thick. This makes it easier to roll out later. Wrap the disc(s) tightly in plastic wrap.
Step 5: Chilling the Dough: Relaxing the Gluten
Chilling the dough is a crucial step for a flaky, easy coconut cream pie crust. Wrap the dough disc(s) tightly in plastic wrap and refrigerate for at least 30 minutes, and preferably for 1 to 2 hours. This chilling period allows the gluten developed during mixing to relax, which makes the dough easier to roll out and results in a more tender crust.
Furthermore, chilling solidifies the butter pieces again. This ensures that when the pie bakes, the butter melts slowly and creates those essential steam pockets for flakiness. While 30 minutes is the minimum, chilling for a couple of hours or even overnight is ideal for the best texture and easiest handling. You can even chill the dough for up to 2-3 days, or freeze it for longer storage.
Rolling Out Your Pie Dough
Preparing Your Work Surface
Before rolling out your chilled pie dough, prepare your work surface. A clean, dry counter or a large pastry board works well. Lightly flour the surface. The amount of flour needed will vary, but start with a few tablespoons and add more as needed to prevent sticking. You'll also need a rolling pin, preferably a heavy one that helps distribute pressure evenly.
Ensure your work surface is large enough to accommodate rolling the dough into a circle about 12-13 inches in diameter for a standard 9-inch pie plate. Having extra flour nearby allows you to lightly flour the top of the dough and your rolling pin as you work, which is key to preventing the dough from sticking and tearing, making the process of getting your easy coconut cream pie crust into the pan much smoother.
Rolling the Dough to the Desired Thickness
Remove the chilled dough disc from the refrigerator and unwrap it. Place it on your lightly floured surface. Begin rolling from the center outwards, turning the dough occasionally (about a quarter turn each time) and adding a little more flour underneath and on top if needed to prevent sticking. Aim to roll the dough into an even circle about 1/8 inch thick.
Try to maintain a consistent thickness across the entire circle for even baking. A standard 9-inch pie plate requires a dough circle approximately 12 to 13 inches in diameter to allow for draping and crimping the edges. Roll smoothly and avoid pressing down too hard, which can make the dough stick. If the dough becomes too soft or difficult to handle, pop it back in the refrigerator for 10-15 minutes to firm up the butter.
Transferring the Dough to Your Pie Plate
Once your dough is rolled to the correct size and thickness, it's time to transfer it to your pie plate. There are a couple of easy methods. One is to gently roll the dough loosely around your rolling pin, then unroll it over the pie plate, centering it carefully. Another method is to fold the dough in half or quarters and then unfold it into the plate.
Gently ease the dough into the bottom and up the sides of the pie plate, pressing it lightly into the corners without stretching it. Stretching the dough can cause it to shrink significantly during baking. Trim any excess dough, leaving about a 1-inch overhang. This overhang will be used to crimp the edges. Ensure the dough is snug against the plate for a well-formed easy coconut cream pie crust.
Pre-Baking (Blind Baking) Your Pie Crust
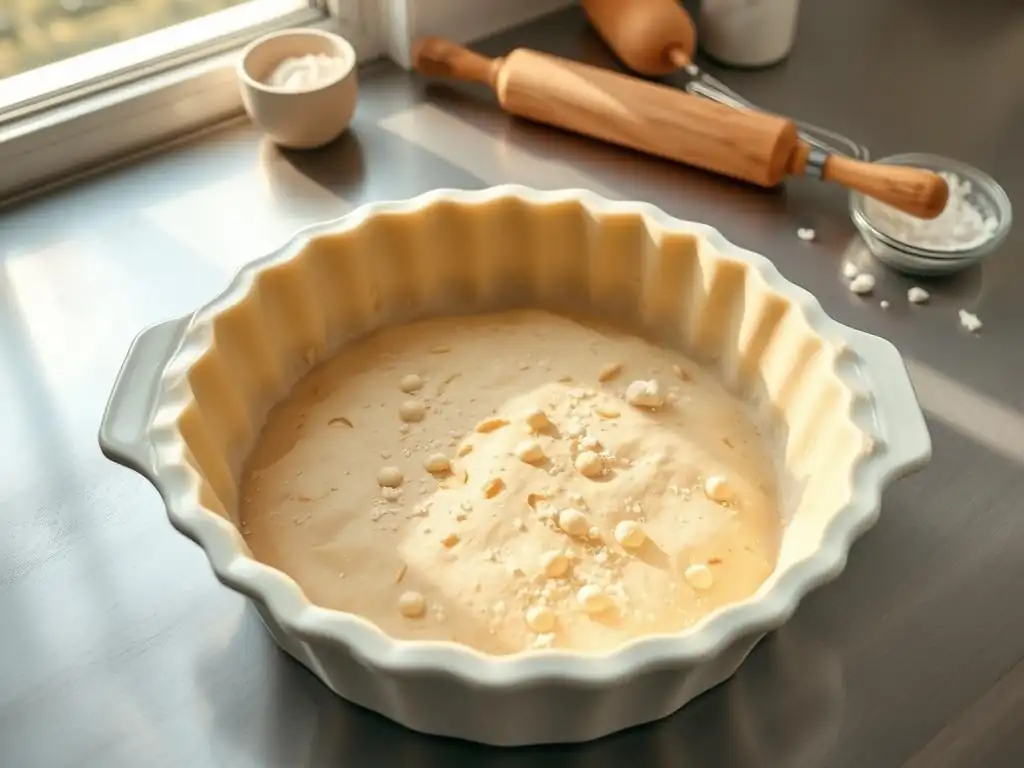
Why Blind Bake? Preventing a Soggy Crust
For pies with wet fillings that aren't baked or require minimal baking time, like a no-bake coconut cream pie or a quiche, pre-baking or "blind baking" the crust is essential. This step involves partially or fully baking the crust before adding the filling. The primary reason is to prevent a "soggy bottom," a common pie problem where the moisture from the filling seeps into the uncooked or undercooked bottom crust, turning it into a gummy layer instead of a flaky one.
Blind baking sets the structure of the crust, creating a barrier against moisture. For a simple coconut cream pie base, you will typically fully blind bake the crust until it's golden brown and cooked through, as the filling is often chilled and not baked. This ensures the bottom is crisp and sturdy enough to support the creamy filling without becoming saturated.
Docking the Crust to Prevent Puffing
Before blind baking, it's important to "dock" the bottom and sides of the pie crust. This involves pricking the dough all over with a fork. These small holes act as vents, allowing steam to escape during baking. Without docking, the steam trapped beneath the crust can cause it to puff up unevenly, creating large bubbles that distort the shape and make it difficult to fill later.
Docking is a quick and simple step that significantly improves the results of your blind bake. Make sure to prick the bottom generously and also prick the sides where they meet the plate. For a standard 9-inch crust, you might make 20-30 pricks on the bottom alone. This ensures an even, flat surface for your easy coconut cream pie crust.
Lining the Crust with Parchment Paper and Pie Weights
To help the crust maintain its shape and prevent the sides from collapsing during blind baking, it's recommended to line the docked crust with parchment paper and fill it with pie weights or dried beans/rice. Gently press a piece of parchment paper or aluminum foil into the prepared crust, ensuring it is snug against the bottom and sides and extends up over the edges.
Fill the lined crust with enough pie weights (ceramic or metal beads designed for this purpose), dried beans, or uncooked rice to fill it completely up to the edge. These weights hold the dough in place and prevent it from shrinking or slumping down the sides as it bakes. For a standard 9-inch pie plate, you might need 1.5 to 2 pounds of pie weights or several cups of dried beans.
Baking the Crust to a Light Golden Brown
Place the weighted, lined pie crust in a preheated oven, typically around 375°F (190°C) to 400°F (200°C). Bake for the initial phase, usually 15-20 minutes, or until the edges are set and lightly golden. Carefully remove the parchment paper and pie weights. Be cautious as the weights will be hot.
Return the crust to the oven and continue baking for another 10-15 minutes, or until the bottom crust is dry, set, and a light golden brown color. The exact time will depend on your oven and the desired level of doneness (partially baked vs. fully baked). For an easy coconut cream pie crust, you'll want it fully baked and golden to ensure it doesn't get soggy from the filling. Let the crust cool completely before filling.
Troubleshooting Common Pie Crust Problems
Soggy Bottom Crust: Prevention and Solutions
A soggy bottom crust is one of the most frustrating pie problems, especially with moist fillings like coconut cream. The best prevention is thorough blind baking. Ensure you bake the crust long enough during the second phase (after removing weights) until the bottom is genuinely dry and light golden, not just pale and set. Using a metal or glass pie plate, which conducts heat efficiently, can also help achieve a crispier bottom compared to ceramic.
If you find your crust is still prone to sogginess, you can brush the bottom of the fully baked crust with a thin layer of melted butter or egg white immediately after taking it out of the oven (while still hot). This creates a thin seal that helps repel moisture from the filling. For fillings that require baking, you can also place the pie on a preheated baking sheet in the oven, which gives the bottom crust an extra boost of heat.
Shrinking Pie Crust: How to Avoid It
Shrinking pie crust is usually a result of the dough being overworked or not sufficiently chilled. When dough is kneaded too much, gluten develops, and this elastic network contracts when heated in the oven. Insufficient chilling means the gluten hasn't relaxed, and the butter is too soft to hold the shape effectively.
To avoid shrinking, handle the dough gently and minimally. Do not knead it. Ensure it is well-chilled for at least 1-2 hours before rolling. When transferring to the pie plate, press it in gently without stretching. Allowing the formed crust to chill in the pie plate for another 15-30 minutes before blind baking can also help the dough relax into its final shape. If using pie weights, make sure they fill the crust completely to support the sides.
Tough Pie Crust: Tips for a Tender Result
A tough pie crust is typically caused by overworking the dough, leading to excessive gluten development, or adding too much water. Remember, you want to mix the dough just until it comes together and no more. Handle it as little as possible during mixing, forming, and rolling.
Using cold ingredients and working quickly helps prevent the butter from melting and coating the flour too much, which also contributes to tenderness. Add iced water gradually, stopping as soon as the dough forms a shaggy mass that holds together when squeezed. If you think you might have overworked the dough, an extended chilling period (24+ hours) can sometimes help the gluten relax further, resulting in a more tender easy coconut cream pie crust.
Variations and Additions to Your Pie Crust Recipe
Gluten-Free Pie Crust Option
Adapting this classic recipe to be gluten-free is quite achievable, allowing everyone to enjoy a delicious easy coconut cream pie base. Instead of all-purpose wheat flour, you can use a high-quality, all-purpose gluten-free flour blend. Look for blends that are specifically designed for pastry or baking, as they often contain a mix of flours (like rice flour, potato starch, tapioca starch) and a binder like xanthan gum to replicate the structure provided by gluten.
The method remains largely the same: cut in cold butter, add iced water until the dough just comes together, chill, and roll. However, gluten-free dough can sometimes be more delicate or crumbly. You might need slightly more or less water depending on the blend. Handling it gently, rolling it between two sheets of parchment paper, and ensuring adequate chilling are even more important for success with a gluten-free easy coconut cream pie crust.
Chocolate Pie Crust Variation
Adding cocoa powder transforms a classic pie crust into a delightful chocolate version, perfect for pairing with fillings like chocolate cream, or even providing a contrasting note for a coconut cream pie. Simply substitute a small amount of the all-purpose flour with unsweetened cocoa powder. A common ratio is to replace about 1/4 cup of flour with 1/4 cup of cocoa powder for a single crust.
Whisk the cocoa powder in with the flour and salt in Step 1. Proceed with the rest of the recipe as usual. The cocoa powder adds a rich flavor and a beautiful dark color. Be aware that cocoa powder can sometimes make the dough slightly drier, so you might need a tiny bit more iced water in Step 3 to bring it together. This variation adds a simple yet impactful twist to your easy coconut cream pie crust repertoire.
Adding Herbs or Spices for Savory Pies
While this article focuses on a base for sweet pies like coconut cream, the classic crust recipe is incredibly versatile and can be adapted for savory applications by adding herbs or spices. This is a simple way to tailor the crust to fillings like quiches, pot pies, or savory tarts.
In Step 1, along with the flour and salt, whisk in dried herbs like thyme, rosemary, or chives (typically 1-2 teaspoons per single crust), or spices like black pepper, paprika, or garlic powder. You can also mix in finely grated hard cheese like Parmesan (about 1/4 cup) with the dry ingredients. These additions infuse the crust with flavor, creating a savory easy pie base that complements robust fillings.
Tips for Storing Your Baked Pie Crust
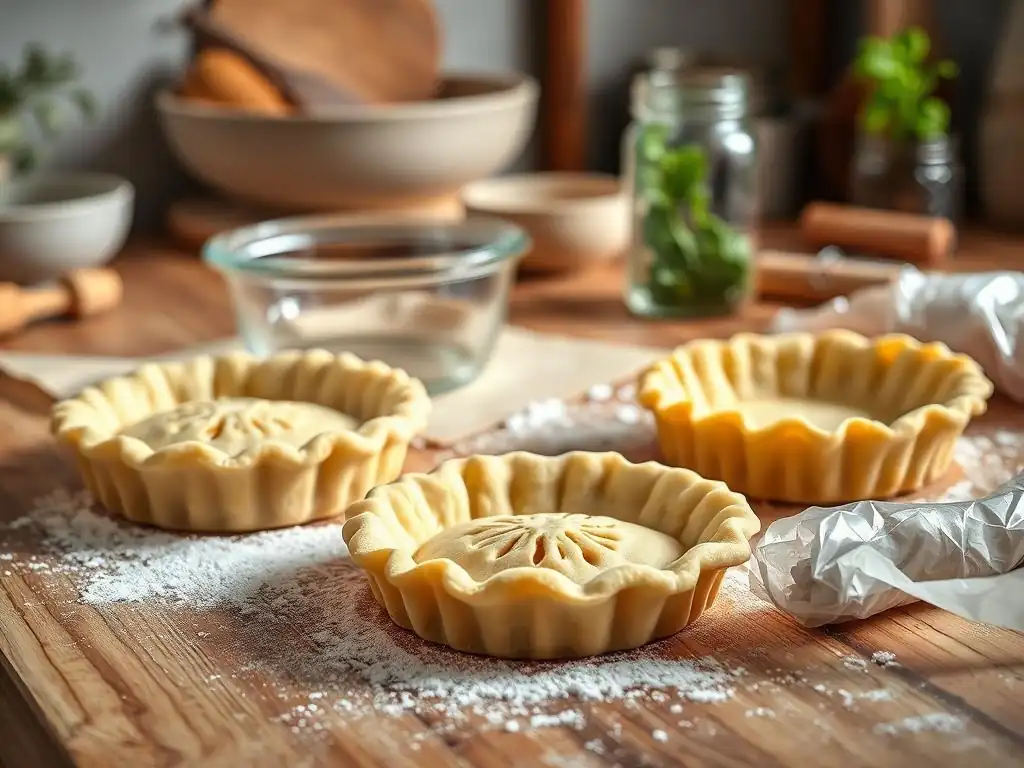
Keeping Your Crust Fresh
Once your easy coconut cream pie crust is blind-baked and cooled, proper storage is key if you're not filling it immediately. The best way to keep a baked crust fresh and crisp is to store it at room temperature in a dry environment. Avoid refrigerating a plain baked crust, as the humidity in the refrigerator can soften it.
Allow the crust to cool completely on a wire rack. Once cool, you can leave it uncovered for a few hours, or loosely cover it with plastic wrap or aluminum foil if storing for longer, up to 1-2 days. For optimal crispness, it's best to fill the crust the same day it's baked, especially for fillings that don't require further baking.
Freezing Your Pie Crust for Later Use
Both unbaked dough and a fully baked easy coconut cream pie crust can be frozen for later use, offering great convenience.
- Unbaked Dough: After forming the disc(s) in Step 4, wrap them tightly in plastic wrap, then place inside a freezer bag. Label with the date. Unbaked dough can be frozen for up to 3-4 months. Thaw overnight in the refrigerator before rolling.
- Baked Crust: Once fully blind-baked and completely cooled, wrap the entire pie plate with the crust inside very tightly in several layers of plastic wrap, followed by a layer of aluminum foil. Label and freeze for up to 1-2 months. To use, unwrap and let thaw at room temperature for an hour or two before filling. Freezing is an excellent way to have an easy pie base ready whenever a coconut cream craving strikes!
Next Steps: Filling Your Pie
Preparing the Filling
With your perfectly baked, easy coconut cream pie crust cooled and ready, the next exciting step is preparing your delicious filling! For a classic coconut cream pie, this typically involves cooking a rich, smooth custard base on the stovetop, often thickened with cornstarch or flour, and infused with coconut milk, cream, and shredded coconut.
The filling usually involves whisking together ingredients like egg yolks, sugar, cornstarch, coconut milk, and sometimes regular milk or cream, cooking it until thickened, then stirring in butter, vanilla extract, and shredded coconut. This process ensures a velvety texture that contrasts beautifully with the flaky crust.
Assembling and Baking/Chilling the Finished Pie
Once your coconut cream filling is cooked and slightly cooled, pour it into the prepared, cooled easy coconut cream pie crust. Smooth the top evenly. For a no-bake filling like traditional coconut cream pie, the pie is then typically chilled until the filling is fully set, which can take several hours, often 4-6 hours or even overnight in the refrigerator.
Some recipes might call for a final touch, like a layer of whipped cream or meringue on top before serving. If your filling requires baking (like a fruit pie or quiche), you would add the filling to a partially blind-baked crust (or sometimes an unbaked crust, depending on the recipe) and bake according to the filling instructions. For coconut cream pie, chilling is usually the final step before slicing and enjoying your homemade masterpiece!
Enjoy Your Homemade Pie!
Frequently Asked Questions
What makes this crust recipe specifically "easy" for a coconut cream pie?
This recipe focuses on simple ingredients and a straightforward process, minimizing complicated steps often found in traditional pie crusts. It aims for a beginner-friendly approach.
Can I use a store-bought crust instead of making this "Easy Coconut Cream Pie Base"?
Yes, you can, but a homemade crust allows for better flavor control and a fresher taste. This recipe is designed to be easy enough for anyone to try making their own.
What kind of flour is best for an "Easy Coconut Cream Pie Base"?
All-purpose flour is generally recommended for its versatility and ease of use. Using it creates a tender and flaky crust that complements the coconut cream filling.
How do I prevent my pie crust from shrinking during baking?
Ensure the dough is properly chilled before baking and use pie weights or dried beans to prevent the crust from puffing up and shrinking. Docking the crust also helps.
Can I freeze the "Easy Coconut Cream Pie Base" dough for later use?
Absolutely! Wrap the dough tightly in plastic wrap and then in foil. It can be stored in the freezer for up to 3 months for future baking projects.
Final Reflection: The Unexpected Joy of a Simple Crust
The pursuit of the perfect coconut cream pie often overlooks the foundation: the crust. We've explored the surprisingly simple techniques for creating a flawlessly flaky and delicious base, proving that ease and excellence can coexist in the kitchen. This isn't just about a pie crust; it's about reclaiming the joy of baking, even for those who consider themselves less than expert.
The impact of a simple, well-executed recipe extends far beyond the immediate satisfaction of a perfectly creamy pie. It's about the empowerment that comes from mastering a fundamental skill, the confidence gained in tackling more complex recipes, and the shared pleasure of enjoying homemade goodness. The best things in life are simple,
a sentiment often repeated, rings especially true when considering the humble pie crust. It's a testament to the power of focusing on the fundamentals and finding beauty in simplicity.
Now, I invite you to consider your own baking journey. What seemingly small detail has brought you unexpected joy? Perhaps it's the perfect crumble topping, or the satisfying crackle of a perfectly browned crust. Don't underestimate the power of these small victories. Embrace the simplicity, experiment with your own variations on this easy coconut cream pie crust, and share the delicious results with those you love. The joy of baking, and the joy of sharing, is a recipe for a richer life.
Unlock Your Inner Pastry Chef: Make This Coconut Cream Pie Base!
Thanks for taking the time to explore this simple coconut cream pie base recipe! We hope you found the process straightforward and inspiring. Now it's time to bring your culinary vision to life.
- Bake your masterpiece: Grab your ingredients and create this delicious pie base today. It's easier than you think!
- Share your creation: Snap a picture of your finished pie and share it on social media using #BakeWithEaseCoconutCream. Let's see your beautiful baking!
- Explore more pie recipes: Dive into our extensive collection of pie recipes on BakeWithEase.com for even more delicious inspiration. You might discover your new favorite!
Ready to taste the creamy, dreamy result? What unique twist will you add to your coconut cream pie?