
Simple Cheese Scones Anyone Can Bake


Welcome to BakeWithEase, where the joy of baking becomes a delightful adventure for everyone! If you've ever wanted to create mouthwatering treats in your own kitchen, you're in the right place. Our Simple Cheese Scones Anyone Can Bake article is the perfect starting point for budding bakers eager to impress with an easy cheese scones recipe. Discover the secrets to achieving that perfect rise and golden crust while using straightforward techniques and accessible ingredients. So, roll up your sleeves, and let’s embark on a scrumptious journey that will turn your baking dreams into reality!
- Simple Cheese Scones Anyone Can Bake: An Easy Recipe for Beginners
- BakeWithEase Presents: The Easiest Cheese Scones Recipe You'll Ever Make
- Why This Easy Cheese Scones Recipe is Perfect for New Bakers
- Ingredients for the Perfect Cheese Scones (Easy Recipe)
- Step-by-Step Guide: Baking Your Own Delicious Cheese Scones
- Tips and Tricks for Baking the Best Cheese Scones
- Serving and Storing Your Homemade Cheese Scones
- Variations on the Classic Easy Cheese Scones Recipe
- Troubleshooting Your Cheese Scones: Common Problems and Solutions
- Enjoy Your Homemade Cheese Scones!
- Frequently Asked Questions
- Final Reflection: The Unexpected Joy of Simple Baking
- Unlock Your Inner Baker: Bake These Scones Today!
Simple Cheese Scones Anyone Can Bake: An Easy Recipe for Beginners
BakeWithEase Presents: The Easiest Cheese Scones Recipe You'll Ever Make
Welcome to Beginner Baking: Your Guide to Delicious Homemade Cheese Scones
Embarking on your baking journey can feel daunting, but some recipes are perfect for building confidence. Learning how to make easy cheese scones is a fantastic starting point. These savory delights require minimal equipment, common pantry staples, and relatively simple techniques. Unlike complex pastries or breads that demand precise kneading or long proofing times, cheese scones come together quickly, offering almost instant gratification for your baking efforts. This guide is specifically designed for those new to the kitchen, breaking down each step into manageable actions.
Our easy cheese scones recipe focuses on simplicity without sacrificing flavor or texture. We'll walk you through the process from start to finish, ensuring you understand the 'why' behind each step. By the end, you'll have warm, fluffy scones bursting with cheesy goodness, ready to enjoy. This recipe is forgiving and adaptable, making it ideal for beginners who might make small errors along the way. It's a great way to learn fundamental baking skills like measuring ingredients accurately, rubbing butter into flour, and handling dough gently.
Why This Easy Cheese Scones Recipe is Perfect for New Bakers
Simple Ingredients, Big Flavor: The Secret to Our Cheese Scones
The beauty of this easy cheese scones recipe lies in its straightforward ingredient list. You likely have most items already in your kitchen: flour, butter, cheese, milk, and a leavening agent like baking powder. There are no obscure or hard-to-find components required. For instance, a standard recipe might call for just 225 grams of self-raising flour, 50 grams of cold butter, 150ml of milk, and about 100-150 grams of grated cheese. These are common quantities that are easy to measure and handle, even for those new to using kitchen scales or measuring cups.
Despite the simplicity, these ingredients combine to create a wonderfully rich and satisfying flavor. The cold butter is crucial for creating pockets of steam during baking, which contributes to a light texture, while the cheese provides a savory depth. Using a mature cheddar, for example, will give a sharper, more intense cheese flavor compared to a mild cheddar. The minimal number of ingredients also means less preparation and cleanup, making the entire baking experience more enjoyable and less intimidating for a beginner.
No-Fuss Baking: Learn to Make Cheese Scones Quickly and Easily
This easy cheese scones recipe is designed for speed and convenience, perfect for bakers with limited time or patience. The entire process, from mixing the dough to having warm scones out of the oven, can often be completed in under 45 minutes. The mixing stage itself takes perhaps 10-15 minutes, followed by a baking time of typically 12-18 minutes, depending on your oven. There's no yeast involved, meaning no long proofing times are necessary – the baking powder provides all the lift you need almost instantly upon hitting the heat.
The technique involved is also beginner-friendly. The 'rubbing in' method for incorporating butter into flour is a fundamental skill that this recipe practices effectively. Shaping the scones is straightforward – simply pat the dough into a circle and cut shapes, or even just cut into squares or wedges for ultimate simplicity. This "no-fuss" approach minimizes potential stress points in the baking process, allowing beginners to focus on learning the basics and achieving a delicious result without getting bogged down in complex techniques or timing.
Ingredients for the Perfect Cheese Scones (Easy Recipe)

What You Need: A Comprehensive List of Ingredients
To bake these delicious easy cheese scones, gather the following standard ingredients:
- 225g (about 1 ½ cups) self-raising flour, plus extra for dusting
- ½ teaspoon salt
- A pinch of black pepper (optional, but recommended)
- 50g (about ¼ cup) cold unsalted butter, cut into small cubes
- 100g - 150g (about 1 - 1 ½ cups) mature cheddar cheese, grated (or your preferred cheese)
- 150ml (about ⅔ cup) milk (whole or semi-skimmed works well)
- A little extra milk or an egg for glazing (optional)
These quantities typically yield 6-8 medium-sized scones. Using cold butter is key, as it helps create steam pockets during baking, leading to a lighter texture. Self-raising flour already contains the necessary leavening agent, simplifying the recipe further compared to using plain flour with added baking powder.
Ingredient Substitutions: Adapting the Cheese Scones Recipe to Your Pantry
One of the great things about an easy cheese scones recipe is its flexibility. If you don't have self-raising flour, you can substitute it with plain (all-purpose) flour by adding 1 ½ teaspoons of baking powder per 100g of plain flour. So, for 225g of plain flour, you would add about 3 ½ teaspoons of baking powder. If you only have salted butter, simply omit the added salt from the recipe.
Regarding cheese, feel free to experiment! While cheddar is classic, you could use a mix of cheeses like Gruyère, Red Leicester, or even a little Parmesan for extra tang. Just ensure the cheese is a hard or semi-hard variety that grates well. If you're out of milk, plain yogurt or buttermilk can be used as a substitute, although buttermilk will give a slightly tangier flavor and potentially a softer texture. Start with a slightly smaller amount and add more as needed to reach the desired dough consistency, as dairy types vary in thickness.
Step-by-Step Guide: Baking Your Own Delicious Cheese Scones
Step 1: Preparing the Dough - The Foundation of Great Cheese Scones
Begin by preheating your oven to 220°C (200°C Fan/Gas Mark 7) and lightly greasing a baking tray or lining it with parchment paper. In a large mixing bowl, weigh or measure out your self-raising flour and add the salt and pepper (if using). Give it a quick whisk to combine.
Next, add the cold, cubed butter to the flour mixture. Using your fingertips, quickly rub the butter into the flour until the mixture resembles coarse breadcrumbs. The key here is to work quickly and use cold butter to prevent it from melting; this ensures those crucial pockets of fat that create a light texture.
Once the butter is rubbed in, make a well in the center of the flour mixture. This well is where you'll add the wet ingredients. Ensure there are no large lumps of butter remaining, but don't overwork the mixture – a few small flecks of butter are perfectly fine and even desirable for texture. This "breadcrumbs" stage is fundamental to many pastry and scone recipes, and mastering it here will help you with future baking projects.
Step 2: Adding the Cheese - Flavor Infusion for Cheesy Goodness
Now it's time to add the star ingredient to your easy cheese scones: the cheese! Pour the grated cheese into the bowl with the flour and butter mixture. Use a spoon or your hands to gently mix the cheese through the dry ingredients. Ensure the cheese is evenly distributed so every scone gets a good amount of cheesy flavor. You can reserve a small amount of cheese (perhaps 20-30g) to sprinkle on top of the scones before baking for an extra golden, cheesy crust.
Next, pour the milk into the center well. Using a round-bladed knife (a table knife works well) or a spatula, quickly mix the wet and dry ingredients together. You want to bring everything into a soft, slightly sticky dough. Avoid overmixing at this stage.
The less you handle the dough, the lighter your scones will be. The dough should just come together – it's better to have a slightly wet dough than a dry one, as dry dough results in heavy, dense scones. If the dough seems too dry, add a tiny splash more milk (about a teaspoon at a time) until it just comes together.
Step 3: Shaping and Cutting Your Cheese Scones
Lightly flour a clean work surface. Gently turn the scone dough out onto the floured surface. Bring the dough together very lightly with your hands – again, minimal handling is key. Pat the dough down into a circle or rectangle about 2-3 cm (about 1 inch) thick. Avoid using a rolling pin, as this compresses the dough too much and can prevent a good rise. A gentle patting motion with your hands is sufficient.
Using a sharp knife or a round cutter (about 5-6 cm or 2 inches in diameter), cut out your scones. For the best rise, press the cutter straight down without twisting. If using a knife, cut straight down as well. Gather the scraps, lightly bring them together, pat down, and cut more scones until all the dough is used. You should get approximately 6-8 scones from the initial dough. Place the cut scones onto your prepared baking tray, leaving a small gap between them.
Step 4: Baking to Golden Perfection - Achieving the Ideal Texture
Before placing the scones in the oven, you can optionally brush the tops with a little milk or beaten egg. This helps to create a lovely golden-brown crust. If you reserved some grated cheese, sprinkle it over the tops of the glazed scones now. Transfer the tray to your preheated oven (220°C/200°C Fan/Gas Mark 7).
Bake the scones for 12-18 minutes. The exact time will depend on your oven and the size and thickness of your scones. They are ready when they have risen well, are golden brown on top and bottom, and feel firm to the touch. To check if they are cooked through, you can gently tap the bottom of a scone – it should sound slightly hollow. Carefully remove the tray from the oven and transfer the hot scones to a wire rack to cool slightly before serving.
Tips and Tricks for Baking the Best Cheese Scones
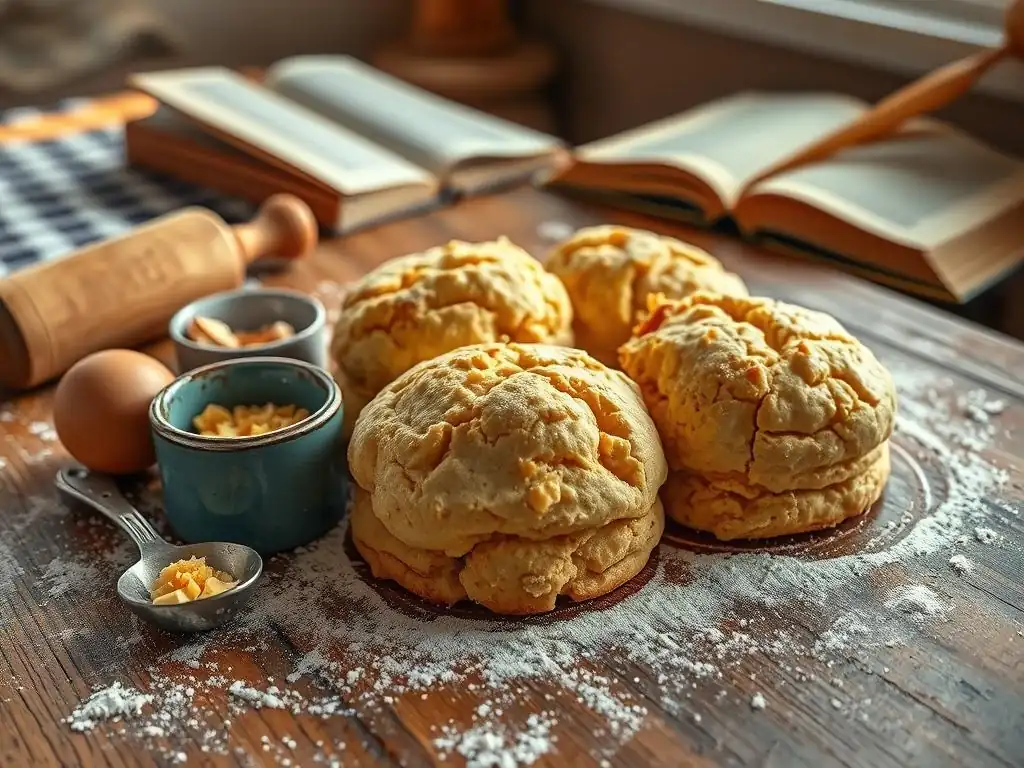
Ensuring a Light and Fluffy Texture: Pro Baking Tips
Achieving a light and fluffy texture is the hallmark of a great scone, and it's totally achievable with this easy cheese scones recipe. The most critical factor is using cold ingredients, especially the butter. Cold butter creates steam pockets as it melts in the hot oven, pushing the layers of dough upwards. Secondly, handle the dough as little as possible. Overworking the dough develops the gluten in the flour, leading to a tough, heavy scone instead of a tender one. Think of it as bringing the ingredients together just enough.
Another tip is to ensure your oven is properly preheated to a high temperature. The initial blast of heat helps the baking powder activate quickly and encourages a rapid rise before the scone structure sets. Also, when cutting the scones, use a sharp cutter and press straight down without twisting. Twisting seals the edges of the scone, which can impede the rise. Using self-raising flour that hasn't expired is also vital, as the leavening agent's effectiveness decreases over time.
Avoiding Common Mistakes When Making Cheese Scones
Even with an easy cheese scones recipe, beginners can sometimes encounter issues. A very common mistake is adding too much liquid, resulting in a very sticky dough that is hard to handle and can bake into a flat scone. It's better to start with the recommended amount of milk and add a tiny bit more only if the dough is clearly too dry to come together. Conversely, using too little liquid will result in a dry, crumbly dough and dense scones.
Another frequent error is overmixing the dough after adding the liquid. This develops gluten and leads to tough scones. Remember, just mix until the ingredients are just combined into a soft dough. Overworking the dough during shaping is also a pitfall; pat gently, don't knead or roll vigorously. Lastly, using a blunt cutter or twisting the cutter can prevent a good rise, so ensure your cutter is sharp and use a straight-down motion.
Getting that Perfect Golden-Brown Crust: Baking Secrets Revealed
A beautiful golden-brown crust not only looks appealing but also adds a slight crispness that contrasts wonderfully with the soft interior of your easy cheese scones. The high oven temperature (220°C/200°C Fan/Gas Mark 7) is the primary driver for achieving this color quickly. The heat causes the sugars and proteins on the surface to caramelize and brown through the Maillard reaction.
For an even richer color and slightly glossy finish, brushing the tops of the scones with milk or a beaten egg before baking is highly effective. Milk gives a softer sheen, while egg wash provides a deeper color and a slightly firmer crust. Sprinkling a little extra cheese on top before baking contributes to the golden color and adds delightful crispy cheese bits. Ensure the scones are placed on a baking tray that allows for even heat distribution; dark-colored trays tend to brown the bottoms more quickly than light-colored ones.
Serving and Storing Your Homemade Cheese Scones
Serving Suggestions: Enjoying Your Freshly Baked Cheese Scones
The best way to enjoy your homemade easy cheese scones is warm, straight from the oven. The cheese is still soft and slightly gooey, and the texture is at its peak lightness. Simply break them open (using a knife can compress them) and serve with a generous spread of butter. The combination of warm, savory scone and melting butter is simple perfection.
Cheese scones are also wonderful served alongside soups, stews, or chili, acting as a delightful savory bread roll. They can be part of a savory afternoon tea spread, perhaps served with cream cheese and chives, or even a thin slice of ham or smoked salmon. For a simple snack, they are delicious on their own. Consider serving them with a side of chutney or relish for an extra burst of flavor that complements the cheese.
Storing Your Cheese Scones: Keeping Them Fresh for Longer
While easy cheese scones are best enjoyed fresh, they can be stored to savor later. Once they have cooled completely on a wire rack, store them in an airtight container at room temperature. They will typically stay fresh for 1-2 days. Storing them in an airtight container prevents them from drying out and becoming stale.
If you want to keep them for longer, cheese scones freeze very well. Allow them to cool completely, then wrap each scone individually in plastic wrap or foil, and place them in a freezer-safe bag or container. They can be frozen for up to 2-3 months. To reheat frozen scones, unwrap them and warm them in a preheated oven at 180°C (160°C Fan/Gas Mark 4) for 10-15 minutes, or until heated through. You can also gently warm them in a microwave, though this can sometimes make the texture a little less crisp.
Variations on the Classic Easy Cheese Scones Recipe
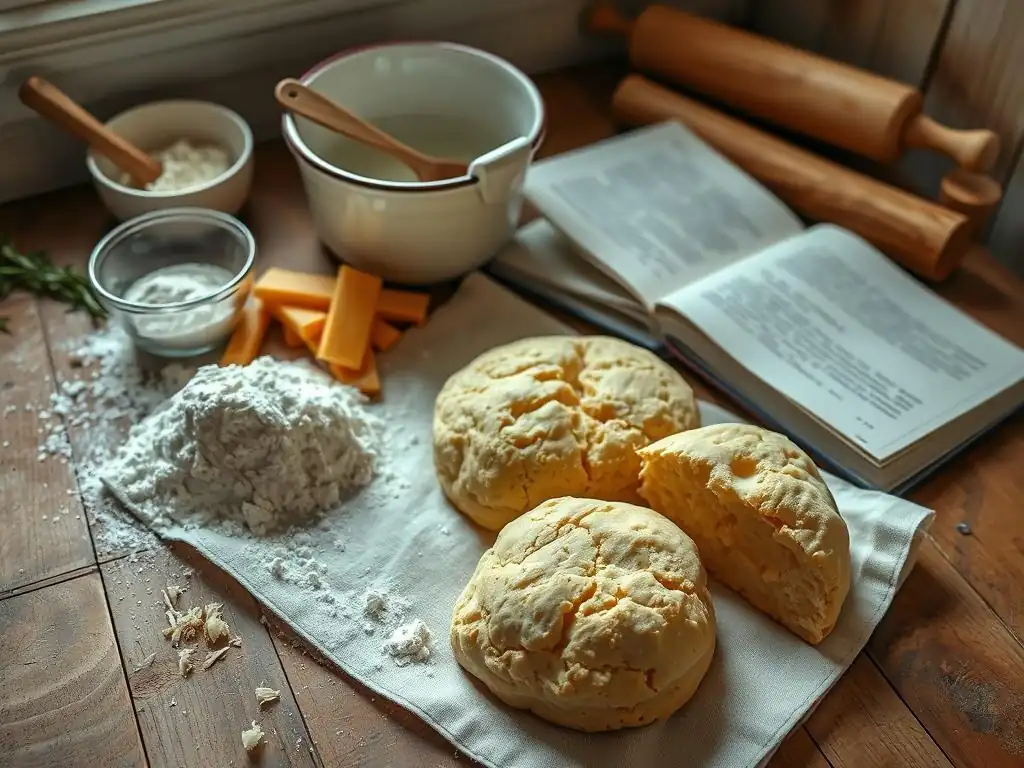
Adding Herbs and Spices: Elevating the Flavor Profile
The versatility of this easy cheese scones recipe allows for numerous flavor variations. Adding fresh or dried herbs is a simple way to elevate the taste. For instance, incorporating 1-2 tablespoons of finely chopped fresh chives or parsley into the dough along with the cheese adds a fresh, oniony note. Dried herbs like mixed herbs, oregano, or thyme (about 1-2 teaspoons) can also be used. Simply stir them into the dry ingredients before adding the milk.
Spices can also introduce exciting flavors. A pinch of cayenne pepper or paprika (about ¼ - ½ teaspoon) can add a subtle warmth and color. For a slightly different profile, try adding a teaspoon of mustard powder to the dry ingredients – it enhances the cheese flavor beautifully. Experiment with combinations, like cheddar with chives and a pinch of black pepper, or Gruyère with thyme.
Different Cheese Options: Exploring Cheesy Possibilities
While cheddar is the traditional choice for an easy cheese scones recipe, don't be afraid to explore other cheeses. Using a stronger cheese like aged Parmesan or a sharp Pecorino can add a powerful umami punch (use slightly less, perhaps 80-100g, as the flavor is more intense). For a milder, creamier scone, try Monterey Jack or a young Gouda. A mix of cheeses often yields the most complex flavor; for example, combining mature cheddar with a smoky cheese like smoked paprika cheddar or a little crumbled blue cheese (if you like a strong flavor) can be delicious.
Consider the melting properties of the cheese. Harder cheeses like cheddar or Parmesan hold their shape better and create distinct pockets of cheese, while softer cheeses might melt more into the dough. Grating the cheese yourself is always recommended over pre-grated cheese, as pre-grated often contains anti-caking agents that can affect texture and melting.
Sweet and Savory: Experimenting with Cheese Scone Flavors
While cheese scones are inherently savory, you can play with the balance or add other savory ingredients. For a slightly richer scone, you could swap a small amount of the milk for buttermilk or even a dollop of sour cream or plain yogurt (adjust liquid quantity as needed). Adding finely chopped cooked bacon or ham (about 50-80g) along with the cheese makes for a heartier, meal-worthy scone.
Vegetables can also be incorporated, though they should be cooked and cooled first to avoid adding excess moisture. Finely chopped sautéed onions, roasted red peppers, or sun-dried tomatoes (drained well) can add wonderful flavor. Add these additions with the cheese in Step 2. Remember that adding extra ingredients might require a tiny adjustment to the milk quantity to achieve the correct dough consistency.
Troubleshooting Your Cheese Scones: Common Problems and Solutions
Why Are My Cheese Scones Flat?
Flat scones are a common issue for beginners making an easy cheese scones recipe. The most frequent culprit is overworking the dough. Excessive handling develops gluten, which makes the dough tough and prevents it from rising properly. The baking powder needs a light, open structure to work its magic. Another reason could be using stale or insufficient baking powder (if using plain flour and adding it), or using plain flour when self-raising was specified without adding enough baking powder.
Make sure your oven is hot enough. A low oven temperature won't give the quick heat burst needed for the baking powder to activate fully and lift the scones before they set. Also, ensure your ingredients, particularly the butter, were cold. Warm butter melts into the flour, resulting in a dense, flat scone rather than one with flaky layers. Finally, twisting the cutter when shaping can seal the edges and inhibit the rise.
Why Are My Cheese Scones Dry?
Dry scones are often the result of too little liquid in the dough or over-baking. When mixing the dough for your easy cheese scones, it should be soft and slightly sticky, not dry and crumbly. If the dough feels too dry when you are bringing it together, add milk a teaspoon at a time until it reaches the correct consistency. Different flours can absorb liquid differently, so sometimes a little adjustment is needed.
Over-baking removes too much moisture. Keep an eye on the baking time and use the visual cues (golden brown color, risen well) and the tapping test to determine when they are done. Baking for just a minute or two too long can turn a light scone into a dry one. Ensure your oven temperature is accurate; an oven that runs too hot might cook the outside quickly but dry out the inside before it's fully cooked.
Why Are My Cheese Scones Not Rising Properly?
Poor rise in an easy cheese scones recipe can be frustrating. As mentioned, overworking the dough is a primary cause, as it inhibits the action of the leavening agent. Ensure you are using self-raising flour that is not past its expiration date, or if using plain flour, that you have added the correct amount of fresh baking powder (typically 1.5 teaspoons per 100g flour). Baking powder loses its potency over time, especially if not stored in an airtight container.
The oven temperature is also crucial; it needs to be hot (220°C/200°C Fan) to activate the baking powder and create steam from the cold butter effectively. If your oven isn't hot enough, the leavening won't work optimally. Additionally, ensure you are cutting the scones cleanly with a sharp cutter and pressing straight down without twisting, which seals the edges and restricts upward movement.
Enjoy Your Homemade Cheese Scones!
You've done it! You've successfully baked a batch of delicious easy cheese scones using our beginner-friendly recipe. Take a moment to appreciate your accomplishment – you've learned fundamental baking techniques and created something wonderful from simple ingredients. Enjoy your warm scones with butter, or however you prefer them. Baking is a skill that improves with practice, and this is a fantastic start!
We love seeing what our community bakes! We encourage you to share photos of your beautiful cheese scones. Let us know how they turned out, what variations you tried, or any tips you discovered along the way. Your baking journey is just beginning, and there are so many more delicious recipes to explore on BakeWithEase. Keep practicing, keep learning, and most importantly, keep baking!
Frequently Asked Questions
What makes this cheese scones recipe "easy"?
This recipe emphasizes simple ingredients and straightforward instructions, avoiding complex techniques that can intimidate beginner bakers. We use readily available items and clear steps for guaranteed success.
What kind of cheese is best for these scones?
While you can experiment, we recommend a sharp cheddar cheese for the best flavor and texture. It provides a tangy bite and melts nicely during baking.
Can I make these cheese scones ahead of time?
Yes, you can prepare the dough ahead of time. Wrap it tightly and store it in the refrigerator for up to 24 hours. Bake just before serving for optimal freshness and flavor.
What's the secret to getting light and fluffy cheese scones?
Avoid overmixing the dough! Gentle handling is crucial. Also, using cold butter helps create steam during baking, resulting in a lighter texture.
Can I add any other ingredients to these cheese scones?
Absolutely! Feel free to add extras like chopped chives, bacon bits, or a pinch of cayenne pepper for added flavor and complexity.
Final Reflection: The Unexpected Joy of Simple Baking
The humble cheese scone, a seemingly insignificant baked good, holds a surprising power to connect us to the simple pleasures of life. Its ease of preparation belies the satisfaction derived from creating something delicious and comforting from scratch. In a world increasingly dominated by convenience and complexity, the act of baking these scones offers a welcome respite, a moment of mindful creation in the midst of the everyday.
The enduring appeal of the cheese scone lies not just in its taste, but in its accessibility. It's a recipe that transcends generations, a culinary tradition passed down through families and shared amongst friends. The simple act of sharing warm, freshly baked scones fosters connection and community, reminding us of the importance of human interaction and shared experiences. Baking is at once childlike and adult; it's making and it's remembering.
- Laurie Colwin. This quote perfectly encapsulates the nostalgic and fulfilling nature of baking these simple treats.
Now, I invite you to consider the power of simplicity in your own life. Don't be intimidated by complex recipes or elaborate techniques. Embrace the joy of creating something delicious and meaningful with your own hands. Try this recipe, share it with loved ones, and experience the unexpected satisfaction of baking – and perhaps even rediscovering a little bit of yourself in the process. The warmth of a freshly baked cheese scone is more than just a taste; it's a reminder of the simple joys that enrich our lives.
Unlock Your Inner Baker: Bake These Scones Today!
Thanks for taking the time to explore this simple cheese scone recipe! We hope you gained some confidence in your baking abilities. Now it's time to put your new skills to the test.
- Bake a batch of these delicious scones: Use the recipe as a springboard! Experiment with different cheeses, herbs, or even add some fruit for a unique twist.
- Share your creations: Post a picture of your scones on social media and tag us! We'd love to see your baking journey.
- Leave a comment: What's your favorite cheese to bake with, and what variations are you planning to try?
Ready to become a cheese scone master?