
Sanitizing vs. Cleaning: What's the Difference for Home Baking Safety?

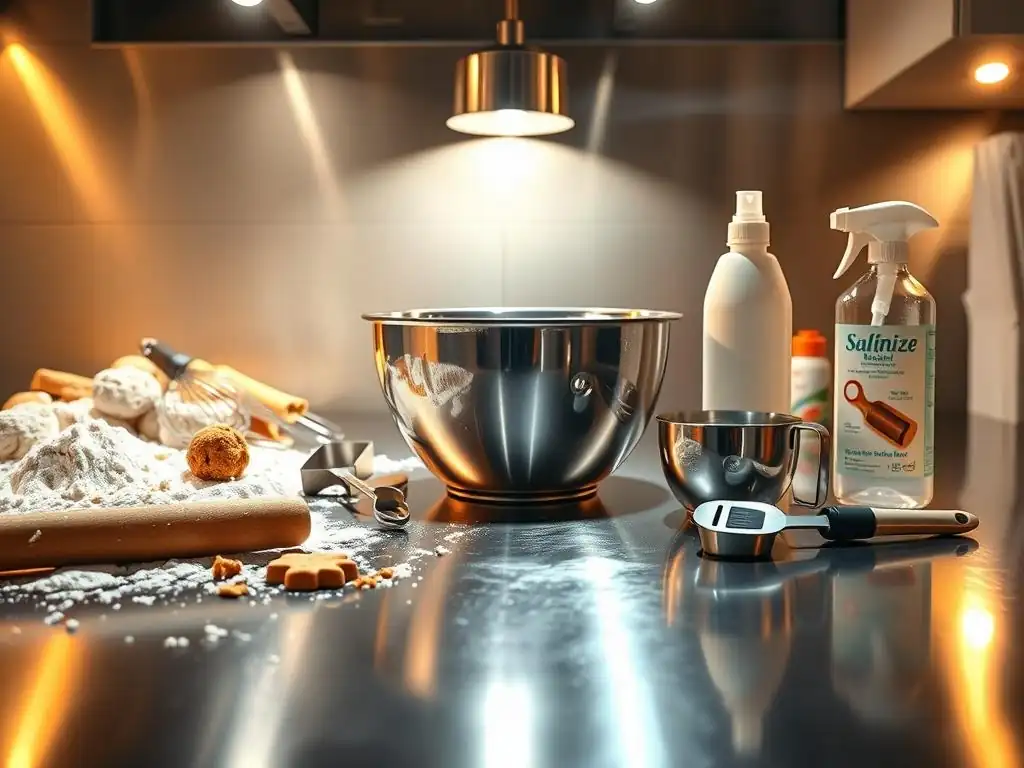
Welcome to BakeWithEase, where simplifying the art of baking is our passion! Ever wondered if your baking tools are truly clean, or if they need that extra step towards being completely safe? This week, we're diving deep into the essential, but often overlooked, topic of how to sanitize baking equipment thoroughly. Discover the crucial difference between cleaning and sanitizing, particularly important for those venturing into a home baking business, and unlock the secrets to ensuring every treat you create is both delicious and safe. Let's get started!
- Sanitizing vs. Cleaning: Ensuring Food Safety in Your Home Bakery
- Understanding Cleaning and Sanitizing: A Crucial Distinction for Bakers
- The Importance of Sanitizing Baking Equipment
- Step-by-Step Guide: How to Clean Baking Equipment Effectively
- Effective Methods for Sanitizing Baking Tools and Surfaces
- Best Practices for Maintaining a Sanitary Baking Environment
- Cleaning and Sanitizing Specific Baking Equipment
- Ensuring Food Safety: Beyond Cleaning and Sanitizing
- Troubleshooting Cleaning and Sanitizing Challenges
- Conclusion: Bake with Confidence Through Proper Sanitation
-
Frequently Asked Questions
- What is the main difference between cleaning and sanitizing baking equipment?
- Why is sanitizing baking equipment important, even after cleaning?
- What are some effective methods for sanitizing baking equipment at home?
- How often should I sanitize my baking equipment?
- What are the consequences of not sanitizing baking equipment properly?
- Final Reflection: The Unsung Hero of Baking Safety: Sanitization
- Unleash Your Inner Baker: Master Clean & Sanitize!
Sanitizing vs. Cleaning: Ensuring Food Safety in Your Home Bakery
Understanding Cleaning and Sanitizing: A Crucial Distinction for Bakers
Why Food Safety Matters in Home Baking
Food safety is the bedrock of any successful baking endeavor, especially when baking for others from your home kitchen. Unlike commercial facilities with strict regulations and frequent inspections, home bakers often rely on self-enforcement of best practices. Ensuring the safety of your baked goods protects your customers or loved ones from foodborne illnesses, which can range from mild discomfort to severe health issues requiring hospitalization. A single instance of unsafe food can severely damage your reputation and trust within your community, potentially halting your baking business before it even truly begins.
Consider a scenario where a customer experiences food poisoning after consuming a baked good. Investigations often trace the source back to improper handling or contaminated equipment. Common culprits like Salmonella, E. coli, or Listeria can thrive on surfaces that appear clean but harbor invisible microorganisms. By prioritizing food safety, including the critical step to sanitize baking equipment thoroughly, you build confidence in your products and demonstrate a commitment to the well-being of those who enjoy your treats. This diligence is not just a best practice; it's a fundamental responsibility for anyone baking for consumption outside their immediate household.
Defining Cleaning: Removing Visible Dirt and Debris
Cleaning is the essential first step in maintaining a hygienic baking space. It involves the physical removal of food particles, grease, grime, and other visible soil from surfaces and equipment. This process typically uses soap or detergent and water, along with scrubbing or wiping action. The goal of cleaning is to make a surface look clean by eliminating the macroscopic mess that can harbor bacteria and other pathogens.
Think of cleaning your baking sheets after making cookies. You scrape off burnt bits, wash away grease with hot, soapy water, and rinse off any remaining food debris. While the pan might now look pristine and free from visible residue, it's crucial to understand that this process primarily targets visible contaminants. Cleaning significantly reduces the amount of microorganisms present by washing them away along with the dirt, but it does not necessarily kill them. This is where sanitizing becomes indispensable for achieving a truly food-safe surface.
Defining Sanitizing: Reducing Harmful Microorganisms
Sanitizing takes hygiene a step further by reducing the number of harmful microorganisms to a safe level, as determined by public health standards. While cleaning removes visible dirt, sanitizing targets the invisible bacteria, viruses, and fungi that can cause illness. A surface that is clean looks clean, but a surface that is sanitized is microbiologically safe for food contact. This process is critical for surfaces and tools that come into direct contact with food.
Sanitizing can be achieved through heat or chemicals. For example, exposing equipment to very hot water (typically 160°F or higher) for a specific duration, or using food-grade chemical solutions at the correct concentration and contact time are common methods. The aim is to kill or inactivate the vast majority of pathogens left behind after cleaning. Thoroughly sanitizing baking equipment is the barrier that prevents the transfer of harmful microbes from tools to your ingredients or finished baked goods, providing a vital layer of protection against foodborne illness.
The Importance of Sanitizing Baking Equipment
Preventing Foodborne Illnesses in Your Home Bakery
Sanitizing is a non-negotiable step for preventing foodborne illnesses linked to your home baking. Even trace amounts of pathogenic bacteria left on equipment after cleaning can multiply rapidly, especially in moist or warm environments often found in a kitchen. When these contaminated tools are used to prepare food, the bacteria can transfer to the ingredients, and if not destroyed during baking (which many pathogens survive), they can cause illness when consumed.
Common pathogens like Staphylococcus aureus, which can cause rapid onset nausea and vomiting, can be found on human skin and transferred to surfaces. Bacillus cereus, often associated with rice, can also contaminate other starches and surfaces and produce toxins. Sanitizing baking equipment thoroughly after each use significantly reduces the risk of these and other harmful bacteria contaminating your food, ensuring the safety of every cake, cookie, or loaf you bake. This diligent practice is a primary defense against potentially severe health outcomes for your customers or family.
Why Cleaning Alone Isn't Enough
Cleaning, as we've discussed, removes visible soil and reduces the number of microorganisms, but it does not eliminate them. Imagine wiping down a counter with a cloth and soapy water after rolling out dough. While the flour and dough bits are gone, a thin film of moisture remains, potentially harboring residual bacteria that weren't washed away. These surviving microbes can then multiply, turning the "clean" surface into a breeding ground for pathogens.
A study by the NSF International found that kitchen surfaces, including countertops and cutting boards, can harbor significant levels of bacteria like E. coli and Salmonella even after cleaning with soap and water alone. Sanitizing is the necessary follow-up step that actively kills or inactivates these remaining invisible threats. Skipping this step means you're leaving a window open for contamination, undermining all your efforts to bake safely. To truly ensure food safety, you must both clean and sanitize baking equipment thoroughly.
When to Sanitize Baking Tools and Surfaces
Knowing when to sanitize is just as important as knowing how. All food contact surfaces and equipment should be sanitized after cleaning and before each use, especially if they have been stored for a period or used for different tasks. This includes mixing bowls, whisks, spatulas, measuring cups and spoons, baking sheets, cake pans, and countertops used for food preparation.
A general guideline is to sanitize:
- After cleaning equipment used with raw ingredients (like eggs, raw flour, or meat/poultry if you also cook in the same space).
- After cleaning equipment used for a specific task and before using it for a different task (e.g., sanitizing a bowl after mixing raw dough before using it for frosting).
- At regular intervals throughout a long baking session (e.g., sanitizing countertops every few hours).
- Before starting any baking activities for the day, even if equipment looks clean from the previous day's use.
This regular and timely sanitization process is key to preventing cross-contamination and ensuring that your baking environment remains safe throughout your production cycle.
Step-by-Step Guide: How to Clean Baking Equipment Effectively
Pre-Cleaning: Removing Food Particles and Residue
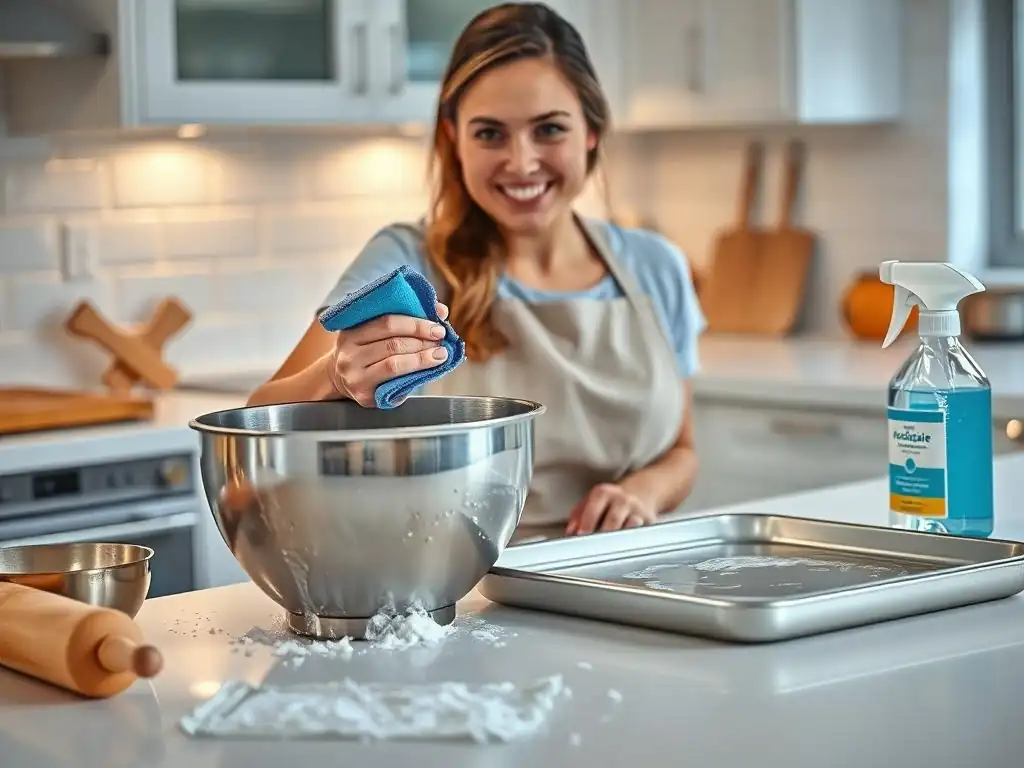
Before you can effectively clean any baking equipment, you must remove as much visible food residue as possible. This initial step makes the subsequent washing process much more efficient and prevents clogging drains or spreading large particles. For items like mixing bowls or baking sheets, this might involve scraping off dried dough, batter, or burnt-on bits using a spatula or a bench scraper.
For smaller tools like whisks or spatulas, rinsing them under running water can help dislodge loose flour or batter. For items with sticky residues like caramel or melted sugar, soaking in warm water for a few minutes can loosen the material before scraping. This pre-cleaning step is crucial because the presence of large amounts of food debris can reduce the effectiveness of both the cleaning agent and the sanitizer.
Washing with Soap and Hot Water: A Detailed Process
Once visible debris is removed, the next step is thorough washing with soap or detergent and hot water. The temperature of the water is important; while not hot enough to sanitize, hot water (ideally around 140°F or hotter if your hands can tolerate it safely, or using gloves) helps to emulsify fats and oils, making them easier to wash away. Use a good quality dish soap that is effective at cutting grease.
Submerge items in the hot, soapy water and scrub them using a brush, sponge, or cloth dedicated solely to washing dishes and equipment. Pay close attention to crevices, seams, and handles where food particles can hide. Ensure all surfaces that came into contact with food are thoroughly scrubbed. Change the wash water if it becomes too dirty, greasy, or cool, as washing in dirty water defeats the purpose.
Rinsing Thoroughly to Eliminate Soap Residue
After washing, it is imperative to rinse all equipment thoroughly under clean, running water. The goal is to remove all traces of soap or detergent. Soap residue left on equipment can transfer to food, affecting its taste and quality. More importantly, some chemical sanitizers are less effective if soap residue is present, as soap can neutralize certain active ingredients.
Rinse each item individually, ensuring water reaches all surfaces. For bowls and pans, fill and empty them with clean water multiple times. For tools like whisks, run water through the wires. Visually inspect each item to confirm no suds or slippery film remains. Proper rinsing prepares the surface for the critical next step: sanitizing, ensuring that when you sanitize baking equipment thoroughly, the process is as effective as possible.
Effective Methods for Sanitizing Baking Tools and Surfaces
Heat Sanitizing: Using Boiling Water or the Dishwasher
Heat is a highly effective method for sanitizing baking equipment by killing microorganisms through high temperatures. Two common heat sanitizing methods for home bakers are using boiling water or a dishwasher with a sanitizing cycle.
Sanitizing Baking Sheets and Pans with Heat
For items like metal baking sheets, cake tins, or even sturdy glass or ceramic bowls, heat sanitizing can be achieved in an oven or a dishwasher. If using an oven, ensure the equipment is completely dry after washing and rinsing. Place the dry items in a preheated oven at a temperature of around 300-350°F (approx. 150-175°C) for about 10-15 minutes. This temperature and time combination is sufficient to kill most common bacteria and viruses. Always check the manufacturer's instructions for your specific equipment to ensure it can withstand these temperatures safely without damage.
Using a dishwasher with a certified sanitizing cycle is another convenient heat sanitizing option. These cycles typically reach water temperatures of 160°F (approx. 71°C) or higher during the final rinse, holding that temperature for a set amount of time (often 30 seconds or more). This is sufficient to reduce pathogens to safe levels. Ensure items are placed in the dishwasher correctly to allow water and heat to reach all surfaces.
Sanitizing Small Tools and Utensils with Boiling Water
Smaller, heat-resistant baking tools and utensils like metal whisks, spatulas, measuring spoons, and even silicone tools can be effectively sanitized using boiling water. After washing and rinsing these items, carefully place them in a pot of water that is brought to a rolling boil (212°F or 100°C).
Submerge the tools completely and let them remain in the boiling water for at least 30 seconds to 1 minute. Use tongs to carefully remove the hot items. This method is simple, requires no special chemicals, and is very effective at killing a wide range of microorganisms. Always exercise extreme caution when working with boiling water to avoid burns.
Chemical Sanitizing: Using Food-Safe Sanitizers
Chemical sanitizers are another common and effective way to sanitize baking equipment, particularly for surfaces that cannot withstand high heat or for quick sanitization between tasks. It's crucial to use only food-grade sanitizers specifically approved for kitchen use and follow the manufacturer's instructions precisely.
Choosing the Right Sanitizer [e.g., Food-Grade Sanitizing Wipes]
Several types of chemical sanitizers are suitable for home kitchen use, including chlorine-based solutions (like diluted bleach), quaternary ammonium compounds ("quats"), and peroxide-based sanitizers. For convenience, some home bakers opt for pre-moistened, food-grade sanitizing wipes specifically designed for kitchen surfaces and equipment. These wipes contain a pre-measured amount of sanitizer and are ready to use.
When choosing a sanitizer, consider what you are sanitizing. Chlorine-based solutions are effective and relatively inexpensive but can be corrosive to some metals over time and require careful dilution. Quats are less corrosive and odorless but can leave a slight film on surfaces. Sanitizing wipes offer ease of use but can be more expensive and may not be suitable for large items or soaking. Always ensure the product label states it is safe for food contact surfaces and follow all usage instructions.
Proper Dilution and Application of Chemical Sanitizers
Correct dilution is critical for chemical sanitizers to be effective and safe. Too weak a solution will not kill pathogens; too strong a solution can be toxic or corrosive. For chlorine bleach, a common concentration for sanitizing food contact surfaces is 50-100 parts per million (ppm). This is typically achieved by mixing about 1 teaspoon of standard unscented bleach (containing 5-6% sodium hypochlorite) per gallon of cool water. Always follow the instructions on the bleach bottle, as concentrations can vary.
For quaternary ammonium sanitizers, typical concentrations are around 200 ppm. Again, refer to the product label for precise mixing instructions, as these can vary significantly between brands. Once the solution is mixed, apply it to the cleaned surface using a cloth, sponge, or by immersing the equipment in the solution.
Ensure the sanitizer contacts the entire surface for the recommended contact time, which is usually specified on the product label (often 30 seconds to 1 minute). Do not rinse after sanitizing unless the product label specifically instructs you to, as rinsing can wash away the sanitizer before it has had sufficient time to work or re-contaminate the surface with water from the tap.
Air Drying vs. Towel Drying: Best Practices
After cleaning and sanitizing, the final step before storage is drying. The best practice for drying sanitized equipment and surfaces is air drying. Allowing items to air dry by placing them on a clean drying rack or propping them up ensures that no towels, which can harbor bacteria even if seemingly clean, re-contaminate the sanitized surface.
While towel drying might seem faster, even freshly laundered towels can introduce microorganisms. If you must towel dry, use a clean, dry towel dedicated solely to drying sanitized equipment and replace it frequently. However, air drying is the preferred method to maintain the integrity of the sanitization process. Ensure items are completely dry before storing them to prevent the growth of mold or mildew.
Best Practices for Maintaining a Sanitary Baking Environment
Cleaning and Sanitizing Countertops and Work Surfaces
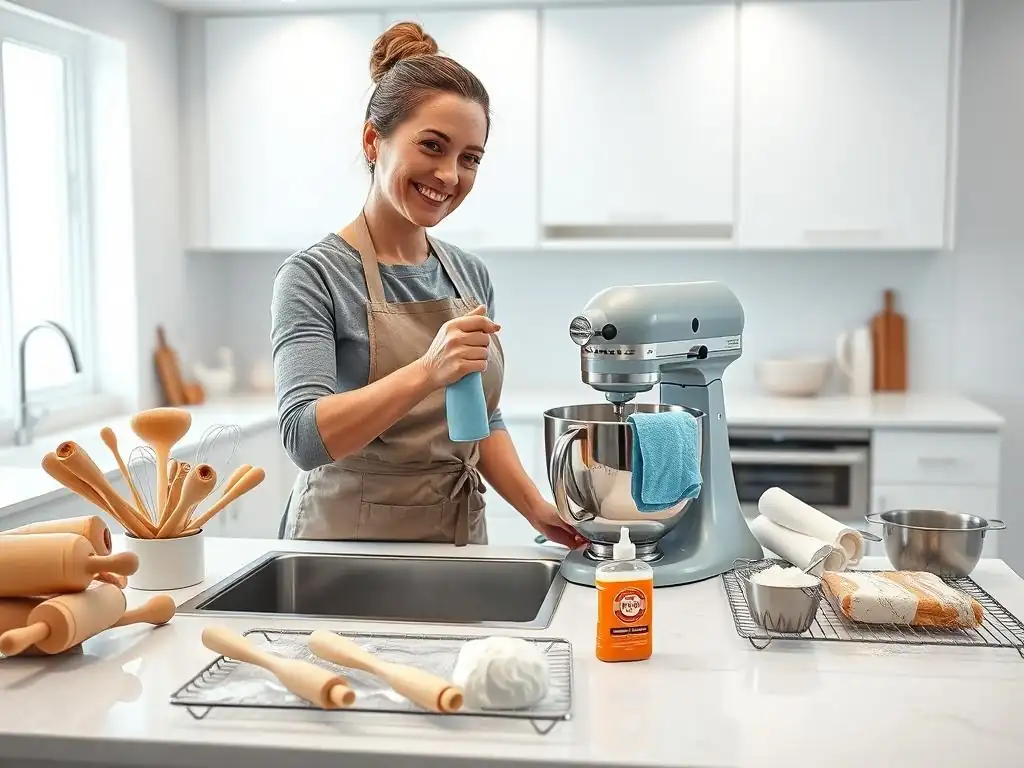
Countertops and work surfaces are high-contact areas where ingredients are prepped, dough is kneaded, and finished goods are placed. Maintaining these surfaces is paramount. Clean countertops thoroughly with soap and hot water to remove spills, flour dust, grease, and any food particles after each use and before sanitizing.
After cleaning and rinsing, apply a food-safe sanitizer (either a chemical solution or use a sanitizing wipe) across the entire surface. Ensure the sanitizer remains wet on the surface for the required contact time (e.g., 30 seconds to 1 minute) before allowing it to air dry. Sanitize countertops before you begin baking, after handling raw ingredients, after any spills, and at the end of your baking session. Regularly sanitizing these crucial areas helps ensure you can sanitize baking equipment thoroughly and have a safe space to use it.
Proper Handwashing Techniques for Bakers
Clean hands are one of the most effective tools against foodborne illness. Bakers should wash their hands frequently and thoroughly with soap and warm water for at least 20 seconds. This includes scrubbing the backs of hands, between fingers, and under nails.
Key times to wash hands are:
- Before starting any baking tasks.
- After touching raw ingredients like eggs or flour.
- After handling waste or taking out trash.
- After using the restroom.
- After touching your face, hair, or clothing.
- After touching pets.
- Before and after eating or drinking.
- Any time hands become contaminated.
Using a paper towel to turn off the faucet and open the door can prevent re-contamination. Handwashing is a simple yet critical step that complements the effort to sanitize baking equipment thoroughly.
Storing Baking Equipment to Prevent Contamination
Proper storage of cleaned and sanitized baking equipment is the final step in preventing re-contamination before its next use. Store equipment in a clean, dry place where it is protected from dust, pests, and other potential contaminants.
Items should be stored inverted (upside down) if possible, such as bowls or cups, to prevent dust from settling inside. Store items away from chemicals or cleaning supplies. Use clean drawers, shelves, or containers dedicated to baking equipment. Ensure storage areas are also cleaned and sanitized periodically. Correct storage ensures that the effort you put into cleaning and sanitizing baking equipment thoroughly is not undone before you even start your next batch.
Cleaning and Sanitizing Specific Baking Equipment
Sanitizing Mixing Bowls
Mixing bowls, whether stainless steel, glass, or ceramic, come into direct contact with all ingredients. After washing away batter or dough residue with hot, soapy water and rinsing thoroughly, they need sanitizing.
For heat-resistant bowls, placing them in a dishwasher with a sanitizing cycle is effective. Alternatively, you can immerse them in boiling water for at least 30 seconds if they fit and can tolerate the heat. For larger or less heat-resistant bowls, a chemical sanitizing solution is appropriate. Ensure the bowl is completely submerged or the solution contacts all interior and exterior surfaces that might come into contact with hands or other surfaces. Let it sit for the recommended contact time before air drying.
Sanitizing Baking Utensils and Measuring Cups
Small utensils like spatulas, whisks, measuring cups, and spoons are frequently used and can harbor sticky residues. After washing and rinsing, these items are excellent candidates for sanitizing in boiling water (if heat-resistant) for 30 seconds to 1 minute.
Alternatively, they can be run through a dishwasher with a sanitizing cycle. If using a chemical sanitizer, ensure the utensils are fully immersed in the solution for the required contact time. Pay special attention to handles and any seams or crevices where bacteria can hide. Air dry thoroughly before storing. This careful attention helps sanitize baking equipment thoroughly, down to the smallest tools.
Sanitizing Bread Pans and Cake Tins
Bread pans, cake tins, muffin tins, and similar bakeware often have corners and seams where grease and batter can accumulate. After cleaning with hot, soapy water and a brush to get into corners, rinse thoroughly.
Heat sanitizing is often the most practical method for these items, provided they are metal, glass, or ceramic. Running them through a dishwasher with a sanitizing cycle is effective. As mentioned earlier, dry metal pans can also be heated in a 300-350°F oven for 10-15 minutes. If using a chemical sanitizer, ensure the solution covers all surfaces, including the inside and outside of rims and handles. Allow to air dry completely to prevent rust, especially on metal pans.
Ensuring Food Safety: Beyond Cleaning and Sanitizing
Proper Food Storage Techniques for Baking Ingredients
Beyond equipment hygiene, proper storage of ingredients is vital for food safety. Dry ingredients like flour, sugar, and spices should be stored in airtight containers in a cool, dry place to prevent moisture absorption and pest infestation. Flour, in particular, can sometimes contain bacteria like E. coli (though less commonly than other sources), so preventing cross-contamination from flour dust is important.
Perishable ingredients such as eggs, milk, butter, and cream cheese must be stored in the refrigerator at temperatures below 40°F (4°C) to slow bacterial growth. Always check expiration dates and use ingredients by their prime. Storing ingredients correctly ensures that you start your baking process with safe components, complementing the safety achieved by sanitizing baking equipment thoroughly.
Preventing Cross-Contamination
Cross-contamination occurs when bacteria are transferred from one surface or food to another. This is a major cause of foodborne illness. In baking, cross-contamination can happen if you use the same cutting board for raw ingredients (like eggs) and then for ready-to-eat items without proper cleaning and sanitizing in between.
To prevent cross-contamination:
- Use separate cutting boards or surfaces for different tasks, or clean and sanitize thoroughly between uses.
- Wash hands frequently, especially after handling raw ingredients.
- Keep raw ingredients separate from ready-to-eat items.
- Use clean utensils for each task.
- Sanitize countertops and equipment, like mixing bowls and spatulas, after contact with raw ingredients like eggs or raw dough.
Diligent practices like these, combined with the commitment to sanitize baking equipment thoroughly, create a strong defense against microbial hazards.
Monitoring Temperature and Time for Safe Baking
While cleaning and sanitizing equipment prevents contamination before baking, proper baking temperatures and times are crucial for killing any pathogens that might have been introduced into the food itself. Most harmful bacteria are killed when food reaches an internal temperature of 160°F (71°C) or higher.
Ensure your oven is calibrated correctly and bake goods for the time and temperature specified in reliable recipes. For items containing eggs, like quiches or custards, using a food thermometer to check the internal temperature is a good practice to ensure they reach a safe level. Proper cooling and storage of baked goods after baking (e.g., refrigerating items containing dairy or eggs) are also critical steps to prevent bacterial growth.
Troubleshooting Cleaning and Sanitizing Challenges
Dealing with Stubborn Food Residue
Sometimes, despite best efforts, stubborn food residue like burnt sugar, caramelized bits, or dried dough can cling to baking equipment. For burnt-on messes on pans, soaking in hot water with a generous amount of dish soap, or even a specialized oven cleaner (used strictly according to instructions and rinsed thoroughly), can help. Baking soda and water paste can also be an effective, gentle abrasive for loosening stuck-on bits.
For sticky residues like caramel, boiling water in the pan on the stovetop (if safe for the pan) can dissolve the sugar. For dried dough on tools, a stiff brush or scraper can help, followed by soaking. Remember to always clean thoroughly to remove these physical barriers before attempting to sanitize baking equipment thoroughly, as residue can protect microorganisms from the sanitizer.
Preventing Rust and Corrosion on Metal Baking Tools
Metal baking tools, especially those made of cast iron or carbon steel, are susceptible to rust if not dried properly. Even stainless steel can corrode under certain conditions or with prolonged exposure to harsh chemicals or moisture. To prevent rust after washing and sanitizing, ensure metal items are completely dry, preferably by air drying immediately or using a clean, dry towel.
For cast iron, follow specific seasoning instructions after cleaning. Avoid soaking metal items for extended periods. If using chemical sanitizers, ensure they are compatible with the metal type, or choose heat sanitizing methods when possible. Proper care and drying extend the life of your tools and maintain their sanitary condition.
Addressing Concerns about Chemical Sanitizer Residue
Leaving chemical sanitizer residue on food contact surfaces is a valid concern. This is why it is crucial to use only food-grade sanitizers approved for kitchen use and follow the manufacturer's instructions precisely regarding dilution and contact time. Many food-grade sanitizers are formulated to be effective at concentrations that are considered safe and do not require a final rinse, as rinsing could re-contaminate the surface.
If a sanitizer requires rinsing, ensure you use clean, potable water. For non-rinse sanitizers, allowing the surface to air dry ensures that the sanitizer has time to work and any minimal residue is at a safe level. If you are uncomfortable with chemical residues, heat sanitizing methods like boiling or using a dishwasher's sanitizing cycle are excellent alternatives to sanitize baking equipment thoroughly without chemicals.
Conclusion: Bake with Confidence Through Proper Sanitation
Recap of Cleaning vs. Sanitizing
Cleaning and sanitizing are two distinct but equally vital steps in ensuring food safety in your home bakery. Cleaning removes visible dirt, grease, and food particles using soap and water. Sanitizing, which must follow cleaning, reduces harmful microorganisms to a safe level using heat or food-grade chemicals. Cleaning makes surfaces look clean; sanitizing makes them microbiologically safe.
Consistently applying both processes, from washing hands to thoroughly sanitizing baking equipment and work surfaces, is fundamental to preventing foodborne illnesses. By understanding the difference and implementing these practices diligently, you protect your customers and build a reputation for quality and safety.
Resources for Further Learning [Link to Relevant Articles/Websites]
- [Placeholder for Link to relevant government food safety guidelines, e.g., FDA Food Code summaries for home-based businesses]
- [Placeholder for Link to articles on proper handwashing techniques]
- [Placeholder for Link to guides on preventing cross-contamination]
Frequently Asked Questions
What is the main difference between cleaning and sanitizing baking equipment?
Cleaning removes visible dirt and debris, while sanitizing reduces the number of harmful microorganisms to a safe level. Both are essential for food safety.
Why is sanitizing baking equipment important, even after cleaning?
Even after cleaning, residual bacteria can remain on surfaces. Sanitizing significantly lowers the risk of foodborne illnesses and ensures safer baked goods.
What are some effective methods for sanitizing baking equipment at home?
Common methods include using a diluted bleach solution, running equipment through a high-temperature dishwasher cycle, or using food-grade sanitizing wipes.
How often should I sanitize my baking equipment?
Sanitize equipment after each use, especially when working with ingredients like raw eggs or meat, to prevent cross-contamination.
What are the consequences of not sanitizing baking equipment properly?
Failure to sanitize can lead to bacterial growth and potentially cause food poisoning or spoil your baked goods faster.
Final Reflection: The Unsung Hero of Baking Safety: Sanitization
The meticulous cleaning of baking equipment isn't just about aesthetics; it's the cornerstone of food safety, directly impacting the health and well-being of everyone who enjoys the fruits – or rather, cakes and cookies – of our labor. Failing to understand the crucial difference between cleaning and sanitizing can lead to serious consequences, from mild discomfort to severe illness. This distinction is more relevant today than ever, as awareness of foodborne illnesses continues to grow.
The impact of proper sanitization extends far beyond the individual baker; it influences the entire culinary landscape. From professional kitchens to home bakers, the understanding and practice of effective sanitization techniques are paramount. Maintaining high hygiene standards not only protects consumers but also fosters trust and confidence in the food we produce and consume. Food safety is not just a matter of compliance; it's a matter of conscience.
This quote underscores the moral responsibility we all share in ensuring the safety of the food we handle.
Now, consider your own baking practices. Do you meticulously sanitize your equipment after each use? Or do you rely solely on cleaning? Take a moment to reflect on this. I challenge you to incorporate thorough sanitization into your routine, to elevate your baking practices to a new level of safety and hygiene. By understanding the difference between cleaning and sanitizing, and by prioritizing the latter, you are not only protecting yourself and your loved ones, but also contributing to a safer and more enjoyable culinary experience for everyone.
Unleash Your Inner Baker: Master Clean & Sanitize!
Thanks for diving into the world of baking safety with us! You've now got the knowledge to create a truly hygienic baking space. Ready to put your newfound skills into action?
- Prioritize sanitizing your most used baking tools (mixer, cutting boards, etc.). This single step dramatically reduces bacteria and ensures consistently delicious results.
- Share this article with fellow baking enthusiasts – let's spread the word about safe baking practices!
- Challenge yourself to create a personalized cleaning and sanitizing checklist for your kitchen – then, share it in the comments below! What are your top tips?
Ready to bake with confidence knowing your kitchen is truly sparkling clean?