
Elevate Your Cakes: Essential Tools for Every Baker's Arsenal

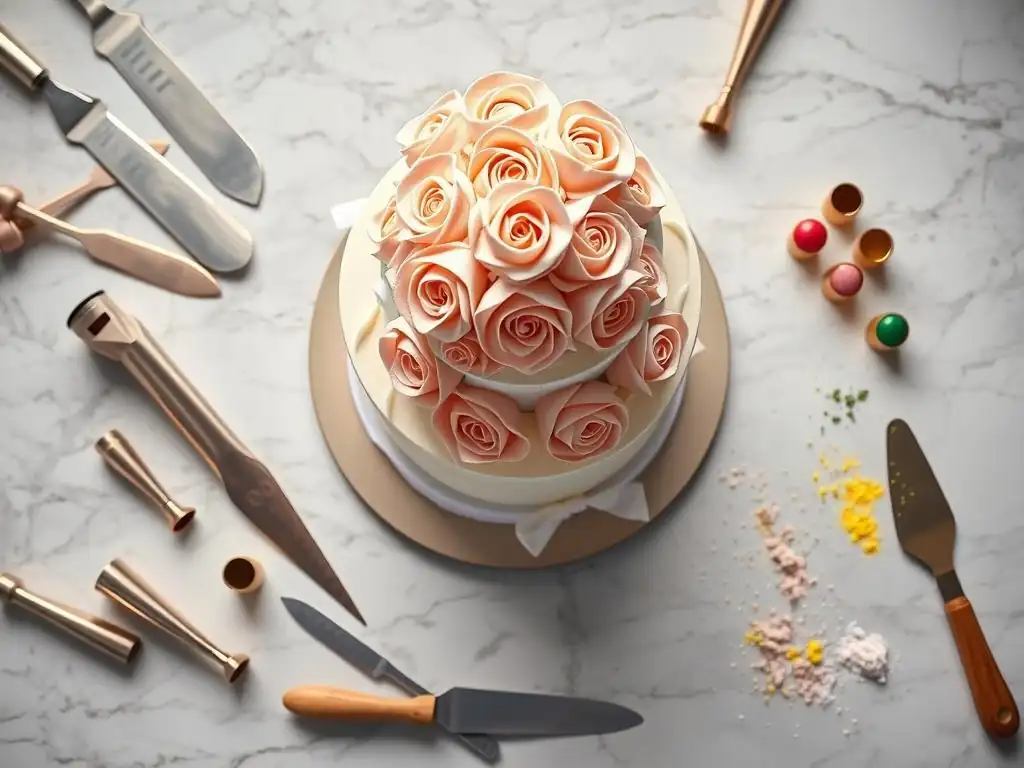
Welcome to BakeWithEase, your haven for effortless baking! Ever wondered how to transform a simple cake into a stunning masterpiece? Elevate Your Cakes: Essential Tools for Every Baker's Arsenal unveils the secrets. Discover the best cake decorating tools that will unlock your inner artist, regardless of your skill level. Ready to create edible art? Let's begin!
- Bake Like a Pro: A Guide to Essential Cake Decorating Tools
- Must-Have Cake Baking Equipment: Achieving Professional Results
-
The Foundation: Essential Cake Baking and Preparation Tools
- Cake Pans: Choosing the Right Size and Shape for Perfect Cakes
- Mixing Bowls: Selecting the Best Material for Consistent Batters
- Measuring Cups and Spoons: Accuracy is Key to Baking Success
- Spatulas and Whisks: Essential Tools for Mixing and Folding
- Cake Leveler and Serrated Knife: Achieving Even Cake Layers
- The Decorating Arsenal: Core Cake Decorating Tools for Beginners
- Advanced Cake Decorating Tools: Taking Your Cakes to the Next Level
- Cleaning and Maintaining Your Cake Decorating Tools for Longevity
-
Frequently Asked Questions
- What are the best cake decorating tools for beginners?
- How can I choose the right piping tips for cake decoration?
- Are there any budget-friendly options for cake decorating tools?
- How do I properly clean and maintain my cake decorating tools?
- Where can I find step-by-step guides on using cake decorating tools?
- Final Reflection: The Sweet Science of Cake Decorating
- Unleash Your Inner Cake Artist!
Bake Like a Pro: A Guide to Essential Cake Decorating Tools
Stepping into the world of cake decorating can feel overwhelming, but with the right tools, transforming a simple baked cake into a stunning masterpiece is entirely achievable. The best cake decorating tools aren't just for professionals; they are designed to make the process smoother, more precise, and ultimately, more enjoyable for home bakers too.
Think of these tools as extensions of your creativity, allowing you to shape, smooth, pipe, and detail your way to beautiful results. Whether you're aiming for a perfectly smooth buttercream finish, intricate piped flowers, or delicate fondant details, having a well-equipped arsenal is the first step.
This guide will walk you through the fundamental equipment needed not only for baking a great cake but also for applying those finishing touches that make it truly special. We'll explore everything from the basic pans and mixing tools to the specialized items that help you achieve professional-looking decorations. Investing in quality tools can significantly impact the outcome of your cakes, making the decorating process less frustrating and more rewarding. Let's dive into building your collection of the best cake decorating tools.
Must-Have Cake Baking Equipment: Achieving Professional Results
Achieving professional results in cake decorating starts long before the frosting comes out. It begins with baking a well-structured, level, and delicious cake. Having the right foundational tools for baking ensures your canvas is perfect for decorating. This section covers the essential equipment you'll need from mixing the batter to cooling the baked layers, setting you up for success in the decorating phase.
Investing in Quality Cake Decorating Supplies: Why Precision Matters
Investing in high-quality cake decorating supplies is a game-changer. While it might be tempting to opt for the cheapest options, better tools offer greater precision, durability, and ease of use. For instance, a sturdy offset spatula with a flexible blade allows for much smoother frosting application than a rigid, poorly balanced one. Similarly, well-made piping tips produce cleaner, more defined shapes, elevating the overall appearance of your designs.
Consider the longevity and performance. A set of basic, yet quality, piping tips made from seamless stainless steel will last for years and consistently deliver beautiful results, unlike cheaper alternatives that might rust or have rough edges. Precision in baking, from accurate measurements to even baking, forms the necessary base; precision in decorating, facilitated by quality tools, allows you to execute intricate details and smooth finishes that distinguish a good cake from a truly stunning one.
Understanding the Essentials: Building Your Cake Decorating Toolkit
Building your cake decorating toolkit is an exciting process. Start with the basics that allow you to frost and do simple piping, then gradually add more specialized items as your skills and ambitions grow. The core essentials typically include offset spatulas for frosting, piping bags and a basic set of tips for borders and simple designs, and a cake turntable for easy rotation while decorating.
Beyond these, consider tools that help with structure and finish, such as a cake leveler to ensure flat layers and scrapers to achieve smooth sides. The best cake decorating tools for beginners are versatile and forgiving, allowing you to learn fundamental techniques. As you become more comfortable, you can explore tools for advanced techniques like working with fondant, airbrushing, or creating complex sugar flowers, expanding your creative possibilities.
The Foundation: Essential Cake Baking and Preparation Tools
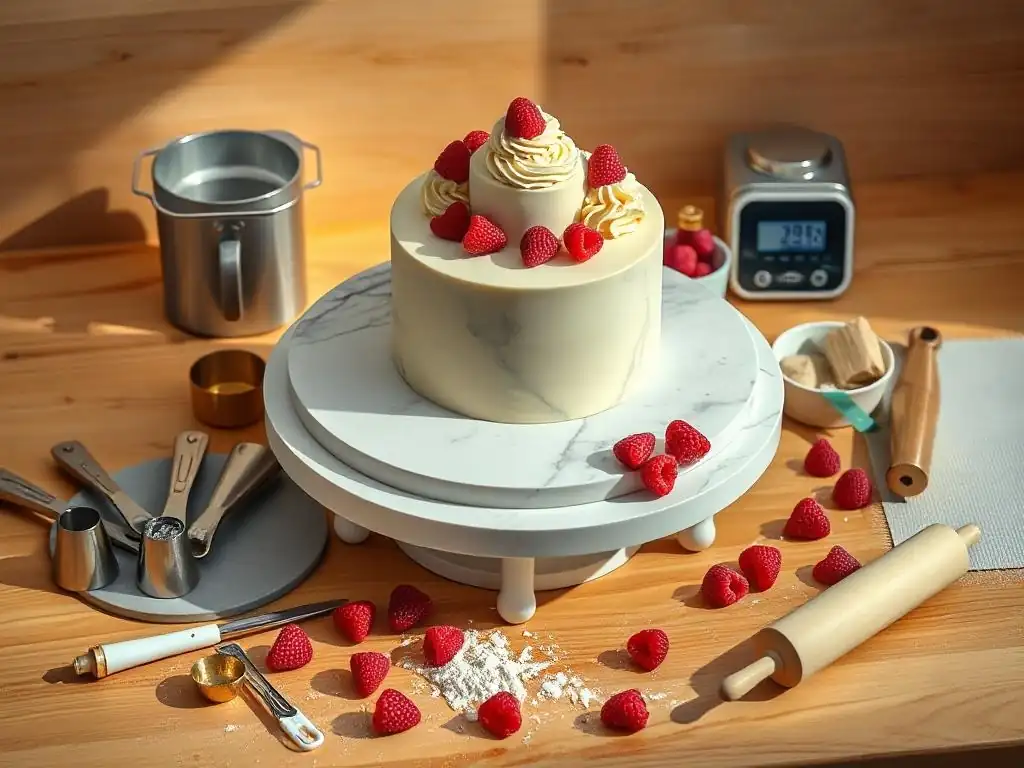
Before you can decorate, you need a cake! The quality of your baked cake layers is paramount. Even the most skilled decorator can struggle with uneven, domed, or crumbled cakes. Having the right tools for mixing, measuring, and baking ensures your layers are consistent, level, and ready to be transformed into a work of art.
Cake Pans: Choosing the Right Size and Shape for Perfect Cakes
Cake pans come in countless sizes and shapes, but a few standards are indispensable. Round pans, typically 6-inch, 8-inch, and 9-inch diameters, are ideal for creating classic layer cakes. Rectangular pans, such as the 9x13 inch size, are perfect for sheet cakes, bar cakes, and large single layers. Springform pans, usually 9 or 10 inches, are essential for delicate cakes like cheesecakes or tortes where inverting isn't feasible.
Material matters significantly for even baking. Aluminum pans are widely favored by professional bakers because they conduct heat efficiently and evenly, resulting in cakes with a consistent crumb and flat tops, minimizing the need for excessive leveling. Darker pans can sometimes lead to over-browning, so light-colored aluminum is often preferred for standard cake baking. Investing in a few high-quality sets of common sizes will serve you well for a wide variety of cake projects.
Mixing Bowls: Selecting the Best Material for Consistent Batters
Mixing bowls are fundamental to baking, and the material can influence your batter. Stainless steel bowls are lightweight, durable, non-reactive, and easy to clean, making them a popular choice for general mixing. Glass bowls are also non-reactive and allow you to see your ingredients as you mix, which can be helpful, though they are heavier and breakable. Plastic bowls are inexpensive and lightweight but can retain odors and grease over time, and some cheaper plastics might react with acidic ingredients.
For tasks requiring whipping air into ingredients, like meringue or whipped cream, a clean, grease-free stainless steel or glass bowl is crucial. Any trace of fat can prevent egg whites or cream from whipping properly. Having a set of mixing bowls in various sizes, from small ones for whisking eggs to large ones for combining dry and wet ingredients for a large cake batter, is essential for efficient workflow in the kitchen.
Measuring Cups and Spoons: Accuracy is Key to Baking Success
Baking is often described as a science because precision in ingredient measurements is critical. Unlike cooking, where you can often adjust as you go, baking relies on specific ratios for chemical reactions (like leavening) to occur correctly. Therefore, having accurate measuring cups and spoons is non-negotiable. Dry measuring cups should be used for ingredients like flour, sugar, and cocoa powder, leveled off with a straight edge for accuracy.
Liquid measuring cups, typically made of glass or plastic with a spout, are designed to be filled to the line when placed on a flat surface, read at eye level. Measuring spoons are used for smaller quantities of both dry and wet ingredients like baking powder, salt, extracts, and spices. Investing in sturdy, well-marked sets of both dry and liquid measures, preferably with common sizes clearly visible, ensures you can follow recipes precisely, leading to consistent and successful baking results.
Spatulas and Whisks: Essential Tools for Mixing and Folding
Spatulas and whisks are the unsung heroes of the baking world. A good set of rubber or silicone spatulas in various sizes is essential for scraping down the sides of mixing bowls, folding delicate ingredients like whipped egg whites or cream into batter without deflating them, and generally ensuring you don't waste any precious batter or frosting. Look for spatulas with heat-resistant heads if you also plan to use them for stovetop tasks like making pastry cream.
Whisks are necessary for aerating ingredients, such as whipping eggs or cream, and for combining dry ingredients evenly. A balloon whisk is ideal for whipping air into mixtures, while a French whisk, which is narrower, is good for getting into the corners of pans or mixing sauces. Having a couple of different sizes allows you to tackle various tasks effectively, from whisking a single egg yolk to whipping a large batch of meringue.
Cake Leveler and Serrated Knife: Achieving Even Cake Layers
Achieving flat, even cake layers is crucial for stacking and decorating. While some bakers can freehand slice with a serrated knife, a cake leveler provides consistent results every time. A cake leveler is typically a wire held taut on an adjustable frame, allowing you to slice through a cake layer at a precise, predetermined height. This tool helps remove the dome from a cake and can also be used to split a single thick layer into two or more thinner ones for filling.
A good quality serrated knife, often called a bread knife, is also incredibly useful for trimming cakes. Its saw-like edge cuts through soft cake without compressing or tearing it, making it ideal for leveling if you don't have a leveler or for trimming the sides if needed. Using either a leveler or a serrated knife allows you to create a stable, flat surface for stacking, which is foundational for applying frosting smoothly and ensuring your finished cake stands straight and tall.
The Decorating Arsenal: Core Cake Decorating Tools for Beginners
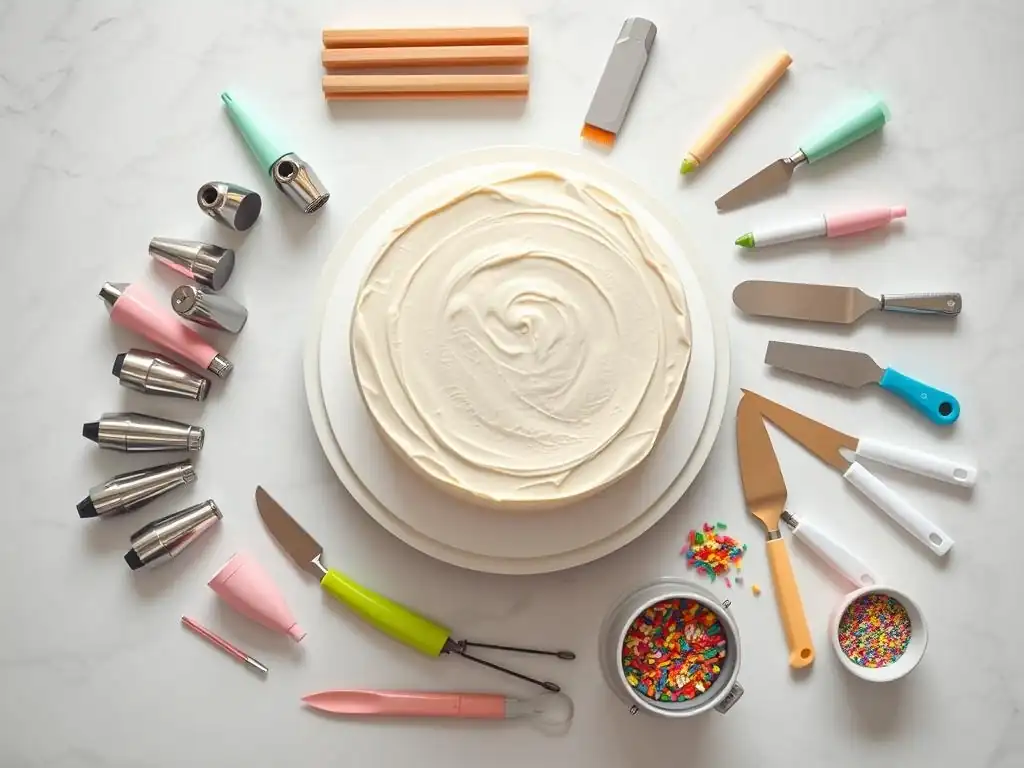
Once your cake layers are baked, cooled, and leveled, it's time for the fun part: decorating! This section focuses on the fundamental tools you'll need to apply frosting, create basic designs, and achieve a smooth, professional finish. These are some of the best cake decorating tools for beginners, providing the versatility to practice essential techniques.
Offset Spatulas: Mastering Smooth Frosting Techniques
Offset spatulas are indispensable for applying and smoothing frosting onto cakes. The angled blade keeps your knuckles from dragging through the frosting, allowing for a much cleaner and smoother finish. They come in various sizes, typically ranging from small 4-inch blades for detailed work or spreading fillings to larger 8 or 10-inch blades for covering the sides and top of larger cakes quickly.
Using a small offset spatula is perfect for tasks like spreading a crumb coat – a thin layer of frosting that traps loose crumbs before the final decorative layer. Larger offset spatulas are ideal for applying the main layer of frosting and achieving that coveted smooth surface on the top and sides. The flexibility of the blade is key; a little give allows you to follow the contours of the cake and spread the frosting evenly without digging into the cake itself. They are truly among the best cake decorating tools for achieving a professional look.
Piping Bags and Tips: Creating Beautiful Borders and Designs
Piping bags and a set of piping tips are essential for adding decorative flair to your cakes, cupcakes, and cookies. Piping bags come in disposable plastic, reusable silicone, or canvas options. Disposable bags are convenient for quick color changes and easy cleanup, while reusable bags are more environmentally friendly and durable. You'll also need couplers if you plan to switch tips on the same bag of frosting without emptying it.
Piping tips, made of metal or plastic, are where the magic happens. They come in a vast array of shapes and sizes, each creating a different effect. A basic set usually includes a few round tips for writing or dots, star tips for borders and swirls, and perhaps a petal tip for simple flowers. Learning how to fill and hold a piping bag correctly takes practice, but once mastered, it opens up endless possibilities for cake decoration, from simple shells and rosettes to intricate lacework.
Exploring Different Piping Tip Styles: Round, Star, Petal, and Basketweave
Understanding the basic families of piping tips is key to creating a variety of designs.
- Round Tips: These tips have a smooth, circular opening. Small sizes (like Wilton #1-5) are used for fine detail work, writing, and dots. Medium sizes (like #10-12) are great for beads or outlining. Large sizes (like #1A, #1M) are perfect for filling cupcakes, making large swirls, or piping macaron shells.
- Star Tips: These tips have serrated edges and produce star shapes, shells, rosettes, and zigzags. Open star tips (like Wilton #1M, #21) create distinct points, while closed star tips (like Wilton #2D, #32) produce more defined, ruffled edges. They are incredibly versatile for borders and covering large areas.
- Petal Tips: These tips have a wide opening on one side and a narrow opening on the other, designed to create realistic flower petals, ruffles, and swags. By varying the pressure and angle, you can create different effects, from rose petals (like Wilton #104) to carnations.
- Basketweave Tips: These tips have a flat, smooth side and a serrated side, used to create a woven basket texture on the side of a cake. Alternating between piping with the smooth and serrated sides facing up creates the characteristic weave pattern.
Mastering these basic tip styles allows you to execute a wide range of decorative techniques, making your cakes visually appealing and demonstrating the power of the best cake decorating tools.
Cake Turntable: Achieving a Professional Finish with Ease
A cake turntable, also known as a revolving cake stand, is one of the most valuable investments for any serious cake decorator. It allows you to easily rotate the cake as you frost, smooth, and decorate the sides, eliminating the need to awkwardly move around the cake yourself. This results in much smoother frosting, more consistent borders, and easier application of intricate designs around the entire circumference of the cake.
Turntables come in various materials, including plastic, metal, and glass. While basic plastic turntables are affordable and suitable for beginners, heavier, sturdier models made from metal or with a non-slip base offer greater stability, especially when working on larger or heavier cakes. Some advanced models feature ball bearings for incredibly smooth rotation. Using a turntable significantly improves your ability to achieve a professional-looking finish, making it a top contender among the best cake decorating tools.
Cake Scrapers and Smoothers: Achieving Perfectly Smooth Frosting
Achieving perfectly smooth sides on a frosted cake is a hallmark of professional cake decorating. Cake scrapers and smoothers are specifically designed for this purpose. Scrapers are rigid tools, often made of plastic or metal, with a straight edge. Held perpendicular to the turntable, they are used to scrape away excess frosting from the sides while the cake rotates, creating a smooth, even surface.
Smoothers are similar but may have rounded corners or specific profiles for different effects. Some smoothers have textured edges, allowing you to create patterns like stripes or waves in the frosting. Having a basic straight-edge scraper is essential for that clean, modern look. For buttercream, chilling the cake briefly after applying the frosting can make it easier to get a super smooth finish with the scraper.
Palette Knives: Adding Texture and Dimension to Your Cakes
While offset spatulas are great for smooth frosting, palette knives are excellent for adding texture and dimension. Palette knives have a flexible, often triangular or teardrop-shaped blade with a rounded tip, typically used by artists but adapted for cake decorating. They are smaller and more maneuverable than offset spatulas, making them ideal for applying frosting in swatches, creating textured effects like swirls or peaks, or even painting with frosting or ganache.
Using a palette knife allows for a more artistic and expressive frosting style compared to the clean lines achieved with scrapers. You can create abstract textures, apply frosting in thick impasto strokes, or use them to lift and place delicate sugar decorations. They are a fantastic tool for adding a unique, handcrafted touch to your cakes, showcasing another facet of what makes the best cake decorating tools so versatile.
Advanced Cake Decorating Tools: Taking Your Cakes to the Next Level
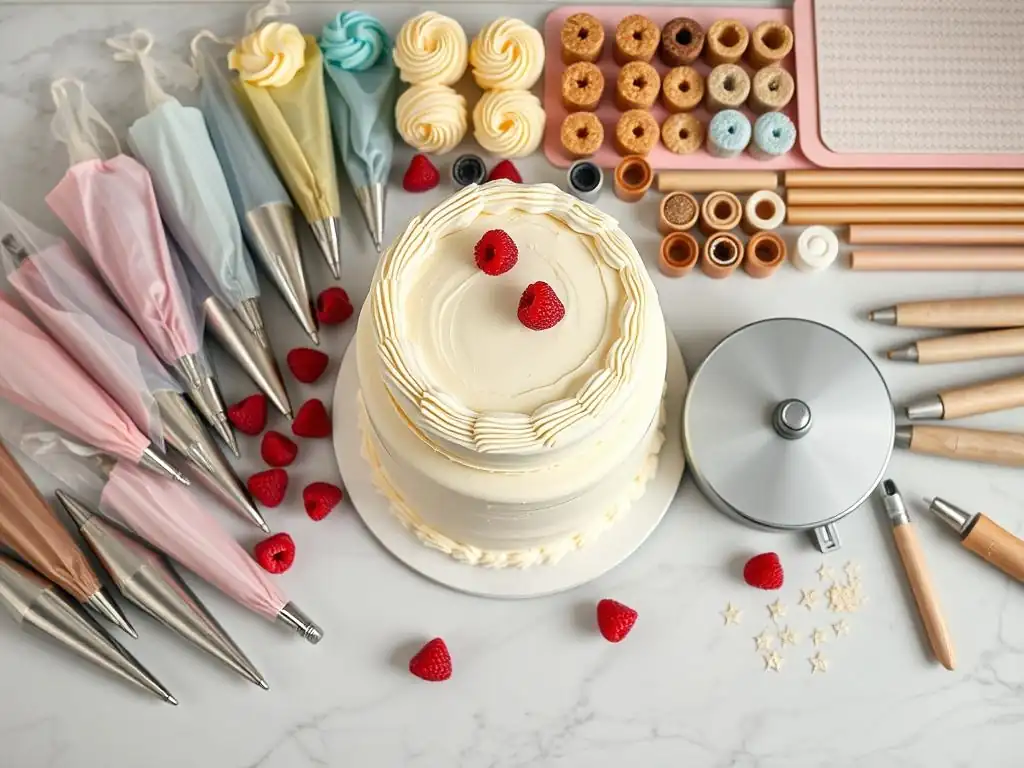
Once you've mastered the basics, you might want to explore more advanced techniques to create truly show-stopping cakes. These tools require a bit more practice and investment but open up a world of creative possibilities, from intricate designs to vibrant airbrushed finishes.
Airbrush System: Creating Stunning Visual Effects on Cakes
An airbrush system allows you to spray food-safe coloring onto your cakes, creating smooth gradients, vibrant colors, and detailed stenciled designs that are difficult or impossible to achieve with traditional frosting methods. It consists of a compressor, a hose, and an airbrush gun with a small cup for edible airbrush colors. Airbrushing is particularly effective for adding subtle shading, creating realistic effects like skies or water, or applying shimmer or pearl finishes evenly.
Mastering an airbrush requires practice to control the airflow and color application, preventing drips or uneven coverage. However, the results can be stunning, adding a professional polish and depth of color to your cakes. While an airbrush system represents a more significant investment than basic tools, it's one of the best cake decorating tools for those looking to add dramatic visual impact and explore photo-realistic or highly stylized finishes.
Fondant Tools: Shaping and Detailing Fondant Decorations
Working with fondant opens up possibilities for creating smooth, sculpted cakes and intricate edible decorations. Fondant is a pliable sugar paste used to cover cakes for a perfectly smooth finish or molded and cut into shapes. A dedicated set of fondant tools is essential for rolling, cutting, shaping, and detailing this medium.
Basic fondant tools include a non-stick rolling pin, various cutters (from simple geometric shapes to intricate plungers), and modeling tools with different tips (ball, cone, star, knife) for shaping figures, flowers, and adding texture. A smooth surface, like a silicone mat or a well-dusted countertop, is also crucial for rolling fondant without sticking. These tools allow you to move beyond frosting and explore the world of edible sculpture.
Rolling Pin for Fondant: Achieving a Smooth and Even Surface
A specific rolling pin for fondant differs from a standard baking rolling pin. Fondant rolling pins are typically smooth, non-stick, and often made of plastic or silicone. They are designed to roll fondant to an even thickness without sticking, which is crucial for covering a cake smoothly or creating consistent decorations. Some fondant rolling pins have guide rings that fit onto the ends, ensuring you roll the fondant to a precise, uniform thickness, typically around 1/8 inch for covering cakes.
Using a clean, smooth rolling pin prevents imperfections from being transferred to the fondant surface. It's also important to use powdered sugar or cornstarch sparingly to prevent sticking, as too much can dry out the fondant. Rolling from the center outwards and rotating the fondant helps maintain a circular or desired shape and ensures even thickness across the entire sheet.
Fondant Cutters and Molds: Creating Intricate Shapes and Designs
Fondant cutters and molds are invaluable for quickly and consistently creating decorative elements. Cutters come in every shape imaginable, from simple circles and squares to intricate flowers, leaves, animals, and letters. Plunger cutters not only cut the shape but also emboss a pattern and have a plunger to easily release the delicate shape.
Molds allow you to press fondant into pre-formed cavities to create detailed shapes like pearls, chains, lace borders, or complex figures. Using molds is a fantastic way to add professional-looking detail with minimal effort, especially for repetitive elements. Silicone molds are popular because they are flexible and non-stick, making it easy to release intricate shapes without distortion. Investing in a variety of cutters and molds relevant to the designs you want to create is a great way to expand your fondant capabilities.
Edible Markers and Paints: Adding Fine Details to Your Cakes
For adding fine details, outlines, and artistic touches, edible markers and paints are essential. Edible markers are like regular markers but filled with food-safe ink. They are perfect for drawing directly onto dry royal icing, fondant, or gumpaste surfaces to add facial features to figures, write messages, or draw patterns. They come in various colors and tip sizes.
Edible paints are made by mixing food coloring gels or dusts with a clear liquid medium like vodka, lemon extract, or a specialized edible paint solvent. These paints can be applied with fine brushes to add shading, highlights, or intricate hand-painted designs onto hardened frosting, fondant, or cookies. Using edible markers and paints allows for detailed artistry, adding a personal and unique touch to your cake decorations.
Stencils: Creating Intricate Patterns with Ease
Cake stencils are thin sheets of plastic or metal with patterns cut out, used to transfer designs onto the surface of a cake. They are a fantastic tool for adding intricate patterns like damask, lace, geometric shapes, or even words with relative ease and consistency. Stencils can be used with various mediums, including royal icing, buttercream, airbrush colors, or even powdered sugar or cocoa.
To use a stencil, you typically hold it firmly against the side or top of a chilled cake and apply the medium over the cut-out areas. For buttercream, a thin layer smoothed over the stencil works well. For airbrushing, they create sharp, defined images. Stencils allow bakers of all skill levels to achieve complex, professional-looking patterns that would be very difficult to replicate freehand, making them a valuable addition to your collection of the best cake decorating tools.
Cleaning and Maintaining Your Cake Decorating Tools for Longevity
Your collection of best cake decorating tools is an investment, and proper cleaning and maintenance will ensure they last for years and remain hygienic for baking. Neglecting tool care can lead to rust, damage, and bacteria buildup, compromising both your tools and your baking.
Proper Washing and Storage Techniques
After each use, clean your cake decorating tools promptly. Frosting and batter can harden and become difficult to remove if left sitting. Most metal tools like piping tips, spatulas, and scrapers can be washed by hand with warm, soapy water. Use a small brush, like a bottle brush or a specialized piping tip brush, to clean the inside of piping tips thoroughly. Silicone tools like spatulas and piping bags are also easy to wash by hand or in the dishwasher if they are dishwasher safe.
Dry all metal tools completely after washing to prevent rust, especially piping tips and metal spatulas. Storing tools properly also helps maintain their condition and keeps them organized. Piping tips can be stored in dedicated tip organizers or small containers. Spatulas and scrapers can be kept in drawers or crocks. Keep tools separated by type for easy access.
Preventing Rust and Damage
Preventing rust on metal tools is primarily about ensuring they are thoroughly dried after washing and stored in a dry environment. Avoid leaving metal tips or spatulas to air dry on a dish rack for extended periods, especially in humid conditions. If you notice any signs of rust, it's often best to replace the tool, as rust is not food-safe.
Protecting tools from physical damage is also important. Avoid using abrasive scrubbers that can scratch surfaces, particularly on non-stick pans or delicate molds. Store sharper tools like serrated knives and palette knives safely to protect their blades and prevent accidents. Handling tools with care during use and cleaning will extend their lifespan and keep them in optimal condition for all your future cake decorating projects.
Frequently Asked Questions
What are the best cake decorating tools for beginners?
For beginners, the essential tools include a offset spatula, piping bags, and a turntable. These tools help create beautiful designs with ease and precision.
How can I choose the right piping tips for cake decoration?
Select piping tips based on the design you want to create. For instance, a star tip is great for rosettes, while a round tip is ideal for fine lines and writing.
Are there any budget-friendly options for cake decorating tools?
Yes, many budget-friendly options are available, such as basic piping bags and spatulas. Look for starter kits that include a variety of tools without breaking the bank.
How do I properly clean and maintain my cake decorating tools?
To maintain your tools, wash them with warm, soapy water after each use, and avoid using abrasive materials. Proper care will extend the life of your decorating tools.
Where can I find step-by-step guides on using cake decorating tools?
You can find step-by-step guides on BakeWithEase.com, which offers detailed instructions and tips for using various cake decorating tools effectively.
Final Reflection: The Sweet Science of Cake Decorating
The pursuit of the perfect cake transcends mere baking; it's an art form demanding precision, creativity, and the right tools. From the humble beginner to the seasoned pastry chef, the quest for elevated cake design is a journey fueled by passion and the desire to create something truly special. This journey, as we've explored, is significantly enhanced by having the right arsenal at your disposal.
The impact of accessible, high-quality cake decorating tools cannot be overstated. It's democratized the art of cake making, allowing anyone with a passion to create stunning masterpieces. The sheer variety and innovation in tools available today is breathtaking. The only limit to our realization of tomorrow will be our doubts of today.
– Franklin D. Roosevelt. This quote resonates deeply, as the right tools empower us to overcome our self-doubt and confidently pursue our baking ambitions, transforming simple cakes into works of art.
Now, it's your turn. Consider the tools you already own and those you aspire to acquire. What new heights of cake creation can you reach? Don't be afraid to experiment, to push your boundaries, and to let your creativity flow. The world awaits your next delicious masterpiece, and with the right tools, the possibilities are truly endless. Embrace the journey, and let the sweet science of cake decorating elevate your baking to new levels of artistry and joy.
Unleash Your Inner Cake Artist!
Thanks for taking the time to explore the essential tools for baking amazing cakes! You're now equipped with the knowledge to elevate your baking game. Ready to put your new skills into action?
- Invest in your favorite tool: Take a moment to reflect on the tool discussed that most excites you, and order it today! Treat yourself – you deserve it!
- Share your baking journey: Post a picture of your next cake creation on social media using #BakeWithEase and tag us! We’d love to see your masterpieces.
- Explore more baking secrets: Dive into our other articles on BakeWithEase.com for more tips and tricks to master the art of cake baking.
What's the first cake you'll bake using your newfound knowledge and amazing new tool? Let us know in the comments!