
Quick Guide to Summer Berry Tarts

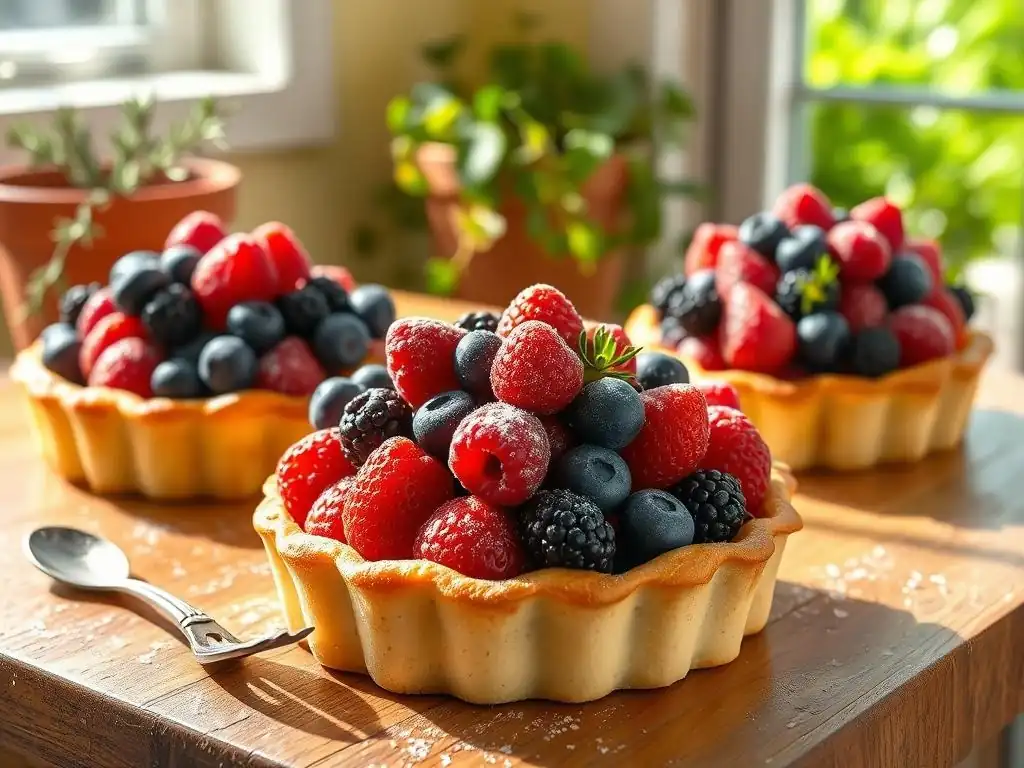
Welcome to BakeWithEase, your haven for baking brilliance! Ready to whip up something dazzlingly delicious and effortlessly impressive? Then dive into our quick guide to Easy Summer Berry Tarts. Imagine biting into a perfectly crisp crust filled with luscious, sun-ripened berries. Sounds tempting, right? Keep reading to discover our secrets for creating these delightful treats with simple steps and readily available ingredients. Let the baking begin!
- Quick Guide to Classic Lemon Tart
- Introduction to Lemon Tart Baking with BakeWithEase
- Classic Lemon Tart Recipe: A Step-by-Step Guide
- Tips for Baking the Best Lemon Tart
- Serving and Storing Your Lemon Tart
- Troubleshooting Common Lemon Tart Baking Problems
- Enjoy Your Homemade Lemon Tart!
- Frequently Asked Questions
- Final Reflection: The Sweet Simplicity of Summer
- Unleash Your Inner Pastry Chef!
Quick Guide to Classic Lemon Tart
Introduction to Lemon Tart Baking with BakeWithEase
Welcome to Citrus Baking Season!
As the warmer months arrive, our kitchens often crave bright, refreshing flavors. This is where citrus truly shines, and there's no better way to celebrate its zest than with a classic lemon tart. At BakeWithEase, we believe that beautiful, delicious desserts should be accessible to everyone, regardless of their baking experience. This guide is designed to walk you through crafting an easy lemon tart, demystifying the process from start to finish so you can enjoy this delightful treat with confidence.
Embracing citrus baking season means bringing vibrant colors and tangy notes into your repertoire. A classic lemon tart is a quintessential dessert that perfectly balances sweet and sour, offering a light yet indulgent finish to any meal. Our step-by-step approach ensures that even if this is your first time tackling a tart, you'll achieve a stunning result. Get ready to fill your home with the irresistible aroma of baking lemon and buttery crust!
Why Lemons are Perfect for Tarts
Lemons possess a unique combination of sharp acidity and fragrant zest that makes them ideal for creating a vibrant, palate-cleansing filling. Unlike other fruits that might become overly sweet or lose their distinct flavor when cooked, lemons maintain their bright, tangy character. The natural pectin in lemon juice also contributes to the filling's ability to set, creating that signature smooth, creamy texture that defines a classic lemon tart.
Furthermore, lemons are readily available year-round in most places, making this a dessert you can enjoy anytime you crave a burst of sunshine. Their versatility allows them to pair beautifully with a simple buttery crust, a fluffy meringue topping, or even a hint of other flavors like lime or orange. Mastering the art of baking a classic lemon tart opens up a world of delicious possibilities in your kitchen, starting with this easy lemon tart recipe.
Classic Lemon Tart Recipe: A Step-by-Step Guide
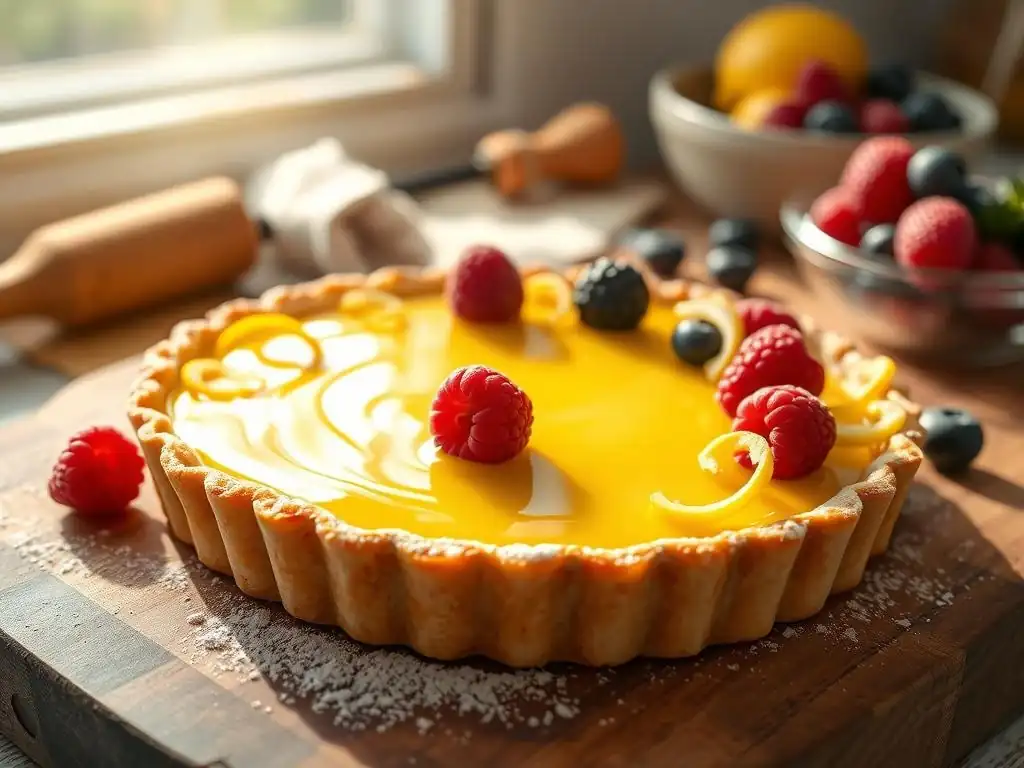
Ingredients for Your Delicious Lemon Tart
Gathering all your ingredients before you begin is crucial for a smooth baking process. This classic lemon tart recipe calls for simple, standard pantry staples, ensuring you can likely find everything you need without a special trip. Precision in measuring, especially for the filling, is key to achieving the perfect texture and flavor profile for your homemade lemon tart.
Using fresh, high-quality ingredients will make a noticeable difference in the final taste of your easy lemon tart. Opt for fresh lemons for the best zest and juice, and use good quality butter for the crust. Room temperature ingredients, particularly for the filling, can also help ensure everything combines smoothly and cooks evenly.
Tart Crust Ingredients
- 225g (1 and 3/4 cups) all-purpose flour
- 115g (1/2 cup) cold unsalted butter, cut into cubes
- 30g (2 tablespoons) granulated sugar
- 1/4 teaspoon salt
- 1 large egg yolk
- 2-4 tablespoons ice water
Lemon Filling Ingredients
- 4 large eggs
- 2 large egg yolks
- 200g (1 cup) granulated sugar
- 120ml (1/2 cup) fresh lemon juice (from about 3-4 lemons)
- Zest of 2-3 lemons
- 120g (1/2 cup) unsalted butter, cut into cubes
Equipment You'll Need
Having the right tools on hand makes baking much easier and helps ensure success. For this classic lemon tart, you'll need a few basic pieces of equipment commonly found in most kitchens. A tart pan, preferably one with a removable bottom, is essential for easy serving and achieving that beautiful fluted edge.
Here is a quick checklist of the equipment you'll need:
- [ ] 9-inch (23cm) tart pan with a removable bottom
- [ ] Food processor or large mixing bowl and pastry blender/fingers
- [ ] Rolling pin
- [ ] Parchment paper or aluminum foil
- [ ] Pie weights or dried beans/rice
- [ ] Medium saucepan
- [ ] Whisk
- [ ] Fine-mesh sieve (optional, for smoother filling)
- [ ] Zester or fine grater
- [ ] Juicer
- [ ] Measuring cups and spoons
- [ ] Cooling rack
Making the Tart Crust: A Simple Method
A flaky, buttery tart crust is the foundation of a great classic lemon tart. This method uses a food processor for speed and ease, but you can also achieve excellent results by hand. The key is to keep the ingredients cold and avoid overworking the dough, which can result in a tough crust.
The goal is to create a dough that is just combined, with visible flecks of butter remaining. These butter pieces will melt during baking, creating steam that pushes apart the layers of dough, resulting in that desirable flaky texture. Don't rush this step; a little patience here pays off in the final delicious lemon tart.
Preparing the Dough
Combine the flour, sugar, and salt in the bowl of a food processor. Pulse a few times to mix. Add the cold, cubed butter and pulse until the mixture resembles coarse crumbs with some pea-sized pieces of butter still visible. In a small bowl, whisk together the egg yolk and 2 tablespoons of ice water.
With the food processor running, slowly add the liquid through the feed tube just until the dough comes together in clumps. Avoid adding too much water; you might not need all of it. If mixing by hand, cut the cold butter into the dry ingredients using a pastry blender or your fingertips until coarse crumbs form, then stir in the egg yolk and ice water with a fork until the dough just comes together.
Turn the dough out onto a lightly floured surface, gather it into a ball, flatten it into a disc, wrap tightly in plastic wrap, and refrigerate for at least 30 minutes (or up to 2 days). Chilling the dough is essential as it allows the gluten to relax and the fat to firm up, making it easier to roll and preventing shrinkage during baking. This rest period contributes significantly to achieving a perfect tart crust for your easy lemon tart.
Rolling Out the Dough
Remove the chilled dough from the refrigerator and let it sit at room temperature for about 5-10 minutes to soften slightly, making it easier to roll. Lightly flour your work surface and rolling pin. Roll the dough out into a circle approximately 12 inches (30 cm) in diameter and about 1/8 inch (3 mm) thick. Work quickly to prevent the dough from becoming too warm.
Carefully transfer the rolled dough to your 9-inch tart pan. The easiest way is to gently roll the dough around your rolling pin and then unroll it over the pan. Press the dough gently into the bottom and up the sides of the pan, ensuring it fits snugly into the flutes.
Trim any excess dough from the edges using a sharp knife or by rolling the rolling pin over the top of the pan. Patch any cracks or thin spots with dough scraps. Prick the bottom of the tart shell all over with a fork.
This prevents the crust from puffing up during blind baking. Refrigerate the lined tart shell for at least another 30 minutes (or freeze for 15 minutes). This second chilling step is crucial for preventing the crust from shrinking down the sides of the pan during baking, helping you achieve a beautiful, intact shell for your classic lemon tart.
Blind Baking the Tart Crust
Blind baking is necessary for tarts with wet fillings like lemon curd to ensure the crust is fully cooked and crisp before the filling is added. Preheat your oven to 375°F (190°C). Remove the chilled tart shell from the refrigerator. Line the inside of the tart shell with parchment paper or aluminum foil, pressing it gently against the sides and bottom. Fill the liner with pie weights, dried beans, or rice, distributing them evenly to cover the bottom and extend up the sides slightly. This weight prevents the dough from puffing up or collapsing.
Bake for 15-20 minutes, or until the edges of the crust are lightly golden. Carefully remove the weights and the parchment/foil liner. Return the tart shell to the oven and bake for an additional 10-15 minutes, or until the bottom is golden brown and appears dry. This ensures the base is fully cooked and creates a barrier against a soggy bottom once the filling is added. Let the blind-baked crust cool completely on a wire rack before adding the filling. This step is vital for a successful homemade lemon tart, providing a sturdy base for the rich, tangy filling.
Preparing the Lemon Filling
The heart of the classic lemon tart is its smooth, tangy, and rich lemon curd filling. Making the curd involves gently cooking a mixture of eggs, sugar, lemon juice, zest, and butter until it thickens to a custard-like consistency. Precision and patience are key here to avoid scrambling the eggs or scorching the mixture.
Using fresh lemon zest and juice provides the most intense and authentic lemon flavor. The zest contains essential oils that contribute significantly to the aroma and brightness of the filling. Ensure you only grate the yellow part of the peel, as the white pith underneath can be bitter.
Zesting and Juicing Lemons
Begin by zesting the lemons. Use a fine grater or a microplane to remove only the bright yellow outer layer of the peel. Be careful not to include any of the bitter white pith underneath. Aim for about 2-3 tablespoons of finely grated zest from 2-3 medium lemons. The zest adds a wonderful aromatic depth to the filling, enhancing the overall lemon experience in your easy lemon tart.
After zesting, juice the lemons. You'll need about 120ml (1/2 cup) of fresh lemon juice. Strain the juice through a fine-mesh sieve to remove any seeds or pulp. Combine the fresh lemon juice and zest in a medium saucepan. This dual approach of using both zest and juice provides a layered lemon flavor that is both bright and fragrant, making the filling truly stand out in your classic lemon tart.
Creating the Lemon Curd
In a medium saucepan, whisk together the eggs, egg yolks, sugar, lemon juice, and lemon zest. Place the saucepan over medium-low heat. Cook the mixture, whisking constantly, scraping the bottom and sides of the pan to prevent scorching. The mixture will gradually thicken. Continue cooking until it is thick enough to coat the back of a spoon or reaches a temperature of about 170°F (77°C). This typically takes 8-12 minutes. Do not allow the mixture to boil, as this can cause the eggs to curdle.
Once thickened, remove the saucepan from the heat. Add the cold, cubed butter, one cube at a time, whisking constantly until each piece is fully melted and incorporated before adding the next. Continue whisking until the filling is smooth and glossy. For an extra-smooth texture, you can strain the lemon curd through a fine-mesh sieve into a clean bowl, pressing it with a spatula to push it through.
This removes any potential bits of cooked egg or zest. Cover the surface of the curd directly with plastic wrap to prevent a skin from forming as it cools. Let it cool slightly before pouring it into the tart shell. This careful cooking and finishing process ensures a silky, flavorful filling for your homemade lemon tart.
Assembling Your Classic Lemon Tart
Assembling the tart is the final step before baking the filling. It's a straightforward process: simply pour the prepared lemon curd into the cooled, blind-baked tart shell. Ensure the crust is completely cool; pouring a hot filling into a warm crust can lead to a soggy bottom.
Work carefully when pouring the filling to avoid splashing the edges of the crust. A steady hand or a spouted measuring cup can be helpful here. The goal is to fill the tart shell evenly right up to the top edge of the crust.
Filling the Baked Tart Crust
Once your blind-baked tart crust has cooled completely on a wire rack, remove the plastic wrap from the slightly cooled lemon curd. Give the curd a gentle whisk to ensure it's smooth, especially if you strained it. Carefully pour the lemon filling into the cooled tart shell. Use a spatula or the back of a spoon to gently spread the filling evenly to the edges, ensuring the surface is smooth. The filling should come up to the rim of the crust.
Ensure there are no air bubbles trapped in the filling; gently tap the tart pan on the counter a couple of times if needed to release any bubbles. The tart is now ready for its final bake, which will set the filling completely. This simple assembly step brings together the two main components, preparing your delicious lemon tart for its transformation in the oven.
Baking the Lemon Tart
Baking the assembled lemon tart is crucial for setting the filling. The goal is to bake it just until the filling is set around the edges but still slightly wobbly in the center. The residual heat will finish cooking and setting the middle as it cools. Overbaking can result in a dry or rubbery filling.
Preheat your oven to 325°F (160°C). A slightly lower temperature than the blind bake helps to set the delicate filling gently. Place the assembled tart on a baking sheet for easier handling and to catch any potential drips.
Bake the tart for 20-30 minutes. You'll know it's done when the edges of the filling appear set and slightly opaque, while the very center (about a 2-inch diameter) still looks slightly soft or jiggles gently when the pan is lightly shaken. The filling should not be liquid. If the crust edges start to brown too much, you can loosely cover them with strips of aluminum foil. This gentle baking method ensures your classic lemon tart filling achieves that perfect, creamy consistency.
Cooling and Setting the Tart
Allowing the lemon tart to cool and set properly is just as important as the baking itself. The filling needs time to firm up completely, which happens as it cools. Patience is key here; cutting into a warm tart will result in a runny mess.
Once the tart is out of the oven, place it on a wire rack to cool completely to room temperature. This can take 2-3 hours. As it cools, the center of the filling will finish setting. After it has cooled to room temperature, refrigerate the tart for at least 2-4 hours, or preferably longer, until the filling is fully chilled and firm. This chilling period is essential for the classic lemon tart texture and makes slicing clean pieces possible.
Tips for Baking the Best Lemon Tart
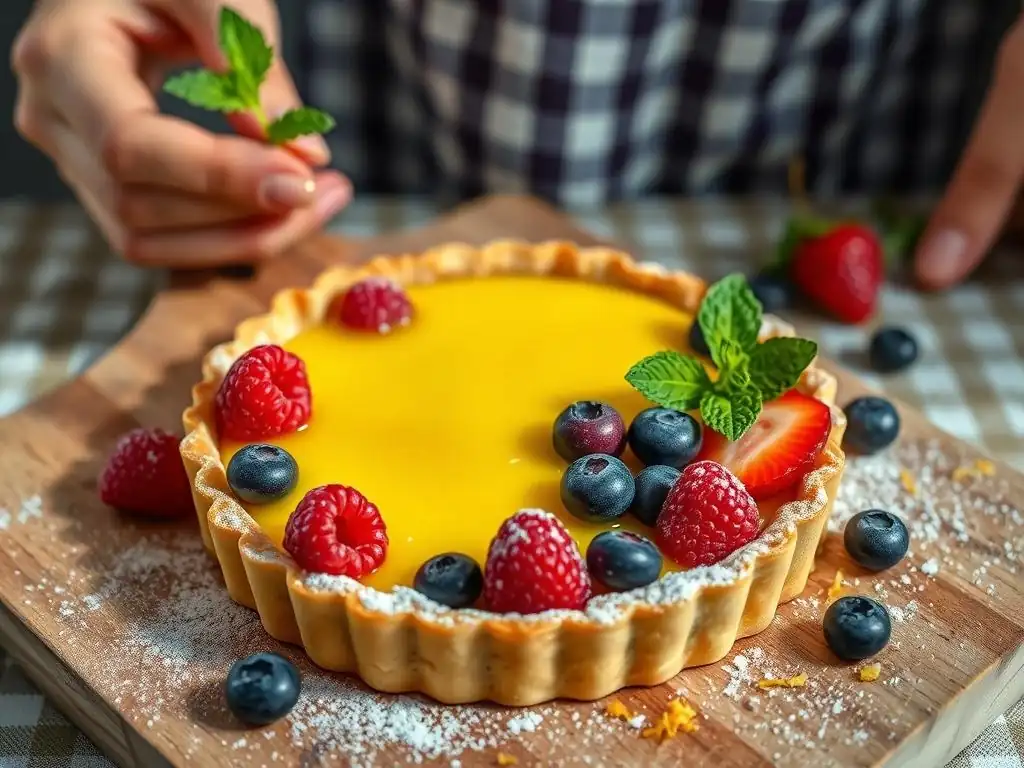
Achieving a perfect classic lemon tart involves mastering a few key techniques. From the crust to the filling, small details can make a big difference in the final outcome. These tips, gathered from years of baking experience at BakeWithEase, will help you elevate your homemade lemon tart from good to truly outstanding.
Paying attention to temperature, timing, and ingredient quality are fundamental. Don't be afraid to troubleshoot common issues; baking is often a process of learning and refinement. With these pointers, you'll be well on your way to baking the best easy lemon tart.
Achieving a Perfectly Crisp Tart Crust
A crisp crust is the ideal contrast to the smooth lemon filling. The key to achieving this lies in proper blind baking. First, ensure your dough is well-chilled before rolling and again before blind baking. This helps the fat stay solid, creating steam pockets during baking for flakiness.
Secondly, make sure you bake the crust without the weights for the final 10-15 minutes until the bottom is golden brown and dry. This second bake ensures the base is fully cooked and creates a barrier against moisture from the filling. Using a tart pan with a removable bottom also helps air circulate around the crust, promoting crispness. Following these steps diligently will help prevent a soggy bottom and yield a beautifully crisp base for your classic lemon tart.
Preventing a Soggy Bottom
The dreaded soggy bottom is a common challenge when baking tarts with wet fillings. The primary defense against it is thorough blind baking, as detailed above. Ensure the bottom of the crust is fully baked and golden brown before adding the filling.
Another crucial step is cooling the blind-baked crust completely before pouring in the lemon filling. Pouring a warm filling into a warm crust creates steam that can make the bottom layer of the crust soft. Additionally, chilling the assembled tart for several hours after baking allows the filling to set firmly, further preventing moisture from seeping into the crust. Some bakers also brush the blind-baked crust with a thin layer of egg white and bake for a minute or two until set before adding the filling; this creates a waterproof barrier.
Balancing Sweetness and Tartness
The perfect lemon tart strikes a delicate balance between the bright acidity of the lemon and the sweetness of the sugar. The amount of sugar in the filling is carefully calibrated in most recipes to achieve this balance. Using fresh lemon juice is essential, as bottled juice often lacks the same vibrant flavor and acidity.
The ripeness of your lemons can also affect the tartness. Taste your lemon juice if you're unsure. If your lemons seem particularly tart, you might add a tiny bit more sugar to the filling mixture (start with a tablespoon and taste before cooking). Conversely, if they seem mild, you might stick to the recipe quantity or even reduce the sugar slightly if you prefer a very tart filling. Remember, the sweetness of the crust also contributes to the overall balance of the classic lemon tart.
Variations and Add-ins for Your Lemon Tart
While the classic lemon tart is wonderful on its own, it also serves as a fantastic base for creative variations. Once you've mastered the basic recipe for an easy lemon tart, feel free to experiment with different toppings or flavor combinations to suit your taste or the season.
These variations can add new textures, colors, and layers of flavor, transforming the simple classic into something new and exciting. From airy meringues to complementary citrus notes, the possibilities for enhancing your homemade lemon tart are vast and delicious.
Meringue Topping Ideas
A popular and visually stunning variation is to top the lemon tart with a meringue. There are two main types: French meringue (simple whisked egg whites and sugar) or Italian meringue (made with a hot sugar syrup poured into whipped egg whites). Italian meringue is more stable and safer as the hot syrup cooks the egg whites.
To add a meringue topping, ensure the lemon tart is completely chilled. Prepare your chosen meringue recipe and pipe or spread it over the top of the tart, covering the filling completely to seal it. You can create beautiful swirls and peaks with a piping bag or spatula. Gently brown the meringue with a kitchen torch or by placing the tart under a hot broiler for just a minute or two, watching it carefully to prevent burning. The toasted marshmallow-like flavor and airy texture of the meringue provide a delightful contrast to the smooth, tangy classic lemon tart filling.
Adding Other Citrus Flavors
While a pure lemon tart is divine, incorporating other citrus flavors can add complexity and nuance. You can substitute a portion of the lemon juice and zest with lime, orange, or grapefruit. For example, a lemon-lime tart offers a slightly different zing, while a lemon-orange tart is a bit sweeter and more floral.
A popular combination is lemon and Meyer lemon. Meyer lemons are sweeter and less acidic than standard lemons, with a subtle floral note. Using a mix of regular lemons and Meyer lemons in your classic lemon tart filling can result in a wonderfully balanced and aromatic dessert. Experiment with proportions to find your favorite blend, perhaps using half regular lemon and half Meyer lemon juice and zest to start.
Serving and Storing Your Lemon Tart
Once your classic lemon tart is perfectly baked and chilled, it's ready to be enjoyed! Proper slicing and presentation can enhance the experience, and knowing how to store leftovers ensures you can savor this delicious treat for a few days.
Serving the tart cold directly from the refrigerator yields the cleanest slices and the best texture for the filling. A sharp knife dipped in hot water and wiped dry between cuts can help achieve clean, smooth slices.
Serving Suggestions
A classic lemon tart is often served simply, allowing its vibrant flavor to take center stage. A dusting of powdered sugar over the top before serving adds a touch of elegance. You can use a small sieve to create an even layer or a more decorative pattern.
For a little extra indulgence, serve slices of the homemade lemon tart with a dollop of freshly whipped cream or a scoop of vanilla ice cream. Fresh berries, such as raspberries or blueberries, make a beautiful and complementary garnish, adding a pop of color and a different texture. A sprig of mint can also add a fresh aroma and visual appeal. Serve chilled for the best taste and texture.
Storage Instructions
To store your classic lemon tart, cover it loosely with plastic wrap or aluminum foil. If your tart pan has a removable bottom, you can place the tart on a plate before covering. Store the tart in the refrigerator.
A properly stored lemon tart will keep well in the refrigerator for 3-4 days. The crust may soften slightly over time, but the filling should remain delicious. Lemon tarts do not freeze well, as the filling's texture can become grainy upon thawing. For the best quality, enjoy your easy lemon tart within a few days of baking.
Troubleshooting Common Lemon Tart Baking Problems
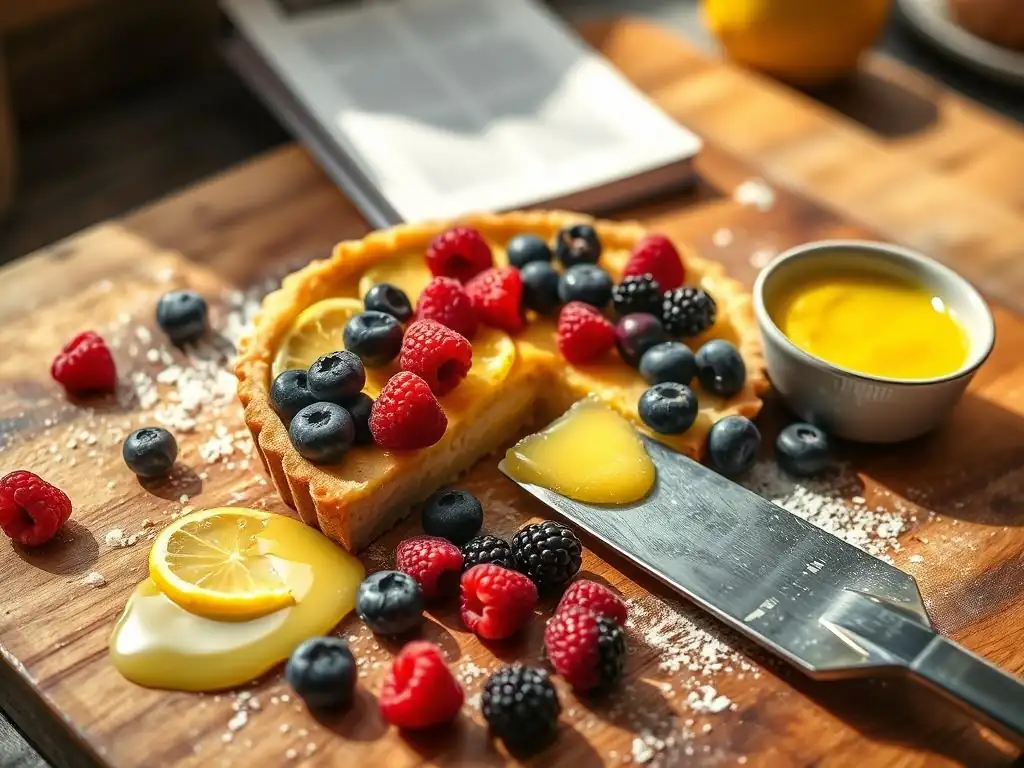
Even experienced bakers encounter issues sometimes. Knowing how to identify and potentially fix common problems can save your classic lemon tart and help you learn for next time. Don't get discouraged if your first attempt isn't perfect; baking is a skill that improves with practice.
Here are a few common problems you might face when baking a homemade lemon tart and some tips on how to address them. Understanding the causes helps you prevent them in the future.
Tart Crust Shrinking
If your tart crust shrinks down the sides of the pan during blind baking, it's usually because the dough wasn't sufficiently chilled or was overworked. Gluten develops when dough is mixed and handled; if the dough is warm or overworked, the gluten can become elastic and contract in the heat of the oven.
To prevent shrinkage, ensure your dough is made with cold butter and ice water, and avoid overmixing – mix just until the dough comes together. Crucially, chill the dough disc for at least 30 minutes before rolling, and then chill the lined tart shell for another 30 minutes (or freeze for 15) before blind baking. Pricking the bottom of the crust with a fork also helps relieve steam pressure, further reducing the chance of shrinkage.
Lemon Filling Too Runny
A runny lemon filling is typically a sign that the curd wasn't cooked long enough or at a low enough temperature to allow the eggs and starch (if used, though not in this recipe) to thicken properly. The filling needs to reach a temperature where the proteins in the eggs coagulate, which is around 170°F (77°C).
Ensure you are cooking the filling over medium-low heat and whisking constantly. Watch for the consistency change – it should thicken enough to coat the back of a spoon thickly. If you remove it too soon, it won't set properly when chilled. If your filling is still too runny after baking and chilling, unfortunately, it's difficult to fix the texture of the baked tart. However, for future attempts, cook the filling a little longer, ensuring it reaches the correct temperature and thickness before pouring it into the crust.
Burnt Tart Crust
A burnt tart crust, especially the edges, can happen if the oven temperature is too high or the tart bakes for too long during the blind bake or the final bake. Delicate pastry edges can brown quickly.
During blind baking, check the crust periodically. If the edges are browning too fast while the center isn't ready, you can loosely cover the edges with strips of aluminum foil. For the final bake of the assembled classic lemon tart, keep an eye on the edges again. If they look like they're darkening too much before the filling is set, use those foil strips. Ensure your oven temperature is accurate; an oven thermometer can be helpful. Baking at the specified temperatures and keeping a close watch on the tart's appearance are the best ways to prevent a burnt crust.
Enjoy Your Homemade Lemon Tart!
You've successfully baked a beautiful and delicious classic lemon tart! Take a moment to appreciate your accomplishment. The aroma filling your kitchen is just a preview of the delightful tangy flavor awaiting you. This easy lemon tart recipe is a fantastic addition to your baking skills, proving that impressive results are achievable with clear steps and a little care.
Whether you're sharing it with loved ones or savoring a slice all to yourself, this homemade lemon tart is sure to bring a burst of sunshine to any occasion. Its bright flavor and smooth texture make it a timeless dessert that appeals to almost everyone.
Celebrate Citrus Flavors with BakeWithEase
Mastering the classic lemon tart is just the beginning of exploring the wonderful world of citrus baking. At BakeWithEase, we encourage you to continue experimenting with different citrus fruits and recipes. From lemon bars to orange cakes and lime pies, the possibilities are endless.
Our goal is to empower you with the knowledge and confidence to bake anything you desire. Keep this easy lemon tart recipe in your repertoire, and look for more simple yet rewarding baking guides on BakeWithEase. Happy Baking!
Frequently Asked Questions
What makes these berry tarts "easy" to make?
These tarts are considered easy because they use a pre-made crust and a simple no-bake filling. This greatly reduces the time and complexity usually associated with making tarts from scratch.
What kinds of berries are best to use in summer berry tarts?
A mix of fresh, seasonal berries is ideal! Think strawberries, blueberries, raspberries, and blackberries. Using a variety will provide diverse flavors and visual appeal.
Can I make these tarts ahead of time?
Yes, you can! It's actually recommended to chill them for at least an hour to allow the filling to set properly. Just add the berries right before serving to prevent them from becoming soggy.
What if I don't have pre-made tart shells?
While the recipe prioritizes ease, you can certainly make your own! However, that adds significantly to the prep time. Consider using store-bought pie crust as an alternative that you can form into individual tarts.
How should I store leftover summer berry tarts?
Leftover tarts should be stored in the refrigerator in an airtight container. They are best enjoyed within 1-2 days to maintain the freshness of the berries and the crispness of the crust.
Final Reflection: The Sweet Simplicity of Summer
The vibrant burst of flavor in a perfectly crafted summer berry tart transcends mere dessert; it's a celebration of the season's bounty and a testament to the joy of simple pleasures. This guide aimed to demystify the process, proving that creating these delightful treats is achievable for everyone, regardless of baking experience. The ease of the recipes presented, combined with the stunning visual appeal of the final product, makes this a perfect activity for both seasoned bakers and enthusiastic beginners.
The enduring appeal of homemade treats lies not just in their taste, but in the connection they foster. The act of baking, especially something as visually appealing as a summer berry tart, becomes a mindful process, a moment of calm amidst the busyness of life. It's a tradition passed down through generations, a way to share joy and create lasting memories. The best things in life are the simple things.
This sentiment perfectly encapsulates the essence of these tarts – a beautiful and delicious reminder to savor the small moments.
Now, I invite you to roll up your sleeves, gather your favorite berries, and embark on your own summer berry tart adventure. Don't be intimidated by the seemingly complex visuals; the recipes provided are designed to guide you every step of the way. Let the process be as enjoyable as the result, and share the sweet fruits of your labor with loved ones. Remember, the most important ingredient is the love and care you put into your creation. Enjoy the sweet taste of summer!
Unleash Your Inner Pastry Chef!
Thanks for joining us on this berry-licious journey! We hope you've gained the confidence to create stunning summer tarts. Ready to take your baking to the next level?
- Bake your own masterpiece: Grab those berries and give our Summer Berry Tart recipe a try! We bet you'll surprise yourself.
- Share your creation: Post a picture of your finished tart on social media using #BakeWithEaseSummerTarts and inspire others!
- Explore more recipes: Dive into our collection of seasonal recipes on bakewithease.com for even more baking inspiration.
What unique twist will you add to your own Summer Berry Tart? Let's hear your ideas in the comments below!