
Decoding Dough Temperature: Why It's Crucial for Advanced Sourdough

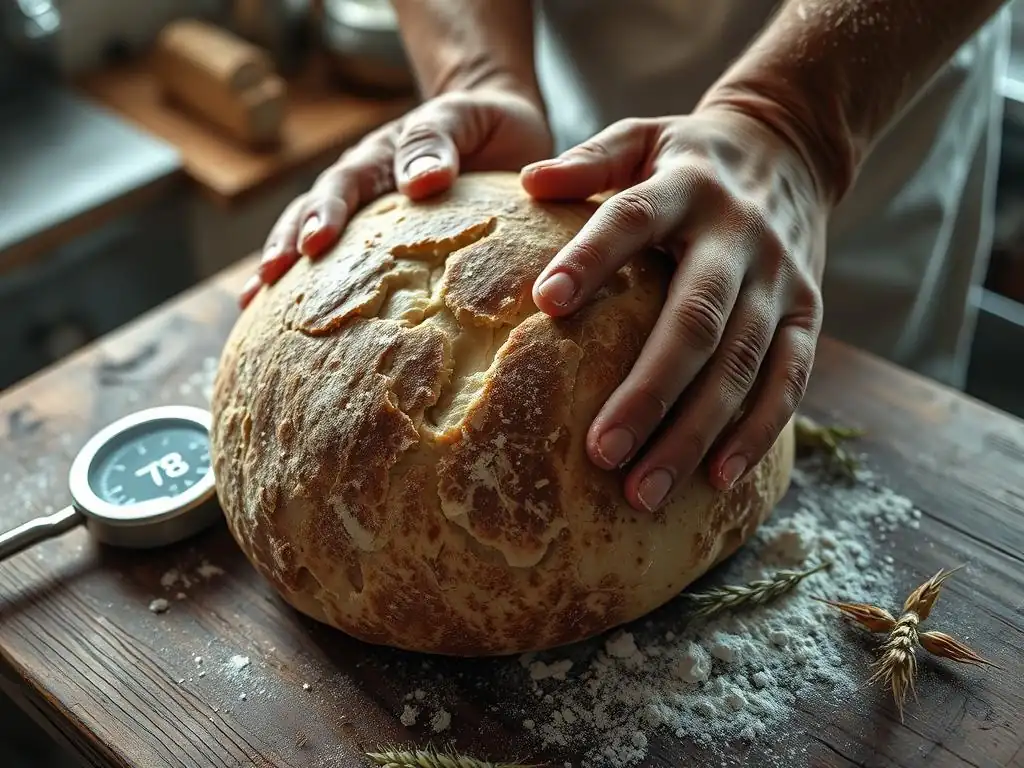
Welcome to BakeWithEase, your guide to baking bliss! Ever wondered why your sourdough loaves aren't reaching their full potential? Join us as we delve into the science behind sourdough dough temperature control and unlock the secrets to achieving perfectly proofed, irresistibly tangy bread. Ready to elevate your sourdough game? Let's get baking!
- Introduction: Mastering Sourdough Dough Temperature Control for Exceptional Baking
- Why Dough Temperature Matters in Sourdough Baking
- Understanding Desired Dough Temperature (DDT) in Sourdough
- Tools for Accurate Sourdough Dough Temperature Measurement
- Controlling Sourdough Dough Temperature: Practical Techniques
- Troubleshooting Dough Temperature Issues in Sourdough
- Advanced Techniques: Incorporating Temperature into Your Sourdough Process
- Case Study: Comparing Different Dough Temperatures and Their Results
- Conclusion: Achieving Sourdough Success Through Precise Temperature Control
-
Frequently Asked Questions
- What is the ideal dough temperature for sourdough, and why is it important?
- How does dough temperature affect sourdough fermentation?
- What factors influence the final dough temperature?
- How can I accurately measure the dough temperature?
- What steps can I take to control and adjust my dough temperature?
- Final Reflection: The Transformative Power of Temperature in Sourdough Baking
- Unlock Your Sourdough's Potential: Master the Dough Temperature!
Introduction: Mastering Sourdough Dough Temperature Control for Exceptional Baking
Welcome back to BakeWithEase! If you've ventured into the world of sourdough, you know it's a delightful journey filled with science and artistry. While many focus on starter health and hydration, there's one often-overlooked factor that can dramatically elevate your loaves: dough temperature. Precise sourdough dough temperature control isn't just for professional bakers; it's a fundamental technique that unlocks consistent results, optimal fermentation, and incredible flavor development in your homemade sourdough.
Understanding and controlling the temperature of your dough throughout the entire baking process – from mixing to proofing – is paramount for achieving that perfect open crumb, tangy flavor, and beautiful crust. This guide will walk you through why dough temperature matters, how to measure and control it, and how mastering this aspect of sourdough baking can transform your results. Get ready to deepen your understanding and take your sourdough skills to the next level!
Why Dough Temperature Matters in Sourdough Baking
The Impact of Temperature on Sourdough Fermentation
Temperature is arguably the most critical environmental factor influencing the activity of the wild yeasts and bacteria in your sourdough starter. These microorganisms thrive within specific temperature ranges, and deviations can significantly alter the rate and characteristics of fermentation. Warmer temperatures (e.g., 75-80°F or 24-27°C) generally accelerate microbial activity, leading to faster fermentation, while cooler temperatures (e.g., 65-70°F or 18-21°C) slow it down.
Consider the difference in bulk fermentation time: a dough fermenting at 78°F might be ready in 4-5 hours, showing signs of significant volume increase and bubble formation. The exact same dough fermenting at 68°F could take 8-12 hours or even longer. This difference isn't just about time; the rate of fermentation impacts the balance between yeast activity (producing carbon dioxide for rise) and bacterial activity (producing organic acids for flavor). Controlling your sourdough dough temperature is essential for hitting your desired fermentation timeline and achieving the right balance of rise and tang.
How Dough Temperature Affects Gluten Development in Sourdough
Temperature also plays a role in how gluten develops in your sourdough dough. Gluten, the protein network formed when water interacts with flour, provides the structure that traps the gases produced during fermentation, allowing the loaf to rise. While mixing and kneading are the primary drivers of gluten development, temperature influences the dough's extensibility and elasticity.
A warmer dough tends to be more relaxed and extensible, making it easier to stretch and fold during bulk fermentation. Conversely, a colder dough can feel tighter and less pliable. While extreme temperatures can hinder gluten development (too hot can degrade proteins, too cold slows down hydration), maintaining an optimal sourdough dough temperature helps ensure the gluten network develops properly, resulting in a strong yet flexible dough capable of holding its shape and achieving a desirable open crumb structure.
The Role of Temperature in Sourdough Flavor Development
Beyond just rise, temperature is a key player in developing the complex flavors that sourdough is famous for. The lactic acid bacteria (LAB) in your starter produce various organic acids, primarily lactic acid and acetic acid, which contribute to the characteristic sourdough tang. The ratio of these acids is heavily influenced by temperature.
Lactic acid bacteria generally produce more lactic acid (a milder, yogurt-like tang) at warmer temperatures (above ~75°F or 24°C) and more acetic acid (a sharper, vinegar-like tang) at cooler temperatures (below ~70°F or 21°C), especially during longer fermentation periods like cold proofing. By controlling your sourdough dough temperature, you can subtly steer the flavor profile of your loaf. A baker aiming for a milder tang might favor slightly warmer bulk fermentation, while someone desiring a more pronounced sourness might opt for a longer, colder proof.
Understanding Desired Dough Temperature (DDT) in Sourdough
What is DDT and Why is it Important?
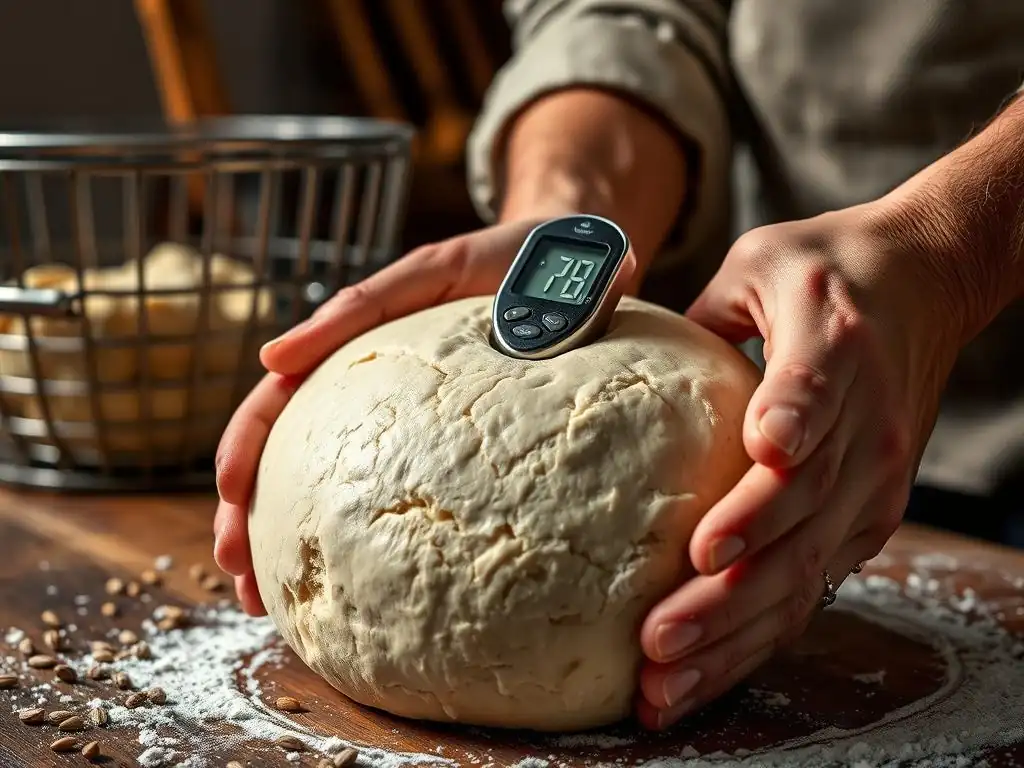
Desired Dough Temperature (DDT) is the target temperature you want your dough to reach immediately after mixing all ingredients. It's a crucial concept in sourdough dough temperature control because it sets the stage for the entire bulk fermentation process. Starting at the correct temperature ensures that your dough ferments at the intended rate, hitting key milestones like the end of bulk fermentation and proofing on schedule and with the desired characteristics.
Why is hitting the DDT so important? Because dough temperature is much easier to control at the beginning than it is to adjust significantly once fermentation is underway. If your dough starts too cold, fermentation will be sluggish, potentially leading to an underdeveloped flavor or structure. If it starts too warm, fermentation can proceed too quickly, resulting in a dense crumb or over-proofing. By calculating and achieving the DDT, you gain predictability and consistency in your sourdough baking, which is the hallmark of advanced technique.
Factors Affecting Desired Dough Temperature
Several factors contribute to the final temperature of your sourdough dough after mixing. Understanding these allows you to manipulate them to hit your target DDT. The primary variables include:
- Flour Temperature: Flour stored in a cool pantry will be colder than flour stored in a warm kitchen.
- Water Temperature: This is the most easily adjustable variable and your primary tool for controlling DDT.
- Starter Temperature: Your active starter's temperature directly impacts the final dough temperature.
- Room Temperature: The ambient temperature of your kitchen influences the temperature of your ingredients before mixing and the dough's temperature during mixing.
- Friction Factor: The mechanical action of mixing (especially in a stand mixer) generates heat, adding a few degrees to the dough temperature. This "friction factor" varies depending on the mixer and mixing time, typically ranging from 0°F to 25°F (0°C to 14°C).
By accounting for these variables, you can use a simple formula to determine the necessary water temperature to achieve your target sourdough dough temperature.
Calculating the Ideal Sourdough Dough Temperature: The DDT Formula
The Desired Dough Temperature formula, sometimes called the "Baker's Formula for Water Temperature," helps you calculate the water temperature needed to achieve your target DDT. The basic idea is to sum the temperatures of your ingredients and account for friction, then use that sum to figure out the required water temperature. A common version of the formula is:
Target DDT = (Flour Temp + Water Temp + Starter Temp + Room Temp + Friction Factor) / Number of Factors
However, a more practical version focuses on calculating the required water temperature:
Required Water Temp = (Target DDT * Number of Factors) - (Flour Temp + Starter Temp + Room Temp + Friction Factor)
Let's use a common scenario with 4 factors (Flour, Water, Starter, Room, Friction combined into one "Other" factor or considered individually). A simplified version often used is:
Required Water Temp = (Target DDT x 4) - (Flour Temp + Starter Temp + Room Temp + Friction Factor)
For example, if your Target DDT is 75°F (24°C), your flour is 70°F (21°C), your starter is 72°F (22°C), your room is 74°F (23°C), and you estimate a friction factor of 10°F (5.5°C) for your mixer:
Required Water Temp = (75°F x 4) - (70°F + 72°F + 74°F + 10°F)
Required Water Temp = 300°F - 226°F
Required Water Temp = 74°F
So, you would aim for water around 74°F (23°C). If your room temperature is very different from your ingredients, you might use a formula with 5 factors. The key is to measure your ingredient temperatures accurately just before mixing and have a reasonable estimate for your friction factor (experimenting with your mixer is the best way to find this). Mastering this calculation is key to consistent sourdough dough temperature control.
Tools for Accurate Sourdough Dough Temperature Measurement
The Importance of a Reliable Thermometer
You can't control what you don't measure! To effectively manage your sourdough dough temperature, a reliable thermometer is absolutely essential. Guessing the temperature of your water, flour, or dough is a recipe for inconsistency. Even a few degrees off can significantly impact fermentation speed and flavor development.
A good thermometer allows you to:
- Accurately measure the temperature of your water before mixing.
- Check the temperature of your flour and starter.
- Monitor the dough temperature throughout bulk fermentation and proofing.
- Calculate your friction factor by measuring the dough temperature before and after mixing.
Investing in a quality thermometer specifically designed for food is a small step that yields huge returns in achieving consistent sourdough dough temperature.
Recommended Thermometers for Sourdough Baking
Several types of thermometers work well for sourdough baking:
- Digital Instant-Read Thermometers: These are perhaps the most versatile and popular choice. They provide quick, accurate readings (often within 1-3 seconds) and are great for checking water, dough, and even the internal temperature of your baked loaf. Look for one with a thin probe that minimizes disturbance to the dough. Brands like Thermapen or ThermoPop are highly regarded, though many affordable options are also available.
- Infrared Thermometers (Surface Thermometers): These non-contact thermometers measure surface temperature. While useful for quickly checking the temperature of your work surface, proofing environment, or even the exterior of your dough, they are not suitable for measuring the internal temperature of the dough itself, which is what you primarily need for sourdough dough temperature control. Use these as a supplementary tool, not your primary dough thermometer.
- Dial or Probe Thermometers: Older style dial thermometers or simpler digital probe thermometers work, but often take longer to register a stable temperature compared to instant-read digital versions. Ensure the probe is long enough to reach the center of your dough mass.
For most home bakers focused on sourdough dough temperature control, a good digital instant-read probe thermometer is the best all-around tool.
Tips for Accurate Temperature Readings
Getting accurate temperature readings is crucial for effective sourdough dough temperature control. Here are a few tips:
- Water: Stir the water just before inserting the thermometer probe to ensure an even temperature throughout.
- Flour/Starter: For flour, stick the probe deep into the bag or container. For starter, stir it gently and insert the probe into the center.
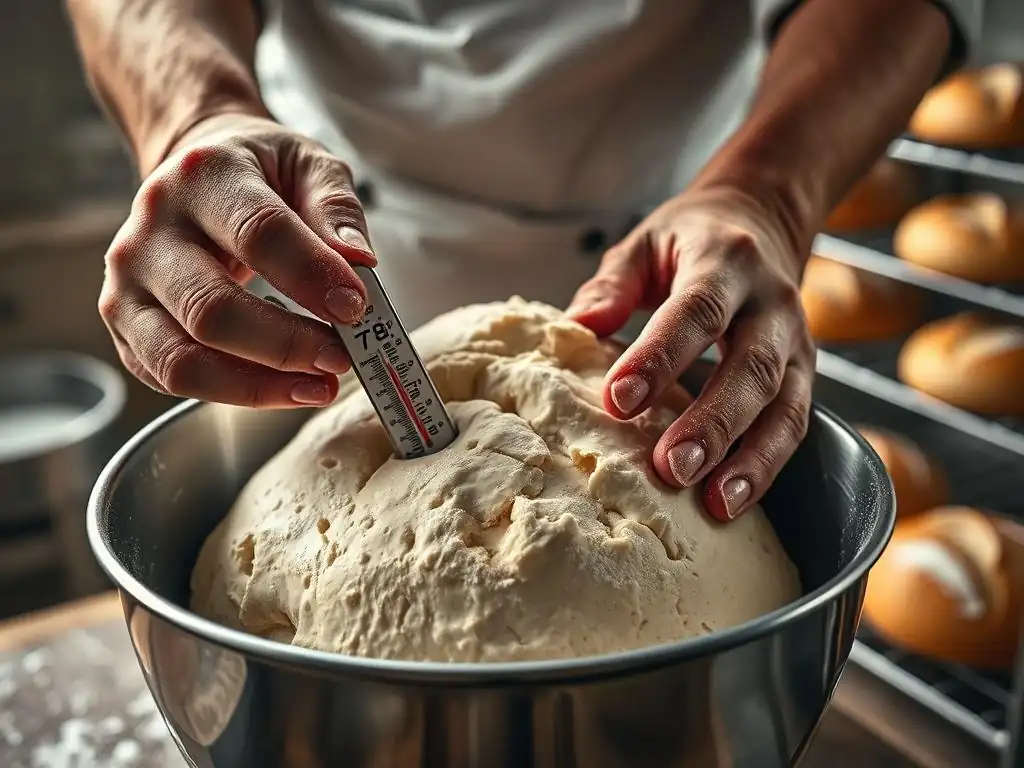
- Dough: When measuring dough temperature, insert the probe into the center of the dough mass. Avoid letting the probe touch the bottom or side of the bowl, as this can give an inaccurate reading of the ambient temperature rather than the dough's internal temperature. For a large dough mass during bulk fermentation, check the temperature in a couple of different spots.
- Cleanliness: Always wipe your thermometer probe clean before and after use to prevent contamination.
- Calibration (if possible): Some thermometers can be calibrated. Check your thermometer's instructions to ensure it's reading accurately, perhaps by testing it in ice water (should read 32°F / 0°C) or boiling water (should read 212°F / 100°C at sea level).
By following these tips, you can trust the numbers your thermometer gives you, leading to more precise sourdough dough temperature management.
Controlling Sourdough Dough Temperature: Practical Techniques
Adjusting Water Temperature for DDT Control
As mentioned in the DDT section, the temperature of your water is your most powerful lever for controlling the initial sourdough dough temperature. Since water makes up a significant portion of the dough by weight and changes temperature quickly, adjusting its temperature allows you to easily raise or lower the final dough temperature after mixing.
To hit your calculated Required Water Temp, you can use a mix of hot and cold water. For example, if you need water at 74°F (23°C) but your tap water is only 60°F (15.5°C), you'll need to add some warmer water. Heat a portion of your water on the stove or in a kettle, then carefully mix it with cold water until your thermometer reads the target temperature.
Always measure the temperature of the mixed water just before adding it to your dry ingredients. Conversely, if you need cooler water than your tap provides, use refrigerated or ice water (being careful not to add ice cubes themselves, just the chilled water). Precise water temperature is the cornerstone of achieving your target sourdough dough temperature.
Managing Flour Temperature for Optimal Fermentation
While water temperature is the easiest to adjust, flour temperature also significantly impacts the final sourdough dough temperature. Flour's specific heat capacity is lower than water's, but you use a lot of it! If your flour is stored in a very cold or very warm place, it can pull your dough temperature away from your target DDT, even if your water temperature is spot on.
Ideally, store your flour in a location that is consistently around your desired room temperature for baking. If your flour is particularly cold (e.g., stored in a garage in winter), you might need to bring it inside and let it warm up for several hours before baking.
If it's too warm, you could try placing it in the refrigerator for a short period (though be careful not to introduce condensation). While you can't adjust flour temperature as easily as water, being aware of its temperature and factoring it into your DDT calculation is key to effective sourdough dough temperature control.
Room Temperature's Influence and Mitigation Strategies
Your ambient room temperature plays a continuous role in sourdough dough temperature management throughout the entire process, not just during mixing. Once mixed, the dough will slowly equilibrate with the surrounding environment. If your kitchen is significantly warmer or cooler than your target dough temperature for bulk fermentation, the dough's temperature will drift.
If your room is too cold (e.g., 65°F / 18°C) for a target bulk fermentation temperature of 75°F (24°C), your dough will cool down over time, slowing fermentation. You'll need to find a warmer spot or use external means to maintain temperature. Conversely, if your room is too warm (e.g., 80°F / 27°C), your dough will warm up, potentially fermenting too fast. Mitigation strategies include:
- Finding a warmer or cooler spot in your house (e.g., near a heater, in a cool pantry, or on a countertop away from a sunny window).
- Using a proofing box or oven with the light on (often provides a gentle warmth).
- Placing the dough container in a larger container with warm or cool water (like a double boiler, but for dough).
- Adjusting your DDT calculation to start slightly warmer or cooler, anticipating the temperature drift.
Consistent room temperature is ideal, but mastering sourdough dough temperature control means adapting to your environment.
Using a Dough Proofer for Consistent Temperature
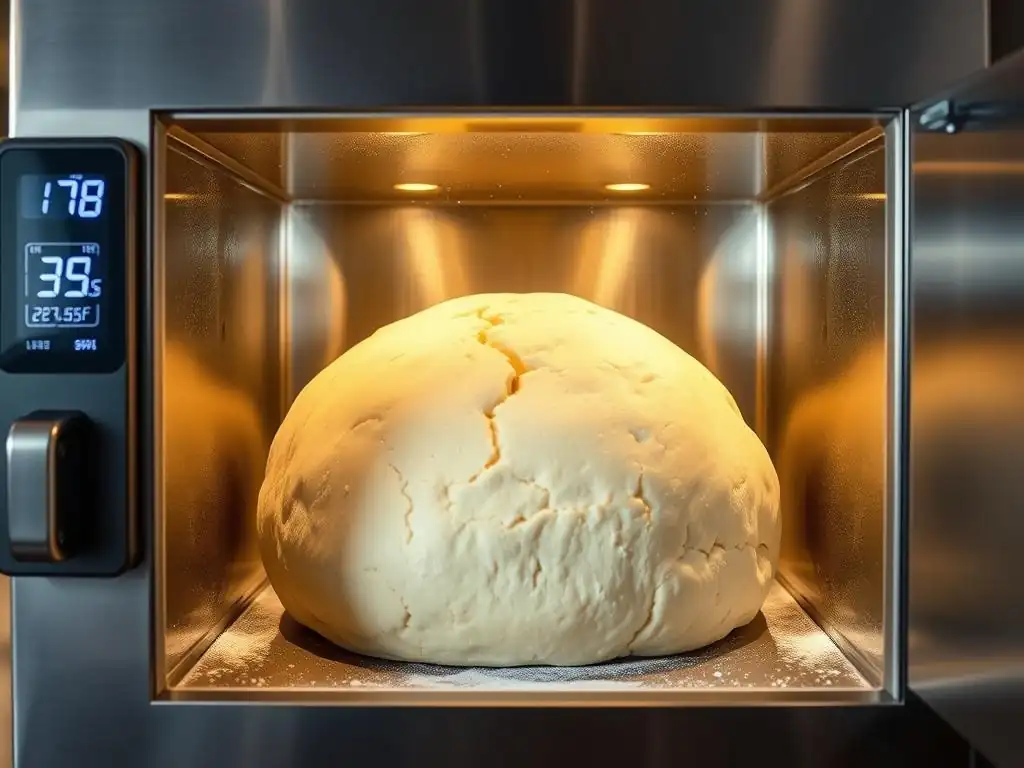
For the ultimate precision in sourdough dough temperature control, a dedicated dough proofer is invaluable. These devices, ranging from simple folding boxes with heating pads to more sophisticated climate-controlled chambers, provide a stable, consistent temperature environment for your dough during bulk fermentation and proofing.
A proofer eliminates the guesswork associated with fluctuating room temperatures. You can set the exact temperature you desire (e.g., 76°F or 24.5°C) and be confident that your dough will ferment at that rate. This leads to highly predictable results regarding fermentation time and dough development. While not strictly necessary for good sourdough, a proofer is a tool many advanced bakers use to achieve maximum consistency, especially when developing specific recipes or techniques where precise sourdough dough temperature is paramount.
Cold Fermentation (Retardation) for Enhanced Sourdough Flavor
One of the most popular advanced techniques involving sourdough dough temperature is cold fermentation, also known as retardation. This typically involves placing the shaped dough in the refrigerator (usually 38-40°F or 3-4°C) for an extended period, often 12 to 48 hours. The cold temperature drastically slows down yeast activity, inhibiting rise, but the cold-tolerant lactic acid bacteria continue to work, albeit slowly.
This slow, cold fermentation allows for a greater production of acetic acid, contributing a more pronounced tang to the final loaf. It also gives enzymes more time to break down starches into sugars, which contributes to better crust browning and flavor. Furthermore, cold dough is much easier to handle and score. Implementing cold fermentation is a prime example of using sourdough dough temperature control to manipulate both the process and the final characteristics of your bread.
Troubleshooting Dough Temperature Issues in Sourdough
Dough is Too Warm: Identifying and Correcting
If your sourdough dough temperature is consistently warmer than intended, you'll notice fermentation proceeding much faster than expected. Signs include:
- Dough doubling in volume much quicker than your recipe or calculations predicted.
- Developing a very bubbly, potentially fragile structure early in bulk fermentation.
- A strong, overly acidic smell developing rapidly.
- Difficulty handling the dough as it becomes very extensible and potentially sticky.
To correct dough that is too warm:
- Use colder water in your next batch, calculating the required temperature using the DDT formula.
- Move the dough to a cooler location in your house (e.g., a cooler pantry, a basement).
- Place the dough container inside a larger bowl filled with cool water (ensure the dough container is sealed).
- Shorten your bulk fermentation time and proofing time accordingly.
- Consider placing the dough in the refrigerator for a short period (e.g., 30-60 minutes) to bring the temperature down, monitoring carefully.
Preventing the dough from getting too warm through careful initial temperature control is always easier than fixing it mid-fermentation. Consistent sourdough dough temperature control starts with accurate measurement and calculation.
Conversely, if your sourdough dough temperature is too cold, fermentation will be sluggish. Signs include:
- Very slow or minimal volume increase during bulk fermentation, taking much longer than expected.
- Dough feeling dense and less airy than anticipated after several hours.
- A lack of significant bubble formation on the surface.
To correct dough that is too cold:
- Use warmer water in your next batch, recalculating your DDT.
- Move the dough to a warmer location (e.g., a warmer room, near a gentle heat source, in a proofing box, or oven with the light on).
- Place the dough container inside a larger bowl filled with warm water (again, ensure the dough container is sealed).
- Be patient! Allow significantly more time for bulk fermentation and proofing.
- Avoid rushing the process; forcing cold dough to rise quickly often results in a dense loaf.
Understanding the relationship between temperature and fermentation speed is key to diagnosing and correcting issues with sourdough dough temperature.
Common Mistakes in Dough Temperature Management
Even experienced bakers can make mistakes with sourdough dough temperature control. Some common pitfalls include:
- Not measuring ingredient temperatures: Guessing is the enemy of consistency. Always measure your water, flour, and starter temperatures.
- Ignoring room temperature: The ambient temperature significantly impacts fermentation speed, especially over longer periods.
- Not accounting for friction factor: The heat generated during mixing can add several degrees, which needs to be factored into your DDT calculation.
- Checking temperature incorrectly: Inserting the probe into the edge of the dough or touching the bowl won't give an accurate reading of the core temperature.
- Panicking about minor deviations: While precision is good, a degree or two difference won't ruin your loaf. Understand the impact of temperature and adjust your timing accordingly if you're slightly off your target sourdough dough temperature.
- Not documenting: Keep notes on your ingredient temperatures, DDT, and actual dough temperature throughout fermentation. This helps you learn and refine your process for better sourdough dough temperature control next time.
Avoiding these common errors will help you achieve more predictable and successful sourdough bakes.
Advanced Techniques: Incorporating Temperature into Your Sourdough Process
Autolyse and Temperature Considerations
Autolyse is a resting period after mixing just the flour and water, before adding the salt and starter. This rest allows the flour to fully hydrate and enzymes to start breaking down starches and proteins, which aids gluten development. While temperature isn't the primary focus during autolyse, the temperature of the water used will influence the mixture's temperature during this rest period.
If performing a longer autolyse (e.g., several hours), the mixture's temperature will slowly equalize with the room temperature. If you're aiming for a specific sourdough dough temperature after adding the starter and salt, factor the autolyse temperature into your DDT calculation. For instance, if your flour and water mixture cools significantly during a long autolyse in a cool kitchen, you'll need warmer starter and/or account for a larger friction factor during the final mix to hit your target DDT.
Bulk Fermentation Temperature Management
Bulk fermentation (the first rise after mixing and before shaping) is where sourdough dough temperature control is most critical for managing fermentation rate and flavor development. Most recipes provide a target temperature range (e.g., 75-78°F or 24-26°C) and an estimated time. However, the time is highly dependent on the temperature.
Monitoring the dough temperature throughout bulk fermentation is key. If it starts to cool down (in a cold room), you may need to move it to a warmer spot or use a proofer to maintain the target sourdough dough temperature. If it starts to warm up (in a warm room), find a cooler spot. Regularly checking the temperature (every hour or two) allows you to make adjustments and ensures the dough progresses as expected, reaching the desired level of fermentation based on visual cues (volume increase, bubble activity) and feel, rather than just relying on a clock.
Proofing Temperature and its Impact on the Final Loaf
Proofing (the final rise after shaping and before baking) is another stage where sourdough dough temperature significantly impacts the outcome. Proofing can be done at room temperature or in the refrigerator (cold proofing).
- Room Temperature Proofing: Typically done at similar temperatures to bulk fermentation (e.g., 72-78°F or 22-26°C). This is a faster process (often 1-3 hours). The dough rises relatively quickly.
- Cold Proofing (Retardation): Done at refrigerator temperatures (38-40°F or 3-4°C). This drastically slows down yeast activity, meaning the dough rises very slowly, if at all, in the fridge. However, it allows for significant flavor development from the bacteria and makes the dough easier to score.
The choice of proofing temperature impacts the final loaf's volume, oven spring, and flavor. A slightly warmer final proof can yield more oven spring if the dough isn't over-proofed, while a cold proof develops more complex flavors and a thicker crust. Mastering sourdough dough temperature control during proofing allows you to fine-tune these characteristics.
Case Study: Comparing Different Dough Temperatures and Their Results
Comparing Dough Fermentation: Standard Room Temperature vs. Cold Fermentation
Let's consider a simple case study comparing two identical sourdough doughs (same recipe, hydration, starter percentage) fermented under different temperature conditions.
Dough A: Standard Room Temperature Fermentation
- Initial Dough Temperature (DDT): 75°F (24°C)
- Bulk Fermentation Environment: Consistent 75°F (24°C) room.
- Bulk Fermentation Time: Approx. 5 hours until volume increased by about 75-100%, dough was bubbly and jiggled easily.
- Proofing: Shaped and proofed at 75°F (24°C) for 2 hours.
- Result: Baked well, good rise, moderate tang. Crumb was reasonably open.
Dough B: Controlled Warm Bulk + Cold Fermentation
- Initial Dough Temperature (DDT): 78°F (25.5°C) - slightly warmer start.
- Bulk Fermentation Environment: Consistent 78°F (25.5°C) room.
- Bulk Fermentation Time: Approx. 4 hours until similar signs of fermentation as Dough A (faster due to higher temp).
- Proofing: Shaped and placed immediately into a 38°F (3°C) refrigerator for 18 hours.
- Result: Baked exceptionally well, excellent oven spring, more pronounced tang. Crumb was very open and airy. Dough was easier to handle and score coming directly from the cold.
This comparison, based on common sourdough outcomes, illustrates how managing sourdough dough temperature directly influences fermentation speed, handling characteristics, and crucially, the final flavor profile and structure. Dough B, utilizing precise sourdough dough temperature control at both the warm and cold ends of the spectrum, yielded a loaf often considered superior by advanced bakers due to the enhanced flavor and structure derived from the cold fermentation period.
Conclusion: Achieving Sourdough Success Through Precise Temperature Control
Mastering sourdough dough temperature control is a fundamental skill that separates good sourdough from truly exceptional loaves. From calculating the Desired Dough Temperature at the outset to managing the dough's temperature throughout bulk fermentation and proofing, every degree matters.
By understanding how temperature influences microbial activity, gluten development, and flavor production, and by using simple tools like a thermometer and practical techniques to manage your dough's environment, you gain unprecedented control over your baking process. Don't let inconsistent temperatures lead to unpredictable results. Embrace the science of sourdough dough temperature control, experiment with different temperature regimes, and unlock the full potential of your homemade sourdough bread. Happy baking!
Frequently Asked Questions
What is the ideal dough temperature for sourdough, and why is it important?
The ideal dough temperature for sourdough, often referred to as desired dough temperature (DDT), typically ranges between 75-78°F (24-26°C). Maintaining this temperature is crucial for consistent fermentation and predictable results.
How does dough temperature affect sourdough fermentation?
Dough temperature directly impacts the activity of yeast and bacteria, which drive fermentation. Too cold, and fermentation slows; too warm, and it accelerates, potentially leading to off-flavors or over-proofing.
What factors influence the final dough temperature?
Several factors contribute, including the temperature of the flour, water, and starter, as well as the ambient temperature of the room and the friction generated during mixing.
How can I accurately measure the dough temperature?
Use an instant-read thermometer inserted into the center of the dough to get an accurate reading. Avoid thermometers that require a long insertion time, as they may not give an immediate and precise measurement.
What steps can I take to control and adjust my dough temperature?
Adjust the temperature of your water is the easiest way to control your dough temperature. Consider using ice water or warm water to compensate for other temperature variables.
Final Reflection: The Transformative Power of Temperature in Sourdough Baking
Mastering sourdough dough temperature isn't just about achieving a perfect loaf; it's about unlocking the full potential of this ancient craft. A seemingly small detail, precise temperature control profoundly impacts the flavor, texture, and overall success of your sourdough journey. Ignoring this crucial element can lead to frustrating failures, while understanding it opens doors to consistent, exceptional results.
The impact of temperature on sourdough extends far beyond the technical aspects of baking. It's a testament to the delicate balance between science and art inherent in this process. The subtle shifts in temperature dictate the activity of the wild yeasts and bacteria, influencing the fermentation process and ultimately shaping the final product. This intricate dance between temperature and microbial life resonates with a deeper understanding of natural processes, reminding us of the interconnectedness of seemingly disparate elements. The baker is a conductor of a symphony of microorganisms.
– A quote I've adapted to reflect this principle.
Now, consider your own baking journey. What have you learned about the importance of precise control? How can you apply this newfound knowledge to refine your technique and elevate your sourdough creations? Don't just bake; understand the process. Experiment with different temperatures, observe the changes, and embrace the journey of discovery. The path to mastering sourdough dough temperature is a rewarding one, leading to loaves that are not only delicious but also a testament to your dedication and understanding. Embrace the challenge, and the rewards will be truly unforgettable.
Unlock Your Sourdough's Potential: Master the Dough Temperature!
Thanks for diving deep into the world of sourdough with us! You've now unlocked a crucial key to consistent, delicious loaves: understanding dough temperature. Ready to put this knowledge into practice and see the amazing results?
- Bake a test loaf today! Experiment with different water temperatures and track your results. This hands-on experience will solidify your understanding.
- Share your baking journey with our community! Post a picture of your sourdough and share your dough temperature insights in the comments below. Let's learn together.
- Explore advanced sourdough techniques! Dive into our other articles on shaping, scoring, and proofing for truly exceptional results.
What unexpected improvements will you discover by mastering your dough temperature?