
The Ultimate Easy Guide: Your First Batch of Perfect Cookie Bars

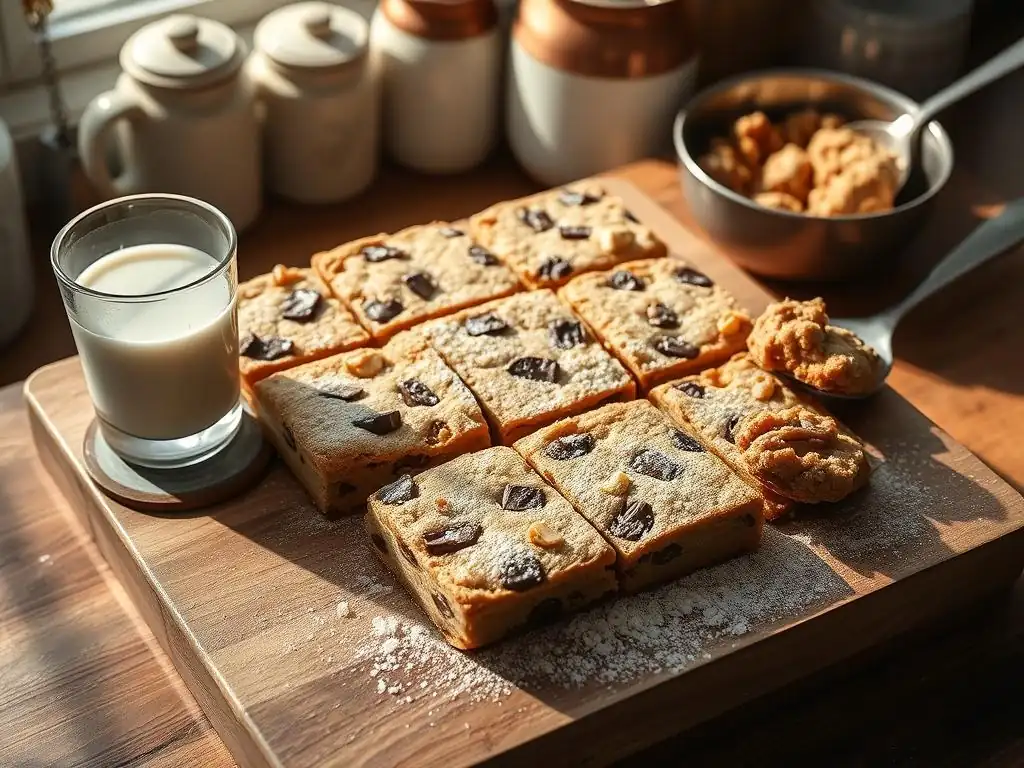
Welcome to BakeWithEase, where baking becomes a joy, not a chore! Ever dreamt of effortlessly creating a dessert that wows? Look no further. Dive into our guide and discover the secrets to an easy perfect cookie bar recipe that’s guaranteed to be a crowd-pleaser. But that's just the beginning... what other simple baking masterpieces await your discovery?
- The Ultimate Easy Guide: Your First Batch of Perfect Cookie Bars - BakeWithEase
- Introduction to Easy Cookie Bar Baking for Beginners
- Gather Your Ingredients: Simple Cookie Bar Recipe Essentials
- Step-by-Step: Baking Your First Batch of Perfect Cookie Bars
- Cooling and Cutting: Achieving Perfect Cookie Bar Squares
- Customizing Your Easy Cookie Bar Recipe: Flavor Variations
- Troubleshooting Common Cookie Bar Baking Problems
- Storing Your Delicious Cookie Bars for Maximum Freshness
- Enjoying Your Homemade Easy Cookie Bars
- Frequently Asked Questions
- Final Reflection: The Enduring Allure of the Perfect Cookie Bar
- Unlock Your Inner Baker: Master Cookie Bars Today!
Starting your baking journey can feel a little daunting, but choosing the right first project makes all the difference! Cookie bars are absolutely ideal for beginners because they simplify several steps that can trip up new bakers. Unlike individual cookies that require scooping, shaping, and careful spacing on a baking sheet, cookie bars are baked in a single pan.
This eliminates the need to handle hot baking sheets multiple times and ensures a more consistent bake across the entire batch with less effort. It's a fantastic way to get a feel for mixing dough and understanding baking times without the added complexity of managing multiple trays.
Furthermore, the forgiving nature of many easy cookie bar recipes makes them a great confidence booster. If your dough isn't perfectly uniform, it usually won't ruin the final result as it might with delicate cookies or cakes. The structure of a bar is much more stable.
This low-pressure approach allows you to focus on core techniques like creaming butter and sugar, adding wet and dry ingredients, and understanding oven behavior – fundamental skills that translate to almost any other baking project you'll tackle later. Master an easy perfect cookie bar recipe, and you're well on your way to baking success!
This particular easy perfect cookie bar recipe is designed with simplicity and minimal fuss in mind. It typically uses common pantry staples that you likely already have, avoiding obscure ingredients that require a special trip to the store. The method itself is straightforward: it involves creaming butter and sugar, adding wet ingredients, and then mixing in the dry, all in one bowl. There's no chilling required, no complex shaping, and no need to measure out dozens of individual portions.
The magic lies in its streamlined process. Once the dough is mixed, it's simply pressed into a prepared pan and baked. The recipe usually calls for a standard size pan, like a 9x13 inch, which is common in most kitchens. The baking time is relatively short, often around 20-25 minutes, meaning you get to enjoy your delicious results quickly. By focusing on fundamental techniques and minimizing variables, this easy cookie bar recipe ensures a high chance of success for your very first attempt, yielding perfect cookie bars every time.
Getting organized before you start is key to a smooth baking experience. Here's a typical checklist for an easy perfect cookie bar recipe, designed to make sure you have everything on hand:
- [ ] Unsalted Butter: Usually requires around 1 cup (2 sticks), softened.
- [ ] Granulated Sugar: About 3/4 cup for sweetness and spread.
- [ ] Brown Sugar: Around 3/4 cup, packed, for moisture and chewiness.
- [ ] Large Eggs: Typically 2, at room temperature if possible.
- [ ] Vanilla Extract: 1-2 teaspoons for essential flavor.
- [ ] All-Purpose Flour: Approximately 2 1/4 cups.
- [ ] Baking Soda: 1 teaspoon, for leavening.
- [ ] Salt: 1/2 teaspoon, to balance sweetness.
- [ ] Optional Mix-ins: 1-2 cups (e.g., chocolate chips).
Having all your ingredients measured out and ready before you begin mixing is called mise en place in culinary terms, and it dramatically reduces stress and potential errors while making your easy cookie bars.
Every ingredient in your easy perfect cookie bar recipe plays a vital role in creating the final texture, flavor, and appearance of your perfect cookie bars. Understanding these functions helps you appreciate the process and troubleshoot if needed.
The Importance of Butter in Cookie Bars
Butter is a powerhouse ingredient in almost any cookie or bar recipe. It provides richness and flavor, of course, but its function goes much deeper. When creamed with sugar, butter incorporates air, which contributes to the bar's lift and tender texture. As it melts during baking, the water in the butter turns to steam, further expanding the dough.
The fat coats the flour particles, preventing excessive gluten development, which would result in tough bars. Using softened butter is crucial; it should be pliable but not melted, usually achieved by leaving it at room temperature for about an hour. Using butter that is too cold won't cream properly, while melted butter will result in dense, greasy bars.
Choosing the Right Flour for Cookie Bars
All-purpose flour is the standard for most easy perfect cookie bar recipes because it provides a balanced amount of protein (gluten) to give the bars structure without making them tough. A typical all-purpose flour has a protein content of around 10-12%. This amount is just right to hold together the mix-ins and provide a pleasant chewiness without being overly dense or cakey.
Using too little flour can result in bars that spread too much and are greasy, while too much flour can make them dry and crumbly. It's important to measure flour correctly, ideally by weight (about 120-130 grams per cup) or by using the spoon-and-level method (gently spoon flour into the measuring cup and level off the excess with a straight edge) to avoid compacting the flour and adding too much.
Sugar Selection for Perfect Sweetness
Most easy cookie bar recipes call for a combination of granulated sugar and brown sugar, and this mix is key to the perfect texture. Granulated sugar contributes to crispness and helps the bars spread slightly. It also helps create those lovely crackly tops.
Brown sugar, on the other hand, contains molasses, which adds moisture, chewiness, and a richer, caramel-like flavor. It also helps the bars retain softness. The ratio of these sugars can be adjusted slightly depending on whether you prefer a chewier or crispier bar, but the balance in a standard easy perfect cookie bar recipe is usually designed for that ideal soft-yet-structured texture.
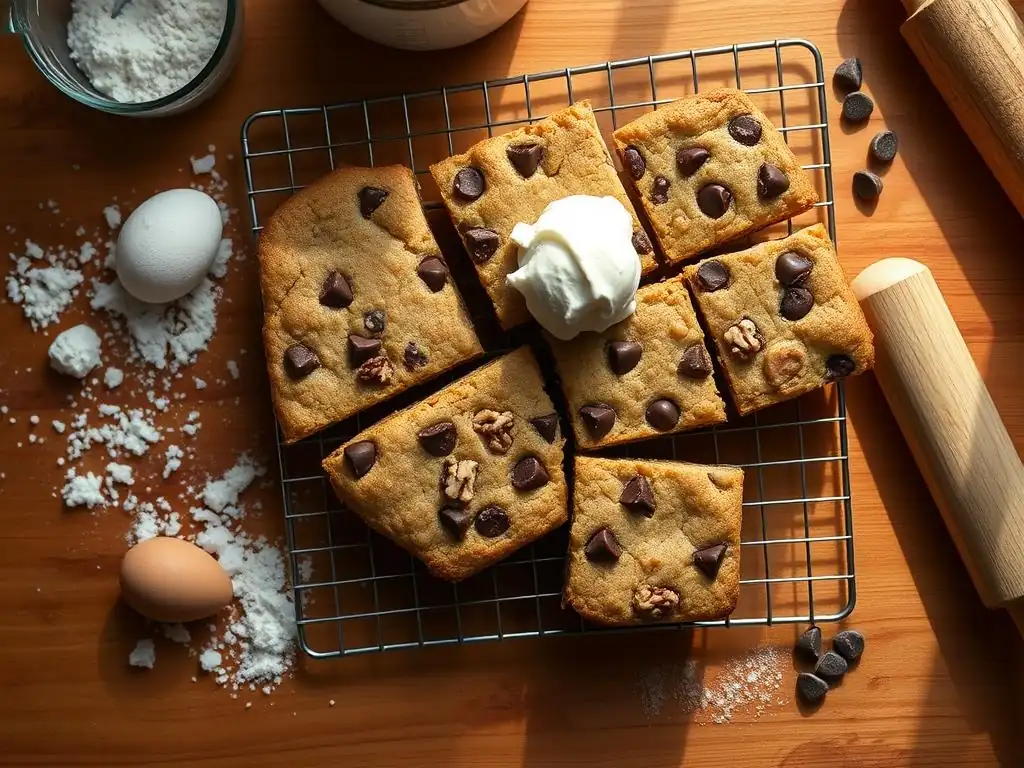
Properly preparing your baking pan is a non-negotiable step for any easy perfect cookie bar recipe if you want to get those beautiful, intact bars out easily after baking. The goal is to create a non-stick surface that allows the finished bars to lift out cleanly. The most common method is to grease and flour the pan.
You can use butter, shortening, or baking spray to coat the bottom and sides of the pan, ensuring you get into the corners. After greasing, add a tablespoon or two of flour, tilt the pan, and tap it gently to distribute the flour evenly, coating the greased surfaces. Tap out any excess flour.
An even easier method, and one often preferred for easy cookie bars, is to line the pan with parchment paper or aluminum foil. For a standard 9x13 inch pan, cut a piece of parchment or foil that is long enough to cover the bottom and extend up two of the opposing sides, creating "handles."
You can then lightly grease the exposed ends of the pan if you like, but the liner does most of the work. This method guarantees that you can lift the entire baked slab of easy cookie bars out of the pan before cutting, making the process significantly simpler and cleaner.
Mixing the dough for your easy perfect cookie bar recipe is where the ingredients come together to form the base of your delicious treat. It's a straightforward process, but paying attention to a few details will ensure the best results.
Creaming Butter and Sugar for Light and Airy Cookie Bars
The first step in many easy cookie bar recipes is creaming the softened butter and sugars together. This is best done with an electric mixer (handheld or stand mixer) or vigorously by hand with a whisk. Creaming means beating the butter and sugars until they are light and fluffy, usually taking 2-3 minutes with a mixer. During this process, tiny air pockets are incorporated into the butter.
These air pockets expand in the oven, contributing to the rise and tenderness of the bars. You'll notice the mixture become paler in color and increase slightly in volume. Don't rush this step; it's foundational for tender perfect cookie bars.
Adding Eggs and Vanilla Extract: Flavor Enhancement
Once the butter and sugar are properly creamed, you'll add the eggs and vanilla extract. Add the eggs one at a time, beating well after each addition until fully incorporated. Eggs add moisture, richness, and act as a binder, helping to hold the bars together. They also contribute to the structure and overall texture. Vanilla extract is crucial for flavor; use a good quality extract as it makes a noticeable difference in the final taste of your easy cookie bars. Beating after each egg ensures they are fully emulsified into the mixture, preventing a greasy texture.
Incorporating Dry Ingredients: Preventing Overmixing
The final step in mixing the dough for your easy perfect cookie bar recipe is adding the dry ingredients (flour, baking soda, salt) and any mix-ins. It's important to mix the dry ingredients separately first to ensure the leavening (baking soda) and salt are evenly distributed throughout the flour. Then, add the dry ingredients to the wet mixture. Mix on low speed or stir by hand just until combined.
Overmixing develops the gluten in the flour too much, which can result in tough, dense cookie bars. You should stop mixing as soon as you see no dry streaks of flour remaining. If adding mix-ins like chocolate chips, fold them in gently by hand at the very end.
Spreading the Dough Evenly in the Pan
Once your easy cookie bar dough is mixed, transfer it to your prepared baking pan. Cookie bar dough is typically quite thick and won't spread on its own like batter. You'll need to spread it evenly across the bottom of the pan. A spatula or the back of a spoon works well for this. For an easy perfect cookie bar recipe, aim for a consistent thickness across the entire pan to ensure even baking.
You can use slightly damp hands or a piece of parchment paper placed on top of the dough to help press it down smoothly and evenly into the corners. This step is crucial for achieving uniform perfect cookie bars that bake consistently from edge to center. Take a moment to make sure the surface is relatively flat before it goes into the oven.
Baking is where the magic happens! Getting the timing and temperature right is key to achieving perfect cookie bars that are cooked through but still soft and chewy.
Oven Temperature and Baking Time for Cookie Bars
Most easy perfect cookie bar recipes call for a standard oven temperature, typically around 350°F (175°C). It's a good idea to preheat your oven for at least 15-20 minutes before baking to ensure it reaches and maintains the correct temperature. An oven thermometer can be helpful here, as many ovens can be off by 25°F or more. Baking time for a 9x13 inch pan of easy cookie bars is usually between 20 and 28 minutes, depending on your oven and how thick your dough layer is.
Start checking around the 20-minute mark. You're looking for the edges to be golden brown and the center to appear set, not wet or jiggly. A slight sheen in the very center is okay, as they will continue to cook slightly from residual heat after they come out of the oven.
How to Tell When Your Cookie Bars Are Done
Knowing exactly when your easy cookie bars are finished baking is a skill that comes with practice, but there are clear signs to look for. The edges should be visibly set and turning a lovely golden-brown color. The center should no longer look wet. If you gently touch the center, it should feel mostly firm, not liquidy.
A common test is the toothpick test, but for chewy bars, you don't want the toothpick to come out completely clean. Inserting a toothpick into the center should result in a few moist crumbs attached, but no wet batter. If it comes out with wet batter, they need more time. If it comes out completely clean and dry, they might be slightly overbaked. Aim for that sweet spot with moist crumbs for the best texture in your perfect cookie bars.
The Importance of Cooling Before Cutting
This is perhaps the most challenging part of making easy cookie bars for impatient bakers: waiting! It is absolutely critical to let your perfect cookie bars cool significantly before attempting to cut them. Hot cookie bars are very fragile and will crumble and fall apart if you try to slice them too soon.
Allow the pan to cool on a wire rack for at least 1 to 2 hours, or even longer until they are almost completely cool. As the bars cool, their internal structure sets, making them firm enough to hold their shape when cut. Attempting to cut warm bars is a recipe for messy, uneven pieces. Patience here is rewarded with clean, beautiful perfect cookie bar squares.
Once the easy cookie bars are properly cooled, you're ready to cut! If you used the parchment or foil sling method, gently lift the entire slab out of the pan and place it on a cutting board. This makes cutting much easier and protects your pan. Use a sharp knife, preferably a large chef's knife.
For clean cuts, wipe the knife blade clean with a damp cloth between cuts, especially after cutting through chocolate chips or other sticky mix-ins. For uniform squares, you can measure or simply eyeball your cuts. Start by cutting the slab in half lengthwise, then cut those halves in half, and so on, until you have strips. Then, turn the slab 90 degrees and repeat the process to create squares. A standard 9x13 inch pan typically yields around 24 squares (4 rows by 6 rows).
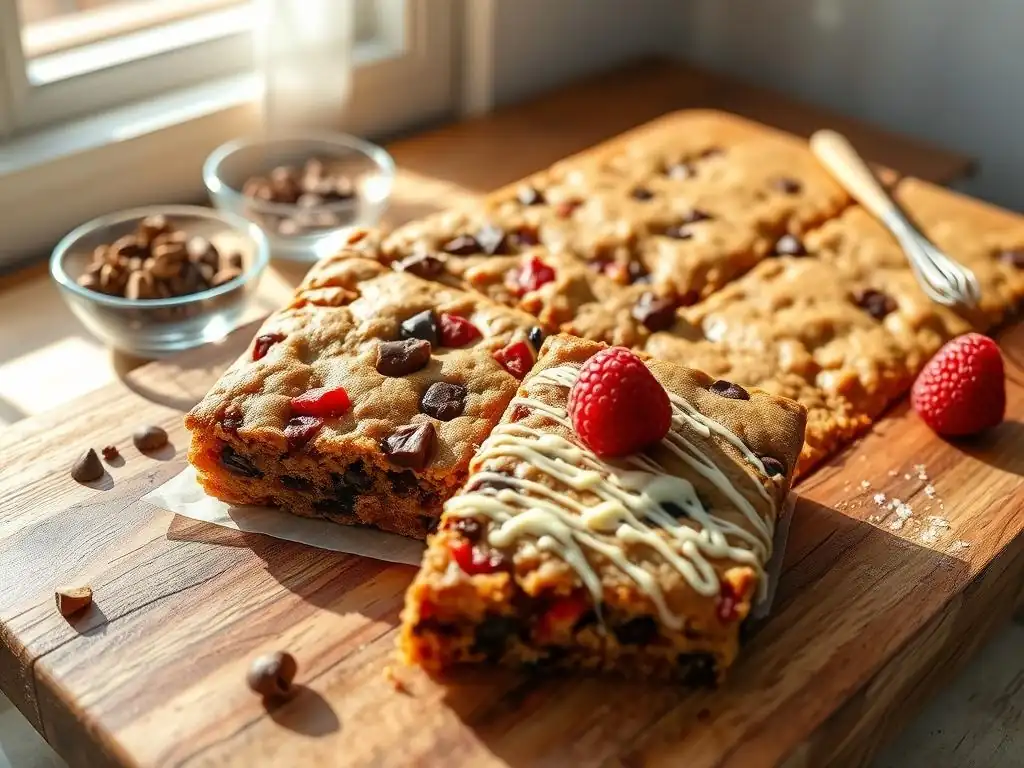
The beauty of an easy perfect cookie bar recipe is how easily it can be adapted! Once you have the basic technique down, you can explore countless flavor combinations.
Adding Chocolate Chips and Other Mix-Ins
The most common way to customize easy cookie bars is by adding mix-ins. Chocolate chips are a classic choice – semi-sweet, milk, dark, or even white chocolate chips all work wonderfully. A standard recipe might call for 1 to 2 cups of mix-ins.
Beyond chocolate chips, the possibilities are vast:
- Chopped nuts (walnuts, pecans, peanuts)
- Toffee bits
- Sprinkles
- Dried fruit (raisins, cranberries)
- Shredded coconut
- Pretzels or potato chips for a salty crunch
- Candy pieces (M&Ms, chopped candy bars)
You can use a single type of mix-in or combine several for a unique treat. For instance, a mix of semi-sweet chocolate chips and chopped walnuts is a popular variation on the classic easy perfect cookie bar recipe.
You can go beyond just adding mix-ins and change the flavor profile of the base dough itself. Here are a few ideas for expanding on your easy perfect cookie bar recipe:
Peanut Butter Cookie Bars
Transform your easy cookie bars by adding peanut butter to the dough. Reduce the butter slightly (e.g., use 3/4 cup butter and 1/4 cup peanut butter) or add about 1/2 cup of creamy peanut butter to the wet ingredients stage. This creates a soft, rich bar with that distinct nutty flavor. Adding peanut butter chips or chocolate chips (or both!) makes these truly decadent.
Oatmeal Raisin Cookie Bars
For a heartier, chewy bar, adapt your easy perfect cookie bar recipe by adding rolled oats and raisins. You might reduce the flour slightly (e.g., use 1 3/4 cups flour and 1 1/2 cups rolled oats). Add a touch of cinnamon (1 teaspoon) and nutmeg (1/4 teaspoon) for that classic oatmeal cookie flavor. The oats add wonderful texture and chewiness.
White Chocolate Macadamia Nut Cookie Bars
Combine the rich, buttery base with creamy white chocolate and crunchy macadamia nuts. Use white chocolate chips or chopped white chocolate bars (about 1 cup) and chopped macadamia nuts (about 1 cup) as your mix-ins. Ensure the macadamia nuts are roughly chopped so they are distributed evenly throughout the perfect cookie bars.
Even with an easy perfect cookie bar recipe, sometimes things don't go exactly as planned. Here are solutions to common issues.
If your easy cookie bars turn out dry or crumbly, the most likely culprits are too much flour or overbaking. Flour should be measured accurately (spooned and leveled or weighed) to avoid adding excess. Even a small amount of extra flour can absorb too much moisture.
- Make sure you are measuring flour correctly. A difference of just a quarter cup in a typical recipe can significantly impact the outcome.
- Reduce baking time slightly. Ovens vary, and what works for one might overbake in another. Start checking for doneness a few minutes earlier than the recipe suggests.
- Ensure butter and sugar are creamed sufficiently to incorporate air and moisture properly.
Overbaking results in dry, hard bars, while underbaking leaves them gooey and potentially raw in the center. This often comes down to oven temperature and baking time.
- Use an oven thermometer to verify your oven's actual temperature. Adjust the oven setting if necessary.
- Check the bars for doneness using visual cues and the toothpick test (looking for moist crumbs, not wet batter or completely dry).
- Rotate the pan halfway through baking if your oven has hot spots to ensure even cooking.
If the edges of your easy cookie bars are done but the center is still underbaked, or vice versa, it could be due to uneven heat distribution in your oven or not spreading the dough evenly.
- Ensure the dough is spread in a layer of consistent thickness across the entire pan, paying attention to corners and edges.
- Rotate the pan 180 degrees halfway through the baking time (e.g., after 10-12 minutes in a 20-25 minute bake). This helps different parts of the pan receive equal heat exposure.
- Avoid opening the oven door too frequently, as this causes temperature fluctuations.
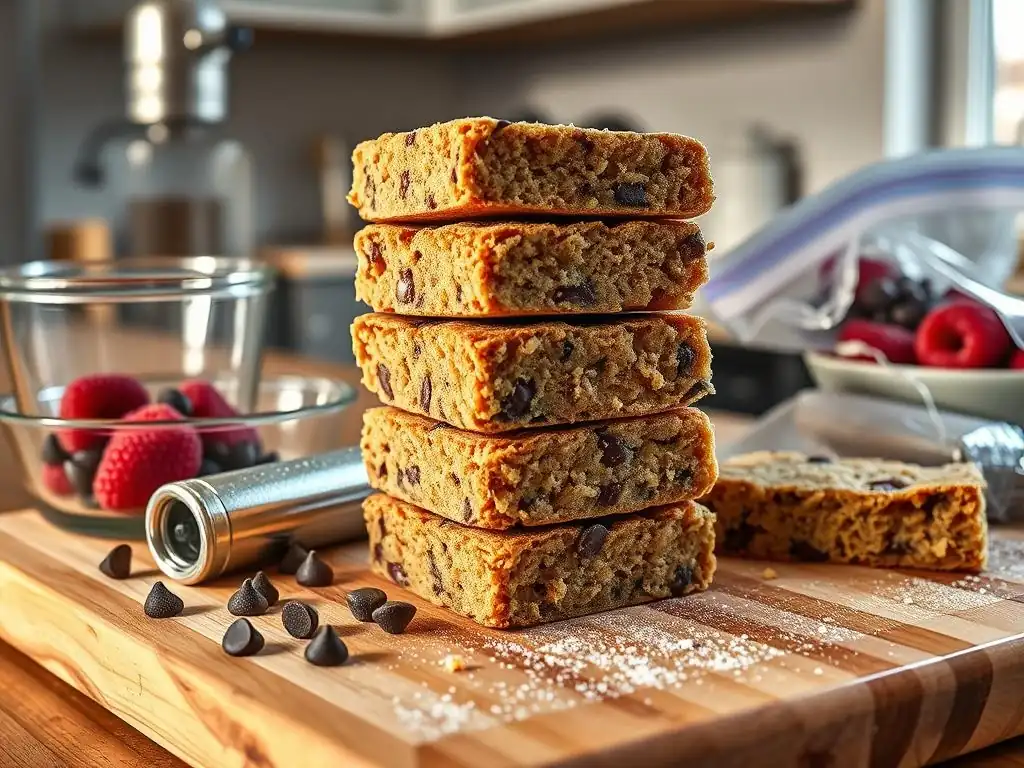
Proper storage is key to keeping your perfect cookie bars tasting great long after they've cooled.
Once your easy cookie bars are completely cooled and cut, store them in an airtight container. Layering the bars with parchment paper between layers can prevent them from sticking together, especially if they are soft or have gooey mix-ins. A single layer is ideal if space allows.
Keep the container at room temperature in a cool, dry place. Avoid storing them in the refrigerator unless they contain perishable ingredients like cream cheese frosting, as refrigeration can sometimes dry out baked goods.
When stored properly in an airtight container at room temperature, most easy perfect cookie bar recipes will stay fresh for 3 to 5 days. The texture might change slightly over time, becoming firmer, but they should remain delicious.
- Day 1-2: Peak freshness, softest texture.
- Day 3-4: Still very good, slightly firmer.
- Day 5+: May start to dry out, but still edible.
For longer storage, cookie bars freeze exceptionally well. Wrap individual bars or small stacks tightly in plastic wrap, then place them in a freezer-safe bag or container. Frozen easy cookie bars can last for 2-3 months. Thaw at room temperature.
You've done it! You've successfully baked your first batch of perfect cookie bars using an easy perfect cookie bar recipe. Now comes the best part – enjoying the fruits of your labor!
Easy cookie bars are fantastic on their own, but you can elevate the experience with simple serving suggestions.
- Serve warm with a scoop of vanilla ice cream – the contrast of temperatures and textures is heavenly.
- Pair with a glass of cold milk or a cup of coffee or tea.
- Dust with a little powdered sugar just before serving for a touch of elegance.
- Arrange on a platter for easy sharing.
Baking is often about sharing! Your easy perfect cookie bar recipe is perfect for bringing to potlucks, parties, or simply sharing with loved ones. Package a few bars in a small box or bag as a thoughtful homemade gift. The simple joy of sharing something delicious that you made yourself is incredibly rewarding. Enjoy your perfect cookie bars!
Frequently Asked Questions
This recipe focuses on simple ingredients and a straightforward mixing process, avoiding complicated techniques. It's designed to be beginner-friendly and yield consistent results.
While some substitutions are possible, it's best to stick to the recipe for the best texture and flavor. Changing key ingredients like flour or sugar can significantly alter the outcome. Consider small modifications like adding different chocolate chips or nuts.
The cookie bars are ready when the edges are golden brown and the center is slightly set. A toothpick inserted near the center should come out with a few moist crumbs, but not wet batter. Overbaking leads to dry bars.
Store leftover cookie bars in an airtight container at room temperature for up to three days. You can also freeze them for longer storage; wrap them individually for easier thawing. Proper storage maintains their freshness.
Crumbly bars could indicate overbaking or too little moisture. Soft bars might mean underbaking or too much moisture. Ensure accurate measurements and oven temperature for consistent results.
The simple act of baking a perfect cookie bar transcends mere culinary skill; it's a celebration of comfort, connection, and the enduring power of a well-executed recipe. In a world often characterized by complexity and uncertainty, the straightforward process of creating these delightful treats offers a welcome respite, a tangible reminder of achievable perfection. This guide aimed to demystify the process, making the creation of these beloved desserts accessible to everyone.
The influence of simple, comforting foods on our cultural landscape is undeniable. From family gatherings centered around shared baking experiences to the ubiquitous presence of cookie bars in bake sales and potlucks, these treats represent more than just a dessert; they represent connection and shared joy. The best things in life are simple,
a sentiment perfectly encapsulated by the humble cookie bar. This simple recipe, passed down through generations or discovered anew, continues to bring people together and create lasting memories.
Now, I invite you to roll up your sleeves, gather your ingredients, and embark on your own cookie bar adventure. Don't be intimidated by the seemingly simple task; embrace the process, savor the aroma of baking spices, and relish the satisfaction of creating something delicious and shareable. The perfect cookie bar isn't just a recipe; it's an experience, a testament to the power of simple pleasures, and a delicious way to connect with yourself and others. So, what are you waiting for? Get baking!
Thanks for joining us on this delicious journey into the world of perfectly baked cookie bars! We hope you've gained the confidence to tackle your own batch. Ready to take your baking skills to the next level?
- Bake your dream cookie bars: Use the recipe and tips from this article to create your first batch of amazing cookie bars. Don't forget to experiment with different flavors!
- Share your creations: Post a photo of your finished cookie bars on social media and tag us @BakeWithEase – we’d love to see them!
- Explore more baking adventures: Dive into our other easy recipes and tutorials on bakewithease.com and find your next baking project.
What incredible flavor combinations will you create with your newfound cookie bar mastery?