
Making Thick & Chewy Pan Pizza Dough: A Detailed Recipe

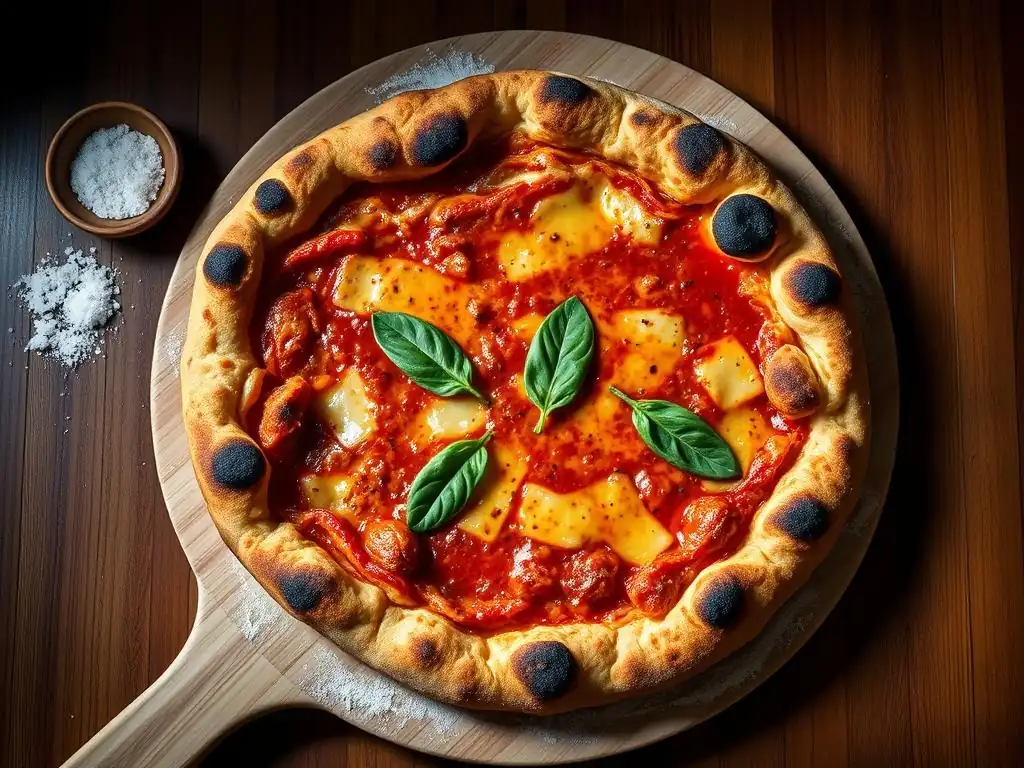
Welcome to BakeWithEase, your trusted guide to baking brilliance! Ever dreamt of creating that perfect thick, chewy pan pizza dough at home? You've come to the right place. Unlock the secrets to achieving a restaurant-quality crust, filled with air pockets and irresistible flavor. Intrigued? Let's dive in and transform your kitchen into a pizzeria!
- Detroit-Style Pan Pizza Dough: A Detailed Recipe
- Introduction: The Perfect Detroit-Style Pizza Starts with the Dough
- Understanding the Key Ingredients
- Step-by-Step Recipe: Crafting Your Detroit-Style Dough
- Baking Your Detroit-Style Pan Pizza
- Troubleshooting Common Dough Problems
- Tips & Tricks for the Best Detroit-Style Pan Pizza
- Serving and Enjoying Your Homemade Pizza
- Conclusion: Enjoying the Art of Detroit-Style Pan Pizza
-
Frequently Asked Questions
- What makes this pan pizza dough recipe result in a thick and chewy crust?
- What type of flour is best for making this thick and chewy pan pizza dough?
- How long should I proof the dough for this pan pizza recipe?
- Can I use a different type of pan for this pan pizza dough recipe?
- What are some tips for preventing the pizza dough from sticking to the pan?
- Final Reflection: The Joy of a Perfectly Chewy Crust
- Unleash Your Inner Pizzaiolo: Craft Your Perfect Pie!
Detroit-Style Pan Pizza Dough: A Detailed Recipe
Introduction: The Perfect Detroit-Style Pizza Starts with the Dough
Why Detroit-Style Pan Pizza Dough is the Best Choice
Detroit-style pan pizza is renowned for its unique characteristics: a thick, chewy interior crumb and an incredibly crispy, caramelized cheese crust around the edges. This distinct texture is primarily thanks to the specific dough used and the way it's baked in a heavy, oiled rectangular pan, traditionally automotive industry parts trays. Unlike thin-crust or Neapolitan styles, the goal here is substantial lift and a rich, almost focaccia-like texture, perfect for holding up to generous toppings.
Opting for a dedicated Detroit-style pan pizza dough recipe ensures you achieve this signature chewiness and structure. A standard pizza dough might not have the necessary hydration or strength to rise properly in the deep pan, leading to a dense or uneven result. This specific dough formulation is designed to create those desirable large air pockets within the crust, contributing to the overall lightness despite its thickness, and providing the robust foundation needed for a truly authentic thick chewy pan pizza experience.
Mastering Detroit-Style Pizza Dough
Mastering the art of making a truly great thick chewy pan pizza dough involves understanding the interplay of ingredients and techniques. It's not just about mixing flour and water; it's about developing gluten properly, controlling fermentation for flavor and rise, and handling the dough gently to preserve the airy structure. Patience is key, as adequate rising time is crucial for both texture and taste development.
This guide will walk you through each step, from selecting the right flour to proofing the dough in the pan. By following these detailed instructions, you'll learn the secrets to achieving that coveted airy interior and robust structure that defines a perfect Detroit-style crust. We'll delve into the science behind why certain steps are necessary, empowering you to troubleshoot and consistently produce delicious, thick chewy pan pizza dough right in your own kitchen.
Understanding the Key Ingredients
High-Protein Flour: The Foundation of a Strong Crust
The choice of flour is paramount for achieving a thick, chewy pan pizza dough. High-protein flour, typically bread flour, is recommended because it contains a higher percentage of protein (around 12-14%) compared to all-purpose flour (10-12%). This higher protein content translates to a greater capacity for gluten development. Gluten is the network formed when proteins in the flour are hydrated and kneaded; it provides the structure and elasticity necessary for the dough to rise and hold its shape, resulting in that desirable chewy texture.
Using bread flour creates a stronger dough that can support the significant rise needed in the deep pan without collapsing. It also contributes to the open crumb structure that is characteristic of Detroit-style pizza. While all-purpose flour can be used in a pinch, it will generally yield a less chewy and less airy crust. For the best results and that signature thick chewy pan pizza crust, invest in a good quality bread flour.
Water: Hydration for a Light and Airy Dough
Water plays a critical role in activating the yeast and developing the gluten structure. The amount of water used, known as hydration, significantly impacts the final texture of the dough. Detroit-style pan pizza dough typically uses a relatively high hydration level, often ranging from 65% to 75% of the flour weight. Higher hydration doughs are generally stickier and a bit more challenging to handle initially, but they lead to a more open, airy crumb structure and contribute to the overall chewiness.
Using warm water (around 100-115°F or 38-46°C) is ideal for activating dry yeast quickly, though cooler water can be used for a longer, slower fermentation which develops more flavor. Precision in measuring water is important; using a kitchen scale to weigh your water is highly recommended for consistent results. The right hydration ensures the dough is pliable enough to spread in the pan yet strong enough to create that signature thick chewy pan pizza rise.
Yeast: Activating the Rise and Flavor Development
Yeast is the living organism responsible for leavening the dough, causing it to rise, and contributing significantly to the flavor profile through fermentation. For most home bakers, active dry yeast or instant yeast are the most common choices. Active dry yeast typically needs to be proofed in warm water before mixing with dry ingredients, while instant yeast can often be mixed directly with the flour. The amount of yeast used will affect the rise time and flavor development – less yeast means a longer, slower fermentation and often a more complex flavor.
During fermentation, yeast consumes sugars in the flour and produces carbon dioxide gas, which creates the bubbles that make the dough rise, and alcohol, which contributes to flavor. Proper fermentation is essential for achieving a light, airy, and flavorful thick chewy pan pizza dough. Over-proofing can lead to a dense crust, while under-proofing results in a tight, tough texture. Observing the dough's volume increase and texture is key to knowing when it's ready.
Olive Oil: Adding Richness and Flavor
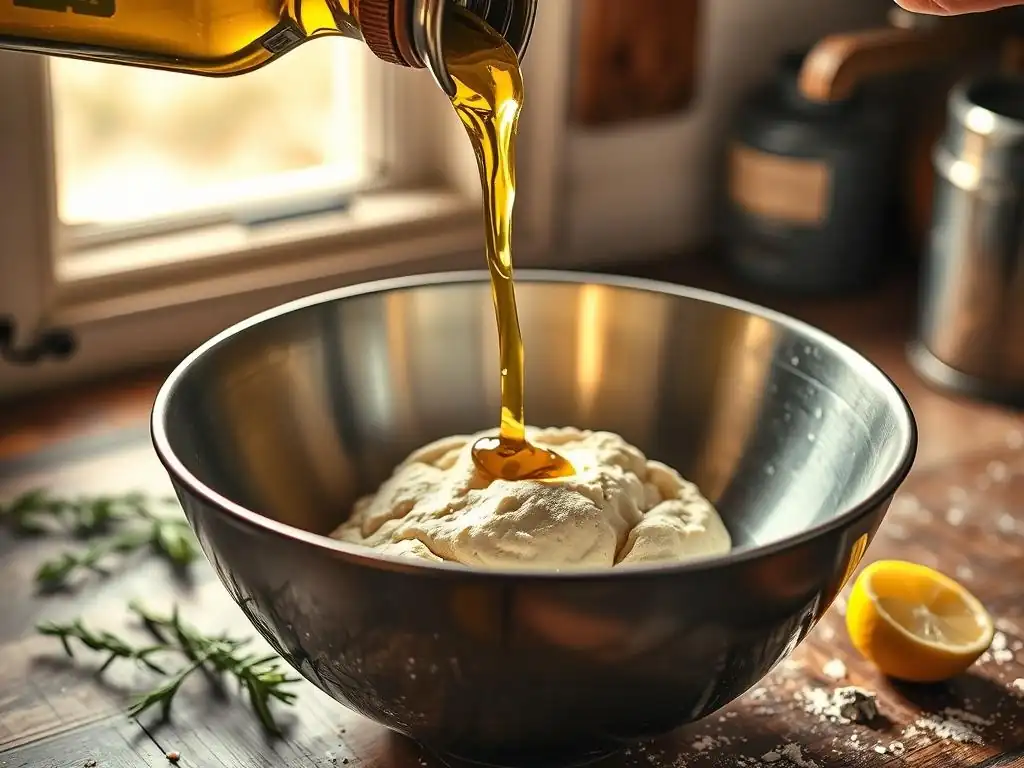
Olive oil serves multiple purposes in Detroit-style pan pizza dough. It adds richness and a subtle flavor to the dough itself, contributing to a more tender crumb. More importantly, a generous amount of olive oil is used to coat the heavy, rectangular pan before the dough is placed in it. This creates a non-stick surface, but its primary function is to facilitate the development of the incredibly crispy, fried-cheese crust around the edges of the pizza – a hallmark of the style.
The oil conducts heat efficiently, essentially frying the bottom and sides of the dough as it bakes. This interaction with the pan and oil is what gives the thick chewy pan pizza its unique, almost shatteringly crisp exterior while maintaining a soft, airy interior. Using a good quality extra virgin olive oil can also impart a pleasant aroma and taste to the final product.
Salt: Enhancing the Overall Taste
Salt is a crucial, though often underestimated, ingredient in bread and pizza dough. While it might seem like a minor addition, salt plays a vital role in enhancing the overall flavor of the dough and controlling the yeast activity. Without salt, pizza dough can taste bland and flat. Salt brings out the natural sweetness of the flour and balances the flavors produced by fermentation.
In addition to flavor, salt helps to regulate the rate of yeast fermentation. It slows down the yeast slightly, which allows for a longer, more controlled rise and better flavor development. Salt also strengthens the gluten structure, contributing to a better dough texture and elasticity. It's important to add salt during the initial mixing phase and ensure it's distributed evenly throughout the dough for consistent results in your thick chewy pan pizza dough.
Step-by-Step Recipe: Crafting Your Detroit-Style Dough
Step 1: Activating the Yeast
Begin by activating your yeast if using active dry yeast. Measure out the warm water, ideally between 100-115°F (38-46°C). Pour it into a medium bowl and sprinkle the yeast over the top. Add a pinch of sugar or a teaspoon of honey – this provides food for the yeast and helps jumpstart the activation process.
Let the mixture stand for 5-10 minutes. You should see the yeast begin to foam or bloom on the surface of the water. This indicates that the yeast is alive and active, ready to leaven your thick chewy pan pizza dough.
If you don't see any activity after 10 minutes, your yeast may be expired, or the water temperature might be off; you'll need to start again with fresh yeast. If using instant yeast, you can typically skip this step and add it directly to the dry ingredients, though proofing it first is still a good way to verify its viability.
Step 2: Combining Dry Ingredients
In a large mixing bowl (or the bowl of your stand mixer), measure out your high-protein bread flour. Precision in measuring flour is important; using a kitchen scale is the most accurate method. Add the salt to the flour and whisk them together briefly.
Combining the dry ingredients ensures that the salt and flour are evenly distributed before the wet ingredients are added. This prevents pockets of salt that could inhibit yeast activity in certain areas and ensures consistent flavor throughout your thick chewy pan pizza dough. Making sure the salt is mixed with the flour before adding the bloomed yeast mixture is also important, as high concentrations of salt can harm direct contact with active yeast.
Step 3: Adding Wet Ingredients
Once your yeast is activated (if necessary), add the bloomed yeast mixture (water and yeast) to the bowl with the flour and salt. If your recipe includes olive oil in the dough itself (some add it all to the pan), now is the time to add that as well.
Adding the wet ingredients at this stage allows them to begin hydrating the flour. This is the first step in the process of gluten development. Ensure you scrape all the liquid from the yeast activation bowl into the flour mixture to maintain the correct hydration level for your thick chewy pan pizza dough.
Step 4: Mixing the Dough: Achieving Proper Hydration
Begin mixing the ingredients. You can do this by hand with a sturdy spoon or spatula, or using a stand mixer fitted with the dough hook. Mix until a shaggy dough forms and there are no dry patches of flour remaining. At this point, the dough will likely look quite wet and sticky, which is expected for a high-hydration Detroit-style dough.
Continue mixing or kneading. If using a stand mixer, knead on low to medium speed for about 8-10 minutes. By hand, this might take 10-15 minutes of folding and stretching. The dough should become smoother and more elastic as the gluten develops. It might still be sticky but should pull away from the sides of the bowl somewhat. Proper mixing is crucial for developing the strong gluten network needed to support the rise of a thick chewy pan pizza dough.
Step 5: First Rise: Bulk Fermentation
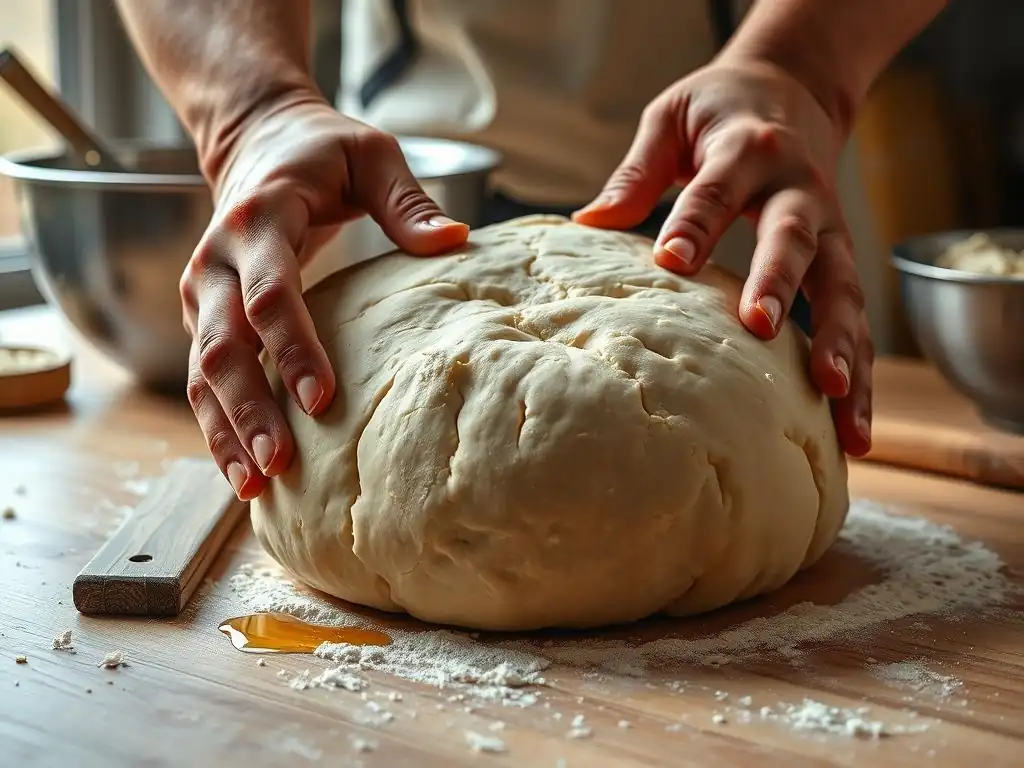
Lightly oil a large bowl with olive oil. Transfer the mixed dough into the oiled bowl, turning it to coat all sides. Cover the bowl tightly with plastic wrap or a damp towel. Place the bowl in a warm, draft-free spot for the first rise, also known as bulk fermentation.
The dough should approximately double in size. This typically takes 1 to 1.5 hours at room temperature (around 70-75°F or 21-24°C), but fermentation time can vary significantly based on room temperature and yeast activity. Bulk fermentation allows the yeast to produce gases and flavor compounds, contributing to the airy texture and taste of the thick chewy pan pizza dough. You can also cold ferment the dough in the refrigerator for 24-72 hours at this stage for deeper flavor development.
Step 6: Shaping the Dough for Detroit-Style Pan
Prepare your rectangular Detroit-style pan. These are traditionally steel pans, often 8x10 inches or 9x13 inches. Generously coat the bottom and sides of the pan with olive oil – use enough to pool slightly, perhaps 2-4 tablespoons depending on the pan size. This heavy oiling is essential for the signature crispy, fried crust edge.
Gently turn the risen dough out into the prepared pan. Be careful not to punch down the dough forcefully; you want to preserve the air pockets created during the first rise. Gently press the dough out towards the edges of the pan using your fingertips. The dough may be resistant and spring back initially. If it's too difficult to spread, let it rest covered for 10-15 minutes to allow the gluten to relax, then continue pressing. Repeat this process until the dough roughly fills the pan. This ensures an even thickness for your thick chewy pan pizza base.
Step 7: Second Rise: Proofing in the Pan
Once the dough is spread in the pan, cover the pan loosely with plastic wrap or a clean kitchen towel. Place the pan in a warm spot for the second rise, or proofing. This rise allows the dough to relax fully into the corners of the pan and develop further airiness before baking.
The dough should become visibly puffy and fill the pan completely, reaching into the corners. This usually takes another 1 to 1.5 hours at room temperature. Proper proofing in the pan is crucial for achieving the desired thickness and light, airy texture of the thick chewy pan pizza crust. You can gently dimple the surface of the dough with oiled fingertips before adding toppings, which helps distribute the gas and creates little pockets for sauce and cheese.
Baking Your Detroit-Style Pan Pizza
Preparing Your Pan: Oiling the Steel Pan
As mentioned earlier, preparing your heavy, rectangular steel pan with a generous amount of olive oil is non-negotiable for authentic Detroit-style pizza. Use approximately 2-4 tablespoons of olive oil, ensuring the bottom and especially the corners and sides are well coated. This oil conducts heat efficiently and is responsible for creating that signature crispy, caramelized cheese edge and a nicely browned, slightly fried bottom crust.
The interaction between the hot steel pan, the oil, and the dough is what differentiates this style. As the pizza bakes, cheese that melts and runs down the sides into the hot oil will fry, forming a delicious, crispy, cheesy crust around the perimeter. Don't skimp on the oil; it's key to achieving the desired texture and flavor profile for your thick chewy pan pizza.
Adding Toppings: Sauce on Top
Detroit-style pizza has a unique topping order: cheese first, often spread all the way to the edges to maximize the crispy crust development, followed by sauce dolloped or spooned over the cheese. This method prevents the sauce from making the thick chewy pan pizza dough soggy and allows the cheese to get direct contact with the hot, oiled pan edges.
A blend of cheeses is traditional, with brick cheese being the classic choice for its melting properties and flavor, though a mix of mozzarella and Monterey Jack is a common substitute. Pepperoni is often placed directly on the dough under the cheese. Once the cheese is spread, spoon stripes or dollops of your favorite pizza sauce over the cheese layer. This prevents the sauce from drying out and keeps the cheese moist underneath.
Baking Temperature and Time: Achieving a Crispy Edge
Baking at a high temperature is essential for achieving a crispy crust while ensuring the thick dough cooks through. Preheat your oven, preferably with a baking steel or stone inside if you have one, to a high temperature, typically between 450°F and 500°F (230°C and 260°C). Allow the oven and steel/stone (if using) to preheat for at least 30-45 minutes to ensure they are fully heated.
Place the pan directly on the oven rack or baking steel/stone. Bake for approximately 15-20 minutes. The exact time will vary depending on your oven and the specific thickness of your dough and amount of toppings. Look for visual cues: the cheese edges should be deeply golden brown and caramelized, the crust should be puffed and golden brown on top, and the bottom should be crisp and golden when you lift a corner with a spatula. This high heat is crucial for developing the structure and achieving that perfect thick chewy pan pizza crust.
Tips for a Perfectly Cooked Detroit-Style Pizza
Achieving perfection with your thick chewy pan pizza involves a few key considerations during baking. Firstly, ensure your oven is fully preheated to the high temperature recommended; this initial blast of heat is vital for oven spring and crust development. Using a baking steel or stone can further improve the bottom crust's crispiness by providing intense, even heat transfer to the pan.
Monitor the pizza closely during the last few minutes of baking. The edges can go from perfectly golden to burnt quite quickly due to the caramelizing cheese. If the top seems to be browning too fast but the bottom isn't ready, you can loosely tent the pizza with aluminum foil. Conversely, if the top is pale but the bottom is cooked, a quick blast under the broiler for 30-60 seconds can add color, but watch it constantly to prevent burning.
Troubleshooting Common Dough Problems
Dough Not Rising: Addressing Yeast and Temperature
One of the most frustrating issues when making thick chewy pan pizza dough is when it fails to rise adequately. The primary culprits are usually inactive yeast or incorrect dough temperature. First, check the expiration date on your yeast package. If it's active dry yeast, ensure your water temperature for proofing is within the ideal range (100-115°F or 38-46°C); water that is too hot will kill the yeast, while water that is too cold won't activate it.
Ensure your dough is rising in a warm environment, ideally 70-75°F (21-24°C). Colder temperatures significantly slow down fermentation. If your kitchen is cool, find a warmer spot, such as a proofing drawer, near a warm oven, or inside a turned-off oven with just the light on. If you suspect the yeast was inactive, unfortunately, you may need to start over with fresh yeast.
Dough Too Sticky: Adjusting Hydration
A high-hydration dough like Detroit-style pan pizza dough is naturally sticky, but if it's excessively difficult to handle and doesn't develop any structure during kneading, the hydration might be too high, or the gluten hasn't developed enough. This can happen if your flour absorbs less water than expected or if your measurements were slightly off.
If the dough is too sticky to work with after the initial mixing, you can add a small amount of flour, about a tablespoon at a time, and continue kneading until the dough becomes more manageable. Be cautious not to add too much flour, as this will reduce the hydration and can result in a denser, less airy thick chewy pan pizza crust. Proper kneading helps build the gluten structure, which makes even sticky doughs easier to handle over time.
Dough Too Dry: Correcting the Moisture Balance
Conversely, if your dough feels stiff, crumbly, or doesn't come together easily during mixing, it's likely too dry. This usually indicates insufficient hydration, perhaps due to inaccurate measuring or using a flour that absorbs more water. A dry dough will result in a dense, tough crust that lacks the characteristic airiness of a great thick chewy pan pizza.
To correct a dry dough, you can gradually add more water, about a teaspoon at a time, while kneading. Continue adding small amounts of water until the dough becomes more pliable and comes together into a cohesive mass. It should feel slightly tacky but not excessively sticky. Proper moisture balance is key to achieving the desired texture and workability of your thick chewy pan pizza dough.
Crust Too Hard: Optimizing Baking Parameters
A hard crust, especially on the bottom or edges, can result from several factors related to baking. Over-baking is a common cause; leaving the pizza in the oven for too long at a high temperature will dry out the crust. Ensure you are monitoring the pizza closely and baking only until the edges are deeply golden and the top is cooked.
Insufficient oil in the pan can also lead to a hard, rather than crispy-fried, edge. Ensure you are using the recommended amount of oil. If the bottom crust is consistently too hard, your oven might be too hot or the pan might be too thin. Using a heavy steel pan helps distribute heat evenly. Also, allowing the dough to proof properly in the pan ensures it has enough air pockets to create a light interior that contrasts with the crispy exterior.
Tips & Tricks for the Best Detroit-Style Pan Pizza
Using a Stand Mixer
While it's possible to make thick chewy pan pizza dough by hand, using a stand mixer with a dough hook can make the process significantly easier and more efficient, especially for high-hydration doughs. The mixer does the hard work of kneading, ensuring proper gluten development without the dough sticking excessively to your hands.
Set the mixer to a low speed (like setting 2 on a KitchenAid) and let it knead the dough for 8-10 minutes after the ingredients are combined. You'll notice the dough transform from a shaggy mass into a smooth, elastic ball that pulls away from the sides of the bowl. Using a mixer helps achieve consistent results and is particularly useful when dealing with the stickiness inherent in a well-hydrated thick chewy pan pizza dough.
Cold Fermentation for Deeper Flavor
For a more complex flavor profile in your thick chewy pan pizza dough, consider incorporating a cold fermentation step. After the initial mixing and a brief rest (or a short room temperature rise), place the dough in an oiled bowl, cover it tightly, and refrigerate it for 24 to 72 hours.
Cold fermentation slows down the yeast activity considerably but allows enzymes in the flour to break down complex carbohydrates into simpler sugars. This not only feeds the yeast over a longer period for a better rise but also produces more aromatic compounds, resulting in a dough with richer, more nuanced flavors and a tangier profile. Dough fermented this way often has a better texture as well, making it an excellent technique for elevating your thick chewy pan pizza.
Pressing vs. Stretching the Dough
When shaping the dough for your Detroit-style pan, the technique differs from stretching a round pizza. Instead of tossing or stretching the dough into a thin circle, you'll gently press the dough into the corners of the heavily oiled rectangular pan. This method helps maintain the airy structure developed during fermentation.
Turn the dough into the pan and use your fingertips to gently dimple and press it towards the edges. If the dough resists and springs back, cover it and let it rest for 10-15 minutes to allow the gluten to relax before continuing to press. Repeat this process until the dough fills the pan evenly. This pressing technique is essential for achieving an even, thick chewy pan pizza base that cooks uniformly.
Experimenting with Different Cheeses
While classic Detroit-style pizza features brick cheese (or a blend of mozzarella and Monterey Jack) spread edge-to-edge, don't be afraid to experiment with different cheese combinations to find your perfect thick chewy pan pizza. Adding a little aged provolone can lend a sharper flavor, while a touch of Parmesan grated over the top adds a salty bite and helps with browning.
The key is to use cheeses that melt well and, importantly, can caramelize beautifully against the hot, oiled pan edges to form that signature frico crust. Cheeses with lower moisture content tend to crisp up better. Spreading the cheese all the way to the metal edge of the pan is crucial for achieving the characteristic crispy, chewy perimeter that makes this style so unique.
Serving and Enjoying Your Homemade Pizza
Slicing and Serving Tips
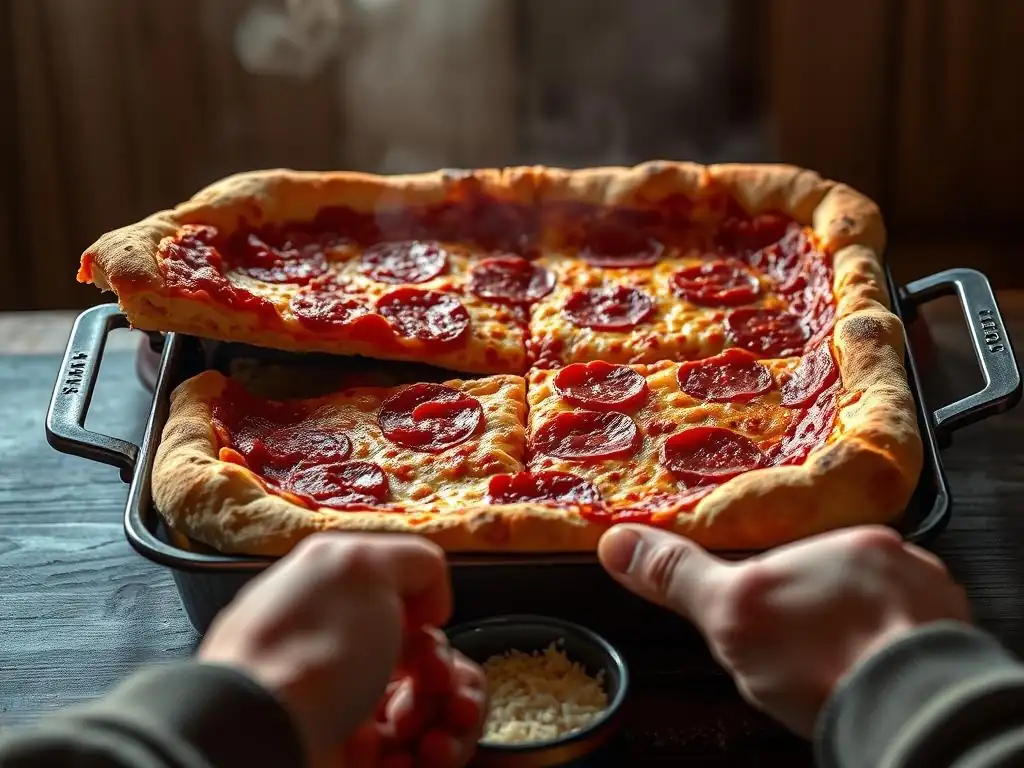
Once your Detroit-style pan pizza comes out of the oven, resist the urge to slice into it immediately. Allow it to rest in the pan for 5-10 minutes. This resting period allows the cheese to set slightly and makes the pizza easier to handle and slice cleanly without the toppings sliding off or the crust tearing.
Traditionally, Detroit-style pizza is cut into rectangular slices, often called "strips" or "squares." Use a sturdy pizza cutter or a large knife to cut through the thick crust and toppings. The resting time also helps the internal steam redistribute, resulting in a better final texture for your thick chewy pan pizza.
Pairing Suggestions: Salad or Beer
Detroit-style pizza is rich and substantial, making it pair wonderfully with lighter sides and refreshing drinks. A simple, crisp green salad with a vinaigrette dressing provides a nice contrast to the richness of the cheese and oil. Coleslaw is another traditional pairing that offers a tangy, crunchy counterpoint.
For beverages, cold beer is a classic companion. The carbonation and often slightly bitter notes of a lager or IPA can cut through the richness of the pizza. Craft sodas or even a sparkling cider are great non-alcoholic options. The key is to choose something refreshing that complements the hearty nature of the thick chewy pan pizza.
Storing Leftover Pizza
If you happen to have any leftover thick chewy pan pizza (a rare occurrence! ), storing it properly will help maintain its quality. Allow the pizza to cool completely at room temperature before storing. Storing hot pizza can create condensation, leading to a soggy crust.
Wrap individual slices or stack them with parchment paper in between, then wrap tightly in plastic wrap or aluminum foil, or place in an airtight container. Store in the refrigerator for up to 3-4 days. For longer storage, you can freeze slices wrapped tightly; they will keep for 1-2 months. Reheat leftovers in a toaster oven, conventional oven, or even a pan on the stovetop to help revive that crispy crust. Avoid the microwave, which tends to make the crust chewy and soft.
Conclusion: Enjoying the Art of Detroit-Style Pan Pizza
Mastering the Detroit-Style Pan Pizza Dough Recipe
Crafting a truly exceptional thick chewy pan pizza dough is a rewarding endeavor that opens the door to experiencing one of America's most beloved pizza styles right at home. By understanding the role of each ingredient – from high-protein flour for structure to generous olive oil for crispiness – and mastering the specific techniques of mixing, rising, and pan-proofing, you can consistently produce dough with that signature airy interior and remarkably crispy, caramelized exterior.
This detailed recipe provides the foundation, but remember that baking is also about feel and observation. Pay attention to how your dough behaves, adjust based on your environment, and don't be discouraged by initial imperfections. With practice, you'll gain confidence in handling this unique dough, leading to increasingly successful and delicious thick chewy pan pizza creations.
The ultimate joy of mastering the art of making thick chewy pan pizza dough comes from sharing the finished product. A homemade Detroit-style pizza is a crowd-pleaser, perfect for casual gatherings, game nights, or family dinners. The distinctive look and incredible texture spark conversation and delight.
Serving up a slice of your homemade thick chewy pan pizza, with its airy crumb and crispy cheese edges, is a testament to your baking skills. Whether you stick to classic pepperoni and brick cheese or experiment with new toppings, the foundation of a perfectly made thick chewy pan pizza dough ensures a memorable meal. Enjoy the process, savor the results, and share the delicious experience with those you care about.
Frequently Asked Questions
What makes this pan pizza dough recipe result in a thick and chewy crust?
This recipe focuses on high hydration and a longer fermentation period. These elements contribute to the development of gluten, resulting in a thick and chewy texture.
What type of flour is best for making this thick and chewy pan pizza dough?
We recommend using bread flour for its high protein content. This helps create a strong gluten network, crucial for a chewy pizza.
How long should I proof the dough for this pan pizza recipe?
The dough needs a long, slow proof – ideally, 12-24 hours in the refrigerator. This allows for flavor development and a more complex texture.
Can I use a different type of pan for this pan pizza dough recipe?
While a cast iron pan is highly recommended for its even heat distribution, you can use a deep-dish baking pan. Adjust baking time accordingly.
What are some tips for preventing the pizza dough from sticking to the pan?
Generously grease the pan with olive oil or cooking spray. You can also lightly dust the pan with cornmeal for extra insurance against sticking.
Final Reflection: The Joy of a Perfectly Chewy Crust
The pursuit of the perfect pan pizza dough—thick, chewy, and bursting with flavor—is more than just a culinary quest; it's a testament to the enduring power of simple pleasures. This recipe, meticulously detailed to guide you through each step, aims to unlock that very pleasure, bringing the satisfaction of homemade pizza to your kitchen. The demand for this specific type of dough speaks volumes about our collective desire for comfort food elevated to an art form.
The journey of creating this dough, from the initial mixing to the satisfying rise and final bake, mirrors the journey of life itself – requiring patience, attention to detail, and a willingness to embrace imperfection. The subtle nuances of flour type, the precise amount of hydration, the gentle kneading—these seemingly small details contribute to the overall experience, much like the small moments in life shape our larger narratives. The best things in life are simple,
a sentiment perfectly captured by the uncomplicated joy of a perfectly crafted pizza.
Now, I invite you to take this recipe and make it your own. Experiment with different toppings, share the experience with loved ones, and savor the moment of creation. Don't be afraid to adjust the recipe to your preferences; the true magic lies in the personal touch you add. Remember the feeling of that first bite, the satisfying chew, the burst of flavor—let that feeling inspire you to continue exploring the culinary world, one delicious crust at a time.
Unleash Your Inner Pizzaiolo: Craft Your Perfect Pie!
Thanks for taking the time to explore the art of making thick and chewy pan pizza dough! We hope you’ve gained valuable insights and are ready to take your pizza-making skills to the next level. Now it's time to put your newfound knowledge into action.
- Master the Dough: Bake your own delicious pan pizza tonight! Use the recipe and techniques you just learned to create a truly unforgettable pizza experience.
- Share Your Creation: Snap a picture of your masterpiece and share it on social media using #BakeWithEasePanPizza – let's inspire others!
- Experiment with Toppings: What unexpected flavor combinations will you try next? Let us know in the comments – we'd love to hear your ideas!
Ready to transform your kitchen into a pizza paradise? What unique topping combination will you create first?