
Proofing Perfection: How to Get the Ideal Rise for Your Pizza Dough

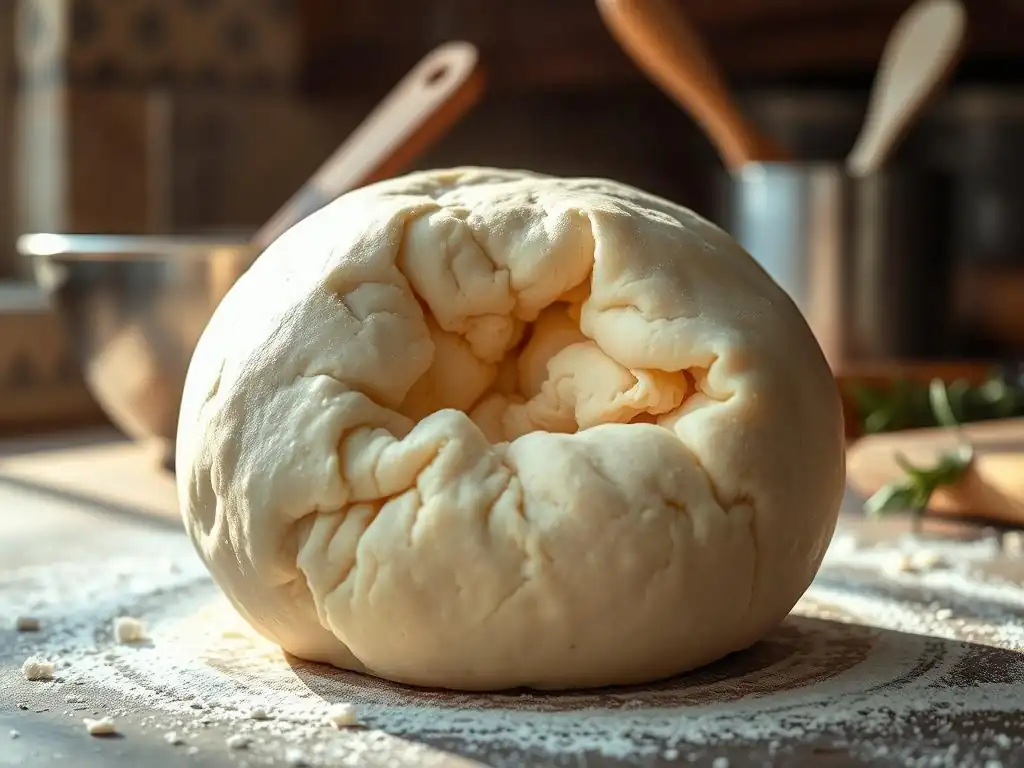
Welcome to BakeWithEase, where baking becomes a joy, not a chore! Are you ready to unlock the secret to a truly exceptional pizza night? This week, we're diving deep into the art of achieving the perfect pizza dough rise. Ever wondered why some pizzas have that airy, bubbly crust while others fall flat? Discover the crucial steps to proofing perfection and elevate your homemade pizza to restaurant quality. Let's get baking!
- Achieving Optimal Pizza Dough Rise: A Comprehensive Guide
- Understanding the Fundamentals of Pizza Dough Proofing
- Step-by-Step Guide to Achieving the Perfect Pizza Dough Rise
- Troubleshooting Common Pizza Dough Rising Problems
- Advanced Techniques for Enhancing Pizza Dough
- Tips and Tricks for Consistent Pizza Dough Results
- From Proofing to Pizza Perfection
- Savoring Your Homemade Pizza
-
Frequently Asked Questions
- How long should I proof my pizza dough for the perfect pizza dough rise?
- What's the best temperature for proofing pizza dough to achieve that perfect pizza dough rise?
- What type of yeast is best for a perfect pizza dough rise, and how much should I use?
- My pizza dough didn't rise. What went wrong, and how can I ensure a perfect pizza dough rise next time?
- Can I over-proof my pizza dough, and how do I know if I've ruined the perfect pizza dough rise?
- Final Reflection: The Alchemy of a Perfect Rise
- Unleash Your Inner Pizzaiolo: Craft the Perfect Crust!
Achieving Optimal Pizza Dough Rise: A Comprehensive Guide
Understanding the Fundamentals of Pizza Dough Proofing
The Role of Proofing in Pizza Dough Development
Proofing, also known as fermentation, is a critical stage in making pizza dough that goes far beyond just making it bigger. During this resting period, yeast consumes sugars in the flour and produces carbon dioxide gas and alcohol. This gas is trapped by the gluten network you developed during kneading, causing the dough to expand or "rise." A proper rise is essential for a light, airy crust with a good structure. It's the foundation for achieving that coveted perfect pizza dough rise.
Beyond just volume, proofing significantly impacts the flavor and texture of your final pizza crust. The slow breakdown of starches and proteins by enzymes, along with the alcohol produced by the yeast, contributes to complex flavors and aromas. Sufficient proofing also relaxes the gluten, making the dough easier to stretch without tearing and resulting in a more tender crumb after baking. Skipping or rushing this step often leads to a dense, tough crust that lacks character.
The Science of Fermentation: Yeast Activity and Gluten Development
At the heart of pizza dough rising is the fascinating process of yeast fermentation. Yeast, a single-celled fungus, is a living organism. When mixed with water and flour, it wakes up and starts feeding on simple sugars present in the flour. This metabolic activity yields two primary byproducts: ethanol (alcohol) and carbon dioxide (CO₂). The carbon dioxide gas is what creates the bubbles within the dough structure, causing it to inflate.
Simultaneously, while the yeast is working, enzymes in the flour and yeast are breaking down complex carbohydrates into simpler sugars for the yeast to consume. Also, the gluten network, formed by the proteins glutenin and gliadin when flour is hydrated and kneaded, acts like a balloon. It traps the CO₂ gas produced by the yeast. A well-developed gluten network is strong and elastic enough to hold onto these gases, allowing the dough to expand significantly and achieve that perfect pizza dough rise. If the gluten is weak or undeveloped, the gas escapes, resulting in a flat, dense dough.
Key Factors Affecting Dough Rise: Temperature, Time, and Hydration
Achieving the ideal pizza dough rise is a delicate balance influenced by several interconnected factors. Temperature is perhaps the most significant; yeast activity is highly dependent on it. Yeast thrives in warm environments, typically between 70°F and 80°F (21°C to 27°C), where it ferments actively. Temperatures too low slow fermentation considerably (like in cold proofing), while temperatures too high can kill the yeast (above 130°F or 54°C) or cause it to ferment too rapidly, leading to off-flavors and a weak structure.
Time is inextricably linked to temperature. A dough proofing at a warmer temperature will reach its optimal rise much faster than one proofing in a cooler environment. A standard room temperature proof might take 1-2 hours, while a cold fermentation in a refrigerator at 38°F (3°C) could take anywhere from 24 to 72 hours.
Hydration, the ratio of water to flour, also plays a role. Higher hydration doughs (e.g., 65-70% water relative to flour weight) tend to be looser and may show a more visually dramatic rise, although they can be trickier to handle. Lower hydration doughs (e.g., 58-62%) are stiffer and might rise slightly less in volume but can still achieve a wonderful texture.
Step-by-Step Guide to Achieving the Perfect Pizza Dough Rise
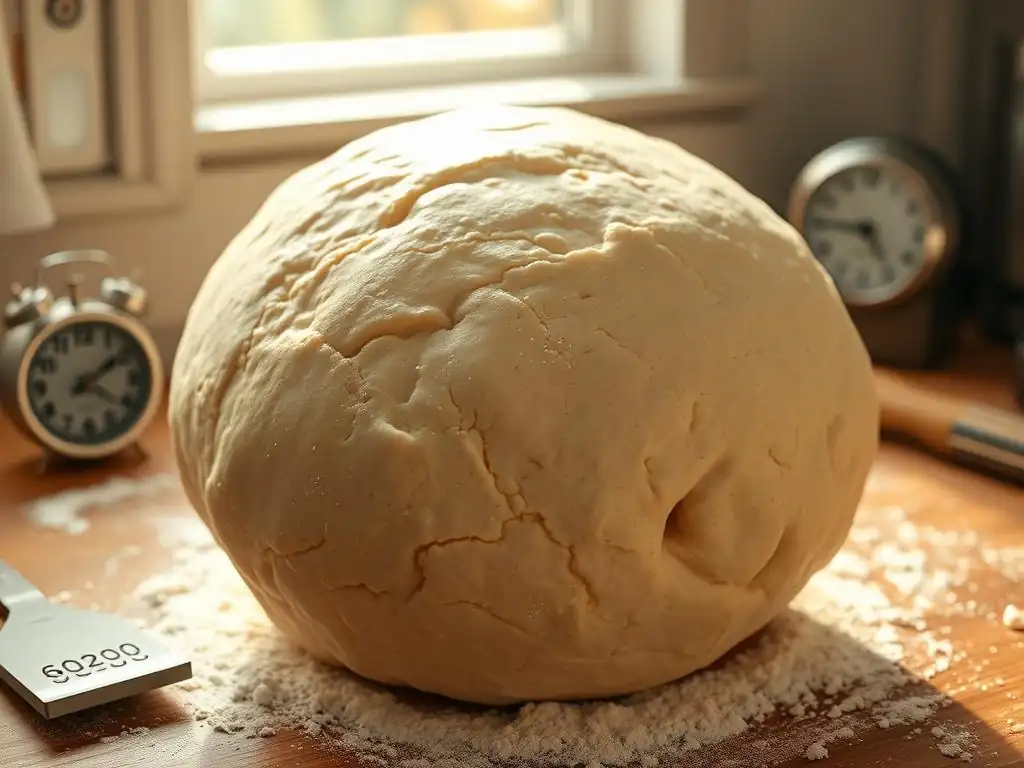
Step 1: Preparing Your Pizza Dough for Proofing
Before proofing begins, ensuring your dough is properly mixed and kneaded is crucial. Start with accurate measurements, ideally using a kitchen scale for flour and water. This precision is key to consistent results. Combine your flour, yeast (ensure it's active and not expired), salt, and water according to your recipe. Mix until just combined, then let it rest for a short period (autolyse) if your recipe calls for it – this helps with hydration.
Kneading develops the gluten network essential for trapping the fermentation gases. Knead the dough until it's smooth and elastic. You should be able to stretch a small piece thin enough to see light through it without it tearing easily – this is the "windowpane test." Once kneaded, form your dough into a smooth ball by pulling the sides under and pinching them together at the bottom. This creates surface tension, which helps the dough maintain its structure as it rises, contributing to a beautiful, even perfect pizza dough rise.
Step 2: Creating the Ideal Proofing Environment
Providing the right conditions is paramount for optimal yeast activity and dough expansion. The two main factors to control are temperature and humidity. Yeast is happiest and most active within a specific temperature range. While room temperature (around 70-75°F or 21-24°C) is common, slight variations can significantly affect proofing time. A kitchen that's 65°F will require a longer proof than one that's 78°F.
Temperature Control: Maintaining the Optimal Range
For a standard room temperature proof, aim for a consistent temperature between 70°F and 78°F (21°C to 26°C). If your kitchen is cooler, you can create a warmer environment. One common method is to turn your oven light on (but not the oven itself), which usually brings the interior temperature to a cozy 75-85°F (24-29°C).
Place your covered dough inside. Alternatively, you can place the dough near a warm spot, like on top of a refrigerator or in a proofer box if you have one. Avoid placing it in direct sunlight or near a drafty window, as temperature fluctuations can stress the yeast.
Maintaining a stable temperature ensures the yeast ferments at a predictable rate, allowing you to gauge the proofing time more accurately. For example, if a recipe calls for a 1.5-hour proof at 75°F, expect it to take closer to 2.5 hours at 68°F. Consistency is key to achieving a predictable and perfect pizza dough rise every time. Using an appliance thermometer can help you verify the temperature of your proofing environment.
Humidity Management: Preventing Skin Formation
Controlling humidity prevents the surface of your dough from drying out and forming a tough skin. A dry skin restricts the dough's ability to expand evenly and can lead to a less impressive perfect pizza dough rise. When the surface dries, it loses elasticity, and the trapped gases struggle to push through, potentially causing uneven bubbles or a stalled rise.
The easiest way to manage humidity is to simply cover your dough container. Use plastic wrap, a damp clean kitchen towel, or a tight-fitting lid. If using plastic wrap, lightly grease the surface of the dough ball or the underside of the wrap with a tiny bit of olive oil to prevent sticking. If using a damp towel, ensure it stays damp throughout the proofing period, especially in dry climates. Some bakers place a tray of hot water in the bottom of their turned-off oven (with the light on) to create a warm, humid microclimate for their dough.
Step 3: Mastering Different Proofing Methods
The method you choose for proofing your pizza dough will impact the final texture, flavor, and handling characteristics. Two primary methods are commonly used: bulk fermentation and individual dough ball proofing. Each serves a slightly different purpose and contributes uniquely to the perfect pizza dough rise.
Bulk Fermentation: Techniques and Benefits
Bulk fermentation, also known as the first rise, is when the entire mass of dough proofs together in one large container immediately after kneading. This stage allows the gluten network to relax and strengthen further while the yeast begins its work, producing initial gases. A common technique during bulk fermentation is performing "stretch and folds." Every 30-45 minutes during the first hour or two, you gently stretch and fold the dough onto itself. This helps redistribute the yeast and nutrients, strengthens the gluten without extensive kneading, and builds structure.
The benefits of bulk fermentation include developing more complex flavors over time, especially if it's extended or done in a cooler environment. It also simplifies the initial handling, as you're dealing with one large piece of dough. A typical bulk fermentation might last anywhere from 1 to 3 hours at room temperature, or much longer if cold fermenting. The dough should visibly increase in volume, often doubling or close to doubling, depending on the recipe and temperature.
Individual Dough Ball Proofing: Achieving Consistency
After bulk fermentation, the dough is typically divided into individual portions and shaped into smaller balls. This is the start of the second proofing stage, often called 'proofing the balls' or 'final proofing.' Shaping the balls creates surface tension, which helps the dough hold its shape and develop a good crust structure during baking. It also allows each pizza base to have a consistent size and thickness.
These individual dough balls are then placed in separate containers or a proofing tray, usually with some space between them and lightly oiled to prevent sticking. They are then covered and allowed to proof further. This proofing stage is crucial for the final rise and texture. It can be done at room temperature for a shorter period (30-90 minutes) or in the refrigerator for a long, slow cold fermentation (24-72 hours or more). The dough balls should become puffy and airy, showing significant signs of achieving a perfect pizza dough rise.
Step 4: Determining When Your Pizza Dough is Perfectly Proofed
Knowing when your pizza dough has reached its peak rise is crucial. Under-proofed dough can be tough and dense, while over-proofed dough can collapse, be difficult to handle, and result in a pale crust. There are several indicators to look for.
Visual Indicators: Volume, Texture, and Air Bubbles
Visually, perfectly proofed dough should have increased significantly in volume. For a room temperature proof, it might have doubled or nearly doubled in size compared to its starting point. However, simply doubling isn't always the best indicator, especially with cold fermentation where volume increase is slower. Look for a dough that appears light, airy, and puffy. The surface should be smooth and domed.
You might also see small bubbles visible just beneath the surface of the dough, especially around the edges of the container. These are signs that the yeast has been actively producing gas and the gluten network is successfully trapping it. The texture should feel soft and pillowy to the touch, not tight or dense. These visual cues are the first step in assessing your perfect pizza dough rise.
The Poke Test: Assessing Dough Elasticity
The poke test is a classic method to determine if your dough is ready. Gently flour one of your fingers and press it into the surface of the dough ball, about half an inch deep. Observe how the indentation behaves:
- Under-proofed: The indentation springs back immediately and completely. The dough is still too tight.
- Perfectly Proofed: The indentation springs back slowly and only partially, leaving a small indent. The dough is relaxed but still has enough structure. This is when you've achieved the perfect pizza dough rise for stretching.
- Over-proofed: The indentation remains completely or collapses. The gluten structure has weakened, and the dough may tear easily.
Mastering the poke test takes a little practice, but it's an invaluable skill for consistently achieving the ideal pizza dough rise.
Troubleshooting Common Pizza Dough Rising Problems
Even experienced bakers occasionally encounter issues with dough rising. Understanding common problems and their solutions will help you achieve a perfect pizza dough rise more consistently.
Dough Not Rising: Identifying Causes and Solutions
If your pizza dough isn't rising as expected, there are a few likely culprits. It's important to diagnose the issue before attempting a fix. Don't panic; most problems are solvable!
Yeast Viability: Testing and Addressing Issues
The most common reason for a dough that won't rise is inactive or dead yeast. Yeast is a living organism and has a shelf life. Check the expiration date on your yeast packet or jar. If you're unsure, you can test its viability: In a small bowl, combine 1 teaspoon of sugar, 2.25 teaspoons of yeast (one standard packet), and 1/4 cup of warm water (around 105-115°F or 40-46°C – not too hot!).
Stir and let it sit for 5-10 minutes. If the mixture becomes foamy and doubles in size, your yeast is alive and active. If nothing happens, your yeast is dead, and you'll need to start over with fresh yeast.
Ensure the water temperature you used in your dough wasn't too hot, as this can kill the yeast. Also, make sure the yeast came into contact with water and sugar early in the mixing process; salt can inhibit yeast activity if added directly on top of the yeast without liquid separation initially, although it's essential for flavor and dough structure overall.
Temperature Fluctuations: Correcting the Environment
As discussed, temperature is critical. If your dough isn't rising, check the ambient temperature. If it's too cold (below 70°F or 21°C), the yeast will be sluggish. Try moving the dough to a warmer spot, like in a turned-off oven with the light on, or near a warm appliance. Be patient, as it will just take longer.
Conversely, if the temperature was too hot during mixing (water above 130°F or 54°C), you might have killed the yeast. In this case, unfortunately, you'll likely need to start with a fresh batch of dough and ensure your water temperature is in the correct range for activating yeast (typically 100-115°F or 38-46°C for active dry yeast, slightly cooler for instant yeast).
Over-Proofing: Recognizing and Mitigating Effects
Over-proofed dough happens when it rises for too long or in too warm an environment, causing the gluten structure to weaken and potentially collapse. Signs include a dough that looks overly puffy and fragile, may have started to deflate in the center, smells strongly of alcohol, and fails the poke test by not springing back at all.
While you can't truly un-over-proof dough, you can sometimes salvage it. Gently punch down the dough to redistribute the gas, reshape it into a tight ball, and let it rest for a shorter period (15-30 minutes) before stretching. The resulting crust might be slightly less airy and more prone to tearing, but it can still make a decent pizza. Prevention is best: monitor your dough, especially in warm conditions, and use the poke test.
Dough Rising Too Quickly: Strategies for Slowing Down Fermentation
If your dough is rising much faster than expected, it's usually due to a warm environment or using too much yeast. While a quick rise can be appealing, it often results in less flavor development and a weaker gluten structure.
To slow down fermentation, simply move the dough to a cooler location. Placing it in the refrigerator (cold fermentation) is the most effective way to drastically slow yeast activity. This has the added benefit of developing more complex flavors over a longer period. If you just need to slow it down slightly, move it to the coolest spot in your kitchen or a cooler room. Reducing the amount of yeast in future batches, especially if using a long proofing time, can also help manage the rate of your perfect pizza dough rise.
Advanced Techniques for Enhancing Pizza Dough
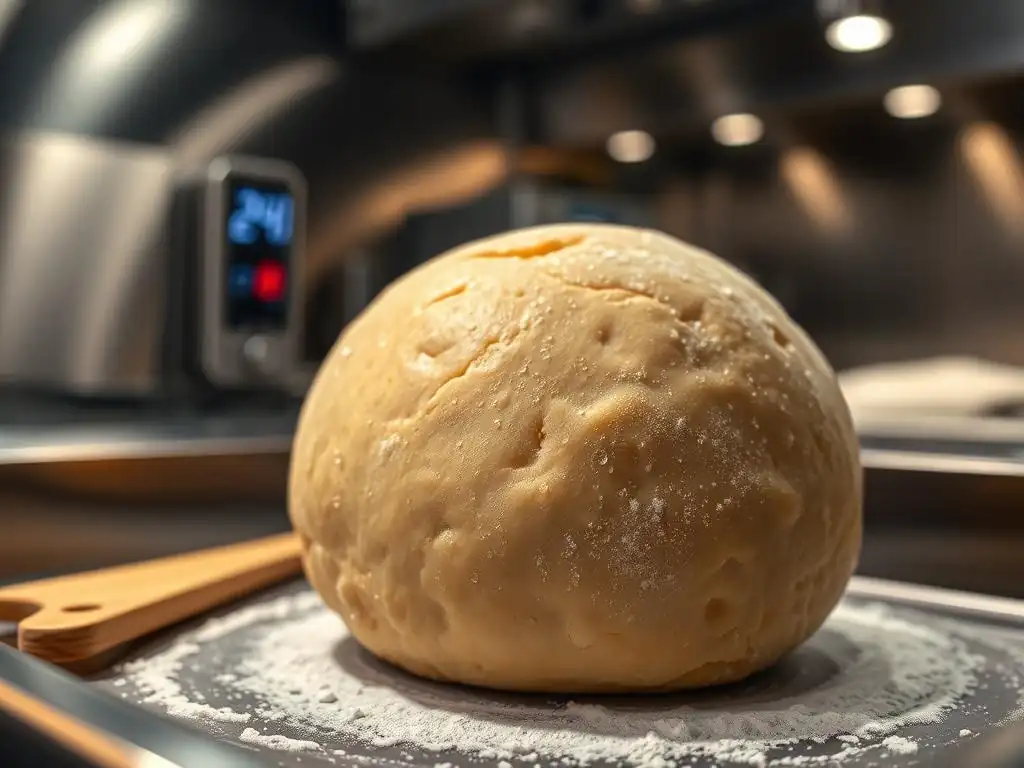
Once you've mastered the basics of achieving a perfect pizza dough rise, you might want to experiment with techniques that add complexity, flavor, and unique textures.
Cold Fermentation: Developing Flavor and Texture
Cold fermentation involves proofing your dough in the refrigerator, typically at temperatures between 38°F and 45°F (3°C to 7°C), for an extended period, often 24 to 72 hours, or even longer. At these low temperatures, yeast activity is significantly slowed, but not stopped. This slow fermentation allows enzymes in the dough more time to break down complex starches into simple sugars, which caramelize better during baking, leading to a more flavorful and beautifully browned crust.
Cold fermentation also allows the gluten structure to develop and relax more gradually. This results in dough that is incredibly easy to handle and stretch without tearing, even after 48 hours. The slower production of gas also means the bubbles are often more varied in size, contributing to an open, airy crumb structure with large, desirable air pockets (cornicione). While it requires planning ahead, cold fermentation is a fantastic way to elevate your perfect pizza dough rise and overall pizza quality.
Using a Sourdough Starter: Adding Complexity and Rise
Incorporating an active sourdough starter instead of commercial yeast introduces a wild world of flavor and a different kind of rise. Sourdough starters are a symbiotic culture of wild yeasts and lactic acid bacteria. These organisms work together to ferment the dough, producing not only carbon dioxide for the rise but also a range of organic acids (like lactic and acetic acid) that impart that characteristic tangy flavor to sourdough crusts.
Using sourdough requires understanding your starter's activity and adjusting proofing times based on its strength and ambient temperature. Sourdough fermentation is often slower than commercial yeast fermentation, requiring longer bulk and final proofing times, sometimes involving cold fermentation as well. The rise from sourdough can be powerful, leading to a complex flavor profile and a unique, sometimes slightly chewier, texture compared to commercial yeast doughs, contributing to a truly artisanal perfect pizza dough rise.
Flour Selection: Impact on Dough Strength and Rise
The type of flour you choose significantly impacts the dough's strength, hydration capacity, and ability to achieve a robust perfect pizza dough rise. Flours with higher protein content, like bread flour (typically 12-14% protein), develop a stronger, more elastic gluten network. This strong network is better at trapping the CO₂ gas produced by yeast, leading to a higher rise and an airier, chewier crust.
All-purpose flour (around 10-12% protein) can also work well for pizza dough, providing a good balance of strength and tenderness. Italian "Tipo 00" flour, often used for Neapolitan-style pizza, is finely milled and usually has a moderate to high protein content (often 10-13%). While its protein isn't always the highest, its fine granulation allows for excellent hydration and a very smooth dough, contributing to a specific type of perfect pizza dough rise with a light, crispy crust edge. Experimenting with different flours is key to finding your preferred crust texture and rise.
Tips and Tricks for Consistent Pizza Dough Results
Achieving a perfect pizza dough rise consistently involves paying attention to details throughout the process. Here are some practical tips.
Maintaining a Clean Proofing Environment
Ensure your proofing containers and the surrounding area are clean. Residual flour or dough from previous batches can harbor unwanted bacteria or mold that could negatively affect your yeast activity or introduce off-flavors.
Utilizing Dough Proofing Containers
Using appropriate proofing containers is essential. They should be large enough to accommodate the dough's expansion (at least double the dough's initial volume) and have a lid or be easily covered to maintain humidity. Clear containers are helpful as they allow you to visually track the dough's rise without disturbing it. Lightly oiling the container prevents the dough from sticking as it expands, ensuring an easy transfer when it's ready.
Accurate Ingredient Measurement
Precision in measuring ingredients, especially flour and water, is paramount for consistent dough hydration and overall results. Using a digital kitchen scale is highly recommended over volume measurements (cups), as the weight of flour in a cup can vary significantly depending on how it's scooped. Consistent ratios lead to predictable dough behavior and a more reliable perfect pizza dough rise.
- [ ] Use a kitchen scale for flour and water.
- [ ] Check yeast expiration date.
- [ ] Ensure water temperature is correct for yeast activation.
- [ ] Use an appropriately sized, clean container.
- [ ] Cover the dough to prevent drying.
- [ ] Monitor temperature of proofing environment.
- [ ] Learn and use the poke test.
From Proofing to Pizza Perfection
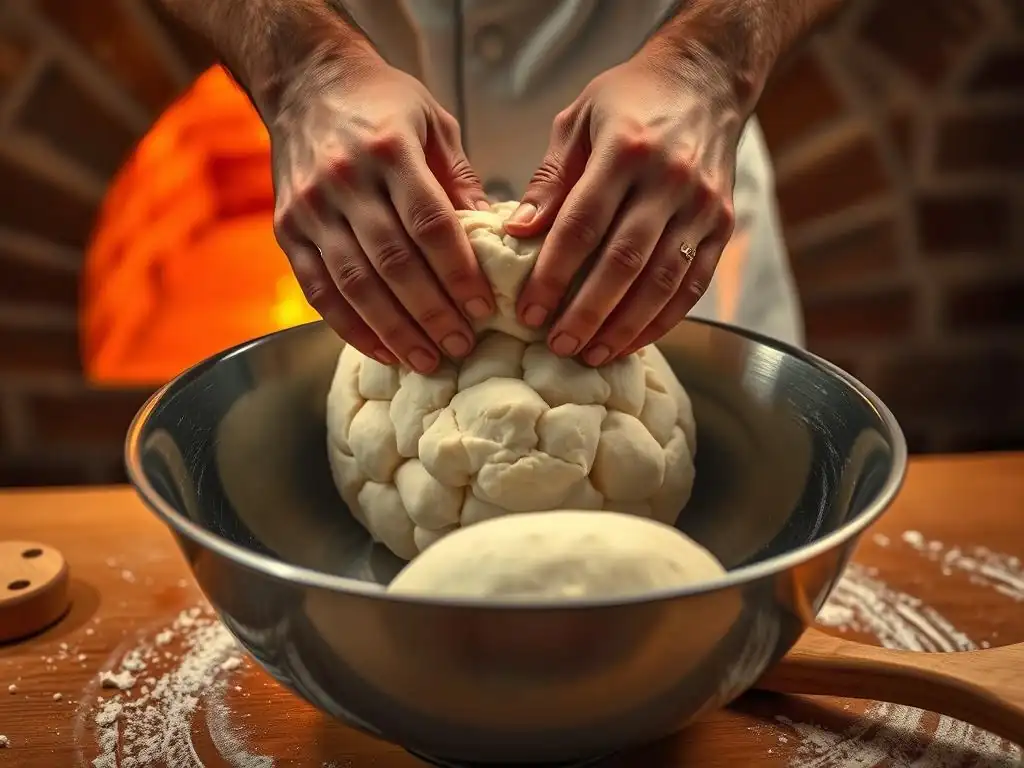
Once your dough has achieved its perfect pizza dough rise, handling it correctly for shaping and baking is the final step to a delicious pizza.
Shaping and Stretching Techniques
Properly proofed dough should be relaxed and easy to work with. Avoid using too much flour when shaping, as this can make the crust tough. Gently deflate the dough (if necessary after bulk fermentation, though not always needed for individual balls) and shape it carefully. Techniques range from pressing gently from the center outwards to tossing. The key is to maintain the air bubbles created during proofing, especially in the rim (cornicione), while thinning the base. Work from the center and leave the outer edge slightly thicker.
If the dough resists stretching and springs back, it might need a short rest (5-10 minutes), called a bench rest, to allow the gluten to relax further. This indicates it might have been slightly under-proofed or mishandled. Patience and gentle technique are key to preserving the perfect pizza dough rise structure as you form your pizza base.
Baking for a Crispy Crust
Baking at a high temperature is crucial for a great pizza crust. A hot oven (ideally 500°F/260°C or higher) allows the dough to puff up rapidly, creating a light, airy texture, while also achieving good browning and crispness. Using a pizza stone or steel, preheated in the oven for at least 30-60 minutes, helps transfer heat efficiently to the base of the pizza, ensuring a crispy bottom crust.
The intense heat causes the water in the dough to turn to steam, which helps inflate the crust further in the initial moments of baking (oven spring), capitalizing on your perfect pizza dough rise. Baking time is relatively short at high temperatures, often just 5-10 minutes, depending on your oven and desired level of crispness.
Savoring Your Homemade Pizza
You've kneaded, proofed, shaped, and baked! Now comes the best part – enjoying the fruits of your labor. The perfect pizza dough rise you worked so hard to achieve translates into a crust that is light, airy, flavorful, and has a satisfying texture.
Take a moment to admire the beautiful cornicione (the edge crust) with its airy pockets. Notice the aroma, a result of the fermentation process. Slice your pizza and enjoy the combination of textures – a crispy exterior giving way to a soft, open interior. Making pizza dough is a journey, and mastering the proofing stage is a significant milestone towards creating truly exceptional homemade pizza. Keep practicing, experiment with variables like proofing time and temperature, and you'll consistently achieve that perfect pizza dough rise for delicious results every time.
Frequently Asked Questions
How long should I proof my pizza dough for the perfect pizza dough rise?
The ideal proofing time depends on factors like temperature and yeast activity, but generally, a first rise of 1-2 hours and a second rise after shaping for 30-60 minutes is recommended. Look for the dough to double in size.
What's the best temperature for proofing pizza dough to achieve that perfect pizza dough rise?
A warm environment is crucial. Aim for a temperature between 75-80°F (24-27°C). You can use a proofing box, warm oven (turned off), or a warm spot in your kitchen.
What type of yeast is best for a perfect pizza dough rise, and how much should I use?
Active dry yeast, instant yeast, or fresh yeast all work well. Follow your recipe's instructions carefully, but generally, use around 1 teaspoon of active dry yeast per cup of flour.
My pizza dough didn't rise. What went wrong, and how can I ensure a perfect pizza dough rise next time?
Possible reasons include using expired yeast, water that's too hot or cold, or not enough time. Always check the yeast's expiration date and use lukewarm water.
Can I over-proof my pizza dough, and how do I know if I've ruined the perfect pizza dough rise?
Yes, over-proofing can cause the dough to collapse and become sour. If the dough is deflated, sticky, and has a strong, unpleasant smell, it's likely over-proofed. Try gently kneading it again, but results may vary.
Final Reflection: The Alchemy of a Perfect Rise
The quest for the perfect pizza dough rise isn't just about achieving a fluffy crust; it's about understanding the fundamental principles of fermentation and its impact on flavor and texture. This seemingly simple process is a microcosm of culinary artistry, demanding patience, precision, and a deep respect for the natural processes at play. Mastering the rise unlocks a world of pizza possibilities, transforming a simple meal into a truly transcendent experience.
The journey to understanding the ideal pizza dough rise has been a personal one, filled with both triumphs and failures. Each slightly under-proofed or over-proofed dough taught me a valuable lesson, highlighting the delicate balance required to achieve perfection. The best things in life are worth waiting for,
and this couldn't be truer when it comes to the slow, deliberate rise of pizza dough. The subtle nuances in flavor and texture that emerge from a perfectly proofed dough are a testament to the power of patience and attention to detail. This process mirrors life itself; sometimes the most rewarding achievements require time, care, and a willingness to learn from our mistakes.
Now, it's your turn. Don't be afraid to experiment, to adjust your techniques, and to embrace the imperfections along the way. The pursuit of the perfect pizza dough rise is a journey of discovery, a testament to the transformative power of culinary exploration. Each pizza you make, each rise you perfect, is a step closer to understanding not just the science of baking, but the art of creating something truly special. So, gather your ingredients, embrace the process, and let the alchemy of a perfect rise begin.
Unleash Your Inner Pizzaiolo: Craft the Perfect Crust!
Thanks for taking the time to explore the secrets of achieving that ideal pizza dough rise! You've now got the knowledge to create truly amazing pizzas. Ready to put your newfound skills to the test?
- Bake your masterpiece! Try out the techniques we've discussed and experience the joy of a perfectly risen crust. Pay close attention to those fermentation times!
- Share your pizza-making journey! Show us your delicious creations – tag us on social media and inspire others!
- Experiment with different flours and techniques to see how they impact your rise. What unique flour blend creates your perfect pizza crust?
What exciting flavor combinations will your perfectly risen pizza dough showcase?