
Can You Make Pizza Dough in a Food Processor?

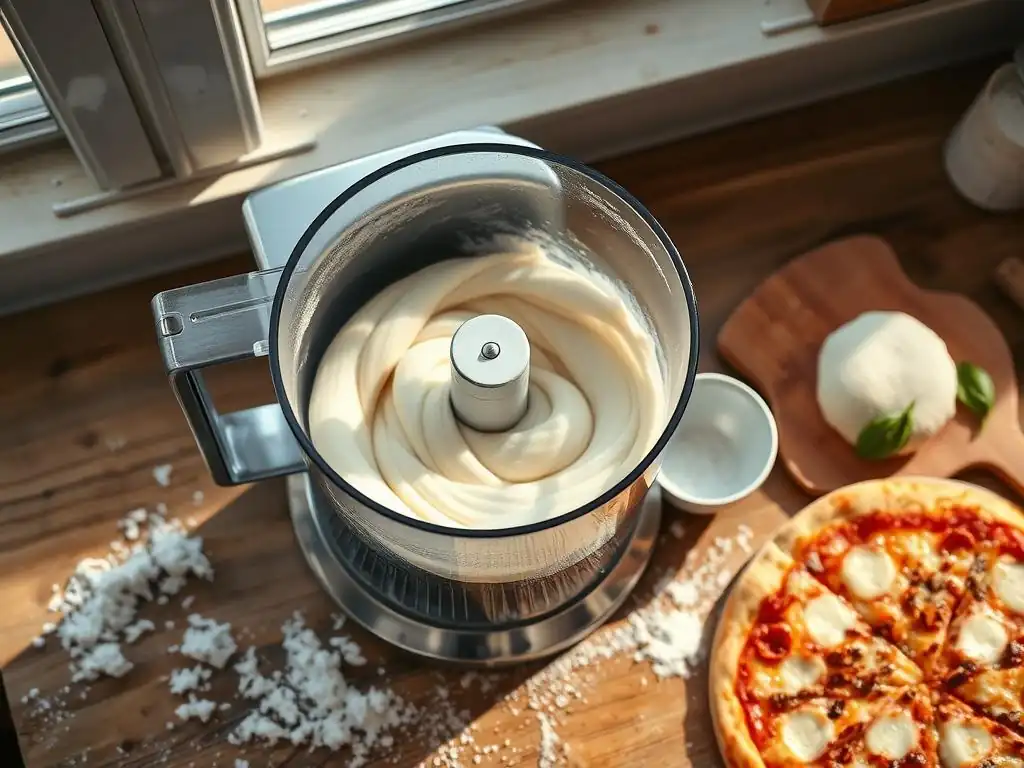
Welcome to BakeWithEase, your trusted companion in the world of baking! Ever wondered if you could skip the kneading and still achieve that perfect pizza crust? We're diving deep into the surprisingly simple method of creating a delicious food processor pizza dough recipe. Discover how this kitchen marvel can revolutionize your pizza nights, saving you time and effort without sacrificing flavor. Intrigued? Let's unlock the secrets to effortlessly crafting pizza perfection!
- Can You Make Pizza Dough in a Food Processor? - KitchenCraft
- Introduction: The Simplicity of Food Processor Pizza Dough
- Understanding the Fundamentals of Pizza Dough
- Food Processor Pizza Dough Recipe: A Detailed Guide
- Proofing Your Food Processor Pizza Dough
- Baking Your Food Processor Pizza
- Troubleshooting Food Processor Pizza Dough
- Food Processor Pizza Dough vs. Hand-Kneaded Dough
- Variations on the Food Processor Pizza Dough Recipe
- Storing Leftover Pizza Dough
- Conclusion: Achieving Pizza Dough Perfection with KitchenCraft
-
Frequently Asked Questions
- How does using a food processor impact the texture of pizza dough?
- What are the key advantages of using a food processor for pizza dough?
- Are there any specific food processor requirements for making pizza dough?
- What are some common mistakes to avoid when making pizza dough in a food processor?
- Can I use different types of flour in a food processor pizza dough recipe?
- Final Reflection: The Joy of Perfectly Processed Pizza Dough
- Unleash Your Inner Pizzaiolo!
Can You Make Pizza Dough in a Food Processor? - KitchenCraft
Introduction: The Simplicity of Food Processor Pizza Dough
KitchenCraft Explores: Streamlining Pizza Dough Preparation
Making homemade pizza dough can sometimes feel like a daunting task, especially for busy home bakers. Traditionally, it involves lengthy kneading by hand or using a stand mixer, which requires significant time and effort. However, the modern kitchen offers powerful tools that can simplify this process dramatically. One such tool is the food processor, often overlooked for dough making but incredibly effective.
Using a food processor to make pizza dough can cut down the preparation time significantly, allowing you to enjoy fresh, homemade pizza more often. This method leverages the speed and power of the appliance to quickly bring the dough together and develop gluten, the protein structure essential for a chewy pizza crust. It's a technique that demystifies dough making and makes a delicious Food processor pizza dough recipe accessible to everyone, regardless of their experience level.
Understanding the Fundamentals of Pizza Dough
Classic Pizza Dough: A Concise Summary
Classic pizza dough is typically a simple mixture of flour, water, yeast, salt, and sometimes a little oil or sugar. The magic happens when these ingredients are combined and kneaded, activating the gluten in the flour. This gluten network provides the dough with its structure and elasticity, allowing it to be stretched thin without tearing and resulting in that desirable chewy texture after baking.
The traditional method involves mixing the ingredients until a shaggy dough forms, then kneading it vigorously on a floured surface for 10-15 minutes until it becomes smooth and elastic. This process develops the gluten and incorporates air, which helps the dough rise. After kneading, the dough undergoes a proofing period, allowing the yeast to ferment and produce carbon dioxide, causing the dough to double in size and develop flavor.
The Food Processor Advantage: Efficiency and Consistency
The food processor significantly speeds up the kneading process. Instead of 10+ minutes of manual work, a food processor can achieve a similar level of gluten development in just 30-60 seconds of processing time. The rapid rotation of the blade (or dough blade attachment) quickly mixes the ingredients and works the dough, making it an ideal tool for busy bakers or those with physical limitations that make hand kneading difficult.
Beyond speed, the food processor also offers consistency. Once you've perfected your Food processor pizza dough recipe, you can reliably produce dough with the same texture and hydration level every time. This consistency is key to achieving predictable baking results, ensuring your pizza crust turns out just right, whether you prefer it thin and crispy or slightly thicker and chewy.
Food Processor Pizza Dough Recipe: A Detailed Guide
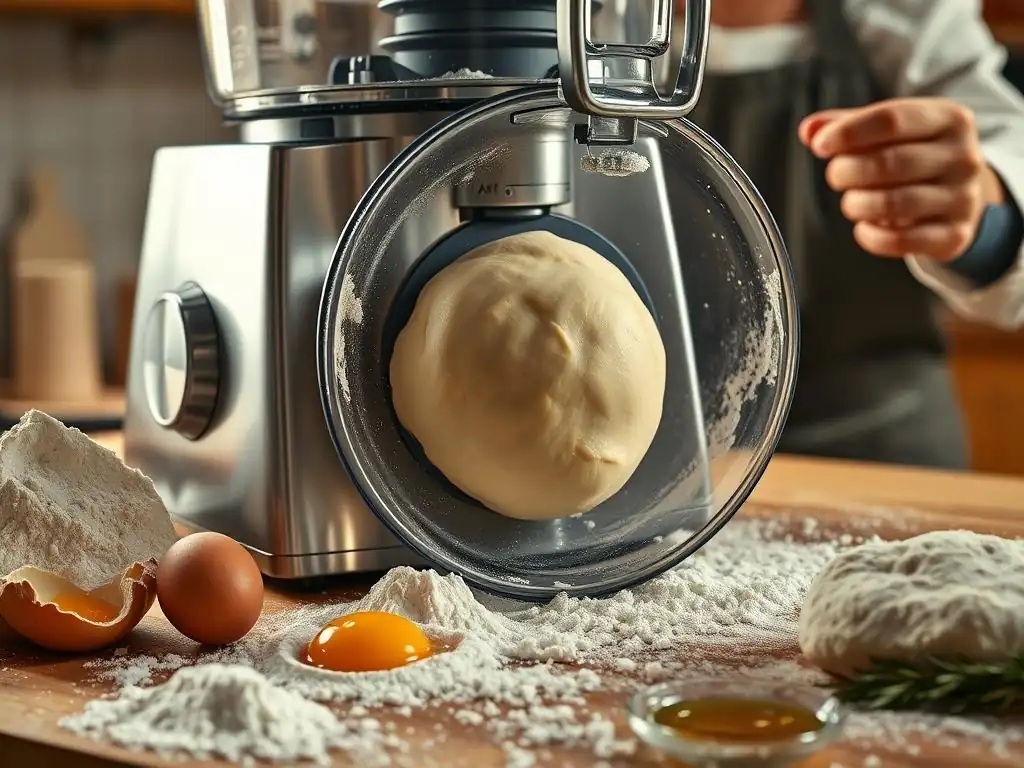
Ingredients for Superior Food Processor Pizza Dough
A great pizza starts with great ingredients. For a successful Food processor pizza dough recipe, you'll need a few key components. Let's break them down.
You will typically need about 2 cups of flour, 1 cup of warm water, 1-2 teaspoons of yeast, 1 teaspoon of salt, and optionally 1-2 tablespoons of olive oil. The quality and type of each ingredient can influence the final texture and flavor of your pizza crust. Using fresh yeast and good quality flour, for example, will yield better results than old or generic alternatives.
Flour Selection: Bread Flour vs. All-Purpose Flour
Choosing the right flour is crucial for pizza dough. Bread flour has a higher protein content (around 12-14%) compared to all-purpose flour (around 10-12%). This higher protein level means more gluten can develop, resulting in a chewier crust with better structure, ideal for holding up under toppings.
While bread flour is often preferred for its chewiness, all-purpose flour can certainly be used to make a delicious Food processor pizza dough recipe. Using all-purpose flour might result in a slightly less chewy crust, but it's perfectly acceptable and more readily available in most kitchens. Some bakers even blend the two flours to find their perfect balance.
Yeast Options: Dry Active vs. Instant Dry Yeast
Yeast is the leavening agent that makes your dough rise. Dry active yeast requires proofing in warm water before adding to the dry ingredients, typically taking about 5-10 minutes to activate and become foamy. This step confirms the yeast is alive and ready to work.
Instant dry yeast, on the other hand, can be mixed directly with the dry ingredients without prior proofing. It's faster acting and very reliable. Both types work well in a Food processor pizza dough recipe, but instant yeast simplifies the process slightly. If using active dry yeast, ensure your water is around 105-115°F (40-46°C) for proofing; for instant yeast mixed directly, 120-130°F (49-54°C) water can be used as it won't directly contact the yeast for an extended period before mixing begins.
Water Temperature: Optimizing Yeast Activation
Water temperature is critical for activating yeast. If the water is too cold, the yeast will be sluggish or inactive, leading to poor or no rise. If the water is too hot, it can kill the yeast, also resulting in a flat dough.
As mentioned, active dry yeast needs water between 105-115°F (40-46°C) for proofing. Instant dry yeast, when mixed directly with dry ingredients, can handle slightly warmer water, up to 130°F (54°C), because the surrounding flour helps to insulate it and moderate the temperature. Using an accurate thermometer is highly recommended to ensure your water is within the optimal range for your chosen yeast type, guaranteeing a successful Food processor pizza dough recipe.
Equipment Needed: Ensuring Success
Making pizza dough in a food processor requires minimal specialized equipment, making it accessible for most home cooks. The core piece is, of course, a food processor.
You'll need a food processor with a capacity of at least 7 cups to comfortably handle a standard batch of dough made with 2-3 cups of flour. Many food processors come with a specific dough blade (often plastic), which is gentler on the dough and helps prevent overheating. While a dough blade is ideal, the standard metal S-blade can also be used effectively; just be mindful of processing time to avoid overworking the dough.
Additionally, you'll need measuring cups and spoons for accuracy, a liquid measuring cup, potentially a kitchen scale for precise flour measurement (highly recommended for consistent results), a small bowl if proofing active dry yeast, a lightly floured surface or bowl for kneading/shaping, and a clean bowl (lightly oiled) for the first proofing. A bench scraper is also helpful for handling the dough.
Making Pizza Dough in a Food Processor: The Process
Creating a delicious Food processor pizza dough recipe is surprisingly simple. Just follow these steps:
Step 1: Blending Dry Components
Begin by adding the flour and salt to the bowl of your food processor. If using instant dry yeast, add it now as well, placing it on top of the flour. Pulse the dry ingredients a few times to combine them evenly. This ensures the salt and yeast are distributed throughout the flour before the liquid is added.
If using active dry yeast, this step involves just the flour and salt. The yeast will be added later with the warm water. Pulsing helps aerate the flour slightly and ensures all components are ready for the next stage of the Food processor pizza dough recipe.
Step 2: Incorporating Wet Components
If using active dry yeast, first proof it by dissolving it in the warm water (105-115°F) with a pinch of sugar (optional) in a separate bowl for 5-10 minutes until foamy. Once proofed, or if using instant yeast already in the bowl, pour the warm water (and olive oil, if using) through the feed tube of the food processor while the processor is running continuously.
Add the liquid gradually but steadily. The dough will start to come together rapidly. Watch as the mixture transitions from dry crumbs to a shaggy mass and then starts to form a ball. This usually takes less than 30 seconds once the liquid is added.
Step 3: Processing to Dough Stage
Once the dough forms a ball and cleans the sides of the food processor bowl, continue processing for another 30-60 seconds. This short processing time is equivalent to several minutes of hand kneading or stand mixer kneading.
Observe the dough during this stage. It should look relatively smooth and elastic. Be careful not to over-process, as this can overheat the dough and damage the gluten structure. The goal is just enough processing to develop the necessary elasticity for stretching.
Step 4: Forming the Dough Ball
Carefully remove the dough from the food processor bowl. It should be slightly sticky but manageable. Turn the dough out onto a lightly floured surface.
Knead the dough gently by hand for just 1-2 minutes. This brief final knead helps to smooth out the dough ball, incorporates a tiny bit more flour if needed for handling, and gives you a chance to feel the dough's texture and ensure it's properly developed before proofing. Form the dough into a smooth ball.
Proofing Your Food Processor Pizza Dough
Proofing is essential for developing flavor and texture in your Food processor pizza dough recipe. It's where the yeast gets to work!
First Proof: Initial Fermentation
The first proof, also known as bulk fermentation, allows the dough to rise and for flavor compounds to develop. Place the dough ball in a clean bowl that has been lightly oiled with olive oil. Turn the dough to coat all sides.
Cover the bowl tightly with plastic wrap or a clean kitchen towel. Let the dough rise in a warm, draft-free place until it has doubled in size. This typically takes 1-2 hours at room temperature ( 70-75°F or 21-24°C), but it can be slower in a cooler environment. You can also do a slow cold proof in the refrigerator for 8-24 hours for enhanced flavor.
Second Proof: Shaping and Final Rest
After the first proof, punch down the dough gently to deflate it. This redistributes the yeast and gases and makes the dough easier to handle. Divide the dough if making multiple pizzas.
Shape the dough into a ball(s) again and let it rest for 10-15 minutes covered. This allows the gluten to relax, making the dough much easier to stretch or roll into your desired pizza shape. This short rest is sometimes called the bench rest. Once shaped onto your pizza peel or baking surface, allow the shaped dough to rest for another 10-20 minutes while you preheat your oven and prepare toppings. This final rest, or second proof (though often minimal for pizza), helps the dough maintain its shape and contributes to a good crust texture.
Baking Your Food Processor Pizza
Baking is where your Food processor pizza dough recipe comes to life! Proper baking technique is key to a crispy yet chewy crust.
Pizza Dough Baking Tips for Optimal Results
Preheat your oven to a very high temperature – 475-500°F (245-260°C) is ideal for achieving a professional-style crust. If you have a pizza stone or steel, place it in the oven while it preheats for at least 30-60 minutes to ensure it's screaming hot.
When ready to bake, carefully slide the topped pizza onto the preheated stone/steel using a pizza peel. Bake time will vary depending on your oven and desired crust crispness, but it typically ranges from 8-15 minutes. Look for a golden-brown crust and bubbly cheese. Baking at a high temperature ensures a quick cook time, which helps the crust develop a crispy exterior while remaining tender inside.
Alternative Baking Methods: Cast Iron Skillet, Outdoor Grill
Don't have a pizza stone or steel? No problem! A cast iron skillet is an excellent alternative. Preheat the skillet on the stovetop over medium-high heat, then carefully add the shaped dough. Top the pizza and transfer the skillet to a preheated oven (around 450°F or 230°C) to finish baking the top and melt the cheese.
An outdoor grill also provides a fantastic high-heat cooking environment, mimicking a wood-fired oven. Preheat your grill to high heat (around 500-550°F or 260-290°C). Carefully place the shaped dough directly on the clean, hot grill grates (or use a pizza stone on the grill). Grill for 2-3 minutes per side, or until cooked through and slightly charred. This method imparts a lovely smoky flavor.
Troubleshooting Food Processor Pizza Dough
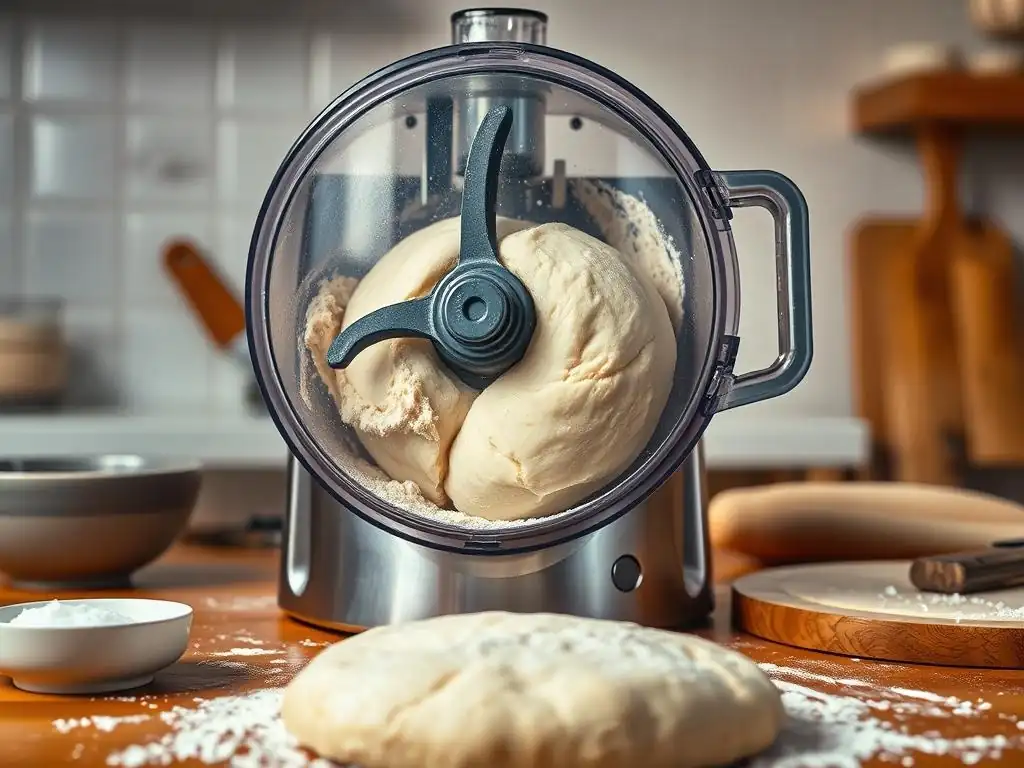
Even with a great Food processor pizza dough recipe, sometimes things don't go exactly as planned. Here are some common issues and how to fix them.
Dough Too Sticky: Corrective Actions
If your dough is excessively sticky after processing and the initial hand knead, it likely needs a little more flour. Add flour one tablespoon at a time to the dough while gently kneading on a lightly floured surface.
Continue adding and kneading until the dough is still slightly tacky but no longer sticks aggressively to your hands or the surface. Be cautious not to add too much flour, as this can result in a dry, tough crust. The goal is a dough that is soft, pliable, and easy to handle.
Dough Too Dry: Moisture Adjustments
Conversely, if your dough appears too dry and crumbly in the food processor or feels stiff and doesn't come together properly, it needs more liquid. Add warm water one teaspoon at a time through the feed tube while the processor is running, or knead it in by hand on a clean surface.
Add just enough water until the dough forms a cohesive ball and feels slightly tacky. A properly hydrated dough is essential for a tender and chewy crust. Dry dough will be difficult to stretch and will result in a dense, hard crust.
Dough Not Rising: Troubleshooting Yeast Activation
If your dough isn't rising during the proofing stage, the most common culprits are inactive yeast or incorrect water temperature.
- Check the expiration date on your yeast package. Old yeast loses its potency.
- Ensure your water temperature was within the recommended range (
105-115°Ffor active dry,120-130°Ffor instant mixed with dry). - Make sure your proofing location is warm and draft-free. Cold temperatures significantly slow down yeast activity.
If your yeast was active and the temperature was right, the issue might be inhibiting ingredients like too much salt directly contacting the yeast for too long before mixing, or insufficient kneading preventing gluten development needed to trap gases. If all else fails, you may need to start over with fresh yeast and carefully check your water temperature.
Food Processor Pizza Dough vs. Hand-Kneaded Dough
Choosing between making a Food processor pizza dough recipe and hand-kneading often comes down to personal preference and available time.
Flavor and Texture Comparison
When done correctly, both methods can produce excellent pizza dough. Hand kneading, especially with longer fermentation times (like a cold proof), can sometimes develop slightly more complex flavors due to the slower, more controlled yeast activity.
Texture-wise, a well-made Food processor pizza dough recipe can be just as chewy and elastic as hand-kneaded dough. The key is not over-processing and allowing sufficient proofing time. Some purists argue that hand kneading provides a superior "feel" for the dough, which helps in achieving the perfect texture, but for most home bakers, the difference is negligible.
Time and Effort Analysis
This is where the food processor truly shines. Hand kneading typically takes 10-15 minutes of continuous physical effort. Using a stand mixer might take 5-10 minutes.
A Food processor pizza dough recipe, however, requires only about 30-60 seconds of processing time after the ingredients are added. Factoring in ingredient measuring and cleanup, the food processor method is significantly faster and requires much less physical effort, making homemade pizza a more feasible weeknight option.
Determining the Best Method for Your Needs
If you enjoy the tactile experience of working with dough, have ample time, or prefer traditional methods, hand kneading might be for you. If you're short on time, prefer minimal mess, or want a quick and reliable way to make dough, the food processor is an excellent choice.
Ultimately, the "best" method is the one that fits your lifestyle and helps you make delicious pizza consistently. Trying a Food processor pizza dough recipe is a great way to experience the efficiency it offers and see if it becomes your preferred technique.
Variations on the Food Processor Pizza Dough Recipe
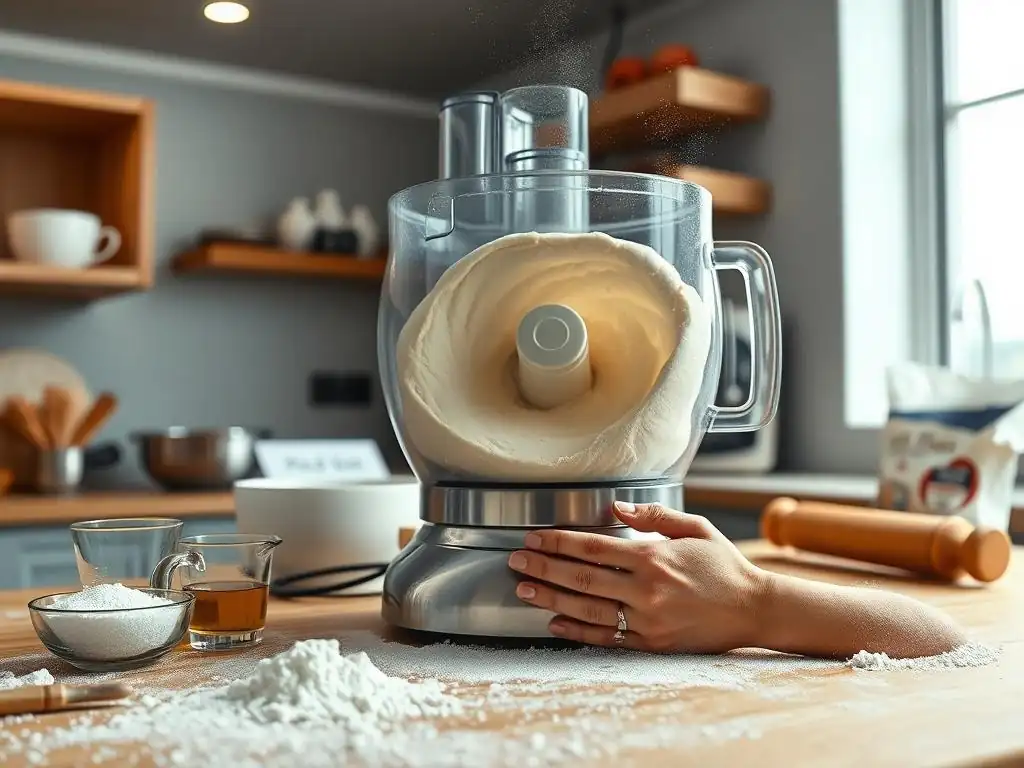
Once you've mastered the basic Food processor pizza dough recipe, you can experiment with variations to customize your crust.
Sourdough Food Processor Pizza Dough
You can adapt a Food processor pizza dough recipe to use sourdough starter instead of commercial yeast. This involves combining your active sourdough starter with flour, water, and salt in the food processor, processing until a dough forms, and then proceeding with bulk fermentation, which will take much longer (typically 4-12 hours at room temperature or 24-48 hours in the fridge).
Using a sourdough starter adds a tangy flavor and unique texture to the crust. The process in the food processor is similar for the initial mixing and kneading phase, saving you the manual effort, but the subsequent proofing times are determined by the sourdough starter's activity and ambient temperature.
Gluten-Free Food Processor Pizza Dough
Creating a gluten-free Food processor pizza dough recipe requires using a blend of gluten-free flours (such as rice flour, sorghum flour, tapioca starch, etc.) often combined with a binder like xanthan gum. The process in the food processor is slightly different because gluten-free doughs don't develop gluten networks.
The food processor is used primarily to quickly and evenly combine the ingredients. Over-processing should be avoided. Gluten-free doughs tend to be stickier and less elastic than wheat-based doughs, requiring different handling and shaping techniques. While the food processor helps with initial mixing, the dough behaves quite differently throughout the rest of the process.
Incorporating Herbs and Garlic Infusion
Adding flavorings directly into your Food processor pizza dough recipe is simple and effective. You can add dried herbs like oregano, basil, or rosemary, or garlic powder directly into the dry ingredients in Step 1.
For a more intense flavor, you can infuse the warm water with garlic. Simply steep crushed garlic cloves in the warm water for about 15-20 minutes before straining them out and using the flavored water in Step 2. This imparts a subtle garlic essence throughout the crust. Experiment with your favorite flavors!
Storing Leftover Pizza Dough
Sometimes you might make more dough than you need, or you might want to prepare dough in advance. Properly storing your Food processor pizza dough recipe ensures it stays fresh and ready to use.
Refrigerator Storage: Maintaining Dough Quality
Pizza dough can be stored in the refrigerator for 3-5 days. The cold temperature significantly slows down yeast activity, allowing the dough to ferment slowly, which actually develops more complex flavors (this is the basis of cold fermentation).
After the first proof at room temperature, gently deflate the dough, shape it into a ball, and place it in a lightly oiled airtight container or a bowl covered tightly with plastic wrap. Punch down the dough if it rises too much during storage. Remember to take the dough out of the fridge about 30-60 minutes before you plan to use it, allowing it to come closer to room temperature for easier stretching.
Freezing Pizza Dough for Future Use
For longer storage, you can freeze your Food processor pizza dough recipe. Freezing stops yeast activity, preserving the dough for later use, typically up to 1-2 months.
After the first proof, gently deflate the dough and divide it into individual pizza portions. Shape each portion into a ball. You can lightly flour the dough balls and place them on a baking sheet lined with parchment paper, then freeze until solid (about 2-3 hours). Once frozen, transfer the dough balls to freezer-safe bags or airtight containers, pressing out as much air as possible. To use, transfer the frozen dough ball to a lightly oiled bowl, cover, and let it thaw in the refrigerator overnight, then let it sit at room temperature for 30-60 minutes before shaping and baking.
Conclusion: Achieving Pizza Dough Perfection with KitchenCraft
Making pizza dough in a food processor is a fantastic way to streamline the process without sacrificing quality. It's fast, efficient, and produces a consistent dough that's perfect for delicious homemade pizzas. Whether you're a beginner baker or looking to save time, incorporating a Food processor pizza dough recipe into your routine is a game-changer.
With the right ingredients, proper technique, and a little practice, you can achieve pizza crust perfection right in your own kitchen using this powerful appliance. So, dust off your food processor, gather your ingredients, and get ready to enjoy fresh, homemade pizza anytime the craving strikes!
Frequently Asked Questions
How does using a food processor impact the texture of pizza dough?
Using a food processor results in a smoother and more elastic dough due to the rapid gluten development. This can lead to a chewier crust compared to hand-kneaded dough. It's generally easier to achieve consistency.
What are the key advantages of using a food processor for pizza dough?
The main advantages are speed and convenience. A food processor drastically reduces the kneading time, making it ideal for busy bakers. It also requires less physical effort.
Are there any specific food processor requirements for making pizza dough?
While not essential, a large-capacity food processor (at least 7 cups) is recommended to avoid overflow. Ensure your processor has a dough blade or a general-purpose blade that can handle kneading.
What are some common mistakes to avoid when making pizza dough in a food processor?
Over-processing is a frequent error, leading to a tough crust. Also, adding too much flour at once can strain the motor. Pulse the ingredients carefully and add water gradually.
Can I use different types of flour in a food processor pizza dough recipe?
Yes, you can experiment with different flours, but adjust the hydration levels accordingly. Bread flour is typically recommended for its high gluten content, resulting in a chewier crust. All-purpose flour can also be used.
Final Reflection: The Joy of Perfectly Processed Pizza Dough
The quest for the perfect pizza dough is a timeless one, and the food processor offers a surprisingly efficient and effective path. This seemingly simple kitchen appliance can elevate your pizza-making experience from a laborious task to a joyful, almost effortless process. The speed and consistency it provides allow for more experimentation and, ultimately, more delicious pizzas.
The impact of readily available, high-quality pizza dough recipes extends beyond the individual kitchen. It empowers home cooks to explore culinary creativity, fostering a deeper connection with the food they create and share. This accessibility democratizes pizza-making, allowing anyone to craft a truly personalized pie. The simplest things are often the most profound,
a sentiment that rings true when considering the transformative power of a perfectly kneaded dough, whether by hand or machine.
Now, consider your own pizza-making journey. Will you embrace the efficiency of the food processor and unlock a new level of pizza perfection? Experiment with different flours, herbs, and toppings. Don't be afraid to tweak the recipe to suit your taste. The journey of creating the perfect pizza is as rewarding as the final slice itself. Embrace the process, and savor the delicious results.
Unleash Your Inner Pizzaiolo!
Thanks for taking the time to explore the world of food processor pizza dough! You've just unlocked a quicker, easier way to make amazing pizza at home. Now it's time to put your new knowledge into action.
- Make your first food processor pizza dough today! Grab those ingredients and give it a try. You might be surprised how simple it is.
- Share your pizza-making journey! Snap a picture of your delicious creation and tag us on social media – we’d love to see your results!
- Explore other quick bread recipes using your food processor on BakeWithEase.com (this should not be a link, just the name).
What unique topping will you create for your first food processor pizza?