
The Science Behind a Great Pizza Dough Rise

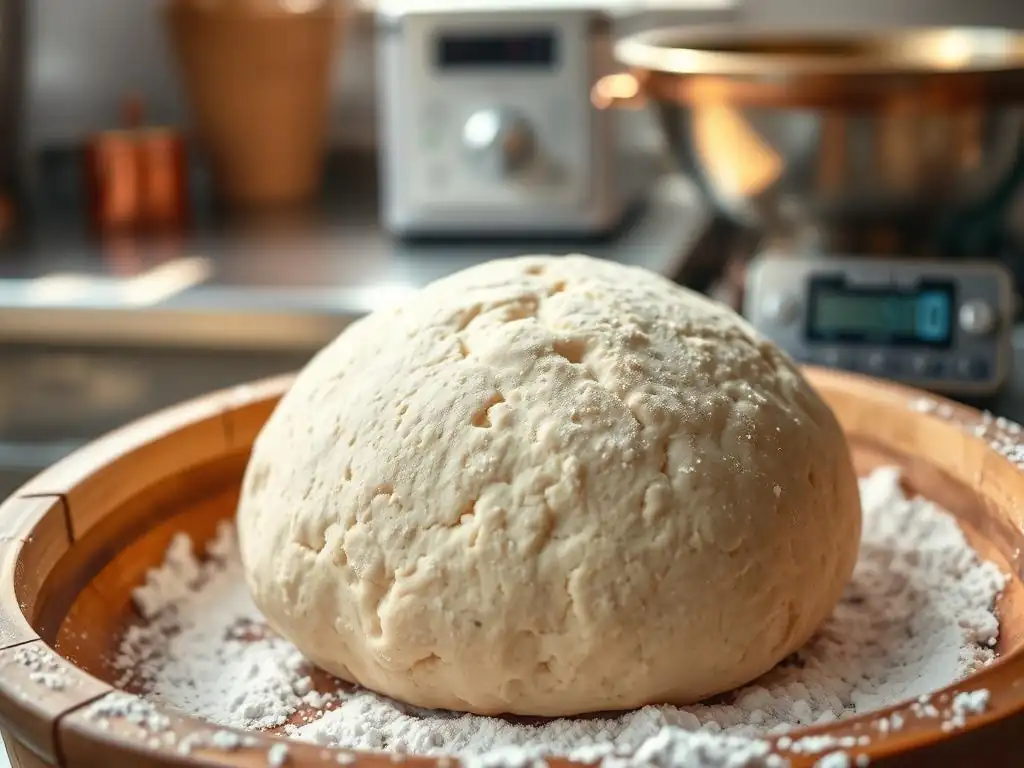
Welcome to BakeWithEase, where the joy of baking meets the simplicity you deserve. Ever wondered what really makes the difference between a good pizza and a great pizza? This week we're diving deep into perfecting pizza dough rise time, revealing the secrets behind that light, airy crust. Uncover the science and techniques that will elevate your pizza game, and prepare to impress with every slice. Let's get baking!
- Understanding the Key Ingredients and Their Role in Dough Rise
- The Science of Fermentation: How Yeast Makes Dough Rise
- Factors Affecting Pizza Dough Rise Time: Troubleshooting for Success
- Different Methods for Pizza Dough Rising: Choosing the Best Approach
- Tips for Perfecting Pizza Dough Rise Time: A BakeWithEase Checklist
- Troubleshooting Common Pizza Dough Rising Problems
- Recipes for Pizza Dough with Different Rising Times
- Conclusion: Mastering the Art of Pizza Dough Rise with BakeWithEase
- Frequently Asked Questions
- Final Reflection: The Ever-Rising Quest for Perfect Pizza Dough
- Unleash Your Inner Pizzaiolo: Craft the Perfect Dough!
Understanding the Key Ingredients and Their Role in Dough Rise
Flour Power: Selecting the Right Flour for Optimal Rise
The type of flour you choose is fundamental to perfecting pizza dough rise time. Flour provides the structure that traps the gases produced by the yeast, allowing the dough to expand. The key component here is gluten, a protein network formed when water is added to flour and it is mixed or kneaded. Flours vary in their protein content, which directly impacts gluten development.
High-protein flours, typically bread flour with protein levels ranging from 12% to 14%, are excellent for pizza dough. They develop a strong, elastic gluten network capable of trapping a significant amount of carbon dioxide produced during fermentation. This results in a dough that rises well and yields a chewy crust with a good structure.
In contrast, lower-protein flours, like all-purpose flour (around 10-12% protein), will produce a less robust gluten network, leading to a dough that may not rise as high and results in a softer crust. For achieving that ideal airy crumb and structure, especially when aiming for a longer rise time, opting for a bread flour or a specific pizza flour is often the preferred choice.
Yeast 101: The Engine Behind Pizza Dough Fermentation
Yeast is the living organism responsible for making your pizza dough rise. It's a type of fungus that, when active, consumes sugars in the flour and produces carbon dioxide gas and alcohol as byproducts through a process called fermentation. The carbon dioxide gas gets trapped within the gluten network of the dough, causing it to expand and rise. Understanding yeast is crucial for perfecting pizza dough rise time.
There are several common types of yeast used in baking, primarily active dry yeast and instant yeast. Active dry yeast typically requires hydration in warm water (around 105-115°F or 40-46°C) before being added to the dry ingredients. Instant yeast, on the other hand, can usually be mixed directly with the dry ingredients, as its granules are smaller and activate more quickly.
The amount of yeast used significantly impacts the rise time; a smaller amount requires a longer fermentation period to achieve the same rise, often leading to more complex flavors, while a larger amount speeds up the process. For a typical room temperature rise over 1-2 hours, you might use around 1-2% instant yeast relative to the flour weight, whereas an overnight cold ferment might use as little as 0.25-0.5%.
Water's Crucial Contribution: Hydration and Dough Development
Water is indispensable in pizza dough. It serves multiple critical functions beyond simply bringing the dry ingredients together. Water activates the yeast, allowing it to begin its metabolic process of fermentation. It also facilitates the formation and development of the gluten network by allowing the proteins gliadin and glutenin in the flour to bond and create elasticity and structure.
The amount of water used, expressed as a percentage of the flour weight (known as hydration), significantly impacts the dough's consistency and the final crust texture. Typical pizza dough hydration ranges from 60% to 70%. A higher hydration (e.g., 70%) results in a wetter, stickier dough that can be more challenging to handle but often leads to a lighter, airier crust with larger holes. A lower hydration (e.g., 60%) produces a firmer, easier-to-handle dough that may yield a denser crumb. Getting the hydration right is key to achieving the desired rise and texture for your specific pizza style.
Salt's Impact: Controlling Yeast Activity and Enhancing Flavor
Salt is a critical ingredient in pizza dough, playing a dual role in both flavor development and controlling yeast activity. While it might seem counterintuitive, salt actually slows down fermentation. It does this by drawing water out of the yeast cells through osmosis, which inhibits their activity. This inhibitory effect is beneficial because it helps regulate the rise, preventing the dough from over-proofing too quickly, especially in warmer conditions or with longer fermentation times, which is vital for perfecting pizza dough rise time.
Beyond its role in controlling the rise, salt is essential for enhancing the overall flavor of the pizza crust. Without salt, the crust can taste bland and flat. Salt interacts with the other ingredients, bringing out the natural sweetness of the fermented dough and balancing the flavors. A common ratio for salt in pizza dough is between 1.5% and 2.5% of the flour weight. Using too little salt can lead to an uncontrolled, rapid rise and less flavorful dough, while too much salt can significantly inhibit yeast activity, resulting in little to no rise.
The Science of Fermentation: How Yeast Makes Dough Rise
Yeast Metabolism: Converting Sugars into Gas and Flavor Compounds
The magic behind pizza dough rising lies in the metabolic processes of yeast during fermentation. When yeast is introduced to water and flour, it awakens and begins to consume the simple sugars present in the flour, such as glucose and fructose. If simple sugars are scarce, enzymes in the flour (amylase) break down complex starches into simpler sugars that the yeast can metabolize.
Through anaerobic respiration (fermentation in the absence of oxygen), yeast converts these sugars primarily into carbon dioxide (CO2) gas and ethanol (alcohol). The CO2 gas is what gets trapped within the elastic gluten network, causing the dough to inflate and rise. The ethanol contributes to the characteristic aroma of baking bread and evaporates during the baking process.
Crucially for flavor, yeast also produces a variety of other volatile organic compounds during fermentation, such as organic acids (like lactic and acetic acid, particularly in sourdough or long ferments) and esters. These compounds are vital for developing the complex, nuanced flavors that distinguish a well-fermented pizza crust from a rapidly risen one, directly impacting the success in perfecting pizza dough rise time for optimal taste.
Gluten Development: Creating Structure for the Expanding Dough
As yeast produces carbon dioxide, the dough expands. This expansion is only possible because of the gluten network that forms when water is added to flour containing gluten-forming proteins (gliadin and glutenin) and the dough is mixed or kneaded. These proteins absorb water and, through mechanical action or time, link together to form a viscoelastic network – essentially a stretchy, elastic web.
This gluten network acts like a balloon. As the yeast produces CO2 gas, the gas is trapped within the tiny pockets formed by the gluten strands, causing these pockets to expand and the dough to increase in volume. A well-developed gluten network is strong enough to hold the gas without collapsing, yet elastic enough to stretch as the gas expands.
Kneading helps align and strengthen these gluten bonds, making the dough more capable of rising. Without sufficient gluten development, the gas would simply escape, resulting in a dense, flat dough. The interplay between gas production and gluten strength is paramount to achieving a good rise.
Temperature's Influence: Finding the Sweet Spot for Fermentation
Temperature is perhaps the most significant factor influencing the rate of yeast activity and, consequently, the speed of pizza dough rise time. Yeast is a living organism, and its metabolic rate is highly sensitive to temperature. There is an optimal temperature range for yeast activity, typically between 75°F and 85°F (24°C to 30°C). Within this range, yeast is most active, consuming sugars and producing gas relatively quickly.
Temperatures significantly outside this range will either slow down or halt yeast activity. At lower temperatures, such as those found in a refrigerator (around 35-40°F or 2-4°C), yeast activity is greatly reduced. This slow fermentation process, often called cold proofing, dramatically increases the rise time (from hours to 24-72 hours or even longer) but allows for the development of more complex flavors as enzymes break down starches and proteins slowly.
Conversely, excessively high temperatures (above 130°F or 54°C) can kill the yeast, preventing any rise at all. Maintaining the correct temperature, whether aiming for a quick warm rise or a slow cold rise, is absolutely crucial for perfecting pizza dough rise time.
Factors Affecting Pizza Dough Rise Time: Troubleshooting for Success
Room Temperature Variations: Adapting to Your Environment
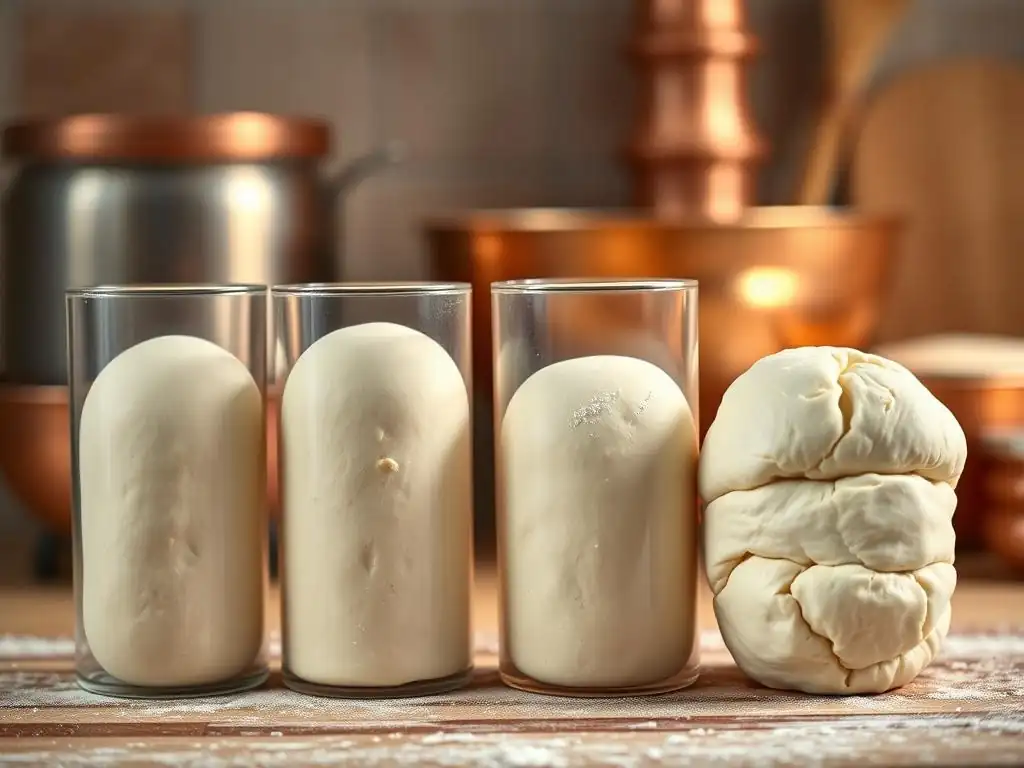
The ambient temperature of your kitchen is a major determinant of how quickly your pizza dough will rise. Yeast activity is directly proportional to temperature within its optimal range. A kitchen that is warm, say 78°F (26°C), will see dough rise much faster than one that is cool, perhaps 68°F (20°C). This variability means that simply following a recipe's suggested rise time (e.g., "rise for 1-2 hours") without considering your environment can lead to inconsistent results when perfecting pizza dough rise time.
To manage this, you can either adjust the amount of yeast used (less yeast for a warmer environment, more for a cooler one) or find a consistent, temperature-controlled spot for your dough to rise. Options include placing the dough in a slightly warmed oven (turned off, with just the light on), near a warm appliance, or using a dedicated dough proofer. Learning to observe the dough itself – looking for visual cues like doubling in size and the "poke test" – is more reliable than sticking rigidly to a time based on an assumed temperature.
Yeast Activity and Age: Ensuring Consistent Results
The viability and activity level of your yeast are fundamental to achieving a predictable pizza dough rise time. Yeast is a living organism, and its effectiveness can degrade over time, especially once the package has been opened. Old or improperly stored yeast may be dormant or dead, leading to little to no rise, no matter how perfect the temperature or ingredients.
To ensure your yeast is active, particularly with active dry yeast, it's a good practice to "proof" it first. Dissolve the yeast and a pinch of sugar in warm water (around 105-115°F or 40-46°C). If, after 5-10 minutes, the mixture is bubbly and foamy, the yeast is alive and active.
If there's little to no activity, your yeast may be dead and should be replaced. Even instant yeast, which doesn't strictly require proofing, can lose potency over time. Storing yeast in an airtight container in the refrigerator or freezer helps prolong its shelf life and maintain its activity for consistent pizza dough rise time.
Hydration Levels: Balancing Moisture for Optimal Rise
As discussed earlier, hydration (the ratio of water to flour) significantly impacts dough consistency and handling. It also plays a role in pizza dough rise time. Higher hydration doughs (wetter doughs) tend to ferment slightly faster than lower hydration doughs, assuming all other factors are equal. This is because the water makes the sugars more accessible to the yeast, facilitating quicker metabolism.
However, higher hydration doughs can also be trickier to handle and require more careful gluten development to ensure they have the structure to support the increased gas production and potential for larger air pockets. Lower hydration doughs are easier to knead and shape but may rise a bit slower and result in a tighter crumb. Finding the right hydration level for your desired crust texture and your comfort level with handling dough is part of perfecting your pizza dough rise time and overall technique.
The Impact of Kneading: Developing Gluten Strength
Kneading is the process of working the dough to develop the gluten network. Whether done by hand or machine, kneading aligns the gluten proteins and strengthens the network, giving the dough the elasticity and structure needed to trap the carbon dioxide gas produced by the yeast. Sufficient kneading is essential for a good rise; underdeveloped gluten cannot hold the gas effectively, leading to a dense crust.
The duration and intensity of kneading affect how quickly gluten develops. Over-kneading can damage the gluten structure, making the dough tough or even causing it to break down. Under-kneading results in weak gluten and a poor rise. Knowing when the dough is properly kneaded – often indicated by a smooth, elastic texture and passing the "windowpane test" (stretching a small piece thin enough to see light through it without tearing) – ensures the gluten is ready to support the rising process, contributing significantly to perfecting pizza dough rise time.
Different Methods for Pizza Dough Rising: Choosing the Best Approach
Bulk Fermentation: The Traditional Approach to Dough Rise
Bulk fermentation, also known as the first rise, is the initial period where the entire mass of dough is allowed to rise after mixing and kneading. This is often done at room temperature. During this stage, the yeast is actively producing CO2 gas, and the dough is expanding, typically doubling in size. This method is straightforward and relatively quick, making it suitable when you want pizza ready within a few hours.
A typical room temperature bulk ferment might take anywhere from 1 to 3 hours, depending heavily on the ambient temperature and the amount of yeast used. For example, dough left at 75°F (24°C) might double in size in about 90 minutes using a standard amount of instant yeast (around 1%). This method is excellent for developing basic flavor and structure, providing a good foundation before shaping the individual pizzas. Monitoring the dough's volume rather than strictly adhering to a time is key to knowing when bulk fermentation is complete for perfecting pizza dough rise time with this method.
Proofing in the Refrigerator: Slow Fermentation for Enhanced Flavor
Proofing pizza dough in the refrigerator, often called cold fermentation or cold proofing, involves slowing down the yeast activity dramatically by holding the dough at a low temperature (typically 35-40°F or 2-4°C). This method extends the rise time significantly, often from 24 hours up to 72 hours or even longer. While the visual rise is much slower and less dramatic than at room temperature, this extended fermentation period offers substantial benefits for flavor development.
During cold fermentation, enzymes in the flour have more time to break down complex carbohydrates into simpler sugars, which yeast can metabolize. More importantly, a wider range of flavor compounds, including organic acids like lactic and acetic acid, are produced by the yeast and potentially lactic acid bacteria (especially if using natural starters or if present in the flour).
This results in a pizza crust with a more complex, nuanced, and often slightly tangy flavor profile compared to dough risen quickly at room temperature. Cold fermentation is a favored technique among many pizza enthusiasts for achieving a superior crust flavor while perfecting pizza dough rise time for maximum taste.
Using a Dough Proofer: Controlled Environment for Consistent Results
For bakers seeking maximum consistency in their pizza dough rise time, using a controlled environment like a dough proofer is an excellent option. A dough proofer is an appliance (or a makeshift setup) that maintains a precise temperature and humidity level, creating ideal conditions for yeast fermentation. This eliminates the variability caused by fluctuating room temperatures, ensuring that your dough rises at a predictable rate every time.
Commercial proofers are common in bakeries, but home bakers can use dedicated home proofers or create a simple proofer using an oven with a proofing setting or by placing dough in a cooler with a bowl of hot water. Setting a proofer to a consistent temperature, often in the 75-85°F (24-30°C) range, allows for reliable rise times according to recipes or desired schedules. This controlled approach is invaluable for perfecting pizza dough rise time, especially when working with specific recipes or aiming for consistent results regardless of external conditions.
Tips for Perfecting Pizza Dough Rise Time: A BakeWithEase Checklist
Measuring Ingredients Accurately: Precision for Predictable Results
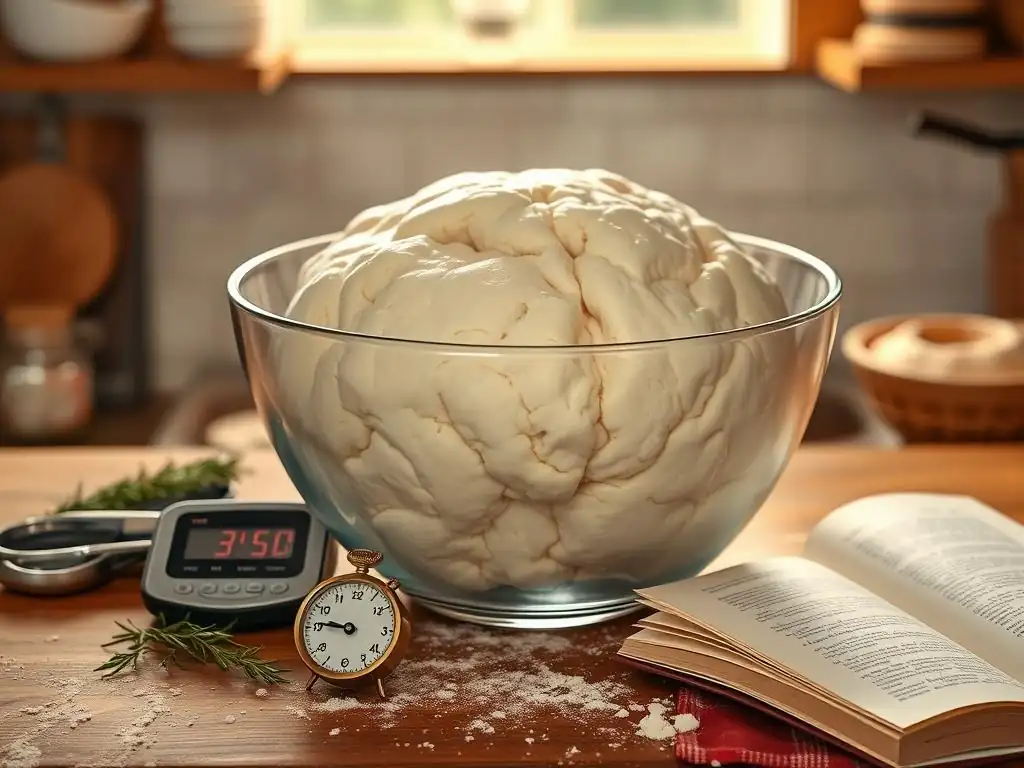
Achieving consistent pizza dough rise time starts with precise measurement of your ingredients. Baking, unlike cooking, is often a science where ratios matter. Small variations in the amount of flour, water, yeast, or salt can significantly impact the dough's hydration, yeast activity, and ultimately, how it rises.
Using a digital kitchen scale is highly recommended for accuracy, especially when measuring flour and water. Measuring by weight is far more reliable than measuring by volume (cups), as the density of flour can vary. For example, a cup of flour can weigh anywhere from 4 to 5 ounces depending on how it's scooped. Using a scale ensures you're using the exact ratios intended by a recipe, providing a solid foundation for perfecting pizza dough rise time predictably batch after batch.
Kneading Techniques: Achieving the Right Dough Consistency
Proper kneading is vital for developing the gluten structure that supports the dough's rise. Whether you knead by hand or with a stand mixer, the goal is to transform a shaggy mass into a smooth, elastic ball that passes the windowpane test. This means the gluten network is sufficiently developed to trap the gases produced by the yeast.
For hand kneading, this might involve folding, pushing, and stretching the dough for 10-15 minutes. With a stand mixer, it could take 5-10 minutes on medium speed using a dough hook. Over-kneading can make the dough tough or even degrade the gluten, while under-kneading results in a weak dough that won't rise well. Learning to recognize the feel and appearance of properly kneaded dough is a key skill for perfecting pizza dough rise time and achieving a great crust texture.
Monitoring Dough Temperature: Ensuring Optimal Yeast Activity
As highlighted earlier, temperature is a critical factor. Monitoring the dough's temperature itself, rather than just the ambient temperature, can provide even better control over the rise. The dough's internal temperature is influenced by the temperature of the ingredients (especially the water) and the heat generated during kneading.
Using an instant-read thermometer to check the dough's temperature can help you gauge how fast or slow fermentation is likely to proceed. If the dough is too cold after mixing, you can place it in a warmer spot; if it's too warm, a brief chill in the refrigerator can slow things down. Aiming for a specific dough temperature, often referred to as the "desired dough temperature," is an advanced technique used by professional bakers for precise control over fermentation and perfecting pizza dough rise time.
Judging Readiness: Visual Cues for a Perfectly Risen Dough
Relying solely on time for judging when your pizza dough is ready after rising is often unreliable due to variations in temperature, yeast activity, and other factors. Instead, learn to look for visual and tactile cues. For a standard room temperature rise, the dough should typically double in volume. It will look puffy and smooth.
Another reliable test is the "poke test." Gently press a finger about half an inch into the dough. If the indentation springs back slowly but not completely, the dough is likely perfectly proofed. If it springs back immediately, it needs more time. If it collapses and doesn't spring back at all, it may be over-proofed. Learning these cues is essential for perfecting pizza dough rise time, ensuring you bake the dough at its peak potential.
Troubleshooting Common Pizza Dough Rising Problems
Dough Not Rising: Identifying Potential Causes and Solutions
One of the most frustrating issues for bakers is dough that simply refuses to rise. If your pizza dough isn't rising, there are several potential culprits. The most common are dead or inactive yeast, water that was too hot (killing the yeast) or too cold (inhibiting activity), or the ambient temperature being too low.
Start by checking your yeast. Was it fresh? Did you proof active dry yeast properly? Ensure your water temperature for activating yeast is in the correct range (105-115°F or 40-46°C for active dry). If the room is cold, find a warmer spot for the dough or use a proofer. Other issues could include using too much salt (which inhibits yeast) or insufficient kneading, leading to a weak gluten structure that can't hold the gas. Double-checking your measurements and ingredient freshness is always a good starting point for perfecting pizza dough rise time troubleshooting.
Over-Proofing the Dough: Recognizing the Signs and Salvaging Your Batch
While under-proofing leads to a dense crust, over-proofing can also ruin your pizza. Over-proofed dough has risen too much and for too long. It will look overly puffy, potentially starting to collapse in the center. It might have a strong, overly yeasty or alcoholic smell. When poked, the indentation will likely remain or the dough might deflate completely.
Over-proofing occurs when fermentation goes on for too long relative to the dough's structure or the available sugars. The gluten network can become weakened and unable to hold the gas. While you can't fully reverse over-proofing, you might be able to salvage the dough by gently degassing it, reshaping it, and letting it rest briefly (15-30 minutes) before baking. The resulting crust may still be a bit flatter and less airy than perfectly proofed dough, but it's often salvageable. Learning to recognize the signs is key to perfecting pizza dough rise time.
Uneven Rise: Addressing Temperature and Kneading Issues
Sometimes, the dough rises unevenly, with some parts much puffier than others. This can indicate inconsistencies in either temperature or kneading. If the dough was left in a spot with uneven heating (e.g., too close to a warm window or drafty corner), parts of it might ferment faster than others.
Uneven kneading can also lead to an uneven rise. If the gluten is more developed in one section of the dough than another, that section will be better able to trap gas and will rise more. Ensuring the dough is consistently kneaded into a smooth, uniform mass before the start of the rise is important. Additionally, finding a location with a stable, consistent temperature for fermentation helps promote an even rise across the entire dough ball, contributing to perfecting pizza dough rise time uniformity.
Recipes for Pizza Dough with Different Rising Times
Quick Rise Pizza Dough Recipe: 1-Hour Pizza Dough
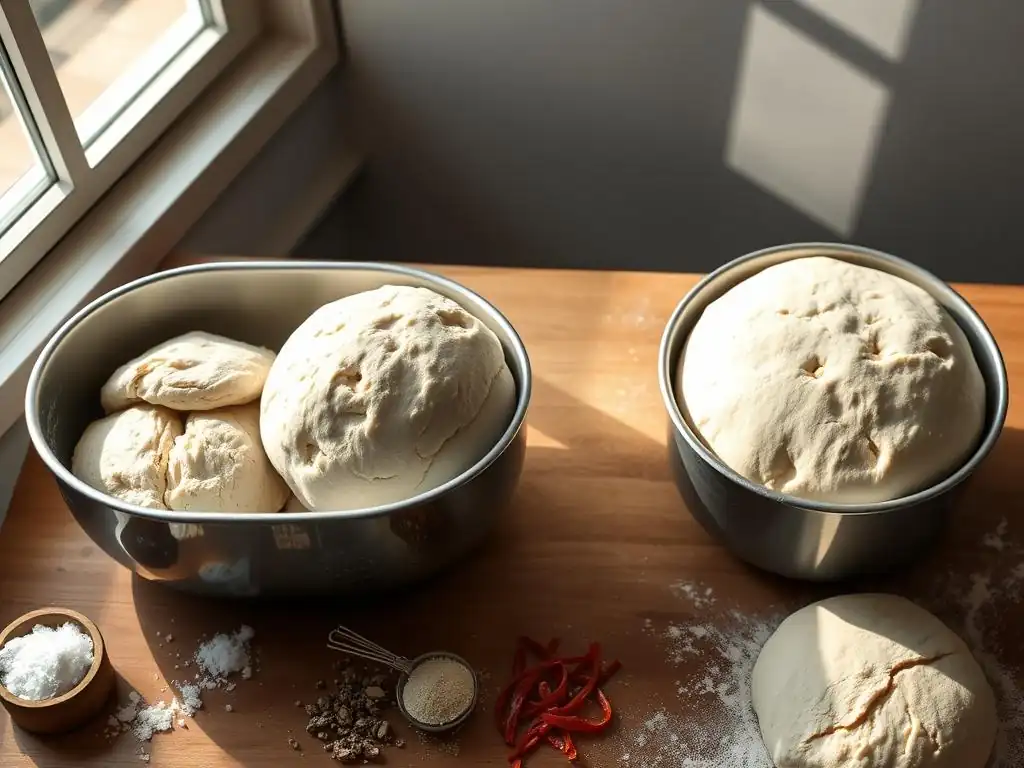
A quick rise pizza dough is designed for speed, allowing you to have fresh pizza ready in about an hour from start to finish. This is achieved by using a higher quantity of yeast and typically rising the dough in a warm environment, often around 80-85°F (27-30°C). The higher yeast concentration means that enough carbon dioxide is produced in a shorter timeframe to make the dough pliable and suitable for baking.
While convenient, quick rise doughs often sacrifice some depth of flavor compared to longer ferments. The yeast works rapidly, producing gas but fewer complex flavor compounds. The texture might also be less complex, possibly slightly denser or more uniformly bubbly rather than having large, irregular air pockets. This method is ideal for weeknight pizzas when time is limited, providing a decent crust quickly. Perfecting pizza dough rise time here is about managing the yeast quantity and temperature for rapid, reliable expansion.
Overnight Pizza Dough Recipe: Cold Ferment Pizza Dough
Overnight or cold ferment pizza dough is the preference for many serious home pizza makers, prioritizing flavor development over speed. This method involves using a small amount of yeast and proofing the dough in the refrigerator for an extended period, typically 24 to 72 hours. The low temperature drastically slows yeast activity, allowing for a long, slow fermentation.
During this prolonged cold fermentation, enzymes in the flour break down starches into sugars, providing a steady food source for the yeast and contributing to browning during baking. More significantly, the slow process allows for the accumulation of complex flavor compounds, including organic acids, resulting in a crust with more character, depth, and often a subtle tang. The gluten also relaxes and develops strength over time without intense kneading. Perfecting pizza dough rise time with cold fermentation means patience, allowing the dough ample time in the cold to develop flavor before a final brief warm-up and shaping.
Sourdough Pizza Dough Recipe: Naturally Leavened Pizza Dough
Sourdough pizza dough uses a natural leavening agent – a sourdough starter – instead of commercial yeast. A starter is a living culture of wild yeasts and lactic acid bacteria fermented in a mixture of flour and water. This method offers a unique flavor profile and texture distinct from commercially yeasted doughs.
The rise time for sourdough pizza dough is generally longer and more variable than commercial yeast, depending heavily on the starter's activity and the ambient temperature. A typical bulk fermentation might take 4-12 hours at room temperature, followed by a cold proofing period of 12-48 hours or more for optimal flavor.
The lactic acid bacteria in the starter produce lactic and acetic acids, which give sourdough its characteristic tangy flavor and contribute to the dough's extensibility. Perfecting pizza dough rise time with sourdough requires understanding your starter's behavior and being responsive to its needs based on temperature and feeding schedule.
Conclusion: Mastering the Art of Pizza Dough Rise with BakeWithEase
Consistent Practice: The Key to Perfecting Your Dough
Mastering the art of pizza dough rise time is a journey that involves understanding the science but is ultimately perfected through practice. Each batch of dough you make provides valuable lessons. Pay attention to how your dough behaves in your specific kitchen environment, with your chosen ingredients, and using your preferred techniques.
Keep notes if helpful – record the temperatures, rise times, and results. This systematic approach will help you identify what works well and what needs adjustment. Don't be discouraged by a less-than-perfect rise; view it as an opportunity to learn. Consistent practice builds intuition, allowing you to feel when the dough has reached its optimal state for baking, leading you closer to perfecting pizza dough rise time consistently.
Enjoying the Process: The Satisfaction of Homemade Pizza
Beyond the technical aspects of perfecting pizza dough rise time, remember to enjoy the process. Baking pizza dough from scratch is a rewarding experience. From the tactile pleasure of kneading to the anticipation as the dough rises and finally the aroma of a freshly baked pizza filling your home, it's a sensory journey.
The satisfaction of pulling a beautiful, perfectly risen pizza crust from your oven is immense. It's a tangible result of your efforts and understanding of the baking science. Sharing this homemade pizza with friends and family makes the experience even more special. Embrace the learning curve and find joy in the craft of transforming simple ingredients into something delicious.
Further Exploration: Advancing Your Pizza Baking Skills
Perfecting pizza dough rise time is just one step in the broader world of pizza making. Once you feel confident in your dough rising skills, there are many avenues for further exploration. Experiment with different types of flour, varying hydration levels, incorporating preferments like a poolish or biga, or delving deeper into the nuances of sourdough.
Consider exploring different shaping techniques, understanding the impact of various baking surfaces (like a pizza stone or steel), and experimenting with oven temperatures and baking times for different crust styles (Neapolitan, New York, etc.). BakeWithEase is here to support your journey, providing guides and insights as you continue advancing your pizza baking skills and perfecting every aspect of your homemade pies.
Frequently Asked Questions
What is the optimal temperature for pizza dough to rise?
The ideal temperature for pizza dough to rise is between 75-80°F (24-27°C). This temperature range allows the yeast to thrive and produce the carbon dioxide needed for a good rise.
How does the type of yeast affect pizza dough rise time?
Different types of yeast, such as active dry, instant, or fresh yeast, have varying activation and rise times. Instant yeast generally requires a shorter rise time compared to active dry.
What happens if my pizza dough rises for too long?
Over-proofed dough can become weak and collapse, resulting in a flat and dense pizza crust. It can also develop an unpleasant, sour taste.
Can I speed up the pizza dough rising process?
Yes, you can speed it up by placing the dough in a warm environment (around 85°F), but be careful not to overheat it. Overheating can kill the yeast.
How do I know when my pizza dough is properly risen?
The dough should have doubled in size and feel light and airy. Gently poke the dough; if the indentation slowly springs back, it's ready to be shaped and baked.
Final Reflection: The Ever-Rising Quest for Perfect Pizza Dough
The science of a perfect pizza dough rise isn't just about achieving a fluffy crust; it's about understanding the fundamental principles of fermentation and how they impact flavor, texture, and the overall culinary experience. A perfectly risen dough, achieved through careful attention to temperature, hydration, and time, elevates a simple pizza into a masterpiece. This understanding is more relevant than ever in a world increasingly focused on artisanal food and the pursuit of culinary excellence.
The journey of perfecting pizza dough rise has been a fascinating exploration into the intersection of science and art. It's a process that demands patience, precision, and a deep respect for the natural processes at play. The best things in life are worth waiting for,
and this certainly rings true for the slow, deliberate rise of a great pizza dough. The subtle nuances in flavor and texture that emerge from this process are a testament to the power of time and attention to detail. This journey has not only improved my pizza-making skills but also deepened my appreciation for the intricate dance between ingredients and time.
Now, it's your turn. Consider the principles outlined in this article – the interplay of yeast, flour, water, and time – and apply them to your own pizza-making endeavors. Don't be afraid to experiment, to tweak the variables, and to discover the perfect rise for your perfect pizza. The journey of perfecting your pizza dough is a personal one, filled with delicious discoveries and the satisfaction of creating something truly special. Embrace the process, and savor the results.
Unleash Your Inner Pizzaiolo: Craft the Perfect Dough!
Thanks for taking the time to explore the science of pizza dough! You've now got the knowledge to create truly exceptional pies. Ready to put your newfound expertise to the test?
- Bake your masterpiece! Try the recipe variations mentioned in the article, adjusting the hydration and fermentation time to find your perfect dough. This is your chance to truly experiment and discover your signature pizza.
- Share your pizza-making journey! Snap a picture of your creation and share it on social media using #BakeWithEasePizza. We’d love to see your results!
- Dive deeper into our dough library! Explore other related articles on our site to discover more tips and techniques for perfecting your pizza-making skills.
What unique ingredient will you try adding to your next pizza dough creation? Let us know in the comments!