
Elevate Your Homemade Pizza with This Simple Dough Recipe

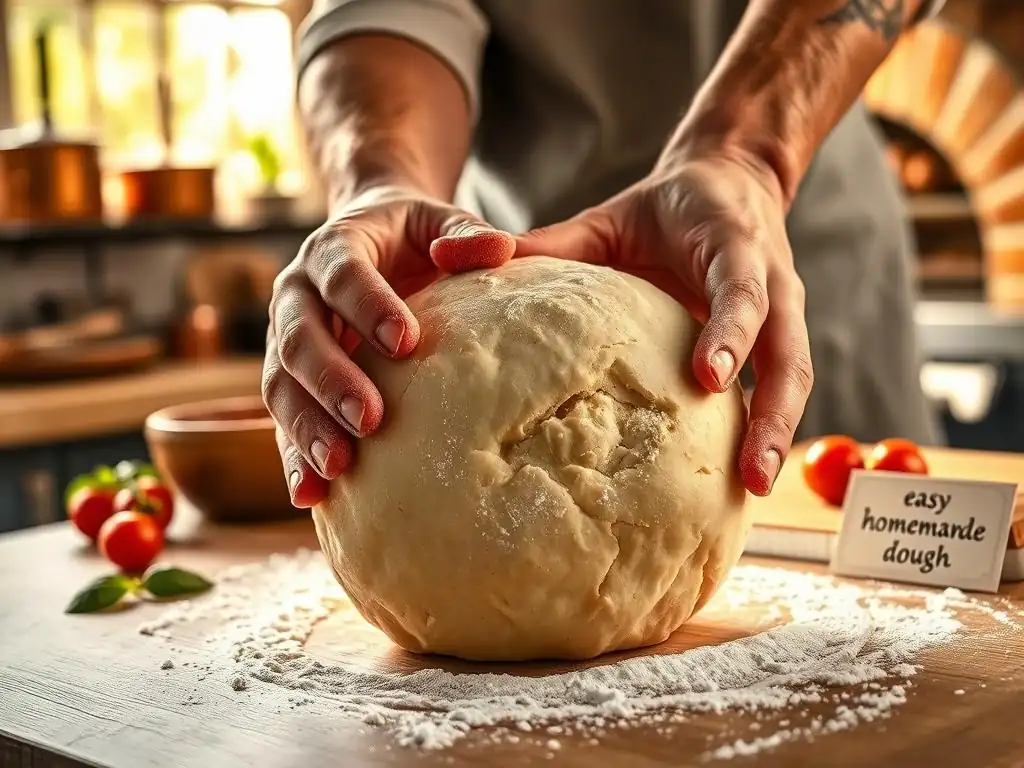
Welcome to BakeWithEase, your partner in creating delicious baked goods! Ever dreamt of crafting pizzeria-quality pizza in your own kitchen? Our easy homemade pizza dough recipe is the key. Dive in to discover how simple ingredients and straightforward techniques can unlock a world of flavor, turning ordinary weeknights into culinary adventures. Ready to impress your family and friends? Let's get baking!
- The Pizza Project Presents: The Ultimate Easy Neapolitan-Style Pizza Dough Recipe
- Why Make Your Own Pizza Dough? [Benefits of Homemade Pizza Dough vs. Store-Bought]
- The Neapolitan-Style Pizza Dough Recipe: A Step-by-Step Guide
- The Pizza Project's Tips for Pizza Dough Success
- Baking Your Homemade Pizza: From Dough to Delicious
- Storing Leftover Pizza Dough for Future Use
- Enjoy Your Homemade Pizza! [Call to Action - Share Your Creations]
- Frequently Asked Questions
- Final Reflection: The Unexpected Joy of Homemade Pizza
- Unleash Your Inner Pizzaiolo!
The Pizza Project Presents: The Ultimate Easy Neapolitan-Style Pizza Dough Recipe
Welcome to The Pizza Project here at BakeWithEase! There's something incredibly satisfying about sliding a homemade pizza into a hot oven and watching the crust puff up and crisp. While store-bought dough is convenient, mastering an easy homemade pizza dough recipe unlocks a new level of flavor and texture. We're going to guide you through creating a fantastic Neapolitan-style dough – known for its chewy, airy crust with a slightly crisp exterior – right in your own kitchen. This recipe is designed to be approachable, proving that an authentic-tasting pizza is well within your reach.
This particular easy homemade pizza dough recipe focuses on quality ingredients and simple techniques that yield impressive results. We've tested various methods to land on one that minimizes fuss while maximizing flavor development. Whether you're a first-time dough maker or looking to refine your skills, this guide provides the clear steps and helpful tips you need for success. Get ready to transform your pizza nights with dough that truly makes a difference.
Why Make Your Own Pizza Dough? [Benefits of Homemade Pizza Dough vs. Store-Bought]
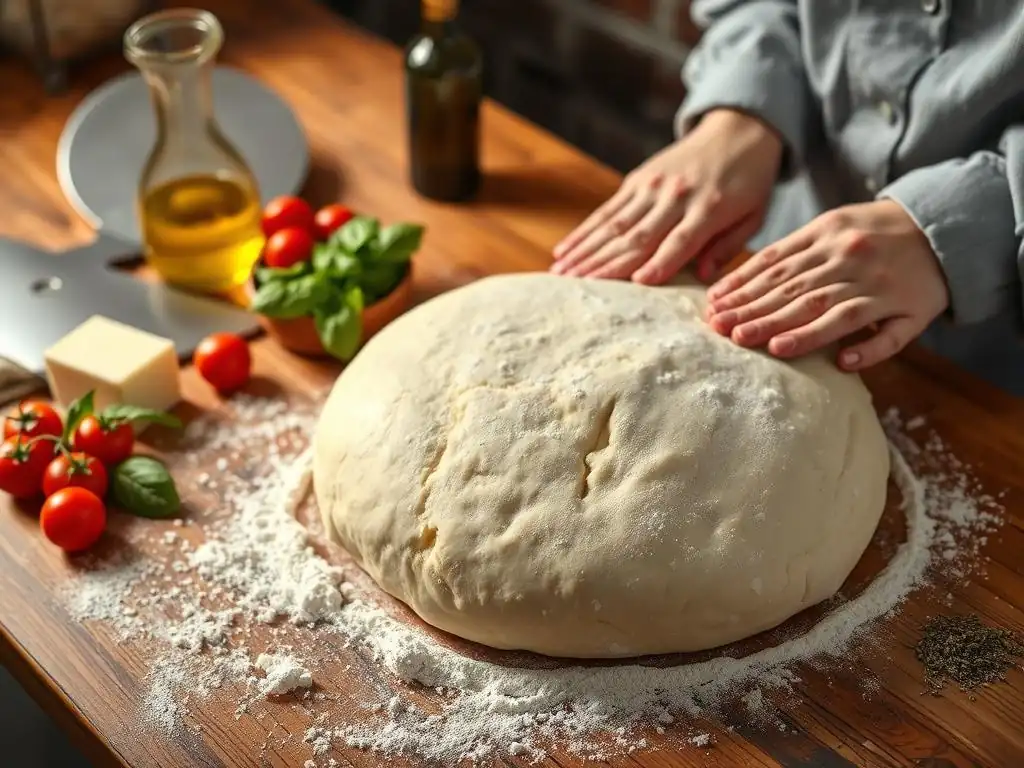
Superior Taste and Texture with Homemade Dough
Crafting your own dough allows for a depth of flavor and a superior texture that pre-made options simply cannot match. When you follow an easy homemade pizza dough recipe, you control the fermentation process, which is key to developing complex, nuanced flavors in the crust. Unlike many store-bought doughs that might have additives for shelf life or quick rising, homemade dough relies on time and quality ingredients to create a truly satisfying taste.
The texture is also vastly different. A well-made homemade pizza dough, especially a Neapolitan style, results in a crust that is light and airy around the edges (the cornicione) with a tender, slightly chewy interior. Achieving this balance of crispness and chewiness is difficult with mass-produced doughs, which can often be dense or uniformly bready. This easy homemade pizza dough recipe aims for that ideal structure.
Control Over Ingredients in Your Pizza Dough
One of the most significant advantages of using an easy homemade pizza dough recipe is complete control over the ingredients. You choose the type of flour, the quality of salt, the freshness of the yeast, and the purity of the water. This is particularly important if you have dietary preferences, allergies, or simply prefer to avoid preservatives and conditioners often found in commercial doughs.
For instance, using a high-quality 00 flour specifically milled for pizza can dramatically improve the dough's stretchability and final texture compared to standard all-purpose flour. Similarly, using sea salt or kosher salt instead of iodized table salt can result in a cleaner flavor profile. With this easy homemade pizza dough recipe, you know exactly what goes into your food, ensuring a healthier and more tailored outcome for your family and friends.
A Fun and Rewarding Baking Experience
Making your own pizza dough from scratch is not just about the end product; it's also a wonderfully engaging process. Following an easy homemade pizza dough recipe can be a relaxing and rewarding activity, allowing you to connect with the simple pleasure of baking. The tactile experience of kneading the dough, watching it rise, and transforming it into a beautiful crust is incredibly satisfying.
It's also a great skill to learn and share. Getting family members involved, perhaps teaching kids how to knead or shape the dough, adds a fun, collaborative element to meal preparation. The sense of accomplishment you feel when pulling a perfect, golden-brown pizza from the oven, knowing you made the foundation from scratch using this easy homemade pizza dough recipe, is truly unparalleled.
The Neapolitan-Style Pizza Dough Recipe: A Step-by-Step Guide
Ingredients for the Perfect Pizza Dough (The Pizza Project Approved)
Flour Selection: Best Flour for Pizza Dough (00 Flour)
For an authentic Neapolitan-style crust, 00 flour is the gold standard. This finely milled Italian flour, often labeled "Tipo 00," has a low protein content (typically 10-12.5%) but a specific type of gluten structure that makes the dough incredibly elastic and stretchy. This allows it to be stretched very thinly without tearing and results in that characteristic airy crust with beautiful blistering when baked at high temperatures. While you can use bread flour or all-purpose flour for an easy homemade pizza dough recipe, 00 flour will give you the closest result to traditional Neapolitan pizza.
Using 00 flour is key to achieving the desired texture and workability for this easy homemade pizza dough recipe. Its fine texture absorbs water differently than coarser flours, leading to a very smooth dough. Look for brands like Caputo, Antimo Caputo Pizzeria, or King Arthur Italian-Style Flour. If you absolutely can't find 00 flour, a high-quality bread flour (around 12-13% protein) is the next best option, though the crust might be slightly denser.
Yeast Options: Active Dry vs. Instant Yeast
Yeast is the leavening agent that makes your pizza dough rise and contributes significantly to its flavor through fermentation. This easy homemade pizza dough recipe works well with either active dry yeast or instant yeast. Active dry yeast requires activation in warm water before mixing with other ingredients, typically taking about 5-10 minutes to become foamy and bubbly, indicating it's alive and ready to work.
Instant yeast, on the other hand, can usually be mixed directly with the dry ingredients without proofing. It's slightly more potent and faster-acting than active dry yeast. For this easy homemade pizza dough recipe, we'll outline the steps for both. A typical ratio might be around 1-2 teaspoons of active dry yeast or 0.75 - 1.5 teaspoons of instant yeast per 500 grams (about 4 cups) of flour, depending on desired fermentation time and room temperature. We generally recommend using a small amount of yeast and allowing a longer, slower fermentation for better flavor development.
Other Essential Pizza Dough Ingredients: Water, Salt
Beyond flour and yeast, the remaining ingredients for this easy homemade pizza dough recipe are simple: water and salt. Water is crucial for hydrating the flour and activating the gluten network. The ideal temperature for the water depends on the type of yeast and the desired dough temperature after mixing.
For active dry yeast, use lukewarm water (around 105-115°F or 40-46°C). For instant yeast, cooler water (room temperature, around 70-75°F or 21-24°C) is often sufficient, as the kneading process will warm the dough slightly. The amount of water relative to the flour is called hydration, and for Neapolitan dough, it's typically between 58-65% hydration (e.g., 300-325g water for 500g flour).
Salt is vital for flavor, controlling yeast activity, and strengthening the gluten structure. Without salt, dough can taste bland and lack structure. Use fine sea salt or kosher salt for the best results in your easy homemade pizza dough recipe. Avoid iodized salt, which can sometimes impart a metallic taste and potentially interfere with yeast. A standard ratio is about 1.5-2% salt by weight of the flour (e.g., 7.5-10g salt for 500g flour). Ensure the salt doesn't come into direct contact with the yeast for an extended period before mixing, as it can inhibit yeast activity.
Detailed Instructions: Making Your Pizza Dough from Scratch
Step 1: Activating the Yeast (If Using Active Dry Yeast)
If you are using active dry yeast for your easy homemade pizza dough recipe, the first step is to activate it. In a small bowl, combine the specified amount of active dry yeast (e.g., 2 teaspoons) with the warm water (e.g., 325ml at 105-115°F) and a pinch of sugar (optional, but helps feed the yeast). Stir gently to dissolve the yeast. Let this mixture sit for 5-10 minutes.
You'll know the yeast is active and ready when the mixture becomes foamy and bubbly on the surface. This indicates the yeast is alive and producing carbon dioxide. If it doesn't foam, your yeast might be old or the water wasn't the correct temperature; discard and start again with fresh yeast and correctly heated water. This step is skipped if you are using instant yeast in your easy homemade pizza dough recipe, as instant yeast is added directly to the dry ingredients.
Step 2: Combining the Ingredients for the Pizza Dough
For this easy homemade pizza dough recipe, we'll combine the dry and wet ingredients. In a large mixing bowl, weigh out your flour (e.g., 500g 00 flour). If using instant yeast, whisk it into the flour along with the salt (e.g., 10g fine sea salt). If using active dry yeast, add the salt to the flour and make a well in the center. Pour the activated yeast mixture (water and yeast) into the well.
Using a spoon, fork, or your hand, begin mixing the ingredients from the center outwards, gradually incorporating the flour into the liquid. Continue mixing until a shaggy, wet dough forms and most of the dry flour is incorporated. At this stage, it will look quite rough and sticky, which is perfectly normal for this easy homemade pizza dough recipe aiming for good hydration.
Step 3: Kneading the Dough to Perfection (Hand Kneading - Autolyse Method)
Kneading is essential for developing the gluten structure in your easy homemade pizza dough recipe, which provides the dough's elasticity and strength. For hand kneading, turn the shaggy dough out onto a lightly floured surface. Begin kneading by folding the dough towards you, pressing down with the heel of your hand, and then pushing it away. Rotate the dough slightly and repeat. Knead for about 10-15 minutes. Initially, the dough will be sticky, but as you knead, it will become smoother and less tacky.
- Autolyse Method: A popular technique for an easy homemade pizza dough recipe is the autolyse. After combining the flour and water (and yeast, but not salt), mix just until no dry flour remains. Let this mixture rest for 20-30 minutes. This resting period allows the flour to fully hydrate and enzymes to begin developing gluten without mechanical kneading. After the rest, add the salt and knead for a shorter period, about 5-10 minutes. This method often results in a smoother, more extensible dough with less effort. Whichever method you choose, you're aiming for a dough that is smooth, elastic, and springs back slowly when gently poked.
Step 4: Bulk Fermentation: Letting the Dough Develop Flavor
Bulk fermentation is the first rise of your easy homemade pizza dough recipe, where the yeast produces carbon dioxide, causing the dough to double or even triple in size, and enzymes break down starches into sugars, developing complex flavors. Lightly grease a large bowl with olive oil. Place the kneaded dough ball in the bowl, turning it to coat all sides with oil. Cover the bowl tightly with plastic wrap or a damp kitchen towel.
Place the covered bowl in a warm, draft-free place. The ideal temperature is typically around 75-80°F (24-27°C). At room temperature (around 70°F or 21°C), this initial rise might take 1.5 to 2.5 hours. The dough should significantly increase in volume and feel airy. You can also opt for a longer, slower fermentation in the refrigerator (cold fermentation) for 12-72 hours, which develops even more flavor. This is a great technique for an easy homemade pizza dough recipe as it's mostly hands-off time.
Step 5: Dividing and Balling the Dough
Once the bulk fermentation is complete and your easy homemade pizza dough recipe has risen, it's time to divide it into individual pizza dough balls. Gently turn the dough out onto a lightly floured surface. Avoid deflating it completely; you want to preserve some of the air pockets created during the first rise.
Using a bench scraper or knife, divide the dough into equal portions. For typical 10-12 inch Neapolitan-style pizzas, each dough ball should weigh approximately 220-250 grams (about 8-9 ounces). Shape each portion into a tight ball. The easiest way to do this is to cup your hand around the dough piece on the surface and rotate it, gently pulling the top surface taut while tucking the edges underneath to create tension. You can also fold the edges underneath repeatedly until a smooth ball forms.
Step 6: Proofing: Shaping the Dough Balls
After dividing and balling, the individual dough balls need a second rise, called proofing. This allows the gluten to relax, making the dough easier to stretch, and further develops flavor and airiness. Arrange the dough balls on a lightly floured surface or in individual proofing containers (like plastic deli containers) or a baking sheet.
Leave ample space between the dough balls as they will expand. Lightly flour the tops of the balls and cover them loosely with plastic wrap or a clean kitchen towel to prevent drying out. Proof at room temperature for 1-2 hours, or until they are puffy and have increased significantly in size. For maximum flavor and ease of stretching, proofing in the refrigerator for 8-24 hours after balling is highly recommended for this easy homemade pizza dough recipe. Remove from the fridge about 1-2 hours before you plan to stretch them.
Step 7: Stretching and Shaping Your Pizza Dough (Thin Crust)
This is where your easy homemade pizza dough recipe transforms into a pizza base. The goal is to stretch the dough gently into a thin disk while leaving a slightly thicker rim for the cornicione. Start with a proofed dough ball that has been resting at room temperature for at least an hour (if refrigerated). Lightly flour your work surface and the top of the dough ball.
Gently press down on the center of the dough ball with your fingertips, leaving the outer rim untouched. Flip the dough over and repeat. Then, lift the dough and let gravity help you stretch it. Hold the edge of the dough with one hand and let the dough hang, rotating it with the other hand.
The weight of the dough will stretch it outwards. You can also gently stretch it over the back of your knuckles. Avoid using a rolling pin, as this can push out the air bubbles essential for the Neapolitan crust texture. Aim for a diameter of about 10-12 inches (25-30 cm), depending on your desired pizza size.
The Pizza Project's Tips for Pizza Dough Success
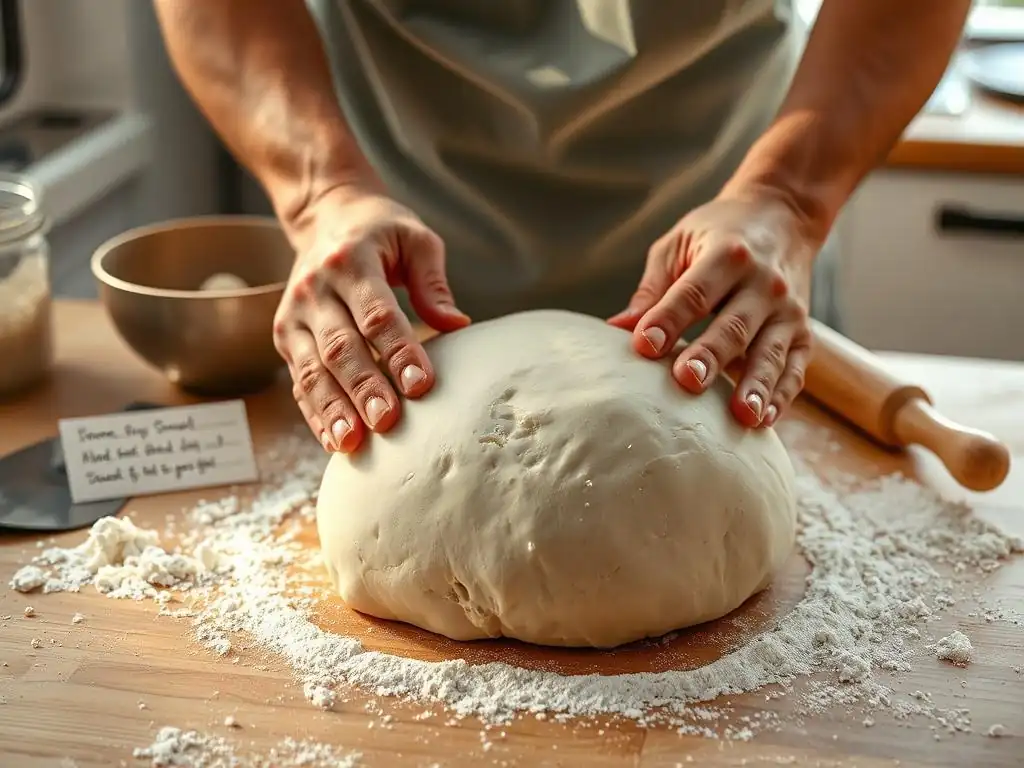
Achieving the Perfect Pizza Dough Consistency (Hydration Levels)
The consistency of your easy homemade pizza dough recipe is primarily determined by its hydration level – the ratio of water to flour by weight. A higher hydration percentage (e.g., 65%+) results in a wetter, stickier dough that yields a more open, airy crumb structure. A lower hydration (e.g., 58-60%) results in a firmer, easier-to-handle dough that produces a slightly denser crust. For Neapolitan-style, aiming for 60-65% hydration is common. For 500g of flour, this means 300g to 325g of water.
The type of flour also impacts how much water it can absorb. 00 flour, being finely milled, often absorbs water more slowly than coarser flours, but can still handle relatively high hydration. Pay attention to how the dough feels as you mix and knead. It should be slightly tacky but shouldn't stick excessively to your hands or the work surface after kneading.
If it feels too dry, add a teaspoon of water at a time. If it feels too wet, add a teaspoon of flour. Weather and humidity can also affect consistency, so be prepared to make small adjustments to your easy homemade pizza dough recipe.
Troubleshooting Common Pizza Dough Problems
Dough is Too Sticky
If your easy homemade pizza dough recipe is excessively sticky and difficult to handle even after adequate kneading, it likely has too much water or hasn't developed enough gluten. Try adding a small amount of flour, one tablespoon at a time, and knead it in until the dough is manageable but still slightly tacky. Ensure you are kneading for the full recommended time (10-15 minutes hand kneading, or 5-10 after autolyse) to allow the gluten to develop properly.
Another reason could be insufficient rest time. Gluten needs time to relax and become less sticky after kneading or handling. Ensure you've given the dough sufficient bulk fermentation and proofing time as outlined in the easy homemade pizza dough recipe steps. Working on a lightly floured surface helps, but avoid adding too much flour, which can make the dough tough.
Dough is Too Dry
Dough that is too dry will feel stiff, won't stretch easily, and might tear when you try to shape it. This usually means you didn't add enough water, or your flour absorbed more water than anticipated. It could also be a result of over-flouring during kneading or shaping.
To fix a dry dough in your easy homemade pizza dough recipe, you can try kneading in a small amount of water, one teaspoon at a time. Wet your hands and continue kneading, allowing the dough to absorb the moisture. This can be challenging once the gluten is fully developed, so it's best to catch this early. Ensure you are accurately measuring your ingredients, preferably by weight, as volume measurements (cups) can be inaccurate for flour and water.
Dough Isn't Rising
If your easy homemade pizza dough recipe isn't rising as expected, the most common culprit is inactive yeast. This could be because the yeast is old (check the expiration date), the water was too hot (killing the yeast, over 120°F/49°C for active dry, over 130°F/54°C for instant), or too cold (inhibiting activation). Ensure your yeast is fresh and your water temperature is correct, especially if using active dry yeast and proofing it first.
Another factor is temperature. Yeast activity slows down significantly in cooler environments. Ensure your dough is proofing in a warm spot (75-80°F / 24-27°C is ideal). If your kitchen is cool, try placing the covered bowl in a slightly warm oven (turned off, but preheated to the lowest setting for a few minutes and then turned off, or with just the oven light on). Patience is also key; fermentation times in an easy homemade pizza dough recipe can vary based on temperature and yeast amount.
Flavor Variations: Enhancing Your Pizza Dough Recipe (Long Fermentation)
Adjusting Fermentation Time
One of the simplest and most effective ways to enhance the flavor of your easy homemade pizza dough recipe is by adjusting the fermentation time. While a quick room-temperature rise (2-3 hours) yields a perfectly usable dough, a longer, slower fermentation, especially in the refrigerator (cold fermentation), significantly develops more complex flavors. During this extended period (12-72 hours), enzymes continue to break down starches into sugars, and yeast and lactic acid bacteria (naturally present in flour) produce organic acids, resulting in a more nuanced, slightly tangy flavor profile similar to sourdough.
For a cold ferment, follow the steps for mixing and initial bulk fermentation (Steps 1-4), but instead of letting it rise fully at room temperature, place the covered bowl or individual dough balls directly into the refrigerator (around 40°F or 4°C). This dramatically slows down yeast activity while allowing flavor development to continue. Remove the dough from the fridge 1-2 hours before shaping and baking to allow it to warm up and become pliable. This technique is highly recommended for this easy homemade pizza dough recipe for the best possible taste.
Using Different Types of Salt
While fine sea salt or kosher salt are standard for an easy homemade pizza dough recipe, the type of salt can subtly influence the final flavor. Using a high-quality, unrefined sea salt can add trace minerals that contribute a slightly different character compared to standard processed salts. Flaky sea salt, like Maldon, is excellent for finishing pizza after baking but dissolves easily into dough during mixing.
Experimenting with different salts can be a fun way to fine-tune your easy homemade pizza dough recipe. However, the most important aspect is using the correct amount of salt (typically 1.5-2% of flour weight) to ensure proper flavor development and control over yeast activity. Using too little salt results in bland, often overly airy dough, while too much inhibits the yeast and can make the dough tough.
Baking Your Homemade Pizza: From Dough to Delicious
Oven Temperature and Baking Time for Perfect Pizza (Using a Pizza Stone or Steel)
Achieving a perfect crust with your easy homemade pizza dough recipe requires high heat. Traditional Neapolitan pizzas are baked in wood-fired ovens exceeding 900°F (480°C) for only 60-90 seconds. While home ovens can't reach those temperatures, you can get excellent results by preheating your oven to the highest possible setting, usually 500-550°F (260-290°C).
Using a pizza stone or steel is crucial for transferring heat quickly to the base of the pizza, ensuring a crisp bottom crust and promoting a good rise on the cornicione. Place your stone or steel on a rack in the upper third of your oven and preheat it for at least 45-60 minutes at the highest temperature. Carefully slide your topped pizza onto the preheated stone/steel using a pizza peel.
Baking time will typically be 5-10 minutes, depending on your oven and desired crispness. Watch for the crust to puff up, turn golden brown, and the cheese to be bubbly and slightly browned.
Pizza Topping Ideas to Complement Your Dough (Classic Neapolitan Toppings)
With a perfect crust from your easy homemade pizza dough recipe, simple, high-quality toppings shine. Classic Neapolitan pizza toppings are minimal to highlight the dough and sauce. The Margherita is the most famous: San Marzano tomatoes (crushed by hand is best), fresh mozzarella (Fior di Latte or Buffalo Mozzarella), fresh basil leaves, a drizzle of extra virgin olive oil, and a sprinkle of salt.
Other traditional options include Marinara (tomato sauce, garlic, oregano, olive oil – no cheese), or Prosciutto e Funghi (tomato sauce, mozzarella, prosciutto cotto - cooked ham, mushrooms). Avoid overloading your pizza with too many toppings, as this can make the dough soggy and prevent it from cooking evenly at high heat. A little goes a long way to let that beautiful crust from your easy homemade pizza dough recipe be the star.
Storing Leftover Pizza Dough for Future Use
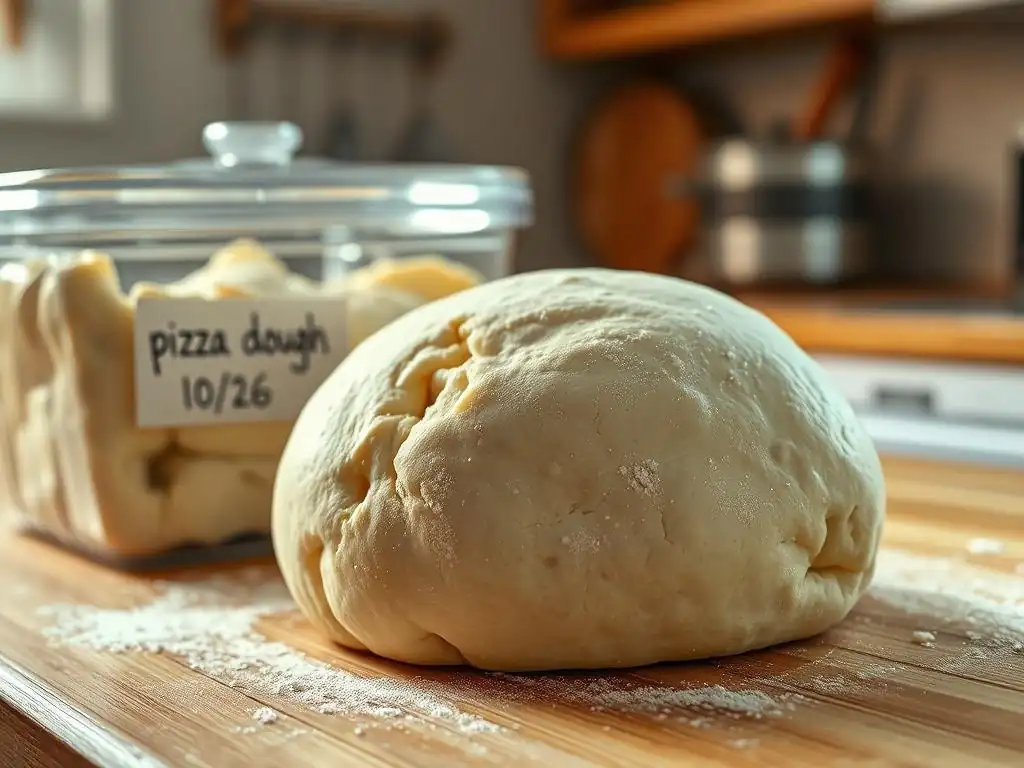
Refrigerating Pizza Dough
If you've made more dough than you need from your easy homemade pizza dough recipe, refrigeration is an excellent way to store it and even improve its flavor through cold fermentation. After the initial bulk fermentation (Step 4) or after dividing and balling (Step 5), place the dough (either the large mass or individual balls) in an airtight container or a bowl/tray covered tightly with plastic wrap.
Store the dough in the refrigerator (around 40°F or 4°C) for up to 3-5 days. As mentioned earlier, this cold storage will continue to develop flavor. When you're ready to use the dough, remove the desired number of balls from the fridge and let them sit at room temperature for 1-2 hours before stretching. This allows the dough to relax and become easier to handle.
Freezing Pizza Dough
For longer storage, you can freeze portions of your easy homemade pizza dough recipe. After dividing and balling the dough (Step 5), lightly oil each dough ball. Wrap each ball individually and very tightly in plastic wrap, ensuring no air pockets. Then, place the wrapped balls in a freezer-safe bag or container.
Frozen dough can be stored for up to 2-3 months. To thaw, transfer the frozen dough ball (still wrapped) to the refrigerator and let it thaw overnight (about 12-24 hours). Once thawed, remove the plastic wrap and let the dough rest at room temperature for 1-2 hours before stretching and baking. Avoid thawing at room temperature, as this can cause the outer layers to over-proof while the inside is still frozen. Freezing is a convenient way to always have a batch of easy homemade pizza dough recipe ready for spontaneous pizza nights!
You've done it! You've successfully followed this easy homemade pizza dough recipe and are ready to enjoy the fruits of your labor. Baking your own pizza is a rewarding experience, and biting into a slice with that perfect crust is truly satisfying. Gather your favorite toppings, fire up your oven, and create some delicious magic.
We'd love to see your creations! Share photos of your pizzas made with this easy homemade pizza dough recipe. Happy baking!
Frequently Asked Questions
What makes this pizza dough recipe "easy"?
This recipe emphasizes simple ingredients and straightforward instructions, making it accessible even for beginner bakers. It avoids complex techniques and long fermentation times.
What kind of flour is best for this easy homemade pizza dough?
For best results, use bread flour, which has a higher protein content. This will create a chewier and more elastic dough. All-purpose flour can also be used in a pinch.
How long does the dough need to rise?
The dough needs to rise for at least one hour in a warm place, or until doubled in size. This allows the yeast to activate and develop flavor.
Can I freeze the pizza dough?
Yes, you can! After the first rise, divide the dough into portions, wrap them tightly in plastic wrap, and freeze. Thaw completely in the refrigerator before using, ideally overnight.
What toppings go best with this homemade pizza dough?
The beauty of homemade pizza is its versatility! Experiment with your favorite cheeses, vegetables, meats, and sauces. Don't be afraid to get creative with your topping combinations.
Final Reflection: The Unexpected Joy of Homemade Pizza
The simple act of making pizza dough from scratch unlocks a world of culinary possibilities, far exceeding the convenience of store-bought alternatives. It's more than just a recipe; it's a gateway to crafting personalized pizzas, tailored to your exact tastes and preferences, a delicious journey that connects you to the food you eat.
The influence of homemade food, and specifically homemade pizza, on our culture is undeniable. It represents a return to simpler times, a connection to tradition, and a celebration of family and friends gathered around a shared meal. Food is symbolic of love when words are inadequate.
- Alan D. Wolfelt. This sentiment rings especially true when considering the warmth and satisfaction derived from sharing a pizza made with your own hands. The act of kneading the dough, the aroma of baking bread, these are sensory experiences that elevate the meal beyond mere sustenance.
Now, I invite you to take this newfound knowledge and apply it to your own kitchen. Don't be intimidated by the seemingly simple task of making pizza dough; embrace the process, experiment with different toppings, and most importantly, enjoy the journey. The reward? A delicious, personalized pizza that will leave you feeling empowered and connected to the art of cooking. So, gather your ingredients, roll up your sleeves, and discover the joy of homemade pizza. You might just surprise yourself.
Unleash Your Inner Pizzaiolo!
Thanks for taking the time to explore our simple, yet delicious, homemade pizza dough recipe! We hope you gained some valuable tips to elevate your pizza game. Ready to transform your next pizza night?
- Craft your masterpiece: Use this recipe to make your own pizza dough – you'll be amazed by the difference! This is your chance to experiment with different toppings and create truly unique pizzas.
- Share your pizza creations: Show us your pizza masterpieces on social media! Use #BakeWithEasePizza to share your success and inspire others.
- Explore our other recipes: Dive deeper into the world of baking and discover more delicious recipes on our website – from breads to desserts, we have something for everyone.
What unexpected topping will you try on your next homemade pizza? Let us know in the comments!