
Achieving the Perfect Crust Thickness: Shaping Your Dough

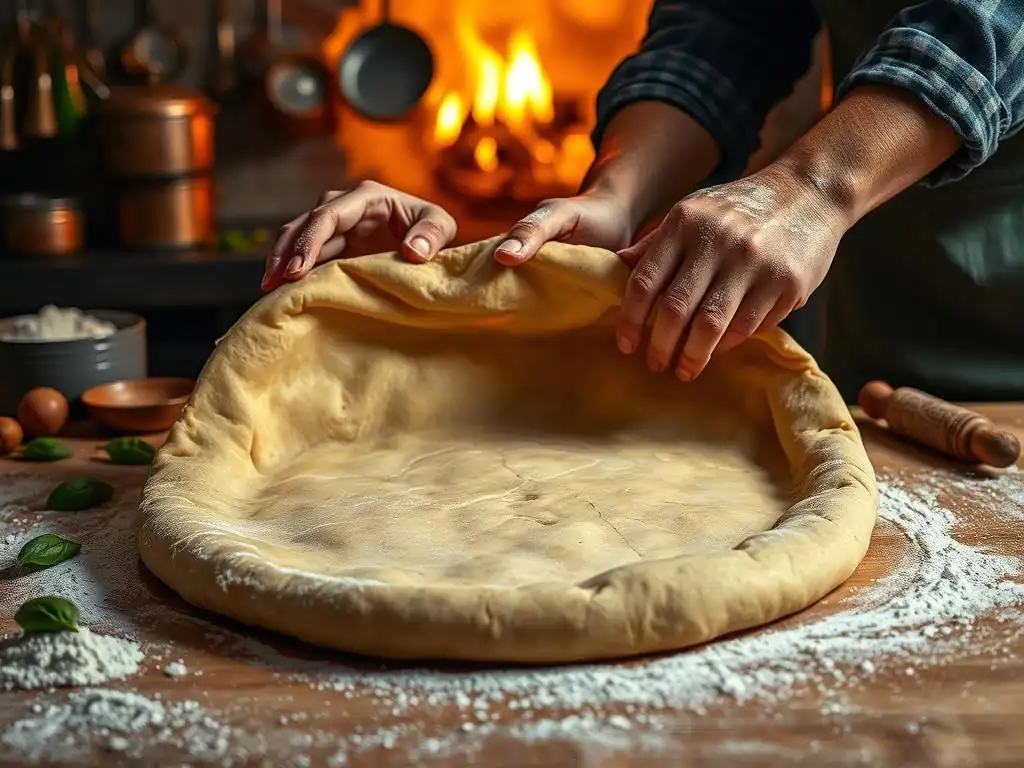
Welcome to BakeWithEase, where your baking dreams become delicious realities! Ever wondered how to achieve that perfect crust thickness you see in artisan breads and pizzas? This guide unlocks the secrets to shaping your dough for optimal results. Get ready to elevate your baking game – the journey to a flawless crust starts now!
- Achieving the Perfect Crust Thickness: Shaping Your Dough (BakeWithEase Guide)
- Understanding Your Dough: Key Factors Affecting Crust Thickness
- Choosing Your Shaping Method: Achieving the Desired Crust
- Shaping Techniques for Different Crust Styles
- Troubleshooting Common Dough Shaping Problems
- Tips & Tricks for Perfect Pizza Crust Shaping
- Conclusion: Enjoying Your Perfectly Shaped Pizza Crust
-
Frequently Asked Questions
- How does the initial shaping of my dough affect the final crust thickness?
- What is the ideal dough consistency for achieving a perfect crust thickness?
- Can the baking temperature influence the crust thickness?
- Are there specific kneading techniques that contribute to a better crust?
- Does the type of flour used impact the final crust thickness?
- Final Reflection: The Art and Science of the Perfect Crust
- Unlock Your Perfect Crust: Bake the Dough of Your Dreams!
Achieving the Perfect Crust Thickness: Shaping Your Dough (BakeWithEase Guide)
Why Crust Thickness Matters for Homemade Pizza
Achieving the perfect crust thickness dough is arguably the most crucial step in creating your ideal homemade pizza. The thickness of your dough directly influences the texture of the final crust, determining whether it's delightfully crispy, wonderfully chewy, light and airy, or somewhere in between. A thin crust offers a crisp bite and allows the toppings to shine, while a thick crust provides a substantial, bread-like foundation that can support heavier toppings and offers a satisfying chew.
Beyond texture, crust thickness impacts the baking time and temperature needed for a perfectly cooked pizza. A very thin crust might bake in just 5-7 minutes at high heat, while a thick pan pizza could require 15-20 minutes at a slightly lower temperature. Mastering how to shape your dough to the desired thickness ensures even cooking throughout the pizza, preventing a soggy bottom or burnt edges, and ultimately delivering that restaurant-quality result right from your own oven. It's the foundation upon which all other pizza elements rest.
BakeWithEase' Guide to Consistent Pizza Crusts
Welcome to the BakeWithEase guide dedicated to helping you achieve consistent and perfect crust thickness dough every time you make pizza at home. We understand that shaping can sometimes feel intimidating, leading to uneven results, tears, or dough that simply won't cooperate. Our goal is to demystify the process, breaking down the science of dough and the techniques of shaping.
Throughout this guide, we'll explore how factors like gluten development and hydration affect your dough's behavior, and walk you through different shaping methods suited for various crust styles. Whether you dream of a paper-thin Neapolitan, a classic New York slice, or a deep-dish delight, we'll provide the knowledge and practical tips you need to confidently shape your dough for that ideal, perfect crust thickness. Let's get hands-on!
Understanding Your Dough: Key Factors Affecting Crust Thickness
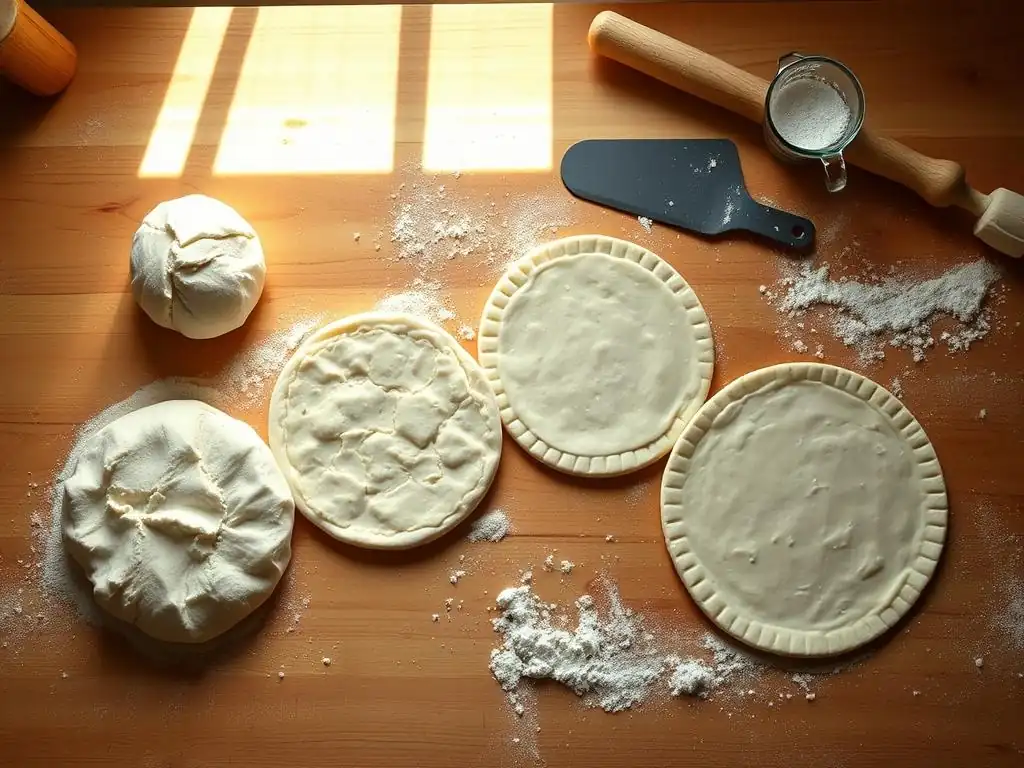
Gluten Development and Its Impact on Dough Shape
Gluten is the protein network formed when flour and water are mixed and kneaded. Its development is absolutely fundamental to how well your dough can be shaped and how it holds its form during baking, directly influencing perfect crust thickness dough. Properly developed gluten creates an elastic and extensible dough that can be stretched thinly without tearing and will trap gases produced by yeast, leading to an airy structure.
If your dough is under-kneaded, the gluten network is weak. This results in a dough that tears easily when you try to stretch it thin and snaps back readily, making it difficult to achieve an even, perfect crust thickness dough. Over-kneading, while less common, can make the dough tough and difficult to shape as well. The ideal dough for shaping has a smooth, elastic surface and passes the "windowpane test," meaning you can gently stretch a small piece thin enough to see light through it without it breaking.
Hydration Levels: How Water Content Influences Crust Thickness
The hydration level of your dough, which is the ratio of water to flour by weight, plays a significant role in its texture and how easily it can be shaped for perfect crust thickness. Higher hydration doughs (typically 65% water or more relative to flour weight) are often stickier and can be more challenging to handle initially, but they tend to be more extensible and forgiving when stretching. The extra water allows for a more open crumb structure and can contribute to a lighter, airier crust, particularly useful for achieving thin, crispy edges.
Conversely, lower hydration doughs (below 60%) are easier to manage and less sticky, making them simpler to roll or press. However, they can be less extensible and might require more effort to stretch thinly by hand without tearing. A lower hydration dough often results in a denser crust texture. Understanding your dough's hydration helps you anticipate its behavior and choose the best shaping method to achieve your desired perfect crust thickness dough.
Dough Temperature: Achieving the Right Consistency for Shaping
Dough temperature is a critical, yet often overlooked, factor in successful shaping for perfect crust thickness dough. Dough that is too cold, perhaps straight from the refrigerator after a long cold ferment, will be stiff and resistant to stretching. The gluten network is less flexible at lower temperatures, causing the dough to spring back significantly when you try to shape it.
Allowing your dough to come to a proper shaping temperature, typically around room temperature (68-72°F or 20-22°C), makes it much more pliable and easier to work with. The gluten relaxes, making the dough more extensible and less likely to tear or snap back. However, dough that is too warm or over-proofed can become overly slack and sticky, making it difficult to handle and shape evenly for the desired perfect crust thickness dough. Aim for a temperature that feels relaxed but still holds its structure.
Choosing Your Shaping Method: Achieving the Desired Crust
Hand Stretching: The Traditional Approach to Thin Crusts
Advantages of Hand Stretching Pizza Dough
Hand stretching is the time-honored, artisanal method for shaping pizza dough, particularly favored for achieving thin and medium crusts, like those found in Neapolitan or New York style pizzas. The primary advantage is the ability to feel the dough as you work it, allowing for a more intuitive process and fine-tuning of the perfect crust thickness dough in different areas. It also helps to preserve the airy structure created by fermentation, as you are gently coaxing the dough into shape rather than forcing air out.
Hand stretching is relatively simple and requires no special equipment beyond your hands and a clean surface. It allows you to create a slightly thicker rim (the cornicione) while keeping the center thin, which is characteristic of many traditional pizza styles. This method, when practiced, provides excellent control over the final shape and thickness, contributing significantly to that ideal perfect crust thickness dough.
Techniques for Even Hand Stretching
Achieving an even, perfect crust thickness dough through hand stretching requires a gentle touch and specific techniques. Start with a well-rested dough ball. Gently press the center outwards with your fingertips, leaving the outer edge slightly thicker. Then, lift the dough, resting the edge on your knuckles or draped over your hands. Rotate the dough, allowing gravity to help stretch it, while gently pulling and guiding the dough outwards with your hands.
Another technique involves laying the dough flat on a lightly floured surface (semolina is excellent here) and using the palms of your hands to press and push the dough outwards from the center, rotating as you go. Avoid gripping the dough with your fingertips, as this can create thin spots or holes. The goal is to coax the dough into shape gradually, allowing the gluten to relax as you work, leading to a more uniform and perfect crust thickness dough.
Rolling Pin Method: Ensuring Uniform Thickness
Tips for Using a Rolling Pin Without Overworking the Dough
Using a rolling pin is an effective way to achieve a very uniform perfect crust thickness dough, especially useful for thin-crust pizzas or when consistency is paramount. To avoid overworking the dough and making it tough, use minimal flour on your surface and the pin. Roll gently from the center outwards, rotating the dough frequently to maintain a circular shape. Apply even pressure across the dough.
Roll just until you reach the desired thickness. If the dough springs back excessively, cover it and let it rest for 5-10 minutes before continuing. This rest period allows the gluten to relax, making it easier to roll without resistance. Rolling is less likely to create the pronounced airy rim of a hand-stretched pizza but excels at producing a consistent, perfect crust thickness dough across the entire base.
Achieving a Consistent Circle with a Rolling Pin
To achieve a consistent circular shape and perfect crust thickness dough using a rolling pin, start with a roughly rounded dough ball. Place it on your lightly floured surface. Begin rolling from the center outwards in one direction, then rotate the dough 90 degrees and roll again. Continue this process of rolling outwards from the center and rotating the dough.
As the dough expands, focus on keeping the edges relatively even as you roll towards them. If one side is thicker, focus your rolling efforts there. Use the full width of the rolling pin to ensure even pressure. Don't be afraid to lift and reposition the dough if it starts sticking or getting uneven. Regular rotation is key to preventing one side from becoming larger or thinner than the others, ensuring a consistently perfect crust thickness dough throughout the circle.
Using a Dough Press: Quick and Easy Crust Shaping
Benefits of Using a Dough Press for Uniformity
A dough press offers a fast and easy way to achieve a remarkably uniform perfect crust thickness dough, particularly useful for high-volume environments or for home bakers who prioritize speed and consistency over artisanal technique. Presses apply even pressure across the entire dough ball, flattening it into a consistent circle or square with minimal effort.
This method is excellent for producing thin or medium crusts with very little variation in thickness. It requires minimal skill and significantly reduces the time spent shaping each pizza base. While it tends to push air out of the dough, resulting in a less airy rim than hand stretching, it guarantees a reliably uniform perfect crust thickness dough every single time.
Considerations When Using a Dough Press
While convenient, using a dough press has some considerations. Dough presses often work best with slightly firmer, lower hydration doughs that aren't overly sticky. Overly wet dough can stick to the press plates. Also, because the press flattens the dough so uniformly, it typically results in a very thin rim or no defined rim at all, which may not be desirable for all pizza styles.
It's also important not to press the dough too forcefully or for too long, as this can potentially over-compress the gluten and make the crust dense. Experiment with the pressure and timing to find what works best for your specific dough recipe and press model to achieve your desired perfect crust thickness dough. Ensure the press plates are clean and lightly floured or oiled as recommended by the manufacturer to prevent sticking.
Shaping Techniques for Different Crust Styles
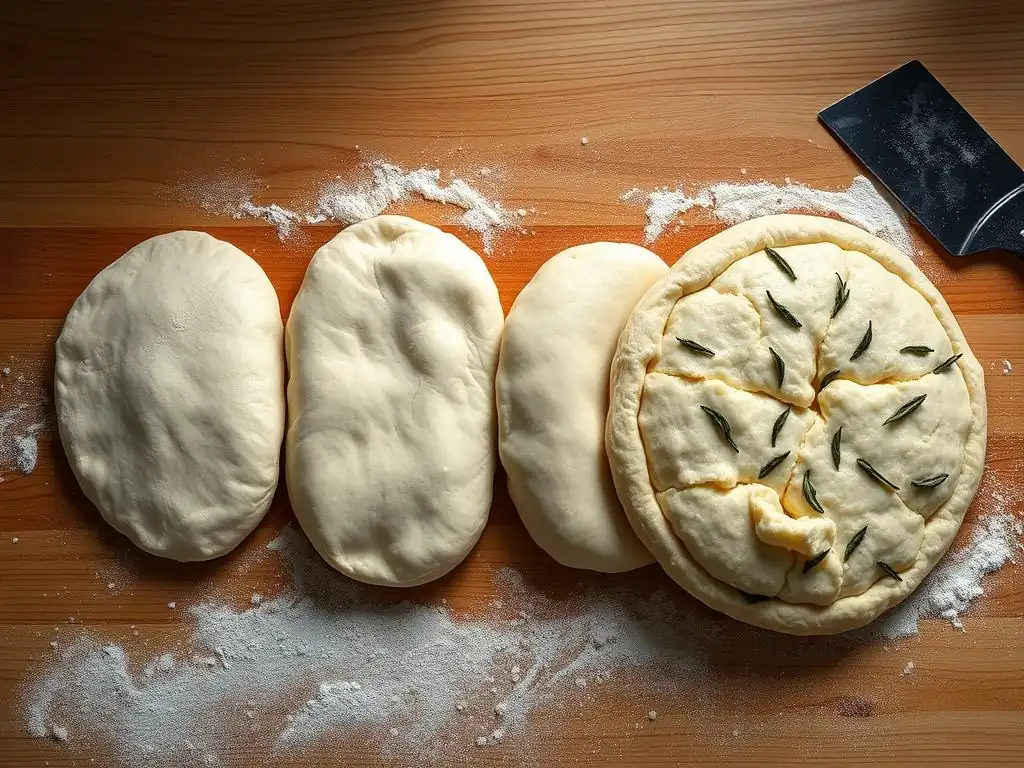
Thin Crust Pizza Dough: Achieving a Crispy Base
Tips for Stretching Thin Crust Dough Without Tearing
Achieving a paper-thin, crispy crust without tearing requires a well-developed, properly rested dough and gentle technique. Start with a dough ball that has rested at room temperature for at least 30-60 minutes after refrigeration. Use minimal flour, preferably fine semolina, on your surface to prevent sticking without making the dough tough. Begin by gently pressing the center outwards, leaving a slight rim.
Lift the dough and use your knuckles to stretch it, letting gravity assist. Rotate and stretch slowly and evenly. If the dough resists or starts to tear, lay it down, cover it, and let it rest for 5-10 minutes before attempting to stretch further. This relaxation period is crucial for allowing the gluten to become more extensible. Aim for a thickness of around 1/16 to 1/8 inch (about 2-3 mm) across the base for that perfect crust thickness dough that crisps up beautifully.
Baking Techniques for a Perfectly Crispy Thin Crust
Baking is just as important as shaping for a crispy thin crust. Thin crusts benefit greatly from high temperatures and quick baking times. Preheat your oven and pizza stone or steel to a very high temperature, typically 500-550°F (260-290°C), for at least 30-60 minutes to ensure maximum heat transfer.
Launch the pizza onto the preheated surface. The intense heat from below will quickly set the base and promote crisping. Baking time for a thin crust is usually very short, often between 5 to 8 minutes, depending on your oven and desired crispness. Keep an eye on it, as thin crusts can burn quickly. The rapid bake ensures the perfect crust thickness dough becomes wonderfully crisp without drying out the toppings.
Thick Crust Pizza Dough: Creating a Soft and Airy Base
Shaping Techniques for a Thick and Fluffy Crust
Shaping dough for a thick, soft, and airy crust involves different goals than thin crusts. The focus is less on stretching and more on gently coaxing the dough to fill a space or maintain its thickness. For a hand-shaped thick crust, you might gently press the dough outwards, but stop when it's still quite thick, perhaps 1/4 to 1/2 inch (about 6-12 mm). Avoid stretching it too thin in the center.
For styles like focaccia-style pizza or Detroit-style, the dough is often pressed directly into an oiled pan. The dough is gently pressed from the center outwards, allowing it to rest and relax as needed, until it evenly covers the bottom of the pan. This method encourages the dough to rise upwards during baking, creating a substantial, fluffy perfect crust thickness dough.
Baking Tips for a Golden-Brown, Thick Crust
Thick crust pizzas require a longer bake time at a slightly lower temperature compared to thin crusts to ensure they cook through without burning the top. A common range is 400-450°F (200-230°C) for 15-25 minutes, depending on the thickness and toppings. Baking on a preheated stone or steel can still help set the bottom, but it's not as critical as with thin crusts.
For pan pizzas, baking directly in the pan provides support and helps create those signature crispy edges often associated with thick crusts. You might even start the bake on a lower rack or directly on the oven floor (if safe) for the first half of the bake to ensure the bottom crust gets golden and firm before moving it up to finish. The longer, moderate bake ensures the perfect crust thickness dough is cooked through, soft, and airy on the inside with a beautiful golden-brown exterior.
Pan Pizza: Shaping Dough Directly in the Pan
Choosing the Right Pan for Your Pizza
Choosing the right pan is essential when shaping dough directly for pan pizza, as the pan dictates the final shape and contributes significantly to the crust texture and perfect crust thickness dough. Deep-dish pizzas traditionally use round, deep pans (often steel), while Detroit-style pizzas use rectangular, often blue steel, automotive parts pans. Standard cast iron skillets or even regular cake pans can also be used for thicker, pan-style crusts.
The material and depth of the pan affect heat distribution and how the crust cooks, particularly the bottom and edges. Darker pans tend to absorb more heat, leading to crispier bottoms and edges. Always oil the pan generously, especially the sides, to prevent sticking and help the dough achieve a rich, golden-brown crust where it meets the pan.
Pressing the Dough Evenly into the Pan
Shaping dough directly in the pan for styles like focaccia or Detroit-style involves gently pressing the dough outwards until it fills the pan. Start by placing the dough ball in the center of the well-oiled pan. Use your fingertips to gently dimple and press the dough towards the edges. If the dough resists or springs back, stop and let it rest for 10-15 minutes, covered, right in the pan.
After resting, the dough will be more relaxed and easier to press further. Repeat the pressing and resting process until the dough evenly covers the bottom of the pan, reaching into the corners if applicable. Ensure the thickness is relatively uniform across the base, especially avoiding overly thin spots in the center, to achieve a consistent and perfect crust thickness dough for your pan pizza.
Troubleshooting Common Dough Shaping Problems
Dough That Tears Easily: Solutions for Weak Gluten
If your dough tears easily when you try to shape it for perfect crust thickness dough, it's a strong indicator that the gluten network is underdeveloped or hasn't had enough time to relax. This often happens with dough that hasn't been kneaded enough or hasn't proofed/rested adequately.
- Solution 1: Knead More: If the dough feels shaggy or doesn't pass the windowpane test before shaping, it needs more kneading. This can be done by hand or machine.
- Solution 2: Rest is Best: If the dough was kneaded properly but still tears during shaping, it needs more rest. Cover the dough and let it relax at room temperature for 15-30 minutes before trying again. The gluten needs time to become extensible.
- Solution 3: Gentle Handling: Use gentler shaping techniques. Instead of aggressive pulling, try gentle stretching with the help of gravity or pressing outwards with the palms of your hands.
Dough That Springs Back: Relaxing the Dough for Easier Shaping
Dough that constantly springs back to its original size after you try to stretch or roll it is typically a sign of tight gluten that needs to relax. This is very common with cold dough or dough that hasn't rested long enough after kneading or coming out of the refrigerator. It makes achieving a consistent perfect crust thickness dough very difficult.
- Solution 1: Give it a Break: The most effective solution is simply to let the dough rest. Cover the dough ball or partially shaped crust and leave it at room temperature for 10-20 minutes. This allows the gluten strands to loosen up.
- Solution 2: Warm Up: If the dough is cold from the fridge, make sure it's had sufficient time (usually 1-2 hours, depending on size and ambient temperature) to come up to a workable room temperature before you even start shaping.
- Solution 3: Less Flour: Excess flour on your surface can increase friction and make dough spring back more. Use just enough flour to prevent sticking.
Uneven Crust Thickness: Achieving Consistency Across the Pizza
Uneven crust thickness is a common issue that can lead to inconsistent baking – thin spots burn while thick spots remain doughy. This usually results from inconsistent pressure or technique during shaping. Achieving uniform perfect crust thickness dough requires attention to detail.
- Solution 1: Even Pressure: Whether hand stretching or rolling, apply even pressure across the entire surface of the dough as you work outwards from the center. Avoid pressing down too hard in one spot.
- Solution 2: Regular Rotation: Constantly rotate the dough as you shape it. This helps you see if one side is getting thicker or thinner than the others and allows you to adjust your technique accordingly.
- Solution 3: Practice: Like any skill, achieving consistent perfect crust thickness dough improves with practice. Pay attention to how the dough feels and responds to your touch. Over time, you'll develop a feel for applying even pressure and achieving uniformity. Using a rolling pin can also be helpful for beginners aiming for consistency.
Tips & Tricks for Perfect Pizza Crust Shaping
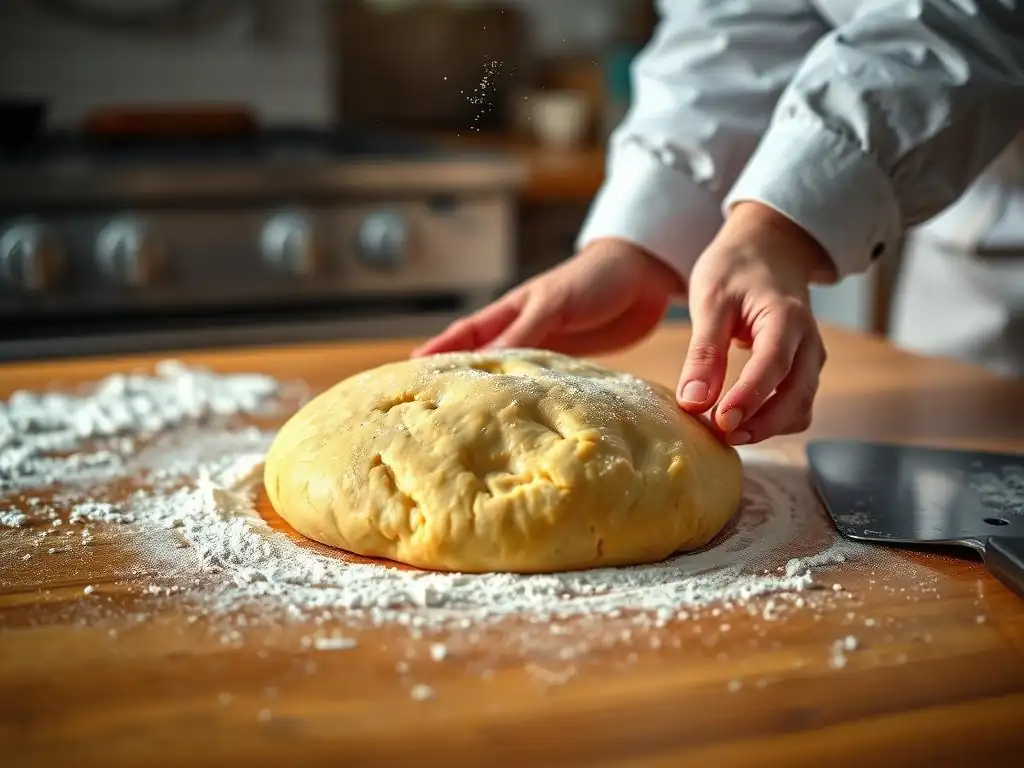
The Importance of Rest Time After Shaping
Beyond the rest time needed before shaping, allowing your shaped pizza crust to rest briefly after shaping but before adding toppings can significantly improve the final result and contribute to a perfect crust thickness dough. This short rest, typically 5-10 minutes, allows the dough to relax once more after the manipulation of shaping.
This post-shaping rest helps the dough hold its shape better, reducing the likelihood of it shrinking back on the peel or during the initial moments in the oven. It also gives the gluten a moment to recover, potentially resulting in a slightly airier crust. Use this time to preheat your oven further, gather your toppings, and ensure your peel is prepped for launching.
Using Semolina Flour to Prevent Sticking
When shaping dough, especially for hand stretching thin crusts or launching onto a hot stone/steel, using the right kind of flour on your surface and peel is crucial for preventing sticking. While all-purpose flour works, fine semolina flour (also known as semola rimacinata) is often preferred by pizzaiolos.
Semolina has a coarser texture than wheat flour and acts like tiny ball bearings, allowing the dough to slide easily without absorbing into the dough and making it tough. A light dusting of semolina on your work surface and pizza peel ensures that your perfectly shaped dough, aiming for that perfect crust thickness dough, won't glue itself down, making transfer to the oven smooth and effortless.
Pre-Baking the Crust for Extra Crispness
For certain pizza styles, particularly those with many wet toppings or a desire for maximum crispness, pre-baking (or "par-baking") the shaped crust can be a beneficial technique. This involves baking the naked dough for a few minutes until it is partially set but not yet browned.
Pre-baking helps to firm up the base, making it less likely to become soggy under heavy or wet toppings. It also contributes to a crispier final crust texture, as the dough gets a head start on drying out and developing structure before the moisture from the toppings is added. The duration depends on your desired perfect crust thickness dough and oven temperature, but typically ranges from 3 to 7 minutes.
Conclusion: Enjoying Your Perfectly Shaped Pizza Crust
BakeWithEase' Final Thoughts on Pizza Dough Shaping
Mastering the art of shaping your pizza dough is a journey, but one that is incredibly rewarding. Understanding the role of gluten, hydration, and temperature, combined with practicing different shaping techniques, empowers you to achieve the perfect crust thickness dough for any pizza style you desire. Don't be discouraged by early attempts that aren't perfectly round or uniform; each pizza is a delicious opportunity to learn and improve.
Remember that patience is key – allowing your dough sufficient rest time before and after shaping is crucial for successful handling and achieving that ideal texture. Experiment with hand stretching, rolling, or pan-pressing to find the method that best suits your recipe and your desired perfect crust thickness dough. With these techniques from BakeWithEase, you're well on your way to consistently creating stunning and delicious homemade pizzas.
Next Steps: Perfecting Your Pizza Toppings and Baking Time
Now that you've successfully shaped your dough to the perfect crust thickness dough, the fun continues! The next steps involve adding your favorite toppings and baking your masterpiece to golden perfection. The choice of toppings can influence the final texture and requires considering moisture levels and distribution.
Matching the baking time and temperature to your specific crust thickness and oven is the final puzzle piece. A thin crust needs high heat and a short bake, while a thick crust requires a more moderate temperature for a longer duration. Keep practicing your shaping, experiment with toppings, and fine-tune your baking process. Soon, you'll be pulling perfectly shaped, perfectly baked pizzas out of your oven every time!
Frequently Asked Questions
How does the initial shaping of my dough affect the final crust thickness?
The initial shaping is crucial because it determines the overall distribution of gluten and gas within the dough, which directly impacts the final crust formation.
What is the ideal dough consistency for achieving a perfect crust thickness?
A dough that is neither too wet nor too dry is ideal. You're looking for a dough that is slightly tacky but still easy to handle, allowing for even spreading during baking.
Can the baking temperature influence the crust thickness?
Yes, a higher baking temperature generally leads to a thicker and crispier crust, as it promotes faster evaporation of moisture from the surface of the dough.
Are there specific kneading techniques that contribute to a better crust?
Yes, proper kneading develops the gluten structure, which is essential for a well-defined crust. Over-kneading or under-kneading can both negatively affect crust thickness.
Does the type of flour used impact the final crust thickness?
Absolutely! Flours with higher protein content, like bread flour, will result in a stronger gluten network, leading to a thicker and chewier crust.
Final Reflection: The Art and Science of the Perfect Crust
The quest for the perfect crust thickness isn't merely about achieving a pleasing aesthetic; it's about unlocking the full potential of your dough, marrying texture with flavor in a harmonious whole. This seemingly simple pursuit reveals a deeper understanding of baking, demanding precision, patience, and a willingness to experiment. The subtle nuances in crust thickness dramatically impact the overall eating experience, from the satisfying crunch to the delicate interplay between crisp exterior and soft interior.
The journey to mastering crust thickness has profoundly shaped my own baking philosophy. It's taught me the importance of respecting the natural properties of ingredients and understanding the subtle dance between hydration, fermentation, and baking temperature. The proof of the pudding is in the eating,
as the old saying goes, and the same holds true for crusts. The perfect thickness isn't a fixed number, but rather a balance achieved through careful observation and a deep appreciation for the process. It's a journey of continuous learning and refinement.
Now, it's your turn. Don't be afraid to experiment with your dough, to tweak recipes, and to discover what your perfect crust thickness truly is. Embrace the imperfections, learn from each bake, and savor the delicious rewards of your efforts. The journey to the perfect crust is a rewarding one, filled with the satisfaction of creating something beautiful and delicious with your own hands. So, gather your ingredients, roll up your sleeves, and embark on your own crust-perfecting adventure.
Unlock Your Perfect Crust: Bake the Dough of Your Dreams!
Thanks for taking the time to explore the art of crust creation with us! We hope you've gained valuable insights into achieving that perfect thickness. Now it's time to put your newfound knowledge into practice.
- Get baking! Try out a new recipe today, focusing on the techniques you've just learned. Experiment with different flours and hydration levels to find your ideal crust.
- Share your baking journey! Post a picture of your masterpiece on social media and tag us – we'd love to see your results! Use #BakeWithEaseCrust.
- Dive deeper into the world of baking: Explore our other articles on pie crusts, bread baking, and more on BakeWithEase.com.
What unique twist will you add to your next crust creation?