
Get That Airy, BubbleFilled Crust: Dough Techniques

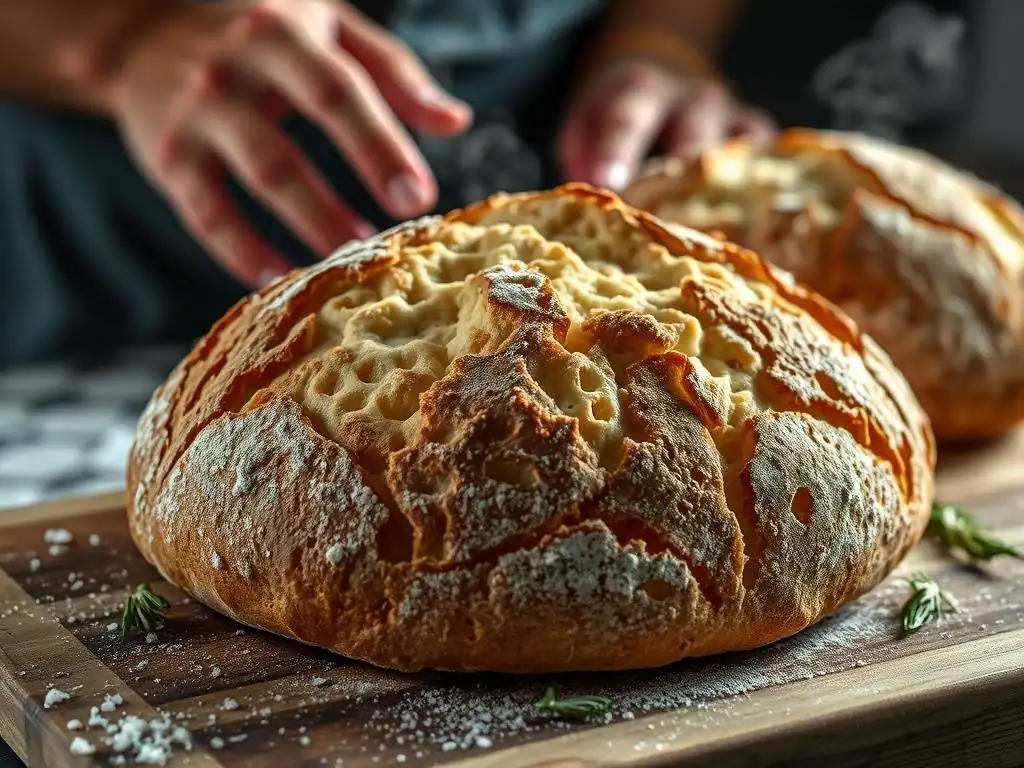
Welcome to BakeWithEase, your baking haven! Ever dreamt of achieving that picture-perfect, airy sourdough crust with those irresistible bubbles? Dive in! This guide unlocks the secrets to superior dough techniques, transforming your sourdough baking from good to extraordinary. Discover the simple tweaks and proven methods that will elevate your crust to a whole new level of deliciousness. Ready to master the art? Let's get baking!
- Get That Airy, Bubble-Filled Crust: Dough Techniques for Sourdough Pizza
- Introduction: Achieving the Perfect Airy Sourdough Pizza Crust
- Understanding the Science Behind Air Bubbles in Sourdough
- Essential Dough Techniques for Maximum Airiness
- Mastering the Sourdough Starter for an Airy Crust
- Shaping and Proofing for a Light and Bubbly Crust
- Baking Techniques for an Amazing Airy Sourdough Crust
- Troubleshooting Common Problems with Sourdough Crust Texture
- Advanced Techniques for Expert Sourdough Pizza Bakers
- Conclusion: Your Journey to Airy Sourdough Pizza Perfection
-
Frequently Asked Questions
- How does hydration level affect the airiness of a sourdough crust?
- What role does scoring play in achieving an airy sourdough crust?
- Why is proper fermentation crucial for an airy sourdough crust?
- Can kneading techniques influence the final crust texture of my sourdough?
- What oven temperature and baking time are best for achieving an airy crust?
- Final Reflection: The Pursuit of the Perfect Airy Sourdough Crust
- Unlock Your Inner Pizzaiolo: Master the Perfect Crust!
Get That Airy, Bubble-Filled Crust: Dough Techniques for Sourdough Pizza
Introduction: Achieving the Perfect Airy Sourdough Pizza Crust
Creating a sourdough pizza with a crust that's incredibly light, full of beautiful air bubbles, and boasts that signature tangy flavor is a goal many home bakers strive for. It's not just about the recipe; it's deeply rooted in understanding and mastering specific dough handling techniques. Achieving that desirable open crumb structure requires attention to detail at every stage, from the initial mixing to the final bake. This article will guide you through the essential airy sourdough crust techniques that make all the difference, transforming your homemade pizza from good to absolutely sensational.
The journey to a truly airy crust is a rewarding one, blending the art and science of baking. We'll explore how gluten development, yeast activity, and hydration work together, and how your actions directly influence the final texture. Get ready to dive into the specifics of mixing, folding, fermenting, and shaping your dough to maximize those delightful air pockets, ensuring each bite of your sourdough pizza is a light, flavorful experience.
Understanding the Science Behind Air Bubbles in Sourdough
The Role of Gluten Development in Sourdough Texture
Gluten is the structural backbone of your dough, and its proper development is absolutely crucial for trapping the gases that create air bubbles. When flour and water combine, two proteins, glutenin and gliadin, link together to form gluten. Kneading or performing stretch and folds helps align these protein strands into a strong, elastic network.
This network is like a balloon, capable of stretching and expanding as carbon dioxide gas is produced during fermentation. A well-developed gluten structure is essential because it's strong enough to hold onto the gas bubbles, preventing them from escaping and allowing them to grow larger, resulting in an open, airy crumb. Without sufficient gluten development, the dough would collapse under the pressure of the gas, yielding a dense crust.
Yeast Activity and Carbon Dioxide Production: The Key to Air Pockets
The magic of sourdough lies in its living starter, a symbiotic culture of wild yeasts and lactic acid bacteria. The wild yeasts in your starter are responsible for producing carbon dioxide (CO2) gas as they consume the sugars in the flour. This CO2 is the primary leavening agent that causes the dough to rise and creates the internal structure of air pockets.
Simultaneously, the lactic acid bacteria produce organic acids, contributing to the characteristic tangy flavor of sourdough and also helping to slightly relax the gluten network, allowing for better expansion. The rate at which the yeast produces gas is heavily influenced by temperature and the availability of food (sugar from the flour). Optimal activity often occurs in a range around 70-80°F (approx. 21-27°C), though activity continues, albeit slower, at cooler temperatures like those found during cold proofing.
Hydration's Impact on Sourdough Crust Aeration
Hydration refers to the ratio of water to flour in your dough, typically expressed as a percentage (e.g., 70% hydration means 70g of water per 100g of flour). Higher hydration doughs, generally those above 70%, are key to achieving a very open, airy crumb structure. The increased water allows the flour to fully hydrate, which facilitates more extensive gluten development and makes the dough more extensible.
In a high-hydration dough, the gluten network is surrounded by more water, making it more pliable and less resistant to stretching. This allows the gas bubbles to expand more freely and grow larger before the network reaches its breaking point. While wetter doughs can be trickier to handle initially, mastering the techniques for managing them is fundamental to unlocking the potential for maximum aeration and achieving truly spectacular, bubbly sourdough pizza crusts.
Essential Dough Techniques for Maximum Airiness
Autolyse: The Secret to Enhanced Dough Hydration and Open Crumb
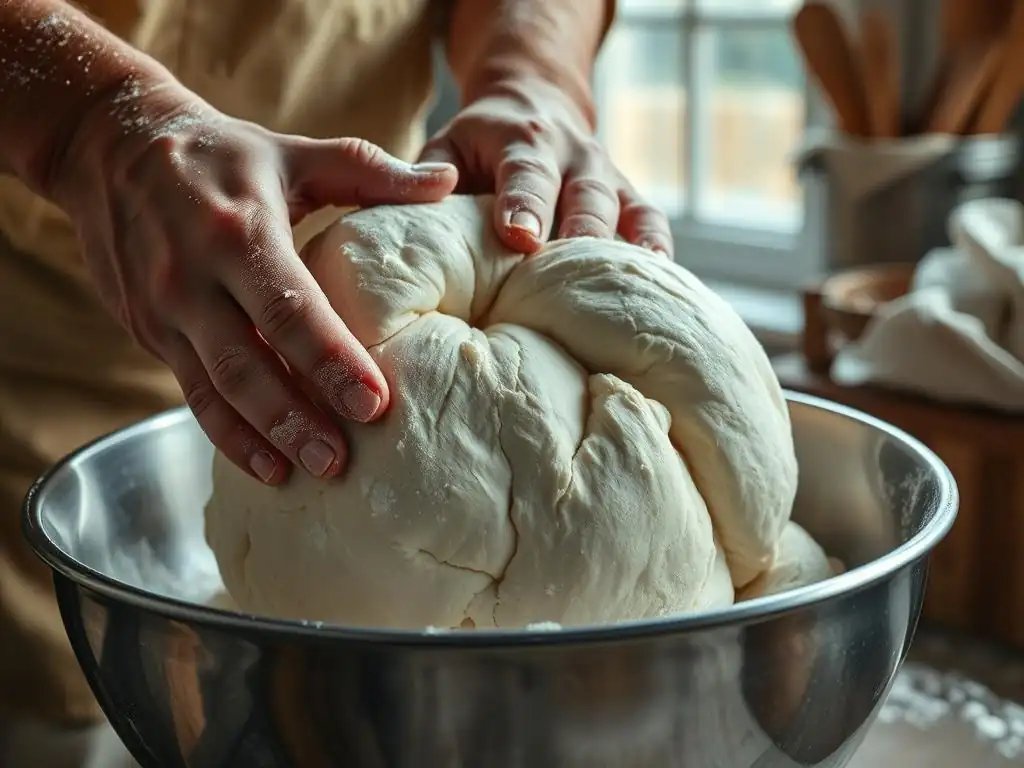
Autolyse is a simple yet powerful technique that involves mixing just the flour and water from your recipe and letting it rest before adding the salt and starter. This resting period, typically ranging from 20 minutes to an hour or even longer, allows the flour to fully absorb the water. During this time, enzymatic activity begins to break down starches into simpler sugars, which will later feed the yeast.
More importantly for aeration, autolyse allows the gluten proteins to start forming a network on their own without the interference of salt or the physical manipulation of kneading. This passive development makes the dough more extensible and easier to work with later. By giving the gluten a head start, you facilitate better overall development, leading to a stronger, more elastic dough capable of trapping more gas and producing a more open crumb structure.
Stretch and Folds: Building Strength and Introducing Air
Stretch and folds are a critical technique for developing gluten strength and structure in high-hydration doughs without intensive kneading. Instead of continuously working the dough, you perform a series of gentle stretches and folds over a period of time, allowing the dough to rest in between. This process builds tension and aligns the gluten strands, creating a robust network capable of supporting a very airy structure.
Each fold also helps to incorporate air into the dough, which acts as nucleation points for larger bubbles during fermentation. This method is particularly effective for sourdough as it's less disruptive than aggressive kneading and allows the natural fermentation process to contribute significantly to structure development alongside your manual efforts.
How to Perform Stretch and Folds Correctly
Performing stretch and folds correctly is key to their effectiveness. Start with wet hands to prevent sticking. Gently lift one side of the dough from the bowl, stretching it upwards without tearing, and fold it back over the rest of the dough. Rotate the bowl and repeat this process with the other three sides (imagine North, East, South, West points on a compass).
After completing one full set of four folds, cover the dough and let it rest. The rest period allows the gluten to relax before the next set. Aim for a gentle stretch that extends the dough without causing it to rip, as tearing the dough can disrupt the developing gluten network and deflate trapped air.
Optimal Timing and Frequency for Stretch and Folds
The optimal timing and frequency for stretch and folds depend on factors like dough hydration, flour type, and ambient temperature. A common approach for medium to high hydration sourdough pizza dough is to perform 2 to 4 sets of folds during the first 1 to 3 hours of bulk fermentation.
Typically, sets are spaced 30 to 60 minutes apart. The dough will become progressively stronger and more elastic with each set. You'll notice it resisting the stretch more and holding its shape better. Stop performing folds when the dough feels significantly stronger, smoother, and holds tension when folded – continuing past this point can over-stress the gluten.
Bulk Fermentation: Creating Flavor and Air Structure
Bulk fermentation, also known as the first rise, is the period after mixing (and performing stretch and folds) until the dough is divided and shaped. This is where the majority of the dough's leavening occurs and where flavor development truly begins thanks to the metabolic activity of the sourdough starter. During this phase, the yeast produces CO2 gas, expanding the dough and creating the initial bubble structure, while bacteria produce flavorful organic acids.
Allowing sufficient time for bulk fermentation is crucial for both flavor complexity and developing a robust, airy structure. The duration is highly dependent on temperature and the activity of your starter. It's often the most variable stage in the sourdough process, requiring careful observation rather than strict adherence to a clock.
Controlling Temperature for Ideal Fermentation
Temperature is perhaps the most significant factor influencing the rate of bulk fermentation. Warmer temperatures accelerate yeast and bacterial activity, while cooler temperatures slow them down. An ideal room temperature for bulk fermentation is often cited as 70-75°F (approx. 21-24°C). At this temperature, bulk fermentation might take anywhere from 4 to 8 hours, depending on the starter's strength and hydration level.
If your kitchen is cooler, fermentation will take longer. You can use aids like a proofing box, an oven with the light on (checking the temperature first! ), or simply find a warm spot in your home. Conversely, if it's too warm, fermentation can proceed too quickly, potentially leading to over-proofing. Learning to manage temperature gives you control over the pace of flavor and structure development.
Identifying Signs of Proper Bulk Fermentation
Determining when bulk fermentation is complete requires paying attention to the dough's physical signs rather than just the time. The dough should have increased significantly in volume – typically by 50% to 100%, depending on the desired outcome and fermentation temperature. It should look visibly gassy, with potential bubbles forming on the surface.
A good test is the "jiggle test" or "poke test." The dough should appear alive and slightly jiggly when the bowl is gently shaken. If you gently poke the dough with a wet finger, the indentation should slowly spring back, but not completely – this indicates it has enough structure but isn't over-tight or deflated. If it springs back instantly, it needs more time; if it collapses, it might be over-proofed.
Mastering the Sourdough Starter for an Airy Crust
Maintaining a Healthy and Active Sourdough Starter
A vigorous, active sourdough starter is the absolute cornerstone of achieving an airy, bubble-filled crust. Your starter is the source of the wild yeasts and bacteria that leaven your dough and create flavor. A healthy starter will consistently double or triple in volume within a predictable timeframe after feeding, typically 4 to 8 hours at room temperature (around 70-75°F or 21-24°C), showing numerous bubbles throughout and on the surface.
Regular feeding is essential to keep your starter strong. If kept at room temperature, it typically needs feeding daily. If stored in the refrigerator, feeding once a week is often sufficient, though it will need a few refresh feeds at room temperature to become active again before baking. Using a consistent feeding ratio (like 1:1:1 or 1:2:2 starter:water:flour by weight) and feeding it when it's peaked or just starting to fall ensures you're using it at its most potent phase for maximum lift.
The Impact of Starter Age on Dough Airiness and Flavor
The age and maturity of your sourdough starter play a significant role in both the airiness and flavor of your crust. A young starter (less than a few weeks old) may not yet have a stable or sufficiently active microbial population to provide strong, consistent leavening, often resulting in a denser crumb. As a starter matures over weeks and months, the microbial balance stabilizes, and the population of vigorous yeasts and bacteria increases.
A mature, well-maintained starter will consistently produce more gas, leading to better dough rise and a more open crumb structure. Furthermore, the bacterial activity in a mature starter contributes more complex organic acids, enhancing the tangy flavor profile that is characteristic of great sourdough pizza. Using a starter that is active and bubbly, ideally 4-8 hours after its last feeding when it's near its peak, is vital for optimal leavening power.
Feeding Schedule for Optimum Starter Performance
An effective feeding schedule ensures your starter is at peak activity when you're ready to mix your pizza dough. For starters kept at room temperature, daily feeding is standard. A common ratio is 1 part starter, 2 parts water, and 2 parts flour by weight (1:2:2). For example, feeding 25g starter with 50g water and 50g flour. This higher ratio provides plenty of food for the microbes, allowing them to proliferate and become very active.
If you bake less frequently, storing your starter in the refrigerator is more practical. Feed it generously (e.g., 1:3:3 or 1:4:4) before refrigerating. The day before baking, take it out, discard most, and feed it 1:1:1 or 1:2:2. Repeat this feeding process 1-2 times at room temperature until it's consistently doubling or tripling within 4-8 hours. This "wakes up" the starter and ensures it's vigorous enough to leaven your dough effectively for an airy sourdough crust.
Shaping and Proofing for a Light and Bubbly Crust
Gentle Shaping Techniques to Preserve Air
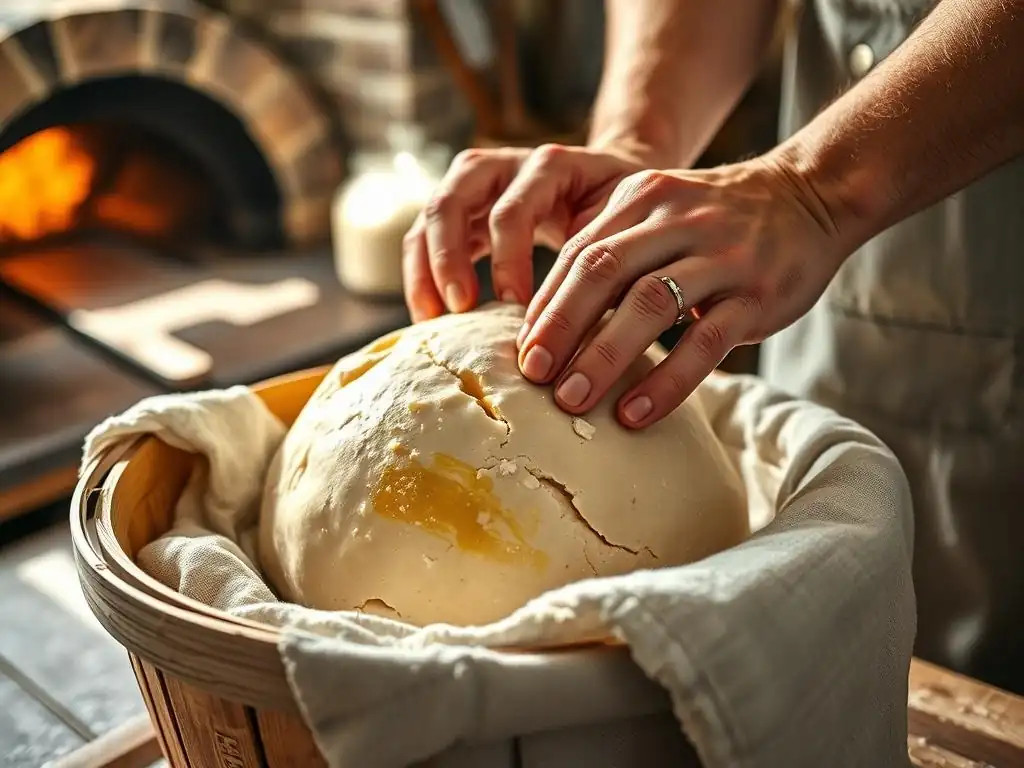
Once bulk fermentation is complete, the way you handle the dough during shaping is paramount to preserving the precious air bubbles you've worked hard to create. Aggressive handling, excessive degassing, or tearing the dough will deflate the internal structure, leading to a less airy crust. The goal is to gently coax the dough into shape while maintaining as much of the internal gas as possible.
For pizza dough, this often involves minimal handling. After dividing the dough into individual portions, gently preshape them into loose balls or discs and let them rest for 20-30 minutes (this is called bench rest). This allows the gluten to relax. When ready to shape the final pizza base, use your hands to gently stretch or pat the dough from the center outwards, leaving a small rim around the edge. Avoid using a rolling pin, which pushes out too much air. Focus on letting gravity and the dough's own extensibility do the work.
Cold Proofing vs. Room Temperature Proofing: Which is Best?
Proofing is the final rise before baking. You have two primary options: room temperature or cold proofing (in the refrigerator). Room temperature proofing is faster, often taking 2-4 hours, and can produce a nicely airy crust, especially if bulk fermentation was managed well. However, it offers less flavor development compared to cold proofing.
Cold proofing involves refrigerating the shaped dough balls for an extended period, typically 12 to 48 hours, or even longer. The cold temperature significantly slows yeast activity but allows the lactic acid bacteria to thrive, producing more complex flavors and organic acids. This slow fermentation also contributes to better gluten development and makes the dough easier to handle for stretching without tearing. Many bakers find that cold proofing yields a superior combination of deep flavor and excellent aeration, resulting in a more pronounced and desirable airy sourdough crust.
Understanding Over-Proofing and Under-Proofing
Knowing the signs of properly proofed dough is crucial. Under-proofed dough hasn't had enough time for the yeast to produce sufficient gas or for the gluten to fully relax. It will feel dense and tight, be difficult to stretch without tearing, and result in a dense crust with small, tight air pockets.
Over-proofed dough, on the other hand, has fermented for too long. The gluten structure weakens as the acids break it down, and the yeast may have exhausted its food supply. The dough will feel overly fragile and may collapse when handled. It might look very bubbly but will struggle to hold its shape and won't achieve good oven spring, resulting in a flat, potentially gummy crust with uneven, large bubbles or deflation. A perfectly proofed dough should be visibly increased in size, feel light and airy, and be easy to stretch gently.
Baking Techniques for an Amazing Airy Sourdough Crust
Preheating Your Oven for Maximum Oven Spring
A properly preheated oven is absolutely essential for achieving maximum oven spring – the rapid expansion of the dough when it first hits the heat. For sourdough pizza, this means preheating your oven to its highest possible temperature, often 500°F to 550°F (approx. 260°C to 290°C). This extreme heat causes a sudden burst of yeast activity and rapid expansion of the trapped gases and steam within the dough.
You need to preheat for a significant amount of time, typically 45-60 minutes, especially if using a baking stone or steel. This ensures not just the air inside the oven is hot, but the stone or steel is also saturated with heat. This intense initial heat is what gives the crust that immediate powerful lift, contributing significantly to its final airy texture and creating a crisp exterior while the inside remains soft and bubbly.
Using a Baking Stone or Pizza Steel
Using a baking stone or, preferably, a pizza steel is one of the most impactful techniques for getting a great sourdough pizza crust. These surfaces conduct heat much more efficiently than a standard baking sheet. When the dough is placed directly onto a preheated stone or steel, it receives a powerful thermal shock from below.
This intense heat transfer immediately sets the base of the crust, preventing it from becoming soggy, and drives rapid oven spring. A steel generally conducts heat faster and retains it longer than a stone, often resulting in a more dramatic rise and a crispier base. Placing your stone or steel on the top rack of your oven helps ensure the top of the pizza also gets sufficient heat for bubbling and charring.
The Importance of Oven Spring
Oven spring is the final dramatic rise that occurs in the first few minutes of baking. It's a visual confirmation that your dough was properly developed and proofed, and that your oven is hot enough. Achieving good oven spring is vital for an airy sourdough crust because it's during this phase that the internal gas bubbles expand most dramatically, setting the open structure of the crumb.
The rapid heat causes the water in the dough to turn to steam, further inflating the air pockets, while the yeast undergoes a final burst of activity before dying. A strong oven spring lifts the crust significantly around the edges, creating that desirable puffy, bubbly rim. If your dough doesn't achieve good oven spring, it often indicates issues earlier in the process, such as insufficient gluten development, under- or over-proofing, or an oven that wasn't hot enough.
Troubleshooting Common Problems with Sourdough Crust Texture
Dense Crust: Possible Causes and Solutions
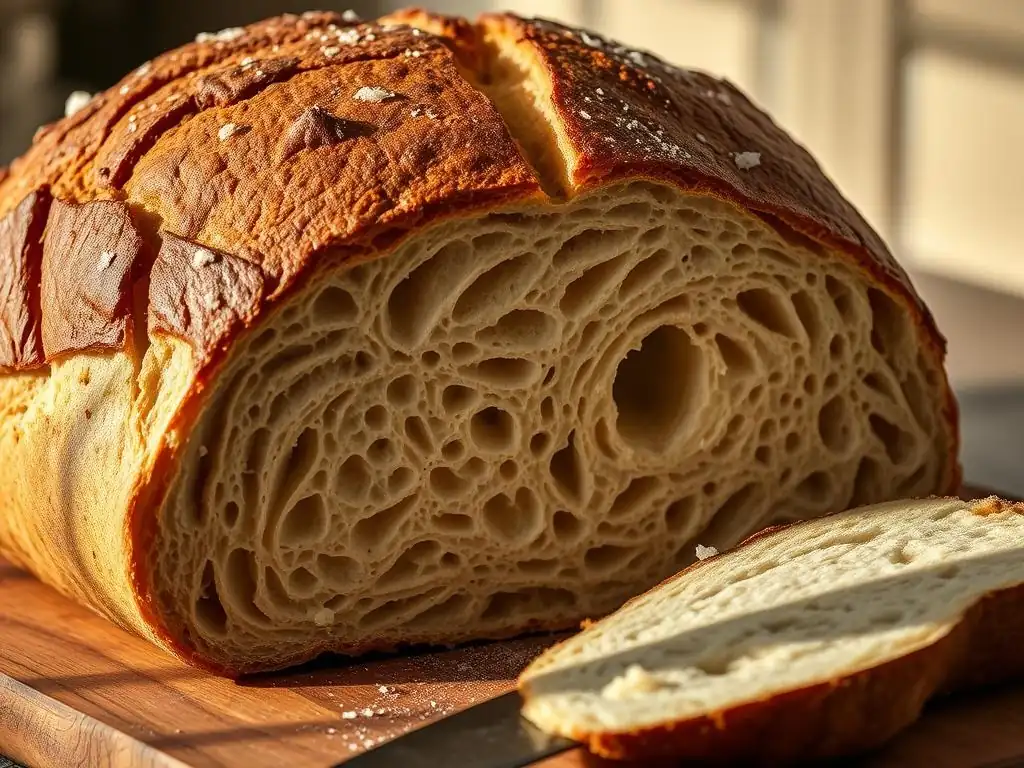
A dense sourdough pizza crust is a common frustration, often stemming from issues with leavening or gluten development. One primary cause is an inactive or weak sourdough starter that isn't producing enough gas. Ensure your starter is active and bubbly, ideally using it at its peak 4-8 hours after feeding. Another culprit can be insufficient bulk fermentation time – the dough didn't have enough time to develop gas and structure.
Under-proofing during the final rise can also lead to a dense result, as the dough hasn't relaxed enough to expand properly in the oven. Lastly, poor gluten development, perhaps due to skipping stretch and folds or using flour with low protein content, means the dough can't trap the gas effectively. Solutions include using a more active starter, extending bulk fermentation (watching the dough, not the clock! ), allowing adequate final proofing time, and ensuring you perform sufficient stretch and folds to build strength. Using bread flour or a high-protein flour (around 12-14%) can also significantly improve structure.
Uneven Air Bubbles: Identifying and Correcting the Issue
While some irregularity in air bubbles is natural and even desirable in sourdough, consistently uneven or large, isolated bubbles can indicate issues with dough handling or fermentation. One common cause is inconsistent gluten development; some parts of the dough are stronger than others, leading to uneven expansion. This can happen if stretch and folds aren't performed evenly throughout the dough mass.
Another reason can be rough handling during shaping, which can deflate parts of the dough while leaving others intact. Over-proofing can also lead to some large, coalesced bubbles and deflation elsewhere. To correct this, ensure your stretch and folds are consistent and cover the entire dough. Practice gentle shaping techniques that preserve the existing bubble structure. Pay close attention to the signs of proper bulk fermentation and proofing to avoid over- or under-doing these stages.
Preventing a Soggy Crust
A soggy sourdough pizza crust is often the result of insufficient heat transfer from the baking surface or too much moisture in the dough or toppings. The most effective way to prevent this is by using a thoroughly preheated baking stone or steel, ideally placed on the bottom or middle rack of your oven (some prefer bottom for max base heat, then moving up). Preheating for at least 45-60 minutes at your oven's highest temperature ensures the stone/steel is radiating intense heat upwards, rapidly setting the base.
Using a high-hydration dough (like 70%+) requires a very hot surface to cook through quickly. Ensure your toppings aren't excessively wet; drain watery vegetables like fresh mozzarella or tomatoes if needed. Baking directly on the stone/steel is crucial; don't use parchment paper for the entire bake, though a small piece can help transfer the pizza initially before being slid out after a minute or two.
Advanced Techniques for Expert Sourdough Pizza Bakers
Using a Poolish or Biga for Enhanced Flavor and Texture
Beyond the standard sourdough method, advanced bakers often experiment with preferments like a poolish or biga alongside their sourdough starter. A poolish is a wet, liquidy preferment (typically 100% hydration, equal parts flour and water by weight) made with a small amount of commercial yeast (or sometimes a tiny bit of starter). A biga is a drier, stiffer preferment (usually 50-60% hydration).
Incorporating a poolish or biga into your sourdough dough can offer several benefits. They contribute additional flavor complexity through extended fermentation and can also enhance the dough's structure and extensibility, potentially leading to an even more open and airy crumb than using sourdough alone. This technique adds another layer of planning but can elevate the final pizza significantly.
Experimenting with Different Flours for Varied Results
The type of flour you use has a profound impact on your sourdough pizza crust's texture and flavor. While strong bread flour (high protein, 12-14%) is excellent for developing a robust gluten network capable of trapping lots of air, experimenting with other flours can yield interesting results. Italian "Tipo 00" flour, for example, is very finely milled and often has a moderate protein content (around 10-12%).
Tipo 00 flour can produce a very soft, tender crumb with a crispy exterior when baked at high temperatures, characteristic of Neapolitan-style pizza. Using a blend of flours, such as bread flour mixed with some Tipo 00 or even a small percentage of whole wheat or rye for flavor complexity, allows you to fine-tune the dough's properties. Higher protein flours generally facilitate a more open, airy structure due to stronger gluten development.
Incorporating Whole Wheat Flour for Added Complexity
Adding a percentage of whole wheat flour to your sourdough pizza dough (e.g., 10-20% of the total flour weight) can significantly impact both flavor and texture. Whole wheat flour contains the bran and germ, which add nutty, complex flavors not present in refined white flour. This contributes depth to the tangy sourdough profile.
Texturally, whole wheat flour absorbs more water than white flour and the bran particles can interfere slightly with gluten development. This means you might need to slightly increase the hydration when using whole wheat. While 100% whole wheat can result in a denser crust, incorporating a smaller percentage adds flavor and nutritional value while still allowing for a reasonably airy structure, provided you manage hydration and gluten development effectively.
Conclusion: Your Journey to Airy Sourdough Pizza Perfection
Mastering the art of the airy sourdough pizza crust is a rewarding endeavor that combines understanding the science with practicing key techniques. From nurturing a vibrant starter and developing a strong gluten network through gentle stretch and folds to managing fermentation temperature and employing high-heat baking methods, each step plays a crucial role. The techniques for an airy sourdough crust are interconnected, and attention to detail throughout the process is what ultimately yields that coveted light, bubbly, and flavorful result.
Don't be discouraged by initial attempts that aren't perfect. Sourdough baking is a journey of learning and adaptation. By focusing on these core airy sourdough crust techniques, observing your dough, and being patient with the process, you will steadily improve. Keep experimenting with hydration, fermentation times, and baking temperatures. Soon, you'll be consistently pulling pizzas from your oven with crusts so light and bubbly, you'll be proud to share them (or perhaps keep them all to yourself! ).
Frequently Asked Questions
How does hydration level affect the airiness of a sourdough crust?
Higher hydration levels lead to a more open crumb and airier crust because the increased water creates more steam during baking. This steam contributes to a larger expansion and bubble formation.
What role does scoring play in achieving an airy sourdough crust?
Scoring allows the dough to expand predictably in the oven. Proper scoring helps create controlled expansion and prevents the crust from tearing randomly, leading to a more defined airy crust.
Why is proper fermentation crucial for an airy sourdough crust?
Fermentation produces the gases that give sourdough its rise and characteristic flavor. A well-fermented dough will have sufficient gas production, resulting in a lighter texture and airy crust during baking.
Can kneading techniques influence the final crust texture of my sourdough?
Yes, proper kneading develops gluten, which provides structure. Over-kneading can lead to a dense crust, while under-kneading might not provide enough support for the large air pockets needed for an airy sourdough crust.
What oven temperature and baking time are best for achieving an airy crust?
A high initial oven temperature creates a burst of steam, promoting crust expansion. A slightly longer baking time ensures the crust fully sets and develops its desired airiness and characteristic crunch.
Final Reflection: The Pursuit of the Perfect Airy Sourdough Crust
The quest for that ethereal, bubble-filled sourdough crust isn't just about aesthetics; it's a testament to the power of understanding fundamental baking principles. Achieving this airy texture requires patience, precision, and a deep respect for the living organism that is sourdough starter. It's a journey of discovery, rewarding those who dedicate themselves to mastering the nuances of dough development.
The pursuit of the perfect crust reflects a broader cultural shift towards artisanal food and the appreciation of handcrafted goods. We're increasingly valuing the process, the time, and the skill involved in creating something beautiful and delicious. This resonates deeply with me; the satisfaction derived from a perfectly risen loaf, its crust crackling with a symphony of air pockets, is unparalleled. Bread is the staff of life,
they say, and I believe it's also a testament to our capacity for creativity and connection to the earth.
Now, I invite you to consider your own baking journey. What techniques have you found most effective in achieving that airy crust? What challenges have you overcome? Don't be afraid to experiment, to push boundaries, and to embrace the occasional imperfect loaf as a learning opportunity. The path to mastering sourdough is a continuous one, filled with both triumphs and setbacks, but the reward – that first bite of a perfectly airy crust – makes every step of the journey worthwhile.
Unlock Your Inner Pizzaiolo: Master the Perfect Crust!
Thanks for taking the time to explore the world of pizza dough with us! We hope you now feel empowered to create truly amazing crusts. Ready to put your new knowledge into practice?
- Bake your dream pizza tonight! Grab those ingredients and try out one of the techniques we discussed. Let the bubbly, airy crust be your reward!
- Share your pizza-making journey with us on social media – we'd love to see your creations! Use #BakeWithEasePizza
- Explore our other baking guides for more delicious recipes and techniques.
What unique ingredient will you add to your next masterpiece? Let us know in the comments below!