
Achieving a Crispy Pizza Bottom: Dough Secrets Revealed

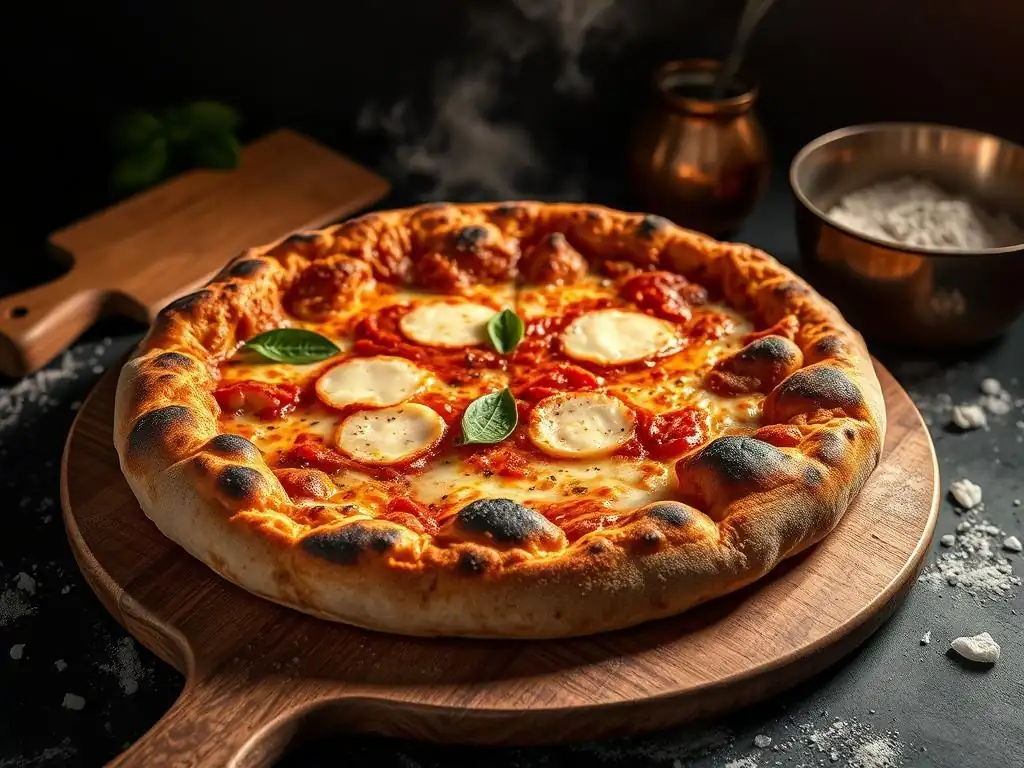
Welcome to BakeWithEase, where baking dreams become delicious realities! Ever dreamt of achieving that perfectly crisp pizza bottom, the kind that crunches just right with every bite? Unlocking those secrets is easier than you think. Dive into our latest article and discover the crispy pizza dough secrets that will elevate your homemade pizza game to professional levels. What's the magic ingredient? Read on to find out!
- Achieving a Crispy Pizza Bottom: Dough Secrets Revealed - Pizza Perfection
- Introduction: The Quest for the Perfect Crispy Pizza Crust
- Understanding the Dough: Key Ingredients for a Crispy Crust
- Dough Preparation Secrets for Ultimate Crispiness
- Cooking Methods: Achieving a Crispy Pizza Bottom in Your Oven
- Advanced Techniques for a Next-Level Crispy Pizza Crust
- Troubleshooting: Common Problems and Solutions for a Soggy Pizza Bottom
- Recipe: Pizza Perfection's Crispy Pizza Dough Recipe
- Conclusion: Mastering the Art of Crispy Pizza Dough at Home
-
Frequently Asked Questions
- How can I achieve a truly crispy pizza crust at home?
- What type of flour works best for a crispy pizza bottom?
- Does the type of oven I use affect the crispiness of my pizza?
- What is the role of moisture in achieving a crispy pizza dough?
- Besides high heat, what other techniques can help make my pizza crust crispy?
- Final Reflection: The Quest for the Perfect Crisp
- Unlock Your Perfect Pizza Crust!
Achieving a Crispy Pizza Bottom: Dough Secrets Revealed - Pizza Perfection
Introduction: The Quest for the Perfect Crispy Pizza Crust
Why a Crispy Pizza Bottom Matters: Texture and Flavor
A truly great pizza isn't just about the toppings; the foundation, the crust, is paramount. For many, the hallmark of a perfect pizza is a wonderfully crispy bottom that provides a satisfying crunch with every bite. This textural contrast between a tender, airy interior and a firm, crispy base elevates the entire eating experience. It's this delightful crispiness that supports the toppings without becoming soggy, ensuring the pizza remains structurally sound and enjoyable from the first slice to the last.
Beyond texture, a well-developed crispy crust also contributes significantly to the flavor profile. The Maillard reaction and caramelization that occur at high temperatures on the dough's surface create complex, savory notes that complement the sauce and cheese. Achieving this level of crispiness unlocks deeper flavors within the dough itself, transforming it from a mere vehicle for toppings into an integral, delicious component of the pizza. Mastering these crispy pizza dough secrets is key to homemade pizza perfection.
Pizza Perfection's Guide to Crispy Pizza Dough at Home
Welcome to BakeWithEase! We understand the frustration of a soggy pizza bottom. That's why we've dedicated this guide to revealing the secrets behind achieving that coveted crispy crust in your own kitchen. Whether you're just starting your pizza-making journey or looking to refine your technique, we'll walk you through the essential steps, from selecting the right ingredients to mastering the bake.
This comprehensive guide covers everything you need to know, including the science behind crispy pizza dough, crucial preparation techniques like cold fermentation, and how to leverage your home oven for maximum crispiness. We'll share practical tips and troubleshoot common issues to help you consistently produce pizzas with a perfectly crispy bottom. Get ready to unlock the true potential of your homemade pizza!
Understanding the Dough: Key Ingredients for a Crispy Crust
Flour Power: Choosing 00 Flour for Crispy Pizza Dough
The type of flour you use plays a fundamental role in the texture of your pizza crust. While all-purpose flour can certainly make a decent pizza, the secret to achieving a truly authentic and crispy pizza dough often lies in using Italian "00" flour.
This flour is milled incredibly finely, giving it a texture similar to talcum powder. More importantly, it typically has a moderate to high protein content (often ranging from 11% to 13%) but is specifically milled to produce a gluten structure that is strong yet extensible, ideal for thin-crust pizzas that bake up light and crispy rather than dense or chewy.
Using 00 flour helps create a dough that can be stretched very thin without tearing, which is crucial for a crispy bottom, as a thinner base allows heat to penetrate quickly and cook out moisture effectively. The specific protein quality in 00 flour, often from durum wheat varieties, contributes to a different gluten network compared to standard bread flour. This network allows for good oven spring while still promoting a delicate crispiness upon baking at high temperatures. Exploring 00 flour is one of the essential crispy pizza dough secrets.
Water Temperature: The Impact on Gluten Development and Crispiness
Water temperature is a surprisingly critical factor in dough preparation, influencing both yeast activity and gluten development, which in turn affects the final crispiness. Warm water, typically between 95°F and 110°F (35°C - 43°C), is often recommended for activating dry yeast quickly and encouraging a faster rise. This immediate activity can be beneficial for doughs intended for same-day baking, leading to a lighter, potentially airier crust structure.
However, for optimal flavor development and a structure conducive to crispiness, many bakers prefer using cooler water, sometimes as low as 50°F to 60°F (10°C - 15°C), especially when planning a long, cold fermentation. Colder water slows down yeast activity considerably, allowing for a much longer fermentation period. This slow process builds more complex flavors and allows enzymes to break down starches more effectively, resulting in a dough that can achieve a superior crispy texture and better browning during the high-heat bake.
Yeast and Sugar: Fueling the Fermentation for Optimal Texture
Yeast is the living organism responsible for fermentation, the process that produces carbon dioxide gas, causing the dough to rise and develop its structure. Active dry yeast or instant yeast are commonly used. The amount of yeast used directly impacts the speed of fermentation; generally, less yeast is used for longer, slower fermentations (like cold fermentation), while more is used for quick rises. Proper fermentation is key to developing the internal structure that supports a crispy crust, creating small air pockets that expand in the oven.
Sugar, while not always present in large quantities in pizza dough, serves as food for the yeast, accelerating fermentation. It also aids in browning the crust during baking through caramelization. A small amount of sugar (often 1-2% of the flour weight) can help achieve a more golden-brown and thus potentially crispier bottom. However, too much sugar can lead to excessive browning before the interior is cooked, or a less crisp texture. Balancing yeast activity and sugar content is part of mastering crispy pizza dough secrets.
Salt's Role: Controlling Fermentation and Enhancing Flavor
Salt is more than just a flavor enhancer in pizza dough; it's a critical structural component and a fermentation regulator. It tightens the gluten structure, making the dough stronger and more elastic, which is essential for stretching thin without tearing. This stronger structure also helps the dough hold its shape and develop a better crumb during baking.
Furthermore, salt controls yeast activity. Without salt, yeast would ferment uncontrollably and exhaust itself quickly, leading to a dough that rises too fast and collapses. Salt slows down fermentation, allowing for a more controlled and even rise and better flavor development over time. Typically, salt is used at a ratio of 1.8% to 2.5% of the flour weight. Getting the salt balance right is one of the subtle crispy pizza dough secrets that impacts both texture and taste.
Dough Preparation Secrets for Ultimate Crispiness
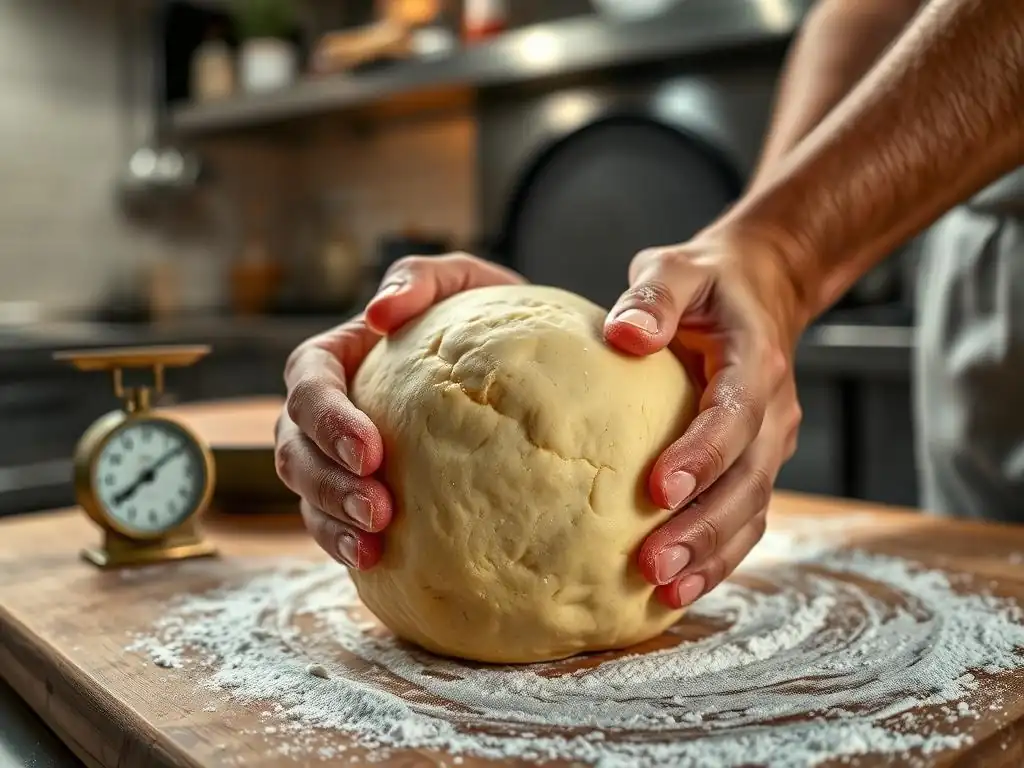
The Kneading Technique: Developing Gluten for a Strong Crust
Kneading is the process of working the dough to develop the gluten network. Gluten, formed when proteins in flour (glutenin and gliadin) combine with water, creates the elastic structure that traps the gases produced by yeast, allowing the dough to rise. Proper kneading is crucial for a strong, extensible dough that can be stretched thinly without tearing – a key requirement for a crispy crust. Insufficient kneading results in a weak dough that is hard to handle and produces a dense, less airy crust.
Whether kneading by hand or machine, the goal is to transform a shaggy mass into a smooth, elastic dough that passes the "windowpane test" (stretching a small piece thinly enough to see light through it without breaking). This typically takes about 10-15 minutes of hand kneading or 5-8 minutes in a stand mixer on medium speed. Over-kneading can make the dough tough, while under-kneading leaves it weak. Developing the right gluten structure through effective kneading is a fundamental step among crispy pizza dough secrets.
The Importance of Rest: Allowing Gluten Relaxation for a Tender, Crispy Base
After kneading, dough needs time to rest. This resting period, often called bulk fermentation or rising, allows the yeast to produce carbon dioxide and alcohol, causing the dough to double in size. Equally important, resting allows the gluten network, which was tightened during kneading, to relax. A relaxed dough is much easier to handle and stretch without snapping back, enabling you to achieve that desirable thinness for a crispy bottom.
Initial resting (bulk fermentation) might take 1-2 hours at room temperature, depending on the recipe and ambient temperature, until the dough has roughly doubled. After dividing the dough into individual balls, another rest period, often 30-60 minutes at room temperature (or significantly longer if cold fermenting), is necessary. This second rest allows the individual dough balls to become pliable and easy to shape. Skipping or shortening rest periods is a common mistake that makes stretching difficult and hinders the development of a tender, crispy base.
Cold Fermentation: The Secret to Enhanced Flavor and Texture for a Crispy Crust
Cold fermentation is arguably one of the most impactful crispy pizza dough secrets. Instead of letting the dough rise quickly at room temperature, the dough is placed in the refrigerator for a prolonged period, typically 24 to 72 hours, or even longer. The cold temperature drastically slows down yeast activity but allows enzymes within the dough to work overtime, breaking down complex carbohydrates into simpler sugars and proteins into amino acids.
This slow enzymatic activity results in a dough with a more complex, nuanced flavor profile and improved texture. The longer fermentation strengthens the gluten network further while simultaneously making the dough incredibly pliable and easy to stretch thin. When baked, cold-fermented dough tends to achieve a better oven spring and develops a more pronounced crispy crust and airy, open crumb structure. For many serious home bakers, cold fermentation is the non-negotiable step for superior crispy pizza dough.
Dough Hydration: Finding the Perfect Balance for Crispiness
Dough hydration refers to the ratio of water to flour by weight, usually expressed as a percentage (e.g., 60% hydration means 60g of water per 100g of flour). Hydration levels significantly impact dough handling and the final crust texture. Lower hydration doughs (around 55-60%) are stiffer and easier to handle, roll, or stretch thinly, which can contribute to crispiness by minimizing moisture content.
Medium hydration doughs (60-65%) offer a good balance of manageability and extensibility. Higher hydration doughs (65%+) are stickier and require more skill to handle but can yield a more open, airy crumb structure. While high hydration can contribute to airiness, too much moisture can hinder crispiness, especially in a home oven. For a reliable crispy pizza dough in a standard oven, a hydration level between 58% and 63% is often recommended as it provides a good balance of manageability for thin stretching and sufficient moisture to create steam for oven spring without resulting in a soggy bottom.
Cooking Methods: Achieving a Crispy Pizza Bottom in Your Oven
Oven Temperature: High Heat for Optimal Crispiness
Achieving a crispy pizza bottom at home hinges significantly on using the highest possible temperature your oven can safely reach. Professional pizza ovens operate at temperatures exceeding 800°F (425°C), cooking a pizza in just 60-90 seconds. While home ovens can't reach these extremes, pushing your oven to its maximum setting, often 500°F or 550°F (260°C - 290°C), is crucial. High heat causes rapid oven spring, quickly sets the dough's structure, and promotes fast evaporation of moisture from the bottom crust, leading to crispiness.
Baking at temperatures lower than 450°F (230°C) will generally result in a longer baking time. This extended time in the oven can cause the dough to dry out unevenly or, worse, become chewy or soggy on the bottom before the top is cooked and the cheese is melted and bubbly. The rapid heat transfer facilitated by high temperatures is one of the key crispy pizza dough secrets when using a standard home appliance.
Baking Stone vs. Pizza Steel: Which is Best for a Crispy Pizza Crust?
To effectively transfer that high oven heat to the bottom of the pizza, a baking surface is essential. A preheated baking stone or, even better, a pizza steel, is vastly superior to baking directly on a metal oven rack or baking sheet. Both stones and steels absorb and retain heat, acting as a super-heated surface that mimics the floor of a professional pizza oven. When the pizza is placed on this hot surface, the bottom crust receives an intense burst of heat, promoting rapid cooking and crisping.
Pizza steels are generally preferred over stones for achieving maximum crispiness because steel conducts heat much more efficiently than ceramic or stone. A steel can transfer heat to the dough bottom up to 18 times faster than a stone. This rapid heat transfer results in a quicker, more intense cooking of the base, leading to superior crispiness and often a better oven spring. Preheating your chosen surface for at least 45-60 minutes at the maximum oven temperature is vital for optimal results.
Preheating is Key: Ensuring Maximum Heat for a Quick Bake
Simply setting your oven to its highest temperature isn't enough; you must give it ample time to fully preheat, especially when using a baking stone or steel. These surfaces require a significant amount of time to absorb and store enough thermal energy to effectively cook a pizza. A minimum of 45-60 minutes at the maximum temperature is recommended, and some bakers even suggest 90 minutes for a steel to ensure it's radiating maximum heat.
Launching a pizza onto a surface that hasn't been fully preheated will result in a slower bake. This gives moisture from the dough and toppings more time to penetrate the bottom crust before it sets, leading to a soggy outcome instead of a crispy one. A properly preheated stone or steel provides the necessary thermal shock to the dough, instantly starting the cooking process on the bottom and setting the stage for that desired crispy texture. This patient preheating is a non-negotiable part of achieving crispy pizza dough secrets at home.
The Baking Process: Achieving Even Browning and Crispiness
Once the oven and baking surface are fully preheated, carefully launch your prepared pizza onto the stone or steel using a pizza peel dusted with semolina or flour. The high heat should cause the crust edges to puff up almost immediately. The pizza will bake very quickly at these temperatures, often in 5-8 minutes depending on the oven and toppings. During baking, monitor the pizza closely.
Look for the crust edges to be golden brown and slightly charred in spots (leoparding). Crucially, lift an edge of the pizza with a spatula about halfway through the bake to check the bottom. It should be turning golden brown and feel firm. If one side is browning faster than the other, rotate the pizza 180 degrees. The goal is even browning and crispiness across the entire bottom surface. Don't be afraid to let it bake until the bottom is deeply golden brown for maximum crispiness.
Advanced Techniques for a Next-Level Crispy Pizza Crust
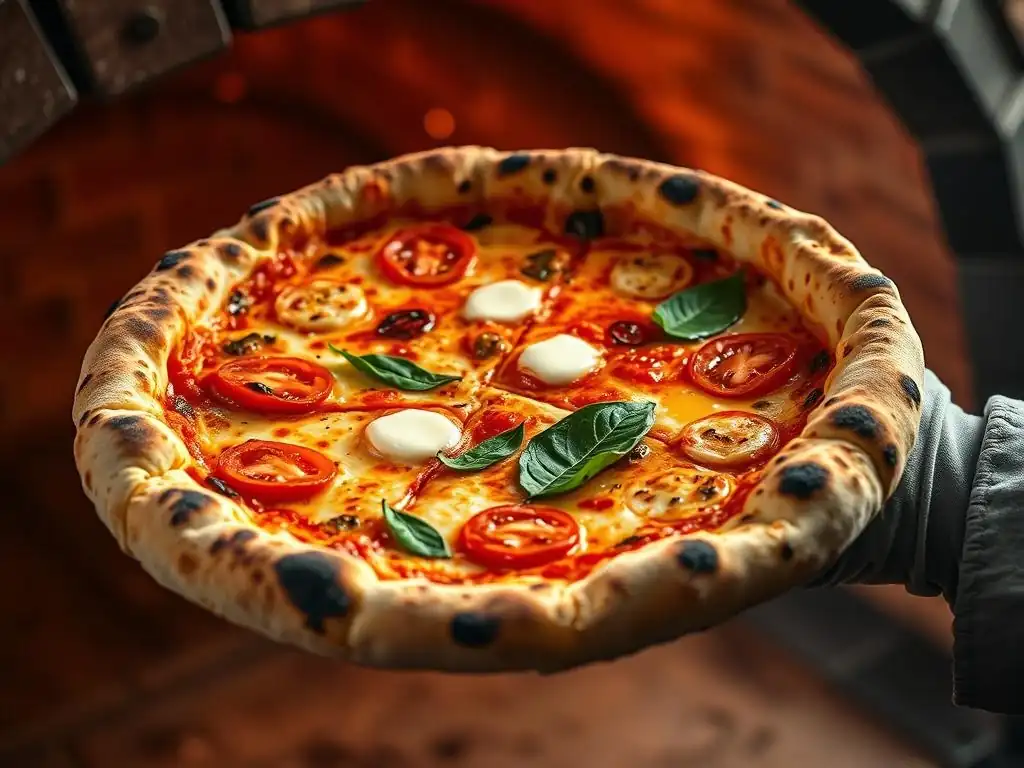
Using Semolina Flour: Adding Texture and Crispiness
Incorporating a small amount of semolina flour into your pizza dough recipe or using it for dusting can significantly enhance the crispiness of the bottom crust. Semolina is a coarse flour made from durum wheat, the same wheat often used for pasta. When added to pizza dough, typically replacing 5-10% of the total flour weight, it adds a subtle grittiness and structure that contributes to a crispier bite.
Beyond incorporating it into the dough, semolina is excellent for dusting your pizza peel. Its coarse texture acts like tiny ball bearings, allowing the pizza to slide off the peel smoothly onto the hot baking surface. Unlike regular flour, which can burn and create a bitter taste or stickiness, semolina tends to toast nicely on the hot surface, further contributing to the crispy texture and pleasant flavor of the bottom crust. Using semolina is a simple yet effective technique among crispy pizza dough secrets.
Par-Baking the Crust: Achieving a Head Start on Crispiness
If you struggle to get the bottom crust fully crispy before the toppings overcook, or if you prefer a very thin and exceptionally crispy base, par-baking (partially baking) the crust before adding toppings can be a game-changer. To par-bake, stretch your dough and bake it on your preheated stone or steel for 3-5 minutes, or until it is set and slightly golden but not fully cooked.
Remove the crust from the oven, add your sauce, cheese, and toppings, and then return it to the oven to finish baking. This method ensures the bottom crust gets a head start on crisping up without the weight and moisture of the toppings interfering. It's particularly useful for pizzas with wetter sauces or copious amounts of cheese or vegetables. Par-baking is a reliable way to guarantee a solid, crispy foundation for your pizza.
Adding Olive Oil to the Dough: Enhancing Flavor and Crispness
While some traditional Neapolitan pizza dough recipes strictly adhere to flour, water, yeast, and salt, adding a small amount of olive oil to your dough can contribute to a tenderer crumb and a crisper crust. Olive oil, typically 1-3% of the flour weight, inhibits gluten development slightly, resulting in a more tender interior.
Crucially for crispiness, the oil coats the gluten strands and also contributes to browning during baking. The fat helps to create a barrier that can prevent moisture from making the crust soggy and promotes better heat transfer to the dough's surface where it is exposed to the hot air and radiant heat in the oven. This results in a crust that often browns more evenly and achieves a satisfying crispiness. It's one of the tasty crispy pizza dough secrets you can experiment with.
Using a Pizza Screen
A pizza screen is a round metal mesh screen designed for baking pizza. While not traditionally used for achieving extreme crispiness compared to a stone or steel, it can be helpful in certain situations, particularly for ensuring the bottom doesn't get too dark or for beginners. Baking directly on a screen allows air and heat to circulate directly underneath the crust.
Placing the pizza directly on a screen and then placing the screen on a preheated stone or steel can still provide some benefit of conducted heat while allowing some moisture to escape through the mesh. Alternatively, baking solely on a screen on an oven rack will result in a less intense bottom heat but can help prevent burning the bottom if your oven runs exceptionally hot or your stone/steel setup is too aggressive. It's a tool to consider if you're fine-tuning your approach to crispy pizza dough secrets.
Troubleshooting: Common Problems and Solutions for a Soggy Pizza Bottom
Too Much Moisture: Addressing Watery Toppings
One of the most common culprits for a soggy pizza bottom is excessive moisture from toppings. Wet ingredients like fresh mozzarella that hasn't been drained, certain vegetables (mushrooms, zucchini, spinach) that release a lot of water when heated, or overly generous amounts of sauce can all leach moisture into the dough during baking. This excess water prevents the bottom crust from reaching the temperature needed to crisp up.
To combat this, drain fresh mozzarella thoroughly, ideally pressing out excess liquid. Pre-cook or sauté watery vegetables briefly to remove some moisture before adding them to the pizza. Use a moderate amount of sauce, spreading it thinly and leaving a border around the edge. Consider roasting vegetables like mushrooms or peppers beforehand. Managing moisture is a critical step in preventing a soggy bottom and achieving crispy pizza dough.
Oven Temperature Too Low: Adjusting for Optimal Crispiness
As discussed, insufficient oven temperature is a major obstacle to a crispy crust. If your pizza bottom is consistently pale and soft, your oven likely isn't hot enough or hasn't been preheated for long enough. Home ovens can be notoriously inaccurate; an oven thermometer can help you verify the actual temperature.
Ensure you are preheating your oven to its maximum temperature (500-550°F or 260-290°C) for at least 45-60 minutes, especially if using a stone or steel. If your oven doesn't go this high, bake for a few extra minutes, monitoring closely, or consider methods like par-baking. Consistent high heat is one of the fundamental crispy pizza dough secrets.
Dough Too Thick: Rolling Out a Thinner Crust
A thick pizza dough takes longer for heat to penetrate and cook out internal moisture, significantly increasing the risk of a soggy or chewy bottom. If your crust is consistently lacking crispiness and feels dense, you might be leaving the dough too thick when shaping.
Practice stretching or rolling your dough thinner. Aim for a thickness where you can almost see through the dough in the middle before adding toppings, while leaving a slightly thicker edge for the crust. A thinner base allows for much faster and more even cooking of the bottom, facilitating that desirable crispy texture. Mastering the stretch is key to unlocking crispy pizza dough secrets.
Uneven Baking: Rotating the Pizza for Even Crispiness
Even in a well-preheated oven, hot spots can exist, leading to uneven cooking. If parts of your pizza bottom are crispy while others remain soft or pale, uneven heat distribution is likely the cause.
About halfway through the baking time (e.g., after 3-4 minutes in a 5-8 minute bake), use your pizza peel or a large spatula to carefully rotate the pizza 180 degrees. This ensures that all sides of the pizza are exposed to the same heat conditions, promoting even browning and crispiness across the entire bottom surface. A simple rotation can make a big difference in achieving uniform crispy pizza dough results.
- [ ] Check oven temperature with a thermometer.
- [ ] Ensure sufficient preheating time for stone/steel.
- [ ] Drain or pre-cook watery toppings.
- [ ] Stretch dough thinner.
- [ ] Rotate pizza halfway through baking.
Recipe: Pizza Perfection's Crispy Pizza Dough Recipe

This recipe focuses on techniques that promote crispiness, including moderate hydration and optional cold fermentation. It yields two 12-14 inch pizzas.
Ingredients List
- 500g "00" pizza flour (or strong bread flour)
- 300g cool water (approx. 60% hydration, 50-60°F or 10-15°C)
- 10g fine sea salt (2% of flour weight)
- 2g instant dry yeast (approx. 0.4% of flour weight - use less for longer fermentation)
- Optional: 10g olive oil (2% of flour weight)
- Optional: Semolina flour for dusting
Step-by-Step Instructions
- Mix Ingredients: In a large bowl, whisk together the flour, salt, and instant yeast. If using, add the olive oil to the cool water. Pour about 90% of the water mixture into the dry ingredients.
- Combine: Mix with a spoon or your hand until a shaggy dough forms and no dry flour remains. Add the remaining water only if necessary to incorporate all the flour.
- Rest (Autolyse): Cover the bowl and let the dough rest for 20-30 minutes. This allows the flour to hydrate and gluten to start developing, making kneading easier.
- Knead: Turn the dough out onto a lightly floured surface. Knead by hand for 10-15 minutes, or in a stand mixer with a dough hook for 5-8 minutes on medium speed, until the dough is smooth, elastic, and passes the windowpane test.
- Bulk Fermentation: Form the dough into a ball. Place it in a lightly oiled bowl, cover tightly with plastic wrap.
- For same-day use: Let rise at room temperature (68-75°F or 20-24°C) for 1.5-2 hours, or until roughly doubled in size.
- For cold fermentation (recommended for best flavor and texture): Place the covered bowl in the refrigerator for 24-72 hours.
- Divide and Shape: Gently turn the dough out onto a lightly floured or semolina-dusted surface. Divide into two equal portions (approx. 410-415g each). Gently shape each portion into a taut ball.
- Second Rise/Rest: Place dough balls on a lightly floured or semolina-dusted tray or in individual containers. Cover loosely with plastic wrap or a damp towel.
- If cold fermented: Let rest at room temperature for 1-2 hours before shaping.
- If same-day: Let rest at room temperature for 30-60 minutes before shaping.
- Preheat Oven: At least 45-60 minutes before baking, place your pizza stone or steel on the top rack of your oven and preheat to the highest possible temperature (500-550°F or 260-290°C).
- Shape Pizza: On a surface dusted generously with semolina flour (or regular flour), gently stretch or roll one dough ball into a 12-14 inch circle, leaving a slightly thicker edge. Avoid pressing the gas out of the rim.
- Add Toppings: Carefully transfer the stretched dough to a pizza peel dusted with semolina. Quickly add your sauce, cheese, and toppings.
- Bake: Slide the pizza onto the preheated stone or steel. Bake for 5-8 minutes, rotating halfway through if needed, until the crust is golden brown and crispy on the bottom, and the cheese is melted and bubbly.
- Cool Slightly: Remove from the oven and let cool on a wire rack for 1-2 minutes before slicing.
Tips for Success
- Use a kitchen scale for accurate ingredient measurements, especially for flour and water.
- Don't rush the rest or fermentation periods; they are crucial for flavor and texture.
- Handle the dough gently when shaping to preserve the air bubbles.
- Use enough semolina on the peel to ensure a smooth transfer to the oven.
- Monitor the pizza closely while baking at high temperatures – it cooks fast!
Conclusion: Mastering the Art of Crispy Pizza Dough at Home
Achieving a truly crispy pizza bottom is a rewarding goal for any home baker. It involves understanding the interplay of ingredients, mastering preparation techniques like cold fermentation, and utilizing high heat during the baking process. By paying attention to details like flour type, water temperature, proper kneading and resting, and leveraging tools like a pizza stone or steel, you can consistently produce pizzas with that coveted crunch.
Experiment with the techniques outlined in this guide, find the methods that work best with your oven and ingredients, and don't be afraid to troubleshoot. The journey to mastering crispy pizza dough secrets is one of practice and delicious discovery.
Enjoy Your Homemade Crispy Pizza!
There's immense satisfaction in pulling a pizza with a perfectly crispy bottom from your own oven. Share it with friends and family, or savor it yourself – you've earned it! Every pizza you make will bring you closer to perfecting your crispy pizza dough secrets.
Frequently Asked Questions
How can I achieve a truly crispy pizza crust at home?
The secret lies in high heat and proper dough hydration. Use a pizza stone or baking steel preheated to the highest temperature your oven can reach and ensure your dough isn't overly wet.
What type of flour works best for a crispy pizza bottom?
High-protein flour, like bread flour or even 00 flour, is ideal. These flours develop more gluten, resulting in a stronger and crisper crust.
Does the type of oven I use affect the crispiness of my pizza?
Yes, absolutely! Ovens with higher maximum temperatures are better for achieving that crispy bottom. Pizza ovens or even outdoor grills are excellent choices.
What is the role of moisture in achieving a crispy pizza dough?
Too much moisture in the dough can lead to a soggy pizza. Aim for optimal hydration as indicated in your recipe and avoid adding extra water. Control is key.
Besides high heat, what other techniques can help make my pizza crust crispy?
Consider using a pizza stone or baking steel, which retain and distribute heat evenly. Also, avoid overloading your pizza with toppings, as this can trap moisture.
Final Reflection: The Quest for the Perfect Crisp
The pursuit of the perfectly crisp pizza bottom is more than just a culinary quest; it's a testament to the enduring power of simple ingredients transformed by technique. Achieving that satisfying crunch beneath a layer of melted cheese and flavorful toppings is a goal shared by home cooks and pizzaioli alike, and the secrets revealed in this article highlight the importance of understanding the fundamental science behind dough creation. This isn't just about a better pizza; it's about mastering a process and appreciating the artistry involved.
The journey to a crispy crust has profoundly impacted my own approach to cooking. It's taught me the value of patience and precision, highlighting how seemingly small details—from hydration levels to fermentation time—can dramatically alter the final product. The best things in life are worth waiting for,
and a truly exceptional pizza crust is no exception. This simple truth applies far beyond the kitchen, reminding us that dedication and attention to detail yield remarkable results in all aspects of life.
Now, it's your turn. Don't just settle for a soggy bottom! Experiment with the techniques outlined in this article, embrace the process, and discover the joy of crafting your own perfect pizza. The satisfaction of biting into that gloriously crisp crust, the result of your own effort and understanding, is a reward unlike any other. Go forth, and conquer the art of the crispy pizza!
Unlock Your Perfect Pizza Crust!
Thanks for taking the time to explore the secrets to a flawlessly crispy pizza bottom! We hope you gained valuable insights into achieving that perfect crunch. Now it's time to put your new knowledge to the test.
- Master the art of the perfect pizza dough: Experiment with different hydration levels and flours to discover your ideal recipe. Remember the key is patience and practice!
- Share your pizza-making journey: Post a picture of your crispy creation on social media and tag us – we'd love to see your results!
- Dive deeper into our other pizza resources: Explore our comprehensive guide on pizza sauce, and discover creative topping combinations to elevate your pizza game.
Ready to create the crispiest pizza of your life? What unique topping combination will you try first?