
Beyond Basic: Techniques for Superior Pizza Dough

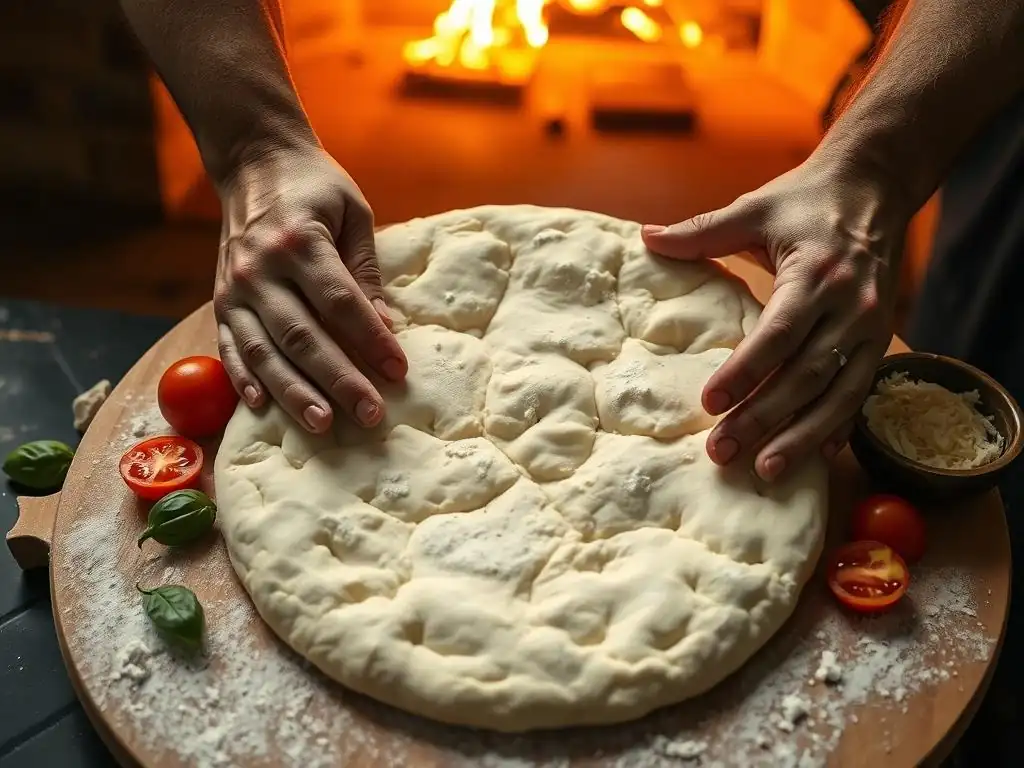
Welcome to BakeWithEase, where baking becomes a joy, not a chore! Are you ready to elevate your pizza night? This week, we're diving beyond the basics to unlock the secrets of a truly exceptional crust. Get ready to discover the nuances of perfecting sourdough pizza dough recipe, as we explore techniques that will transform your homemade pizza from good to unforgettable. Intrigued? Keep reading to learn how to achieve that perfect balance of chew, flavor, and crispness that every pizza lover craves!
- BakeWithEase: Mastering the Art of Superior Pizza Dough
- Understanding the Fundamentals for Perfect Pizza Dough
- Perfecting Sourdough Pizza Dough Recipe: Advanced Techniques
- Achieving Optimal Dough Hydration for Superior Texture
- Mastering the Art of Shaping and Stretching Pizza Dough
- Baking Your Perfect Pizza: Oven Temperature and Techniques
- Troubleshooting Common Pizza Dough Problems
- Beyond the Basics: Experimenting with Pizza Dough Flavors
- Conclusion: Your Journey to Perfect Sourdough Pizza Dough
-
Frequently Asked Questions
- What makes sourdough pizza dough different from regular pizza dough?
- What are some key techniques for achieving a superior sourdough pizza dough?
- How do I maintain my sourdough starter for the best pizza dough results?
- What kind of flour is best for perfecting sourdough pizza dough?
- How long does it typically take to make sourdough pizza dough from start to finish?
- Final Reflection: The Alchemy of Perfect Sourdough Pizza Dough
- Unleash Your Inner Pizzaiolo: Craft the Perfect Dough!
BakeWithEase: Mastering the Art of Superior Pizza Dough
Creating truly exceptional pizza at home starts with the foundation: the dough. While a basic recipe can get you started, unlocking the secrets to a pizzeria-quality crust requires going deeper. This guide is designed to take you beyond the simple mix-and-knead, introducing you to the techniques and understanding needed for superior results, especially when aiming for that coveted perfect sourdough pizza dough recipe.
Moving Beyond Basic Pizza Dough Recipes
Many beginner pizza dough recipes focus primarily on ingredient ratios and a single rise. This approach is a great starting point, teaching the fundamental interaction of flour, water, yeast, and salt. However, it often results in a dough that lacks complexity in flavor, depth in texture, and the desirable airy crumb structure found in the best pizzas. Moving beyond this involves understanding the 'why' behind each step and exploring techniques that manipulate time, temperature, and handling to transform simple ingredients into something extraordinary.
The journey to perfecting sourdough pizza dough recipe requires patience and a willingness to experiment. It involves understanding the nuances of fermentation, hydration, and gluten development that aren't typically covered in quick, weeknight recipes. By focusing on these advanced principles, you can achieve a crust that is not just a vessel for toppings, but a delicious, integral part of the pizza experience – crispy on the outside, tender and airy on the inside, with a complex flavor profile.
Why Focus on Advanced Dough Techniques?
Focusing on advanced dough techniques is crucial for achieving the texture, flavor, and structure that define truly great pizza. Simple recipes often yield a dense, bread-like crust. Techniques like autolyse, cold fermentation, and specific folding methods build stronger gluten networks, allowing the dough to hold more air and resulting in a lighter, more open crumb structure and a better 'oven spring' during baking.
Furthermore, techniques like long, cold fermentation significantly enhance the flavor of your homemade pizza dough. This slow process allows enzymes to break down complex carbohydrates into simpler sugars, which caramelize beautifully during baking, contributing to a richer color and a more complex, nuanced taste profile – a hallmark of any perfecting sourdough pizza dough recipe. Understanding these techniques gives you control over the final product, allowing you to troubleshoot issues and consistently produce superior results.
Understanding the Fundamentals for Perfect Pizza Dough
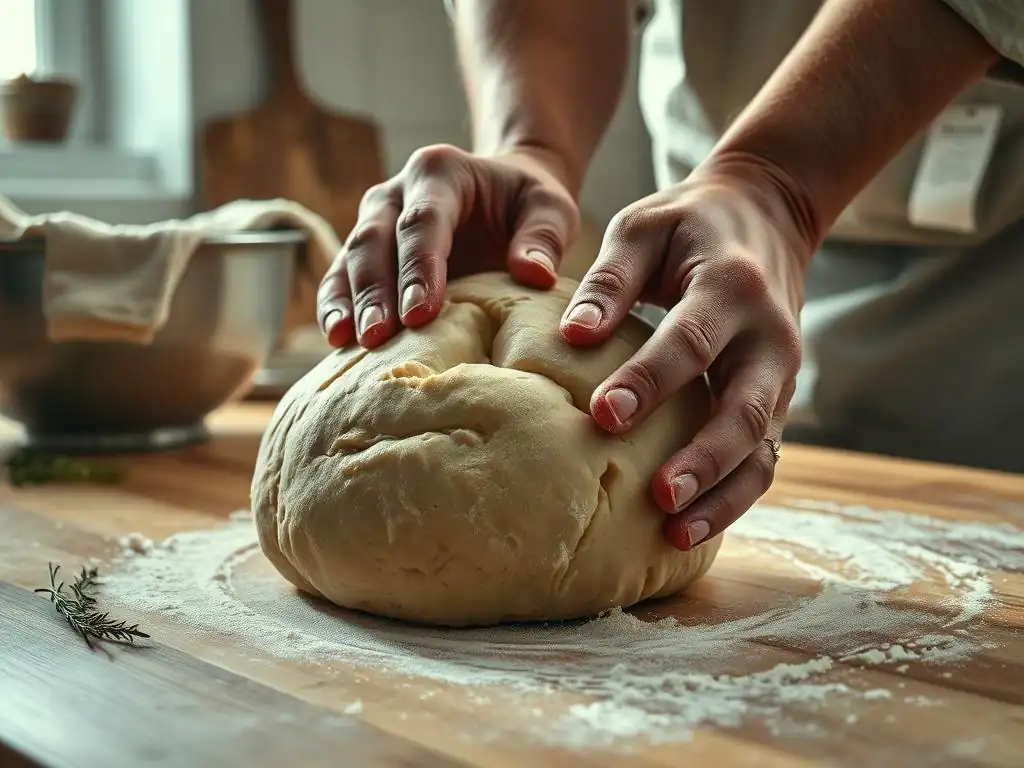
The Importance of High-Quality Flour for Pizza Dough
The type of flour you use is arguably the most critical ingredient in your pizza dough, dictating much of its structure and texture. High-quality bread flour, typically containing 12-14% protein, is often recommended because its higher protein content develops stronger gluten networks.
Gluten is the elastic structure that traps the gases produced by yeast or sourdough starter, allowing the dough to rise and giving the crust its chewiness and structure. Using a lower-protein all-purpose flour (around 10-12% protein) can still yield good results, especially for thinner crusts, but achieving a robust, airy structure like that needed for a Neapolitan style requires that higher protein content.
For perfecting sourdough pizza dough recipe, many enthusiasts also explore using a blend of flours, such as adding a small percentage of 'Type 00' flour, traditionally used in Italy. Type 00 flour is finely milled and has a specific protein quality that results in a very smooth, elastic dough capable of being stretched incredibly thin without tearing.
While its protein content might be similar to some bread flours, the milling process and protein quality contribute uniquely to the dough's handling characteristics and the final crust texture. Experimenting with different flour types and blends is key to finding your preferred dough characteristics.
Water Temperature: A Key Factor in Sourdough Pizza Dough
Water temperature plays a significant role in controlling the rate of fermentation in your pizza dough. When using commercial yeast, warmer water (around 95-105°F or 35-40°C) helps activate the yeast quickly, leading to a faster rise – useful for same-day doughs. However, for superior flavor development and structure, particularly in perfecting sourdough pizza dough recipe or those using minimal commercial yeast, cooler water is often preferred.
Using cool water (around 50-60°F or 10-15°C) significantly slows down the fermentation process. This slow fermentation, often combined with cold proofing in the refrigerator, allows enzymes more time to break down starches into sugars, resulting in a more flavorful crust. For sourdough, which ferments more slowly than commercial yeast anyway, cooler temperatures help manage the process over longer periods, preventing the dough from over-proofing too quickly and developing a more complex, tangy flavor profile characteristic of excellent sourdough pizza dough.
Salt's Role in Gluten Development and Flavor
Salt is far more than just a flavor enhancer in pizza dough; it plays a crucial technical role in gluten development and fermentation control. When salt is added to the dough, it strengthens the gluten network by tightening it. This leads to a dough that is more elastic and easier to handle and stretch without tearing. A dough made without salt would be slack, sticky, and difficult to shape, resulting in a flat, dense crust. Typically, salt is added at a concentration of 2-2.5% of the flour weight in a pizza dough recipe.
Beyond its structural impact, salt regulates yeast activity. It slows down fermentation, preventing the dough from rising too quickly and allowing for better flavor development over time. Adding salt too early, especially directly onto the yeast or sourdough starter before mixing, can actually inhibit or even kill the microorganisms. Therefore, it's often added after the initial mixing of flour and water (during autolyse, if used) or incorporated thoroughly after the yeast/starter has been dispersed in the water. This controlled addition ensures both optimal fermentation and gluten development for your perfect sourdough pizza dough.
Yeast: Choosing the Right Type for Your Pizza
The type of leavening agent you choose significantly impacts the flavor, texture, and fermentation time of your pizza dough. Commercial yeast comes in several forms: active dry, instant (or rapid-rise), and fresh (or compressed). Instant yeast is the most convenient, as it can be mixed directly with the dry ingredients and works quickly.
Active dry yeast needs to be proofed in warm water first and is slightly slower acting. Fresh yeast is less common in home baking but provides a subtle, pleasant flavor and consistent results if stored properly. The quantity of yeast used is also key; a smaller amount used over a longer fermentation period yields more complex flavors than a larger amount used for a quick rise.
For perfecting sourdough pizza dough recipe, the leavening agent is a live sourdough starter. A starter is a fermented mixture of flour and water containing wild yeasts and lactic acid bacteria. These microorganisms work together to leaven the dough and produce organic acids that contribute the characteristic tangy flavor of sourdough.
Using a sourdough starter requires more time and attention than commercial yeast, as its activity is influenced by temperature and feeding schedule. However, the depth of flavor and unique texture it imparts are unparalleled, making it the preferred choice for many serious pizza bakers aiming for a truly superior crust.
Perfecting Sourdough Pizza Dough Recipe: Advanced Techniques
Autolyse: Enhancing Hydration and Gluten Development
Autolyse is a simple yet powerful technique that involves mixing just the flour and water from your recipe and letting the mixture rest for 20 minutes to an hour before adding the salt, yeast, or sourdough starter. During this resting period, the flour absorbs the water fully, and enzymes naturally present in the flour begin to break down proteins and starches. This process starts the gluten development without any mechanical kneading.
Implementing an autolyse phase, especially when perfecting sourdough pizza dough recipe with higher hydration, makes the subsequent mixing or kneading much easier. The dough becomes smoother, more extensible, and less sticky. It also improves the dough's ability to absorb water, leading to better hydration throughout the dough structure. This results in a dough that is easier to handle, stretches thinner without tearing, and ultimately contributes to a lighter, airier crust with a better crumb structure.
The Benefits of a Long Fermentation (Cold Fermentation)
Long fermentation, particularly cold fermentation in the refrigerator, is a cornerstone technique for developing superior flavor and texture in pizza dough, essential for perfecting sourdough pizza dough recipe. Placing the dough in a cold environment (typically 40°F or 4°C) slows down the yeast or starter activity considerably. This extended period, often lasting from 24 to 72 hours or even longer, allows enzymes more time to break down complex starches and proteins into simpler compounds.
The breakdown of starches creates more sugars, which caramelize beautifully during baking, contributing to a deep golden color and richer flavor. The breakdown of proteins makes the dough more digestible and contributes to a more tender crumb. Furthermore, in sourdough, cold fermentation allows the lactic acid bacteria to produce more complex acids, deepening the characteristic tangy flavor.
This slow, controlled rise also results in a more developed gluten structure, leading to a dough that is easier to work with and produces a crust with fantastic texture and oven spring. A 48-hour cold ferment is a popular benchmark for balancing flavor development and dough handling.
Folding Techniques for Strength and Structure
Folding is a gentle method of developing gluten and adding structure to dough, often used as an alternative or supplement to intensive kneading, particularly beneficial for higher hydration doughs or those undergoing long fermentation. Instead of vigorously working the dough, folding involves periodically stretching and folding sections of the dough over itself during the initial fermentation period. This process aligns the gluten strands, builds tension, and strengthens the dough without damaging the delicate network that is forming.
Typically, a series of folds (e.g., 3-4 sets) are performed at intervals (e.g., every 30-60 minutes) during the first few hours of bulk fermentation. This technique is less aggressive than kneading but highly effective in creating a strong, elastic dough capable of holding its shape and capturing gases for a light, airy crust. For perfecting sourdough pizza dough recipe, which can sometimes be softer due to the starter's acidity, folding is indispensable for building the necessary strength.
Performing Stretch and Folds
Stretch and folds are a common type of folding technique. To perform a stretch and fold, dampen your hands slightly to prevent sticking. Imagine the dough is a square. Gently grab one edge of the dough, stretch it upwards without tearing it, and fold it over onto the opposite side of the dough. Rotate the bowl 90 degrees and repeat the stretch and fold with the next edge. Continue this process until you have folded all four sides.
After completing one round of folds, cover the dough and let it rest for the specified interval before performing the next set. You will notice the dough becoming progressively smoother, tighter, and more elastic with each set of folds. This gradual development of strength is crucial for achieving a dough that can be stretched thin for pizza without tearing and that will produce a lovely open crumb structure after baking.
The Importance of Gentle Handling
Throughout the entire process, from mixing to shaping, gentle handling of your pizza dough is paramount, especially when you are perfecting sourdough pizza dough recipe which relies on a delicate balance of fermentation and structure. Overworking or roughly handling the dough can damage the developing gluten network and deflate the gases that have built up during fermentation. This is particularly true after the bulk fermentation stage is complete.
When dividing and shaping the dough balls, use a bench scraper and handle them lightly. Avoid excessive kneading or punching down the dough forcefully, as this will expel the precious air bubbles that contribute to the final crust's lightness and texture. Think of guiding the dough rather than forcing it. Gentle handling preserves the airy structure developed during fermentation, ensuring your baked pizza crust has that desirable light, open crumb and excellent oven spring.
Achieving Optimal Dough Hydration for Superior Texture
Understanding Hydration Levels in Pizza Dough
Hydration refers to the ratio of water to flour by weight in a dough recipe, expressed as a percentage of the flour weight. For example, if a recipe uses 1000g of flour and 650g of water, the hydration is 65% (650 / 1000 * 100). This percentage significantly impacts the dough's texture, handling, and the final crust's characteristics.
Lower hydration doughs (e.g., 55-60%) are stiffer, easier to handle, and result in a denser crust. Higher hydration doughs (e.g., 65-75% or even higher) are stickier and more challenging to work with but yield a lighter, airier crust with a more open crumb.
Perfecting sourdough pizza dough recipe often involves working with moderate to high hydration levels (65-75%) to maximize the potential for an open, airy structure that complements the tangy flavor. Understanding hydration is key to troubleshooting dough issues; a dough that is too dry will be tough and difficult to stretch, while one that is too wet will be slack and sticky. Adjusting hydration slightly based on your flour type and environmental conditions (humidity) is a sign of an experienced baker.
Working with High-Hydration Dough
Working with high-hydration dough (70%+) presents unique challenges compared to lower hydration doughs, but the rewards in terms of crust texture are significant. These doughs are very wet and sticky initially. Traditional kneading can be difficult; techniques like the "slap and fold" or simply using stretch and folds during bulk fermentation are more effective for developing gluten without adding excessive flour.
Patience is essential when working with high hydration. Allow the dough sufficient time to rest between folds and during bulk fermentation; the dough will become less sticky and more manageable as the gluten network develops and the flour fully hydrates. Using wet hands or a wet bench scraper can help prevent sticking during handling. While initially intimidating, mastering high-hydration dough is a key step in achieving the light, airy, and open crumb structure found in many high-quality pizzas.
Tips for Managing Sticky Dough
Sticky dough is a common challenge, especially when working with higher hydration levels or perfecting sourdough pizza dough recipe. While some stickiness is normal in well-hydrated dough, excessive stickiness can make handling and shaping frustrating. One of the best tips is to avoid the impulse to add too much extra flour, which can make the final crust tough and dense.
Instead, rely on techniques that minimize contact or reduce friction. Keep your hands, work surface, and tools (like a bench scraper) lightly dampened with water or lightly oiled, rather than floured. Perform stretch and folds in the bowl using wet hands.
If shaping on a surface, use minimal flour or semolina/rice flour, which act like ball bearings and prevent sticking without incorporating into the dough as readily as wheat flour. Allowing the dough to rest adequately also helps; as gluten develops and hydration equalizes, the dough often becomes less sticky over time. Cold dough is also less sticky than room temperature dough, so chilling it briefly can help with handling and shaping.
Mastering the Art of Shaping and Stretching Pizza Dough
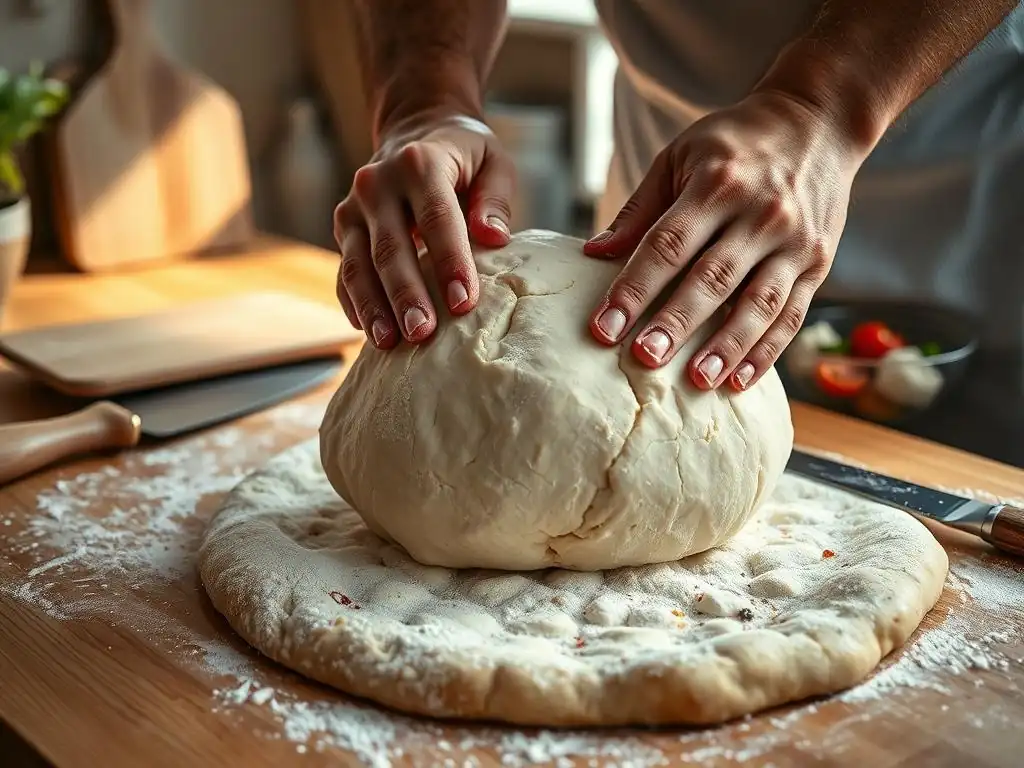
Preparing Your Workspace for Pizza Shaping
A well-prepared workspace is essential for successfully shaping and stretching pizza dough without frustration. Clear a large, clean surface area. For traditional stretching methods, you'll need a non-stick surface. Many home bakers use a wooden peel or a clean countertop. Lightly flouring the surface is common, but for higher hydration doughs or for perfecting sourdough pizza dough recipe which can be particularly sticky, using a mix of flour and finely ground semolina or rice flour can be more effective.
Have your tools ready: a bench scraper for handling and transferring the dough, and potentially a pizza peel if you plan to transfer the shaped pizza to a hot oven stone or steel. Ensure your toppings are prepped and within easy reach once the dough is shaped, as stretched dough should be topped and transferred to the oven relatively quickly to maintain its structure and prevent sticking.
Different Pizza Styles and Shaping Methods
The way you shape your pizza dough significantly influences the final crust style and texture. Different pizza traditions have distinct shaping methods designed to achieve specific results. Understanding these methods is part of perfecting your homemade pizza.
Neapolitan Pizza Shaping Techniques
Authentic Neapolitan pizza dough is traditionally shaped by hand without a rolling pin. The goal is to preserve the air bubbles that have developed during the long fermentation, particularly in the rim (cornicione). The technique involves gently pressing the center of the dough ball outwards with your fingers, leaving the outer rim untouched to create a distinct border.
Then, you lift the dough and gently stretch it using your hands, rotating it as you go, letting gravity assist in extending the dough into a round shape, typically about 10-12 inches in diameter. The edge should remain puffy and airy. This method requires practice but results in a crust that is light, airy, and blistered around the edges, characteristic of Neapolitan pizza.
New York Style Pizza Shaping Techniques
New York style pizza dough is also often stretched by hand, though some may use a rolling pin initially for consistency. The goal is to create a larger, thinner crust than Neapolitan, one that is foldable but still has some chew.
The process often starts by pressing the dough ball flat and then using a combination of pressing, lifting, and gently stretching the dough over your knuckles or forearms, allowing the weight of the dough to help stretch it into a large, relatively thin circle, typically 14-18 inches in diameter. While the edge is still important, the focus is on achieving an even thickness across the base, allowing it to crisp up nicely while remaining pliable enough to fold.
Avoiding Common Shaping Mistakes
Several common mistakes can hinder your efforts when shaping pizza dough. One of the most frequent is using too much flour on the surface, which can make the dough tough and dry. Another is trying to stretch cold dough; always let your dough balls rest at room temperature for 60-90 minutes (or longer if coming straight from a cold ferment) before shaping, as cold dough is stiff and will resist stretching, likely tearing.
Aggressively punching or kneading the dough during shaping is another error; this deflates the precious air bubbles needed for a light crust. Finally, rushing the process or forcing the dough can lead to uneven thickness or tears. Be patient, work gently from the center outwards, and allow the dough's elasticity to guide you. If the dough springs back, let it rest for a few minutes before trying again. Mastering these gentle techniques is key to achieving a beautifully shaped base for your perfect sourdough pizza.
Baking Your Perfect Pizza: Oven Temperature and Techniques
Achieving a Crispy Crust: Oven Temperature is Key
Achieving a crispy yet airy crust is heavily dependent on baking at a high temperature. Home ovens typically reach between 500°F and 550°F (260°C and 290°C), which is significantly lower than the 800-900°F (430-480°C) of a wood-fired pizza oven, but still sufficient for excellent results. Preheating your oven to its maximum temperature is crucial. This intense heat provides the necessary thermal energy to cook the pizza quickly, causing the dough to puff up rapidly (oven spring) and the crust to brown and crisp before the toppings burn.
Allowing your oven to preheat for a sufficient amount of time – often 45-60 minutes – ensures that the oven walls and, critically, your baking surface (stone or steel) are fully saturated with heat. This stored energy is essential for the initial burst of heat transferred directly to the bottom of the pizza, creating that desirable crispy base. Baking at lower temperatures will result in a longer bake time, leading to a drier, tougher, and less exciting crust.
Using a Pizza Stone or Steel for Optimal Results
A pizza stone or steel is an indispensable tool for achieving a professional-quality crust in a home oven. These surfaces absorb and retain a significant amount of heat from the oven. When the pizza is placed directly onto the preheated stone or steel, this stored thermal energy is rapidly transferred to the bottom of the dough. This intense, direct heat causes the dough to cook and crisp up very quickly, creating a perfectly browned and crispy base.
Pizza steels generally conduct heat more efficiently and retain it better than stones, often resulting in a crispier bottom crust and faster bake times. However, a good quality pizza stone also performs admirably.
Simply placing a pizza on a regular baking sheet or directly on the oven rack will not provide the same intense, direct heat transfer from underneath, leading to a less crispy base and potentially soggy results, especially with wetter toppings or high hydration doughs from perfecting sourdough pizza dough recipe efforts. Always preheat your stone or steel in the oven for at least 45 minutes before baking.
The Importance of Steam in the Baking Process
While high temperature and direct heat from a stone or steel are primary drivers of a great crust, the presence of steam in the initial phase of baking also plays a role, particularly for oven spring and texture. Steam keeps the surface of the dough moist for a few critical minutes, delaying the formation of a hard crust. This allows the dough to expand more fully before the crust sets, contributing to a larger, airier crumb and better oven spring.
In professional pizza ovens, steam is naturally generated by the moisture evaporating from the dough and toppings in a contained space. In a home oven, which is typically vented, creating a steamy environment can be challenging.
Some bakers place a tray of hot water on the bottom rack during preheating, or even add a cup of hot water to a hot pan just as the pizza goes in, taking extreme caution with the hot steam. While perhaps less critical than temperature and surface heat, understanding steam's role highlights the complex interplay of factors that contribute to the perfect pizza crust.
Troubleshooting Common Pizza Dough Problems
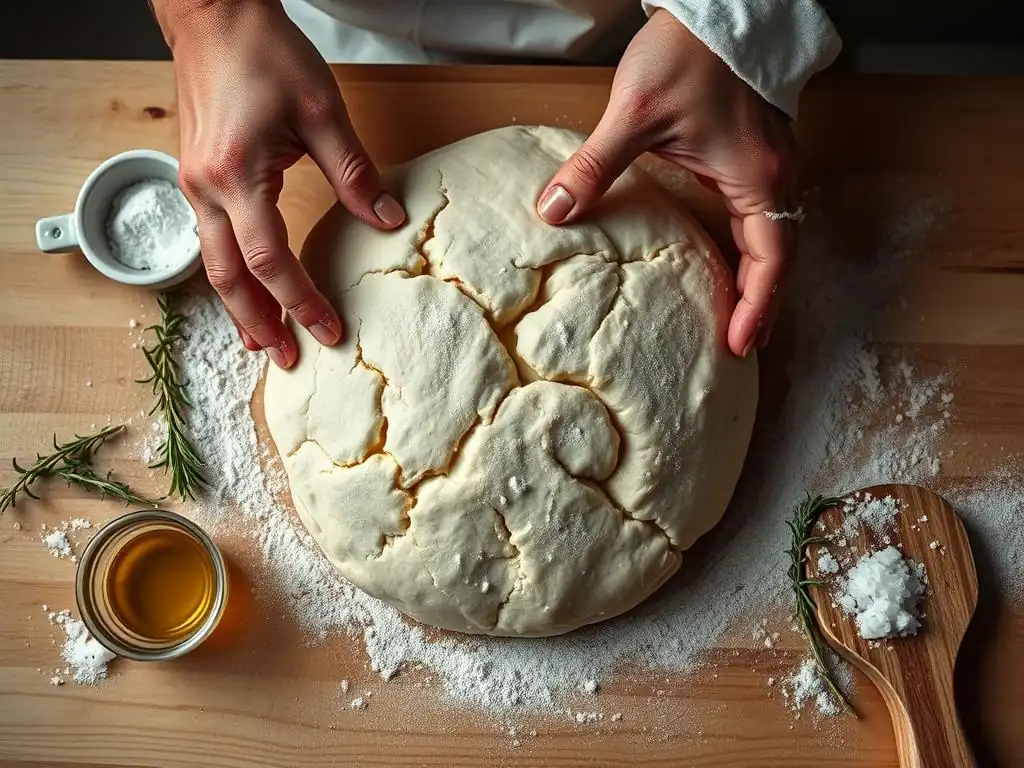
Dough Too Sticky: Causes and Solutions
A dough that is excessively sticky can be frustrating to work with. The most common cause is insufficient gluten development relative to the hydration level. High hydration doughs are naturally sticky, but proper mixing, autolyse, and folding techniques should develop enough structure to make it manageable after sufficient rest. Another cause can be insufficient rest time; the flour needs time to fully absorb the water and the gluten needs to relax after mixing or folding.
To remedy overly sticky dough without adding excessive flour, first ensure it has rested adequately. If it's still difficult to handle, perform a few extra stretch and folds, allowing 15-20 minutes of rest between each set, which helps build strength. Chilling the dough in the refrigerator for 30-60 minutes can also make it firmer and easier to handle. When shaping, use minimal flour or a mix of flour and semolina/rice flour on your surface and hands, or work with wet hands. Resist the urge to dump in cups of extra flour.
Dough Too Tough: Understanding Gluten Development
If your pizza crust turns out tough and dense, it's usually a sign of overworking the dough or insufficient fermentation. Overworking the dough, either through excessive kneading or rough handling, can tighten the gluten network too much, making the dough difficult to stretch and resulting in a dense, bread-like texture after baking. Similarly, not allowing the dough enough time to ferment and relax means the gluten hasn't had a chance to become extensible.
To avoid tough dough, pay attention to the mixing process; stop kneading once the dough is smooth and elastic. When shaping, be gentle and avoid aggressively punching down the dough. If the dough is resisting stretching and springing back excessively, it needs more rest; cover it and let it relax for 10-20 minutes before attempting to shape again. Ensuring adequate fermentation time, especially a cold ferment for perfecting sourdough pizza dough recipe, allows enzymes to tenderize the gluten and contributes to a softer, more extensible dough and a tender crust.
Dough Not Rising: Yeast Issues and Solutions
If your pizza dough isn't rising properly, the issue almost always lies with the leavening agent – either commercial yeast or your sourdough starter. For commercial yeast, common causes include using expired yeast, using water that is too hot (killing the yeast) or too cold (inhibiting activation), or adding salt directly onto the yeast initially. Ensure your yeast is fresh and active; proof active dry yeast in warm water to check its viability. Use water within the recommended temperature range (95-105°F for active dry, or cooler for longer ferments). Add salt after the yeast has been incorporated.
For perfecting sourdough pizza dough recipe, a lack of rise indicates an inactive or weak starter. Ensure your starter is healthy, active, and recently fed before using it. Check its activity by performing a float test (a small piece should float in water) or observing significant bubbling and rise after feeding. Temperature also impacts sourdough activity; a cooler environment will slow down fermentation. If your dough is rising too slowly in a cool kitchen, find a warmer spot (around 75-80°F or 24-27°C) or use a proofing box. Patience is key with sourdough; it ferments slower than commercial yeast.
Beyond the Basics: Experimenting with Pizza Dough Flavors
Infusing Your Dough with Herbs and Spices
While classic pizza dough relies on the simple harmony of flour, water, salt, and leavening, you can elevate your homemade pizza experience by infusing the dough itself with additional flavors. Finely chopped fresh herbs like rosemary, thyme, or oregano can be kneaded into the dough during the initial mixing phase. Dried herbs can also be used, typically in smaller quantities as their flavor is more concentrated.
Spices offer another avenue for flavor experimentation. A pinch of red pepper flakes can add a subtle warmth, while garlic powder (used sparingly to avoid inhibiting yeast) or onion powder can contribute savory notes. Even a touch of black pepper can enhance the overall flavor profile. When adding herbs or spices, consider the toppings you plan to use to ensure the flavors complement each other. Start with small amounts, perhaps 1-2 teaspoons of dried herbs or spices per 500g of flour, and adjust in future batches based on your preference.
Adding Whole Wheat or Semolina Flour for Flavor and Texture
Incorporating small amounts of other flours, such as whole wheat or semolina, can significantly alter the flavor and texture of your pizza dough. Whole wheat flour adds a nutty, earthy flavor and increases the fiber content, resulting in a slightly denser but often more complex crust. It's rich in bran and germ, which can affect gluten development, so it's typically used as a percentage of the total flour weight (e.g., 10-20%) rather than replacing all the bread flour.
Semolina flour, particularly durum semolina, is often used in Italian baking. When added to pizza dough, it contributes a slightly sweeter flavor and a coarser texture, resulting in a crust with a pleasing "grittiness" and chew. Using fine durum semolina (rimacinata) as part of your flour blend (e.g., 10-20%) can enhance the traditional Italian pizza experience. Experimenting with these flour blends is a great way to customize your perfecting sourdough pizza dough recipe and discover new favorite crust characteristics.
Creating a Sourdough Starter for Unparalleled Flavor
Perhaps the most significant step beyond basic dough is creating and maintaining a sourdough starter. This living culture of wild yeasts and bacteria is the heart of any authentic sourdough pizza dough recipe, imparting a depth of flavor and unique texture that commercial yeast simply cannot replicate. A starter is typically created by mixing equal parts flour and water (e.g., 50g flour, 50g water) and feeding it regularly over several days or weeks until it becomes active and bubbly.
Once established, a healthy starter, often maintained at 100% hydration (equal weights of flour and water), is used to leaven the pizza dough. The fermentation process with sourdough is slower and more complex, producing lactic and acetic acids that give the crust its characteristic tangy flavor and contribute to a more open, irregular crumb structure. While maintaining a starter requires commitment, the resulting depth of flavor is unparalleled and is the ultimate step in perfecting sourdough pizza dough.
Conclusion: Your Journey to Perfect Sourdough Pizza Dough
Recap of Advanced Techniques
Embarking on the journey to perfecting sourdough pizza dough recipe involves embracing techniques that go beyond simple mixing and rising. We've explored the critical roles of high-quality flour, precise water temperature, and the essential functions of salt and yeast (or sourdough starter). Key advanced techniques like autolyse enhance hydration and gluten development, while long, cold fermentation is indispensable for building complex flavor and improving texture. Mastering gentle folding techniques builds strength without overworking the dough, and understanding hydration levels is crucial for managing dough consistency and achieving that desired airy crumb.
Furthermore, we covered the art of shaping different pizza styles and the importance of gentle handling to preserve the dough's structure. Achieving the perfect bake relies on high oven temperatures and the use of a pizza stone or steel for optimal heat transfer, with a nod to the subtle role of steam. Troubleshooting common issues like stickiness, toughness, or lack of rise empowers you to refine your process. Finally, we touched on adding extra flavors through herbs, spices, and alternative flours, culminating in the rewarding process of cultivating your own sourdough starter for the ultimate flavor experience.
Continuing Your Pizza Dough Education
Perfecting sourdough pizza dough recipe is not a destination but a continuous journey of learning and refinement. Each batch of dough offers an opportunity to observe, learn, and improve. Pay attention to how different flours behave, how temperature variations affect fermentation, and how slight adjustments in hydration or handling impact the final crust. Keep notes on your process, ingredients, and results – this is invaluable for replicating successes and diagnosing issues.
Explore different resources, watch videos of experienced bakers, and don't be afraid to experiment. Try varying fermentation times, hydration levels, or flour blends. The more you practice, the more intuitive the process will become. Embrace the occasional setback as a learning opportunity. With patience, practice, and a focus on these advanced techniques, you are well on your way to consistently producing superior, flavorful, and beautifully textured homemade pizza crusts that rival your favorite pizzerias.
Frequently Asked Questions
What makes sourdough pizza dough different from regular pizza dough?
Sourdough pizza dough relies on a natural levain (sourdough starter) instead of commercial yeast. This results in a more complex flavor and a chewier texture.
What are some key techniques for achieving a superior sourdough pizza dough?
Key techniques include proper hydration of the dough, bulk fermentation for flavor development, and a cold proof to improve texture and manageability.
How do I maintain my sourdough starter for the best pizza dough results?
Feed your starter regularly with equal parts flour and water to maintain its activity. Store it in the refrigerator and refresh it before baking.
What kind of flour is best for perfecting sourdough pizza dough?
A blend of high-protein bread flour and Italian "00" flour is recommended for a strong, extensible dough with a slightly softer crumb.
How long does it typically take to make sourdough pizza dough from start to finish?
The entire process can take 24-72 hours, including starter activation, bulk fermentation, and cold proofing. This allows for optimal flavor and gluten development.
Final Reflection: The Alchemy of Perfect Sourdough Pizza Dough
The pursuit of the perfect sourdough pizza dough is not merely a culinary quest; it's a journey into the heart of fermentation, a testament to patience, and a celebration of the transformative power of simple ingredients. The techniques explored in this article—from meticulous starter care to the nuanced understanding of hydration and fermentation—are not just recipes; they are keys to unlocking a deeper appreciation for the art of bread making. This understanding transcends the simple act of creating a pizza; it's about mastering a process that yields unparalleled flavor and texture.
The impact of sourdough, and its resurgence in popularity, is undeniable. It's a reflection of a growing desire for authenticity, for connection to traditional methods, and for a deeper understanding of where our food comes from. Bread is the staff of life,
a phrase often repeated, speaks to its fundamental role in human sustenance and culture. This extends to pizza dough, a cornerstone of countless culinary traditions worldwide. My own journey with sourdough has been one of constant learning, fueled by both successes and failures, ultimately leading to a profound respect for the living organism that is the sourdough starter and the magic it creates.
Now, it's your turn. Don't be intimidated by the seemingly complex nature of sourdough pizza dough. Embrace the process, experiment with different flours and hydration levels, and most importantly, trust the fermentation. Each loaf, each pizza, is a unique expression of your dedication and skill. The reward? A crust that sings with flavor, a texture that is both chewy and airy, and a pizza experience that transcends the ordinary. Begin your own journey towards perfecting your sourdough pizza dough today. You might be surprised at the delicious results.
Unleash Your Inner Pizzaiolo: Craft the Perfect Dough!
Thanks for taking the time to explore the art of pizza dough making! You've now got the knowledge to elevate your pizza game to the next level. Ready to put your newfound skills to the test?
- Bake your masterpiece! Try out one of the techniques discussed, and let us know how it turns out. Share your pizza creation with us – we'd love to see it!
- Experiment with different flours to discover your perfect dough texture. What surprising results will you uncover?
- Share your pizza-making journey with your friends on social media. Inspire them to create their own amazing pizzas!
What unique ingredient will you add to your next pizza dough creation? Let's discuss in the comments below!