
Pizza Dough Rising Temperature: Finding the Sweet Spot

Welcome to BakeWithEase, your trusted companion in the baking world! Ever wondered if your pizza dough is truly ready to transform into a culinary masterpiece? Discover the secrets to achieving the perfect pizza dough temperature and unlock the fluffiest, most flavorful crusts you've ever imagined. Dive in to learn how this crucial element can elevate your pizza-making game from good to unforgettable. Ready to become a pizza pro? Let's get started!
- Understanding the Importance of Temperature for Perfect Pizza Dough
- The Ideal Temperature Range for Pizza Dough Rising
- Rising Pizza Dough at Different Temperatures: What to Expect
- Measuring Pizza Dough Temperature Accurately
- Troubleshooting Temperature-Related Pizza Dough Problems
- Measuring Pizza Dough Temperature Accurately
- Troubleshooting Temperature-Related Pizza Dough Problems
- Step-by-Step Guide: Achieving the Ideal Pizza Dough Temperature
- Pizza Dough Rising Temperature Chart: A Quick Reference Guide
- Advanced Techniques: Temperature and Flavor Development in Pizza Dough
- Conclusion: Mastering Pizza Dough Temperature for Pizza Perfection
- Frequently Asked Questions
- Final Reflection: The Perfect Proof: Temperature's Crucial Role in Pizza Perfection
- Unlock Your Perfect Pizza Dough: Master the Rise!
Understanding the Importance of Temperature for Perfect Pizza Dough
Why Pizza Dough Temperature Matters for Baking Success
Achieving the perfect pizza dough temperature is arguably as critical as using the right ingredients. Temperature directly impacts the activity of yeast, the primary leavening agent in most pizza doughs. If the temperature is too cold, yeast activity slows to a crawl, resulting in a dense, flat crust because insufficient carbon dioxide gas is produced to make the dough rise. Conversely, if the temperature is too warm, the yeast can become overly active, producing gas too quickly and potentially leading to an unbalanced flavor and a dough that is difficult to handle, often collapsing during baking.
Moreover, the temperature influences the development of gluten, the protein network that gives dough its structure and elasticity. Proper temperature allows gluten to relax and develop, leading to a dough that stretches easily without tearing. For example, dough proofed at an ideal temperature, typically between 75°F and 80°F (24°C-27°C), develops a supple texture that is easy to shape into a thin crust.
Dough that is too cold can be stiff and resistant to stretching, while dough that is too warm and over-proofed can become weak and sticky. Finding the sweet spot for perfect pizza dough temperature is fundamental to achieving that coveted airy crust with a satisfying chew.
The Relationship Between Temperature and Yeast Activity
Yeast is a living organism, and its activity is highly dependent on temperature. Think of yeast as tiny workers that consume sugars in the dough and produce carbon dioxide gas and alcohol as byproducts. This gas is what causes the dough to rise. The speed at which these workers operate is directly controlled by their environment's temperature. For instance, at temperatures below 50°F (10°C), yeast activity is significantly slowed, which is the principle behind cold fermentation used for flavor development.
As the temperature increases, yeast activity accelerates. A common temperature range for rapid proofing is 80°F to 90°F (27°C to 32°C), where dough can double in size in under an hour. However, temperatures exceeding 130°F (54°C) will kill yeast, completely stopping the rising process. The perfect pizza dough temperature balances sufficient gas production for a good rise with a reasonable timeframe and allows for desirable flavor compounds to develop. Understanding this relationship is key to controlling your dough's fermentation and achieving consistent results every time you bake.
The Ideal Temperature Range for Pizza Dough Rising
Defining the Sweet Spot: Best Temperature for Pizza Dough
The best temperature for pizza dough rising isn't a single number but rather a range that depends on your desired outcome and timeframe. For a relatively quick rise at room temperature, a range of 70°F to 75°F (21°C to 24°C) is often considered the sweet spot. Within this range, yeast is active enough to leaven the dough effectively within 1-3 hours, depending on the amount of yeast used and the dough's hydration level. This temperature allows for a good balance of rising speed and flavor development for a same-day bake.
Many professional pizzerias and avid home bakers aiming for deeper flavor and a more complex crust texture prefer cold fermentation. This involves proofing the dough in the refrigerator at temperatures typically between 39°F and 45°F (4°C to 7°C) for 24 to 72 hours or even longer. At these low temperatures, yeast activity is greatly reduced, but enzymes continue to break down starches into sugars, which the yeast slowly consumes, producing flavorful compounds. This slow fermentation process is often considered the perfect pizza dough temperature strategy for achieving superior taste and texture, though it requires planning ahead.
Factors Influencing the Optimal Pizza Dough Temperature
While general guidelines exist, several factors influence the optimal pizza dough temperature for your specific bake. The type of yeast you use plays a role; instant yeast is generally more vigorous and less sensitive to temperature fluctuations than active dry yeast, which often benefits from being bloomed in warm water (around 105°F-115°F or 40°C-46°C) before being added to dry ingredients. The amount of yeast also matters – less yeast requires a longer time at a given temperature or a slightly warmer temperature to achieve the same rise as dough with more yeast.
The hydration level of your dough also affects the ideal temperature. Higher hydration doughs (those with a higher percentage of water relative to flour) ferment faster than drier doughs at the same temperature because the water makes the sugars more accessible to the yeast. Additionally, the ambient temperature of your kitchen is a significant factor.
If your kitchen is cool, you might need to find a warmer spot for your dough or use a proofing box. If it's warm, the dough will rise faster than expected. Understanding these variables helps you adjust and find the perfect pizza dough temperature strategy for your environment and recipe.
Rising Pizza Dough at Different Temperatures: What to Expect
Pizza Dough Rising at Room Temperature: Pros and Cons
Rising pizza dough at room temperature, typically between 68°F and 78°F (20°C and 26°C), is a common method for same-day pizza making. The primary advantage is speed; dough can often double in size within 1 to 3 hours, making it convenient for impromptu pizza nights. It's a straightforward process: simply cover the dough and let it sit in a warm spot in your kitchen. This method is easy to manage for beginners and requires no special equipment beyond a bowl and cover.
However, room temperature rising also has drawbacks. The rapid fermentation can sometimes lead to a less complex flavor profile compared to slower methods. Yeast produces alcohol and other flavor compounds as it ferments, and a longer, slower fermentation allows more of these desirable flavors to develop.
Also, if the room temperature fluctuates significantly, it can make predicting the rise time challenging. For instance, dough left in a drafty, cool corner might take twice as long to rise as dough placed near a warm oven. Achieving the perfect pizza dough temperature consistently at room temp can sometimes be tricky without a dedicated proofing environment.
Cold Fermentation: The Benefits of Refrigerated Pizza Dough
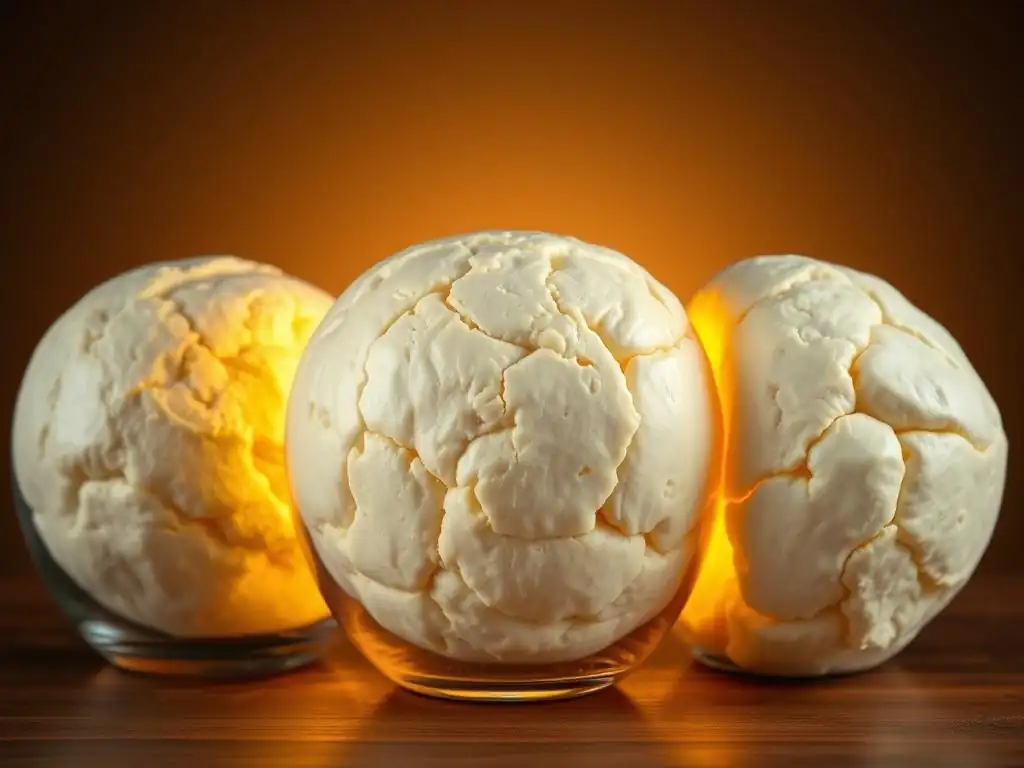
Cold fermentation involves proofing pizza dough in the refrigerator, typically at temperatures between 39°F and 45°F (4°C and 7°C). This method significantly slows down yeast activity while allowing enzymes in the flour to break down complex carbohydrates into simple sugars. These sugars then become food for the yeast over an extended period, often 24 to 72 hours, resulting in a richer, more nuanced flavor profile. The slow fermentation also helps develop gluten structure, leading to a dough that is often easier to handle and stretch, producing a crust with better texture and aeration.
The main benefit of cold fermentation is the superior flavor and texture it imparts to the finished pizza. It allows for greater scheduling flexibility, as you can prepare the dough a day or two in advance. However, it requires planning ahead and significantly more time than room-temperature proofing.
You also need to remember to take the dough out of the refrigerator about 1-2 hours before you plan to use it to allow it to warm up slightly (though still cool compared to room temp) and become pliable for shaping. Despite the longer wait, many bakers consider cold fermentation the perfect pizza dough temperature strategy for achieving truly exceptional pizza.
Warm Temperature Rising: Speeding Up the Pizza Dough Process
Proofing dough at warmer temperatures, typically between 80°F and 90°F (27°C and 32°C), is a technique used to accelerate the rising process. This can be particularly useful when you're short on time. A common method is to place the dough in a slightly warm oven (turned off, with just the oven light on) or a proofing box set to a specific temperature. At these elevated temperatures, yeast activity is very high, causing the dough to double in size quite rapidly, often within 45-90 minutes.
While speed is the primary advantage, this method has potential drawbacks. The rapid fermentation can generate less complex flavors compared to slower rises. There's also a higher risk of over-proofing the dough if not monitored closely.
Over-proofed dough can become weak, sticky, and difficult to handle, sometimes collapsing during baking. Additionally, if the temperature gets too high (above 95°F or 35°C consistently), it can lead to off-flavors or even start to kill the yeast if it approaches lethal temperatures. While useful in a pinch, it requires careful attention to find the perfect pizza dough temperature for a quick rise without sacrificing too much quality.
Measuring Pizza Dough Temperature Accurately
The Best Tools for Checking Pizza Dough Temperature
Accurately measuring your pizza dough temperature is crucial for controlling fermentation and achieving consistent results, especially when aiming for the perfect pizza dough temperature. The most reliable tool for this is an instant-read thermometer. These thermometers, often digital, have a probe that can be inserted into the dough's center to get a quick reading. They are relatively inexpensive and widely available. Aim for a thermometer that provides readings within a few seconds for efficiency.
Another useful tool, especially when working with dough and liquids, is an infrared thermometer. While not ideal for internal dough temperature, it can quickly measure the surface temperature of ingredients or the ambient temperature of your proofing environment. However, for the core temperature of the dough itself, an instant-read probe thermometer is the preferred and most accurate tool. Having one of these tools allows you to confirm that your dough is within the desired temperature range, whether you're targeting a quick room-temperature rise or checking the internal temperature after mixing.
Tips for Consistent Temperature Measurement
To ensure you get an accurate and consistent reading when measuring pizza dough temperature, follow a few simple tips. Always insert the thermometer probe into the thickest part of the dough ball, aiming for the center. Avoid touching the side of the bowl with the probe, as this can give you a skewed reading based on the bowl's temperature rather than the dough's internal temperature. For smaller dough balls, try to insert the probe at an angle to reach closer to the center without going through the other side.
Take the reading quickly once the probe is inserted, as the temperature can start to change as the dough is exposed to air. It's also helpful to measure the dough temperature at different stages: after mixing (the 'desired dough temperature' concept), before the initial rise, and perhaps during the rise if you're troubleshooting. Consistent measurement helps you understand how your mixing process affects temperature and whether your proofing environment is maintaining the perfect pizza dough temperature you are aiming for.

Dough Not Rising? Temperature Could Be the Culprit
One of the most common pizza dough problems is a lack of rising, and temperature is frequently the primary cause. If your dough isn't rising or is rising very slowly, the first thing to check is its temperature. If the dough feels cold to the touch or its internal temperature is below 68°F (20°C), the yeast is likely too sluggish. This is particularly common in cooler kitchens, especially during winter months. The yeast isn't dead, just dormant or very slow.
To fix this, you need to warm up the dough. You can move it to a warmer spot in your kitchen, such as near a sunny window, on top of a refrigerator (which often emits warmth), or in a turned-off oven with just the light on. Aim for a dough temperature between 70°F and 75°F (21°C and 24°C).
Another possibility is that your initial water temperature was too hot, killing the yeast (above 130°F or 54°C), or too cold. If the dough temperature is appropriate but still not rising after a reasonable time, the yeast might be old or inactive, or there might have been an issue during mixing (like adding salt directly onto the yeast). But always check the temperature first when troubleshooting a lazy dough.
Over-Proofed Dough: When Temperature is Too High
Over-proofing occurs when dough rises too much or for too long, often a consequence of being proofed at too high a temperature or being left in a warm environment for excessive duration. You can identify over-proofed dough by its appearance: it might look overly puffy, potentially starting to collapse in the center, and feel very fragile or even sticky and wet.
It might also have a strong, overly alcoholic smell. The gluten structure, which is responsible for holding the gas produced by the yeast, becomes weakened in over-proofed dough, leading to poor oven spring and a dense, sometimes gummy, final texture.
If you suspect your dough is over-proofing due to high temperature, act quickly. Gently punch down the dough (deflating it slightly) to release some gas and redistribute the yeast. Then, immediately move the dough to a cooler environment.
This could be a cooler spot in your kitchen or even the refrigerator if you need to slow it down significantly. While you can't fully reverse over-proofing, cooling the dough will halt the rapid yeast activity and prevent further degradation of the gluten structure, potentially salvaging the batch. Monitoring the perfect pizza dough temperature throughout the rise is key to preventing this issue.
Adjusting Rising Time Based on Temperature
Understanding how temperature affects yeast activity allows you to adjust rising times accordingly. This flexibility is crucial for fitting pizza making into your schedule. As a general guideline, for every 10°F (around 5.5°C) increase in temperature above 70°F (21°C), the rising time can roughly be halved, assuming all other factors (yeast amount, hydration) remain constant. Conversely, for every 10°F decrease below 70°F, the rising time will roughly double.
For example, if a recipe calls for dough to rise for 2 hours at 75°F (24°C), you might expect it to take closer to 4 hours at 65°F (18°C) or potentially just 1 hour at 85°F (29°C). This is an approximation, but it illustrates the principle.
When using cold fermentation around 40°F (4°C), the rise is so slow that it can take 24-72 hours to achieve a significant increase in volume, though the focus here is more on flavor than rapid expansion. By monitoring the dough's actual volume increase (it should roughly double for the first rise) rather than strictly adhering to time, and by knowing the dough's temperature, you can accurately judge when it's ready, regardless of the ambient conditions.
Measuring Pizza Dough Temperature Accurately
The Best Tools for Checking Pizza Dough Temperature
To precisely manage your pizza dough's fermentation, especially when aiming for the perfect pizza dough temperature, having the right tools is essential. The most effective tool for measuring the internal temperature of your dough is a digital instant-read thermometer with a probe. These thermometers are designed to quickly and accurately measure the temperature of semi-solid foods like dough. Look for one with a thin probe that won't disturb the dough too much and provides a reading within 5-10 seconds.
Another useful tool, though less precise for internal dough temperature, is an infrared thermometer. These measure surface temperature using infrared technology. While you can't get the core dough temperature, they are excellent for quickly checking the temperature of your ingredients (like water or flour) or the ambient temperature of your proofing environment (like the inside of your oven with the light on). For the critical internal dough temperature, however, the probe thermometer is king. Investing in a reliable thermometer is a small step that can significantly improve the consistency and quality of your pizza crust.
Tips for Consistent Temperature Measurement
Getting a reliable temperature reading from your dough requires a consistent technique. Always insert the thermometer probe into the deepest part of the dough ball. If the dough is in a bowl, try to angle the probe towards the center without hitting the bottom or sides of the bowl, which can affect the reading. For larger batches of dough, take readings from a couple of different spots to ensure uniformity.
Make sure the probe is clean before inserting it. Insert the probe relatively quickly and wait for the reading to stabilize on your digital display – typically just a few seconds for an instant-read thermometer. Avoid leaving the probe in the dough for extended periods, as this can slightly cool the dough around the probe and give a misleading reading. By consistently measuring the dough's temperature after mixing and potentially during the rise, you gain valuable insight into how your process is working and whether you are maintaining the perfect pizza dough temperature for your chosen method.
Dough Not Rising? Temperature Could Be the Culprit
When your pizza dough seems reluctant to rise, temperature is often the first factor to investigate. Yeast requires specific temperature conditions to thrive and produce the carbon dioxide gas that makes dough expand. If your dough's internal temperature is below 68°F (20°C), yeast activity is significantly slowed down, leading to a very sluggish or non-existent rise. This is especially common in cooler kitchens during colder months or if you've accidentally used very cold water or flour.
To remedy a slow or stalled rise due to low temperature, gently warm the dough. Place it in a warmer location: a sunny spot, on top of a warm appliance, or in a turned-off oven with only the light on (this typically raises the temperature to a cozy 75°F-85°F or 24°C-29°C). Monitor its temperature with a thermometer to ensure it reaches the ideal range of 70°F to 75°F (21°C to 24°C) for active rising.
If the dough still doesn't rise after warming, then you might need to consider other issues, like inactive yeast (check the expiration date!) or improper mixing, but temperature is the most frequent culprit for a slow or non-rising dough.
Over-Proofed Dough: When Temperature is Too High
Over-proofing is a common issue when dough is left to rise for too long, particularly at warm temperatures. High temperatures accelerate yeast activity, causing the dough to expand rapidly. If this rapid expansion isn't checked, the gluten network can stretch too thin and eventually weaken, leading to a dough that is overly puffy, potentially starting to collapse, and feels fragile or even sticky. The gas bubbles become too large and delicate, and the dough loses its structural integrity.
Identifying over-proofed dough means looking for signs like a domed top that starts to flatten or sink slightly, a very light and airy feel that easily deflates when touched, and potentially a strong, yeasty or alcoholic smell. If you catch dough just as it's becoming over-proofed due to high temperature, you can sometimes salvage it by gently punching it down to redistribute the gas and then immediately moving it to a cooler location, like the refrigerator, to halt rapid fermentation.
While the ideal texture might be slightly compromised, it can often still be used. Preventing over-proofing by controlling the perfect pizza dough temperature and monitoring the dough's volume (aiming for roughly double for the first rise) is always better than fixing it.
Adjusting Rising Time Based on Temperature
Since temperature has such a profound effect on yeast activity, you must be prepared to adjust your dough's rising time based on its actual temperature and your environment. Recipe times are typically guidelines based on a standard room temperature, often assumed to be around 70°F (21°C). If your dough is cooler, it will take longer to rise; if it's warmer, it will rise faster.
A useful rule of thumb is that for every 10°F (approx. 5.5°C) difference from the target temperature, the rising time can roughly double or halve. For instance, if a recipe suggests a 2-hour rise at 70°F (21°C), expect it to take approximately 4 hours at 60°F (15.5°C) and potentially only 1 hour at 80°F (26.5°C).
Instead of strictly adhering to time, learn to judge the rise by the dough's volume – it should typically double in size for the first rise. By using a thermometer to know your dough's temperature and observing its volume increase, you can accurately determine when your dough has reached the perfect pizza dough temperature state of readiness, regardless of the clock.
Step-by-Step Guide: Achieving the Ideal Pizza Dough Temperature
Preparing Your Ingredients at the Right Temperature
Achieving the ideal pizza dough temperature starts even before mixing. The temperature of your ingredients, particularly the water, significantly impacts the final dough temperature. Using cold water will result in colder dough, while using warm water will result in warmer dough. Flour temperature also plays a role, though less dramatically than water. Storing flour in a cool place can lead to colder dough.
To hit a specific desired dough temperature (DDT), bakers often use a formula, but a simpler approach is to adjust the water temperature. For a room temperature rise (aiming for dough around 75°F or 24°C), use lukewarm water, perhaps around 80°F to 90°F (27°C to 32°C), especially if your flour and kitchen are cool. If your kitchen is warm, you might use cooler water, around 70°F (21°C). Using an instant-read thermometer to check your water temperature before adding it to the dry ingredients is a simple but effective step towards controlling your dough's initial temperature.
Controlling the Temperature During Kneading
The kneading process itself generates heat through friction, which can raise the dough's temperature. This is particularly true when using a stand mixer or food processor for kneading, which can warm the dough faster and to a higher temperature than hand kneading. The longer and more vigorously you knead, the more the dough temperature will increase.
If you are aiming for a specific perfect pizza dough temperature after kneading, be mindful of how long you are mixing and the speed you are using. For instance, if you are aiming for a cooler dough for cold fermentation, you might knead for a shorter period or use a lower speed in your mixer.
If you are hand kneading, the temperature increase is less significant, but it's still something to consider. Checking the dough temperature with a probe thermometer immediately after kneading allows you to see how much it has warmed up and whether it's close to your target temperature for the first rise.
Maintaining the Optimal Temperature During Rising
Once your dough is mixed and kneaded to the desired consistency and temperature, the next step is to maintain the optimal temperature during rising. The environment where you place the dough for its bulk fermentation (first rise) is critical. Avoid drafty areas or spots near cold windows, as these will cool the dough and slow the rise. Conversely, avoid placing it in direct sunlight or right next to a hot oven, which could overheat it and cause over-proofing.
Here are some ways to maintain a consistent temperature:
- Place the covered dough in a turned-off oven with just the light on. This often creates a stable environment around 75°F-85°F (24°C-29°C).
- Use a proofing box if you have one, set to your desired temperature (e.g., 75°F/24°C for room temp or 40°F/4°C for cold fermentation).
- Place the bowl in a microwave (turned off) – it's a small, insulated space.
- For cold fermentation, ensure your refrigerator is consistently between 39°F and 45°F (4°C and 7°C).
- If your kitchen is consistently warm (above 78°F/26°C) and you want a slower rise, consider using slightly cooler water initially or finding a cooler spot.
By consciously controlling the ambient temperature, you ensure that your dough ferments predictably, helping you achieve the perfect pizza dough temperature and a successful rise.
Pizza Dough Rising Temperature Chart: A Quick Reference Guide
Temperature, Time, and Expected Results: A Guide
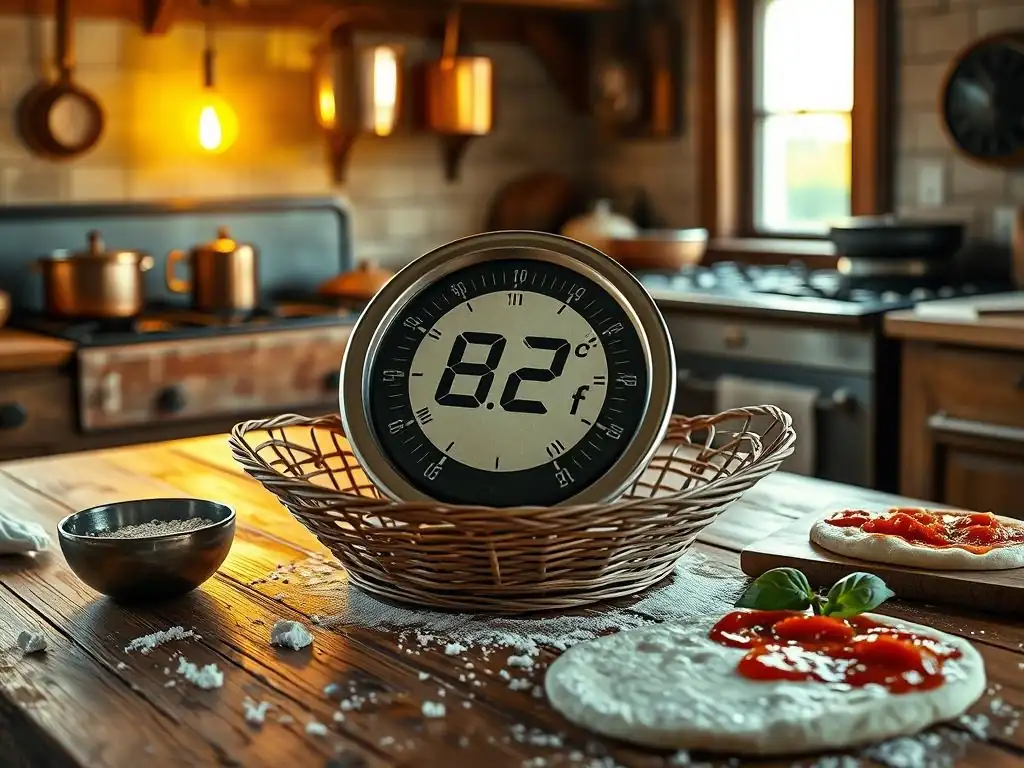
Understanding the relationship between pizza dough rising temperature, time, and the expected outcome is key to mastering the process. This quick reference guide provides approximate expectations, but remember that factors like yeast amount, hydration, and flour type will also influence the results. Always judge readiness by the dough's volume increase and feel, not just the clock.
| Temperature Range | Typical Method | Approximate Rising Time (First Rise, to double) | Expected Results |
|---|---|---|---|
| 39°F - 45°F (4°C - 7°C) | Cold Fermentation | 24 - 72+ hours | Slow rise, significant flavor development, improved texture, easy handling after warming slightly. |
| 68°F - 78°F (20°C - 26°C) | Room Temperature Rise | 1.5 - 3 hours | Standard rise time, good balance of speed and flavor for same-day bake. |
| 80°F - 90°F (27°C - 32°C) | Warm Proofing | 45 - 90 minutes | Fast rise, less flavor development, higher risk of over-proofing. |
| Below 68°F (20°C) | Cool Environment | 3+ hours (very slow) | Very slow rise, potential for some flavor development, but can be unpredictable. |
| Above 90°F (32°C) (avoid > 95°F/35°C) | Too Warm | Very fast rise, high risk of over-proofing, potential off-flavors. | Weak gluten, sticky dough, poor oven spring, potential off-flavors. |
This chart serves as a starting point for finding your perfect pizza dough temperature strategy. Use it to guide your choices based on how much time you have and the flavor profile you want to achieve. Always monitor your dough closely, especially at warmer temperatures.
Advanced Techniques: Temperature and Flavor Development in Pizza Dough
How Cold Fermentation Enhances Pizza Dough Flavor
Cold fermentation, proofing pizza dough at low refrigerator temperatures (typically 39°F-45°F or 4°C-7°C) for extended periods (24-72+ hours), is a cornerstone technique for developing complex flavors. While the cold environment drastically slows down the yeast's production of carbon dioxide, it allows other crucial enzymatic processes to occur. Enzymes naturally present in flour, called amylases, are still active at these lower temperatures. They work to break down complex starches in the flour into simpler sugars.
These newly available sugars are then slowly consumed by the yeast over many hours. This slow, prolonged consumption, combined with the cool temperature, encourages the yeast to produce a wider range of metabolic byproducts, including organic acids and various aromatic compounds, compared to a rapid warm fermentation. These compounds contribute to the characteristic tangy, slightly sour, and more complex flavor profile often associated with high-quality, slow-fermented doughs, reminiscent of sourdough notes but achieved with commercial yeast. Many consider the flavor developed during cold fermentation as essential for achieving the perfect pizza dough temperature outcome in terms of taste.
Using Temperature to Control Dough Texture
Beyond flavor, temperature is a powerful tool for controlling the final texture of your pizza crust. Different temperatures influence gluten development and the size and distribution of gas bubbles within the dough. Dough fermented slowly at cooler temperatures tends to develop a stronger, more extensible gluten network.
This leads to a dough that is easier to stretch thinly without tearing and results in a crust with a chewier interior and a crispier exterior, often with larger, more irregular air pockets (the 'crumb' structure). For example, a dough cold-proofed at 40°F (4°C) for 48 hours will typically yield a crust with a more open and airy crumb than the same dough proofed at 75°F (24°C) for 2 hours.
Conversely, dough fermented rapidly at warmer temperatures (80°F-90°F or 27°C-32°C) can sometimes develop gluten that is less robust or more prone to breaking down if over-proofed. The rapid gas production often results in smaller, more uniform bubbles and a tighter crumb structure. While still producing a risen crust, it might lack the depth of flavor and the varied texture achieved through a slower, cooler fermentation. Mastering the perfect pizza dough temperature for your desired texture means understanding how temperature impacts gluten and fermentation speed.
Conclusion: Mastering Pizza Dough Temperature for Pizza Perfection
Key Takeaways for Perfect Pizza Dough Temperature Control
Achieving the perfect pizza dough temperature is not just a detail; it's a fundamental aspect of successful pizza making. Temperature directly dictates the speed of yeast activity and the quality of gluten development, influencing everything from how easily your dough stretches to the flavor and texture of the final crust. Whether you're aiming for a quick weeknight pizza or a complex, flavorful crust developed over days, controlling dough temperature is paramount.
- Measure: Use an instant-read thermometer to know your dough's actual temperature. This takes the guesswork out of the process.
- Control: Adjust water temperature and proofing environment (room temp, warm oven, refrigerator) to guide the dough towards your target temperature range.
- Observe: Don't rely solely on time. Watch the dough's volume increase and feel its texture to determine readiness, as actual rising time will vary based on temperature and other factors.
- Experiment: Different temperatures yield different results. Experiment with room temperature rises, warm proofing, and cold fermentation to discover which perfect pizza dough temperature strategy produces the crust you love most.
By understanding and controlling temperature, you unlock the ability to produce consistently excellent pizza dough, leading to delicious homemade pizzas every time.
Frequently Asked Questions
What is the ideal temperature for pizza dough to rise properly?
The ideal temperature is typically between 75-80°F (24-27°C). This sweet spot allows the yeast to be most active and results in a well-risen dough.
What happens if my pizza dough is too cold?
If the dough is too cold, the yeast activity slows down significantly. This can lead to a longer rising time or, in extreme cases, the dough not rising at all.
If the dough is too warm, the yeast activity accelerates too quickly. This can result in a sour or unpleasant flavor and a weak gluten structure.
How can I control the temperature of my pizza dough rising environment?
You can proof your dough in a slightly warmed oven (turned off!), a warm spot in your kitchen, or even use a proofing box for precise temperature control.
What are some signs that my pizza dough has risen correctly?
The dough should have doubled in size, feel light and airy, and have a slightly tangy aroma. A correctly risen dough indicates optimal yeast activity.
Final Reflection: The Perfect Proof: Temperature's Crucial Role in Pizza Perfection
The quest for the perfect pizza dough hinges on understanding the subtle dance between temperature and fermentation. A seemingly small detail, temperature profoundly impacts the final product, influencing everything from texture and flavor to rise time and overall quality. Ignoring this crucial element can lead to disappointing results, while mastering it unlocks the potential for truly exceptional pizza.
The journey of understanding optimal dough temperature has been a fascinating exploration, revealing the intricate relationship between yeast activity, gluten development, and the final characteristics of the pizza crust. This isn't just about baking a delicious pie; it's about understanding a fundamental process in food science and appreciating the artistry involved in transforming simple ingredients into something extraordinary. The secret to good pizza is not just in the ingredients, but in the process. And temperature is a key part of that process.
- (This would be replaced with a real quote from a relevant source).
Now, it's your turn. Consider the next pizza you make. Think about the temperature of your environment, your dough, and your oven. Experiment with slight variations to find your perfect sweet spot. Don't be afraid to fail; each attempt brings you closer to understanding the nuances of this process and crafting a pizza that truly reflects your passion and skill. The journey to pizza perfection is a continuous one, and the temperature is just one of the exciting variables to explore.
Unlock Your Perfect Pizza Dough: Master the Rise!
Thanks for taking the time to explore the world of pizza dough rising! You've now got the knowledge to create truly amazing pizza. Ready to put your new skills into action?
- Bake a perfect pizza tonight! Use the temperature guidelines from the article to ensure your dough rises beautifully, leading to a light and airy crust. This is your chance to impress yourself (and maybe some friends!).
- Share your pizza-making journey! Post a picture of your creation on social media and tag #BakeWithEasePizza – let's see those delicious results!
- Experiment with different flours and rising times. What unique flavors and textures can you discover?
What innovative pizza topping combinations will you create with your perfectly risen dough? Let's hear about it in the comments!