
Why Your Pizza Dough Needs to Rest After Kneading

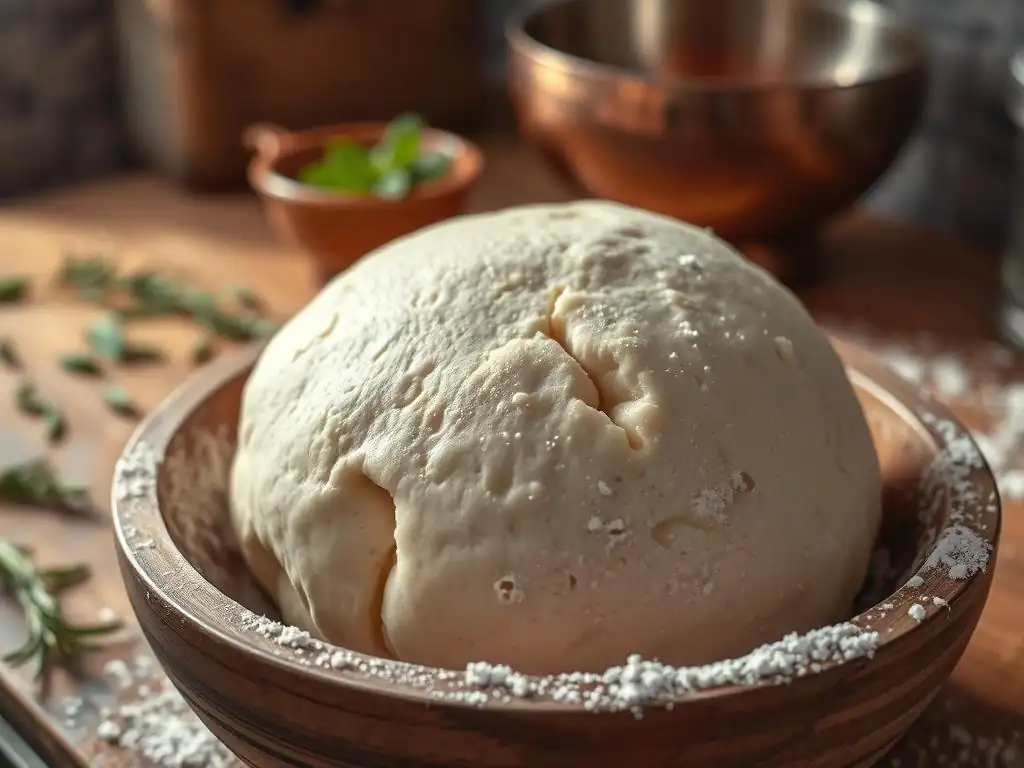
Welcome to BakeWithEase, where the joy of baking meets effortless execution! Ever wondered why your homemade pizza never quite matches the pizzeria's perfect crust? The secret might be simpler than you think. In this article, we'll unlock the crucial step of resting pizza dough properly, revealing how this often-overlooked technique transforms ordinary ingredients into extraordinary results. Prepare to elevate your pizza game and discover the magic behind a truly exceptional dough – read on to find out how!
- Why Resting Pizza Dough Properly is Crucial for the Best Results
- Guide to Understanding Pizza Dough Rest
- The Importance of Resting Pizza Dough After Kneading
- Understanding Gluten Development and Pizza Dough
- Why Resting Allows Gluten to Relax: Improved Pizza Texture
- The Impact of Resting on Pizza Dough Flavor
- Different Resting Methods for Pizza Dough
- Troubleshooting Pizza Dough That Hasn't Rested Enough
- Step-by-Step Guide: Resting Your Pizza Dough for Optimal Results
- Tips for Perfecting Your Pizza Dough Resting Technique
- Mastering the Art of Pizza Dough: It's All About the Rest
- Frequently Asked Questions
- Final Reflection: The Unexpected Power of Patience in Pizza Making
- Unleash Your Inner Pizzaiolo: Craft the Perfect Crust!
Why Resting Pizza Dough Properly is Crucial for the Best Results
Guide to Understanding Pizza Dough Rest
Welcome to Our Homemade Pizza Dough Guide
Making delicious homemade pizza starts with understanding the fundamentals, and one of the most overlooked yet critical steps is allowing your dough to rest. Many home bakers rush this stage, eager to get their pizza into the oven, but skipping or shortening the resting period can drastically impact the final texture and flavor of your crust. Think of resting as giving your dough a much-needed break after the hard work of kneading.
Properly resting pizza dough isn't just about convenience; it's a vital process that affects everything from how easy the dough is to handle to the chewiness and crispness of the baked crust. Whether you're aiming for a classic Neapolitan-style pizza or a thicker pan pizza, mastering the art of resting your pizza dough properly is key to achieving pizzeria-quality results right in your own kitchen.
The Importance of Resting Pizza Dough After Kneading
Why Resting Your Pizza Dough Matters
After kneading, pizza dough is typically tight and elastic due to the development of gluten. Resting allows this gluten structure to relax, making the dough pliable and much easier to shape into a thin crust without it snapping back like a rubber band. This relaxation is essential for achieving that perfect, airy texture and preventing a dense or tough crust. A well-rested dough is a joy to work with, stretching smoothly and evenly.
Beyond handling, resting significantly contributes to the flavor of your pizza crust. During the resting period, yeast continues its work, producing carbon dioxide and, importantly, various byproducts that enhance the dough's taste and aroma. Enzymes also get to work, breaking down complex starches into simpler sugars, which not only feed the yeast but also contribute to better browning and a more complex flavor profile during baking. Resting pizza dough properly is truly a cornerstone of great pizza.
Resting Dough: A Key Step in Pizza Making
Consider the resting phase as crucial as selecting the right flour or yeast. It's the stage where the physical and chemical properties of the dough transform from a shaggy, difficult mass into a smooth, extensible foundation for your toppings. Skipping this step often results in a frustrating experience, with dough that fights back when you try to stretch it and yields a disappointing, tough crust.
Experienced bakers know that patience is a virtue, especially when it comes to yeasted doughs. Resting isn't passive; it's an active period of development. Whether you opt for a short rest at room temperature or a long, cold fermentation in the refrigerator (sometimes for 24-72 hours! ), each method achieves the goal of relaxing gluten and developing flavor, albeit at different paces. Mastering the timing of resting pizza dough properly is a skill that pays off in delicious dividends.
Understanding Gluten Development and Pizza Dough
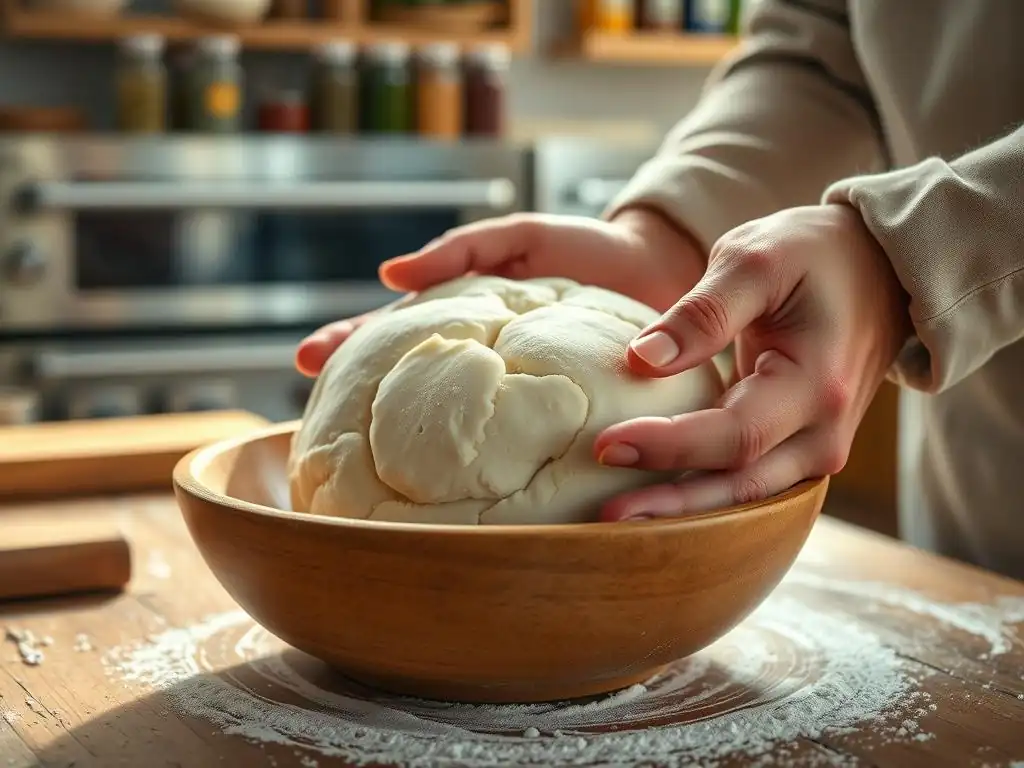
The Role of Gluten in Pizza Dough Structure
Gluten is a network of proteins (glutenin and gliadin) that forms when flour is mixed with water and agitated, typically through kneading. Think of this network as the dough's internal scaffolding. It provides structure, elasticity, and the ability to trap the gases produced by yeast, which is what makes the dough rise and gives the crust its airy pockets. Without sufficient gluten development, your pizza crust would be flat and dense.
The strength and extensibility of this gluten network are critical for pizza dough. When you stretch the dough, the gluten strands align and lengthen, allowing it to become thin without tearing. A well-developed gluten structure is what gives a pizza crust its characteristic chewiness while still allowing for a light texture. Understanding how to build and then relax this network is key to resting pizza dough properly.
How Kneading Impacts Gluten Formation
Kneading is the primary way we develop gluten in dough. The mechanical action of folding, stretching, and compressing the dough helps the glutenin and gliadin proteins link together and form those strong, elastic chains. The longer and more vigorously you knead (up to a point), the more developed and tighter the gluten structure becomes. This is why dough feels increasingly smooth and elastic as you knead it.
Different types of flour affect gluten development differently. High-protein flours, like bread flour (typically 12-14% protein), develop gluten more readily and create a stronger network compared to lower-protein flours like all-purpose flour (around 10-12% protein). The kneading process essentially works the gluten into a strong, cohesive web, which is then ready for the crucial step of resting pizza dough properly to allow it to relax.
Overworked Dough vs. Properly Developed Gluten
While kneading is essential for gluten development, it is possible to overwork dough, especially with a stand mixer. Overworked dough becomes excessively tight, tough, and difficult to handle. The gluten network becomes too stressed and can even begin to break down, leading to a less desirable texture. It feels dense and resistant rather than smooth and elastic.
Properly developed gluten, on the other hand, results in dough that is smooth, elastic, and passes the "windowpane test" – you can stretch a small piece thin enough to see light through it without it tearing. Achieving this balance is crucial; you need enough gluten development for structure, but then you need to allow it to relax. Resting pizza dough properly after kneading is the antidote to the tightness caused by development.
Why Resting Allows Gluten to Relax: Improved Pizza Texture
The Science Behind Dough Relaxation
After the intense activity of kneading, the gluten network in the dough is tense and coiled. Resting allows the gluten strands to unwind and rearrange themselves into a more relaxed state. This process is facilitated by enzymatic activity within the dough, particularly proteases, which gently break down some of the protein bonds, reducing the dough's elasticity and increasing its extensibility.
Think of it like a muscle after a workout; it needs time to recover and loosen up. This relaxation phase is critical for transforming a tight, springy ball of dough into a pliable mass that can be easily stretched into a thin pizza base. Resting pizza dough properly ensures this enzymatic and structural relaxation happens, making the dough much more cooperative.
Relaxed Gluten Equals Easier Shaping
One of the most immediate benefits you'll notice from resting your dough is how much easier it is to shape. Instead of fighting against a dough that constantly springs back, you'll find that a well-rested dough stretches smoothly and holds its shape without tearing. This is especially important when trying to achieve a thin crust or a specific pizza shape.
Trying to stretch dough that hasn't rested enough is like trying to stretch a new rubber band – it's resistant and wants to snap back. A dough that has undergone proper resting pizza dough procedures behaves more like a well-used rubber band, stretching easily and staying put. This ease of handling is a direct result of the relaxed gluten structure.
Achieving a Tender, Chewy Crust Through Resting
Beyond ease of shaping, the relaxation of gluten contributes significantly to the final texture of the baked crust. A dough with relaxed gluten bakes up with a more tender interior crumb and a desirable chewiness, characteristic of great pizza. The relaxed network allows for better oven spring, creating airy pockets within the crust.
Conversely, dough that is not rested adequately often results in a tougher, denser crust. The tight gluten network doesn't expand as effectively in the oven, leading to a less pleasant texture. Resting pizza dough properly is essential for achieving that perfect balance of crisp exterior and tender, chewy interior that makes a pizza truly satisfying.
The Impact of Resting on Pizza Dough Flavor
Flavor Development During Dough Rest
Resting pizza dough isn't just about texture; it's also a crucial period for flavor development. During the rest, especially during longer fermentation periods, yeast and naturally present enzymes get to work, transforming the simple ingredients into a complex flavor profile. This is where the magic happens, turning plain flour and water into something truly delicious.
Yeast consumes sugars in the dough and produces not only carbon dioxide (for rise) but also ethanol and various other compounds like organic acids and esters, which contribute significantly to the dough's aroma and taste. The longer the rest, the more time these flavor-enhancing processes have to occur. Resting pizza dough properly unlocks a deeper, more nuanced flavor in your crust.
Enzymes and Fermentation: The Flavor Boost
Beyond yeast, enzymes in the flour play a vital role during resting. Amylase enzymes break down complex starches into simpler sugars, which the yeast can then consume. This enzymatic activity not only provides fuel for fermentation but also makes more sugars available for caramelization during baking, contributing to better crust color and flavor.
Protease enzymes, as mentioned earlier, help relax the gluten, but they also contribute to flavor by breaking down proteins into amino acids. These amino acids can participate in the Maillard reaction during baking, creating desirable browning and complex savory flavors. The combined action of yeast fermentation and enzymatic breakdown during resting pizza dough periods is responsible for much of the depth of flavor in a great crust.
Resting Dough Enhances Complexity and Aroma
A dough that has rested properly will have a more complex flavor and a distinct, pleasant aroma compared to one that was rushed. The subtle tang from fermentation, the hint of sweetness from broken-down starches, and the aromatic compounds produced by the yeast all contribute to a richer sensory experience. This is particularly true for cold fermentation, where the slower activity allows for a greater accumulation of these desirable flavor compounds.
Imagine the difference between a quickly proofed bread and a slow-fermented sourdough – the flavor complexity is vastly different. The same principle applies to pizza dough. Resting pizza dough properly allows time for these subtle but significant flavor transformations to occur, resulting in a crust that tastes more artisanal and delicious.
Different Resting Methods for Pizza Dough
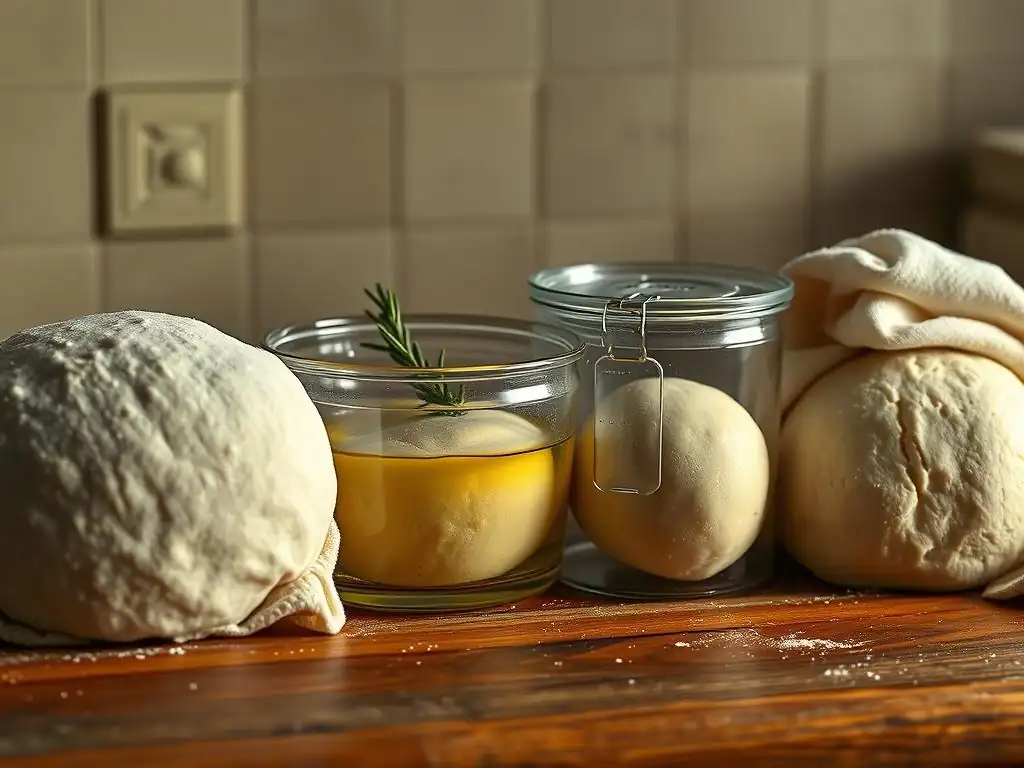
Room Temperature Resting: Ideal Time and Conditions
Resting pizza dough at room temperature is the quickest method, typically taking anywhere from 30 minutes to a few hours, depending on the recipe, ambient temperature, and yeast amount. This is often done as a first rest (bulk fermentation) or a shorter second rest after shaping individual balls. An ideal room temperature is typically around 70-75°F (21-24°C).
During a room temperature rest, the yeast is quite active, causing the dough to rise noticeably. This method is great for a quicker pizza night but results in less complex flavor development compared to cold fermentation. Ensure the dough is covered to prevent drying out, perhaps with plastic wrap or a damp towel. A common practice is a 1-2 hour bulk rest followed by a 30-60 minute rest for shaped balls when resting pizza dough at room temp.
Cold Fermentation in the Refrigerator: Benefits and Duration
Cold fermentation, resting the dough in the refrigerator (typically 35-40°F or 2-4°C), significantly slows down yeast activity but allows enzymes to work longer. This extended period, often 24 to 72 hours, results in superior flavor development and a more relaxed, easy-to-handle dough. It's the preferred method for many pizzerias.
The benefits of cold fermentation include a deeper, more complex flavor, improved crust texture, and increased extensibility of the dough. While it requires planning ahead, the results are often well worth the wait. Dough can be cold fermented as a bulk mass or divided into individual balls before chilling. Resting pizza dough properly in the cold is a game-changer for flavor.
Bulk Fermentation vs. Ball Fermentation Resting
There are two main stages where dough typically rests: bulk fermentation and ball fermentation. Bulk fermentation happens after the initial kneading, where the entire mass of dough rests together. This allows the gluten network to relax uniformly and the initial stages of fermentation to occur throughout the dough. This rest can be at room temperature for a shorter time or cold for a longer time.
Ball fermentation occurs after the dough has been divided and shaped into individual pizza balls. This second rest allows the smaller portions to relax further, making them perfectly pliable for stretching just before baking. This rest is often shorter than the bulk rest, perhaps 30-90 minutes at room temperature, or it can follow cold bulk fermentation, allowing the chilled balls to come up to temperature and relax before shaping. Resting pizza dough properly often involves both stages.
Troubleshooting Pizza Dough That Hasn't Rested Enough
Tough or Elastic Dough: The Consequences of Insufficient Rest
The most immediate and frustrating consequence of not resting your pizza dough properly is encountering dough that is tough and overly elastic. When you try to stretch it, it will resist, spring back, and might even tear because the gluten network is still too tight and hasn't relaxed. This makes shaping a difficult and annoying process.
A dough that fights back is a clear sign it needs more time to rest. Trying to force it will lead to a dense, chewy crust that lacks the desired tenderness and airiness. If you find yourself battling your dough, cover it and let it rest for another 15-30 minutes, then try again. Patience is your friend when resting pizza dough properly.
Difficulty Shaping the Dough
As mentioned, insufficient resting makes shaping incredibly difficult. Instead of stretching easily into a thin disc, the dough will keep shrinking back. You might find yourself constantly pulling and pushing, only for the dough to snap back to a smaller size. This not only makes achieving the desired shape challenging but also risks tearing the dough.
For instance, if you try to stretch a dough ball that's only rested for 10 minutes after shaping, it will likely feel like a tight rubber ball. Giving it another hour at room temperature (or longer in the fridge) will transform it into a pliable, easy-to-stretch disc. Resting pizza dough properly is the secret to effortless shaping.
Uneven Baking and Crust Texture
Dough that hasn't rested enough may also bake unevenly. The tight gluten structure can hinder the expansion of air pockets during baking, leading to a denser crumb in some areas and potentially uneven rise. The crust might be tough throughout instead of having a crisp exterior and a tender interior.
Moreover, insufficient resting means less time for flavor development. The resulting crust will likely taste flat and one-dimensional compared to a properly rested dough. While you might still get pizza, it won't reach its full potential in terms of texture or flavor. Resting pizza dough properly impacts the entire baking process and final result.
Step-by-Step Guide: Resting Your Pizza Dough for Optimal Results
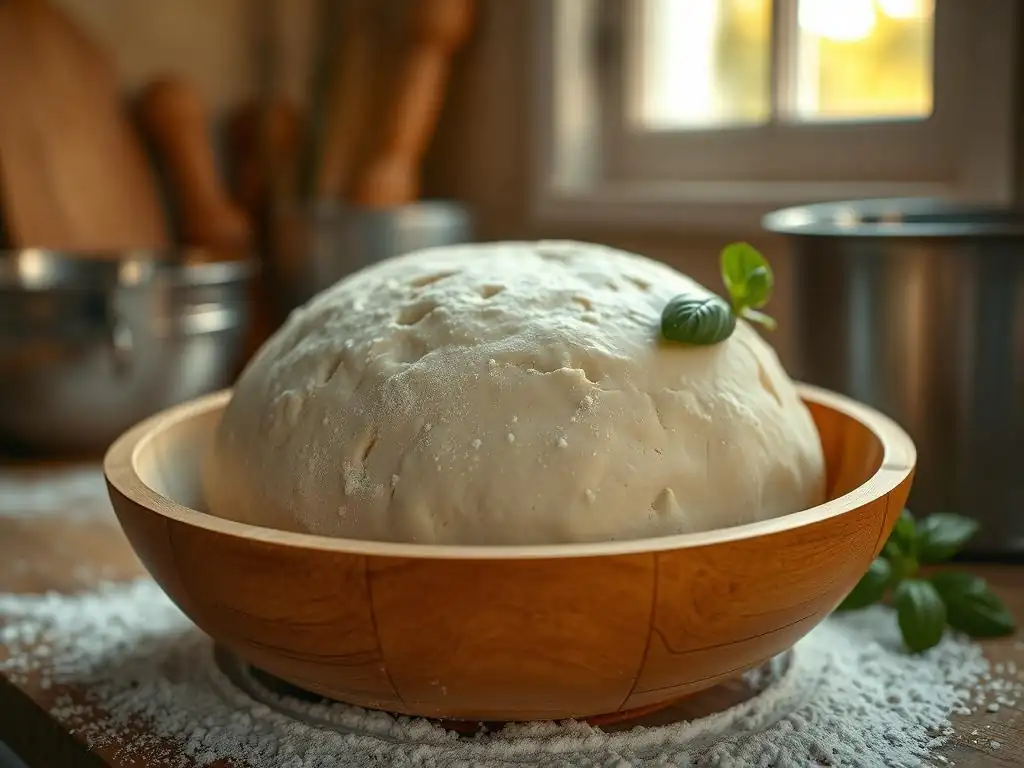
Kneading the Dough
Begin by mixing your ingredients – flour, water, yeast, salt, and maybe a little oil – until a shaggy dough forms. Then, knead the dough, either by hand or with a stand mixer fitted with a dough hook, until it is smooth, elastic, and passes the windowpane test. This typically takes 8-10 minutes in a mixer or 10-15 minutes by hand, depending on the flour and hydration level.
Once kneading is complete, the dough will feel tight and elastic. This is the gluten network being fully developed. Resist the urge to start shaping immediately. The crucial next step is to allow this tight structure to relax by resting pizza dough properly.
First Rest: Bulk Fermentation
Place the kneaded dough in a lightly oiled bowl, turning it to coat the surface. Cover the bowl tightly with plastic wrap or a damp cloth to prevent a skin from forming. This is the bulk fermentation stage. You can rest it at room temperature for 1-2 hours until it has visibly increased in size (perhaps 50-75%), or for a longer cold fermentation in the refrigerator for 24-72 hours (it will rise more slowly in the cold).
The duration depends on your desired flavor development and schedule. For a quick pizza night, a shorter room temperature rest works. For a more complex flavor, cold fermentation is recommended. Resting pizza dough properly during bulk fermentation allows the entire mass to relax and begin developing flavor.
Dividing and Shaping: Preparing for the Second Rest
After the bulk rest, gently turn the dough out onto a lightly floured surface. If cold fermenting, allow the dough to sit at room temperature for 30-60 minutes first to make it easier to handle. Divide the dough into portions depending on the size of pizzas you want to make (e.g., approximately 250-300g for a 12-inch pizza).
Shape each portion into a tight ball. The goal is to create surface tension while tucking the seams underneath. This shaping process tightens the gluten again, though less intensely than kneading. Preparing these balls correctly is vital before the final stage of resting pizza dough properly.
Second Rest: Ball Fermentation
Place the shaped dough balls on a lightly floured tray or in individual containers. Ensure they are spaced apart so they don't stick together as they relax and potentially expand slightly. Cover them loosely with plastic wrap or place the tray in a large plastic bag to maintain humidity.
This second rest, or ball fermentation, is crucial for allowing the individual balls to relax and become pliable for stretching. It's typically done at room temperature for 30-90 minutes, or until the balls feel soft and easy to press gently without springing back immediately. If cold fermenting, you might transfer the balls directly to the fridge after shaping and then take them out 1-2 hours before you plan to stretch them. This final resting pizza dough stage ensures easy shaping.
Tips for Perfecting Your Pizza Dough Resting Technique
Temperature Control: Finding the Sweet Spot
Temperature is a major factor influencing resting time. Warmer temperatures (like 75°F/24°C) speed up yeast activity and gluten relaxation, requiring shorter rest periods. Cooler temperatures (like 40°F/4°C in the fridge) slow everything down significantly, allowing for much longer rests and greater flavor development.
Be mindful of your kitchen's temperature. If it's warm, your dough will rest faster. If it's cool, it will take longer. For consistent results when resting pizza dough properly, aim for a stable temperature or adjust resting times accordingly. Using a probe thermometer to check dough temperature can be helpful for precision.
Humidity Considerations for Resting Dough
Keeping the dough from drying out during resting is essential. If the surface of the dough forms a dry skin, it will inhibit proper expansion and can lead to a tougher crust. Always cover your dough tightly with plastic wrap, place it in a sealed container, or use a damp cloth over the bowl.
When cold fermenting in the refrigerator, using airtight containers is highly recommended to prevent the dough from drying out in the low-humidity environment of the fridge. Maintaining adequate humidity ensures the surface remains pliable, allowing for even rising and better stretching after resting pizza dough properly.
Adjusting Resting Time Based on Dough Hydration
The hydration level (ratio of water to flour) of your dough also impacts resting time. Higher hydration doughs (those with a greater percentage of water, say 65-70%+) tend to relax more quickly because there's more water to facilitate enzymatic activity and protein movement.
Lower hydration doughs (like 55-60%) are stiffer and may require slightly longer resting periods to achieve the same level of relaxation. Pay attention to how your specific dough feels after resting – it should be noticeably softer and more pliable than after kneading. Learning to read your dough and adjusting resting pizza dough time based on its feel is key to becoming a master baker.
Mastering the Art of Pizza Dough: It's All About the Rest
Elevate Your Homemade Pizza with Proper Dough Resting
Understanding and implementing proper dough resting techniques is perhaps the single most impactful step you can take to improve your homemade pizza. It transforms dough from a challenging, unyielding mass into a dream to work with, resulting in a crust that is not just a vehicle for toppings but a delicious component in itself.
From achieving that perfect balance of chewiness and crispness to developing deep, complex flavors, resting pizza dough properly is the secret weapon of great pizzaiolos. It requires patience, but the payoff in terms of texture, flavor, and ease of handling is immense. Make resting a non-negotiable part of your pizza-making routine.
Recommendations for Pizza Perfection
- Always cover your dough securely during resting to prevent drying.
- Consider cold fermentation for superior flavor if you have the time.
- Learn to judge dough readiness by feel – it should be relaxed and pliable.
- Don't skip the second rest after shaping individual balls.
- Adjust resting times based on your room temperature and dough hydration.
By paying attention to these details and giving your dough the rest it deserves, you'll be well on your way to making truly exceptional pizza at home. Resting pizza dough properly is the foundation for a fantastic crust.
Frequently Asked Questions
Why is resting pizza dough necessary after kneading?
Resting allows the gluten to relax, making the dough easier to stretch and shape. It also allows the yeast to continue working, developing flavor.
How long should I rest my pizza dough?
The ideal resting time varies, but generally, a minimum of 30 minutes and up to 24 hours in the refrigerator is recommended for optimal results.
What happens if I don't rest my pizza dough?
Without resting, the dough will be tough and difficult to stretch, potentially tearing easily. The final pizza may also be less flavorful.
Can I rest pizza dough at room temperature or in the refrigerator?
Both are acceptable. Room temperature resting is faster, while refrigerated resting (cold fermentation) develops a deeper, more complex flavor.
How do I prepare the dough for resting?
After kneading, form the dough into a ball, lightly oil it, and place it in a covered bowl or container to prevent it from drying out during the resting period.
Final Reflection: The Unexpected Power of Patience in Pizza Making
The seemingly simple act of resting pizza dough is, in reality, the cornerstone of achieving a truly exceptional pizza. Ignoring this crucial step results in a tough, chewy crust, far removed from the airy, light texture we all crave. This isn't just about following a recipe; it's about understanding the fundamental science behind creating the perfect pie.
The impact of proper dough resting extends far beyond the realm of culinary expertise. It's a microcosm of patience and process, mirroring the way we approach many aspects of life. We often rush through tasks, seeking immediate gratification, overlooking the subtle nuances that contribute to lasting success. Slow is smooth, smooth is fast,
a common saying in many fields, perfectly encapsulates the importance of allowing time for the natural processes to unfold. This principle applies not only to pizza dough but also to personal growth, project management, and even relationships.
Consider this your invitation to embrace the power of patience. The next time you're preparing pizza dough, or facing any challenging endeavor, remember the lesson of the resting dough. Don't rush the process. Allow time for the ingredients to meld, for the flavors to develop, for the structure to strengthen. The rewards, both in the deliciousness of your pizza and in the satisfaction of a job well done, will far outweigh the wait. You'll discover that sometimes, the most impactful results come from simply allowing things to rest.
Unleash Your Inner Pizzaiolo: Craft the Perfect Crust!
Thanks for taking the time to learn about the crucial role of dough resting! You're now equipped to make pizza dough that's light, airy, and bursting with flavor. Ready to put your new knowledge into practice?
- Bake the best pizza of your life: Try our resting method tonight – you’ll be amazed by the difference!
- Share your pizza-making journey: Tag us on social media with your creations! We'd love to see your delicious results.
- Explore our other baking secrets: Dive into our recipe archive for more tips and tricks to elevate your baking game!
What unexpected flavor combination will you try on your perfectly rested pizza dough? Let us know in the comments!