
Master Classic Pizza Dough: Easy Recipe & Essential Tips

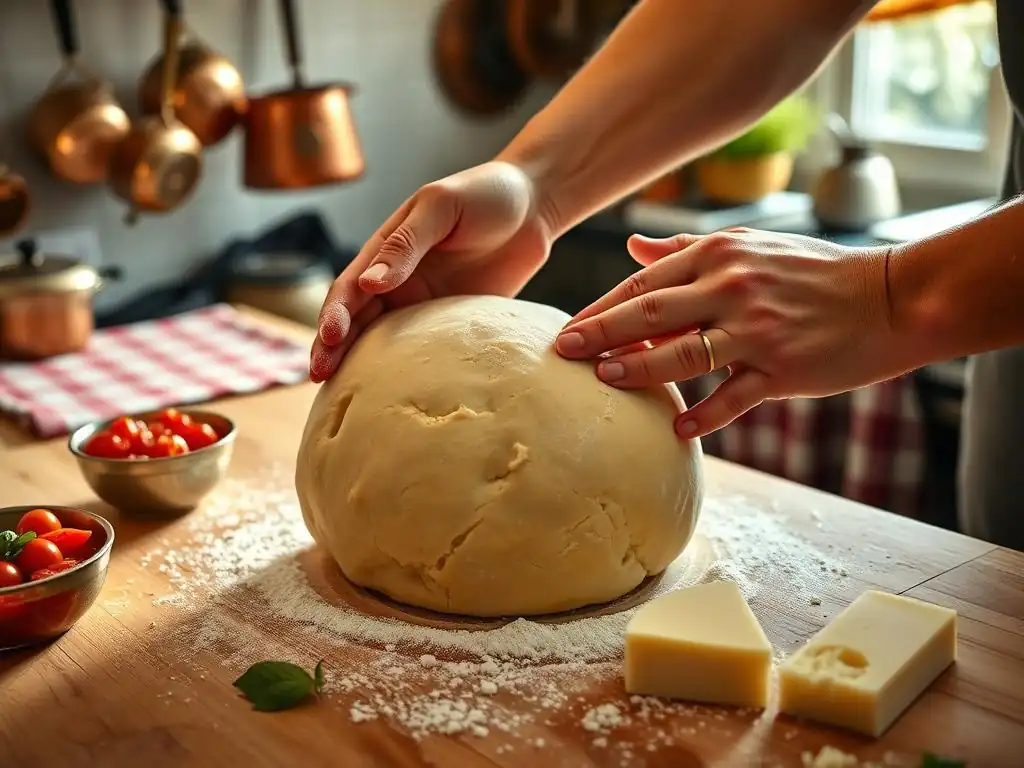
Welcome to BakeWithEase, your trusted guide to baking bliss! Ever dreamt of crafting the perfect pizza at home? Discover the secrets in our article below with an easy classic pizza dough recipe, designed to empower even novice bakers. Ready to unlock the delightful aroma and satisfying taste of homemade pizza? Let's get started...
- Neapolitan Pizza Dough: Authentic Recipe & Expert Tips - Pizza Perfection
- Introduction to Authentic Neapolitan Pizza Dough
- The Ultimate Authentic Neapolitan Pizza Dough Recipe
- Essential Tips for Neapolitan Pizza Dough Success
- Pizza Dough Variations and Adaptations
- Storing and Proofing Your Homemade Pizza Dough
- Baking Your Pizza: From Dough to Deliciousness
- Conclusion: Enjoying Your Homemade Pizza
-
Frequently Asked Questions
- How long does it take to make the easy classic pizza dough recipe from BakeWithEase?
- What makes the easy classic pizza dough recipe on BakeWithEase different from other dough recipes?
- Can I use a stand mixer for the easy classic pizza dough recipe, or is it best to knead by hand?
- What kind of flour is recommended for the easy classic pizza dough recipe on BakeWithEase?
- How should I store leftover pizza dough made using the easy classic pizza dough recipe?
- Final Reflection: The Timeless Allure of Homemade Pizza
- Unleash Your Inner Pizzaiolo!
Neapolitan Pizza Dough: Authentic Recipe & Expert Tips - Pizza Perfection
Introduction to Authentic Neapolitan Pizza Dough
Why Make Your Own Neapolitan Pizza Dough? The Taste of Tradition
Crafting your own Neapolitan pizza dough from scratch is a deeply rewarding culinary journey. It's more than just mixing ingredients; it's about connecting with a centuries-old tradition that originated in Naples, Italy.
The simplicity of an authentic Neapolitan dough recipe – just flour, water, yeast, and salt – belies the incredible depth of flavor and texture it can achieve with proper technique. Making your own allows you complete control over the quality of ingredients and the fermentation process, resulting in a dough that is light, airy, and develops that signature slightly tangy flavor and leopard-spotted crust when baked at high temperatures.
Beyond the superior taste compared to store-bought alternatives, there's immense satisfaction in transforming basic pantry staples into the foundation of a delicious meal. Mastering an easy classic pizza dough recipe is a fundamental skill for any home baker or pizza enthusiast. It opens the door to countless pizza creations, all built upon your perfectly crafted base.
The process itself can be therapeutic, a mindful activity of kneading and waiting as the dough develops. Plus, serving homemade pizza made with your own easy classic pizza dough recipe is a fantastic way to share your passion and skills with family and friends, creating memorable dining experiences right in your own kitchen.
Pizza Perfection's Guide to Perfect Pizza Dough
Welcome to BakeWithEase's comprehensive guide to achieving pizza perfection starting with the dough. We believe that a truly great pizza begins with a foundation that is both simple in ingredients and extraordinary in result. This guide walks you through the process of making authentic Neapolitan pizza dough, often considered the gold standard. We'll cover everything from selecting the right ingredients and following a step-by-step recipe to troubleshooting common issues and exploring variations.
Our aim is to demystify the process, making this classic pizza dough recipe accessible to bakers of all levels. Whether you're just starting your pizza-making journey or looking to refine your technique, you'll find valuable tips and insights here. We'll delve into the science behind dough development, the importance of fermentation, and how small adjustments can make a big difference in the final outcome of your easy classic pizza dough recipe. Get ready to elevate your homemade pizza game and impress yourself and others with truly authentic results.
The Ultimate Authentic Neapolitan Pizza Dough Recipe
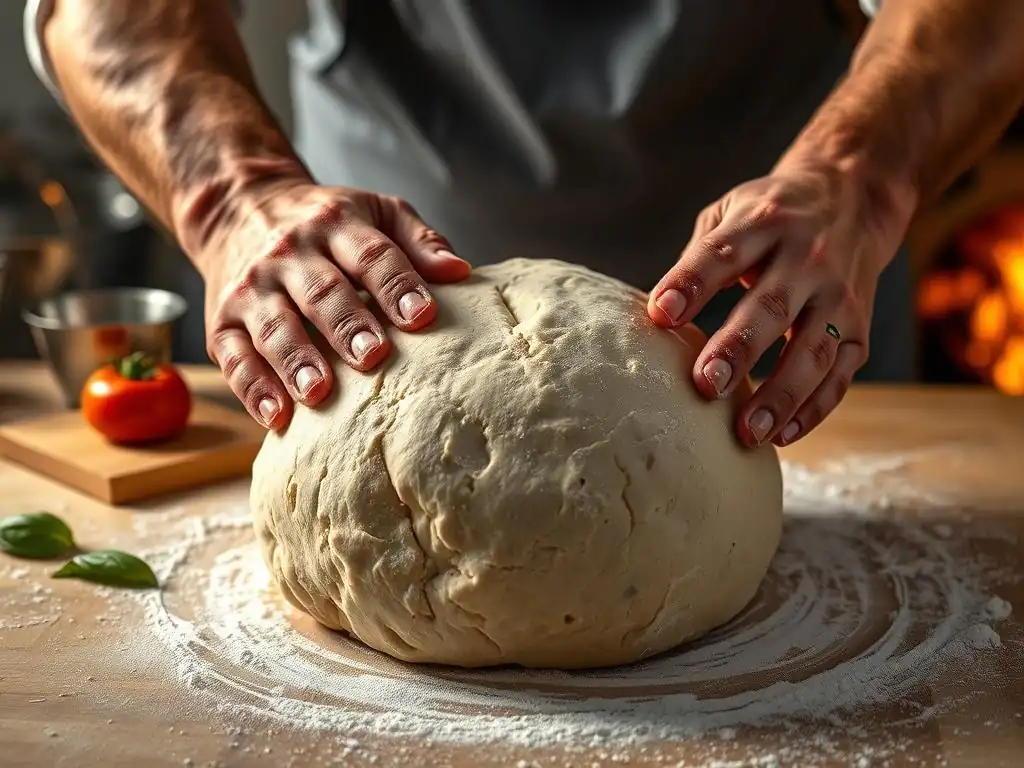
Ingredients for Authentic Neapolitan Pizza Dough
The magic of Neapolitan pizza dough lies in its simplicity. Only four core ingredients are traditionally used, each playing a crucial role in developing flavor, structure, and texture. The quality of these ingredients is paramount, as they are few, and their individual characteristics shine through in the final baked crust. Using the right type of flour, precise water temperature, active yeast, and good quality salt are foundational steps towards an authentic result.
Understanding the function of each component helps in mastering the process. For instance, the type of flour dictates how much water it can absorb and how gluten develops. Water temperature affects yeast activity. Yeast provides the lift and contributes to flavor development during fermentation. Salt controls yeast activity, strengthens gluten, and enhances taste. Getting these basics right is the first step to an excellent easy classic pizza dough recipe.
00 Flour: The Foundation of Authentic Neapolitan Pizza
Authentic Neapolitan pizza dough traditionally uses "Tipo 00" flour, a finely milled Italian flour with a relatively low protein content (typically around 10-12%). This low protein level, combined with the fine milling, results in a dough that is elastic and easy to stretch very thinly without tearing. When baked at high temperatures, 00 flour yields a crust that is light, airy, and develops those characteristic puffy edges (cornicione) with beautiful leopard spotting. While other flours can be used, 00 flour is key to achieving the specific texture and structure of true Neapolitan pizza.
Using 00 flour is essential for replicating the delicate structure needed for baking pizzas quickly at extremely high temperatures, as is traditional in Naples. The gluten structure it forms is strong enough to hold the air created by fermentation but tender enough to result in a soft, chewy crumb. Look for brands specifically labeled for pizza or bread making. If 00 flour is unavailable, a high-quality bread flour (around 12-13% protein) can be used as a substitute, though it may require slight adjustments in hydration and result in a slightly chewier crust.
Water: Temperature Matters for Neapolitan Pizza Dough
Water is not just a hydration agent; its temperature significantly impacts the activity of the yeast and, consequently, the fermentation rate of your easy classic pizza dough recipe. For Neapolitan dough, cool to lukewarm water is generally preferred, typically between 60-70°F (15-21°C). Cooler water slows down yeast activity, allowing for a longer fermentation period, which is crucial for developing complex flavors in the dough. Warmer water accelerates yeast activity, useful for faster proofs, but can sometimes lead to less flavor development.
The amount of water used relative to the flour is known as hydration. Traditional Neapolitan pizza dough typically has a hydration level between 55% and 65% (meaning 55g to 65g of water per 100g of flour). Higher hydration makes the dough stickier but results in a more open, airy crumb. Lower hydration makes the dough easier to handle but can result in a denser crust. The ideal temperature and hydration can vary slightly depending on the ambient room temperature and the specific flour used, so paying attention to the dough's feel is important.
Fresh Yeast: Activating Your Neapolitan Pizza Dough Starter
Fresh yeast (also known as compressed yeast or cake yeast) is often preferred for authentic Neapolitan pizza dough due to its consistent performance and the subtle flavor it imparts. It is typically sold in small blocks and needs to be stored in the refrigerator. Unlike active dry yeast, fresh yeast does not require initial proofing in water with sugar, though dissolving it in the recipe's water before adding flour helps distribute it evenly. A small amount of fresh yeast goes a long way, especially in recipes calling for a long fermentation.
The quantity of yeast needed depends heavily on the fermentation time and temperature. For a long, slow fermentation (24+ hours, especially in the fridge), a very small amount is used, perhaps as little as 0.1% of the flour weight. For a faster room-temperature proof (4-8 hours), the yeast percentage would be higher, maybe 0.5% to 1%.
If using active dry yeast, you'll typically use about half the amount of fresh yeast, and it should be proofed in warm water (around 105-115°F or 40-46°C) for 5-10 minutes until foamy before adding to the flour. Instant dry yeast can often be mixed directly with the flour, using slightly less than active dry yeast.
Sea Salt: Enhancing the Flavor of Homemade Neapolitan Pizza
Salt is a critical, yet often underestimated, ingredient in any bread or pizza dough. It doesn't just add flavor to your easy classic pizza dough recipe; it plays a vital role in the dough's structure and fermentation. Salt strengthens the gluten network, making the dough more elastic and easier to handle and stretch. It also controls yeast activity, slowing down fermentation slightly, which helps in developing better flavor and preventing the dough from rising too quickly.
For authentic Neapolitan pizza, fine sea salt is typically used. Its mineral content can contribute subtly to the flavor. The standard ratio of salt in Neapolitan dough is usually around 2% to 3% of the flour weight. Adding salt too early to the yeast can inhibit its activity, which is why it's often dissolved in the water before the yeast or mixed into the dough after the initial incorporation of flour and water. Ensure the salt is fully dissolved to distribute evenly throughout the dough.
Step-by-Step Instructions for Neapolitan Pizza Dough
Making Neapolitan pizza dough follows a simple, yet precise, sequence of steps designed to develop gluten and allow for proper fermentation. While variations exist, the core process involves combining ingredients, kneading briefly, and allowing ample time for the dough to rest and rise. This easy classic pizza dough recipe focuses on traditional methods adapted for the home kitchen.
Patience is key when making this type of dough. The magic happens during the long fermentation, not just the mixing and kneading. Follow these steps carefully, paying attention to the dough's feel, and you'll be well on your way to a perfect pizza crust.
Step 1: Dissolving the Salt in Water
Begin by measuring the cool water (60-70°F or 15-21°C) into a large mixing bowl or the bowl of a stand mixer. Add the measured fine sea salt to the water. Stir gently until the salt is completely dissolved. This ensures even distribution of salt throughout the dough and prevents it from directly contacting the yeast in high concentration initially, which could inhibit yeast activity. Using cool water helps control the dough temperature, especially if using a stand mixer which can generate heat during kneading.
Once the salt is dissolved, if using fresh yeast, crumble it into the salted water and stir gently to disperse. If using active dry yeast, this is where you would have proofed it in a separate small amount of warm water first, then add that mixture to the main volume of cool water. If using instant dry yeast, you can skip adding it here and mix it directly with the flour in the next step, although some prefer to disperse it in the water as well.
Step 2: Combining Flour and Water Gradually
Measure the 00 flour precisely. Gradually add about 80-90% of the measured flour to the water/salt/yeast mixture in the bowl. If using a stand mixer with a dough hook, start mixing on low speed. If mixing by hand, use a spoon or spatula to initially combine the ingredients into a rough mass. The mixture will look shaggy and wet at this stage.
Continue mixing, gradually adding the remaining flour until a coherent dough mass forms and pulls away from the sides of the bowl (if using a mixer) or becomes too stiff to stir (if by hand). The goal is to hydrate the flour evenly without overmixing at this initial stage. The dough should still be relatively sticky.
Step 3: Kneading the Dough Briefly
Turn the shaggy dough out onto a clean, lightly floured surface. Knead the dough gently for about 5-10 minutes by hand, or 5-7 minutes in a stand mixer on low speed. The goal is to develop some initial gluten structure, making the dough smoother and more elastic. Avoid adding too much extra flour during kneading; a slightly sticky dough is desirable for Neapolitan style.
The dough should become smoother and more cohesive, passing the "windowpane test" is not strictly necessary at this stage, as much of the gluten development will occur during the long fermentation. Focus on incorporating the ingredients fully and achieving a relatively smooth surface. Over-kneading initially can make the dough tough.
Step 4: The Bulk Fermentation: Developing Flavor and Texture
Place the briefly kneaded dough ball into a clean, lightly oiled container large enough to allow it to double or triple in size. Cover the container tightly with a lid or plastic wrap to prevent drying. This stage, known as bulk fermentation or the first rise, is crucial for flavor development and creating air pockets. For authentic Neapolitan style, a long, slow fermentation is preferred.
A common method is to ferment the dough at room temperature for 1-2 hours, followed by a cold fermentation in the refrigerator for 24 to 72 hours (or even longer). During cold fermentation, enzymes break down starches into sugars, feeding the yeast slowly and creating complex flavors. Alternatively, for a faster process, the dough can ferment at room temperature for 4-8 hours, depending on the yeast quantity and temperature, until it has roughly doubled. Perform a "stretch and fold" or two during the first hour or two of room temperature fermentation to help build structure.
Step 5: Balling the Dough for Individual Pizzas
After the bulk fermentation (especially cold fermentation), turn the dough out gently onto a lightly floured surface. Avoid degassing the dough too much. Divide the dough into equal portions for individual pizzas (typically 200-280g per ball for a 10-12 inch pizza). Shape each portion into a tight ball by gently tucking the edges underneath the dough or by using the surface tension to round it.
Place the dough balls onto a lightly floured or oiled tray, ensuring they have space to expand without touching. Cover the tray loosely with plastic wrap or place it inside a large plastic bag to maintain humidity. Allow the dough balls to proof at room temperature for 2-4 hours before baking. This final proofing allows the dough to relax and become easy to stretch. If cold fermenting, take the dough balls out of the fridge and ball them, then let them proof at room temperature for 2-4 hours until puffy and relaxed.
Essential Tips for Neapolitan Pizza Dough Success
Achieving the Perfect Dough Hydration
Hydration, the ratio of water to flour by weight, is a critical factor in the texture of your Neapolitan pizza dough. As mentioned, traditional recipes often fall between 55% and 65% hydration using 00 flour. A hydration of around 58-62% is a good starting point for an easy classic pizza dough recipe, offering a balance between manageability and an airy crust.
Higher hydration (closer to 65%) will result in a stickier dough that's harder to handle but yields a more open, lighter crumb with larger air bubbles. Lower hydration (closer to 55%) makes the dough easier to work with, especially for beginners, but may result in a slightly denser crust.
The ideal hydration can also depend on the specific brand of 00 flour used, as flours absorb water differently. The ambient humidity and temperature of your kitchen can also play a role. Pay attention to the feel of the dough during mixing and kneading.
If it feels too stiff and dry, you can carefully add a tiny bit more water (a teaspoon at a time). If it's excessively sticky and won't come together, you might need to add a very small amount of flour, but try to avoid adding large quantities which will change the overall ratio. Practice helps you learn how the dough should feel.
Troubleshooting Common Neapolitan Pizza Dough Problems
Even with an easy classic pizza dough recipe, you might encounter issues. Understanding why problems occur is the first step to fixing them. Common issues include dough that is difficult to stretch, tears easily, or doesn't rise properly. These are often related to gluten development, fermentation time, or temperature. Don't be discouraged if your first attempt isn't perfect; baking is a learning process.
Keeping a baking journal can be helpful. Note the exact measurements used, water temperature, room temperature, fermentation times, and how the dough felt at each stage. This allows you to identify what might have gone wrong and make adjustments for your next batch. Patience and observation are your best tools in troubleshooting.
Dough Tearing Easily? Solutions for Elasticity
If your Neapolitan pizza dough tears easily when you try to stretch it, it's often a sign of insufficient gluten development or that the dough hasn't had enough time to relax. Gluten needs time to form a strong, elastic network that can withstand stretching. If you didn't knead enough initially, or if the bulk fermentation was too short, the gluten structure might be weak. Another reason could be that the dough is too cold or hasn't proofed long enough after balling; cold, tight dough is prone to tearing.
To remedy this, allow the dough to rest longer. If it tears during initial stretching, gently lay it back down, cover it, and let it rest for 10-20 minutes. This allows the gluten to relax, making it more pliable. Ensure your bulk fermentation and final proofing times are adequate. If you suspect under-kneading, you can try incorporating a few gentle stretch-and-fold maneuvers during the first hour of bulk fermentation to help build strength.
Dough Not Stretching? Understanding Gluten Development
Dough that snaps back or refuses to stretch is typically too tight. This can happen if the gluten is highly developed but hasn't relaxed yet, or if the dough is too cold. Over-kneading can sometimes create a very tight gluten structure that needs significant rest to become pliable. Insufficient proofing time after balling can also result in dough that is difficult to stretch because the gluten hasn't had a chance to fully relax.
Ensure your dough has proofed at room temperature for the recommended time (usually 2-4 hours after balling, or longer if coming from cold ferment). The dough should feel soft, airy, and easily yield to a gentle poke. If it springs back immediately, it needs more time to rest. If the dough is cold from refrigeration, allow ample time (at least 2-3 hours) for it to come to room temperature before attempting to stretch it. Warm dough is much more pliable than cold dough.
Flavor Enhancements for Your Pizza Dough
While a simple Neapolitan dough is delicious on its own, certain techniques can significantly enhance its flavor profile. The magic often lies in the fermentation process, particularly allowing the dough to develop slowly over time. The quality of your toppings also plays a crucial role in the overall taste experience, complementing the flavor of the dough.
Thinking about the dough as the foundation of your pizza helps appreciate how its flavor contributes to the whole. A well-developed dough will have subtle complexities that elevate even the simplest toppings.
Long Fermentation for Deeper Flavor
The most significant factor in developing complex flavors in Neapolitan pizza dough is long fermentation, especially cold fermentation in the refrigerator. During this extended period (typically 24 to 72 hours, or even up to 5 days), yeast and naturally occurring enzymes in the flour work slowly. Enzymes break down complex carbohydrates into simpler sugars, which yeast then consumes, producing alcohol and other flavorful compounds as byproducts.
This slow process results in a dough with a more nuanced, slightly tangy flavor compared to a dough proofed quickly at room temperature. Cold fermentation also changes the dough's texture, making it easier to handle and stretch thinly without tearing. The extended rest allows the gluten structure to strengthen and relax simultaneously, contributing to a light, airy crust with a satisfying chew.
Using High-Quality Tomatoes and Mozzarella
While this guide focuses on the dough, the quality of your toppings is paramount to achieving an authentic Neapolitan pizza experience. The classic Margherita pizza, for instance, relies on just a few ingredients: San Marzano tomatoes, fior di latte (fresh mozzarella made from cow's milk) or mozzarella di bufala (from water buffalo milk), fresh basil, and olive oil. Using the best possible versions of these ingredients is essential because their flavors are so prominent.
San Marzano tomatoes, grown in the volcanic soil around Mount Vesuvius, are prized for their sweet, less acidic taste. Using whole peeled San Marzanos, crushed by hand or lightly pulsed, provides a fresh, vibrant sauce. High-quality fresh mozzarella melts beautifully and adds a creamy texture. These simple, high-quality toppings allow the flavor and texture of your perfectly crafted easy classic pizza dough recipe to truly shine through.
Pizza Dough Variations and Adaptations
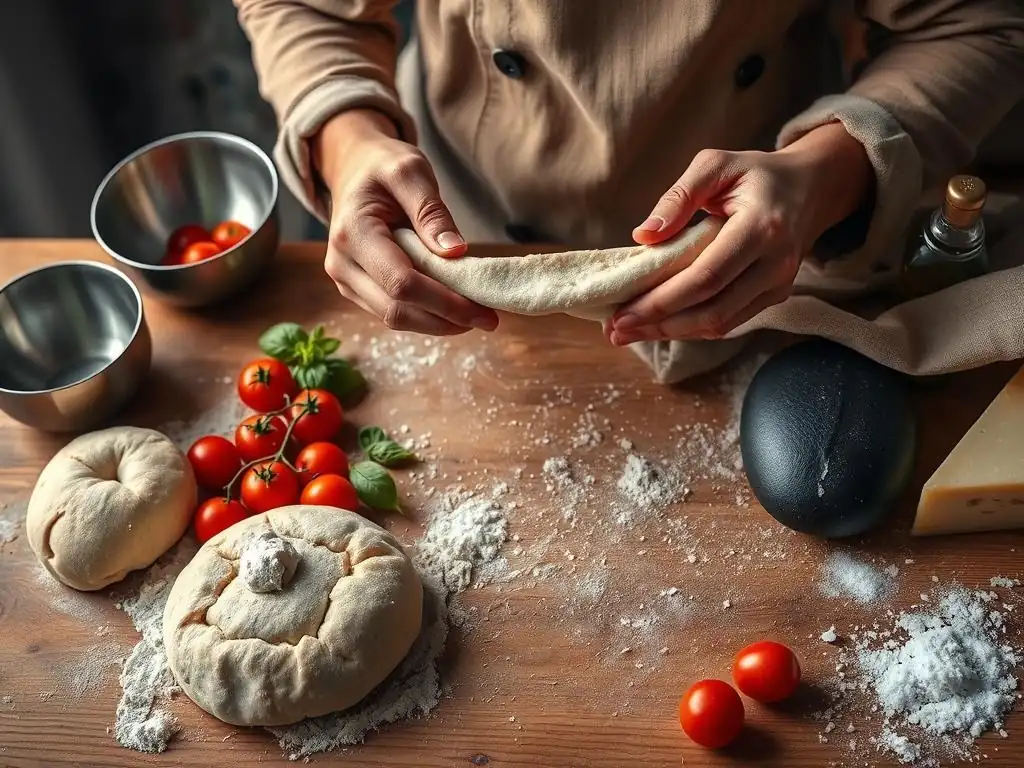
Once you've mastered the basic authentic Neapolitan pizza dough, you can explore variations by altering hydration levels, incorporating different leavening agents, or adding other types of flour. These adaptations allow you to customize the dough to your preference or explore different crust characteristics while still benefiting from the fundamental techniques learned.
Experimenting with these variations can broaden your understanding of dough dynamics and open up a world of different pizza styles. Whether you prefer a slightly easier-to-handle dough or are looking for added complexity, there's a variation to try.
Lower Hydration Neapolitan Pizza Dough Recipe
A lower hydration Neapolitan pizza dough recipe typically uses around 50-55% water relative to the flour weight. This results in a stiffer, less sticky dough that is considerably easier for beginners to handle, shape, and launch onto a hot pizza stone or steel. While it might produce a slightly less airy crust compared to higher hydration doughs, it still yields a delicious pizza with a good chew, especially when baked at high temperatures.
To adapt the basic recipe, simply reduce the amount of water used while keeping the flour, yeast, and salt ratios the same relative to the flour weight. For example, for 500g of flour, instead of 300g of water (60% hydration), you would use 250-275g of water (50-55% hydration). The mixing and kneading process will be similar, but you'll notice the dough comes together faster and is less prone to sticking to your hands or the work surface. Fermentation times remain similar to the basic recipe.
Sourdough Neapolitan Pizza Dough Recipe
For bakers interested in sourdough, converting a classic pizza dough recipe to use a sourdough starter instead of commercial yeast adds a wonderful depth of flavor and a unique tang. Sourdough fermentation also contributes to a beautifully airy and complex crumb structure. The process is similar to using commercial yeast but relies on the natural yeasts and bacteria present in a mature sourdough starter.
To make sourdough Neapolitan dough, you replace the commercial yeast and some of the flour and water with an active sourdough starter (typically at its peak activity, 4-8 hours after feeding). A common ratio is to use 20-30% active starter by weight of the total flour. The fermentation times will generally be longer than with commercial yeast, often requiring an initial bulk fermentation of several hours at room temperature followed by a long cold ferment in the refrigerator (24-72+ hours) before balling and final proofing. The exact timing will depend on the strength of your starter and ambient temperature.
Whole Wheat Neapolitan Pizza Dough Options
Incorporating whole wheat flour into your pizza dough adds nutritional value, a nuttier flavor, and a different texture. While 100% whole wheat is not traditional for Neapolitan pizza (which relies on the delicate structure of 00 flour), you can substitute a portion of the 00 flour with whole wheat flour. Starting with a blend, such as 80% 00 flour and 20% whole wheat flour, is a good way to introduce whole wheat without drastically changing the dough's characteristics.
Whole wheat flour absorbs more water than white flour due to the presence of the bran and germ. Therefore, when substituting, you will likely need to increase the overall hydration of your easy classic pizza dough recipe slightly to achieve a similar dough consistency. The bran and germ can also interfere with gluten development, so the dough might require slightly more gentle handling and potentially a longer rest period to become pliable. The resulting crust will be denser and chewier than a pure 00 flour dough but offers a pleasant, rustic flavor.
Storing and Proofing Your Homemade Pizza Dough
Proper storage and proofing are crucial steps in the pizza dough process, influencing both the flavor development and the dough's readiness for baking. Whether you plan to use the dough the same day or several days later, managing its fermentation and proofing ensures optimal results.
Understanding the difference between bulk fermentation, cold fermentation, and final proofing helps you control the process and have perfectly proofed dough balls ready when you want to bake.
Best Practices for Cold Fermenting Pizza Dough
Cold fermentation in the refrigerator is highly recommended for Neapolitan pizza dough (and any easy classic pizza dough recipe) as it significantly enhances flavor and improves dough handling. After the initial mixing and a short room temperature rest (or immediate refrigeration after mixing), place the dough in a lightly oiled, airtight container. Ensure the container is large enough to accommodate the dough expanding by at least double, ideally triple, in size.
Refrigerate the dough at a consistent temperature, ideally between 35-40°F (1-4°C). The cold temperature dramatically slows down yeast activity, allowing beneficial enzymatic activity to break down starches and proteins over an extended period (24-72+ hours). This slow process develops complex flavors and aromas not achievable with quick fermentation. Cold dough is also easier to handle and shape when it's time to divide and ball it.
Proofing Pizza Dough at Room Temperature
Room temperature proofing is used either for the entire fermentation process (a faster method) or as the final stage after cold fermentation. If proofing solely at room temperature, the dough typically takes 4-8 hours to double in size, depending on the amount of yeast used and the ambient temperature (around 70-75°F or 21-24°C is ideal). Once doubled, it can be divided, balled, and proofed for another 1-2 hours before baking.
If using cold fermentation, you will remove the dough from the refrigerator, divide and ball it while it's still cold, and then allow the individual dough balls to proof at room temperature. This final proofing stage, lasting typically 2-4 hours, allows the dough to warm up, relax, and become soft and airy, making it easy to stretch without tearing. The dough balls should look visibly puffy and when gently poked, the indentation should slowly spring back.
Baking Your Pizza: From Dough to Deliciousness
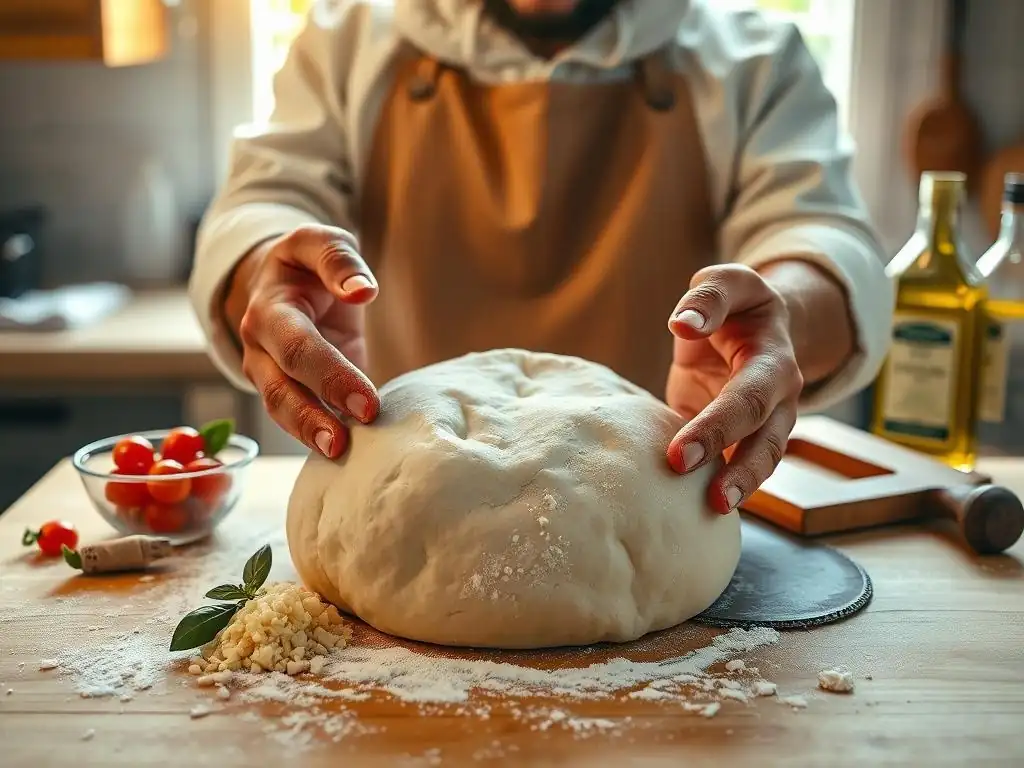
The final step in your pizza-making journey is transforming your perfectly proofed dough into a delicious pizza. Achieving the signature Neapolitan crust requires high heat and a suitable baking surface to transfer that heat efficiently to the dough.
Getting the baking conditions right is just as important as perfecting your easy classic pizza dough recipe. High temperatures create a rapid rise, resulting in a light and airy crust with a beautiful char.
Preparing Your Pizza Baking Surface
Authentic Neapolitan pizza is traditionally baked in wood-fired ovens reaching temperatures of 800-900°F (425-480°C). While most home ovens can't reach these temperatures, you can simulate similar conditions using a pizza steel or pizza stone. Place the steel or stone on the top rack of your oven, closest to the broiler element.
Preheat your oven to its highest possible temperature, typically 500-550°F (260-290°C), with the pizza steel or stone inside for at least one hour. This allows the steel or stone to absorb maximum heat, which will be rapidly transferred to the dough's base when the pizza is placed on it, resulting in a crispy bottom crust and rapid oven spring.
Baking Temperatures and Times for Perfect Neapolitan Pizza
The key to a proper Neapolitan crust is very high heat and a short baking time. In a wood-fired oven at 800-900°F, a pizza cooks in just 60-90 seconds. In a home oven preheated to 500-550°F with a pizza steel or stone, the baking time will be longer but still relatively fast, typically 5-10 minutes depending on your oven and the desired level of char.
Launch the stretched pizza dough with toppings directly onto the preheated steel or stone using a pizza peel. Keep an eye on the pizza as it bakes. The edges should puff up and develop dark leopard spots, and the bottom crust should be golden brown and crispy. If your oven has a broiler, you can turn it on for the last minute or two of baking to help char the top crust and edges, but watch carefully to prevent burning.
Toppings and Flavor Combinations
With your perfect Neapolitan pizza dough as the base, you can keep it simple with classic toppings or explore other combinations. The most iconic is the Margherita, featuring San Marzano tomato sauce, fresh mozzarella (fior di latte or bufala), fresh basil leaves, a drizzle of olive oil, and sometimes a sprinkle of Parmesan cheese. This combination highlights the quality of the dough and ingredients.
Other classic Neapolitan toppings include Marinara (just tomato sauce, garlic, oregano, and olive oil – no cheese), or simple additions like prosciutto, mushrooms, or olives. The key is not to overload the pizza with too many toppings, as this can weigh down the delicate dough and prevent it from cooking properly at high heat. Simple, high-quality ingredients are the hallmark of authentic Neapolitan pizza.
Conclusion: Enjoying Your Homemade Pizza
The Satisfaction of Baking Authentic Neapolitan Pizza
There is an unparalleled sense of accomplishment in baking a pizza from scratch, especially when you've mastered an easy classic pizza dough recipe like the Neapolitan style. From the simple act of mixing flour and water to seeing the dough transform through fermentation and finally puff up and char in the oven, each step is a testament to the craft of baking. Holding a perfectly baked pizza, knowing you created the foundation yourself, is incredibly rewarding.
This journey into making authentic Neapolitan pizza dough not only yields delicious results but also deepens your appreciation for the traditional methods and the importance of simple, quality ingredients. It's a skill that can be honed over time, with each batch offering new insights and improvements.
Pizza is inherently a communal food, meant to be shared. The best part of mastering your easy classic pizza dough recipe and baking homemade pizza is gathering loved ones to enjoy the fruits of your labor. There's a special warmth and conviviality around a table filled with fresh, hot pizza pulled straight from your oven.
Whether it's a casual weeknight dinner or a weekend pizza party, your homemade creations are sure to be a hit. The effort you put into making the dough from scratch adds a personal touch that store-bought pizza simply can't replicate. So, stretch that dough, add your favorite toppings, bake it with care, and share the joy of authentic homemade pizza perfection with those around you.
Frequently Asked Questions
How long does it take to make the easy classic pizza dough recipe from BakeWithEase?
The recipe typically takes around 2-3 hours, including the necessary rise time. The active preparation time is usually only 15-20 minutes.
What makes the easy classic pizza dough recipe on BakeWithEase different from other dough recipes?
This recipe focuses on simplicity and ease of use with readily available ingredients and clear, step-by-step instructions, making it perfect for beginners.
Can I use a stand mixer for the easy classic pizza dough recipe, or is it best to knead by hand?
Yes, you can use a stand mixer! BakeWithEase provides instructions for both hand kneading and stand mixer methods for maximum flexibility.
What kind of flour is recommended for the easy classic pizza dough recipe on BakeWithEase?
The recipe recommends using bread flour for the best results, as it has a higher protein content which helps to create a chewy and elastic dough.
How should I store leftover pizza dough made using the easy classic pizza dough recipe?
Wrap the dough tightly in plastic wrap or place it in an airtight container and store it in the refrigerator for up to 3 days. You can also freeze it for longer storage.
Final Reflection: The Timeless Allure of Homemade Pizza
The simple act of making pizza dough from scratch connects us to culinary traditions spanning centuries, yet its relevance today remains powerfully vibrant. In a world of fast food and convenience, the ability to craft a delicious, authentic pizza dough at home offers a profound sense of accomplishment and a deeper appreciation for the ingredients we consume. It's a testament to the enduring power of simple pleasures.
The journey from flour and water to a perfectly risen, bubbly dough is more than just a recipe; it's a transformative experience. It's a reminder of the satisfaction derived from creating something with your own hands, a connection to a history rich with culinary innovation. As the great Italian chef, Antonio Carluccio, once said: Cooking is at once child's play and adult joy. And cooking done with care is an act of love.
This sentiment perfectly encapsulates the joy and connection found in mastering the art of pizza dough making. It's a skill that transcends generations, fostering a sense of community and shared experience around the simple, yet universally loved, pizza.
Now, I invite you to roll up your sleeves, gather your ingredients, and embark on your own pizza-making adventure. Don't be intimidated by the process; embrace the journey. The rewards – the aroma of baking dough, the satisfaction of creating something delicious from scratch, and the joy of sharing your creation with loved ones – are immeasurable. Let the simple act of making pizza dough be a reminder of the power of connection, creativity, and the enduring magic of homemade food.
Unleash Your Inner Pizzaiolo!
Thanks for taking the time to explore the world of classic pizza dough with us! We hope you now feel empowered to create delicious, authentic pizzas at home. Ready to transform your kitchen into a pizzeria?
- Bake your masterpiece! Use our recipe to create your own incredible pizza tonight. Experiment with your favorite toppings and share your creations!
- Share your pizza journey! Post a picture of your pizza on social media using #BakeWithEasePizza and tag us – we'd love to see your results!
- Dive deeper into the art of pizza making! Explore our other resources (we have some amazing sauce recipes and topping guides!) on BakeWithEase.com.
What unique topping combination will you try first to perfect your signature pizza?