
Is Your Pizza Dough Too Elastic? How to Relax It

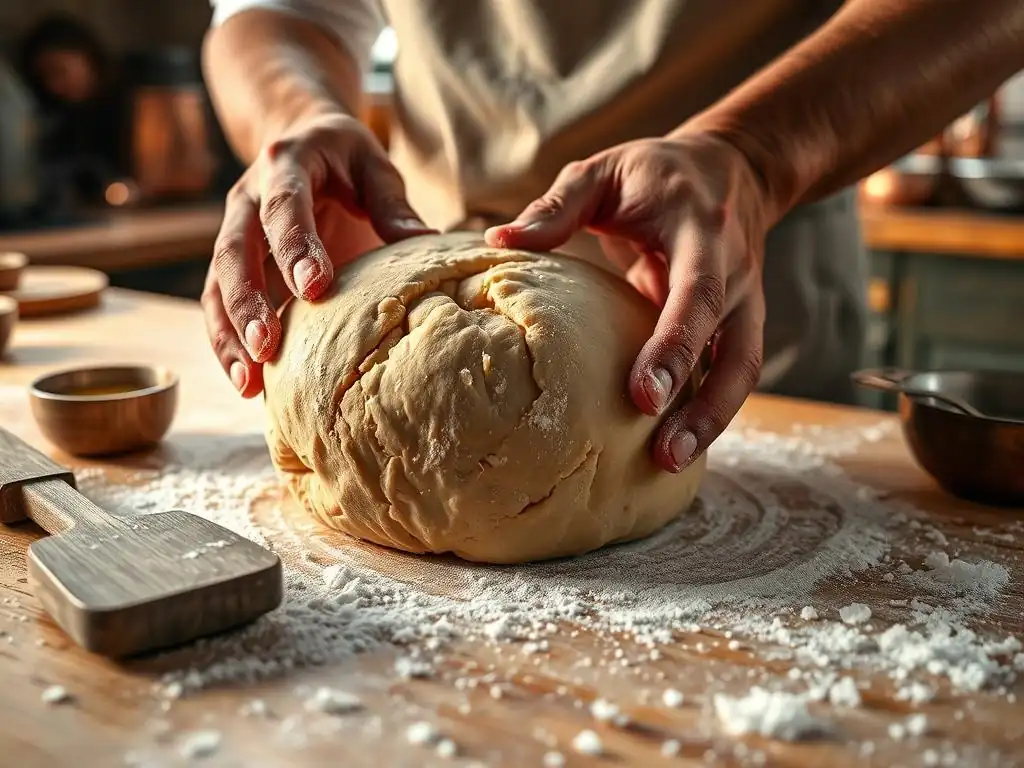
Welcome to BakeWithEase, your kitchen companion for conquering the delicious world of baking! Ever wrestled with pizza dough that snaps back like a rubber band? This article dives deep into the secrets of how to relax pizza dough easily, transforming your baking experience from frustrating to fantastic. Discover the techniques that separate amateur pizzas from professional pies, and unlock the flavorful, tender crust you've always dreamed of. Ready to say goodbye to tough, unruly dough? Let's get baking!
- Is Your Pizza Dough Too Elastic? How to Relax It for Perfect Pizza
- Understanding Pizza Dough Elasticity and Its Impact on Baking
- Techniques to Relax Pizza Dough Easily
- Step-by-Step Guide: Relaxing Pizza Dough That's Too Tight
- Troubleshooting Common Issues with Elastic Pizza Dough
- Best Practices for Handling Pizza Dough for Optimal Relaxation
- Relaxed Pizza Dough: Achieving the Perfect Texture and Taste
- Conclusion: Mastering Pizza Dough Relaxation for BakeWithEase
- Frequently Asked Questions
- Final Reflection: The Unexpected Joys of Relaxed Pizza Dough
- Unleash Your Perfect Pizza Dough!
Is Your Pizza Dough Too Elastic? How to Relax It for Perfect Pizza
Understanding Pizza Dough Elasticity and Its Impact on Baking
What Makes Pizza Dough Elastic? The Science Behind the Stretch
The elasticity in pizza dough primarily comes from gluten, a protein network formed when water is added to flour and kneaded. Flour contains two main proteins, glutenin and gliadin. When these proteins hydrate and are worked through kneading, they link together, creating a complex, stretchy matrix.
This gluten network traps the gases produced by yeast fermentation, allowing the dough to rise and develop its characteristic airy structure when baked. The type of flour used significantly impacts this process; bread flour, for instance, has a higher protein content (typically 12-14%) compared to all-purpose flour (around 10-12%), leading to a stronger, more elastic dough.
Beyond flour type, kneading is the key activator of gluten development. Mechanical action stretches and aligns the gluten strands, making the dough smooth, pliable, and capable of stretching thinly without tearing. However, too much kneading or insufficient rest can result in an overly tight and springy dough. Think of gluten like a rubber band; the more you work it, the tighter and more resistant it becomes to stretching. Proper technique and understanding this gluten development are fundamental to achieving a dough that is both strong enough to hold its shape and relaxed enough to stretch effortlessly.
Why Highly Elastic Dough Can Be Problematic for Pizza Makers
Highly elastic dough, while strong, presents significant challenges when trying to shape a pizza base. If the gluten network is too tight, the dough will resist stretching. You try to push it out, and it just springs back, often frustratingly shrinking back to a smaller size. This snap-back effect makes it incredibly difficult to achieve a thin, even crust, especially around the edges. Instead of a beautifully stretched circle, you might end up with a thick, uneven base that cooks inconsistently, potentially resulting in a doughy or tough texture in places.
Furthermore, an overly elastic dough can lead to tearing during stretching. If you force a tight dough to stretch beyond its current capacity, the gluten strands can break, creating holes that are difficult to patch. This not only affects the structure but can also allow toppings to seep through. Ultimately, a dough that won't relax and stretch properly diminishes the joy of making homemade pizza and makes achieving that perfect, classic pizza crust much harder. Learning how to relax pizza dough easily is crucial for a smooth baking experience.
Recognizing Overly Elastic Pizza Dough: Signs to Watch For
Identifying overly elastic dough is key to addressing the issue before it ruins your pizza. The most obvious sign is resistance during shaping. When you try to push or stretch the dough, it feels tight and immediately starts to shrink back as soon as you release the pressure. It might feel dense and springy to the touch rather than soft and pliable. Another indicator is difficulty forming a smooth ball after kneading; the dough might feel tense and resist holding a round shape.
A classic test is the "windowpane test." Take a small piece of dough and gently stretch it between your fingers. If the dough tears quickly before you can stretch it thin enough to see light through it like a windowpane, it suggests the gluten is either underdeveloped or overly developed and tight due to insufficient rest. If it's very resistant and snaps back immediately when you try to stretch it, it's likely overly elastic and needs to relax. Observing these signs helps you know when it's time to intervene and use techniques to relax pizza dough easily.
Techniques to Relax Pizza Dough Easily
The Importance of Rest: Time as Your Ally
Resting is arguably the most critical step in relaxing pizza dough. When dough rests, especially over a period of time, the gluten network begins to naturally loosen and realign. Enzymes present in the flour, such as proteases, slowly break down some of the gluten bonds, reducing the dough's elasticity and making it more extensible (easier to stretch). This process happens whether the dough is resting for a short period at room temperature or undergoing a long, slow fermentation in the refrigerator.
Allowing sufficient rest time transforms a tight, springy dough into one that is soft, pliable, and a joy to work with. For example, a short rest of 20-30 minutes after kneading can make a significant difference, allowing the dough to recover from the stress of mixing. Longer rests, like a cold fermentation for 24-72 hours, not only deepen the flavor but also allow for extensive gluten relaxation, resulting in a dough that stretches beautifully and produces a superior crust texture. Patience truly pays off when you want to relax pizza dough easily and effectively.
Effective Resting Techniques: Bulk Fermentation and Proofing
There are two main stages of resting where you can effectively relax your pizza dough: bulk fermentation and proofing. Bulk fermentation is the initial rise after kneading, where the entire mass of dough rests before being divided into individual portions. This stage can range from 1-2 hours at room temperature (around 70-75°F or 21-24°C) to a much longer period, like 12-72 hours, in the refrigerator (around 38-40°F or 3-4°C). During bulk fermentation, the gluten relaxes significantly, and flavors develop.
Proofing occurs after the dough has been divided and shaped into individual balls. These dough balls are then allowed to rest again before stretching. Proofing can be done at room temperature for 1-4 hours or in the refrigerator for several more hours.
This second rest period specifically targets the gluten in the individual pizza bases, ensuring they are relaxed and easy to stretch just before baking. A common technique is to cold ferment in bulk, then divide, shape into balls, and proof at room temperature for 1-2 hours before baking. Combining these methods helps you relax pizza dough easily for optimal results.
Adjusting Dough Hydration: Finding the Right Water Balance
Dough hydration refers to the ratio of water to flour by weight. A higher hydration dough (e.g., 65% water or more relative to flour weight) is generally stickier and wetter but also tends to be less elastic and easier to stretch than a lower hydration dough (e.g., 55-60%). This is because the extra water helps to fully hydrate the flour proteins, leading to a more flexible gluten network. While high hydration doughs can be trickier to handle due to their stickiness, they often produce a lighter, airier crust.
If you consistently find your dough too elastic, consider slightly increasing the hydration in your recipe. For example, if your recipe uses 60% hydration, try increasing it to 62% or 64% in the next batch. Be mindful that higher hydration requires careful handling and often benefits from techniques like stretch and folds during bulk fermentation rather than aggressive kneading. Experimenting with hydration levels is a great way to tailor the dough to your preference and learn how to relax pizza dough easily by adjusting your recipe.
The Role of Gluten Development: Avoiding Over-Kneading
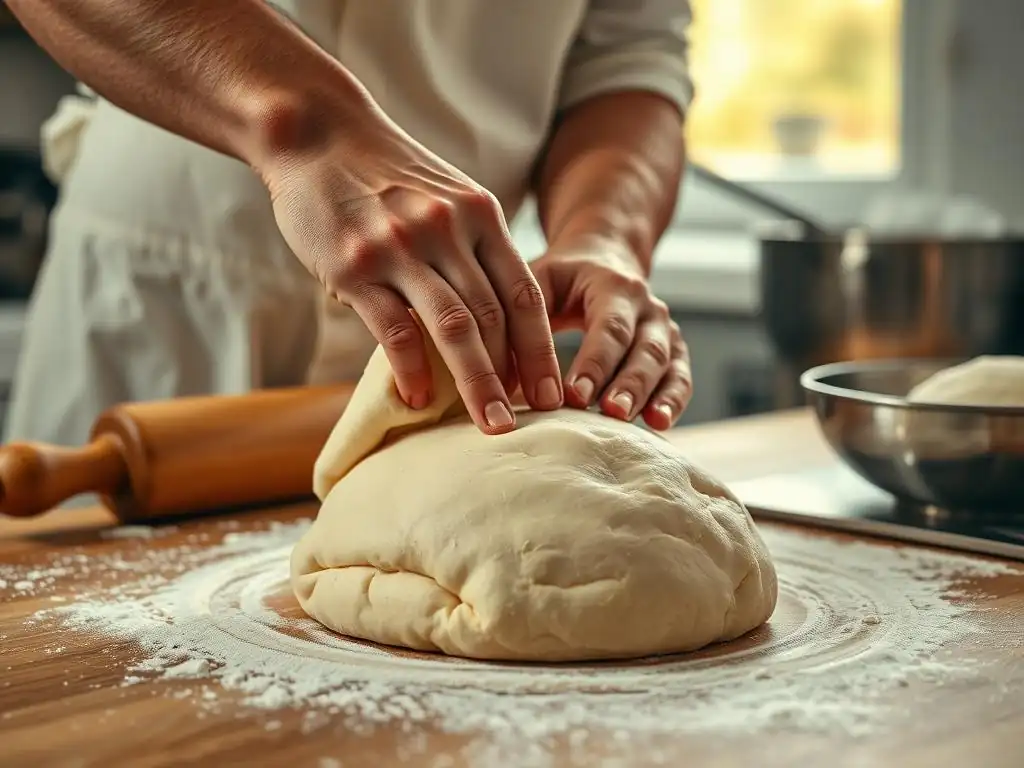
While some gluten development is necessary for structure, over-kneading can create an overly tight and elastic dough. When dough is kneaded beyond the point where the gluten network is sufficiently formed, the strands can become overly tense and resistant. This is particularly true with high-powered stand mixers; dough can go from perfectly kneaded to over-kneaded in just a minute or two. Manual kneading is often more forgiving, but it's still possible to overwork the dough.
Recognizing the signs of properly kneaded dough is key to avoiding this. The dough should be smooth, elastic, and pass the windowpane test without tearing easily. It should also feel less sticky and more cohesive than when you started. If your dough feels very stiff, resists shaping into a ball, or tears readily when stretched, you might have over-kneaded it. Allowing ample rest time after kneading is the primary method to relax pizza dough easily if it's been overworked.
How to Knead Pizza Dough Properly: A Gentle Approach
Proper kneading technique focuses on developing the gluten network efficiently without over-stressing it. For manual kneading, this involves folding the dough over itself, pushing it away with the heel of your hand, and rotating it. The goal is to incorporate air and align gluten strands. Knead until the dough is smooth, elastic, and no longer sticky, usually 8-12 minutes depending on the flour and hydration. Stop kneading as soon as the dough passes the windowpane test or feels appropriately developed.
If using a stand mixer, use a dough hook on a low to medium speed. The dough should pull away from the sides of the bowl but still stick slightly to the bottom. This usually takes 5-8 minutes. Monitor the dough closely and stop when it looks smooth and elastic. Remember, the dough will continue to develop slightly during the initial rest period. A gentle, mindful approach to kneading prevents excessive elasticity and sets the stage to relax pizza dough easily during subsequent steps.
Step-by-Step Guide: Relaxing Pizza Dough That's Too Tight
Step 1: Assess the Dough's Elasticity After Kneading
Once you've finished kneading your dough, give it a quick check. Does it feel very tight and resistant? Does it spring back significantly when you poke it? Try stretching a small piece – does it tear immediately or resist stretching? If the answer to these questions is yes, your dough is likely too elastic and needs dedicated time to relax. This initial assessment helps you understand the state of your dough and how much resting time it might need.
If the dough feels overly tight, avoid the temptation to immediately try and shape it. Forcing a tight dough will only lead to frustration and potentially a poor-quality crust. Recognizing the issue at this stage allows you to prioritize resting, which is the most effective way to relax pizza dough easily before moving on to shaping.
Step 2: Cover and Rest: Bulk Fermentation Explained
Place your kneaded dough ball into a lightly oiled bowl. Turn the dough to coat it in oil, preventing it from drying out. Cover the bowl tightly with plastic wrap or a damp kitchen towel. This prevents a skin from forming on the dough, which can inhibit rising and relaxation. Now, let the dough rest. This is the bulk fermentation stage.
- Option 1 (Room Temperature): Let it rest at room temperature (around 70-75°F / 21-24°C) for 1-2 hours, or until it has roughly doubled in size.
- Option 2 (Cold Fermentation): For maximum relaxation and flavor development, place the covered bowl in the refrigerator for 12-72 hours. The cold significantly slows fermentation, allowing enzymes more time to break down gluten and complex carbohydrates. This is an excellent way to relax pizza dough easily and develop deep flavor simultaneously.
After the chosen rest period, the dough should feel much softer, more pliable, and less resistant.
Step 3: Dividing and Shaping: Handling the Dough Gently
Once bulk fermentation is complete, gently turn the dough out onto a lightly floured surface. Avoid degassing it too aggressively; you want to preserve some of the air pockets. Using a bench scraper or knife, divide the dough into your desired number of portions for individual pizzas. For a standard 12-inch pizza, a dough ball weighing between 200-250 grams (about 7-9 ounces) is common.
Shape each portion into a neat ball. The key here is to use tensioning techniques (like folding the edges underneath to create a smooth top surface) without tearing the dough or making it overly tight. Be gentle! Aggressive handling at this stage can re-tighten the gluten you just spent time relaxing. The goal is a smooth, round ball that holds its shape but feels soft and supple.
Step 4: Proofing the Dough Balls: Relaxing Before Stretching
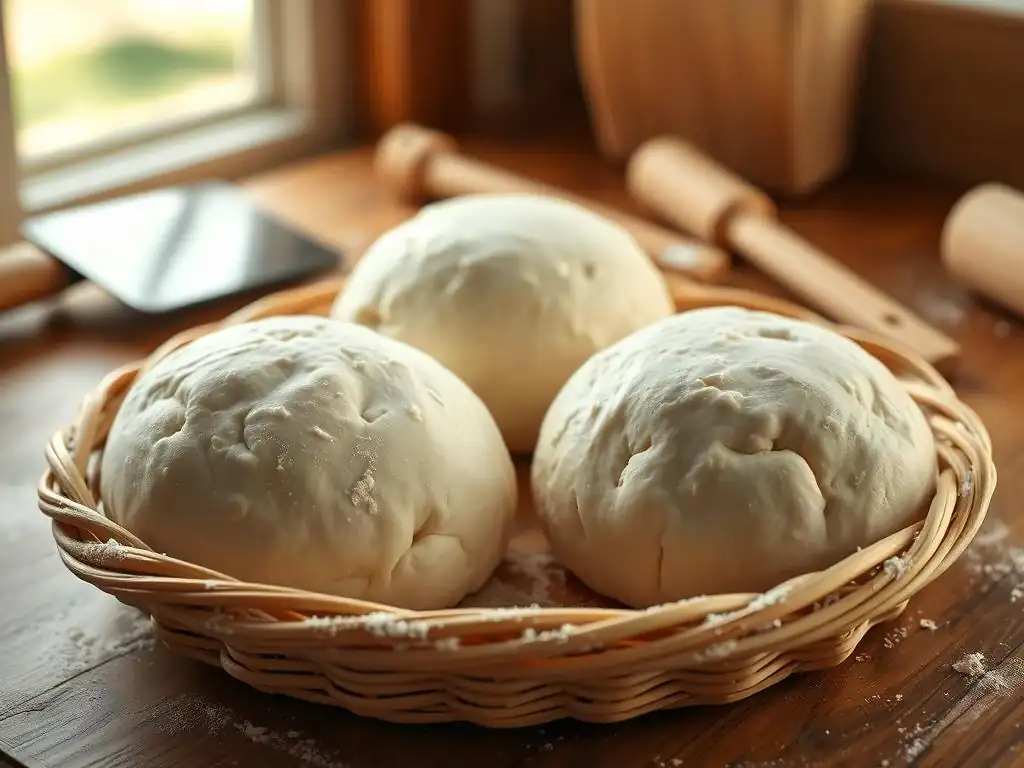
Place each shaped dough ball onto a lightly floured surface, a proofing tray, or into individual containers. Ensure they have space to expand and won't stick to each other. Cover the dough balls loosely but completely with plastic wrap, a damp cloth, or lids to prevent drying. Now, let them proof.
- Option 1 (Room Temperature Proofing): Allow the dough balls to proof at room temperature for 1-4 hours, depending on the warmth of your kitchen and how long they bulk fermented. They should look visibly relaxed and slightly puffed up.
- Option 2 (Combining Cold Bulk & Room Proof): If you cold-fermented in bulk, take the dough out of the fridge, divide, shape, and then let the individual balls proof at room temperature for 1-2 hours before shaping. This brings them to temperature and allows final relaxation.
Proper proofing is essential to relax pizza dough easily just before you need to stretch it. A well-proofed dough ball will feel soft and yield slightly when gently poked.
Step 5: Stretching and Shaping Your Pizza Base: Preventing Snap-Back
After proofing, your dough balls should be relaxed and ready to stretch. Work with one dough ball at a time, keeping the others covered. Place a dough ball on a lightly floured surface (or use semolina for less stickiness and added texture). Start by gently pressing down on the center with your fingertips, leaving a small rim untouched around the edge to form the crust.
Gradually work your way outwards, pressing and gently stretching the dough. You can lift the dough and let gravity help stretch it, or use the back of your knuckles. Avoid aggressively pulling or forcing the dough. If it resists and springs back, stop. Let the dough rest for 5-10 minutes, covered, and try again. This brief rest allows the gluten to relax again, making the dough more pliable. Patience is key to stretching without tearing and is a vital part of learning how to relax pizza dough easily during the final shaping stage.
Troubleshooting Common Issues with Elastic Pizza Dough
Dough Still Too Elastic After Resting? Troubleshooting Tips
If your dough still feels too tight even after following resting steps, don't despair! Several factors could be at play. First, double-check the temperature of your resting environment. If it was too cold, fermentation and relaxation would be significantly slowed. Try letting the dough rest in a slightly warmer spot (but avoid direct heat).
Second, consider the length of rest. Maybe it simply needed more time. If you only rested for an hour at room temperature, try another hour. If you attempted a cold ferment, ensure it was for at least 12-24 hours. Blockquote: "When in doubt, give it more time to rest. Rest is the baker's secret weapon against a tight dough." Another possibility is that the dough needs a shorter, intermediate rest during the stretching process, as mentioned in Step 5 above. If it's resisting as you stretch, cover it and walk away for 10-15 minutes before trying again.
Adjusting Your Recipe for Future Batches: Preventing Elasticity Problems
To prevent overly elastic dough in the future, look at your recipe and process. Consider slightly increasing your dough's hydration percentage by 1-2% in the next batch. This small change can make a big difference in dough extensibility. Also, evaluate your kneading time. Are you potentially over-kneading, especially if using a stand mixer? Try reducing the kneading time by a minute or two and rely more on the bulk fermentation rest to finish gluten development.
The type of flour also matters. If you're using a very high-protein bread flour (13-14%), consider trying one with a slightly lower percentage (11-12%) or mixing it with a small amount of all-purpose flour. Code: Flour Type: Bread Flour (12-14% protein) vs. All-Purpose Flour (10-12% protein). These adjustments to your base recipe and process can help you consistently relax pizza dough easily from the start.
Dealing with Stiff Dough: Immediate Relaxation Methods
Sometimes, you need to relax pizza dough quickly because it feels stiff right before shaping. The most effective immediate method is a short rest. If your dough ball is tight and resisting stretching, simply place it back down, cover it loosely, and let it sit for 10-15 minutes at room temperature. This short "bench rest" allows the gluten to relax enough for you to continue stretching. Repeat this process if necessary.
Another quick trick, if the dough isn't overly cold, is to gently cup your hands around the dough ball and let its own weight and slight warmth help it relax on your knuckles as you begin stretching. However, the primary method for immediate relaxation during shaping remains the short rest. Avoid adding extra flour or water at this stage, as it will disrupt the dough's balance.
Best Practices for Handling Pizza Dough for Optimal Relaxation
Choosing the Right Flour for Your Pizza Dough: Gluten Considerations
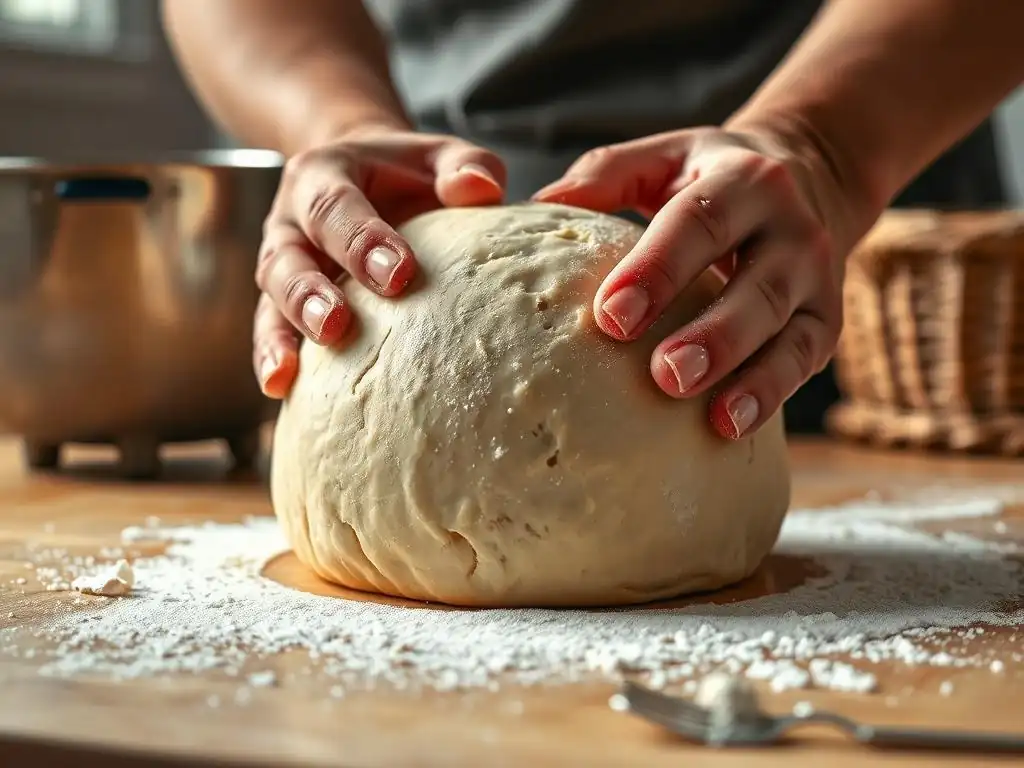
The type of flour you choose significantly impacts dough elasticity. Flours with higher protein content, like strong bread flour (often 12-14% protein), develop a robust gluten network, making the dough strong but potentially more elastic. For a dough that's easier to relax and stretch thin, especially if you're new to pizza making, consider starting with an all-purpose flour (around 10-12% protein) or a blend of all-purpose and bread flour. Italian "Tipo 00" flour is also popular for pizza; it's often high in protein but milled very finely, which can affect how gluten develops and relaxes.
- Consider:
- High protein flour (e.g., 13%+): Strong, but needs more rest to relax.
- Medium protein flour (e.g., 10-12%): Easier to handle, good balance.
- Finely milled flour (Tipo 00): Smooth dough, can still be elastic depending on protein%.
Experimenting with different flours will help you find one that gives you the desired balance of strength and ease of stretching, making it easier to relax pizza dough easily.
The Impact of Temperature on Dough Relaxation
Temperature plays a crucial role in both fermentation and gluten relaxation. Warmer temperatures speed up enzyme activity, including the proteases that break down gluten, thus promoting relaxation. However, warmth also accelerates yeast activity, causing the dough to rise faster. If the dough ferments too quickly without sufficient gluten breakdown, it can still be elastic.
Conversely, cold temperatures (like in a refrigerator) significantly slow yeast activity but allow enzymes more time to work on the gluten structure over a longer period. This is why cold fermentation is so effective at relaxing dough and developing flavor. Ideal room temperature for resting is typically 70-75°F (21-24°C). For cold fermentation, fridge temperatures of 38-40°F (3-4°C) are standard. Understanding how temperature affects dough helps you control the process and relax pizza dough easily.
Proper Storage of Pizza Dough: Maintaining Dough Quality
Storing pizza dough correctly is essential for maintaining its quality and ensuring it remains easy to work with. After bulk fermentation and shaping, dough balls should be stored in airtight containers or proofing boxes. Lightly oiling the containers or dough balls prevents sticking. For short-term storage (a few hours), room temperature is fine if your kitchen isn't too warm, but monitor the dough to prevent over-proofing.
For longer storage (12-72 hours), refrigeration is best. Place the airtight containers in the coldest part of your fridge. This slows fermentation and promotes that desirable long, slow gluten relaxation. Dough can also be frozen for several months. To freeze, individual dough balls should be lightly oiled, wrapped tightly in plastic wrap, and then placed in a freezer bag. Thaw frozen dough overnight in the refrigerator before proofing at room temperature. Proper storage ensures your efforts to relax pizza dough easily aren't undone by improper handling.
Relaxed Pizza Dough: Achieving the Perfect Texture and Taste
How Relaxed Dough Improves Pizza Texture
A properly relaxed pizza dough is the foundation of a great pizza crust. When the gluten network is relaxed, the dough stretches easily and thinly without tearing or springing back. This allows you to create a uniform base, ensuring even cooking. During baking, the trapped gases expand, and the relaxed gluten allows for a light, airy crumb structure, particularly around the crust (the cornicione).
Conversely, a tight, unrelaxed dough results in a thicker, denser crust that may be unevenly cooked. The internal texture can be tough or chewy rather than light and airy. Achieving a dough that you can relax pizza dough easily translates directly into a more desirable pizza texture – crispy on the outside, soft and airy on the inside.
Enhancing Flavor Through Proper Dough Relaxation
Beyond texture, proper dough relaxation, particularly through extended fermentation (like cold fermentation), significantly enhances the flavor of your pizza crust. As yeast and enzymes slowly work over hours or days, they break down complex carbohydrates into simpler sugars and produce various metabolic byproducts. These compounds contribute to a more complex, nuanced flavor profile compared to dough that is quickly mixed, rested for a short time, and baked.
Long, slow fermentation develops subtle tangy, nutty, or even slightly sweet notes in the crust. It moves beyond a simple "bread" flavor to something much richer and more satisfying. Allowing your dough ample time to relax and ferment is key to unlocking these deeper flavors, making the crust a star component of the pizza, not just a vehicle for toppings. Learning to relax pizza dough easily is also about developing delicious flavor.
Enjoy Your Perfectly Relaxed Pizza Dough: Recipe Ideas and Serving Suggestions
Now that you've mastered the art of relaxing your pizza dough, the possibilities are endless! Your perfectly relaxed dough is ideal for creating classic Neapolitan-style pizzas with minimal toppings to highlight the crust, or for sturdy New York-style slices.
- Recipe Ideas:
- Classic Margherita (San Marzano tomatoes, fresh mozzarella, basil)
- Pepperoni and Mushroom
- White Pizza with Ricotta and Garlic
- Prosciutto and Arugula (add prosciutto and arugula after baking)
- Serving Suggestions:
- Serve fresh from the oven for the best texture.
- A drizzle of good olive oil over the crust before serving adds richness.
- Pair with a simple green salad.
Embrace the process of making pizza from scratch. Learning to relax pizza dough easily is a skill that will elevate your homemade pizza game to new heights, yielding delicious, restaurant-quality results right in your own kitchen.
[ ] Assess dough elasticity
[ ] Implement resting techniques
[ ] Adjust hydration if necessary for future batches
[ ] Practice proper kneading
[ ] Follow step-by-step guide
[ ] Troubleshoot if dough is still tight
[ ] Choose appropriate flour
[ ] Consider temperature impact
[ ] Store dough properly
Conclusion: Mastering Pizza Dough Relaxation for BakeWithEase
Dealing with overly elastic pizza dough is a common hurdle for home bakers, but it's one that can be easily overcome with the right techniques and patience. Understanding that elasticity comes from the gluten network and that time is your greatest ally in relaxing those tight bonds is fundamental. By incorporating sufficient rest periods during bulk fermentation and proofing, handling your dough gently, and paying attention to factors like hydration and kneading, you can transform a stubborn, springy dough into one that stretches effortlessly.
Remember, the goal is a dough that is strong enough to hold toppings yet pliable enough to shape into a thin, even crust. Achieving this balance through proper relaxation not only makes the baking process more enjoyable but also leads to a superior pizza with a delightful texture and enhanced flavor. Keep practicing these methods to relax pizza dough easily, and you'll be well on your way to consistently baking perfect pizzas that you and your loved ones will adore, truly mastering the art of pizza making with BakeWithEase.
Frequently Asked Questions
How can I tell if my pizza dough is too elastic?
Your pizza dough is likely too elastic if it keeps shrinking back when you try to stretch it. It will feel tight and resistant, making it difficult to shape into a pizza.
What causes pizza dough to be overly elastic?
Over-elasticity is usually caused by gluten development. Too much kneading, or using a flour with a high gluten content can contribute to this issue.
What's the best way to relax pizza dough easily?
The most effective method is to allow the dough to rest, covered, at room temperature for 15-30 minutes. This allows the gluten to relax and become more pliable.
Can I use the fridge to relax pizza dough?
Yes, but it will take longer. Cold temperatures slow down gluten relaxation. Allowing it to rest in the fridge for a few hours, or even overnight, can also work, followed by a warm-up period at room temperature.
What happens if I try to bake pizza with dough that's too elastic?
The pizza will likely shrink during baking, resulting in a thicker, smaller, and potentially tougher crust. It won't stretch out into the desired shape as easily, and the texture won't be optimal.
Final Reflection: The Unexpected Joys of Relaxed Pizza Dough
The quest for the perfect pizza crust is a journey, not a destination, and mastering dough relaxation is a crucial step along the way. It's more than just achieving a manageable consistency; it's about unlocking the potential for a truly exceptional pizza experience – one with a crisp yet tender crust, bursting with flavor. This seemingly simple act of "relaxing" the dough profoundly impacts the final product, transforming a potentially frustrating experience into a rewarding culinary adventure.
The impact of properly relaxed dough extends beyond the individual pizza. It speaks to a broader appreciation for the process of cooking, the patience required to achieve excellence, and the satisfaction of transforming simple ingredients into something truly special. The best things in life are worth waiting for,
a sentiment perfectly applicable to the slow, deliberate process of allowing your pizza dough to fully relax. This mindful approach to cooking, I believe, is a valuable lesson that transcends the kitchen and informs our approach to other aspects of life.
So, the next time you find yourself wrestling with a stubbornly elastic dough ball, remember the lessons learned here. Don't rush the process. Take a deep breath, let the dough rest, and allow yourself to appreciate the journey.
Embrace the relaxation, both of the dough and of your own spirit. The reward – a pizza that is as satisfying to make as it is to eat – is well worth the wait. You'll find that the perfectly relaxed dough is not just the key to a better pizza, but a metaphor for a more mindful and fulfilling approach to life's culinary and other pursuits.
Unleash Your Perfect Pizza Dough!
Thanks for taking the time to learn about relaxing your pizza dough – we hope you found the tips helpful and are ready to make some amazing pizza! Now it’s time to put your newfound knowledge into action.
- Knead your way to pizza perfection: Try our recommended kneading techniques again, focusing on the gentle, yet thorough approach described in the article. You’ll be surprised by the difference!
- Share your pizza triumphs (and struggles!): Let us know how your dough turned out in the comments below – we'd love to hear your pizza-making stories!
- Experiment with different flours: Consider trying a different type of flour next time to see how it affects your dough's elasticity. What will you discover?
Ready to make your best pizza yet? Let's hear about your experience!