
Stretching Pizza Dough Without Tears: Techniques for Success

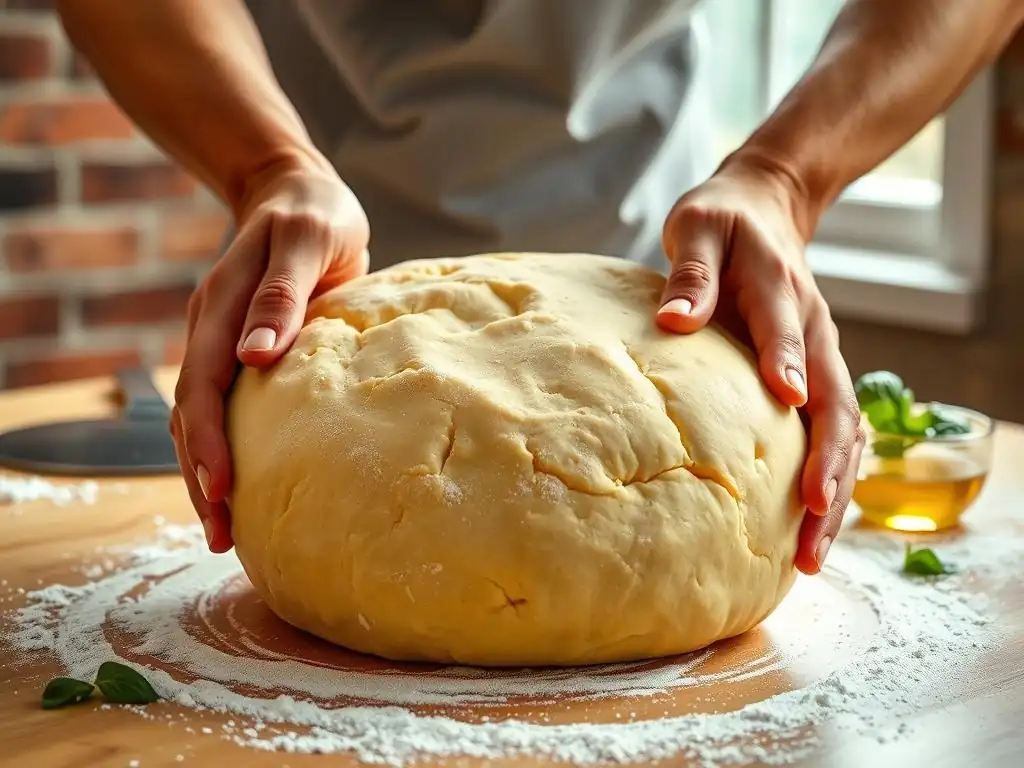
Welcome to BakeWithEase, your trusted companion in the baking journey! Ever dreamt of crafting the perfect pizza, but dreaded the dough stretching process? Fear not! We'll unveil the secrets to easy pizza dough stretching in our latest guide, transforming a potential kitchen catastrophe into a culinary masterpiece. Discover techniques that will leave you with a perfectly shaped crust, ready for your favorite toppings. Intrigued? Let's get started!
- Introduction to Easy Pizza Dough Stretching
- Mastering the Art of Easy Pizza Dough Stretching: A Step-by-Step Guide
- Pizza Dough Stretching Techniques for Beginners
- Advanced Pizza Dough Stretching Methods
- Troubleshooting Common Pizza Dough Stretching Issues
- Tips for Perfectly Shaped Pizza Every Time
- Conclusion: Confidently Stretching Pizza Dough for Homemade Perfection
-
Frequently Asked Questions
- How important is it to let pizza dough rest before stretching?
- What's the best technique for stretching pizza dough without tearing it?
- What should I do if my pizza dough keeps shrinking back after stretching?
- What type of flour is best for making pizza dough that stretches easily?
- What should I do if my pizza dough tears while I'm stretching it?
- Final Reflection: The Joy of Perfectly Stretched Dough
- Unleash Your Inner Pizzaiolo: Master the Dough!
Introduction to Easy Pizza Dough Stretching
Mastering the art of stretching pizza dough is a fundamental step towards achieving that perfect homemade pizza. While it might seem intimidating at first, especially aiming for an easy pizza dough stretching process that doesn't result in frustrating tears or uneven crusts, it's a skill that becomes intuitive with practice. The goal is to transform a simple ball of dough into a beautiful, round, or even rectangular canvas for your toppings, all while preserving the delicate structure created during fermentation.
Achieving easy pizza dough stretching is less about brute force and more about understanding the dough itself. Proper preparation, patience, and the right technique are your best friends here. Whether you're aiming for a thin, crispy Neapolitan-style base or a slightly thicker, chewier crust, the way you handle the dough dictates the final texture and appearance of your pizza. This guide will walk you through simple, effective methods to make stretching pizza dough a smooth and successful part of your pizza-making routine.
Why Stretching Pizza Dough is Crucial for Perfect Pizza
Stretching isn't just about shaping; it's vital for developing the structure and texture of the crust. As you gently expand the dough, you are redistributing the gases produced during fermentation, creating those desirable air pockets that result in a light, airy, and often bubbly cornicione (the edge of the crust). Without proper stretching, the crust can end up dense, tough, or unevenly cooked, lacking the characteristic rise and texture that defines great pizza.
Furthermore, stretching allows you to control the thickness of your pizza base. A well-stretched dough will have a thin center, allowing toppings to cook properly and preventing a soggy middle, while maintaining a slightly thicker edge for that satisfying chew. Over-stretching or tearing can deflate the dough, resulting in a flat crust with poor texture. For example, a Neapolitan pizza typically has a center thickness of only 1-2 millimeters before baking, a feat only achievable with careful, skilled stretching that preserves the delicate internal structure.
Common Pizza Dough Stretching Problems and How to Avoid Them
One of the most common frustrations when trying for easy pizza dough stretching is tearing. This often happens when the dough is too cold, hasn't rested long enough, or is being handled too roughly. Dough that is cold and stiff is much less pliable; gluten hasn't relaxed sufficiently, making it resistant to stretching and prone to snapping. Aim for dough that feels soft and extensible, ideally around 70-75°F (21-24°C), before you begin.
Another frequent issue is the dough shrinking back like a rubber band after stretching. This is a clear sign that the gluten is too tight, usually from insufficient rest time after kneading or shaping into balls. Giving your dough adequate time to relax, sometimes needing an extra 15-30 minutes rest if it resists stretching, is key. Uneven thickness is also common, leading to parts of the crust burning while others remain undercooked. This is typically a technique issue, which can be improved with consistent, gentle handling and focusing on pushing the air outwards evenly.
Mastering the Art of Easy Pizza Dough Stretching: A Step-by-Step Guide
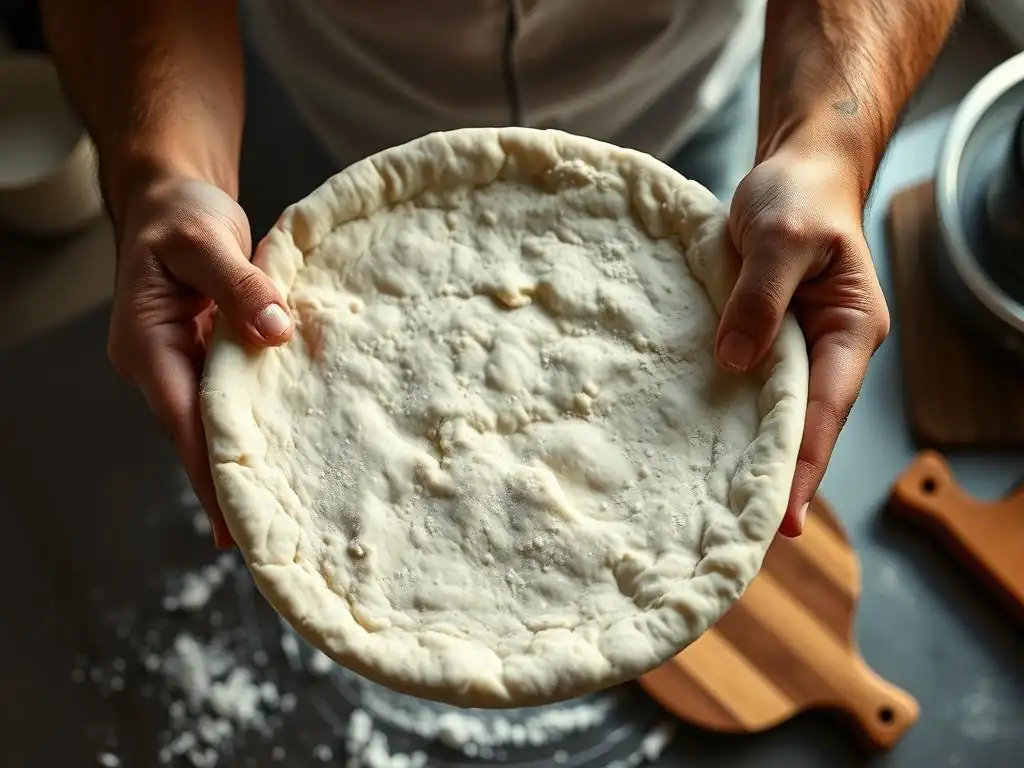
Achieving easy pizza dough stretching is a skill built on preparation and technique. It starts well before your hands touch the dough to stretch it. Understanding the dough's state and ensuring you have the right conditions are paramount for a smooth process.
Preparing Your Pizza Dough for Stretching: Temperature and Relaxation
The temperature of your pizza dough is critically important for easy pizza dough stretching. Cold dough straight from the refrigerator will be very difficult to stretch and highly prone to tearing because the gluten structure is stiff. Allow your dough balls to come to room temperature, ideally between 70-75°F (21-24°C). This typically takes at least 30 minutes, but for dough that has been cold-proofing for several days, it might need 1-2 hours out of the fridge. The dough should feel soft, pliable, and slightly bubbly.
Equally important is dough relaxation. After kneading and portioning into balls, the gluten network is tight. Stretching it immediately would be like trying to stretch a tense muscle – it resists and might tear. Resting the dough allows the gluten strands to relax, making the dough extensible and easy to work with. Even after the initial bulk fermentation and balling, giving the dough balls another 30-60 minutes of rest (covered to prevent drying) at room temperature before stretching will make a significant difference in achieving easy pizza dough stretching without resistance.
Essential Tools for Stretching Pizza Dough (and Alternatives)
For most home bakers aiming for easy pizza dough stretching, the primary "tools" are your hands. The warmth and sensitivity of your fingers allow you to feel the dough's thickness and tension, guiding the stretching process naturally. You'll also need a clean, lightly floured surface. Using a mix of flour and fine semolina (about 50/50) on your work surface is excellent; the semolina acts like tiny ball bearings, helping the dough slide and preventing sticking without adding too much dry flour, which can toughen the crust.
While hands are preferred for traditional methods like the knuckle stretch or hand toss, alternatives exist. A rolling pin can be used (more on that later), though it tends to push gases out, resulting in a less airy crust. Some people use dough presses, but these are typically commercial tools. For home use, focusing on hand techniques combined with a non-stick surface preparation is the most effective way to achieve easy pizza dough stretching while preserving the dough's structure. A bench scraper is also useful for handling the dough ball initially and cleaning up.
Pizza Dough Stretching Techniques for Beginners
Starting out with pizza dough stretching can feel daunting, but a few simple techniques are perfect for building confidence and achieving good results. These methods focus on gentle handling and leverage the dough's natural elasticity.
The Knuckle Stretch: A Gentle Method for Round Pizzas
The knuckle stretch is an excellent technique for beginners because it's slow, controlled, and relies on gravity and gentle pressure rather than aggressive pulling. It's particularly effective for creating a round pizza shape while leaving a slightly thicker edge for the cornicione. This method minimizes the risk of tearing compared to more vigorous techniques.
Step-by-Step Guide to the Knuckle Stretch Technique
- Prepare the Dough: Ensure your dough ball is at room temperature and well-rested. Lightly flour your work surface and the dough ball.
- Flatten the Center: Gently press down on the center of the dough ball with your fingertips, leaving about an inch (2-3 cm) border around the edge untouched. This border will become your cornicione.
- Lift and Drape: Pick up the flattened dough circle and drape it over the knuckles of both hands, holding your hands curved like hooks.
- Stretch with Gravity: Gently rotate the dough, letting gravity pull it downwards. Move your hands slightly apart to encourage stretching, allowing the weight of the dough to do most of the work. The dough will thin out in the center while the edges remain thicker where they rest on your knuckles.
- Adjust and Repeat: If one area is thicker, shift your hands to support that section and let it hang and stretch. Continue rotating and stretching until the dough reaches your desired diameter (e.g., 10-12 inches for a 250g dough ball). Place it on your floured peel or surface when done.
Tips for Mastering the Knuckle Stretch
- Be Patient: Don't rush the process. Let gravity work for you.
- Use Light Flour: Too much flour on your hands or the dough can make it stiff and harder to stretch smoothly. Use just enough to prevent sticking.
- Feel the Thickness: As you stretch, gently feel the dough between your fingers to ensure even thickness.
- Focus on the Center: The knuckle stretch naturally thins the center while preserving the edge. Focus your stretching efforts on the inner part of the dough.
- Rest if Needed: If the dough starts to resist or shrinks back, lay it down on your surface, cover it, and let it rest for 5-10 minutes before trying again. This extra rest can make all the difference for easy pizza dough stretching.
The Hand Toss: Achieving a Thin and Even Crust
The hand toss is the iconic pizza-making move, and while it looks impressive, it's a very effective way to quickly stretch dough thinly and evenly. It's slightly more advanced than the knuckle stretch but still accessible for beginners with a little practice. The centrifugal force helps to stretch the dough outwards uniformly.
Preparing for the Hand Toss: Space and Technique
Before attempting the hand toss, ensure you have plenty of open space around you – clear countertops, no low-hanging lights or fans! You'll need a surface lightly dusted with flour and semolina mix to start. The technique relies on a rhythmic motion and a light touch. The goal is to spin the dough horizontally, allowing centrifugal force to stretch it, rather than throwing it high into the air. Many beginners start by practicing with a damp towel or a practice dough ball (made from flour and water) to get the feel before using actual pizza dough.
Step-by-Step Guide to the Hand Toss Method
- Prepare and Flatten: Start with a well-rested, room-temperature dough ball. Lightly flour your surface and the dough. Gently press the center flat with your fingertips, leaving the edge thicker, similar to the knuckle stretch prep.
- Lift and Transfer: Pick up the flattened dough circle. Transfer it to your dominant hand, draped over your knuckles and forearm. Your non-dominant hand will be used to guide and spin.
- Initiate the Spin: With the dough draped over one arm, use the other hand to gently lift and push the edge of the dough upwards while simultaneously rotating the dough with the arm it's draped over. The motion is a bit like spinning a steering wheel with one hand while the other guides the edge.
- Toss and Rotate: Once the dough is spinning horizontally, give it a gentle upward flick with your guiding hand, just enough to lift it slightly off your arm. As it's airborne, quickly rotate your supporting arm/hand slightly and be ready to catch the edge as it comes down.
- Repeat and Stretch: Repeat the toss-and-catch motion, rotating the dough slightly with each catch. The centrifugal force will stretch the dough outwards from the center. Continue until the dough reaches your desired size and thickness.
Common Mistakes and How to Fix Them
- Throwing Too High: This is the most common mistake. You don't need to throw it to the ceiling! A low, controlled spin is more effective and less likely to result in dropped dough. Practice with a damp towel first.
- Holding Too Tightly: Gripping the dough too hard will prevent it from stretching and can cause tears. Keep your hands relaxed, letting the dough drape and spin freely.
- Uneven Spinning: If the dough stretches unevenly, it might be due to inconsistent rotation or flicking force. Try to keep the motion smooth and the dough horizontal. If one side is thicker, focus the spin slightly more on that side or switch to the knuckle stretch briefly to even it out.
- Tears: If a tear occurs, try to pinch it shut gently. If it's small, it might seal during baking. If it's large, the dough might be too cold, under-rested, or over-worked. Set it aside, let it rest for 15 minutes, and try again more gently or use a different dough ball.
Advanced Pizza Dough Stretching Methods
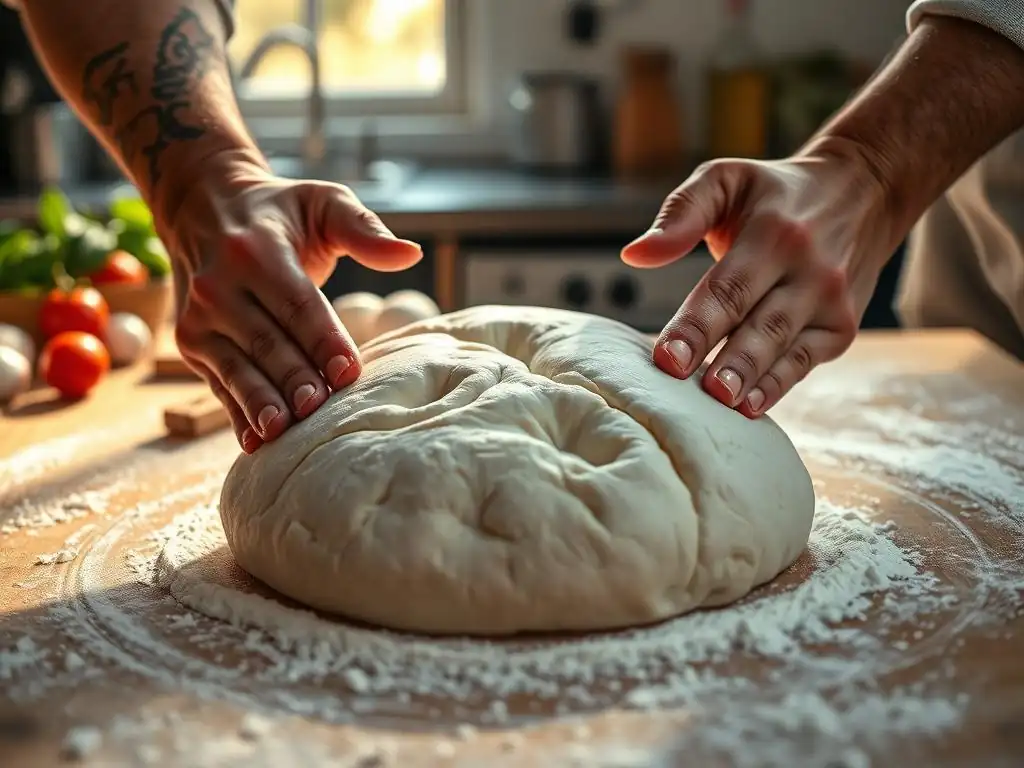
Once you're comfortable with basic techniques, you might explore methods that allow for larger pizzas or utilize different approaches to dough handling. These techniques build upon the principles of gentle handling and understanding dough elasticity.
The Gravity Stretch: For Larger, Thinner Crusts
The gravity stretch is a variation of the knuckle stretch, often used by experienced pizzaiolos to achieve very large, thin pizzas with a well-defined cornicione. It leverages the dough's weight over a larger area, allowing for a more expansive stretch. This method is particularly effective for high-hydration doughs which are naturally more extensible.
How to Execute the Gravity Stretch Safely
- Preparation: Start with a well-rested, room-temperature dough ball on a lightly floured surface. Gently press the center flat, leaving a substantial border (1-1.5 inches or 3-4 cm).
- Lift and Support: Carefully lift the dough, threading your hands underneath so the dough is draped over your forearms and the backs of your hands. Your hands should be relatively close together initially, supporting the center of the dough.
- Walk the Hands Apart: Slowly begin to walk your hands outwards, moving them further apart under the draped dough. As you move your hands, the weight of the dough between your forearms will cause it to stretch downwards.
- Rotate and Stretch: Continuously rotate the dough as you move your hands apart, ensuring even stretching. The dough will hang like a large, thin curtain between your forearms. Adjust your hand position to support areas that need more stretching or are getting too thin.
- Finishing: Once the dough reaches the desired size and thickness, carefully lay it down on your floured peel or preparation surface. This method can yield pizzas 14-16 inches (35-40 cm) or larger from a standard 250g dough ball.
Achieving Consistent Thickness with the Gravity Stretch
Consistency with the gravity stretch comes from even rotation and feeling the dough's tension. Pay close attention to the weight distribution on your forearms; if one side feels significantly heavier, that area is likely thicker and needs more stretching. Gently shift your hands to focus the stretch on that section. The natural tendency of the dough to thin under its own weight helps, but your guidance is crucial. Practice allows you to feel the dough's resistance and know when it's stretched enough without tearing. It's a fluid motion that requires coordination between moving your hands and rotating the dough.
Using a Rolling Pin (Yes, Really! ): When and How
While often frowned upon by purists because it pushes out the valuable fermentation gases needed for a puffy crust, a rolling pin can be a viable tool for easy pizza dough stretching, especially for certain styles or when dealing with particularly resistant dough. It's best suited for achieving a uniformly thin crust without a large, airy cornicione, like for New York-style or Roman-style pizzas.
Choosing the Right Rolling Pin for Pizza Dough
A simple, straight rolling pin is generally best. Avoid pins with handles that make it hard to feel the dough's thickness. A French-style tapered rolling pin can also work well, offering more control over pressure. The key is to use a pin that allows you to apply even pressure and feel the dough underneath. Avoid heavily textured or grooved rolling pins, as they can snag the dough.
Rolling Techniques to Avoid Overworking the Dough
- Start from the Center: Place your dough ball (slightly flattened by hand first) on a lightly floured surface. Start rolling from the center outwards, turning the dough frequently (about a quarter turn each time). This helps maintain a round shape and ensures even stretching.
- Gentle Pressure: Use light, even pressure. Avoid pressing down too hard, which can force out too many gases and make the dough tough. The goal is to coax the dough wider, not flatten it aggressively.
- Roll in Different Directions: Roll away from the center in several directions (north, south, east, west, and diagonals) before turning the dough. This helps distribute the stretch evenly.
- Leave the Edge: If you want a slight cornicione, avoid rolling all the way to the very edge initially. Leave a small border (about half an inch or 1 cm) unrolled, then gently stretch it out by hand after rolling the center.
- Rest if Needed: If the dough springs back excessively while rolling, stop, cover it, and let it rest for 5-10 minutes before continuing. This indicates the gluten needs to relax further.
Troubleshooting Common Pizza Dough Stretching Issues
Even with the best techniques, you might encounter problems. Knowing how to identify and fix them is crucial for consistently achieving easy pizza dough stretching.
Dough That Tears Easily: Causes and Solutions
Tearing is usually a sign that the dough is either too cold, hasn't rested enough, or is under-developed (not enough gluten structure).
- Too Cold/Under-Rested: If the dough feels stiff and resists stretching, let it rest longer at room temperature. A dough temperature below 65°F (18°C) is a common culprit. Give it another 30-60 minutes rest.
- Under-Developed Gluten: If the dough feels shaggy or tears even when warm and rested, it might not have been kneaded enough to develop a strong gluten network. This is harder to fix at the stretching stage. Ensure proper kneading during dough preparation (aim for a smooth, elastic dough that passes the "windowpane" test). For the current dough, handle it extremely gently, focusing on the knuckle stretch or gravity stretch with minimal pulling.
- Too Dry: If the dough feels dry, it lacks extensibility. Ensure proper hydration when mixing the dough. For a dry dough, lightly misting your hands with water or olive oil before stretching can sometimes help add a little moisture and make handling easier, but be careful not to add too much.
Dough That Shrinks Back: How to Prevent Retraction
Dough that snaps back like a rubber band is almost always due to tight gluten, which needs more time to relax.
- Insufficient Rest: The most common cause. If the dough resists stretching and immediately shrinks, lay it flat on your surface, cover it loosely (a bowl turned upside down works well), and let it rest for 10-20 minutes. This gives the gluten time to relax. Try stretching again, and repeat the rest if needed.
- Over-Handling: Excessive kneading or rough handling during shaping into balls can also tighten the gluten. Be gentle when forming dough balls.
- Cold Dough: Cold dough is less extensible and will resist stretching more, appearing to shrink back. Ensure the dough is at room temperature before stretching.
Uneven Thickness: Achieving a Consistent Crust
An uneven crust leads to inconsistent cooking – burnt edges or a soggy middle.
- Inconsistent Stretching: This is the primary reason. When stretching, pay attention to how the dough feels. Areas that feel thicker need more focus during stretching.
- Focus on the Center: When using hand-stretching methods, ensure you are actively thinning the center while preserving the edge. Don't just stretch the edges outwards.
- Visual Cues: Hold the stretched dough up to the light (carefully!) to see thicker spots. Address these areas with gentle stretching before laying the dough down.
- Rolling Pin for Uniformity: If uniformity is your absolute priority and you don't mind a flatter crust, a rolling pin is the best tool for achieving even thickness, though it sacrifices some airiness.
Tips for Perfectly Shaped Pizza Every Time
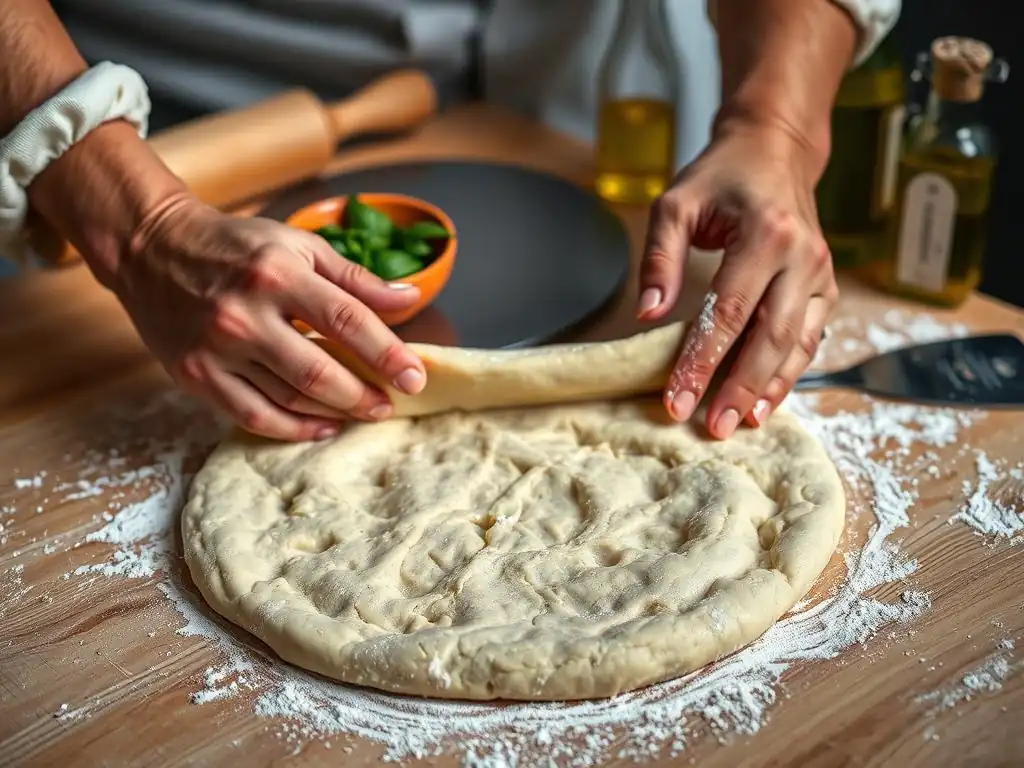
Beyond the stretching technique itself, a few final steps can help ensure your beautifully stretched dough results in a perfect pizza.
Using a Pizza Stone or Baking Steel for Optimal Results
Once your dough is stretched and topped, transferring it to a preheated pizza stone or baking steel in a hot oven is crucial for a crispy crust. These surfaces store and radiate heat efficiently, mimicking the floor of a professional pizza oven. Preheat your oven with the stone or steel inside for at least 30-60 minutes at its highest temperature (ideally 500°F / 260°C or higher). This intense heat provides the necessary thermal shock to make the crust puff and crisp rapidly.
Pre-Baking the Crust: A Secret for Crispy Pizza
For toppings that release a lot of moisture or if you prefer an extra crispy crust, consider par-baking the dough before adding toppings. Stretch the dough, transfer it to your hot stone/steel, and bake for 2-4 minutes until it's slightly set but not browned. Remove from the oven, add your sauce, cheese, and toppings, then return to the oven to finish baking. This prevents the base from becoming soggy under wet toppings like fresh mozzarella or certain vegetables.
Adding Toppings Without Overloading the Dough
A common mistake is adding too many toppings, which can weigh down the dough, prevent proper cooking, and make the pizza difficult to transfer. For a standard 10-12 inch pizza, aim for no more than about 4-6 ounces (115-170 grams) of total toppings (including sauce and cheese). Distribute toppings evenly across the pizza, leaving the cornicione clear. This ensures the crust can cook properly and the pizza is easy to handle, contributing to an overall successful outcome after your efforts in easy pizza dough stretching.
Conclusion: Confidently Stretching Pizza Dough for Homemade Perfection
Achieving easy pizza dough stretching is a skill that transforms your homemade pizza from good to great. It's about more than just shaping; it's about understanding the dough's nature, respecting its need for rest, and using gentle, intentional techniques. Whether you prefer the hands-on feel of the knuckle stretch or the efficiency of a careful hand toss, each method offers a path to a beautiful, extensible crust.
Recap of Easy Pizza Dough Stretching Techniques
We've covered several key aspects for successful and easy pizza dough stretching: starting with well-rested, room-temperature dough; using minimal flour/semolina on your surface; employing gentle methods like the knuckle stretch or hand toss; and knowing how to troubleshoot common issues like tearing or shrinking by allowing the dough to rest. Remember that tools like a pizza stone enhance the final bake, and mindful topping application preserves the crust's integrity.
Encouragement for Continued Practice and Experimentation
Don't be discouraged if your first few attempts aren't perfect circles or if you encounter a small tear. Every baker experiences these challenges. The key to truly easy pizza dough stretching is practice. Each dough ball offers a learning opportunity. Pay attention to how the dough feels, how it reacts to your touch, and adjust your technique accordingly. Experiment with different dough hydration levels or fermentation times to see how they affect stretchability. With patience and consistent effort, you'll develop the feel and confidence needed to stretch pizza dough without tears, leading to consistently delicious homemade pizzas.
Frequently Asked Questions
How important is it to let pizza dough rest before stretching?
Resting is crucial because it allows the gluten to relax. This makes the dough more elastic and easier to stretch without tearing.
What's the best technique for stretching pizza dough without tearing it?
The most effective technique involves using your knuckles and fingertips to gently push and stretch the dough from the center outwards, rotating as you go. Avoid using a rolling pin which can damage the gluten.
What should I do if my pizza dough keeps shrinking back after stretching?
This indicates the gluten is still too tight. Allow the dough to rest for an additional 10-15 minutes. This will allow the gluten to relax further.
What type of flour is best for making pizza dough that stretches easily?
High-protein flour, like bread flour, is recommended. It creates a stronger gluten network, making the dough more elastic and resistant to tearing.
What should I do if my pizza dough tears while I'm stretching it?
Don't panic! Gently pinch the tear closed and continue stretching from a different area. You can also patch it with a small piece of dough if necessary.
Final Reflection: The Joy of Perfectly Stretched Dough
The seemingly simple act of stretching pizza dough is, in reality, a gateway to culinary creativity and a surprisingly satisfying experience. Mastering this technique unlocks a world of pizza possibilities, from perfectly crisp crusts to the ability to create unique shapes and sizes. In a world increasingly focused on convenience, taking the time to connect with the tactile process of dough stretching offers a rewarding counterpoint.
The influence of this seemingly small skill extends beyond the kitchen table. It's a microcosm of perseverance and patience, mirroring the challenges and triumphs we face in life. The gentle kneading, the careful stretching, the occasional tear – these all become metaphors for the journey itself. The best things in life are worth fighting for,
and a perfectly stretched pizza dough, free from tears, is a testament to that very sentiment.
So, the next time you find yourself facing a ball of pizza dough, remember the lessons learned. Don't be afraid to experiment, to embrace the occasional imperfection, and to find joy in the process. Embrace the challenge, and you'll discover not just a perfectly stretched pizza, but a deeper connection to the art of cooking and the satisfaction of creating something delicious with your own two hands. Let the stretching of your pizza dough be a reminder that even the smallest acts of creation can bring immense satisfaction.
Unleash Your Inner Pizzaiolo: Master the Dough!
Thanks for taking the time to explore the art of stretching pizza dough with us! We hope you now feel more confident in tackling this delicious challenge. Ready to put your new skills to the test?
- Craft your masterpiece: Try making your own pizza tonight! Use the techniques you learned to stretch your dough to perfection. Experiment with different toppings and share your creation with loved ones.
- Share your dough-stretching journey: Share your pizza-making adventures on social media using #BakeWithEasePizza and tag us! We’d love to see your results.
- Challenge a friend: Nominate a fellow baking enthusiast to try these techniques and share their experience. Let's build a community of pizza-making pros!
What unique topping combination will you create to showcase your newly mastered dough-stretching skills?