
Basic Pie Dough Troubleshooting for Beginners

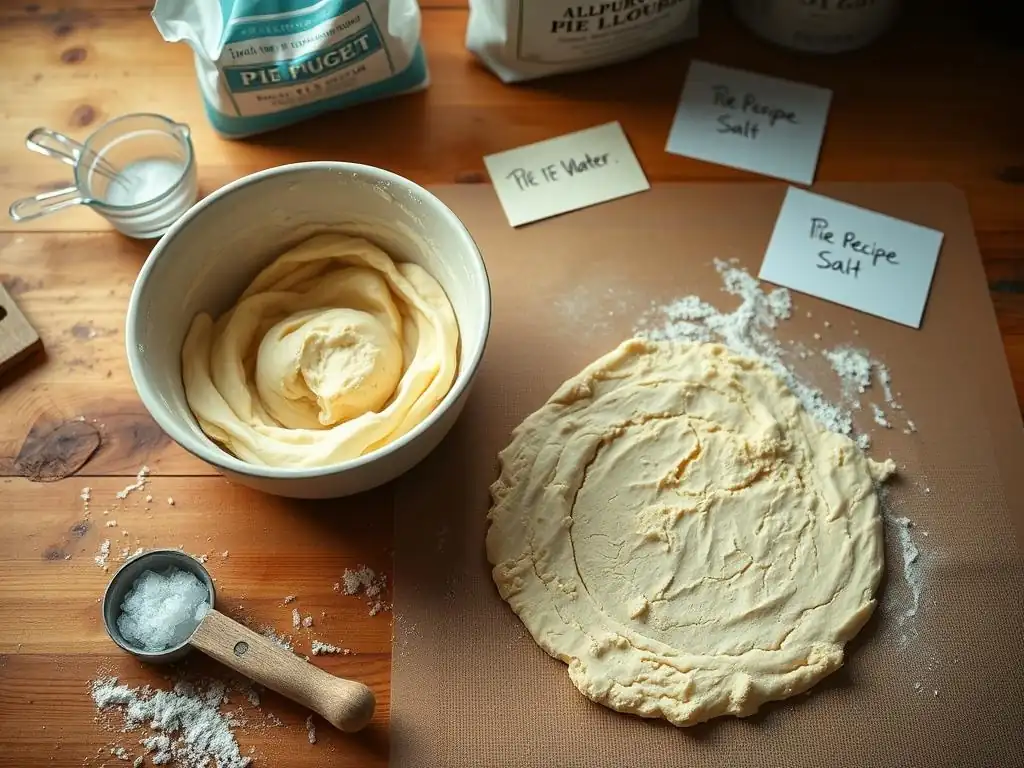
Welcome to BakeWithEase, your trusted guide to the delightful world of baking! Are you intimidated by the thought of crafting the perfect pie crust? You're not alone! Many beginners struggle with achieving that elusive, flaky texture. Fear not! In this article, we'll tackle the common pitfalls that lead to crumbly pie dough beginners often face, offering simple solutions and expert tips to ensure your success. Get ready to create pie dough that's both delicious and easy to work with – let's get baking!
- Understanding Crumbly Pie Dough for Beginners: Common Challenges and Causes
- Essential Tips to Prevent Crumbly Pie Dough for Beginners
- Step-by-Step Troubleshooting: Fixing Crumbly Pie Dough in Beginner Recipes
- Tools and Techniques to Improve Pie Dough Texture for Beginners
- Common Crumbly Dough Problems and Their Solutions in Basic Pie Recipes
- Best Practices for Beginner Bakers to Master Pie Dough Consistency
- Conclusion: Mastering Crumbly Pie Dough Issues for Beginner Success
-
Frequently Asked Questions
- What causes pie dough to be crumbly, especially for beginners?
- How can I prevent crumbly pie dough when I'm just starting out?
- What's the best fat to use for pie dough that helps avoid a crumbly result for beginners?
- Is there a specific mixing technique that beginners should focus on to avoid crumbly pie dough?
- What if my pie dough is already crumbly; can I fix it, and how?
- Final Reflection: Mastering the Humble Pie Crust
- Unlock Your Inner Pie Baker!
Understanding Crumbly Pie Dough for Beginners: Common Challenges and Causes
Learning to make pie dough is a foundational skill for any aspiring baker, but encountering a crumbly texture is a common hurdle for many beginners. This issue often leaves new bakers frustrated, wondering why their dough isn't coming together into a smooth, cohesive mass ready for rolling. Understanding the root causes is the first step to mastering this basic technique and preventing that frustratingly crumbly pie dough beginners often face. It's not just about mixing ingredients; it's about how those ingredients interact and the conditions under which they are combined.
Successfully navigating the challenges of crumbly pie dough as a beginner involves recognizing the signs early on. A dough that looks like dry sand or small, loose pebbles rather than a rough ball or disc is a clear indicator of trouble. This lack of cohesion makes it difficult, if not impossible, to roll out the dough without it cracking and falling apart, ruining the potential for a beautiful, flaky crust. By identifying the typical culprits behind this issue, beginner bakers can approach their next attempt with more confidence and knowledge, turning potential failures into learning opportunities.
Why Is My Pie Dough Crumbly? Key Factors Beginner Bakers Should Know
One of the primary reasons for a crumbly pie dough among beginners is an incorrect ratio of dry to wet ingredients, specifically too little liquid. Flour needs sufficient moisture to hydrate the gluten and starch, which acts as the binder that holds the dough together. When there isn't enough water, milk, or other liquid added, the flour remains dry, and the mixture simply cannot form a cohesive structure, resulting in that frustratingly crumbly texture. It's like trying to build a sandcastle with dry sand – it just won't hold its shape.
Another significant factor contributing to crumbly pie dough beginners experience is the temperature of the ingredients, particularly the fat. Cold fat (like butter or shortening) cut into the flour creates small pockets. As the pie bakes, this fat melts and releases steam, creating those desirable flaky layers.
However, if the fat isn't cold enough, or if it's overworked and melts into the flour before baking, it coats the flour particles too thoroughly. This prevents the liquid from properly hydrating the flour, leading to a dry, crumbly dough that lacks structure and flakiness. Aiming for pea-sized pieces of cold fat is a good visual guide for beginners.
The Science Behind Pie Dough Texture: How Ingredients Affect Crumbliness
The texture of pie dough is a delicate balance, heavily influenced by the interaction between flour, fat, liquid, and salt. Flour provides the structure through its gluten and starch content. When liquid is added, gluten proteins form a network. The amount of gluten developed impacts texture; too much can make it tough, while too little (often due to insufficient hydration) results in a crumbly dough. The type of flour also plays a role; all-purpose flour is common, but its protein content affects how much liquid is needed and how much gluten develops.
Fat, usually cold butter or shortening, is crucial for tenderness and flakiness. It coats some of the flour particles, inhibiting gluten development and creating pockets that expand during baking. If there's too little fat relative to the flour, the dough can become tough and less tender, potentially feeling dry and crumbly because the fat isn't adequately preventing gluten development.
Conversely, too much fat can make the dough greasy but won't necessarily fix a fundamental crumbly issue caused by lack of liquid or improper mixing. The way the fat is incorporated – cut in until pea-sized pieces remain – is key to achieving the right balance.
Typical Mistakes Leading to Crumbly Pie Crust in Beginner Baking
Over-measuring flour is a very common mistake that leads to crumbly pie dough for beginners. Many beginners scoop flour directly from the bag using the measuring cup, which compacts the flour and results in significantly more flour by weight than intended. This excess dry ingredient throws off the crucial flour-to-liquid ratio, inevitably leading to a dry, crumbly mixture that won't bind together properly. Using the "spoon and level" method (gently spooning flour into the measuring cup and leveling off the excess) or, ideally, using a kitchen scale, provides much more accurate results.
Another frequent error is adding too little liquid or adding it all at once without assessing the dough's needs. Basic pie dough recipes often provide a range for the liquid amount because flour absorption can vary based on humidity and brand. Beginners might be hesitant to add enough liquid, fearing a sticky dough, and stop too soon.
Or they might dump in the minimum amount specified without checking if the dough has come together. Adding liquid gradually, a tablespoon at a time, and mixing gently until the dough just starts to cohere is vital. Overmixing after adding liquid can develop too much gluten, leading to a tough crust, but the initial lack of liquid is the primary cause of that initial crumbly pie dough beginners encounter.
Essential Tips to Prevent Crumbly Pie Dough for Beginners
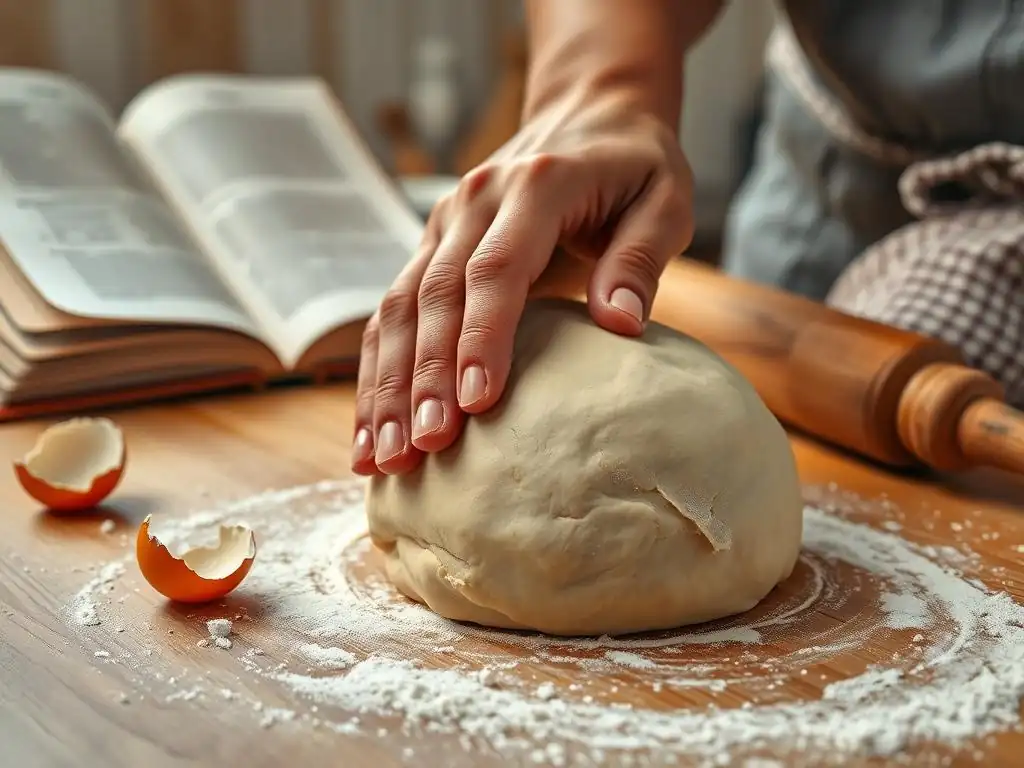
Preventing crumbly pie dough starts before you even begin mixing. By focusing on key aspects like ingredient selection, precise measurement, and temperature control, beginner bakers can dramatically reduce the likelihood of encountering this common problem. It's about building good habits from the start, ensuring your ingredients are prepped correctly and that you understand their roles in the dough-making process. These fundamental steps are the bedrock for achieving a tender, flaky, and cohesive pie crust every time you bake.
Mastering these preventative measures is far easier than trying to fix a crumbly dough after the fact. Paying attention to details like how you measure flour or the temperature of your butter might seem minor, but they have a significant impact on the final texture. For beginner bakers, adopting these best practices early on will save time and frustration and lead to more consistent success in the kitchen.
Choosing the Right Flour and Fat for a Tender, Cohesive Dough
For basic pie dough, all-purpose flour is the standard choice for beginner bakers. Its moderate protein content (typically 10-12%) allows for enough gluten development to create structure without becoming excessively tough, provided it's not overworked. While other flours exist (like pastry flour with lower protein), starting with a reliable all-purpose flour is best for learning the fundamentals. Ensure your flour is fresh; old flour can sometimes have absorption issues.
When it comes to fat, unsalted butter is often preferred for flavor, while shortening offers more consistent flakiness and is sometimes easier for beginners to work with because it has a higher melting point. A blend of butter and shortening is also popular, combining the flavor of butter with the ease and flakiness of shortening. Whichever fat you choose, the most important thing is that it is very cold.
This is non-negotiable for preventing crumbly pie dough and achieving flakiness. Cut your butter into cubes and chill it in the freezer for 15-20 minutes before using, or refrigerate shortening until firm.
Proper Measurement Techniques to Avoid Dry or Overworked Dough
Accurate measurement, especially of flour, is paramount to avoiding dry and crumbly pie dough. As mentioned earlier, scooping flour directly from the bag can add up to 25% more flour than intended by weight. Always use the spoon and level method: lightly spoon flour into your dry measuring cup until it's overflowing, then use a straight edge (like a knife or spatula) to level off the excess without tapping or compacting the flour.
Even better, invest in a simple kitchen scale and measure your ingredients by weight. This is the most accurate method used by professional bakers and ensures consistency regardless of how humid the air is or how densely packed your flour is. For example, a standard cup of all-purpose flour is generally accepted to weigh around 120-125 grams. Following a recipe that lists ingredients by weight will significantly improve your results and help you avoid that common issue of crumbly pie dough beginners struggle with.
Importance of Cold Ingredients and How Temperature Influences Dough Texture
Maintaining cold temperatures throughout the pie dough process is critical for achieving the desired flaky texture and preventing a tough or crumbly outcome. Cold fat is essential because it remains in solid pieces within the dough. During baking, these pieces melt, releasing steam that pushes apart the layers of dough, creating flakiness. If the fat is warm, it melts into the flour too early, coating the flour particles and inhibiting proper gluten development and hydration, leading to a dense or crumbly texture.
Beyond the fat, keeping other ingredients and your workspace cool also helps. Cold water or liquid slows down gluten development, preventing toughness. Some bakers even chill their flour and mixing bowl before starting. If your kitchen is warm, consider working quickly or chilling the dough periodically during the mixing process. The colder the dough, the easier it is to handle and roll without becoming sticky or, conversely, falling apart because the fat melts and the structure is compromised, contributing to crumbly pie dough beginners often encounter in warmer conditions.
Step-by-Step Troubleshooting: Fixing Crumbly Pie Dough in Beginner Recipes
Even with the best intentions and careful preparation, beginner bakers might still find themselves with a crumbly pie dough. Don't panic! Often, a crumbly dough isn't a lost cause and can be rescued with a few simple adjustments. The key is to add moisture carefully and gradually, mixing just enough to bring the dough together without overworking it. Patience and a gentle touch are your allies in this stage.
Learning how to troubleshoot a crumbly dough is a valuable skill that builds confidence. It teaches you to read the dough's consistency and understand how small adjustments can make a big difference. This section provides practical steps you can take right in the moment to transform that frustratingly crumbly pie dough beginners dread into something workable.
How to Adjust Dough Consistency When It Feels Too Dry or Crumbly
If your dough looks like dry sand or small pebbles and refuses to come together when you try to press it, the primary issue is usually insufficient liquid. The fix involves adding more moisture, but it must be done cautiously. Add the liquid very gradually – start with just one teaspoon or tablespoon of ice-cold water (or whatever liquid your recipe calls for) at a time.
Sprinkle the liquid over the driest parts of the mixture, then gently mix it in using your hands or a spatula. The goal is to distribute the moisture evenly. After adding a small amount, try pressing a handful of the dough together. If it holds its shape without crumbling, you've likely added enough. If it still falls apart, add another small amount of liquid and repeat the gentle mixing and testing process. Stop adding liquid as soon as the dough just comes together when pressed. It doesn't need to be perfectly smooth yet.
Techniques for Proper Dough Hydration and Binding Without Overmixing
When adding liquid to a crumbly dough, the technique you use to mix is crucial to avoid overworking it. Overmixing develops too much gluten, leading to a tough crust. Instead of kneading vigorously, use a gentle folding or pressing motion. If using your hands, gather small portions and gently squeeze them together. If using a spatula or pastry blender, gently cut and fold the mixture until the liquid is mostly incorporated.
The aim is to distribute the added moisture just enough to hydrate the dry flour particles and help them bind together. As you mix, keep testing the dough consistency by pressing a small amount. You'll notice it starting to clump together and hold its shape better with each small addition of liquid.
Stop mixing as soon as the dough forms a shaggy mass or comes together when pressed. It's okay if it looks a bit uneven at this stage; resting the dough will help the moisture distribute further. This careful approach helps fix crumbly pie dough beginners might encounter without developing excessive gluten.
Using Minimal Additional Liquid Safely to Restore Dough Elasticity
The key to successfully fixing crumbly pie dough is to use the absolute minimum amount of additional liquid necessary. Adding too much liquid can make the dough sticky and even tougher to handle, potentially leading to a gummy crust. Always use ice-cold liquid, as warm liquid can melt the fat and further compromise the dough's texture.
Add the liquid drop by drop or by the half-teaspoon/teaspoon. Sprinkle it over the dry areas, then gently mix. Avoid pouring liquid directly into one spot. Continuously test the dough by squeezing a small amount. You're looking for the point where it just comes together into a cohesive mass that doesn't fall apart when pressed. It's better to add slightly too little and have a dough that's a little dry than to add too much and end up with a sticky, unmanageable mess. This measured approach is essential for restoring elasticity without ruining the dough's potential flakiness.
Tools and Techniques to Improve Pie Dough Texture for Beginners
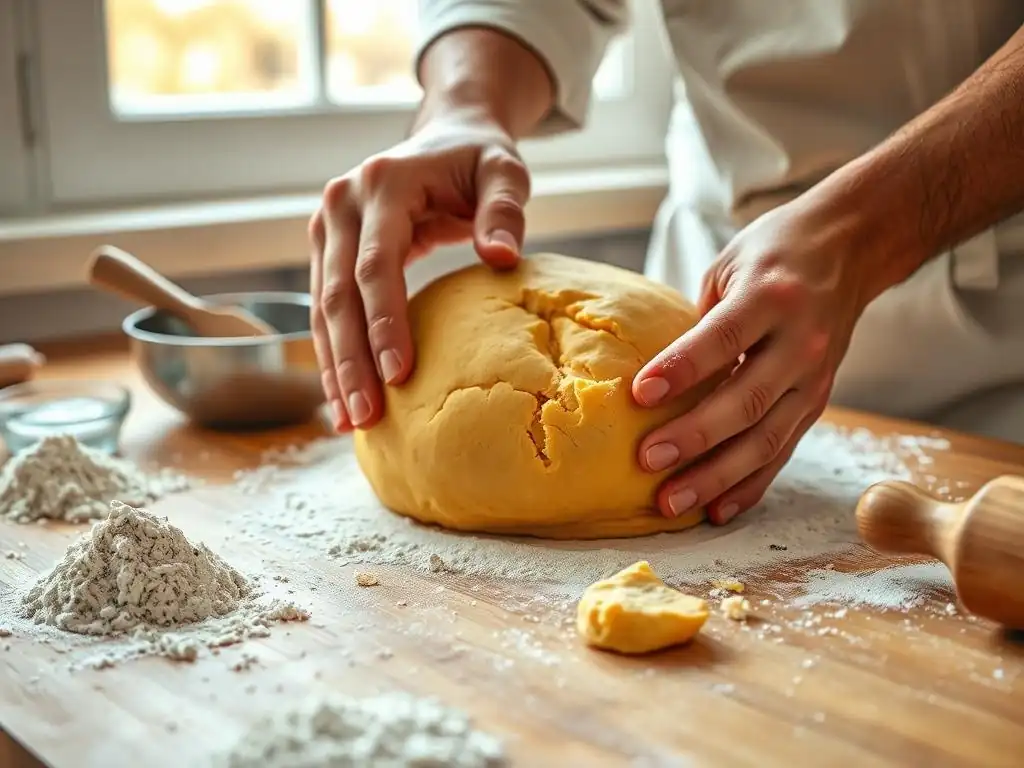
Having the right tools and understanding basic handling techniques can significantly simplify the pie dough process and help prevent or manage crumbly pie dough for beginners. While you don't need a professional kitchen setup, a few key items can make a big difference in achieving a consistent, workable dough texture. Similarly, mastering simple techniques like cutting in fat and proper rolling methods are fundamental skills for successful pie baking.
Investing in some basic equipment and practicing fundamental techniques goes a long way in overcoming common pie dough challenges. These tools and methods are designed to keep ingredients cold, facilitate even mixing, and allow for gentle handling, all of which contribute to a tender, flaky, and cohesive crust.
Recommended Kitchen Tools for Perfect Pie Dough Handling
Several tools can make preparing pie dough easier and help prevent issues like crumbliness or toughness. A pastry blender or fork is excellent for cutting cold fat into the flour, helping you achieve those crucial pea-sized pieces without warming the butter with your hands. Some bakers prefer using their fingertips for this, but a tool can be more efficient and keep things colder.
A sturdy mixing bowl is essential, and some beginners find a food processor helpful for quickly cutting in the fat, though care must be taken not to overmix. A bench scraper is invaluable for gathering the dough and cleaning your workspace. For rolling, a good rolling pin and a lightly floured surface (like a pastry mat or clean countertop) are necessary. Using a pastry mat, sometimes marked with size guides, can also help ensure you roll the dough to the correct dimensions without excessive flour, which can dry out the dough and contribute to crumbly issues.
Effective Kneading and Rolling Methods to Prevent Crumbling
Unlike bread dough, pie dough requires minimal handling to avoid developing too much gluten, which leads to toughness. After adding the liquid, you don't knead pie dough. Instead, gently press or fold the mixture until it just comes together. If you needed to add extra liquid to fix a crumbly dough, use those same gentle motions to incorporate it without kneading.
When it's time to roll, work on a lightly floured surface. Too much flour on the surface can dry out the dough, making it prone to cracking and crumbliness. Roll from the center outwards, rotating the dough frequently to prevent sticking and to ensure even thickness. If cracks appear at the edges as you roll (a common issue with crumbly pie dough beginners encounter), you can gently pinch them back together or patch them with a small piece of dough. Work relatively quickly to keep the dough cold.
When and How to Rest Pie Dough to Enhance Flexibility and Workability
Resting pie dough in the refrigerator is a critical step that significantly improves its texture and workability and helps prevent crumbliness during rolling. After you've mixed the dough and formed it into a disc (or two discs for a double crust), wrap it tightly in plastic wrap and refrigerate for at least 30 minutes, but preferably for 1-2 hours.
This resting period allows several things to happen:
- Hydration: The liquid has time to evenly hydrate all the flour particles, including those that might have been dry initially, making the dough more cohesive.
- Gluten Relaxation: Any gluten that developed during mixing has time to relax, which makes the dough less elastic and easier to roll without shrinking back excessively.
- Fat Firming: The fat re-chills and firms up, which is essential for both rolling ease and achieving flaky layers during baking.
Resting the dough makes it much more pliable and less likely to crack or crumble when you roll it out, directly addressing a key problem with crumbly pie dough beginners face.
Common Crumbly Dough Problems and Their Solutions in Basic Pie Recipes
Even after taking preventative measures and attempting to fix a crumbly dough, issues can persist during the assembly and baking stages. Cracks, breaks, and a tendency for the dough to fall apart are frustrating manifestations of a crumbly base dough. Learning how to handle these problems as they arise is another layer of troubleshooting essential for beginner bakers.
These solutions focus on practical, in-the-moment fixes that can salvage your pie crust and ensure a reasonably successful bake, even if the dough wasn't perfect from the start. Mastering these repair techniques means a crumbly pie dough won't necessarily spell disaster for your finished pie.
Repairing Cracks and Crumbles Before Baking: Patchwork Tips
If your rolled-out pie dough has cracks or breaks, particularly common with a dough that was slightly crumbly, you can often patch them effectively before baking. Simply take a small piece of leftover dough (from scraps, if you have them) and moisten the edges slightly with a tiny bit of cold water.
Place the patch over the crack and gently press or smooth it into the surrounding dough using your fingers. You can use the back of a spoon or a fork to help blend the patch seamlessly into the crust edge or surface. For large holes or severe crumbling, you might need a slightly larger patch. This patchwork technique works well for both the bottom crust and the top crust or lattice work, allowing you to repair that troublesome crumbly pie dough beginners often struggle to keep intact.
Baking Adjustments for Dough That Tends to Fall Apart
If your dough was particularly crumbly and you're concerned it might fall apart during baking, you can make a few adjustments. For a bottom crust, ensure it is firmly pressed into the pie plate, paying extra attention to the corners and edges. If you're pre-baking (blind baking) the crust, use pie weights, dried beans, or rice to fill the crust and support the sides. This helps prevent the edges from slumping or the bottom from bubbling up, both of which can exacerbate problems with a fragile, crumbly crust.
Consider using a slightly lower oven temperature and baking for a little longer if you suspect the dough is very delicate. This allows the crust to set more gently. If the edges seem to be browning too quickly but the center isn't done, you can protect the edges with foil strips or a pie crust shield. These small adjustments can help a less-than-perfect, crumbly pie dough still bake into a functional crust.
Handling Overbaked or Too-Dry Pie Crusts: Rescue Strategies
Sometimes, a pie crust that wasn't necessarily crumbly before baking can become overly dry and brittle if it's overbaked. This can happen if the oven temperature was too high or if it was left in too long. An overbaked crust is often hard, lacks flakiness, and can be difficult to cut without shattering.
While you can't add moisture back into an already baked crust, you can try to mitigate the dryness. If the pie has a filling, the moisture from the filling might soften the bottom crust slightly over time as it sits. For a blind-baked crust that's too dry, unfortunately, there's not much direct rescue.
The best approach here is preventative: monitor your crust closely during baking, especially towards the end, and remove it from the oven as soon as it's golden brown and cooked through. Learning to recognize the signs of a perfectly baked crust is key to avoiding this final stage of dryness associated with crumbly pie dough beginners might accidentally achieve through overbaking.
Best Practices for Beginner Bakers to Master Pie Dough Consistency
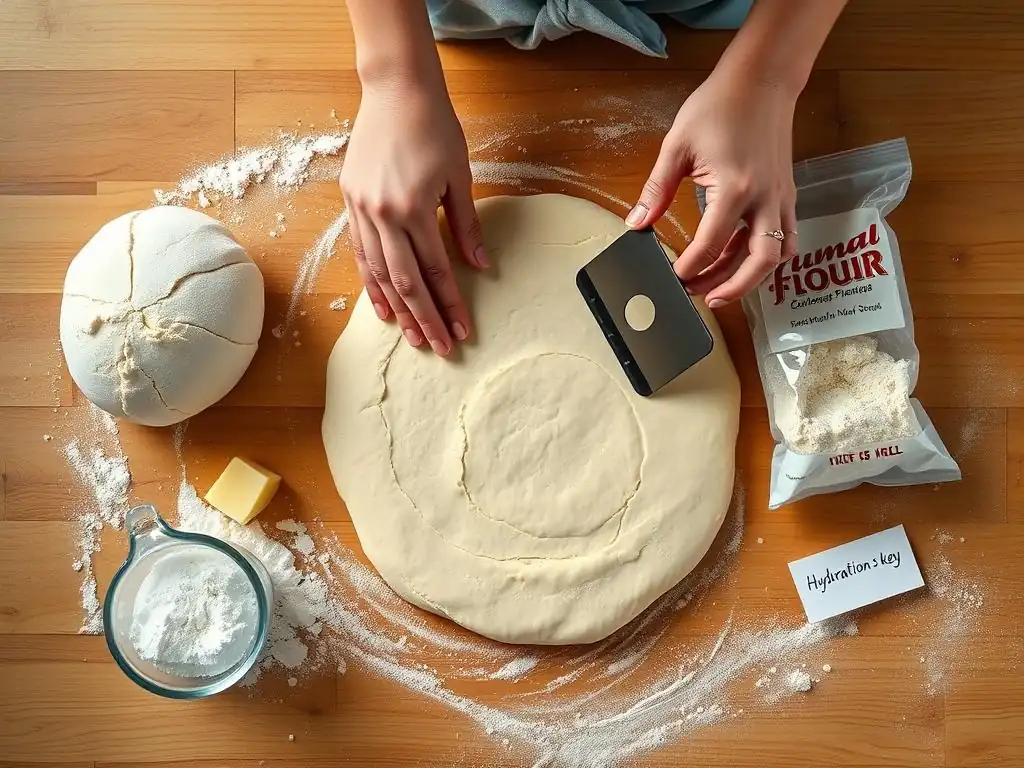
Moving beyond troubleshooting individual issues, adopting a holistic approach to pie dough making will help beginner bakers achieve consistent, successful results. This involves understanding the fundamental principles behind a good dough, practicing regularly, and developing a systematic way to identify and fix problems. Mastering the art of pie dough is a journey, and building a strong foundation is key.
By focusing on these best practices, you'll not only avoid the common pitfalls that lead to crumbly pie dough beginners face but also develop the intuition needed to adjust recipes and techniques as you gain experience.
Creating a Balanced Dough: Fat to Flour Ratios Explained
A fundamental concept in pie dough is the ratio of fat to flour. While recipes vary, a common starting point for a flaky crust is roughly one part cold fat to three parts flour by weight. For example, if you use 300 grams of flour, you might use around 100-150 grams of cold butter or shortening. The amount of liquid is typically much smaller, perhaps starting with 60-80 grams (or ml) of ice water for 300 grams of flour, with the understanding that you might need slightly more or less.
Understanding this basic ratio helps you gauge if a recipe seems balanced. Too little fat relative to flour can result in a tough or crumbly dough, while too much can make it greasy. The goal is enough fat for tenderness and flakiness, enough liquid to bind the flour into a cohesive, workable dough, and proper technique to keep the fat cold and avoid overdeveloping gluten. Getting this balance right is crucial for preventing crumbly pie dough beginners often encounter.
How to Practice and Perfect Pie Dough Through Simple Basic Recipes
The best way for beginner bakers to master pie dough is through practice. Start with a simple, basic pie dough recipe that uses minimal ingredients. Focus on the process: accurately measuring ingredients, keeping everything cold, cutting in the fat correctly, and adding liquid gradually until the dough just comes together. Don't aim for perfection on your first try.
Make the dough a few times just for the sake of practicing the technique, even if you don't bake a full pie. Pay attention to how the mixture feels at each stage – after cutting in the fat, after adding the first bit of liquid, and when it's ready to be formed into a disc. This tactile learning is invaluable. Experiment with slightly different amounts of liquid within the recipe's range to see how it affects the dough's feel and workability. This hands-on experience is the most effective way to conquer crumbly pie dough beginners' woes.
Troubleshooting Checklist: Diagnosing and Fixing Crumbly Pie Dough Quickly
When faced with a crumbly dough, a quick checklist can help you diagnose the likely cause and apply the right fix:
- Did I measure the flour accurately? (Spoon and level or weigh). Fix: If unsure, weigh flour next time. For the current batch, assume excess flour and prepare to add more liquid.
- Were the fat and liquid cold? (Ice-cold butter/shortening, ice water). Fix: Ensure ingredients are chilled next time. For now, add extra liquid gradually while keeping the dough as cool as possible.
- Did I add enough liquid? (Dough looks like dry sand/pebbles). Fix: Add ice-cold liquid, 1 tsp/tbsp at a time, mixing gently until dough just comes together when squeezed.
- Did I overmix after adding liquid? (Dough is crumbly but feels tough). Fix: This is harder to fix. Rest the dough longer in the fridge to relax gluten. Be extra gentle when rolling.
- Was the fat cut in correctly? (Should be pea-sized pieces). Fix: Ensure cold fat is cut in properly next time. For this batch, add liquid carefully.
By running through these questions, beginners can quickly identify the most probable cause of their crumbly pie dough and take targeted steps to fix it.
Conclusion: Mastering Crumbly Pie Dough Issues for Beginner Success
Encountering crumbly pie dough is a rite of passage for many beginner bakers. It's a common challenge that tests patience and technique. However, by understanding the fundamental principles behind pie dough – the importance of cold ingredients, accurate measurement, proper fat incorporation, and careful hydration – you can significantly reduce the likelihood of this problem. And when it does happen, knowing how to gently add more liquid and handle the dough correctly means you can often rescue it.
Encouragement and Final Tips to Build Confidence in Pie Baking
Don't let a few crumbly dough attempts discourage you! Every baker, even the most experienced, has had kitchen mishaps. Think of each batch of crumbly pie dough as a learning opportunity. It teaches you what went wrong and how to adjust. Celebrate the small victories – maybe your fat was perfectly cut in, or your measurements were spot on, even if the hydration was off.
Here are a few final tips for beginner bakers tackling pie dough:
- Read the recipe thoroughly before starting.
- Prep all your ingredients (measure, cube butter, chill) before you begin mixing.
- Work in a cool kitchen if possible.
- Trust your instincts but follow the recipe's guidelines, especially regarding liquid amounts (use the range! ).
- Always chill the dough before rolling.
- Be gentle! Minimal handling is key.
How Consistency in Technique Leads to Flaky, Cohesive Pie Crust Every Time
Ultimately, mastering pie dough and avoiding that frustratingly crumbly texture comes down to developing consistent technique. It's about repeating the fundamental steps correctly each time you bake. With practice, you'll learn to recognize the right texture of the dough at different stages and instinctively know when it needs a little more liquid or gentle handling.
Focus on the process, not just the outcome. As you consistently apply the principles discussed – accurate measuring, cold ingredients, proper mixing, and adequate chilling – you'll find that your pie dough becomes more predictable, easier to work with, and consistently bakes into a beautiful, flaky, and cohesive crust. Keep baking, keep practicing, and soon, crumbly pie dough will be a problem of the past!
Frequently Asked Questions
What causes pie dough to be crumbly, especially for beginners?
A crumbly pie dough is often caused by too little moisture or overmixing the flour. Insufficient fat can also contribute to a crumbly texture.
How can I prevent crumbly pie dough when I'm just starting out?
Ensure you use cold ingredients, especially the butter or shortening. Also, add water gradually and mix only until the dough just comes together.
What's the best fat to use for pie dough that helps avoid a crumbly result for beginners?
Butter is a popular choice for flavor, but shortening can create a more tender and less crumbly crust. A combination of both is also common.
Is there a specific mixing technique that beginners should focus on to avoid crumbly pie dough?
Use a pastry blender or your fingers to cut the fat into the flour until it resembles coarse crumbs. Avoid overworking the gluten by mixing too much after adding water.
What if my pie dough is already crumbly; can I fix it, and how?
You can try adding a very small amount of ice water, one teaspoon at a time, and gently pressing the dough together. Be careful not to overwork it!
Final Reflection: Mastering the Humble Pie Crust
The quest for the perfect, flaky pie crust remains a culinary Everest for many beginner bakers, but conquering its crumbly challenges is entirely within reach. This article has explored the common pitfalls of pie dough creation, from overmixing to temperature inconsistencies, offering practical solutions to achieve that coveted tender, melt-in-your-mouth texture. The seemingly simple act of making pie dough is, in reality, a gateway to understanding fundamental baking principles applicable far beyond the pie plate.
The journey of mastering pie dough is more than just achieving a perfect crust; it's about embracing the process, learning from mistakes, and finding joy in the tactile nature of baking. The best things in life are worth the wait, and a perfectly flaky pie crust is no exception.
This sentiment resonates deeply, as the patience and attention to detail required for successful pie dough making mirror the patience and care needed in many aspects of life. The subtle nuances of flour hydration, the feel of the dough under your fingertips – these are lessons that extend beyond the kitchen.
Now, I invite you to roll up your sleeves (figuratively, or literally!) and put these techniques into practice. Don't be discouraged by initial imperfections; every perfectly flaky pie crust is born from a series of experiments. Embrace the learning process, savor the aroma of baking dough, and most importantly, enjoy the delicious reward of your efforts. The journey to mastering crumbly pie dough for beginners is a rewarding one, filled with delicious discoveries and the satisfaction of creating something beautiful and delicious from scratch.
Unlock Your Inner Pie Baker!
Thanks for joining us on this pie-making adventure! We hope you gained valuable insights into conquering common pie dough challenges. Ready to put your new skills to the test?
- Bake your dream pie! Use what you've learned to create your own masterpiece. Don't be afraid to experiment with fillings and flavors!
- Share your pie-making journey with our BakeWithEase community on social media – we’d love to see your creations! Use #BakeWithEasePies.
- Challenge yourself: Try a more complex pie recipe next time, pushing your newly-honed skills even further.
What unique pie filling will you create to showcase your newfound pie-dough mastery?