
Achieving a Smooth Finish with Cream Cheese Frosting

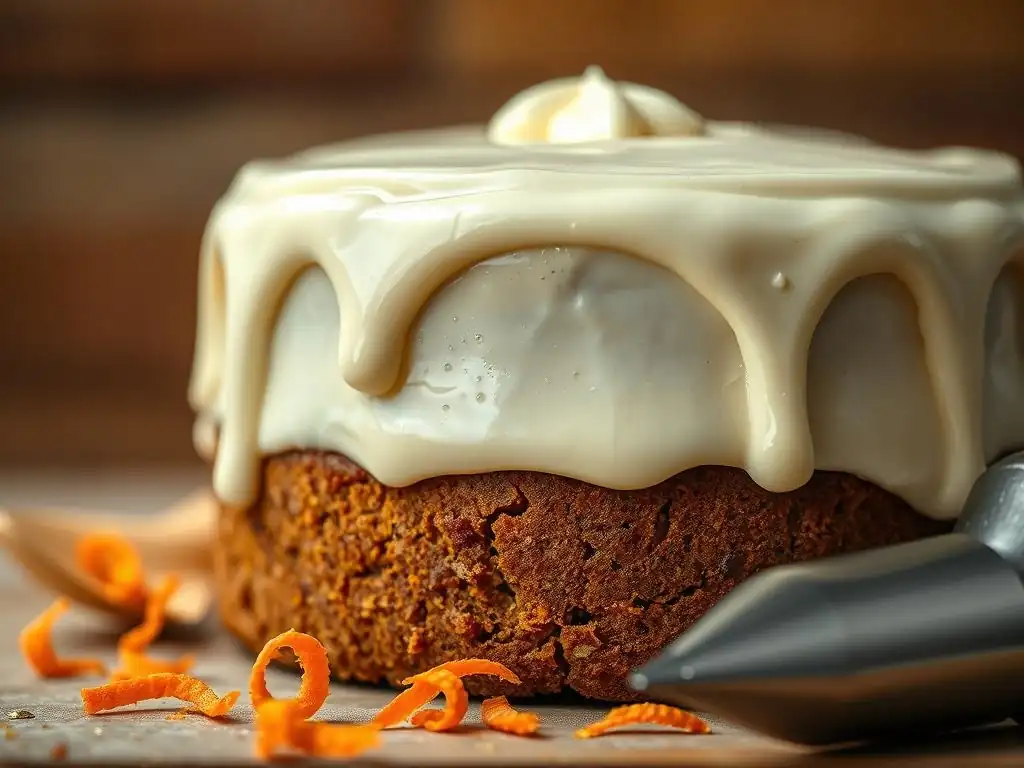
Welcome to BakeWithEase, where we unlock the secrets to baking perfection! Ever dreamt of a flawless finish on your cakes and cupcakes? You're in the right place. Dive into our guide and discover the art of achieving a cream cheese frosting smooth recipe, transforming your desserts from delightful to dazzling. But what's the real secret to that velvety texture? Let's find out...
- Achieving a Smooth Finish with Cream Cheese Frosting: A Comprehensive Guide
- Introduction: Mastering the Art of Smooth Cream Cheese Frosting
- Understanding Cream Cheese Frosting and Its Challenges
- The Perfect Cream Cheese Frosting Recipe for a Smooth Application
- Essential Tools for Smooth Cream Cheese Frosting Application
- Techniques for Achieving a Perfectly Smooth Cream Cheese Frosting
- Troubleshooting Common Cream Cheese Frosting Issues
- Advanced Tips and Tricks for Cream Cheese Frosting Perfection
- Decorating Ideas for Smooth Cream Cheese Frosted Cakes
- Conclusion: Enjoy Your Beautifully Smooth Cake
-
Frequently Asked Questions
- What's the biggest secret to getting a perfectly smooth cream cheese frosting?
- Can I use a stand mixer or hand mixer for this cream cheese frosting recipe?
- What if my cream cheese frosting is too runny?
- What type of cream cheese works best for a smooth frosting?
- How long will cream cheese frosting last, and how should I store it?
- Final Reflection: The Enduring Allure of a Perfectly Smooth Frosting
- Unlock Your Frosting Flourishes!
Achieving a Smooth Finish with Cream Cheese Frosting: A Comprehensive Guide
Introduction: Mastering the Art of Smooth Cream Cheese Frosting
Why a Smooth Finish Elevates Your Cakes
A cake is often the centerpiece of a celebration, and its appearance sets the tone. While the taste of a delicious cream cheese frosting is paramount, a smooth, professional-looking finish significantly enhances the overall presentation. Imagine a birthday cake with clean lines or a wedding tier with a flawless surface – this visual appeal elevates the simple act of serving dessert into a memorable experience.
A smooth finish speaks to attention to detail and craftsmanship, making your homemade creations look just as stunning as those from a professional bakery. It transforms a rustic, charming bake into a polished masterpiece, showcasing the care and effort you put into every layer.
Beyond aesthetics, a smooth frosting surface provides the perfect canvas for further decoration. Whether you plan to pipe intricate borders, add delicate sprinkles, or simply leave it unadorned, a smooth base ensures that any subsequent decorative elements stand out beautifully.
Imperfections on the surface can distract from even the most careful piping work or arrangement of toppings. Achieving a smooth finish with cream cheese frosting isn't just about vanity; it's a fundamental skill that unlocks a wider range of decorating possibilities and guarantees your finished cake looks as incredible as it tastes, truly mastering the art of a smooth cream cheese frosting.
Key Factors for Achieving a Professional Look
Achieving a beautiful, smooth finish with cream cheese frosting hinges on several critical factors, starting with the consistency of the frosting itself. The frosting must be pliable enough to spread easily without tearing the cake, yet firm enough to hold its shape and not slump. This ideal consistency is primarily determined by the ratio of ingredients, the temperature of those ingredients, and the mixing technique used. Too-soft frosting will be difficult to smooth, while frosting that is too stiff can be lumpy and hard to spread evenly.
Another crucial element is the preparation of the cake layers before frosting. A well-chilled cake is much easier to frost smoothly, as it is less prone to crumbling. Applying a "crumb coat," a thin layer of frosting that seals in loose crumbs, is perhaps the most important step in achieving a flawlessly smooth final layer.
Without a proper crumb coat, crumbs will inevitably mix into your beautiful cream cheese frosting, ruining the smooth surface you're trying to achieve. Patience and proper tools, like offset spatulas and bench scrapers, also play significant roles in manipulating the frosting into a smooth, even layer.
Understanding Cream Cheese Frosting and Its Challenges
The Science of Cream Cheese Frosting Consistency
Cream cheese frosting is essentially an emulsion, a mixture of fat and liquid that are typically immiscible. The primary fats come from butter and cream cheese, while the liquid is often present in the cream cheese itself, and sometimes added in the form of milk or cream. Powdered sugar, the main dry ingredient, not only sweetens but also acts as a stabilizer and provides structure by absorbing some of the liquid.
The magic happens when the solid fats (butter and cream cheese) are softened to the right temperature, typically around 68-72°F (20-22°C), and then whipped with the sugar and any liquid. The beating process incorporates air and distributes the sugar crystals evenly within the fat matrix.
The challenge with cream cheese frosting compared to, say, buttercream, often lies in the cream cheese itself. Cream cheese has a higher water content and a softer texture than butter at room temperature. This makes the frosting more susceptible to becoming too soft, especially in warm environments.
If the cream cheese or butter is too warm, the fat molecules won't hold their structure properly, leading to a greasy, separated, or runny frosting that is impossible to smooth effectively. Conversely, if they are too cold, the frosting will be lumpy and stiff. Mastering the temperature of your ingredients is arguably the most critical scientific principle for a smooth cream cheese frosting texture.
Common Problems and Their Solutions
One of the most frequent issues encountered when working with cream cheese frosting is a lumpy texture. This usually occurs because the cream cheese or butter was not sufficiently softened or was not properly incorporated during mixing. Cold lumps of fat simply won't smooth out.
The solution is to ensure your butter and cream cheese are at the ideal room temperature before you begin – soft to the touch but not greasy or melted. Beat the cream cheese on its own first to ensure it's completely smooth before adding the butter, and then beat them together thoroughly until no lumps remain before introducing the powdered sugar.
Another common problem is a frosting that is too soft or runny, making it slide off the cake rather than adhere and smooth. This can happen if too much liquid (milk, cream, or even vanilla extract) is added, if the ingredients were too warm initially, or if the frosting has been over-whipped, incorporating too much air which can destabilize the structure. To fix a runny frosting, you can try chilling it in the refrigerator for 20-30 minutes to allow the fats to firm up.
If it's still too soft, you may need to add more powdered sugar, a tablespoon at a time, beating on low speed until the desired consistency is reached. Be cautious not to add too much sugar, as this can make the frosting overly sweet and stiff.
The Perfect Cream Cheese Frosting Recipe for a Smooth Application
Ingredients for Optimal Texture
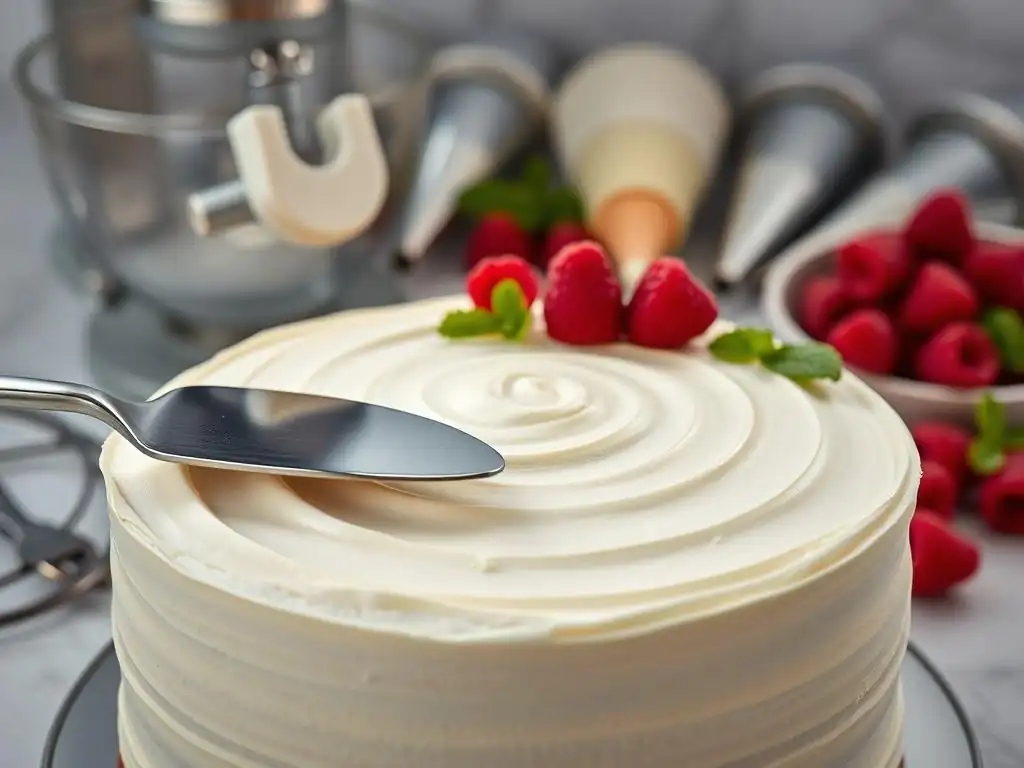
Achieving a smooth cream cheese frosting starts with the right ingredients at the right temperature. You'll need full-fat block cream cheese, not the spreadable kind from a tub, as the block variety contains less water and more stabilizers, resulting in a firmer, more reliable frosting. Ensure your cream cheese is at room temperature, meaning it yields slightly when gently pressed but isn't mushy – typically after sitting out for about 30-60 minutes.
Similarly, unsalted butter should be at room temperature, soft enough to easily indent with your finger but not melted around the edges. Using unsalted butter gives you control over the saltiness. Powdered sugar (also known as confectioners' sugar or icing sugar) is essential; its fine texture dissolves readily, contributing to smoothness.
Sifting the powdered sugar before adding it can help prevent lumps, although a good mixing technique can often suffice. A small amount of pure vanilla extract enhances the flavor, and sometimes a tablespoon or two of milk or cream is used to adjust consistency, but add this sparingly, as too much liquid is the enemy of a smooth cream cheese frosting.
Step-by-Step Recipe: Achieving Silky Smoothness
Here is a reliable recipe for a smooth cream cheese frosting, designed for easy application and a silky finish. Start by ensuring your ingredients are at the proper room temperature. In a large mixing bowl, beat 16 ounces (about 450g) of softened block cream cheese on medium speed until it is completely smooth and free of any lumps, which usually takes about 1-2 minutes. Scrape down the sides and bottom of the bowl.
Next, add 1 cup (about 225g) of softened unsalted butter to the bowl with the cream cheese. Continue beating on medium speed until the mixture is light and fluffy, usually 3-4 minutes. The mixture should be uniform in color and texture, with no streaks of butter or cream cheese.
Reduce the mixer speed to low and gradually add 4 cups (about 450g) of powdered sugar, one cup at a time, allowing each addition to be mostly incorporated before adding the next. Once all the sugar is added, mix on low speed until just combined, then add 1-2 teaspoons of vanilla extract. Increase the speed to medium-low and beat for just 30-60 seconds more until the frosting is smooth and creamy.
Avoid over-beating once the sugar is in, as this can incorporate too much air and make the frosting less stable for a smooth finish. If it seems too stiff, add a teaspoon of milk or cream and beat briefly until the desired consistency is reached for your smooth cream cheese frosting application.
Essential Tools for Smooth Cream Cheese Frosting Application
Must-Have Tools: Spatulas and Scrapers
To achieve a truly smooth finish with your cream cheese frosting, having the right tools is non-negotiable. The primary tools you'll need are spatulas and scrapers. Offset spatulas, with their angled blade, are essential for applying and spreading frosting onto the cake layers and sides without your knuckles dragging through the frosting.
They come in various sizes, but a medium-sized offset spatula (around 8-10 inches total length) is versatile for most cake sizes. A smaller offset spatula can be useful for tighter spots or detailing. Straight spatulas are also helpful for scooping frosting from the bowl and applying a generous amount to the cake before spreading.
Bench scrapers (also called bench knives or dough scrapers), particularly those with a straight, rigid edge, are indispensable for smoothing the sides of the cake. Holding the scraper perpendicular to the cake and rotating the turntable (if you have one) allows you to shave away excess frosting and create a perfectly straight, smooth side.
Flexible bowl scrapers are great for getting every last bit of that delicious smooth cream cheese frosting out of the mixing bowl, ensuring no waste. Investing in a few quality spatulas and at least one good bench scraper will significantly improve your ability to achieve a professional, smooth finish on your cakes.
Choosing the Right Piping Bags and Tips
While smoothing tools are key for the overall finish, piping bags and tips can also be surprisingly useful in achieving a smooth cream cheese frosting application, especially for filling layers evenly and applying frosting to the sides before smoothing. Using a large piping bag fitted with a round tip (like an Ateco 808 or a Wilton 1A) allows you to pipe even rows of frosting onto the cake layers for filling or around the sides of the cake.
This method helps ensure you have a consistent amount of frosting everywhere, which makes the subsequent smoothing process much easier and more uniform.
For filling, piping concentric circles from the center outwards ensures an even distribution of frosting, preventing dips or bulges in your layers. When frosting the sides, piping vertical lines or horizontal rows of frosting around the cake before using a scraper helps apply the frosting thickly and evenly, providing ample material to work with for smoothing. While not strictly necessary for smoothing itself, using piping bags to apply the frosting sets you up for success by ensuring a consistent and adequate layer of your smooth cream cheese frosting across the entire surface you plan to smooth.
Techniques for Achieving a Perfectly Smooth Cream Cheese Frosting
The Crumb Coat: Your Foundation
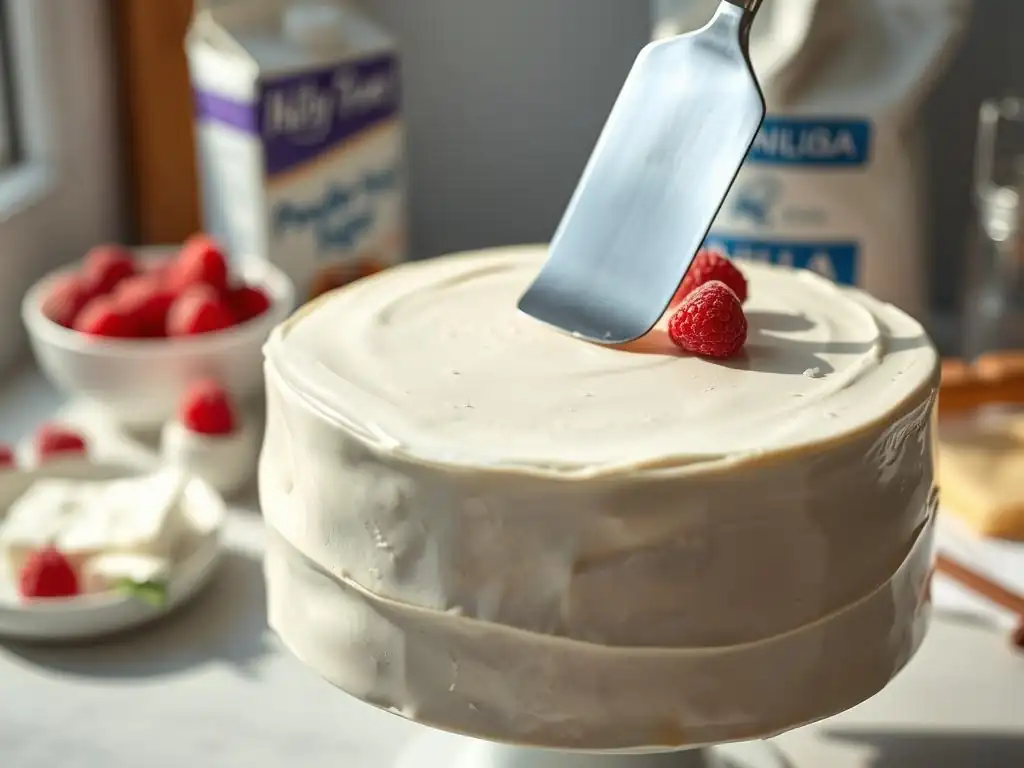
The crumb coat is arguably the most critical step in achieving a perfectly smooth finish on any cake, especially with delicate cream cheese frosting. It involves applying a very thin layer of frosting all over the cake – top and sides – specifically to trap any loose crumbs. Think of it as a primer coat before the final paint. Without this layer, crumbs from the cake layers will inevitably get mixed into your final, thicker layer of smooth cream cheese frosting, creating an undesirable bumpy or uneven texture.
To apply a crumb coat, use an offset spatula to spread a thin amount of frosting over the entire cake surface. It doesn't need to look pretty or be perfectly smooth at this stage; the goal is simply to cover the cake and seal in the crumbs. Once the cake is fully coated, chill it in the refrigerator for at least 15-30 minutes, or until the crumb coat is firm to the touch.
This chilling period is essential as it hardens the thin layer of frosting, effectively gluing down all the crumbs and providing a stable, smooth base for your final frosting layer. This chilled, crumb-coated cake is now ready for the main event: applying the thick, smooth cream cheese frosting.
Layering and Filling Your Cake Evenly
Before you even think about smoothing the outside, ensuring your cake layers are stacked and filled evenly is crucial for a stable and straight cake, which is much easier to frost smoothly. Start with a level cake layer on your serving plate or cake board. If your layers aren't perfectly flat, you can gently trim the tops with a serrated knife.
Apply a generous, even layer of smooth cream cheese frosting onto the first layer. Using a piping bag (as mentioned earlier) or simply dolloping frosting and spreading with an offset spatula works well, but aim for uniform thickness across the entire layer, leaving a small border (about 1/4 inch) near the edge to account for the weight of the next layer.
Carefully place the next cake layer on top, ensuring it is centered and level. Gently press down to secure it, but not so hard that the frosting squishes out excessively. Repeat this process for all your layers. An uneven filling will lead to a lopsided cake, making it incredibly difficult to achieve straight sides and a smooth top layer of frosting. Taking the time to stack and fill precisely lays the groundwork for a successful smooth finish with your cream cheese frosting.
Mastering the Final Frosting Layer
Once your cake is crumb-coated and chilled, it's time for the final, thicker layer of smooth cream cheese frosting. Apply a generous amount of frosting to the top and sides of the cake. Don't worry about making it smooth yet; just ensure there's enough frosting everywhere to cover the cake completely and allow for smoothing – you'll be removing the excess. A common beginner mistake is not applying enough frosting initially, which makes smoothing much harder.
Now comes the smoothing process. There are several techniques you can use, often in combination, to get that perfect smooth cream cheese frosting surface. Work quickly but carefully, as cream cheese frosting can soften with handling and warmth. The goal is to remove excess frosting while filling in any gaps or imperfections, leaving a flawless surface ready for decoration or serving.
The "Hot Knife" Technique
The "hot knife" technique, often used with buttercream but adaptable for firm cream cheese frosting, involves using a metal spatula (usually a straight one) that has been dipped in hot water and dried immediately. The warmth of the spatula slightly melts the very surface of the frosting, allowing you to glide it over the cake for a super smooth finish.
To use this, fill a tall glass or container with hot (not boiling) water. Dip your metal spatula into the water for a few seconds, wipe it completely dry with a clean cloth, and then gently glide it over the frosted surface of the cake, holding it at a slight angle.
Wipe the spatula clean and repeat the dipping and drying process as needed. This technique works best on frosting that is relatively firm and chilled slightly. The heat helps to eliminate small ridges and imperfections, leaving a polished surface. Be sure to dry the spatula completely each time; any water droplets will leave marks on your smooth cream cheese frosting. This method requires a bit of practice, but it can yield exceptionally smooth results on both the top and sides of the cake.
Using a Bench Scraper
Using a bench scraper is one of the most effective and popular methods for achieving perfectly straight and smooth sides on a cake frosted with cream cheese frosting. Once you have applied a generous amount of frosting to the sides, hold a straight, rigid bench scraper perpendicular to the cake board or serving plate, with the edge lightly touching the side of the cake. While holding the scraper steady, rotate the cake turntable (if you have one).
The scraper will shave away excess frosting, fill in gaps, and create a smooth, even side. You may need to scrape several times, cleaning the excess frosting off the scraper between passes. For the top edge where the side frosting meets the top frosting, hold the scraper or an offset spatula parallel to the top surface and gently pull the excess frosting from the edge towards the center of the cake.
Repeat around the entire circumference until you have a sharp, clean edge and smooth sides. This technique is fantastic for giving your smooth cream cheese frosting a professional, crisp look.
Smoothing with Parchment Paper
Another simple yet effective technique for achieving a very smooth finish, particularly on the top surface of the cake, is using parchment paper or an acetate sheet. Once you have applied and roughly smoothed the final layer of cream cheese frosting on the top of the cake with a spatula, take a piece of parchment paper or a sheet of acetate that is larger than the top of the cake. Gently lay it flat on top of the frosted surface.
Using your hand or a fondant smoother, gently rub over the parchment paper, applying even pressure across the entire surface. The paper or acetate will press the frosting down, smoothing out any spatula marks and imperfections without sticking to the frosting itself. Carefully peel back the parchment paper or acetate to reveal a beautifully smooth surface. This method is particularly useful for the top of the cake and is relatively foolproof for getting a flawless, smooth cream cheese frosting finish.
Troubleshooting Common Cream Cheese Frosting Issues
Fixing Lumpy Frosting
Discovering lumps in your cream cheese frosting after mixing can be frustrating, but it's often fixable. Lumps typically occur when the butter or cream cheese wasn't soft enough or wasn't beaten adequately before combining with the powdered sugar. If you catch it early, while you're still creaming the butter and cream cheese, keep beating! Sometimes it just needs more time to become homogenous. Ensure your ingredients truly are at room temperature – if they feel cold, let them warm up more.
If the lumps are still present after adding the sugar, you have a couple of options. For small lumps, you can try beating the frosting on low speed for a few extra minutes; sometimes the friction from the mixer can help break them down. If the lumps are significant, the most effective solution is to gently warm the frosting slightly.
Place the mixing bowl over a pot of barely simmering water (a double boiler setup) off the heat for just a few seconds, stirring constantly, until the lumps begin to disappear. Be very careful not to melt the frosting; you only want to soften the lumps. As soon as they're gone, remove from the heat and beat again briefly.
Alternatively, you can microwave a very small amount (a tablespoon or two) of the lumpy frosting until just barely warm and liquid, then stir this back into the main batch. This helps dissolve the sugar crystals or melt small fat lumps.
Addressing a Too-Soft or Runny Frosting
A cream cheese frosting that is too soft or runny is challenging to work with and impossible to smooth effectively. This can happen if the ingredients were too warm, too much liquid was added, or it was over-whipped. The first and easiest solution is refrigeration. Place the bowl of frosting in the refrigerator for 20-30 minutes, then stir it. Chilling allows the fats to firm up, often bringing it to the ideal consistency for a smooth cream cheese frosting application.
If chilling alone isn't enough, you likely need to add more powdered sugar to absorb excess liquid and provide structure. Add sifted powdered sugar a tablespoon at a time, beating on the lowest speed just until combined. Continue adding and mixing until the frosting reaches a spreadable yet firm consistency.
Be careful not to add too much, as this will make it overly sweet and stiff. As a last resort, if the frosting has completely broken (separated and greasy), it might be difficult to fully salvage for a perfectly smooth finish, but chilling it thoroughly and then re-whipping on low speed can sometimes bring it back together.
Preventing Air Bubbles
Air bubbles trapped in your cream cheese frosting can create tiny pits and imperfections on the surface, hindering a smooth finish. These bubbles are usually incorporated during the mixing process, especially if the frosting is whipped at high speed for too long after the powdered sugar is added. While some air is desirable for a light texture, too much makes smoothing difficult.
To prevent excessive air bubbles, follow the recipe steps carefully regarding mixing speed and time, particularly after adding the sugar. Beat on medium speed to cream the butter and cream cheese, but switch to low speed as soon as you start adding powdered sugar. Once all ingredients are combined and the frosting is smooth, beat for only a short period (30-60 seconds) on medium-low speed just to ensure everything is incorporated and smooth.
If you still have noticeable bubbles, you can try "de-gassing" the frosting. Press the frosting against the sides of the bowl with a spatula to force the air out, or mix it on the absolute lowest speed for several minutes. Allowing the frosting to rest for 10-15 minutes before frosting the cake can also help some bubbles dissipate naturally, leading to a smoother cream cheese frosting.
Advanced Tips and Tricks for Cream Cheese Frosting Perfection
Flavoring and Coloring Without Affecting Texture
Adding flavor extracts or food coloring to your cream cheese frosting needs to be done carefully to avoid altering its smooth consistency. For flavor, always use extracts (like vanilla, almond, lemon) or pastes rather than water-based flavorings or liquid syrups, which add too much moisture. Add extracts after the powdered sugar is fully incorporated, mixing on low speed just until combined. For citrus flavors, using zest provides intense flavor without adding significant liquid.
When coloring cream cheese frosting, opt for gel or paste food coloring. These are highly concentrated and require only a tiny amount to achieve vibrant colors, unlike liquid food coloring which can significantly thin the frosting. Add the coloring a drop or two at a time, mixing on low speed until the desired shade is reached.
Overmixing to incorporate color can add air bubbles, so mix only until the color is uniform. If you need a very intense color, it's better to let the color develop over time in the fridge rather than adding excessive amounts of coloring at once. Proper flavoring and coloring ensures your smooth cream cheese frosting tastes and looks great without compromising its texture.
Achieving a Pure White Frosting
Cream cheese frosting naturally has a slightly off-white or yellowish tint due to the color of the butter and cream cheese. Achieving a pure, bright white smooth cream cheese frosting requires a few tricks. Firstly, use unsalted butter that is as pale as possible (some brands are yellower than others). Ensure your vanilla extract is clear or white vanilla extract, as traditional brown vanilla will tint the frosting.
To counteract the yellow tones, you can add a tiny amount of violet or blue gel food coloring. Just a pinprick on a toothpick stirred into the frosting can neutralize the yellow and make the frosting appear whiter. Be extremely cautious, as too much will turn your frosting grey or purple. Another method is to use a small amount of white food coloring or titanium dioxide powder (food-grade).
These pigments add opacity and brightness. Add them sparingly, mixing until the desired level of whiteness is achieved. Combining these techniques can help you achieve a stunningly pure white smooth cream cheese frosting, perfect for wedding cakes or other elegant designs.
Storing and Handling for Optimal Smoothness
Proper storage and handling are essential to maintain the smooth consistency of cream cheese frosting before and during application. Cream cheese frosting is best stored in an airtight container in the refrigerator. It will firm up considerably when chilled, which is actually beneficial for smoothing techniques like the crumb coat and the final layer.
When you're ready to use chilled frosting for the final coat, remove it from the refrigerator about 30-60 minutes beforehand to allow it to soften slightly. You want it pliable enough to spread, but still cool and firm. If it's too cold and stiff, you can beat it on low speed for a minute or two to loosen it up, but avoid incorporating excessive air.
During the frosting process, especially in a warm kitchen, the frosting on the cake can soften. If you're having trouble smoothing because it's becoming too soft, pop the cake (or even just the bowl of frosting) back into the refrigerator for 10-15 minutes to let it firm up again. Working with slightly cool, firm cream cheese frosting is key to achieving and maintaining that smooth finish.
Decorating Ideas for Smooth Cream Cheese Frosted Cakes
Simple Yet Elegant Decoration Techniques
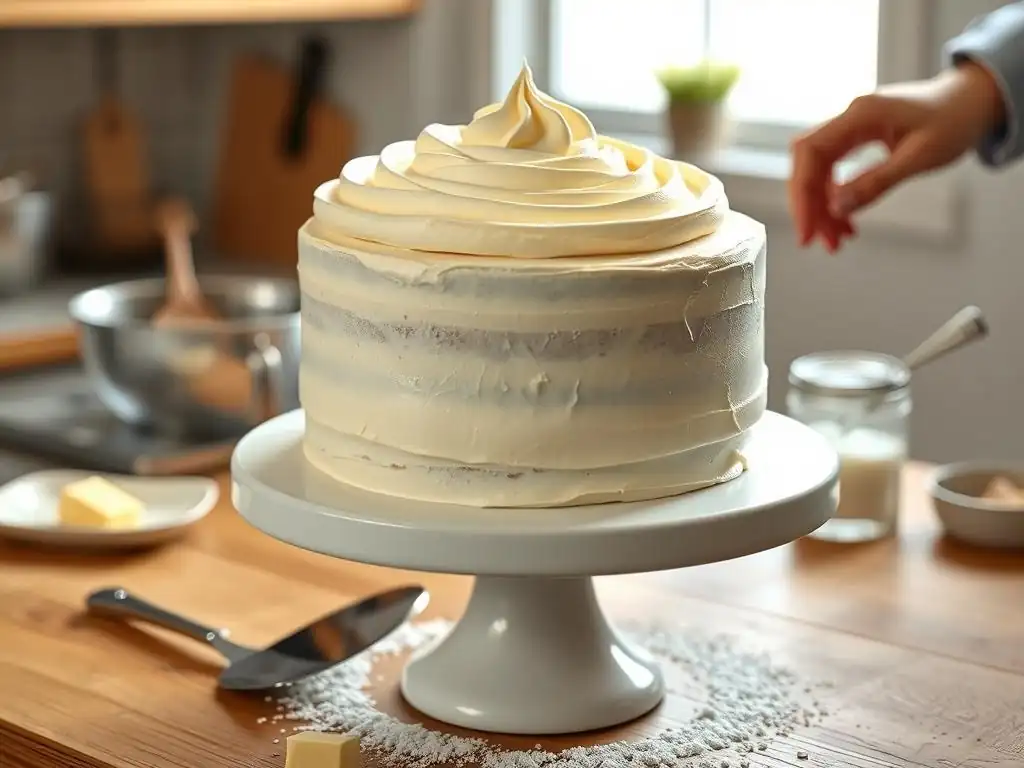
A smooth finish on your cream cheese frosted cake provides a beautiful minimalist aesthetic on its own, but it also serves as the perfect backdrop for simple, elegant decorations. One popular technique is to leave the sides perfectly smooth and create a textured swirl or peak on top using an offset spatula. This offers a lovely contrast in textures. Another simple approach is to add a border around the base or top edge using a basic piping tip; with a smooth canvas, even a simple star or shell border looks incredibly neat and professional.
Consider adding sprinkles, edible glitter, or nonpareils directly onto the smooth surface for a pop of color and sparkle. Since the surface is smooth, these decorations will adhere easily and evenly. Fresh berries, chocolate shavings, or candied nuts can be artfully arranged on the smooth top or around the base. Even a light dusting of powdered sugar or cocoa powder through a stencil creates a clean, sophisticated look against the smooth cream cheese frosting. The beauty of a smooth finish is that it allows even the simplest decorations to shine.
Using Piping Techniques
While the goal of this article is a smooth finish, piping techniques aren't just for adding texture; they can be used on a smooth surface to add detail and sophistication. Once your cake has a beautiful, smooth cream cheese frosting exterior, you can use piping bags fitted with various tips to add decorative elements. For example, pipe delicate dots or pearls around the border using a small round tip (like a Wilton 3 or 5).
You can also pipe script or messages directly onto the smooth top. Intricate lace patterns or geometric designs can be piped onto the smooth sides for a stunning visual effect. For a more dramatic look, pipe rosettes, swirls, or other shapes on the top surface, leaving the smooth sides as a clean contrast. The precision of piping stands out beautifully against the clean lines of a smooth cream cheese frosting finish, allowing you to add intricate details while still showcasing the flawless base layer you worked so hard to achieve.
Conclusion: Enjoy Your Beautifully Smooth Cake
Recap of Key Techniques
Achieving a smooth finish with cream cheese frosting transforms a delicious cake into a stunning centerpiece. We've covered the essential steps and techniques to help you master this skill. Remember that starting with ingredients at the correct room temperature is fundamental for creating a frosting with the right consistency – not too soft, not too stiff. The mixing process, particularly avoiding over-beating after adding sugar, is key to minimizing air bubbles and ensuring a smooth texture.
The technique of applying a thin, chilled crumb coat is non-negotiable; it seals in crumbs and provides a stable base for your final frosting layer. Applying a generous amount of the final smooth cream cheese frosting allows you room to work. Finally, mastering smoothing tools like offset spatulas and especially a bench scraper for the sides, or techniques like the "hot knife" or parchment paper methods, are what will give your cake that polished, professional look. With practice and attention to these steps, you'll consistently achieve a beautifully smooth cream cheese frosting finish on all your cakes.
Frequently Asked Questions
What's the biggest secret to getting a perfectly smooth cream cheese frosting?
The biggest secret is ensuring your cream cheese and butter are at room temperature before you begin. This prevents lumps and ensures a smooth and even consistency.
Can I use a stand mixer or hand mixer for this cream cheese frosting recipe?
Yes, either will work! Just be careful not to overmix the frosting, as this can cause it to become too soft and lose its structure. Use the paddle attachment for the best results.
What if my cream cheese frosting is too runny?
If your frosting is too runny, try adding a little more powdered sugar, a tablespoon at a time, until you reach your desired consistency. You can also chill it in the refrigerator for a short period to firm it up.
What type of cream cheese works best for a smooth frosting?
Full-fat, brick-style cream cheese is highly recommended for achieving the smoothest texture. Avoid using whipped cream cheese or cream cheese spreads, as they often contain stabilizers and can result in a less stable frosting.
How long will cream cheese frosting last, and how should I store it?
Cream cheese frosting will generally last for 3-4 days in the refrigerator. Store it in an airtight container to prevent it from drying out and absorbing odors.
Final Reflection: The Enduring Allure of a Perfectly Smooth Frosting
The pursuit of the perfect cream cheese frosting—that cloud-like, flawlessly smooth texture—is more than just a baking quest; it's a reflection of our desire for precision and beauty in the everyday. A seemingly simple task, mastering the art of cream cheese frosting reveals a deeper appreciation for the nuances of ingredients, technique, and the satisfying reward of a job well done. This pursuit connects us to a long tradition of bakers striving for excellence, a tradition that continues to thrive in kitchens around the world.
The impact of a flawlessly smooth frosting extends beyond the immediate gratification of a delicious treat. It speaks to a broader cultural appreciation for aesthetics and the meticulous care that goes into creating something beautiful. The simple act of piping a perfect swirl, the satisfying sheen of a well-finished cake, these details resonate with our innate desire for visual harmony and the pride we take in our creations. The best things in life are simple, but not easy.
This quote perfectly encapsulates the journey to mastering cream cheese frosting – a seemingly simple goal that requires dedication and attention to detail.
Now, consider your own baking journey. Perhaps you've experienced the frustration of a lumpy frosting, or the joy of achieving that perfect, mirror-like finish. Remember the feeling of accomplishment, the pride in your work, and the smiles it brought. Don't be afraid to experiment, to refine your technique, and to embrace the learning process. The next time you whip up a batch of cream cheese frosting, remember the power of a perfectly smooth finish—not just as a culinary achievement, but as a testament to your dedication, creativity, and the enduring magic of baking.
Unlock Your Frosting Flourishes!
Thanks for joining us on this creamy adventure! We hope you learned some valuable tips and tricks for achieving that perfect, smooth cream cheese frosting. Now it's time to put your new skills to the test!
- Master the swirl: Practice your frosting techniques on a simple cake or cupcakes, focusing on achieving that flawless, professional-looking finish. Experiment with different piping tips and techniques!
- Share your masterpiece: Show off your beautifully frosted creations on social media – use #BakeWithEase so we can all admire your work!
- Explore new flavor combinations: Don't be afraid to get creative! Try adding extracts, citrus zest, or even a touch of spice to your cream cheese frosting for unique flavor profiles.
Ready to transform your baking game? What delicious flavor combination will you try first?