
Beyond Bread: Other Foods You Can Make in Your Bread Machine

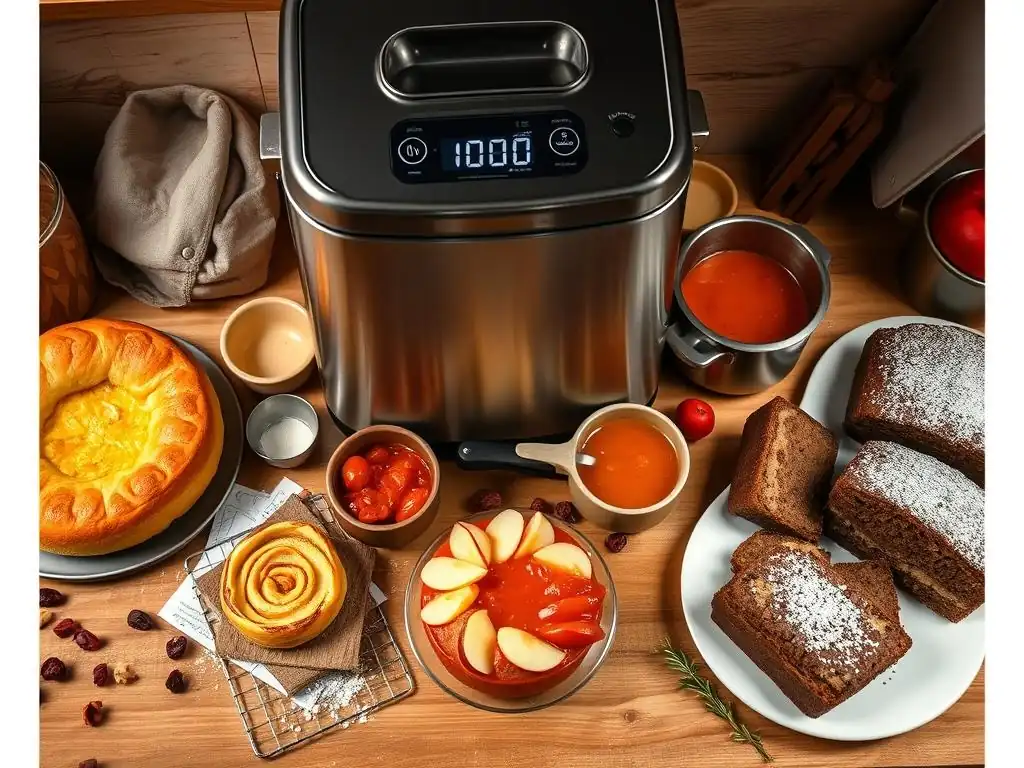
Welcome to BakeWithEase, your haven for effortless baking! Ever wondered if your bread machine's capabilities extend beyond the loaf? Prepare to be amazed! We're diving into the surprisingly versatile world of your bread machine, uncovering delicious possibilities you never knew existed. Get ready to explore exciting bread machine recipes beyond bread and unlock a whole new level of culinary creativity! Intrigued? Let's get started!
- Beyond Bread: Other Foods You Can Make in Your Bread Machine - BakeWithEase
- Introduction: Unleashing Your Bread Machine's Potential Beyond Bread Baking
- Bread Machine Doughs: The Foundation for Culinary Creativity
- Jams and Jellies: Preserving Freshness with Your Bread Machine
- Bread Machine Cakes: Surprisingly Delicious Desserts
- Bread Machine Meatloaf: A Savory Surprise
- Yogurt in a Bread Machine: A Probiotic Powerhouse
- Rice and Risotto: Savory Grains Made Easy
- Apple Butter: A Fall Favorite
- Conclusion: Mastering Bread Machine Recipes Beyond Bread
- Frequently Asked Questions
- Final Reflection: Unleashing the Untapped Potential of Your Bread Machine
- Unlock Your Bread Maker's Hidden Potential!
Beyond Bread: Other Foods You Can Make in Your Bread Machine - BakeWithEase
Introduction: Unleashing Your Bread Machine's Potential Beyond Bread Baking
Discover the Versatility of Your Bread Machine
Think of your bread machine not just as a specialized appliance for loaves, but as a versatile kitchen assistant capable of much more. While its primary function is, of course, baking delicious bread, many models come equipped with cycles specifically designed for dough, jam, cake, and even yogurt. This opens up a world of bread machine recipes beyond bread, allowing you to simplify processes that might otherwise be time-consuming or require constant attention. Modern bread machines, even entry-level models often costing less than $100, typically include these diverse settings, making them a cost-effective way to expand your culinary skills.
Beyond the pre-programmed cycles, the consistent temperature control and mixing capabilities of a bread machine make it ideal for various applications. For example, the "dough" cycle provides the perfect environment for yeast to rise, often completing the kneading and first rise in under 90 minutes. This consistency is key to achieving great results with pizza dough, pasta dough, or even enriched doughs for sweet rolls. Exploring these bread machine recipes beyond bread saves time and effort, proving that this appliance is far more than a one-trick pony in your kitchen.
BakeWithEase Presents: Expanding Your Bread Machine Repertoire
At BakeWithEase, we believe in making baking and cooking accessible and enjoyable for everyone. That's why we're excited to delve into the many incredible bread machine recipes beyond bread that you can master. From savory delights like meatloaf and risotto to sweet treats like cakes and apple butter, your bread machine holds hidden potential waiting to be unlocked. Our goal is to guide you through these possibilities, offering simple, clear instructions that yield fantastic results with minimal fuss.
Forget the notion that your bread machine is only for sandwich loaves or rustic crusts. It's a powerful tool for creating a wide array of dishes. Many users report successfully making everything from homemade yogurt, saving potentially dollars per week compared to store-bought, to quick batches of jam using seasonal fruits. By exploring these bread machine recipes beyond bread, you'll not only get more value out of your appliance but also discover convenient ways to prepare delicious, homemade food for your family and friends.
Bread Machine Doughs: The Foundation for Culinary Creativity
Pizza Dough in Your Bread Machine: A Simple Recipe
Making pizza dough from scratch can be a messy and time-consuming process, involving kneading, rising, and more kneading. Your bread machine simplifies this dramatically. Most machines have a dedicated "dough" cycle that handles all the mixing and initial rising for you.
Typically, you'll add liquids (like warm water, around 105-115°F or 40-46°C), then dry ingredients (flour, salt, sugar), and finally the yeast on top, following the specific order recommended by your machine's manual. A standard recipe for a medium pizza often calls for about 1 cup of water, 2.5 to 3 cups of bread flour, a teaspoon of salt, a tablespoon of sugar, and about 1.5 teaspoons of active dry yeast.
Once the ingredients are in, select the "dough" cycle. This cycle usually lasts between 1 hour 20 minutes and 1 hour 50 minutes, depending on the model. The machine will mix, knead, and then provide a warm environment for the dough to rise. After the cycle finishes, you'll have a perfectly kneaded and risen dough ball, ready to be punched down, shaped, topped, and baked. This method consistently produces a supple dough that results in a delicious crust, making it one of the most popular bread machine recipes beyond bread.
Pasta Dough Perfection: Homemade Pasta Made Easy
While not typically mentioned in bread machine manuals, the kneading function is excellent for making pasta dough. Traditional pasta dough requires vigorous kneading to develop the gluten necessary for a firm, elastic texture. Your bread machine can handle this labor-intensive step efficiently. A basic egg pasta dough recipe often uses a ratio of about 1 cup of flour per large egg, plus a pinch of salt. For two servings of pasta, you might use 2 cups of all-purpose or '00' flour and 2 large eggs.
To make pasta dough in your bread machine, add the eggs and salt first, then the flour. Select a "dough" or "pasta" cycle if available, but if not, the "knead" cycle or even the initial mixing phase of a regular cycle works. Run the machine until the dough forms a cohesive ball and appears smooth and elastic, which might take around 10-15 minutes of kneading.
You might need to scrape down the sides occasionally to ensure all ingredients are incorporated. Once kneaded, remove the dough, wrap it tightly, and let it rest for at least 30 minutes before rolling and cutting. This hands-off kneading makes homemade pasta significantly more accessible among bread machine recipes beyond bread.
Bread Machine Dough for Cinnamon Rolls: Sweet Treats Simplified
Enriched doughs, like those for cinnamon rolls, require thorough kneading and a good rise, both of which your bread machine excels at. These doughs typically include ingredients like milk, butter, eggs, and sugar, in addition to flour and yeast. The higher fat and sugar content can sometimes make manual kneading stickier and more challenging.
Using the bread machine's dough cycle takes the mess and effort out of the process. A common recipe might use around 1 cup of warm milk, 1/4 cup melted butter, 1-2 eggs, 1/4 cup sugar, 3-4 cups of all-purpose flour, and about 2 teaspoons of yeast.
Follow your machine's recommended order for adding wet and dry ingredients. Once the dough cycle is complete (typically 1.5 to 2 hours), you'll have a beautifully risen, soft dough perfect for rolling out, filling with cinnamon and sugar, slicing, and baking into warm, gooey cinnamon rolls. The consistent temperature inside the machine during the rise helps achieve a light and fluffy texture. This application of the dough cycle for sweet enriched doughs is a delightful addition to your list of bread machine recipes beyond bread.
Jams and Jellies: Preserving Freshness with Your Bread Machine
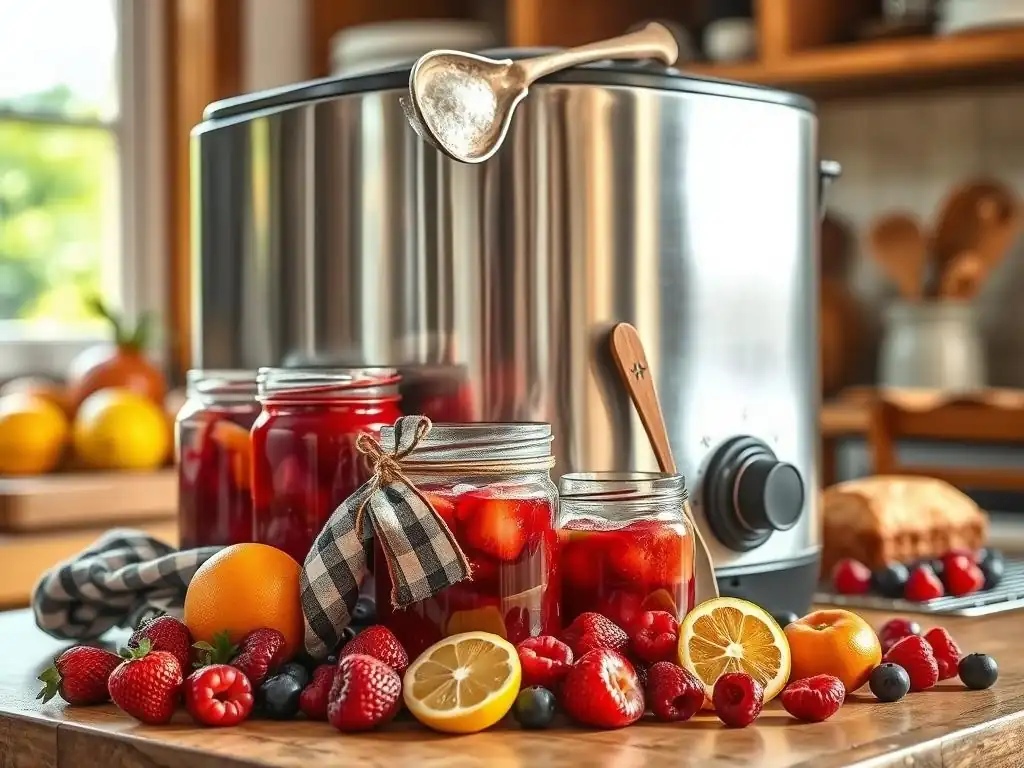
Homemade Jam in a Bread Machine: A Beginner's Guide
Making jam traditionally involves standing over a hot stove, stirring constantly to prevent scorching and achieve the right consistency. Many bread machines have a "jam" cycle that automates this process, making it incredibly simple, especially for beginners.
The cycle is designed to cook the fruit and sugar mixture at the correct temperature while stirring intermittently, mimicking the careful attention required on a stovetop. You'll typically need about 2-3 cups of prepared fruit (like chopped strawberries, berries, or peaches), 1-2 cups of sugar (adjusting based on fruit sweetness and desired thickness), and sometimes a tablespoon or two of lemon juice for acidity and pectin activation.
Simply add the fruit, sugar, and lemon juice to the bread machine pan, select the "jam" cycle, and press start. The machine handles the rest. The cycle usually takes about 1 hour to 1 hour 20 minutes. Be aware that bread machine jams are often softer-set than traditional jams due to the lower volume and less aggressive cooking.
Once the cycle finishes, carefully pour the hot jam into sterilized jars, leaving about 1/2 inch headspace, and seal them. Allow the jars to cool completely before storing in the refrigerator for up to 3 weeks or processing for longer-term storage. This convenient method is a fantastic entry point into bread machine recipes beyond bread for preserving fruit.
Bread Machine Jelly Recipes: Fruity Spreads Made Effortlessly
While jam uses whole or chopped fruit, jelly is made from fruit juice, resulting in a clear spread. Making jelly in a bread machine follows a similar principle to making jam, utilizing the dedicated "jam" cycle. You'll need strained fruit juice (homemade or store-bought, ensuring it's 100% juice) and sugar, often with added pectin if the fruit juice is low in natural pectin (like grape or apple). A common ratio might be 3 cups of juice to 3-4 cups of sugar and a packet of powdered pectin.
Add the juice and pectin to the bread machine pan first, run the machine for a few minutes to dissolve the pectin, then add the sugar. Select the "jam" cycle. The machine will heat and stir the mixture, allowing the pectin to activate and the jelly to thicken as it cools. The process takes approximately 1 hour to 1 hour 20 minutes.
As with jam, bread machine jelly tends to have a softer set. After the cycle, carefully ladle the hot jelly into sterilized jars, leaving headspace, and seal. Let cool and store in the refrigerator or process for pantry storage. Exploring jelly alongside jam expands the fruity possibilities within your bread machine recipes beyond bread.
Tips for Perfect Bread Machine Jam and Jelly
Achieving the best results with bread machine jam and jelly involves a few key considerations. Firstly, use ripe, flavorful fruit. The quality of your ingredients directly impacts the final taste. For jam, chop fruit into relatively small, uniform pieces (around 1/2 inch or smaller) to ensure even cooking. Secondly, pay attention to the sugar ratio. While recipes provide guidelines, you might need to adjust slightly based on the sweetness of your specific fruit batch. Using too little sugar can affect the set, while too much can make it overly sweet.
Thirdly, understand the consistency expectation. Bread machine jams and jellies are typically softer-set than those made with traditional stovetop methods using large amounts of commercial pectin. If you prefer a firmer set, you might need to experiment with adding a little extra pectin or reducing the fruit/juice slightly, though the machine's cycle is optimized for a certain volume. Finally, always use sterilized jars and lids when canning to prevent spoilage, whether storing in the fridge or processing for the pantry. Following these tips will help you master these delightful bread machine recipes beyond bread.
Bread Machine Cakes: Surprisingly Delicious Desserts
Easy Bread Machine Cake Recipes: A Sweet Surprise
Who knew you could bake a cake in a bread machine? Many models feature a "cake" or "bake" cycle designed for quick breads or simple cakes. This cycle typically involves mixing, followed by a baking period without a rising phase. The bread machine pan's shape often results in a loaf-shaped cake, perfect for slicing and serving. These recipes are usually straightforward, involving wet and dry ingredients mixed separately and then combined in the pan. Ingredients often include flour, sugar, baking powder or soda (as leavening), eggs, milk or buttermilk, butter or oil, and flavorings.
To make a cake, grease and flour the bread machine pan thoroughly to prevent sticking. Add the wet ingredients first, then the dry ingredients on top. Do not add yeast unless the specific recipe calls for it (most cakes use chemical leaveners like baking powder). Select the "cake" or "bake" cycle.
This cycle typically runs for 1 hour to 1 hour 30 minutes. The machine will mix the batter and then bake the cake. The result is often a dense, moist cake, similar in texture to a pound cake or quick bread. This surprising addition to bread machine recipes beyond bread offers a convenient way to make dessert with minimal cleanup.
Chocolate Cake in Your Bread Machine: Decadence Made Simple
Satisfy your chocolate cravings with a simple chocolate cake baked right in your bread machine. Using cocoa powder and sometimes melted chocolate chips, these recipes leverage the machine's cake cycle for a hands-off baking experience. A typical recipe might call for about 1.5 cups of flour, 1 cup of sugar, 1/4 cup unsweetened cocoa powder, 1 teaspoon baking soda, 1/2 teaspoon salt, 1 large egg, 1 cup buttermilk, 1/3 cup vegetable oil, and 1 teaspoon vanilla extract. Some recipes might also include hot water or coffee to enhance the chocolate flavor and moistness.
Prepare the pan by greasing and flouring it well. Add the liquid ingredients (egg, buttermilk, oil, vanilla, hot liquid if using) to the bottom of the pan. In a separate bowl, whisk together the dry ingredients (flour, sugar, cocoa powder, baking soda, salt). Carefully add the dry ingredients on top of the wet ingredients in the pan. Do not stir.
Select the "cake" or "bake" cycle and start the machine. After the cycle finishes, check for doneness with a toothpick. Let the cake cool in the pan for 10-15 minutes before inverting it onto a wire rack. This easy chocolate cake is a delightful entry in your collection of bread machine recipes beyond bread.
Bread Machine Banana Cake: A Moist and Flavorful Treat
Banana bread is a classic quick bread, and making it in a bread machine is incredibly convenient. Transforming it into a 'cake' simply highlights its dessert potential. Overripe bananas, which are perfect for baking, provide natural sweetness and moisture. A standard recipe might use 2-3 very ripe mashed bananas, 1/2 cup melted butter, 2 large eggs, 1 teaspoon vanilla extract, 1.5 cups flour, 1 teaspoon baking soda, 1/2 teaspoon salt, and 3/4 cup sugar. You can also add nuts or chocolate chips for extra flavor and texture.
Grease and flour the bread machine pan. Add the wet ingredients first: mashed bananas, melted butter, eggs, and vanilla. In a separate bowl, whisk together the dry ingredients: flour, baking soda, salt, and sugar. Pour the dry ingredients into the pan on top of the wet ingredients.
If adding nuts or chips, you might add them now or wait for the machine's 'add-in' signal if available, although for quick breads, adding them at the start usually works fine. Select the "cake" or "bake" cycle. The machine will mix and bake the banana cake in about 1 hour to 1 hour 30 minutes. This moist and flavorful treat is a staple among easy bread machine recipes beyond bread.
Bread Machine Meatloaf: A Savory Surprise
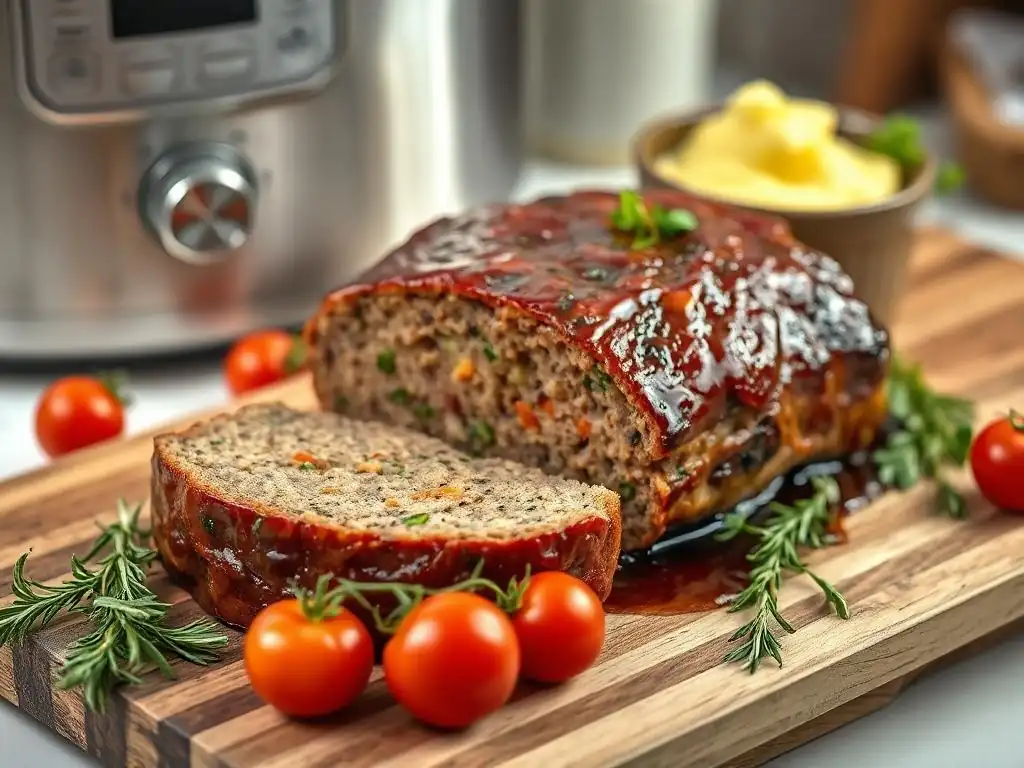
Making Meatloaf in a Bread Machine: A Unique Approach
While unconventional, some bread machine enthusiasts have successfully adapted meatloaf recipes for their appliance. The method typically involves using the "bake" cycle. The bread machine pan acts as a miniature oven, providing even heat from the sides and bottom. This can result in a moist meatloaf with a nice crust. The size of the meatloaf will be limited by the pan's capacity, usually suitable for 1-1.5 pounds of ground meat, enough for 2-4 servings.
The process involves preparing the meatloaf mixture as usual – combining ground meat (beef, pork, turkey, or a mix), binders like breadcrumbs or oats, egg, chopped onion and peppers, seasonings, and liquids like milk or broth. Once mixed, the mixture is pressed into the greased bread machine pan. Some recipes suggest starting with a short "bake" cycle (perhaps 30-40 minutes) and then adding a glaze (like ketchup or a brown sugar mixture) for the last 15-20 minutes of baking. This creative use expands the savory options within your bread machine recipes beyond bread.
Bread Machine Meatloaf Recipe: A Convenient Meal Solution
Here's a basic outline for a small bread machine meatloaf, a truly surprising entry among bread machine recipes beyond bread. You'll need about 1 pound of ground beef, 1/2 cup breadcrumbs, 1/4 cup finely chopped onion, 1 large egg, 1/4 cup milk, 1 teaspoon salt, 1/2 teaspoon black pepper, and 1 teaspoon Worcestershire sauce. For the glaze, mix 2 tablespoons ketchup and 1 tablespoon brown sugar.
Combine all meatloaf ingredients in a bowl and mix gently until just combined. Do not overmix. Lightly grease the bread machine pan. Press the meat mixture firmly and evenly into the bottom of the pan. Select the "bake" cycle (or a manual bake setting if your machine allows temperature and time control). Start with a bake time of around 45-60 minutes at a medium temperature (around 350°F or 175°C, if adjustable).
After about 30-40 minutes, carefully open the lid (use caution, it will be hot!) and spread the glaze over the top of the meatloaf. Close the lid and continue baking until the internal temperature reaches 160°F (71°C). Let rest for a few minutes before carefully removing from the pan and slicing. This provides a convenient way to make a small batch of meatloaf.
Yogurt in a Bread Machine: A Probiotic Powerhouse
Homemade Yogurt with Your Bread Machine: A Step-by-Step Guide
Making yogurt at home is surprisingly simple with a bread machine that has a dedicated "yogurt" cycle. This cycle maintains a consistent low temperature (typically around 100-115°F or 38-46°C) ideal for bacterial cultures to ferment milk. You need milk (whole or 2%, about 4-6 cups) and a starter culture (a few tablespoons of plain yogurt with live and active cultures). Avoid flavored or sweetened yogurts as starters.
First, you need to heat the milk to about 180°F (82°C) on the stovetop or in a microwave. This pasteurizes the milk and changes its protein structure for a thicker yogurt. Let the milk cool down to the target fermentation temperature (100-115°F). Skim off any skin that forms. Whisk a small amount of the warm milk into your starter yogurt in a separate bowl to temper it, then whisk this mixture back into the main batch of milk.
Pour the inoculated milk into the clean bread machine pan. Select the "yogurt" cycle. The fermentation time can range from 6 to 12 hours or more, depending on how tangy you like your yogurt (longer time = tangier). After the cycle, refrigerate the yogurt for several hours to thicken. This is a fantastic and healthy addition to your repertoire of bread machine recipes beyond bread.
Benefits of Making Yogurt in Your Bread Machine
Making yogurt in your bread machine offers several compelling benefits. Firstly, it's often more economical than buying store-bought yogurt, especially if you consume a lot. A gallon of milk can yield a significant amount of yogurt, potentially costing less per serving. Secondly, you have complete control over the ingredients, avoiding added sugars, artificial flavors, or thickeners often found in commercial varieties. You can choose the type of milk and ensure the starter contains the specific live and active cultures you desire for their probiotic benefits.
Thirdly, the bread machine's yogurt cycle provides a stable, consistent temperature throughout the fermentation process. This is crucial for successful yogurt making and can be tricky to achieve using other methods like ovens with pilot lights or insulated containers. The hands-off nature of the machine's cycle means you can start it and let it work its magic overnight. Enjoying fresh, homemade yogurt is a rewarding outcome of exploring bread machine recipes beyond bread.
Rice and Risotto: Savory Grains Made Easy
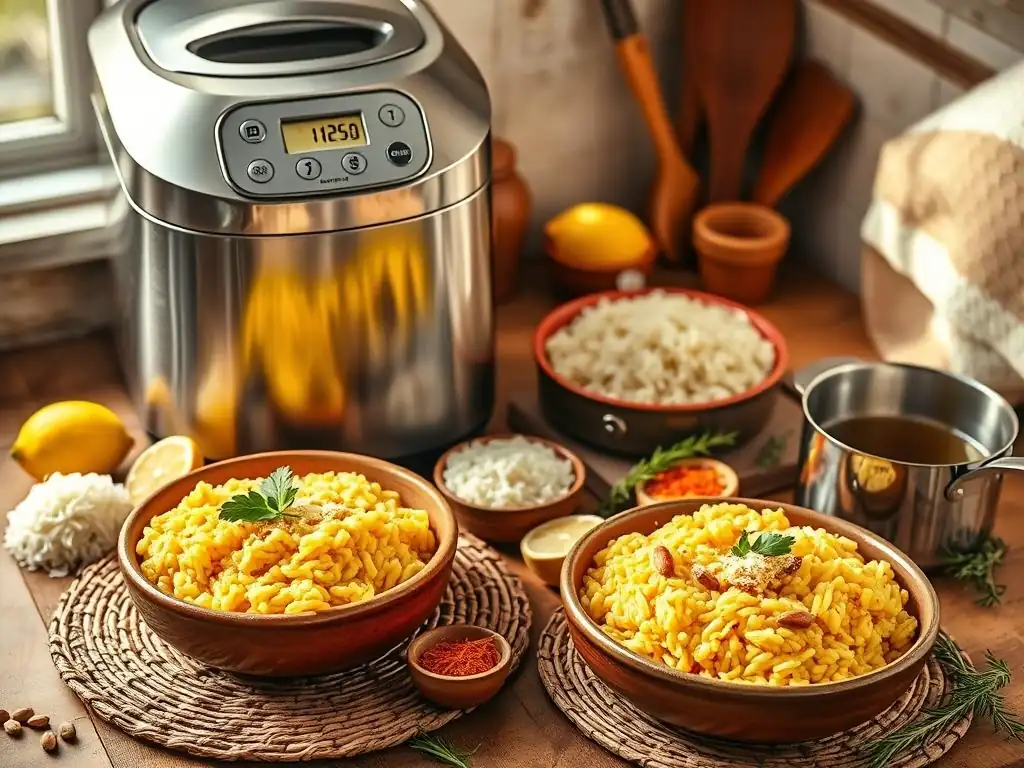
Bread Machine Rice Recipes: Effortless Side Dishes
While a dedicated rice cooker is common, some bread machines, particularly older or multi-function models, have a "rice" or "cook" cycle that can be used to prepare simple rice. This cycle typically uses steam generated from added water to cook the grains. It's usually best suited for white rice, like jasmine or basmati. A typical ratio is 1 part rice to 1.5 or 2 parts water, plus a pinch of salt. For example, 1 cup of rice might require 1.5 to 2 cups of water.
Rinse the rice thoroughly before adding it to the bread machine pan. Add the water and salt. Select the "rice" or "cook" cycle. This cycle usually takes around 30-45 minutes. The machine will heat the water to boiling, steam the rice, and often switch to a "keep warm" function once done. This method provides a simple way to cook rice without needing a separate pot or rice cooker, adding a convenient savory option to your list of bread machine recipes beyond bread.
Creamy Risotto in Your Bread Machine: A Luxurious Treat
Making creamy risotto traditionally requires constant stirring and gradual addition of broth. While the bread machine can't replicate the exact stovetop method, some users have adapted recipes to use the "jam" or "cook" cycle for a hands-off approach. This method won't yield the exact same texture as traditional risotto but provides a surprisingly creamy result with significantly less effort. You'll need Arborio rice, hot broth, finely chopped onion or shallots, garlic, butter or olive oil, and Parmesan cheese.
Sauté the onion and garlic briefly in the bread machine pan using the "bake" or "sauté" function if available, or pre-sauté on the stovetop and add to the pan. Add the Arborio rice and a small amount of the hot broth to the pan. Select the "jam" or "cook" cycle. As the machine heats and stirs, gradually add the remaining hot broth over the first 15-20 minutes of the cycle, allowing it to be absorbed.
The machine will continue to cook and stir. Towards the end of the cycle (around the last 5-10 minutes), you might open the lid (carefully!) to stir in butter and grated Parmesan cheese. The result is a surprisingly creamy rice dish, offering a convenient shortcut for this classic Italian meal among bread machine recipes beyond bread.
Apple Butter: A Fall Favorite
Making Apple Butter in Your Bread Machine: A Simple Recipe
Apple butter is a concentrated, spiced apple spread that's delicious on toast, biscuits, or alongside pork. Traditionally, it's slow-cooked for hours until deeply caramelized. Your bread machine's "jam" cycle offers a much faster way to achieve a similar result, albeit perhaps less intensely caramelized than a 10-hour stovetop version. You'll need peeled, cored, and chopped apples (about 6-8 cups), sugar (1/2 to 1 cup, adjusting for apple sweetness), and spices like cinnamon, nutmeg, and cloves (1-2 teaspoons total). Using a mix of apple varieties can enhance the flavor complexity.
Add the chopped apples, sugar, and spices to the bread machine pan. Select the "jam" cycle. The machine will cook and stir the mixture. As the apples cook down, they will become very soft. The cycle usually takes about 1 hour to 1 hour 20 minutes.
After the cycle, the apple butter will be chunky. For a smoother consistency, you can use an immersion blender or transfer the mixture to a regular blender or food processor and pulse until smooth. Be careful as the mixture is hot! This simplified process makes homemade apple butter accessible as one of the delightful bread machine recipes beyond bread.
Tips for the Best Bread Machine Apple Butter
To get the most out of your bread machine apple butter, consider these tips. Firstly, use a variety of apples for a richer flavor profile. Honeycrisp, Fuji, and Gala offer sweetness, while Granny Smith adds a touch of tartness. Ensure the apples are chopped into small, uniform pieces so they cook down evenly. Secondly, adjust the sugar and spices to your taste. Start with the lower amount of sugar and add more at the end if needed after tasting. Freshly ground spices will provide the most vibrant flavor.
Thirdly, the consistency might be slightly thinner than traditional slow-cooked apple butter immediately after the cycle. It will thicken as it cools. If you prefer a very thick spread, you might need to cook it down further on the stovetop for a short period after processing, or simply enjoy the slightly looser texture. Finally, store the apple butter in sterilized jars in the refrigerator for up to 3 weeks or process using standard canning methods for longer storage. Mastering this seasonal treat is a sweet victory in exploring bread machine recipes beyond bread.
Conclusion: Mastering Bread Machine Recipes Beyond Bread
Embrace the Bread Machine's Versatility for Creative Cooking
Your bread machine is a powerful tool capable of much more than just baking loaves. By exploring its various cycles – dough, jam, cake, bake, and sometimes yogurt or cook – you unlock a world of culinary possibilities. From simplifying the process of making pizza dough and pasta dough to effortlessly whipping up batches of jam, yogurt, or even a small meatloaf, the machine can save you time and effort in the kitchen. These bread machine recipes beyond bread demonstrate the appliance's true versatility, making it a valuable asset for both novice and experienced cooks alike.
Don't let your bread machine gather dust between bread-making sessions. Experiment with different ingredients and cycles. Try making a quick banana cake for dessert, a batch of strawberry jam for your morning toast, or use the dough cycle to prepare dinner rolls or pizza crusts. The convenience and consistency offered by the machine make these tasks significantly easier than traditional methods. Embrace the potential hidden within your appliance and expand your cooking horizons with these diverse applications of your bread machine.
BakeWithEase's Final Thoughts: Expanding Your Culinary Horizons
At BakeWithEase, we encourage you to push the boundaries of what you thought was possible with your kitchen appliances. Your bread machine is a prime example of a tool with untapped potential. Moving beyond simple bread loaves opens up a wide array of delicious and convenient options. We've covered just a few examples of bread machine recipes beyond bread, from savory doughs and grains to sweet jams and cakes.
We hope this exploration inspires you to try new things with your machine. Whether you're making homemade pizza dough on a weeknight, preparing a quick batch of apple butter for the season, or enjoying the ease of making your own yogurt, these bread machine recipes beyond bread prove that this appliance is a versatile kitchen companion. Keep experimenting, keep creating, and enjoy the ease and delicious results your bread machine can provide!
Frequently Asked Questions
What other foods can I make in a bread machine besides bread?
You can create a variety of delicious dishes in your bread machine, including doughs for pizza, cakes, and even jam. These recipes expand the versatility of your machine beyond just baking bread.
Are bread machine recipes difficult to follow?
Not at all! The recipes provided on BakeWithEase are designed to be simple and straightforward, making it easy for bakers of all levels to follow along with step-by-step guides.
Can I use my bread machine for gluten-free recipes?
Yes! Many recipes on BakeWithEase cater to gluten-free baking, offering substitutions and techniques to ensure that your gluten-free breads and treats turn out perfectly.
What ingredients should I have on hand for bread machine recipes?
It's best to keep easy-to-find ingredients like flour, yeast, sugar, and salt stocked. For specific recipes, refer to BakeWithEase for a complete list of ingredients needed for each dish.
How do I clean and maintain my bread machine?
Regular cleaning involves removing the pan and kneading blade and washing them with warm soapy water. Refer to your user manual for specific maintenance tips to keep your bread machine in top shape.
Final Reflection: Unleashing the Untapped Potential of Your Bread Machine
The humble bread machine, often relegated to the back of the cupboard after the initial bread-baking frenzy, holds a world of culinary possibilities far beyond its namesake. This exploration of recipes has revealed the surprising versatility of this often-underutilized kitchen appliance, proving that its capabilities extend far beyond simple loaves. From savory delights to sweet treats, the bread machine offers a convenient and efficient path to a wider range of culinary adventures.
The impact of rediscovering the bread machine's potential has been profound, not just in my kitchen, but in the way I approach cooking in general. It's a reminder that familiar tools can offer unexpected rewards with a little creativity and exploration. The greatest discovery of all time is that a person can change his future by merely changing his attitude.
– Oprah Winfrey. This quote perfectly encapsulates the shift in perspective this project has inspired – a change in attitude towards my bread machine has unlocked a whole new world of culinary possibilities.
Now, it's your turn to explore. Don't let your bread machine gather dust! Experiment with the recipes outlined in this article, and let your imagination run wild. Try adapting your favorite recipes to fit the bread machine's unique capabilities. The possibilities are as limitless as your culinary curiosity. Embrace the adventure, and discover the joy of expanding your culinary horizons with this surprisingly versatile appliance.
Thanks for exploring the amazing versatility of your bread machine! You've discovered how much more than just bread it can create. Now it's time to put that knowledge into action.
- Try a new recipe today! Experiment with one of the delicious alternatives we highlighted – perhaps a savory loaf or a sweet treat? Let your creativity flow!
- Share your baking triumphs (or even your funny kitchen mishaps!) with us in the comments below. We love hearing from our baking community!
- Consider exploring some advanced bread machine techniques – you might be surprised at what you can achieve!
What unexpected dish will you create in your bread machine next?