
Beyond the Spatula: Essential Tools for Stunning Cakes

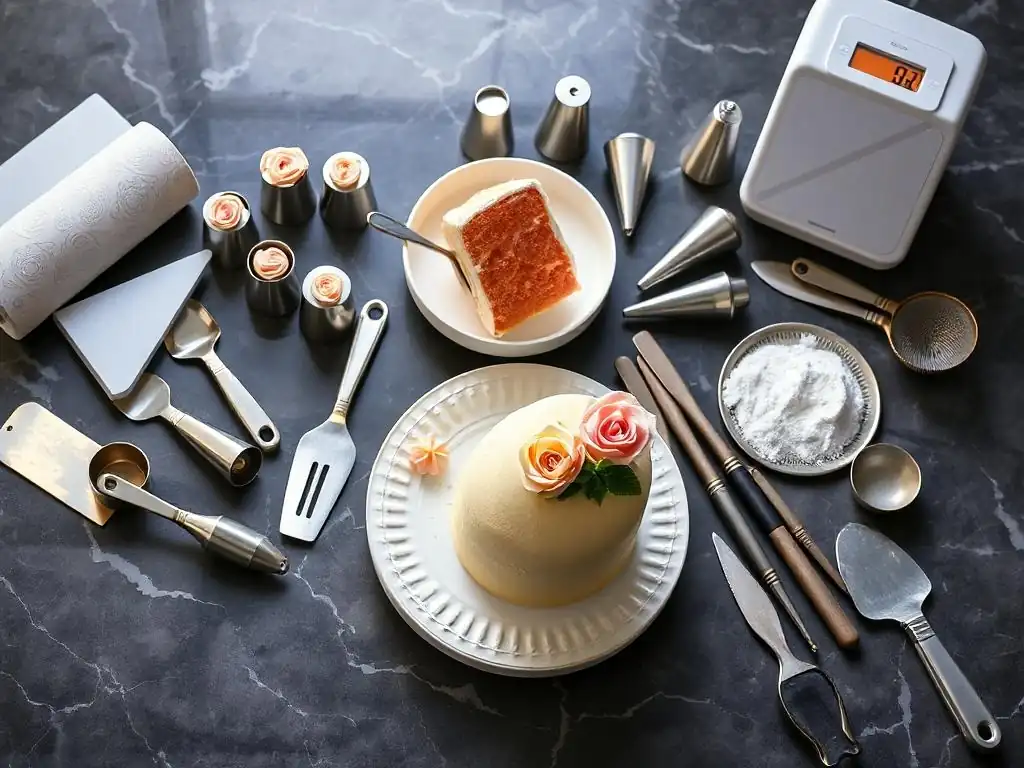
Welcome to BakeWithEase, where we believe everyone can create delicious masterpieces! Ever wondered how professional bakers achieve those flawlessly decorated cakes? This guide pulls back the curtain. Dive in and discover our curated list of cake decorating essential tools that will elevate your creations from simple to stunning. Ready to transform your cakes into edible works of art? Let's get baking!
- BakeWithEase Guide to Cake Decorating Essential Tools
- Essential Cake Decorating Tools for Beginners
- Advanced Cake Decorating Tools for Creative Designs
- Maintaining Your Cake Decorating Tools for Longevity
- Where to Buy Cake Decorating Essential Tools
- Mastering Cake Decorating: Practice Makes Perfect
- Final Thoughts: Your Journey to Stunning Cakes Starts Now
- Frequently Asked Questions
- Final Reflection: The Art and Craft of Cake Decorating
- Unleash Your Inner Cake Artist!
BakeWithEase Guide to Cake Decorating Essential Tools
Why Invest in Quality Cake Decorating Equipment?
Investing in quality cake decorating essential tools is not just about having fancy gadgets; it's about efficiency, consistency, and achieving truly stunning results. Think of it like painting – a skilled artist can create beauty with basic brushes, but having a variety of high-quality tools allows for greater detail, smoother finishes, and the ability to execute complex techniques with less frustration.
For instance, a sturdy metal turntable provides smooth, consistent rotation, making icing a cake evenly far easier than trying to spin it by hand on a makeshift stand. This saves time and reduces the likelihood of errors, ultimately leading to a more professional-looking cake.
Moreover, durable, well-made cake decorating tools will last longer, providing better value over time. While a cheap set of piping tips might seem appealing initially, they can bend or rust quickly, leading to uneven piping and wasted ingredients.
High-quality stainless steel tips, on the other hand, maintain their shape and can be used for hundreds, if not thousands, of cakes. Considering the cost of ingredients for even a single elaborate cake can easily exceed $20-$30, having reliable tools that help you succeed on the first attempt quickly justifies their cost by reducing waste and improving the final product's quality, whether it's a simple birthday cake or an intricate tiered masterpiece.
Building Your Cake Decorating Toolkit: A BakeWithEase Checklist
Ready to build your collection of cake decorating essential tools? Here's a checklist to get you started on your journey to creating beautiful cakes:
- [ ] Cake pans (various sizes, minimum one 8-inch or 9-inch round)
- [ ] Measuring cups and spoons (separate sets for dry and liquid are helpful)
- [ ] Offset spatulas (at least one small and one medium)
- [ ] Cake scraper (for smooth sides)
- [ ] Cake turntable
- [ ] Piping bags (disposable or reusable)
- [ ] Piping tips (a starter set with basic shapes like round, star, and petal)
- [ ] Couplers (if using piping bags and multiple tips)
- [ ] Fondant rolling pin (optional, if working with fondant)
- [ ] Fondant smoother (optional)
- [ ] Sieve or sifter (for powdered sugar)
- [ ] Bench scraper (useful for dividing dough or cleaning up)
Having these essential cake decorating tools will provide a solid foundation for tackling most decorating tasks, from basic frosting to more intricate designs. Start with the basics and add more specialized items as your skills and interests grow.
Essential Cake Decorating Tools for Beginners
The Foundation: Cake Pans and Measuring Tools
Cake Pans: Choosing the Right Size and Shape
Selecting the appropriate cake pan is the very first step in successful cake decorating, as the pan dictates the cake's structure. Round pans are perhaps the most common, with 6-inch, 8-inch, and 9-inch diameters being standard sizes for layer cakes. An 8-inch round pan typically holds about 6 cups of batter and yields roughly 10-12 servings, making it a versatile choice for many recipes.
Square pans, often available in 8x8 inch or 9x9 inch sizes, are excellent for sheet cakes or bar-style desserts and hold a similar amount of batter to their round counterparts. Loaf pans are perfect for quick breads or pound cakes that can be simply glazed or lightly frosted.
Pan material also plays a role in how your cake bakes. Aluminum pans conduct heat evenly, resulting in a consistently baked cake with less chance of burnt edges. Non-stick pans are convenient for easy release, though they can sometimes brown the cake edges more quickly. Dark-coated pans absorb more heat and often require a slight reduction in oven temperature (around 25°F or 15°C) to prevent overbrowning. For best results, always grease and flour your pans thoroughly, regardless of the material, to ensure your beautiful cake releases cleanly, providing a perfect canvas for your decorating efforts.
Accurate Measuring Cups and Spoons: Precision is Key
In baking, precision is paramount, and this extends directly to cake decorating, especially when preparing frostings, glazes, or batters that need specific consistency. Using accurate measuring cups and spoons is non-negotiable. For dry ingredients like flour and powdered sugar, use dry measuring cups and level off the excess with a straight edge.
One cup of all-purpose flour, correctly measured by spooning it into the cup and leveling, should weigh approximately 120-125 grams. Using liquid measuring cups, which have a spout and markings up the side, is essential for liquids like milk, water, or oil, as you need to read the measurement at eye level.
Ignoring precise measurements can lead to disaster in baking and decorating. Too much liquid in frosting can make it runny and impossible to pipe; too little powdered sugar can make it too soft to hold its shape. Standard measuring spoon sets typically include 1/4 teaspoon, 1/2 teaspoon, 1 teaspoon, and 1 tablespoon sizes, crucial for smaller additions like vanilla extract or baking powder. Relying on these calibrated tools ensures that your ingredients are in the correct proportions, leading to reliable results every time you bake and decorate.
Smoothing and Shaping: Icing Essentials
Offset Spatulas: The Icing Game Changer
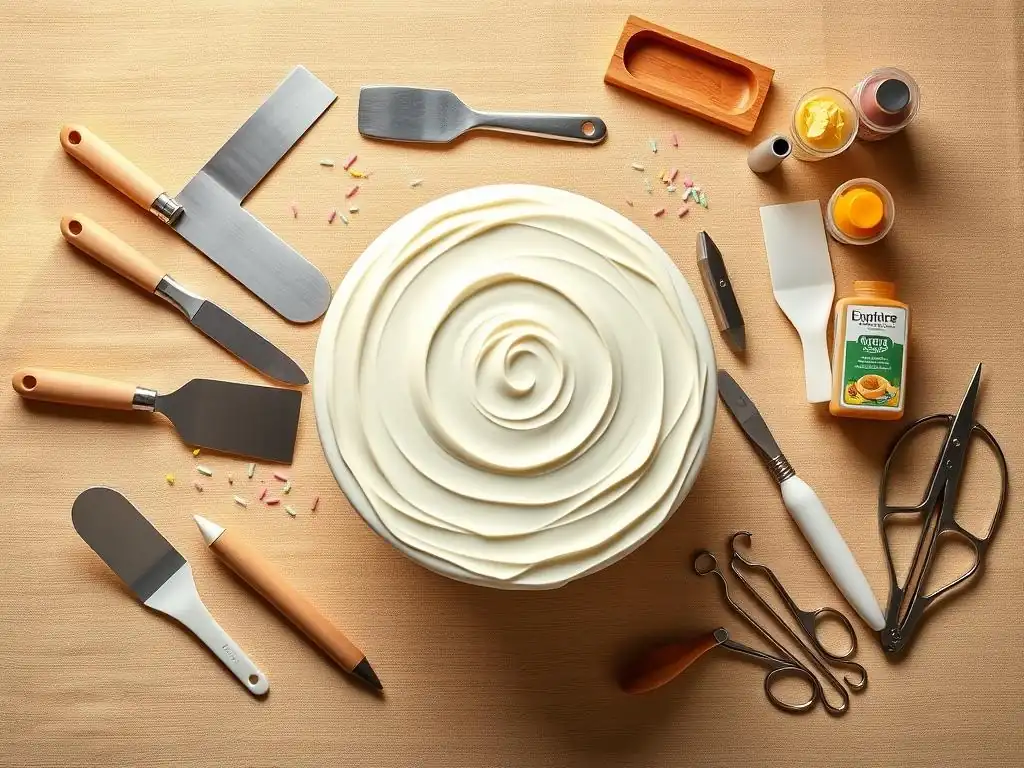
Offset spatulas are arguably the most fundamental of the cake decorating essential tools for applying and smoothing frosting. Their bent blade keeps your knuckles from dragging through the icing, allowing for cleaner, more even application. They come in various sizes, typically ranging from small 4-inch blades for delicate work around edges and corners to large 10-inch or 12-inch blades perfect for covering the top and sides of a large cake quickly. A medium-sized offset spatula (around 6-8 inches) is a great starting point for most beginners.
Using an offset spatula, you can dollop frosting onto the cake layers and then use the flat side of the blade to spread and smooth it, rotating the cake on a turntable for even coverage. The offset design provides leverage and control, making it easier to achieve a relatively smooth surface before moving on to scrapers or more advanced smoothing techniques. Mastering the use of this simple tool is critical for creating a professional-looking base coat on any cake.
Cake Scrapers: Achieving a Flawless Finish
For those coveted sharp edges and perfectly smooth cake sides, a cake scraper is an indispensable tool. These flat, rigid tools, often made of plastic or metal, are held vertically against the side of a crumb-coated or final-coated cake while it spins on a turntable. By applying gentle, consistent pressure as you rotate the cake, the scraper removes excess frosting and fills in gaps, resulting in a wonderfully smooth and even surface. Bench scrapers, which have a straight edge, are excellent for the sides, while some scrapers have contoured edges for creating textured finishes like stripes or waves.
Achieving a truly smooth finish with a cake scraper requires practice, but the results are dramatically improved compared to using only an offset spatula. Many decorators apply a slightly thicker layer of frosting initially, then use the scraper to remove the excess, ensuring complete coverage and a level plane. A standard bench scraper, typically 6 inches wide by 4 inches tall, is a versatile tool not only for smoothing but also for portioning dough or cleaning work surfaces, making it a valuable addition to your collection of cake decorating essential tools.
Turntables: Revolving Your Way to Smooth Icing
A cake turntable is a rotating stand that holds your cake, allowing you to easily spin it while applying and smoothing frosting or adding decorative details. This simple tool dramatically improves the ease and precision of decorating, especially when aiming for smooth sides and even borders. Trying to ice a cake without one often results in awkward angles and uneven coverage as you constantly shift the cake.
Turntables come in various materials, including plastic, metal, and glass. Plastic turntables are lightweight and affordable, suitable for beginners. Metal turntables, often made of aluminum, are heavier, more stable, and provide a smoother, longer spin, which is ideal for achieving very smooth finishes with a scraper. Some turntables have non-slip bases or surfaces to keep the cake secure. Using a turntable allows you to work fluidly around the cake, ensuring uniformity whether you're applying frosting, piping details, or airbrushing. It's truly one of the most essential cake decorating tools for anyone serious about improving their results.
Advanced Cake Decorating Tools for Creative Designs
Piping Bags and Tips: Unleashing Your Artistic Side
Mastering Piping Techniques with Different Tips
Piping bags and tips are fundamental for adding decorative elements to cakes, from simple borders and messages to intricate flowers and patterns. Piping tips are small, cone-shaped nozzles that fit into the end of a piping bag, shaping the frosting as it is squeezed out. They are typically made of metal (usually stainless steel or nickel-plated brass) or plastic. Metal tips are preferred for their durability and the crispness of the designs they produce. Tips are categorized by shape and size, often indicated by a number system (like those used by Wilton or Ateco).
Common tip shapes include round tips (sizes 1-12 for dots and lines, larger sizes for filling), star tips (open or closed, creating stars, rosettes, and shells), petal tips (for ruffles and realistic flowers), and leaf tips (for creating leaves). A basic set of 10-20 assorted tips can enable a wide range of designs.
For example, a large open star tip like the 1M or 2D is perfect for creating quick, impressive rosettes or swirled cupcakes, while a small round tip like a #3 is ideal for writing messages. Experimenting with different tips is key to expanding your cake decorating repertoire.
Couplers: Switching Tips with Ease
Couplers are incredibly useful little plastic devices that allow you to change piping tips on a single piping bag without having to empty the bag or use multiple bags of the same color frosting. A standard coupler consists of two parts: a base that goes inside the piping bag before the frosting is added, and a ring that screws onto the outside of the bag, holding the piping tip in place.
To use a coupler, you first drop the base piece into the bag and push it down towards the tip opening. Snip the end of the bag just below the threads of the coupler base. Insert the desired piping tip over the end of the bag and the coupler base, then screw the ring onto the coupler base from the outside of the bag, securing the tip.
When you want to switch tips, simply unscrew the ring, remove the tip, place a new tip, and screw the ring back on. This saves significant time and reduces waste, making couplers a smart addition to your collection of cake decorating essential tools, especially when working with multiple piping designs in one color.
Fondant Tools: Shaping and Detailing
Rolling Pins: Achieving the Perfect Fondant Thickness
When working with fondant, a specialized rolling pin is one of the most important cake decorating essential tools. Unlike standard wooden rolling pins, fondant rolling pins are typically smooth, non-stick, and often made of plastic or silicone. Some fondant rolling pins come with adjustable guide rings that fit onto the ends, allowing you to roll fondant to a consistent thickness, such as 1/16 inch or 1/8 inch, which is crucial for even coverage and avoiding tears.
Rolling fondant to the correct, uniform thickness is vital for successfully covering a cake or cutting out shapes. If it's too thin, it will be prone to ripping; if it's too thick, it will be heavy and can overwhelm the cake. A smooth, non-stick rolling pin, often lightly dusted with cornstarch or powdered sugar, helps prevent the fondant from sticking as you roll out a large, even sheet needed to drape over a cake.
Fondant Smoothers: Eliminating Imperfections
Once fondant is draped over a cake, fondant smoothers are used to create a flawless, air-bubble-free surface and sharp edges. These are flat, often rectangular tools, usually made of plastic, that are held against the fondant surface. By gently rubbing the smoother over the fondant, you can press out any trapped air bubbles and smooth away wrinkles or imperfections.
To achieve sharp edges, you typically use two smoothers simultaneously: one flat on top of the cake, pressing down near the edge, and the other held vertically against the side, moving upwards towards the top smoother. This technique helps to define the transition between the top and sides of the cake, giving it a crisp, professional look. Using fondant smoothers is a critical step in achieving that signature smooth, polished finish characteristic of professionally decorated fondant cakes.
Cutters and Molds: Creating Intricate Designs
Fondant cutters and molds open up a world of possibilities for adding intricate details and decorative elements to cakes. Cutters come in countless shapes, from simple circles and squares to complex floral patterns, animal shapes, and letters. Using cutters allows for quick production of uniform shapes, perfect for borders, patterns, or standalone decorations. For example, using a set of graduated circle cutters, you can easily create polka dot patterns or layered medallions.
Silicone molds are used to create three-dimensional fondant shapes by pressing fondant into the mold cavity and then carefully releasing it. These molds can produce highly detailed items like pearls, chains, lace patterns, flowers, or figures. Using cutters and molds can significantly speed up the decorating process while allowing for designs that would be difficult or impossible to create by hand. They are essential cake decorating tools for anyone working extensively with fondant or gum paste.
Airbrushing for Cakes: Adding Depth and Dimension
Choosing the Right Airbrush System
Airbrushing allows decorators to apply thin, even layers of edible color, create gradients, shade, and add depth to cakes in a way that traditional methods cannot. An airbrush system for cakes typically consists of an air compressor, a hose, and an airbrush gun. For most cake decorators, a small, quiet, oil-less compressor that provides consistent air pressure (measured in PSI - pounds per square inch) is suitable. A pressure range of 20-30 PSI is common for cake decorating.
Airbrush guns come in different types, primarily single-action (air flows continuously, trigger controls only color flow) and dual-action (trigger controls both air and color flow independently, offering more control). For detailed work and fine shading, a dual-action, gravity-feed airbrush (where the color cup is on top) is often preferred. Beginner kits, often including a basic compressor and single-action gun, are available and are a good way to start exploring this technique before investing in more advanced equipment.
Airbrush Colors and Techniques
Airbrushing requires specialized, food-grade airbrush colors, which are much thinner in consistency than standard gel food coloring. These colors are formulated to flow smoothly through the airbrush gun without clogging. They come in a wide spectrum of hues, including metallics and pearlescents, allowing for stunning visual effects. It's crucial to only use colors specifically labeled for airbrushing and food use.
Basic airbrushing techniques involve applying a base color, creating gradients by layering colors or varying distance/pressure, and using stencils for patterns. For example, you can airbrush a sunset gradient on a cake side or use a stencil to add a lace pattern. Shading around fondant elements can make them appear more dimensional. Cleaning the airbrush gun thoroughly with water or a cleaning solution immediately after use is essential to prevent clogging and maintain the tool's functionality.
Maintaining Your Cake Decorating Tools for Longevity
Cleaning and Storage Tips for Cake Decorating Supplies
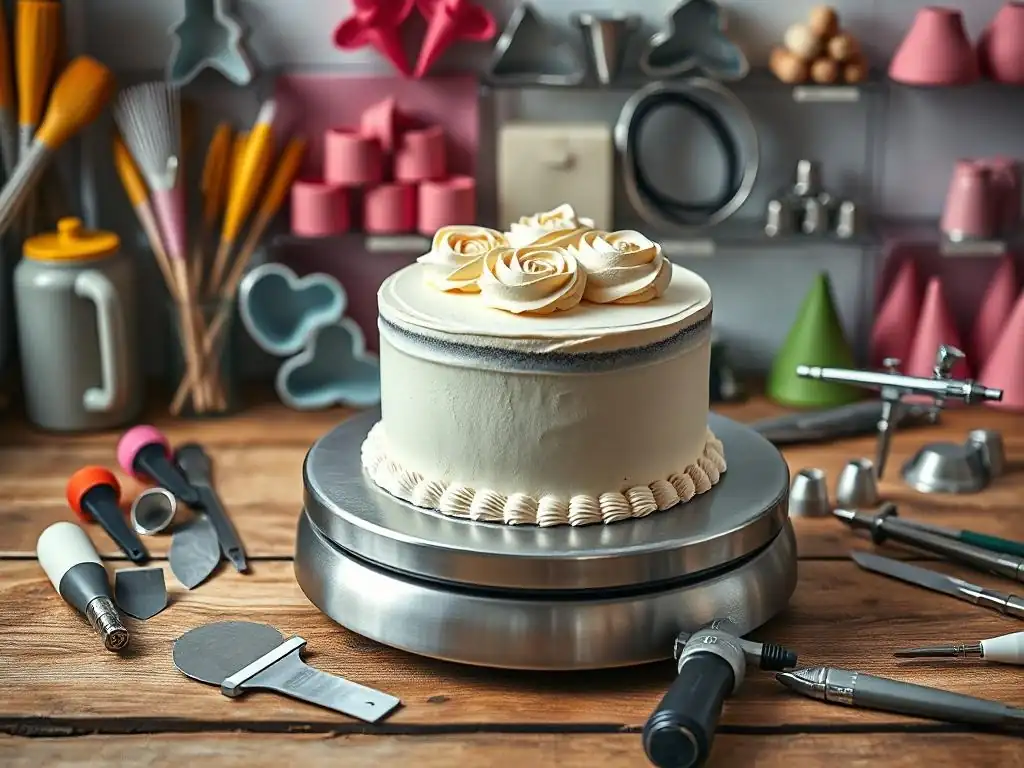
Proper cleaning and storage are crucial for extending the life of your cake decorating essential tools and ensuring they are ready for your next baking project. After each use, wash tools like spatulas, scrapers, piping tips, and pans promptly in warm, soapy water. For piping tips, using a small brush designed for cleaning narrow openings can help remove stubborn frosting residue. Ensure all tools are thoroughly dried immediately after washing, especially metal items like piping tips and pans, to prevent rust.
Storing your tools neatly protects them from damage and makes them easy to find. Piping tips can be stored in small containers or specialized tip organizers. Spatulas and scrapers can be kept in drawers or utensil crocks. Cake pans should be stacked carefully, perhaps with paper towels in between to prevent scratching. Keeping fondant tools separate and clean from icing residue is also a good practice. Proper storage prevents tools from bending, scratching, or accumulating grime, keeping your investment in cake decorating essential tools in top condition.
Replacing Worn-Out Tools: When to Upgrade
Even with the best care, some cake decorating tools will eventually wear out and need replacing. Recognizing when to upgrade or replace a tool is important for maintaining the quality of your decorating work. Signs of wear include bent piping tips that produce uneven designs, cracked or warped plastic spatulas that no longer provide a smooth surface, or non-stick pans that are scratched and cause cakes to stick.
Using worn-out tools can lead to frustration and poor results. For example, a bent piping tip might make it impossible to create a crisp star border, while a scratched pan could ruin a perfectly good cake by making it stick during release.
While it might seem economical to keep using aging tools, replacing them ensures that your efforts in baking and decorating are supported by functional equipment, ultimately making the process more enjoyable and the results more successful. Consider replacing key cake decorating essential tools every few years or as soon as you notice a significant decline in their performance or condition.
Where to Buy Cake Decorating Essential Tools
Recommended Brands and Retailers for Quality Equipment
When searching for cake decorating essential tools, look for retailers that specialize in baking and craft supplies. These stores often carry a wide selection of tools from reputable brands known for their quality and durability. Specialty baking supply shops, whether brick-and-mortar or online, are excellent resources as they cater specifically to bakers and often have knowledgeable staff. Large craft store chains also typically have extensive baking and cake decorating sections.
Look for brands that are well-regarded in the baking community. Brands specializing in bakeware often offer sturdy, reliable cake pans. Companies known for their piping supplies typically produce high-quality stainless steel tips that maintain their shape. Reading reviews and seeking recommendations can also help you identify trusted brands. While specific brand names vary by region and availability, focusing on retailers known for carrying professional or semi-professional grade baking equipment is a good strategy for finding quality cake decorating essential tools.
Finding the Best Deals on Cake Decorating Supplies
Investing in a comprehensive set of cake decorating essential tools can add up, but there are ways to find good deals and build your collection economically. Look out for sales events, especially around holidays or baking seasons. Many retailers offer discounts or promotions periodically. Buying tool sets or kits can sometimes be more cost-effective than purchasing individual items, particularly for piping tips or basic spatula sets.
Comparing prices across different retailers, both online and in-store, is also a smart approach. Signing up for newsletters from baking supply stores can alert you to upcoming sales or exclusive discounts. While it's tempting to go for the absolute cheapest option, remember that quality often matters for durability and performance. Aim for the best value – a good price for a reliable tool that will last.
Mastering Cake Decorating: Practice Makes Perfect
Starting with Simple Designs and Gradually Increasing Complexity
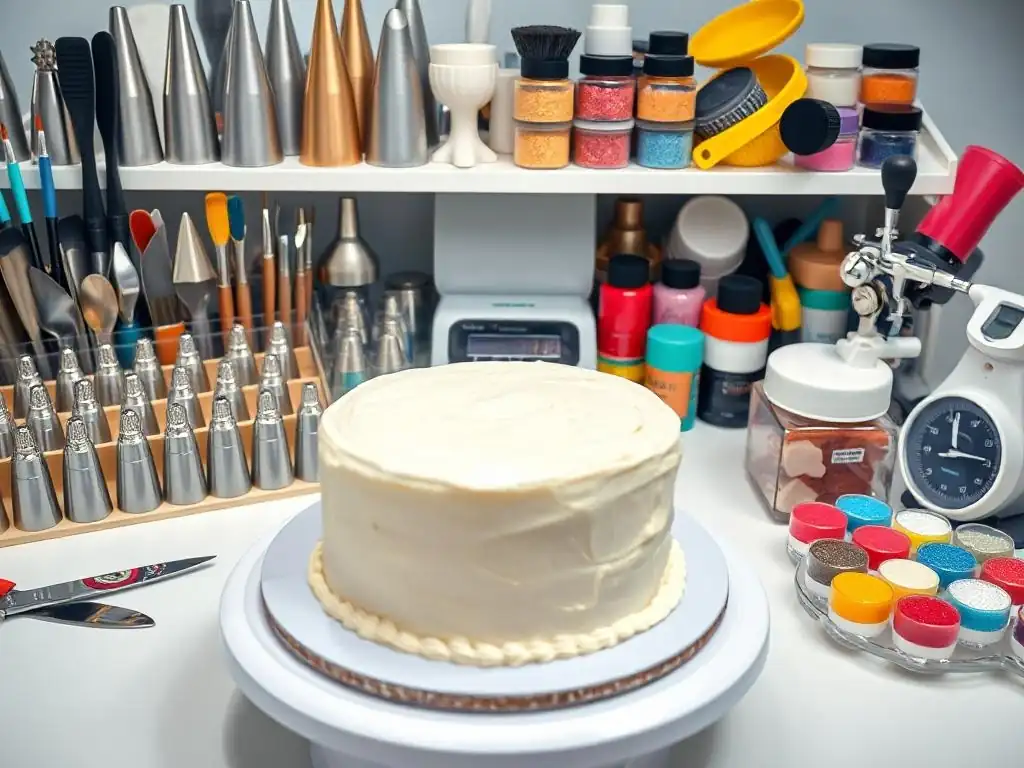
Mastering cake decorating, like any skill, requires practice. Don't feel pressured to create elaborate, multi-tiered masterpieces from day one. Begin by getting comfortable with the fundamental cake decorating essential tools. Practice icing a cake smoothly using your offset spatula and scraper. Work on achieving sharp edges with your turntable and scraper. These basic techniques form the foundation for almost all subsequent decorating.
Once you're comfortable with the basics, move on to simple piping techniques. Practice piping dots, stars, and simple borders directly onto parchment paper or a practice board before attempting them on a cake. This allows you to get a feel for the pressure needed and the movement required for different designs without the pressure of potentially messing up a finished cake. As your confidence grows, gradually introduce more complex designs, such as rosettes, shells, or basic flowers, building your skills one step at a time.
Online Resources and Tutorials for Cake Decorating Techniques
The internet is a treasure trove of information and inspiration for cake decorators. Websites like BakeWithEase offer step-by-step guides, tutorials, and tips on using cake decorating essential tools and executing various techniques. There are countless videos demonstrating everything from how to fill a piping bag to covering a cake with fondant or airbrushing a design.
Utilizing these online resources can significantly accelerate your learning process. Seeing a technique demonstrated visually can often be much clearer than reading instructions alone. Look for tutorials that break down complex designs into manageable steps and explain which cake decorating essential tools are used and why. Engaging with online baking communities can also provide support, inspiration, and answers to your decorating questions.
Final Thoughts: Your Journey to Stunning Cakes Starts Now
Embrace the Art of Cake Decorating with BakeWithEase
Embarking on the journey of cake decorating is a rewarding experience that allows you to transform simple baked goods into edible works of art. With the right cake decorating essential tools and a willingness to practice and learn, you can unlock your creative potential and delight friends and family with stunning cakes for any occasion. Remember, every skilled decorator started with the basics and built their abilities over time.
At BakeWithEase, we are dedicated to providing you with the guidance, recipes, and insights you need to succeed in your baking and decorating endeavors. By equipping yourself with these must-have cake decorating tools and utilizing the resources available to you, you are well on your way to creating cakes that are not only delicious but also visually spectacular. So, grab your spatulas, prepare your frosting, and start creating!
Frequently Asked Questions
What are the essential tools needed for cake decorating?
To achieve stunning cake designs, some essential tools include an offset spatula, piping bags, and a cake leveler. These items help in creating smooth finishes and intricate decorations.
How do I choose the right piping tips for my cake?
Selecting piping tips depends on the design you want to achieve. For intricate details, use smaller tips, while larger ones are great for filling and creating borders.
Can I use regular kitchen tools for cake decorating?
Yes, many regular kitchen tools can be repurposed for cake decorating, such as a knife for smoothing icing or a spoon for shaping fondant. Creativity is key!
What techniques can I learn to improve my cake decorating skills?
To enhance your cake decorating skills, practice techniques like smoothing icing, piping borders, and using fondant. Step-by-step guides on BakeWithEase can help you master these skills.
Where can I find easy recipes for cakes?
You can find a variety of easy recipes for cakes on BakeWithEase.com, which offers detailed instructions and tips suitable for bakers of all levels. Explore their extensive collection today!
Final Reflection: The Art and Craft of Cake Decorating
The pursuit of the perfect cake transcends mere baking; it's a journey into artistry, demanding precision, creativity, and the right tools. From the humble beginner to the seasoned professional, mastering the craft requires more than just a recipe; it necessitates a deep understanding of the instruments that bring your vision to life. This understanding, as we've explored, unlocks a world of possibilities.
The impact of cake decorating extends far beyond the kitchen table. It's a powerful form of self-expression, a celebration of life's milestones, and a testament to human ingenuity. It's a craft that connects us across cultures and generations, fostering a sense of community and shared passion. A cake is a celebration of life, a symbol of joy, and a delicious work of art.
This sentiment, though simple, encapsulates the profound emotional resonance baked into every frosted layer. The tools we've discussed are not just inanimate objects; they are the conduits through which this artistry flows.
Now, consider your own baking journey. What tools resonate most with your style? What new techniques, inspired by this exploration of essential equipment, will you try next? Don't be afraid to experiment, to push boundaries, and to discover the unique voice your cakes can express. The world awaits your next masterpiece, and the tools are ready at your fingertips. Embrace the challenge, and let your creativity flourish.
Unleash Your Inner Cake Artist!
Thanks for joining us on this delicious journey into the world of cake decorating! We hope you discovered some invaluable tools to elevate your baking game. Now it's time to put your newfound knowledge into action.
- Master a New Technique: Choose one of the tools highlighted in the article and dedicate some time this week to mastering it. Practice makes perfect!
- Share Your Creations: Show us your stunning cake creations! Post a picture on social media and tag us – we'd love to see what you bake.
- Explore Further: Dive deeper into cake decorating techniques by exploring our other articles on BakeWithEase.com (Not included in this response because external links are not allowed per the prompt).
Ready to transform your baking from good to amazing? What's the first cake decorating technique you're going to perfect?