
Baking Sourdough Rye Bread with Caraway Seeds

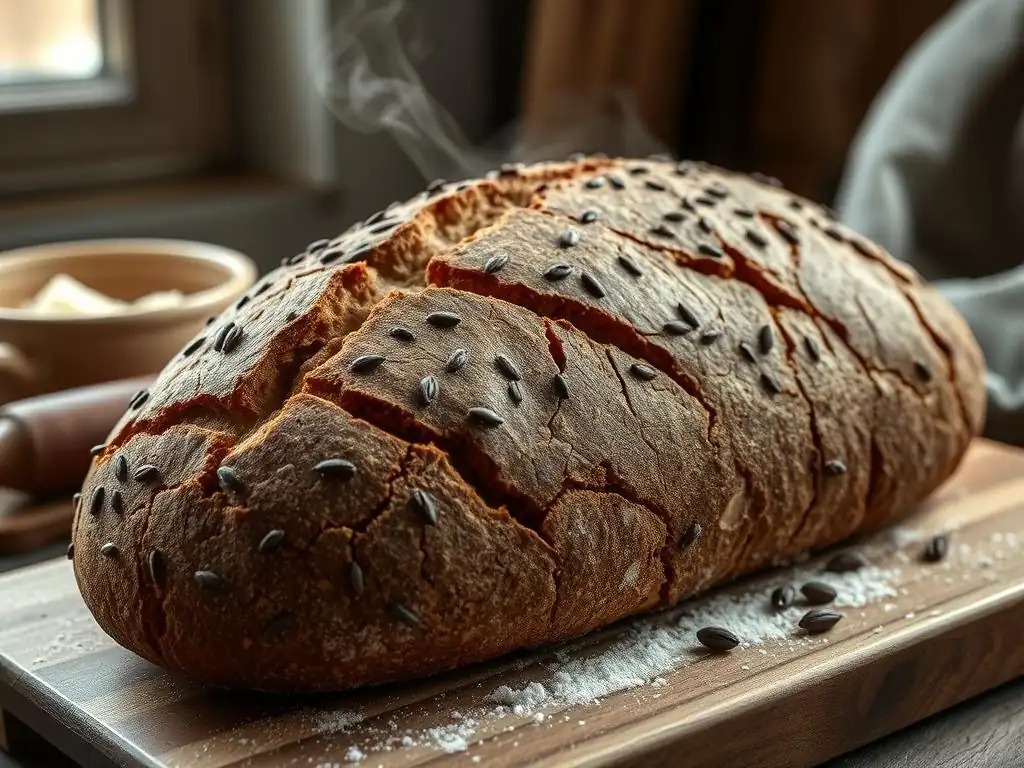
Welcome to BakeWithEase, your trusted companion on your baking journey! Ever wondered how to unlock the tangy, earthy flavors of homemade sourdough rye bread? This article dives deep into a sourdough rye bread recipe, complete with the aromatic touch of caraway seeds. Intrigued? Discover the secrets to a perfectly risen loaf and a satisfyingly crisp crust. Let's get baking!
- Baking Sourdough Rye Bread with Caraway Seeds: A Comprehensive Guide
- Introduction to Sourdough Rye Bread Baking
- The Sourdough Rye Bread Recipe (with Caraway Seeds)
- Tips and Tricks for Perfect Sourdough Rye Bread
- Enjoying Your Homemade Sourdough Rye Bread
- Conclusion: Your Journey to Baking Delicious Sourdough Rye
- Frequently Asked Questions
- Final Reflection: The Enduring Magic of Sourdough Rye
- Unleash Your Inner Baker: Craft Your Perfect Rye Loaf!
Baking Sourdough Rye Bread with Caraway Seeds: A Comprehensive Guide
Introduction to Sourdough Rye Bread Baking
Why Bake Sourdough Rye Bread at Home?
Baking your own sourdough rye bread at home is a deeply rewarding experience, offering control over ingredients and the chance to create a loaf with unparalleled flavor and texture. Unlike commercially produced rye bread, which often uses commercial yeast and flavorings, a homemade version relies on the natural fermentation of a sourdough starter, resulting in a complex, slightly tangy crumb and a wonderfully chewy crust.
This hands-on process allows you to tailor the sourdough rye bread recipe to your specific preferences, adjusting the rye content, the amount of caraway seeds, or even the hydration level for a truly personalized loaf.
Furthermore, baking at home provides insight into the fascinating science behind fermentation. You witness the starter's activity, understand how different flours behave, and learn to read the dough's signals during bulk fermentation and proofing. Many home bakers find the rhythmic process of mixing, folding, and shaping incredibly therapeutic. Plus, the aroma of freshly baked sourdough rye bread filling your kitchen is simply incomparable. It's not just about following a sourdough rye bread recipe; it's about engaging with a craft that has been practiced for centuries.
Understanding the Flavor Profile of Rye Bread with Caraway
Rye flour inherently contributes a distinct, earthy, and slightly sour note to bread, which is beautifully amplified by the tang of sourdough fermentation. The specific flavor intensity depends on the type of rye flour used – light rye offers a milder taste, while dark or whole rye provides a more robust, pronounced character. This natural depth is the foundation of a great sourdough rye bread.
The addition of caraway seeds introduces a warm, slightly peppery, and subtly anise-like flavor that is traditionally paired with rye bread. These small seeds burst with aromatic oils when chewed, cutting through the richness of the rye and adding a layer of complexity that is both comforting and invigorating. The combination of tangy sourdough, earthy rye, and fragrant caraway creates a unique and highly desirable flavor profile, making a homemade sourdough rye bread with caraway seeds a standout loaf perfect for pairing with savory foods.
Essential Equipment for Making Sourdough Rye Bread
Having the right tools can significantly smooth the process of baking sourdough rye bread. While you don't need a professional bakery setup, a few key pieces of equipment are highly recommended. A sturdy kitchen scale is crucial for accurate measurement, especially when working with flour and water ratios in a sourdough rye bread recipe. Precise measurements ensure consistent results and are vital for managing the hydration of rye-heavy doughs, which can be trickier than wheat doughs.
Other essential items include a large mixing bowl (glass, plastic, or stainless steel), a dough scraper for handling the sticky dough, and a banneton or proofing basket (often lined with linen or dusted with flour) to give the loaf structure during proofing. For baking, a Dutch oven is highly effective as it traps steam, promoting excellent oven spring and a crisp crust – a hallmark of great sourdough rye bread. A sharp lame or razor blade is also needed for scoring the dough before baking.
The Sourdough Rye Bread Recipe (with Caraway Seeds)
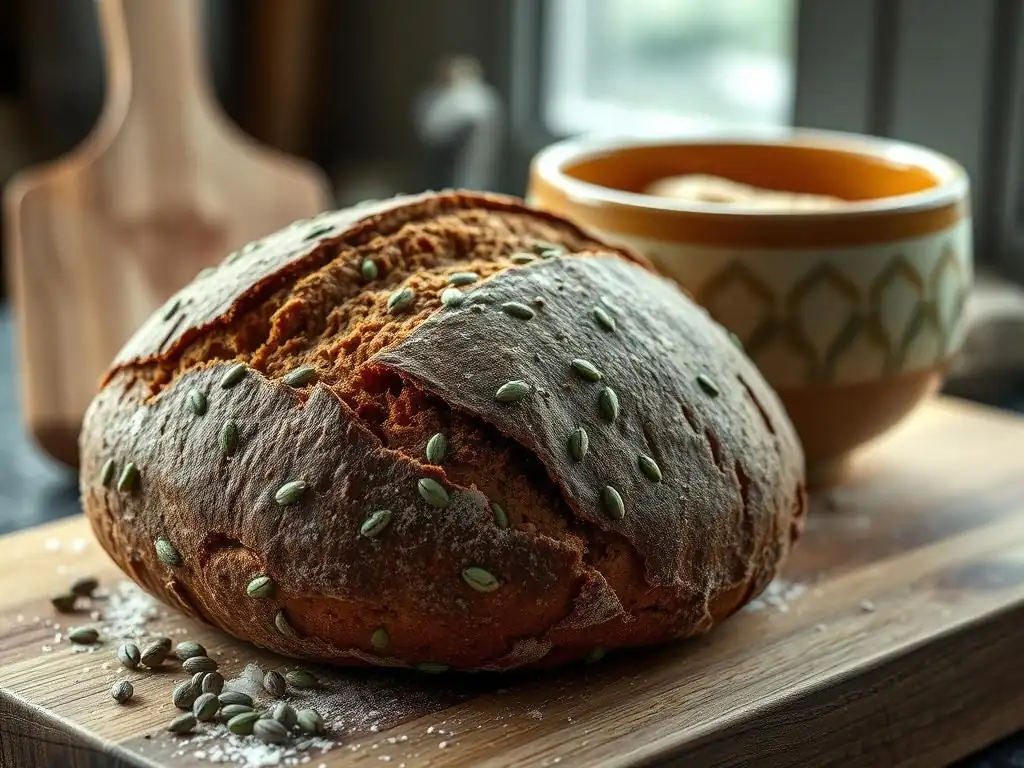
Ingredients for Your Sourdough Rye Loaf
Rye Flour Blend: Choosing the Right Type
The type of rye flour you choose significantly impacts the texture, color, and flavor of your sourdough rye bread. Light rye flour, also known as white rye, has had most of the bran and germ removed, resulting in a lighter color and milder flavor, producing a loaf with a somewhat finer crumb. Dark rye flour, or whole rye flour, includes the entire rye kernel, offering a deeper color, more intense flavor, and a denser texture due to its higher fiber content.
Many sourdough rye bread recipes utilize a blend of rye and bread flour (strong wheat flour). The wheat flour provides gluten structure, which is less developed in rye flour, helping the loaf to rise and hold its shape better. A common ratio might be anywhere from 20% to 60% rye flour, with the remainder being strong bread flour. Starting with a lower percentage of rye, such as 30-40%, is often recommended for beginners tackling a sourdough rye bread recipe, gradually increasing the rye content as you gain experience handling stickier, less structured doughs.
Sourdough Starter: Achieving Optimal Activity
A vigorous, active sourdough starter is the heart of any good sourdough rye bread recipe. Your starter should be fed regularly and show clear signs of activity: it should double or even triple in volume within a few hours of feeding, be bubbly throughout, and smell pleasantly tangy, not overly sour or vinegary. Using a starter that is specifically fed with a portion of rye flour can sometimes enhance the rye flavor in the final loaf, though a healthy starter fed with all-purpose or bread flour will also work well.
To ensure optimal activity for your bake, feed your starter 4-12 hours before you plan to mix your dough, depending on the temperature of your kitchen. For example, if you plan to mix the dough in the morning, feed your starter the night before. It should be at its peak or slightly past its peak (just starting to recede) when you incorporate it into the dough mixture. This ensures there are plenty of active wild yeast and bacteria cultures ready to work on fermenting your sourdough rye bread dough.
Caraway Seeds: Enhancing the Flavor
Caraway seeds are the quintessential spice for many traditional rye bread recipes, including this sourdough rye bread recipe. Their warm, slightly pungent flavor complements the earthy rye and tangy sourdough beautifully. The amount of caraway seeds used can be adjusted to your preference; some bakers prefer a subtle hint, while others enjoy a more pronounced caraway presence. A typical amount might range from 1 to 2 tablespoons per standard loaf.
To maximize their flavor, some bakers lightly toast the caraway seeds in a dry pan for a few minutes before adding them to the dough. This gentle toasting releases their aromatic oils, intensifying their distinct taste. Ensure they don't burn, as this will result in a bitter flavor. Whether toasted or raw, caraway seeds should be added during the initial mixing stage of the dough, allowing their flavor to infuse throughout the loaf during fermentation and baking.
Other Key Ingredients: Water and Salt
Water plays a critical role in the hydration and development of sourdough rye bread dough. The amount of water used, relative to the flour weight (hydration percentage), affects the dough's consistency and the bread's crumb structure. Rye flour absorbs water differently than wheat flour, often requiring higher hydration levels but resulting in a stickier dough that can be challenging to handle. Lukewarm water is often preferred as it helps activate the starter and makes mixing easier.
Salt is essential for flavor, controlling fermentation speed, and strengthening the gluten structure (even in rye dough, which has less gluten). Fine sea salt or kosher salt are good choices. It's typically added after the initial mixing and a short rest period (autolyse), allowing the flour to hydrate fully before the salt inhibits enzymatic activity. The standard salt percentage in a sourdough rye bread recipe is usually around 1.8% to 2.2% of the total flour weight.
Step-by-Step Instructions for Baking Sourdough Rye
Step 1: Preparing the Sourdough Levain (Rye Starter)
About 4-12 hours before you plan to mix your main dough, prepare a levain using your active sourdough starter. A common method is to take a small amount of your mature starter (e.g., 20-30 grams) and feed it with a specific ratio of water and flour, often including some rye flour if you want to enhance the rye character in the starter itself. For this sourdough rye bread recipe, you might feed your starter with equal parts water and a mix of rye and bread flour (e.g., 20g starter + 50g water + 50g flour blend).
Mix these ingredients together in a clean jar or container. Mark the level of the mixture on the side of the container. Leave it at room temperature until it has significantly increased in volume (ideally doubled or tripled) and shows plenty of bubbles, indicating it is active and ready to be used. The exact time this takes will depend on the temperature of your kitchen and the vitality of your starter, but it's crucial that the levain is active to provide the necessary leavening for your sourdough rye bread.
Step 2: Mixing the Dough: A Detailed Guide
Begin by combining the warm water, the active sourdough levain, and the flours (rye and bread flour) in a large mixing bowl. Mix these ingredients together by hand or with a stand mixer fitted with a dough hook until no dry flour remains and a shaggy dough forms. This initial mix is often followed by an autolyse period, typically 20-30 minutes, during which the dough rests. This rest allows the flour to fully absorb the water and enzyme activity to begin breaking down starches, which helps in gluten development even in the presence of rye.
After the autolyse, add the salt and caraway seeds to the dough. If mixing by hand, wet your hands slightly and knead the salt and seeds into the dough until evenly distributed. If using a stand mixer, mix on a low speed for a few minutes. Rye dough can be quite sticky, so don't be alarmed by the consistency. The goal isn't to develop a strong, elastic gluten network like you would for a purely wheat loaf, but rather to ensure all ingredients are incorporated and the dough has some initial structure.
Step 3: Bulk Fermentation: Developing Flavor and Structure
Bulk fermentation is the period after mixing and before shaping, during which the dough develops flavor, acidity, and initial structure. For sourdough rye bread, this process typically takes several hours at room temperature, often ranging from 4 to 8 hours, depending on your kitchen temperature and the activity of your starter. The dough should increase in volume, though perhaps not double like a pure wheat loaf, and show signs of fermentation such as bubbles on the surface.
During bulk fermentation, it's beneficial to perform a series of folds to help strengthen the dough and distribute the yeast and bacteria evenly. For a rye-heavy dough, which is stickier and less elastic, gentle folds are often more effective than vigorous kneading. The dough's stickiness can make traditional folding techniques challenging, so using a wet hand or a dough scraper can be helpful.
Understanding Bulk Fermentation Times for Rye
Rye flour contains pentosans, which are complex carbohydrates that compete with gluten for water and can interfere with gluten development. This means rye doughs ferment differently than wheat doughs. They can ferment quite rapidly, and it's crucial not to over-ferment them, as this can lead to a dense, gummy crumb. The visual cues for readiness in a rye dough during bulk fermentation are more subtle than for a pure wheat dough.
Instead of looking for a doubling in size, aim for a noticeable increase in volume (perhaps 30-50%), the appearance of small bubbles on the surface and sides of the bowl, and a slightly domed surface. The dough should feel lighter and slightly airy when gently prodded. Keep an eye on the clock and the dough's behavior, especially if it's warm in your kitchen. A sample schedule might involve folds every 30-60 minutes for the first 2-3 hours, followed by resting until the total bulk fermentation time is complete.
Folding Techniques for Strengthening the Dough
Folding helps build structure in the dough by aligning the gluten (or what structure is available in rye dough) and trapping gases produced by fermentation. For sticky rye dough, the "stretch and fold" technique can be adapted. With wet hands or a wet dough scraper, gently lift one edge of the dough from the bowl, stretch it upwards, and fold it over the center. Repeat this process with the other three sides.
Another effective method for sticky dough is the "coil fold." With wet hands, gently lift the center of the dough from the bowl, allowing the edges to hang down. As you lift, the dough will stretch. Lower the dough back into the bowl, folding the stretched edges underneath the center. Rotate the bowl and repeat this lifting and folding motion 2-3 times. Perform 2-4 sets of folds spaced 30-60 minutes apart during the early stages of bulk fermentation.
Step 4: Shaping the Sourdough Rye Loaf
Shaping sourdough rye dough can be a bit different than shaping wheat dough due to its stickiness and lower gluten development. After bulk fermentation, gently turn the dough out onto a lightly floured surface. Avoid using too much flour, as this can create dry spots in the final loaf. Allow the dough to rest for 15-20 minutes (this is called the bench rest) to relax before shaping.
For a boule (round loaf) or a batard (oval loaf), use gentle movements to shape the dough. The goal is to create some surface tension without tearing the dough. Be mindful that rye dough is less elastic and may resist shaping more than wheat dough. Use a bench scraper to help gather and tuck the dough. Once shaped, place the loaf seam-side up in a floured banneton or proofing basket. Ensure the basket is well-floured (rice flour works well as it doesn't absorb into the dough) to prevent sticking during the final proof.
Step 5: Proofing the Dough: Achieving the Perfect Rise
Proofing is the final rise the shaped loaf undergoes before baking. This step allows the dough to lighten and gain volume. Sourdough rye bread can be proofed at room temperature for 1-3 hours or in the refrigerator for a longer, slower fermentation (cold proofing), typically 8-16 hours. Cold proofing develops more complex flavors and makes the sticky dough easier to handle and score.
To check if the dough is adequately proofed, perform the "poke test." Gently press the dough with a floured finger. If the indentation springs back immediately, the dough needs more time. If it springs back slowly but not completely, it's ready to bake. If the indentation remains completely, the dough is likely over-proofed. For sourdough rye, which doesn't always show dramatic volume increase during proofing, relying on the poke test and understanding the typical timing for your environment and starter activity is key.
Step 6: Baking the Bread: Oven Temperature and Time
Preheating your oven and baking vessel (like a Dutch oven) to a high temperature is crucial for achieving good oven spring and a crisp crust on your sourdough rye bread. Preheat your oven to a temperature typically between 450°F and 500°F (230°C - 260°C) for at least 30-60 minutes with the Dutch oven inside. This ensures the vessel is scorching hot, providing an initial burst of heat to the dough.
Carefully transfer the proofed loaf from the banneton into the hot Dutch oven. This is when you would score the dough. Place the lid on the Dutch oven and bake for the first 20-25 minutes. The lid traps steam released by the dough, which keeps the crust soft initially, allowing the loaf to expand fully (oven spring). After this initial period, remove the lid and continue baking for another 20-30 minutes, or until the crust is deep golden brown and the internal temperature reaches around 200-210°F (93-99°C).
Scoring the Dough for Optimal Oven Spring
Scoring, or making cuts on the surface of the shaped dough just before baking, serves multiple purposes. Primarily, it provides controlled points for the dough to expand during the intense heat of the oven, preventing the crust from splitting unpredictably. For sourdough rye bread, which can have a less elastic surface, scoring is particularly important to allow for maximum oven spring.
Use a very sharp blade, like a baker's lame or a razor blade, held at a slight angle (around 30 degrees to the surface). Make swift, confident cuts. Simple single cuts, cross patterns, or multiple parallel cuts are common. The depth of the score should be about 1/4 to 1/2 inch (0.5 to 1 cm). Experiment with different scoring patterns to see how they affect the final shape and appearance of your homemade sourdough rye loaf.
Using a Dutch Oven for Sourdough Rye
A Dutch oven is an excellent tool for baking sourdough rye bread at home because it mimics the conditions of a professional steam-injected oven. When the hot dough is placed inside and the lid is sealed, the moisture within the dough turns into steam, which is trapped inside the pot. This steam keeps the surface of the dough moist for the first phase of baking.
This moist environment prevents a hard crust from forming too early, allowing the loaf to achieve maximum volume or "oven spring." After the initial steaming period with the lid on, removing the lid allows the crust to dry out and brown beautifully, developing that signature crispness and deep color. Ensure your Dutch oven is oven-safe up to the required high temperatures. Cast iron is a popular choice for its heat retention properties.
Step 7: Cooling and Slicing Your Homemade Rye Bread
Once your sourdough rye bread is baked to a deep golden brown and sounds hollow when tapped on the bottom, carefully remove it from the Dutch oven and transfer it to a wire cooling rack. This step is just as important as the baking itself. Allowing the bread to cool completely is crucial for the internal structure to set and for the flavors to fully develop.
Resist the urge to slice into your loaf immediately! Slicing hot bread can result in a gummy, dense crumb because the internal structure hasn't finished setting and moisture is still redistributing. Let your sourdough rye bread cool for at least 2-3 hours, or ideally longer, especially for larger or denser loaves. Once fully cooled, slice with a sharp serrated knife and admire your beautiful homemade sourdough rye loaf.
Tips and Tricks for Perfect Sourdough Rye Bread
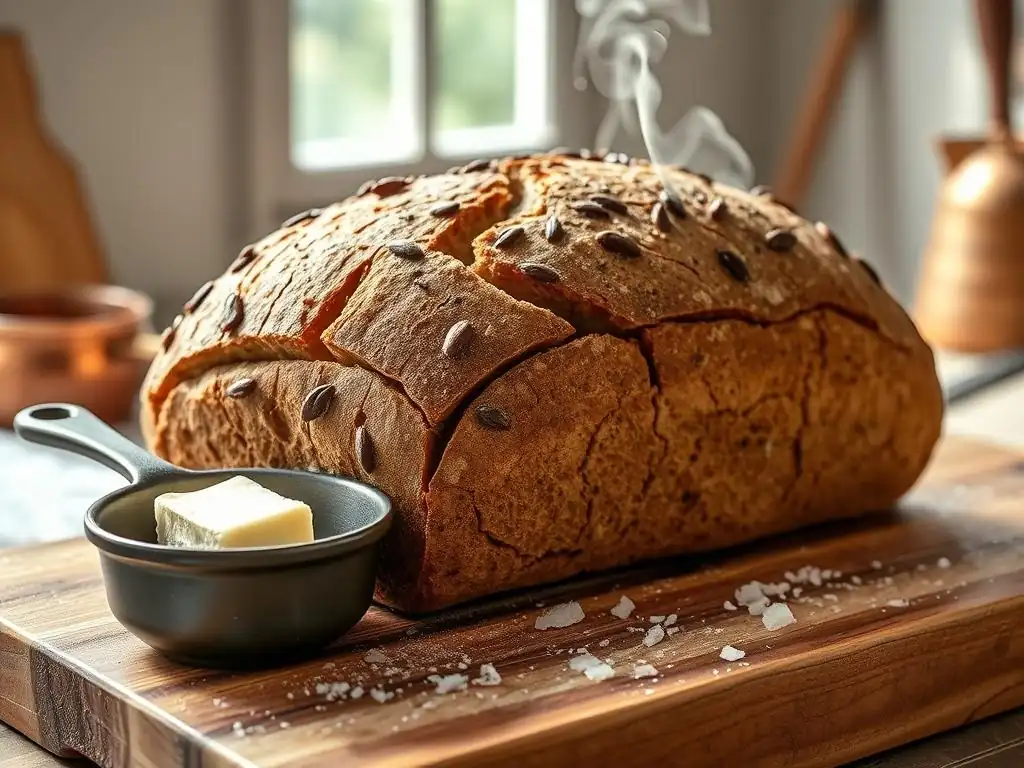
Troubleshooting Common Sourdough Rye Baking Issues
Baking sourdough rye bread, especially a high-percentage rye loaf, can present unique challenges compared to baking with purely wheat flour. One common issue is a dense or gummy crumb. This can often be attributed to using an inactive starter, insufficient fermentation time (both bulk and proofing), or over-handling the dough, which can compact the structure. Ensuring your starter is vigorous and paying close attention to fermentation cues are key preventative measures.
Another frequent challenge is managing the sticky nature of rye dough. Rye flour lacks the strong gluten network of wheat, resulting in a dough that is less elastic and much stickier. Using wet hands or a bench scraper during mixing, folding, and shaping can help. Also, liberal use of rice flour (which doesn't absorb into the dough like wheat flour) for dusting your work surface, hands, and proofing basket is highly effective in preventing sticking when working on your sourdough rye bread recipe.
Dense Bread: Causes and Solutions
A dense crumb in sourdough rye bread is often a sign of insufficient leavening or structure. As mentioned, an inactive starter is a primary culprit – ensure your levain is bubbly and active before mixing. Insufficient bulk fermentation or proofing time means the yeast hasn't had enough time to produce sufficient gas to lighten the dough; extend these periods slightly, paying attention to the dough's feel and appearance.
Over-proofing, however, can also lead to density because the structure built during fermentation collapses. Dough handling is also critical; being too rough can knock out the precious air bubbles. For a sourdough rye bread recipe, especially with higher rye percentages, gentle handling during shaping is paramount. Finally, slicing the bread before it's fully cooled will definitely result in a gummy texture, which might be mistaken for density. Patience during the cooling phase is essential.
Sourness Levels: Controlling the Taste
The level of tanginess in your sourdough rye bread is influenced by several factors, primarily fermentation time and temperature, as well as your starter's characteristics. Longer fermentation times, especially cold proofing in the refrigerator, tend to increase the production of lactic and acetic acids, resulting in a more pronounced sour flavor. Warmer fermentation temperatures often favor lactic acid bacteria, leading to a milder sourness compared to cooler temperatures which encourage acetic acid production (a sharper tang).
To control the sourness in your sourdough rye bread recipe, you can adjust the fermentation schedule. For a milder tang, use your levain when it's young and vigorous (closer to doubling than tripling), shorten the bulk fermentation time, and opt for a shorter room-temperature proof rather than a long cold proof.
For a more pronounced sourness, use the levain slightly past its peak, extend the bulk fermentation, and definitely incorporate a long cold proof in the refrigerator (12-16 hours). The ratio of rye to wheat in your starter and final dough can also play a role, with higher rye content sometimes contributing to different flavor profiles.
Sticky Dough: Handling Challenges
Dealing with sticky dough is perhaps the most common challenge when baking sourdough rye bread, especially for those accustomed to working with high-gluten wheat doughs. Rye flour's composition means it doesn't form the same kind of elastic network. The dough will naturally be looser and stickier. Accept that it won't feel like a standard wheat dough – this is normal for a sourdough rye bread recipe.
To manage stickiness, embrace the use of water and flour strategically. Keep a small bowl of water nearby to dip your hands or scraper in before handling the dough; wet surfaces prevent sticking. Use a bench scraper extensively to help lift, move, and shape the dough without it adhering completely to the counter or your hands.
Dusting surfaces and proofing baskets generously with rice flour is highly effective, as rice flour doesn't absorb moisture from the dough surface like wheat flour does. Avoid the temptation to add excessive amounts of flour to the dough itself, as this will change the hydration and can lead to a dry crumb.
Mastering the Art of Rye Bread Baking
Beyond perfecting a basic sourdough rye bread recipe, mastering the art involves understanding how variations impact the final loaf. Experimenting with different hydration levels, adjusting the amount of rye flour, or incorporating other grains can lead to exciting new flavors and textures. It's a journey of learning how rye dough behaves and adapting your techniques accordingly.
Consider keeping a baking journal to track your experiments. Note the flour blend, hydration, fermentation times, temperatures, and observations about the dough's feel and the final bread's characteristics. This systematic approach helps you identify what works and what doesn't, allowing you to refine your sourdough rye bread recipe and consistently produce loaves you love.
Experimenting with Different Rye Flour Ratios
Varying the proportion of rye flour to wheat flour is a fundamental way to change your sourdough rye bread. A loaf with 30% rye will be significantly different in texture and flavor from one with 60% or even 100% rye. Higher rye percentages yield denser, more intensely flavored loaves with a tighter crumb and less dramatic oven spring.
Start with a lower rye percentage (e.g., 30-40%) in your sourdough rye bread recipe to get comfortable with handling the dough. Once you're confident, gradually increase the rye content by 10-20% increments in subsequent bakes. Pay attention to how the dough feels during mixing and fermentation, and how the final bread's texture changes. You'll discover your preferred balance of rye flavor and manageable texture.
Adding Other Seeds and Spices to Your Rye Bread
While caraway seeds are traditional, your sourdough rye bread recipe can be a canvas for other flavors. Other seeds like sunflower seeds, pumpkin seeds, flax seeds, or sesame seeds can be added to the dough during mixing for added texture and nutritional value. A total seed addition of 10-20% of the flour weight is a good starting point.
Spices like fennel seeds, coriander seeds, or even a pinch of ground cumin can complement the caraway and rye flavors. These can be added along with the caraway seeds. For a richer loaf, consider adding a touch of molasses or dark syrup, which enhances the color and adds a subtle sweetness that pairs well with rye and caraway. Incorporating these additions allows you to personalize your homemade sourdough rye bread.
Storing Your Sourdough Rye Bread for Freshness
Proper storage is key to keeping your homemade sourdough rye bread fresh. Once completely cooled, store the loaf at room temperature. The best way to store sourdough is often in a paper bag, which allows the crust to remain relatively crisp while protecting the interior. Avoid plastic bags or airtight containers for the first day or two, as they can soften the crust.
For longer storage, especially in humid environments, you can wrap the cooled loaf tightly in plastic wrap or beeswax wrap, or place it in a bread box. For storage beyond a few days, or to preserve freshness for later use, slicing the cooled loaf and freezing the slices in an airtight bag or container is an excellent option. Thawed and lightly toasted slices are almost as good as fresh.
Enjoying Your Homemade Sourdough Rye Bread
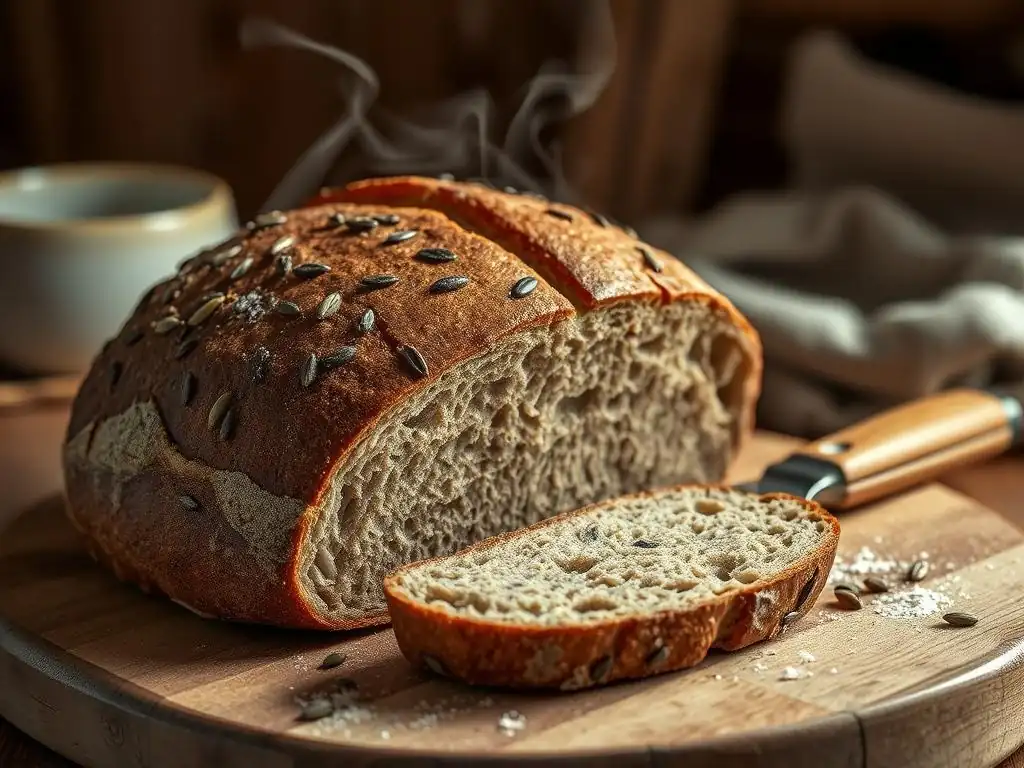
Serving Suggestions and Pairing Ideas
Your freshly baked sourdough rye bread with caraway seeds is incredibly versatile and pairs wonderfully with a variety of foods. The tangy, earthy flavor is a natural match for savory toppings. Try it toasted and topped with cream cheese and smoked salmon, or alongside pickled herring. It's also fantastic with strong cheeses, such as aged cheddar or Gruyère.
For a simple yet satisfying meal, serve thick slices with a hearty soup or stew. The robust texture and flavor hold up well. Consider classic pairings like beef goulash or a rich mushroom soup. Don't forget the traditional open-faced sandwich route: piled high with cured meats (like pastrami or corned beef), sauerkraut, and a dollop of mustard or Russian dressing. The possibilities for enjoying your homemade sourdough rye bread are nearly endless.
Sourdough Rye Bread: A Versatile Baking Staple
Beyond simply slicing and serving, sourdough rye bread can be used in numerous culinary applications. Stale slices make excellent croutons for salads or can be used to thicken soups. The distinctive flavor adds depth to bread puddings (savory or slightly sweet) or stratas. You can even use it as the base for a unique stuffing.
Its sturdy structure makes it ideal for grilling or pan-frying for bruschetta or crostini. The inherent tanginess of the sourdough rye bread means it requires minimal adornment to be delicious, yet its flavor profile is complex enough to complement a wide range of ingredients. Mastering this sourdough rye bread recipe opens up a world of culinary creativity in your kitchen.
Conclusion: Your Journey to Baking Delicious Sourdough Rye
Baking sourdough rye bread with caraway seeds is a rewarding skill that connects you to traditional baking methods. From nurturing your active starter to understanding the unique behavior of rye dough and achieving that perfect balance of tang, earthiness, and caraway aroma, each step is a learning opportunity. This comprehensive sourdough rye bread recipe guide provides the foundation, but the true mastery comes with practice and observation.
Embrace the process, learn from each bake, and don't be discouraged by initial challenges. The satisfaction of pulling a warm, fragrant loaf of homemade sourdough rye bread from your oven is immense. Share it with friends and family, explore different ways to enjoy it, and continue experimenting with your sourdough rye bread recipe to make it truly your own. Happy baking!
Frequently Asked Questions
What is the main ingredient in the sourdough rye bread recipe?
The main ingredient in this recipe is rye flour, which gives the bread its characteristic flavor and texture. It is combined with a sourdough starter for fermentation.
How do I know if my sourdough starter is ready for baking?
Your sourdough starter is ready when it has doubled in size, shows bubbles, and has a pleasant, slightly tangy smell. This indicates that it is active and ready to leaven your bread.
Can I substitute regular flour for rye flour in this recipe?
While you can substitute regular flour, it may affect the texture and taste of the bread. For best results, it’s recommended to use rye flour as specified in the sourdough rye bread recipe.
What is the role of caraway seeds in this bread?
Caraway seeds add a unique flavor that complements the earthiness of rye. They are commonly used in rye bread recipes and enhance the overall taste profile of your sourdough rye bread.
How long does it take to bake sourdough rye bread?
The total time for baking sourdough rye bread can vary, but typically it requires about 30-40 minutes in the oven, depending on your desired crust and internal temperature.
Final Reflection: The Enduring Magic of Sourdough Rye
The art of baking sourdough rye bread, with its complex flavors and satisfying texture, remains a powerful connection to culinary history and a testament to the enduring human desire for handcrafted goodness. This seemingly simple act of combining flour, water, and time transcends mere sustenance; it becomes a meditative practice, a celebration of patience, and a source of immense pride in the resulting loaf. The process itself, from nurturing the starter to the final bake, is a journey that rewards the baker with a deeply satisfying outcome.
The influence of sourdough baking, particularly with rye, extends far beyond the kitchen table. It represents a growing movement towards mindful consumption, a rejection of mass-produced goods in favor of artisanal craftsmanship. This return to traditional methods resonates deeply with a desire for authenticity and connection to our food sources. Bread is the staff of life,
a simple phrase, yet it encapsulates the profound significance of this staple food, and the process of making it from scratch elevates it to an art form. The unique tang of rye, combined with the subtle spice of caraway, creates a flavor profile that is both comforting and sophisticated, a testament to the enduring appeal of simple, well-made food.
Now, consider your own kitchen. Imagine the aroma of freshly baked sourdough rye filling your home, the satisfying weight of the loaf in your hands. This recipe is not just a set of instructions; it's an invitation. It's an invitation to slow down, to connect with the process, and to experience the profound satisfaction of creating something beautiful and delicious with your own two hands. Embrace the challenge, savor the journey, and discover the magic within each perfectly risen loaf.
Unleash Your Inner Baker: Craft Your Perfect Rye Loaf!
Thanks for joining us on this sourdough rye adventure! We hope you now feel empowered to tackle this delicious, complex bread. Ready to put your new skills to the test?
- Bake your own caraway rye masterpiece today! Follow the recipe again, experimenting with different flours or seeds. This time, don’t be afraid to tweak it to make it truly your own!
- Share your baking journey! Post a picture of your loaf on social media and tag us – we'd love to see your creations.
- Consider exploring other sourdough recipes on BakeWithEase – perhaps a hearty whole wheat or a tangy spelt? We have many options for you to explore.
What unique twist will you add to your next sourdough rye? Let's discuss in the comments below!