
Master Moroccan Khobz: A Versatile Round Flatbread

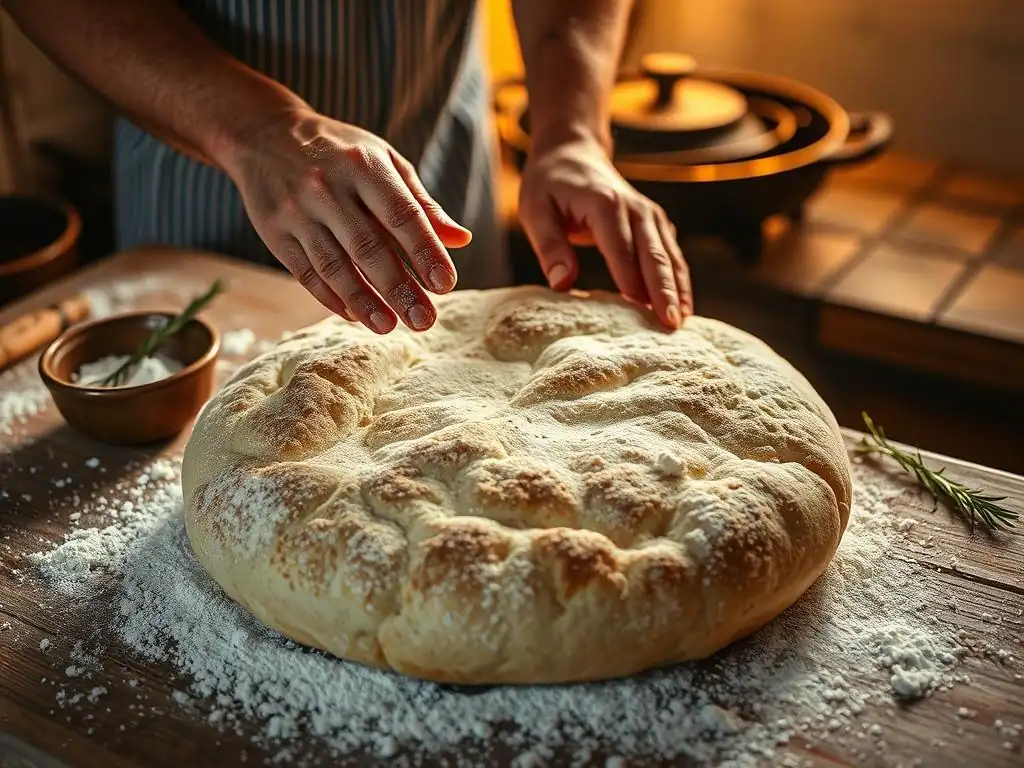
Welcome to BakeWithEase, your guide to unlocking the joy of baking! Ever dreamt of creating that perfect, crusty-on-the-outside, fluffy-on-the-inside bread? Then you're in the right place. Today, we're diving into the delicious world of Moroccan baking. Get ready to embark on a flavorful journey and discover how to easily bake your own Moroccan khobz. Our beginner-friendly recipe will have you crafting this versatile round flatbread in no time. Curious to learn the secret to its delightful texture and authentic taste? Let's get started!
- Introduction to Moroccan Khobz: An Easy Bread Recipe for Beginners
- Essential Ingredients for Authentic Moroccan Khobz
- Step-by-Step: Baking Your Own Moroccan Khobz at Home
- Tips and Tricks for Perfect Moroccan Khobz Every Time
- Variations on the Classic Moroccan Khobz Recipe
- Serving Suggestions: Enjoying Your Homemade Moroccan Khobz
- Conclusion: Embrace the Simplicity of Moroccan Khobz Baking
- Frequently Asked Questions
- Final Reflection: The Enduring Power of Simple Bread
- Unleash Your Inner Baker: Craft the Perfect Khobz!
Introduction to Moroccan Khobz: An Easy Bread Recipe for Beginners
Moroccan Khobz is more than just bread; it's a staple of North African cuisine, deeply rooted in tradition and daily life. This round, slightly flattened loaf is incredibly versatile, perfect for scooping up tagines, serving with dips, or simply enjoying with olive oil. What makes it particularly appealing is that mastering a basic Moroccan khobz recipe is surprisingly beginner easy, even for those new to baking bread. Unlike some complex yeasted doughs, khobz relies on simple ingredients and straightforward techniques, making it an ideal starting point for your bread-baking journey.
Embarking on baking a Moroccan khobz recipe beginner easy means you're choosing a path with minimal fuss but maximum reward. The process is forgiving, and the result is a warm, comforting loaf with a delightful texture – soft on the inside with a satisfying chew, often with a slightly crisp crust depending on the baking method. This accessible recipe demystifies bread making, proving that you don't need years of experience or fancy equipment to create delicious, authentic bread right in your own kitchen.
What is Moroccan Khobz? Exploring North African Flatbread
Moroccan Khobz is a traditional, unleavened or lightly leavened round bread found throughout Morocco and other parts of North Africa. Its name, "khobz," simply means "bread" in Arabic, highlighting its fundamental role in the diet. While variations exist regionally and family-to-family, the most common form is a rustic, relatively flat disc, typically between 1 to 2 inches thick, baked until golden brown. The dough is usually based on wheat flour, water, yeast, and salt, often enriched with a touch of sugar or olive oil.
Historically, khobz was often baked in communal wood-fired ovens, contributing to its unique texture and flavor profile. Today, most households bake it in conventional ovens, but the essence remains the same: a simple, hearty bread meant to be shared.
The texture can range from dense and chewy to light and airy, influenced by factors like the type of flour used (white, whole wheat, or semolina blends are common), the hydration level of the dough, and the baking temperature. It serves as the essential accompaniment to almost every meal, used to soak up sauces, wrap around fillings, or simply enjoyed on its own.
Why You'll Love This Easy Khobz Recipe
Choosing to bake this Moroccan khobz recipe beginner easy is a decision you won't regret. Firstly, the ingredient list is incredibly short and uses staples you likely already have in your pantry: flour, yeast, salt, water, and maybe a pinch of sugar. You won't need any special flours or hard-to-find items, keeping the process simple and accessible from the start.
Secondly, the technique involved is straightforward. Unlike elaborate artisan loaves that require complex folding or shaping, khobz involves mixing, kneading (which can be done by hand or machine), a couple of rises, and simple shaping into a round disc. The forgiving nature of the dough means minor imperfections are completely fine – rustic charm is part of khobz's appeal!
Plus, the relatively short rising times compared to some other bread types mean you can have warm, fresh khobz on your table in just a few hours, making it a perfect project for a relaxed afternoon. It's a low-stress way to learn the fundamentals of yeast bread baking while producing something genuinely delicious.
Essential Ingredients for Authentic Moroccan Khobz
Crafting authentic Moroccan Khobz relies on a few fundamental ingredients, each playing a crucial role in the final texture and flavor. While some variations exist, the core components remain constant. Understanding these basic building blocks is key to a successful bake, especially when tackling a Moroccan khobz recipe beginner easy. Focus on quality and accurate measurements for the best results.
Beyond the basics, optional additions can elevate your khobz, adding subtle layers of flavor or improving texture. These aren't strictly necessary for a traditional loaf but offer opportunities to customize your bread. We'll explore how simple additions like seeds or a touch of oil can transform your basic dough into something even more special, perfect for experimenting once you've mastered the fundamental Moroccan khobz recipe beginner easy.
Flour Power: Choosing the Right Flour for Khobz
The choice of flour significantly impacts the texture of your Moroccan Khobz. Traditionally, a blend of flours is often used. All-purpose white flour (around 10-12% protein content) provides structure and a relatively soft crumb, making it a good base for a beginner-friendly recipe. For a more authentic texture with a slight chew and rustic feel, many bakers incorporate fine durum wheat semolina. A common ratio might be 2 parts white flour to 1 part fine semolina. If you don't have fine semolina, standard semolina can be used but might result in a slightly coarser texture.
Using 100% all-purpose flour is perfectly fine for a first attempt at a Moroccan khobz recipe beginner easy, yielding a softer loaf. Whole wheat flour can also be partially or fully substituted for a denser, more nutritious bread, though it may require slightly more water. Aim for unbleached flours whenever possible, as they often have better flavor and structure. For this beginner recipe, starting with a blend of all-purpose and fine semolina (if available) in a 2:1 or 3:1 ratio is recommended for a balance of ease and authenticity.
Water, Yeast, and Salt: The Simple Foundation of Khobz
These three ingredients are the absolute core of any yeasted bread, including Moroccan Khobz. Warm water (ideally between 100-110°F or 38-43°C) is essential to activate the yeast. Using water that is too hot will kill the yeast, while water that is too cold will slow down fermentation significantly. The amount of water needed will vary based on the flour type and humidity, but typically ranges from 60% to 70% hydration relative to the flour weight. For 500g of flour, you might start with 300-350ml of water.
Active dry or instant yeast are both suitable for this Moroccan khobz recipe beginner easy. Active dry yeast usually requires proofing in warm water for about 5-10 minutes until foamy, while instant yeast can often be mixed directly with the dry ingredients. A standard packet of yeast (around 2.25 teaspoons or 7 grams) is sufficient for about 3-4 cups (400-500g) of flour.
Salt is crucial for flavor and also helps control the yeast activity and strengthens the gluten structure. Around 1-2 teaspoons (6-12 grams) per 500g of flour is typical. Don't forget the salt – bread without it is bland!
Optional Additions: Enhancing Your Khobz Dough
While not strictly traditional in the most basic form, several ingredients can be added to enhance your Moroccan Khobz. A small amount of sugar (1-2 teaspoons) can be added to the water with the yeast, especially if using active dry yeast, to give the yeast a little boost and contribute to browning. However, it's not essential as flour contains enough natural sugars for the yeast to feed on.
Adding a tablespoon or two of olive oil or other vegetable oil to the dough can result in a softer crumb and a slightly richer flavor. Some recipes also incorporate seeds directly into the dough, such as anise seeds, sesame seeds, or nigella seeds (kalonji), which lend a wonderful aroma and subtle flavor. For example, adding 1-2 teaspoons of anise seeds is a popular variation. While these additions are optional for a pure Moroccan khobz recipe beginner easy, they offer great ways to customize your bread once you feel comfortable with the basic technique.
Step-by-Step: Baking Your Own Moroccan Khobz at Home
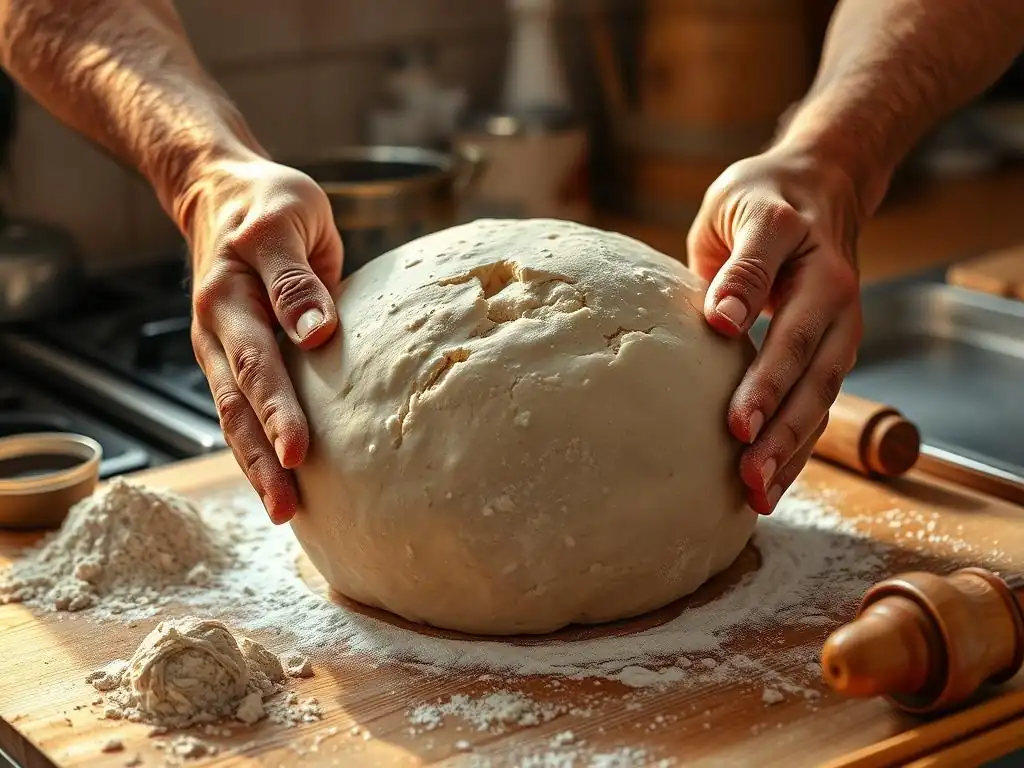
Baking Moroccan Khobz is a rewarding process, and this guide is designed to make the Moroccan khobz recipe beginner easy and approachable. Follow these steps carefully, and you'll soon be enjoying warm, homemade bread. Remember that baking is also about feel – pay attention to the dough's texture at each stage.
From mixing the simple ingredients to the final golden bake, each phase contributes to the final loaf. Don't be intimidated by working with yeast; it's simpler than you think. This step-by-step breakdown ensures that even novice bakers can confidently navigate the process and achieve delicious results with their first attempt at this Moroccan khobz recipe beginner easy.
Preparing the Dough: A Beginner-Friendly Guide
Start by combining your dry ingredients in a large mixing bowl: flour (and semolina, if using) and salt. If using instant yeast, add it here and whisk briefly to distribute. In a separate bowl or measuring cup, combine your warm water and any optional additions like sugar or oil. If using active dry yeast, sprinkle it over the warm water and let it sit for 5-10 minutes until foamy before proceeding. Once the yeast is activated (or if using instant yeast), pour the liquid into the dry ingredients.
Mix everything together with a wooden spoon or spatula until a shaggy dough forms and most of the flour is incorporated. At this point, turn the dough out onto a lightly floured surface. Knead the dough for about 8-10 minutes by hand. Push the dough away from you with the heels of your hands, fold it back towards you, and rotate.
The dough will be sticky at first, but resist the urge to add too much flour; a sticky dough often results in a lighter bread. Knead until the dough becomes smooth and elastic. If using a stand mixer with a dough hook, knead on medium speed for 5-7 minutes. The dough should pull away from the sides of the bowl.
First Rise: Achieving the Perfect Dough Texture
After kneading, the dough needs time to ferment and develop flavor and structure. Lightly grease a clean bowl with oil. Shape the kneaded dough into a ball and place it in the greased bowl, turning to coat all sides. Cover the bowl tightly with plastic wrap or a clean kitchen towel. Place the bowl in a warm, draft-free spot. An oven with the light on is a good place, or simply on the counter in a warm kitchen.
The first rise, or bulk fermentation, typically takes about 1 to 1.5 hours at room temperature (around 70-75°F or 21-24°C). During this time, the dough should double in size. The exact time can vary depending on the temperature of your kitchen and the activity of your yeast. You can test if the dough has risen enough by gently poking it with a finger; if the indentation remains, it's ready. This rise is crucial for developing air pockets and the characteristic texture of the finished Moroccan khobz.
Shaping the Khobz: Creating the Traditional Round Loaf
Once the dough has doubled in size, gently deflate it by punching it down. Turn the dough out onto a lightly floured surface. For traditional khobz, the dough is usually divided into one or two equal portions depending on how large you want the loaves (a typical recipe using 500g flour makes two medium loaves or one large one). For two loaves, cut the dough in half.
Take each portion and gently shape it into a round ball by pulling the edges underneath and pinching them together at the bottom. Then, flatten the ball into a disc using your hands or a rolling pin. Aim for a thickness of about 1 to 1.5 inches (2.5-4 cm).
Some bakers lightly dust the surface of the shaped dough with semolina or flour before the second rise; this is optional but traditional. Place the shaped loaves on a baking sheet lined with parchment paper or dusted with semolina. Ensure they are spaced apart as they will expand during the second rise and baking.
Second Rise: Ensuring a Light and Airy Bread
The second rise, also known as proofing, allows the shaped loaves to lighten up and prepare for baking. Once the dough discs are on the baking sheet, cover them loosely with a clean kitchen towel or plastic wrap. Place the baking sheet back in a warm, draft-free place.
This rise is usually shorter than the first, typically lasting about 30-45 minutes. The loaves should increase in size by about 50-75%. They should look visibly puffier and feel lighter. Be careful not to over-proof, as this can cause the bread to collapse in the oven. To check if they are ready, gently press a finger into the side of a loaf; the indentation should spring back slowly but not completely disappear. This second rise is vital for achieving a light and airy crumb in your finished Moroccan khobz.
Baking the Khobz: Oven Temperature and Timing
Preheat your oven well in advance to a high temperature. A common temperature for baking khobz is 425°F (220°C). For the best results, place a baking stone or steel in the oven while it preheats, if you have one, as this helps create a crispier bottom crust. Allow the oven to preheat for at least 20-30 minutes after it reaches the set temperature to ensure the stone/steel is hot.
Carefully transfer the proofed khobz loaves onto the hot baking surface (either directly onto the stone/steel or onto the preheated baking sheet). For a slightly softer crust, you can bake them on a regular baking sheet. Bake for 20-30 minutes, depending on the size and thickness of your loaves. The khobz is done when it is golden brown on top and sounds hollow when tapped on the bottom. An internal temperature of around 200-210°F (93-99°C) indicates it is fully baked. This high temperature helps the bread rise quickly and develops a good crust, essential for authentic Moroccan khobz.
Tips and Tricks for Perfect Moroccan Khobz Every Time
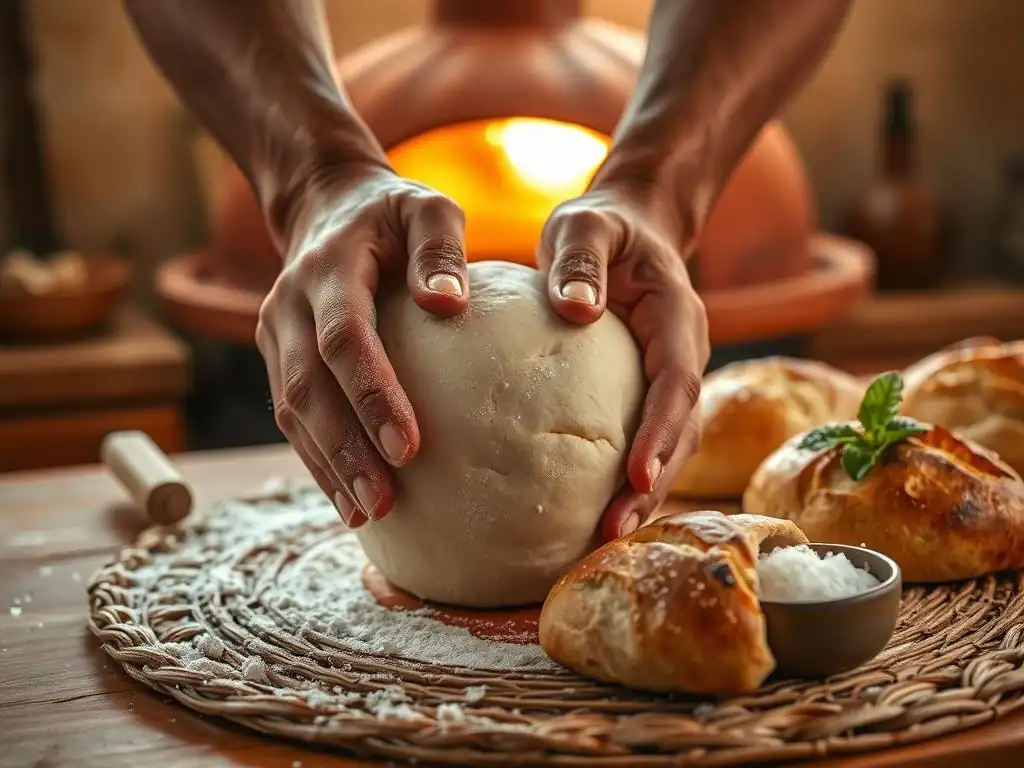
Even with a simple Moroccan khobz recipe beginner easy, a few tips can help elevate your results from good to great. Understanding how to achieve the desired crust, troubleshoot common issues, and store your finished bread will make your baking experience even more successful and enjoyable.
These insights come from years of baking experience and address the little nuances that can make a big difference in your final loaf. Applying these techniques will help you consistently produce delicious Moroccan khobz, perfect for sharing with family and friends.
Achieving a Crispy Crust: Mastering the Baking Technique
A hallmark of great Moroccan Khobz is often a slightly crisp or chewy crust. To encourage crust development, baking at a high temperature (425°F / 220°C) is key. Preheating your oven thoroughly is essential, ideally with a baking stone or steel inside, which provides intense heat from below, promoting a good oven spring and crust.
Creating steam in the oven during the initial baking phase can also significantly improve crust development. You can do this by placing a shallow pan of hot water on the bottom rack of the oven when you start preheating, or by carefully pouring a cup of hot water into a hot pan or on the oven floor just as you put the bread in (be cautious of steam).
The steam keeps the surface of the dough moist, allowing it to expand more before the crust hardens, resulting in a thinner, crispier crust. Baking directly on a preheated baking stone or steel also contributes significantly to a robust bottom crust, which is a characteristic of traditionally baked khobz.
Troubleshooting Common Khobz Baking Issues
Even with a Moroccan khobz recipe beginner easy, you might encounter small hiccups. If your dough isn't rising, check the date on your yeast and ensure your water temperature was correct (warm, not hot or cold). Your kitchen might also be too cold; find a warmer spot for the dough to rise. If the bread is dense, it could be under-kneaded (not enough gluten development) or under-proofed (didn't rise enough before baking). Ensure you knead until the dough is smooth and elastic and allow it to double in size during the first rise.
If the crust is too hard, you might be over-baking it, or the oven temperature might be too high for too long. Try reducing the bake time slightly or covering the loaf loosely with foil towards the end if the top is browning too quickly. If the loaves spread too much during the second rise or baking, the dough might be too wet (too high hydration) or over-proofed. Next time, slightly reduce the water or shorten the proofing time. Practice makes perfect, and learning from each bake is part of the fun!
Storing Your Khobz: Keeping it Fresh and Delicious
Homemade Moroccan Khobz is best enjoyed fresh, ideally warm from the oven. However, if you have leftovers, proper storage will help maintain its quality for a couple of days. Once completely cooled, store the khobz in a paper bag at room temperature. A paper bag allows the crust to breathe, preventing it from becoming soggy, while still offering some protection from drying out.
Avoid storing khobz in plastic bags at room temperature for extended periods, as this can trap moisture and make the crust soft. For longer storage, khobz freezes exceptionally well. Once cooled, wrap the loaf tightly in plastic wrap, then in aluminum foil or place it in a freezer-safe bag.
Frozen khobz can be stored for up to 3-4 months. To reheat, thaw at room temperature and then warm in a preheated oven (around 350°F / 175°C) for 5-10 minutes until heated through and the crust is refreshed. This is a great way to have delicious khobz ready whenever you need it, making your Moroccan khobz recipe beginner easy efforts last longer.
Variations on the Classic Moroccan Khobz Recipe
While the basic Moroccan khobz recipe beginner easy is wonderful on its own, its simplicity makes it a perfect canvas for variations. Experimenting with different flours or additions can introduce new textures, flavors, and aromas, allowing you to customize the bread to your preferences.
These variations build upon the fundamental techniques learned from the basic recipe, offering exciting ways to explore the versatility of khobz. Whether you're looking for a chewier texture, aromatic hints, or even a slightly sweet treat, there's a khobz variation to try.
Khobz with Semolina: Adding Texture and Flavor
Incorporating durum wheat semolina is a very common and traditional variation of Moroccan Khobz. Semolina is a coarse flour made from durum wheat, and using fine semolina (sometimes labeled "fine durum flour") adds a distinct texture and a slightly nutty flavor to the bread. A typical ratio might be 2 parts white flour to 1 part fine semolina, or even a 50/50 mix. Using semolina requires slightly more water than using only white flour, as semolina absorbs more liquid.
When preparing khobz with semolina, you might also use semolina for dusting the surface of the shaped loaves before the second rise and baking. This creates a lovely, slightly gritty exterior texture that is characteristic of many North African breads. The gluten structure from the white flour combined with the unique properties of semolina results in a loaf with a chewier crumb and a more robust structure compared to one made solely with white flour, enhancing the authentic feel of your Moroccan khobz recipe beginner easy.
Khobz with Herbs: Infusing Aromatics into Your Bread
Adding fresh or dried herbs to your khobz dough is a simple way to infuse it with wonderful aromas and flavors. Common choices include dried oregano, thyme, or a mix of Mediterranean herbs. You can also incorporate finely chopped fresh herbs like parsley or cilantro, though fresh herbs tend to add moisture and are often better added towards the end of kneading.
Typically, you would add 1-2 tablespoons of dried herbs per 500g of flour during the initial mixing stage with the dry ingredients. If using fresh herbs, about 2-3 tablespoons of finely chopped herbs can be kneaded in during the last minute or two of kneading. The heat of the oven will help release the aromatic oils from the herbs, resulting in a fragrant bread that pairs wonderfully with savory dishes. This variation adds an extra layer of complexity to your basic Moroccan khobz recipe beginner easy.
Sweet Khobz: A Dessert-Inspired Variation
While most Moroccan Khobz is savory, a slightly sweeter version exists, often enriched and sometimes served for breakfast or with tea. This variation typically involves adding a larger amount of sugar to the dough (perhaps 1/4 to 1/2 cup per 500g flour) and often includes enriching ingredients like milk instead of water, eggs, or butter/oil. Spices like anise seeds, cinnamon, or orange blossom water are also common additions.
This sweeter dough is kneaded and proofed similarly to the savory version, but the resulting bread is softer, richer, and slightly cake-like. It can be baked plain or sometimes topped with sesame seeds or a simple egg wash for a golden, shiny crust. This sweet khobz is delightful on its own, toasted, or served with butter and jam, showcasing the versatility that can be explored even starting with a basic Moroccan khobz recipe beginner easy.
Serving Suggestions: Enjoying Your Homemade Moroccan Khobz
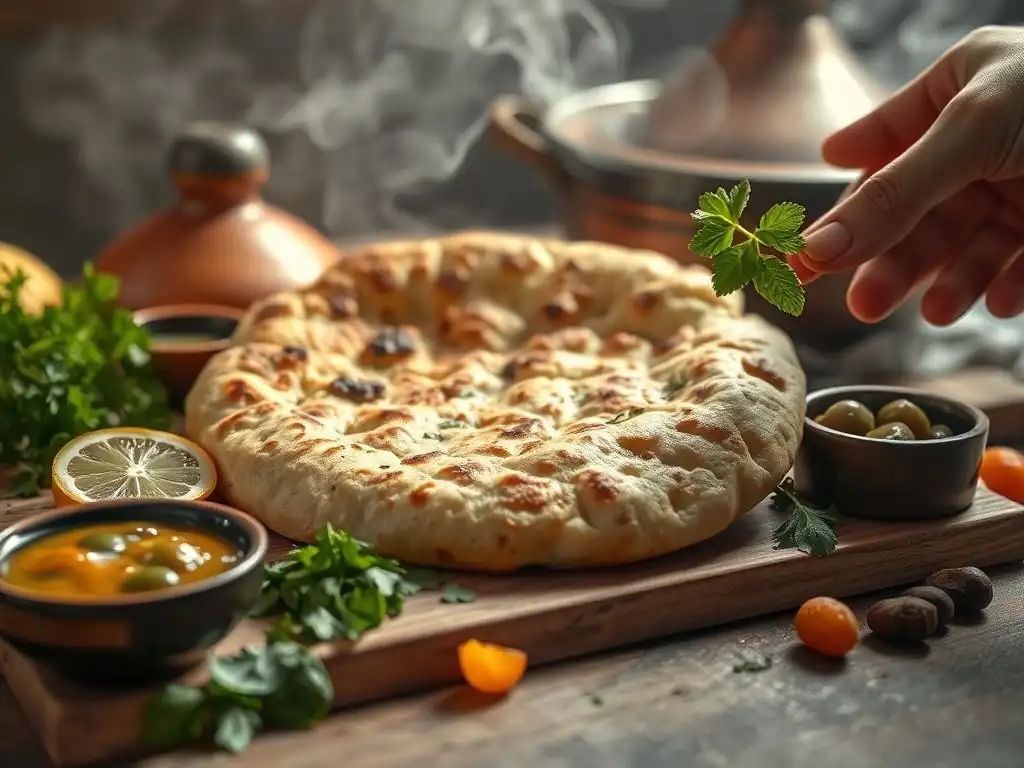
Homemade Moroccan Khobz is incredibly versatile and can be enjoyed in countless ways. Its soft crumb and sturdy structure make it perfect for pairing with a variety of dishes, both traditional Moroccan fare and other cuisines.
Whether you use it for scooping, sandwiching, or simply as a side, your fresh-baked khobz will elevate the meal. These suggestions will help you make the most of your delicious creation from your Moroccan khobz recipe beginner easy.
Traditional Pairings: What to Serve with Khobz
In Morocco, khobz is an indispensable part of almost every meal. It's traditionally used to scoop up stews and tagines, acting as an edible utensil. The soft crumb is perfect for soaking up rich sauces, while the crust provides a sturdy grip. Serve warm khobz alongside classic Moroccan dishes like Lamb Tagine with Prunes, Chicken Tagine with Olives and Lemon, or vegetable tagines.
Khobz is also essential for serving with dips and appetizers. Think hummus, baba ghanoush, or zesty Moroccan tomato and pepper salad (Zaalouk). Breaking off pieces of warm khobz to dip is a communal and satisfying way to start a meal. It's also commonly served with simple accompaniments like olive oil, argan oil, or butter for breakfast or a snack. The slight chewiness of a well-made khobz recipe beginner easy makes it ideal for this purpose.
Khobz as a Sandwich Bread: Creative Filling Ideas
While often used for scooping, the round, relatively flat shape of Moroccan Khobz also makes it an excellent base for sandwiches. You can slice the loaf horizontally to create two large rounds, or cut wedges and slice those open to form pockets. The substantial yet soft texture holds fillings well without becoming soggy too quickly.
Consider using khobz for classic fillings like grilled meats, falafel, or kebabs with salads and sauces. It's also great for simpler sandwiches like tuna salad, chicken salad, or even just cheese and vegetables. Its unique flavor adds a nice dimension compared to standard sandwich bread. The slight density from a Moroccan khobz recipe beginner easy ensures your sandwich won't fall apart.
Khobz as a Side Dish: Complementing Moroccan Cuisine
Beyond scooping and sandwiches, khobz serves as a perfect side dish for a wide range of meals. It's commonly served alongside salads, soups, and even breakfast spreads. A basket of warm khobz on the table invites diners to tear and share, adding a comforting, communal element to the meal.
Its neutral yet satisfying flavor profile complements both savory and slightly sweet dishes. Serve it with a hearty lentil soup, a fresh Fattoush salad, or alongside scrambled eggs and olives for a North African-inspired breakfast. Even a simple meal of grilled fish or chicken is enhanced by having warm, crusty khobz available to accompany it, proving the versatility of your successful Moroccan khobz recipe beginner easy.
Conclusion: Embrace the Simplicity of Moroccan Khobz Baking
Baking Moroccan Khobz offers a delightful journey into the heart of North African culinary traditions. As you've seen, mastering a basic Moroccan khobz recipe is remarkably beginner easy, requiring only a few simple ingredients and straightforward steps. From mixing the dough to the final golden bake, the process is rewarding and accessible to anyone eager to try their hand at homemade bread.
By following this guide, you've learned the fundamentals, explored key ingredients, and discovered tips for troubleshooting and enhancing your loaves. Whether you stick to the classic recipe or venture into variations with semolina, herbs, or sweetness, the result is a versatile, delicious bread perfect for sharing. So, gather your ingredients, embrace the process, and enjoy the wonderful aroma and taste of freshly baked Moroccan Khobz right from your own kitchen. Your successful Moroccan khobz recipe beginner easy is just a bake away!
Frequently Asked Questions
How difficult is the Moroccan Khobz recipe for someone new to baking?
This recipe is designed to be beginner-friendly. BakeWithEase.com provides step-by-step guides and uses easy-to-find ingredients to ensure success.
What makes Moroccan Khobz a versatile bread?
Moroccan Khobz is versatile because it can be enjoyed with various meals, from tagines to sandwiches. It's also great simply with olive oil and za'atar.
What key ingredients are needed for a successful Moroccan Khobz?
The key ingredients typically include flour, water, yeast, salt, and sometimes olive oil. The BakeWithEase recipe specifies exact amounts for best results.
Can I make Moroccan Khobz without a stand mixer?
Absolutely! This recipe is designed to be easy to make by hand. BakeWithEase focuses on simple techniques that don't require fancy equipment.
How should I store leftover Moroccan Khobz to keep it fresh?
Store leftover Khobz in an airtight container at room temperature for up to 2 days, or freeze for longer storage. Reheat before serving for a freshly baked taste.
Final Reflection: The Enduring Power of Simple Bread
Mastering Moroccan khobz isn't just about baking a delicious flatbread; it's about connecting with a rich culinary heritage and discovering the joy of simple, satisfying food. This seemingly straightforward recipe, designed for beginner bakers, unlocks a world of flavor and tradition, proving that extraordinary results can stem from uncomplicated methods. The ease of the recipe itself makes it accessible to everyone, regardless of baking experience.
The enduring appeal of khobz lies not only in its taste but also in its cultural significance. It's a staple food, a symbol of hospitality, and a testament to the ingenuity of Moroccan cuisine. Its versatility shines through in its countless applications, from accompanying tagines to forming the base for delicious sandwiches. Bread is the staff of life,
a proverb often repeated, rings truer than ever when considering the central role khobz plays in Moroccan culture and daily life. The act of making it, from kneading the dough to the satisfying puff as it bakes, becomes a meditative practice, connecting us to something larger than ourselves.
Now, I invite you to take this journey beyond the recipe. Don't just bake khobz; experience it. Share it with loved ones, savor its warm, slightly chewy texture, and let its simple perfection remind you of the beauty found in everyday traditions. Embrace the process, learn from each loaf, and discover the profound satisfaction of creating something delicious and meaningful with your own hands. The next time you break bread, remember the story behind it, and the power of a simple, perfect khobz.
Unleash Your Inner Baker: Craft the Perfect Khobz!
Thanks for joining us on this delicious journey into the world of Moroccan Khobz! We hope you’ve gained the confidence to tackle this versatile flatbread. Now it's time to put your newfound skills to the test!
- Bake your own Khobz today! Use our recipe as a starting point, experiment with different flours, and discover your perfect texture. This is your chance to truly master this delightful bread.
- Share your Khobz creations! Post photos on social media using #BakeWithEaseKhobz and inspire others to embark on their own baking adventures.
- Explore other BakeWithEase recipes for more inspiration. We have a world of delicious bread recipes waiting for you!
What unique twist will you add to your Khobz to make it truly your own? Let's hear about it in the comments below!