
Adding Intricate Details: MustHave Tools for Cake Artists

Welcome to BakeWithEase!
Unlock your inner cake artist! Ever wondered how those stunning, intricately detailed cakes are created? This guide reveals the must-have cake decorating tools that will transform your creations from simple to spectacular. Discover the secrets to achieving professional-looking finishes and learn how to use each tool effectively. Ready to elevate your cake decorating game? Read on to find out more!
- Elevate Your Cake Artistry: Essential Cake Decorating Tools
- Precision Piping: Mastering the Art with Specialized Nozzles
- Sculpting with Fondant: Modeling Tools for Cake Decoration
- Painting on Cake: Brushes and Colors for Edible Art
- Stencils and Airbrushing: Achieving Professional Cake Designs
- Finishing Touches: Essential Cake Decorating Tools for Presentation
- Cake Decorating Tools Tips: Maximizing Your Investment
-
Frequently Asked Questions
- What are the essential cake decorating tools for beginners?
- Where can I find easy-to-find ingredients for cake decorating projects?
- What are some cake decorating techniques that are easy to learn?
- How can I properly clean and store my cake decorating tools?
- What's the best way to practice cake decorating if I'm new to it?
- Final Reflection: The Sweet Art of Precision: Mastering Cake Decorating
- Unleash Your Inner Cake Artist: Take the Next Step!
Elevate Your Cake Artistry: Essential Cake Decorating Tools
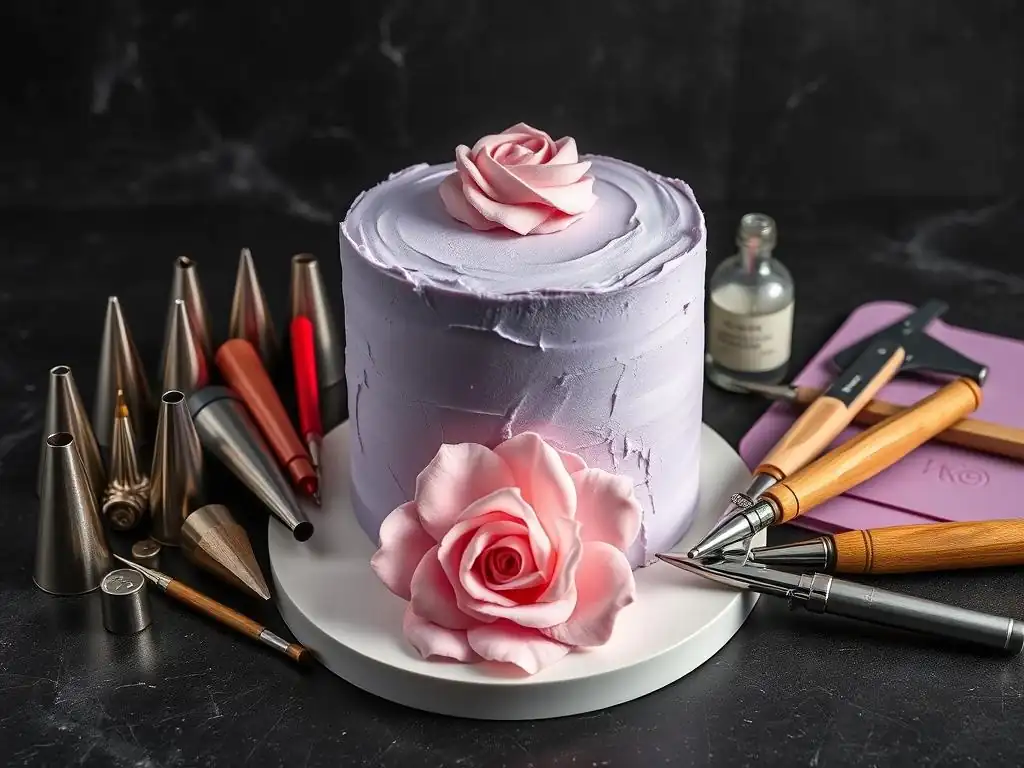
Stepping into the world of cake artistry opens up a realm of creative possibilities, transforming simple baked goods into edible masterpieces. Whether you're aiming for delicate floral arrangements, intricate textures, or stunning painted scenes, having the right set of cake decorating tools is absolutely crucial. These tools aren't just accessories; they are extensions of the artist's hand, enabling precision, control, and the ability to bring imaginative designs to life. Building a comprehensive toolkit is a journey, starting with basics and expanding as your skills and ambitions grow.
Mastering cake decorating tools tips is key to unlocking your potential. It's not just about owning the tools, but understanding how each one functions and how they work together to achieve complex effects. From the simple elegance of smooth buttercream to the detailed precision of sugar flowers, every technique relies on specific equipment. Investing in quality tools and learning their proper use can significantly improve the finish and overall impact of your cakes, making your decorating process more efficient and enjoyable.
Precision Piping: Mastering the Art with Specialized Nozzles
The Foundation: Standard Piping Tips for Cake Decoration
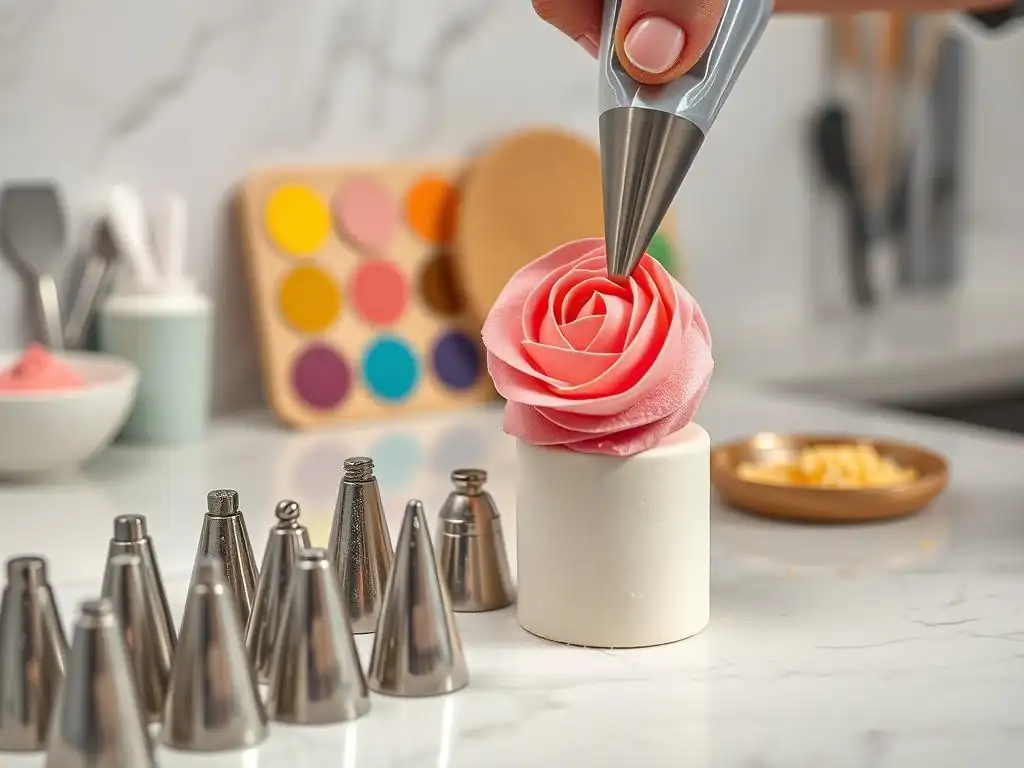
Standard piping tips are the workhorses of cake decorating, forming the base for countless designs. These small metal or plastic cones, available in hundreds of shapes and sizes, attach to piping bags and allow bakers to create everything from simple dots and lines to stars, shells, and rosettes.
A basic set often includes round tips (like sizes 1-12) for writing and outlines, and star tips (like 1M, 21, 32) for borders and star fills. For instance, a size 3 round tip is commonly used for fine script lettering or delicate bead borders, while a Wilton 1M open star tip is a favorite for creating swirls on cupcakes or simple rosette borders on cakes.
Understanding the different opening shapes and sizes is a fundamental cake decorating tools tip. Larger round tips (e.g., size 12) are great for filling large areas or piping thick borders, while smaller ones (e.g., size 1 or 2) are essential for intricate detail work like delicate lacework or tiny dots. Star tips, with their various numbers of points and open/closed configurations, produce distinct textures ranging from sharp, defined stars to softer, ridged swirls. Learning how different pressures and angles affect the piped design with these standard tips is an early step towards mastering the art.
Creating Texture: Ruffle and Petal Tips for Realistic Designs
Beyond the basic shapes, specialized tips like ruffle and petal tips allow cake artists to introduce beautiful textures and realistic floral elements. Petal tips, characterized by their tear-drop or curved openings, are indispensable for creating lifelike flower petals, ruffles, swags, and drapes. By varying the angle and pressure, you can create delicate rose petals using a tip like the Wilton 104 or create flowing ruffles along the side of a cake with a larger petal tip. The thinner edge of the tip typically forms the delicate edge of a petal or ruffle, while the wider edge provides the body.
Ruffle tips, often with serrated or multiple openings, produce distinct textures that mimic fabric ruffles or grass. For example, a multi-opening tip like Wilton 233 is perfect for creating grass, fur, or hair textures, adding depth and dimension to novelty cakes. Other ruffle tips might have a single, wide opening with a curved or angled edge, allowing for broad, wavy ruffles. Experimenting with different consistencies of buttercream or royal icing is a valuable cake decorating tools tip when using these specialized nozzles, as the icing's stiffness significantly impacts the final look of the ruffles or petals.
Fine Lines and Details: Writing and Detailing Nozzles Explained
For adding text, intricate patterns, or delicate details, specific writing and detailing nozzles are essential. These are typically very small round tips, often ranging from size 000 to size 3. The smaller the number, the finer the opening, allowing for extremely thin lines. A size 1 tip, for instance, is commonly used for piping detailed outlines on cookies or adding tiny dots and accents to larger designs. A size 000 tip is reserved for ultra-fine work, such as delicate filigree or miniature writing.
Mastering the use of these fine tips requires a steady hand and icing of the correct consistency – usually slightly thinner than standard piping consistency but still firm enough to hold its shape. Using a small piping bag or a parchment cone provides better control for these detailed tasks. Practicing lines and curves on parchment paper before working on the cake is a practical cake decorating tools tip that helps build muscle memory and confidence when using these delicate nozzles for writing names, dates, or adding intricate patterns like lace or scrollwork.
Sculpting with Fondant: Modeling Tools for Cake Decoration
Smooth Operators: Fondant Smoothers for a Flawless Finish
Achieving that perfectly smooth, professional finish on a fondant-covered cake is primarily thanks to fondant smoothers. These simple, often plastic, tools are designed with flat, straight edges and a comfortable grip. After draping fondant over a cake, smoothers are used with gentle pressure to adhere the fondant to the frosting underneath and eliminate wrinkles, air bubbles, and imperfections. Using two smoothers simultaneously – one on the top surface and one on the side – allows for even pressure and helps create sharp edges, a hallmark of high-quality fondant work.
The technique involves working your way around the cake, pressing the fondant firmly against the cake's surface while smoothing outwards. For sharp edges, you typically smooth the top edge down onto the side and the side edge up onto the top, meeting precisely at the corner.
A key cake decorating tools tip here is to work quickly but methodically before the fondant starts to set, and to use cornstarch or powdered sugar sparingly to prevent sticking without drying out the fondant too much. Investing in a good quality set of smoothers, perhaps with slightly rounded edges for blending, is a wise choice for anyone working regularly with fondant.
Shaping the Vision: Essential Fondant Modeling Tools for Sculpting
Once the fondant is smooth, a range of modeling tools comes into play for adding dimension, texture, and sculpted elements. A basic set of fondant modeling tools usually includes double-ended tools with various tips like balls, cones, stars, bones, and knives. For example, a ball tool is invaluable for thinning the edges of flower petals, giving them a delicate, lifelike appearance. A cone tool can be used to shape centers of flowers or create indentations, while a knife tool is useful for cutting and marking details like veins on leaves.
More advanced sets might include specialized tools like veining tools for adding realistic leaf or petal veins, or shell tools for creating shell borders. These tools allow artists to sculpt figures, create realistic sugar flowers, add facial features to characters, and build complex three-dimensional designs. Learning the specific function of each tool and practicing different sculpting techniques is a fundamental cake decorating tools tip for fondant artists looking to elevate their work beyond simple covering.
Adding Texture: Fondant Impression Mats and Embossers
To quickly and easily add intricate patterns and textures to fondant, impression mats and embossers are indispensable. Impression mats are flexible sheets of plastic or silicone with raised or recessed patterns, ranging from brick walls and wood grain to lace and floral designs. By pressing or rolling fondant onto these mats, the pattern is transferred onto the fondant surface, creating detailed textures that would be difficult or impossible to achieve by hand. For example, a popular mat can instantly create a quilted pattern, perfect for elegant cakes.
Embossers are similar but are often smaller tools or rollers used to press patterns directly onto fondant already applied to the cake, or onto smaller fondant pieces. Examples include letter and number embossers for adding personalized messages, or texture rollers with patterns like basketweave or argyle. Using a light dusting of cornstarch on the mat or embosser prevents sticking.
A helpful cake decorating tools tip is to practice on scrap pieces of fondant first to find the right amount of pressure needed to transfer the pattern clearly without distorting the fondant. These tools are fantastic time-savers for adding sophisticated textures.
Painting on Cake: Brushes and Colors for Edible Art
The Right Brush for the Job: Selecting Paintbrushes for Cake Decorating
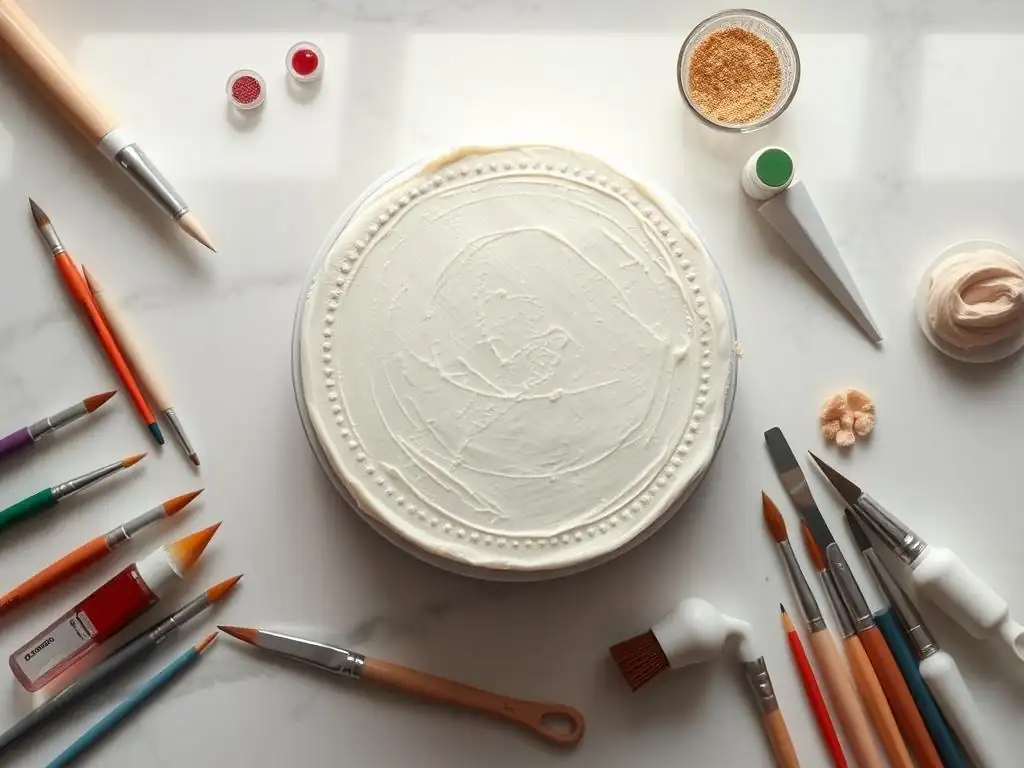
Painting on cakes requires a specific set of paintbrushes dedicated solely to edible mediums. Standard art brushes can contain harmful chemicals or residues. For cake painting, look for food-grade synthetic brushes, as natural bristles can shed. A good starting set includes a variety of shapes and sizes: fine detail brushes (like sizes 0, 1, 2) for intricate lines and details, round brushes (sizes 4-8) for general painting and shading, and flat brushes (sizes 1/4", 1/2") for washes and broad strokes. Having an angled brush can also be useful for creating crisp lines or strokes.
The type of brush needed depends on the surface (fondant, royal icing, buttercream crust) and the desired effect. Softer brushes are better for delicate surfaces, while stiffer brushes can be used for creating texture. A crucial cake decorating tools tip is to keep your edible-only brushes separate from any art supplies and clean them thoroughly with food-safe cleaner or warm water immediately after use. A dedicated brush set for cake painting ensures food safety and maintains the integrity of your edible colors.
Edible Palettes: Understanding Food Coloring for Cake Painting
Painting on cakes involves using food-grade coloring agents. The most common types are gel colors, powder colors, and specialized edible paints or dusts. Gel colors are highly concentrated and can be diluted with clear alcohol (like vodka or edible alcohol) or an edible painting medium to create liquid paints. Powder colors, like petal dusts or luster dusts, can be used dry for shading or mixed with alcohol for metallic or vibrant painted effects. For instance, mixing gold luster dust with vodka creates a shimmering gold paint perfect for accents.
Understanding how different colors behave and mix is a key cake decorating tools tip. Gel colors are versatile for broad painting, while dusts provide shimmer and depth. Specialized edible paints are often pre-mixed and ready to use. Always start with a small amount of color and build up layers, as it's easier to add more color than to take it away. Using a clean, non-porous surface like a ceramic tile or plastic palette specifically for mixing your edible paints is also essential for hygiene and color management.
Techniques for Painting on Cakes: From Watercolor to Detailed Portraits
Painting on a cake surface allows for a wide range of artistic techniques. One popular method is the watercolor effect, achieved by diluting gel colors significantly with alcohol and applying them in sheer washes, allowing colors to blend softly on a fondant surface. This technique is great for creating delicate floral backgrounds or abstract designs. Another technique involves using thicker, less diluted colors for more opaque coverage, similar to acrylic painting, which is suitable for painting solid shapes or bold patterns.
For more detailed work, like portraits or intricate scenes, layering and fine brushwork are required. This involves applying thin layers of color, allowing them to dry slightly between applications, and using fine detail brushes to add shadows, highlights, and small features. Using dust colors dry with a soft brush can add shading and depth to sculpted fondant pieces or textured surfaces. Practicing different brush strokes and paint consistencies on a practice board (a piece of fondant or icing on parchment) is a practical cake decorating tools tip before attempting complex designs on the actual cake.
Stencils and Airbrushing: Achieving Professional Cake Designs
The Magic of Stencils: Creating Patterns and Designs on Cakes
Cake stencils are fantastic tools for quickly and accurately applying patterns, textures, and images onto cake surfaces. Made from thin, flexible plastic, stencils come in countless designs, from geometric patterns and damask prints to letters, numbers, and specific images. They can be used with various mediums, including royal icing, buttercream, airbrush colors, or even edible glitter or dusts. For example, placing a damask stencil against the side of a chilled, crusted buttercream cake and scraping royal icing over it creates a crisp, raised pattern.
When using stencils, securing the stencil firmly against the cake is a crucial cake decorating tools tip to prevent bleeding. For airbrushing, holding the stencil slightly away from the surface can create a softer, diffused effect. For royal icing or buttercream, using a small offset spatula or scraper to apply the medium in one smooth pass works best. Cleaning stencils immediately after use ensures they are ready for the next project. Stencils are excellent for adding repetitive patterns or intricate designs quickly, saving significant time compared to piping or hand-painting.
Airbrushing Basics: Tools and Techniques for Cake Decoration
Airbrushing provides a way to apply thin, even layers of color to cakes, allowing for smooth gradients, vibrant hues, and quick coverage of large areas. A basic cake airbrushing setup includes a small compressor, an airbrush gun, and food-grade airbrush colors. The compressor provides the air pressure, the gun atomizes the liquid color into a fine mist, and the specialized colors are formulated to flow smoothly through the gun without clogging. Airbrushing can be used on fondant, royal icing, or crusted buttercream.
Basic techniques involve holding the airbrush gun a few inches away from the cake surface and moving it in smooth, even strokes. For lighter coverage, hold the gun further away and move faster; for more intense color, hold it closer and move slower. Practicing on paper or a practice cake is essential to get a feel for the pressure and distance needed to achieve desired effects. Understanding how to properly dilute and clean the airbrush gun is a vital cake decorating tools tip for maintaining the equipment and ensuring consistent results.
Mastering Color Gradients: Airbrushing for Stunning Cake Effects
One of the most popular applications of airbrushing in cake decorating is creating smooth color gradients or ombré effects. This involves transitioning seamlessly from one color to another, or from a dark shade to a lighter one. To achieve a gradient, start with the lighter color and spray a section of the cake. Then, add the darker color to your airbrush (or use a second gun) and spray over the edge of the first color, gradually moving into the area you want to be darker. Repeating layers and adjusting distance helps create a smooth blend.
Airbrushing is also excellent for adding subtle shading, highlighting textures, or creating realistic backgrounds like skies or sunsets. For example, airbrushing blue onto the top of a cake fading to white creates a sky effect. Using stencils with airbrushing allows for crisp patterns or silhouettes. A key cake decorating tools tip for successful airbrush gradients is to use thin, well-mixed colors and to work in light, buildable layers rather than trying to achieve the full color intensity in one pass.
Finishing Touches: Essential Cake Decorating Tools for Presentation
Edible Glue and Luster Dust: Adding Sparkle and Shine to Your Cakes
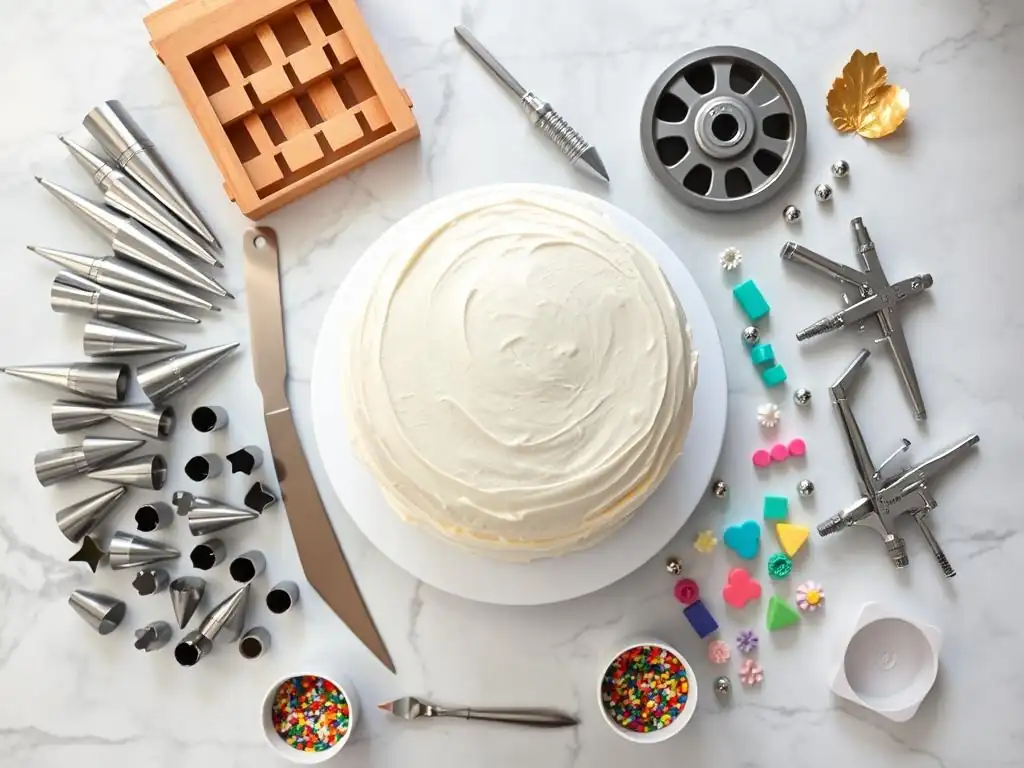
Once the main decorating is complete, finishing touches like edible glue and luster dust can add sparkle, shine, and secure small decorations. Edible glue, often made from CMC powder (Tylose powder) and water or available commercially, is a food-safe adhesive used to attach fondant pieces, sugar flowers, edible pearls, or other small decorations securely to the cake surface. A tiny amount applied with a fine brush is usually sufficient. Overusing edible glue can leave a visible shine or make the fondant soggy.
Luster dusts are fine, shimmering powders made from edible, non-toxic ingredients. They come in various metallic and pearlescent colors like gold, silver, pearl, and bronze. Luster dusts can be applied dry with a soft brush for a subtle shimmer, or mixed with clear alcohol or edible glaze to create a paint for more intense metallic effects on fondant details, sugar flowers, or chocolate.
For instance, dry brushing gold luster dust onto the edges of sugar petals adds a realistic, delicate shimmer. Understanding the different types of dusts (luster, petal, disco) and their best uses is a helpful cake decorating tools tip for adding that final touch of magic.
Palette Knives and Offset Spatulas: Smoothing and Shaping Frosting
While seemingly simple, palette knives and offset spatulas are fundamental tools for applying, spreading, and smoothing frosting or ganache on cakes. Palette knives have long, flexible blades and are primarily used for lifting and transferring delicate decorations or smoothing small areas. Offset spatulas, characterized by their bent handle that keeps your hand away from the cake surface, are essential for applying frosting evenly to the top and sides of a cake and achieving a smooth finish. They come in various sizes, from small ones for cupcakes to large ones for covering tiered cakes.
To achieve a smooth buttercream finish using an offset spatula, apply a generous amount of frosting, then use the spatula to spread and smooth it, holding the blade at a slight angle to the cake surface. For sharp edges, chill the cake slightly between layers of frosting and smoothing. A cake decorating tools tip for using these spatulas effectively is to heat the spatula blade slightly in warm water and wipe it dry before the final smoothing pass; this helps melt the outermost layer of frosting slightly, resulting in a glass-like finish.
Cake Turntables: Achieving Even Frosting and Precise Decoration
A cake turntable, also known as a revolving cake stand, is an absolute game-changer for both frosting and decorating cakes. It allows you to easily rotate the cake smoothly, providing access to all sides without having to move yourself or risk bumping the cake. This is invaluable for applying frosting evenly with an offset spatula, piping consistent borders, creating drip effects, or airbrushing. Turntables come in plastic or metal; metal ones are typically heavier and offer a smoother, more stable rotation, often preferred by professionals.
Using a turntable significantly improves the precision and efficiency of many decorating tasks. For example, piping a shell border around the base of a cake becomes much easier when you can simply rotate the cake as you pipe, maintaining a consistent angle and pressure. When smoothing frosting, you can hold your spatula steady and rotate the cake for a perfectly smooth finish. Investing in a sturdy, smoothly rotating turntable is one of the best cake decorating tools tips for achieving professional-looking results with greater ease.
Cake Decorating Tools Tips: Maximizing Your Investment
Proper Cleaning and Storage: Extending the Life of Your Cake Decorating Tools
Proper care is essential to keep your cake decorating tools in good condition and ensure food safety. After each use, tools should be cleaned thoroughly to remove all traces of frosting, fondant, or coloring. Piping tips, especially those used with buttercream or royal icing, can be soaked in warm, soapy water to loosen any dried icing, then scrubbed with a small brush specifically designed for cleaning tips. Fondant tools and smoothers should be washed gently to avoid scratching. Edible paintbrushes need immediate cleaning with water or edible cleaner to prevent color from drying in the bristles.
Once clean, tools should be dried completely before storage to prevent rust (for metal tips) or mildew. Storing tools in an organized manner not only makes them easy to find but also protects them from damage. Piping tips can be stored in compartmentalized boxes or on tip organizers. Modeling tools and brushes can be kept in cases or containers. Following these simple cake decorating tools tips for cleaning and storage will ensure your equipment lasts longer and remains hygienic for all your baking projects.
Choosing Quality Over Quantity: Investing in Durable Cake Decorating Equipment
When building your toolkit, it's often better to invest in fewer, higher-quality tools than a large collection of cheap ones. Quality tools are typically made from more durable materials, are better constructed, and perform more reliably. For example, seamless stainless steel piping tips are preferable to plastic or seamed metal ones, as they are stronger, easier to clean, and produce smoother results. A sturdy metal cake turntable with a smooth-turning mechanism is a better long-term investment than a lightweight plastic one that might wobble or stick.
While it can be tempting to buy large, inexpensive sets, assess which tools you will actually use regularly and prioritize quality for those items. Research brands known for durability and performance in the baking community. A helpful cake decorating tools tip is to start with essential basics and gradually add specialized tools as you learn new techniques and discover which ones you truly need for the styles of cake decorating you enjoy most.
The Cake Artist's Toolkit: Building Your Collection Over Time
Building a comprehensive cake decorating tools toolkit is a gradual process, not something that needs to be done overnight. Start with the fundamental tools required for basic techniques you want to master, such as a few piping tips, bags, spatulas, and maybe a basic set of fondant tools if you plan to work with it. As you experiment with new recipes and decorating styles – perhaps trying sugar flowers, airbrushing, or intricate stenciling – you can add more specialized tools as needed.
Think of your toolkit as an evolving collection that grows with your skills and ambitions. Pay attention to which tools you find yourself reaching for most often and consider upgrading or adding variations of those. Attend classes or watch tutorials to see which tools are used for specific effects, and add them to your wish list. Patiently building your collection over time, focusing on acquiring tools that genuinely enhance your abilities and allow you to explore new creative avenues, is a smart approach to mastering your cake decorating tools tips and techniques.
Frequently Asked Questions
What are the essential cake decorating tools for beginners?
Beginners should start with a basic set including a turntable, offset spatula, piping bags, and a few common tips like a round tip and a star tip. These tools provide a foundation for most decorating techniques.
Where can I find easy-to-find ingredients for cake decorating projects?
Most grocery stores carry the basics, such as food coloring, sprinkles, and fondant. Specialty baking supply stores offer a wider range of options.
What are some cake decorating techniques that are easy to learn?
Start with simple frosting techniques like creating a smooth buttercream finish or using basic piping to make borders and rosettes. Practice makes perfect!
How can I properly clean and store my cake decorating tools?
Wash your tools with warm, soapy water immediately after use. Allow them to dry completely before storing them in a clean, dry container to prevent rust or damage.
What's the best way to practice cake decorating if I'm new to it?
Start with cupcakes! They're smaller and less intimidating than a full cake. You can also practice piping on parchment paper before decorating your cake directly.
Final Reflection: The Sweet Art of Precision: Mastering Cake Decorating
The pursuit of the perfect cake is a journey of meticulous detail, and the right tools are the compass guiding your way. Today, more than ever, the artistry of cake decorating flourishes online, inspiring countless home bakers and professionals alike. This passion for intricate designs demands precision, and understanding the tools that facilitate this creativity is paramount to success.
The impact of accessible cake decorating tutorials and the rise of social media have democratized this once-exclusive art form. It's incredible to witness the explosion of creative expression, from delicate sugar flowers to breathtaking sculpted figures. This accessibility fosters a sense of community and shared passion. The best things in life are the simple things, but they are not easy.
– This quote, while not directly about cake decorating, perfectly encapsulates the dedication and skill required to create truly stunning pieces. The tools discussed in this article are not just instruments; they are the enablers of this dedication, allowing for the translation of vision into reality.
Now, consider your own creative journey. What tools resonate most with your style? What new techniques are you eager to explore? Don't be afraid to experiment, to push your boundaries, and to embrace the occasional imperfection. The beauty of cake decorating lies not just in the flawless finish, but in the process of creation itself. Pick up a piping bag, a spatula, or any tool that sparks your imagination, and let your creativity flow. The world awaits your next masterpiece.
Unleash Your Inner Cake Artist: Take the Next Step!
Thanks for joining us on this delicious journey into the world of cake decorating! We hope you've discovered some exciting new tools and techniques to elevate your baking game. Ready to transform your cakes from good to gorgeous?
- Master a new decorating technique: Choose one of the tools we highlighted and practice creating a stunning design. Challenge yourself to incorporate intricate details into your next cake!
- Share your creations: Post a picture of your latest cake masterpiece on social media and tag us – we'd love to see your progress! Use #BakeWithEaseMasterpiece.
- Explore our advanced cake decorating tutorials: Dive deeper into the art of cake decorating with our comprehensive guide (coming soon! ).
What incredible cake creation will you bring to life next?