
From Basics to Brilliant Bakes: Your Stand Mixer Journey Starts Here

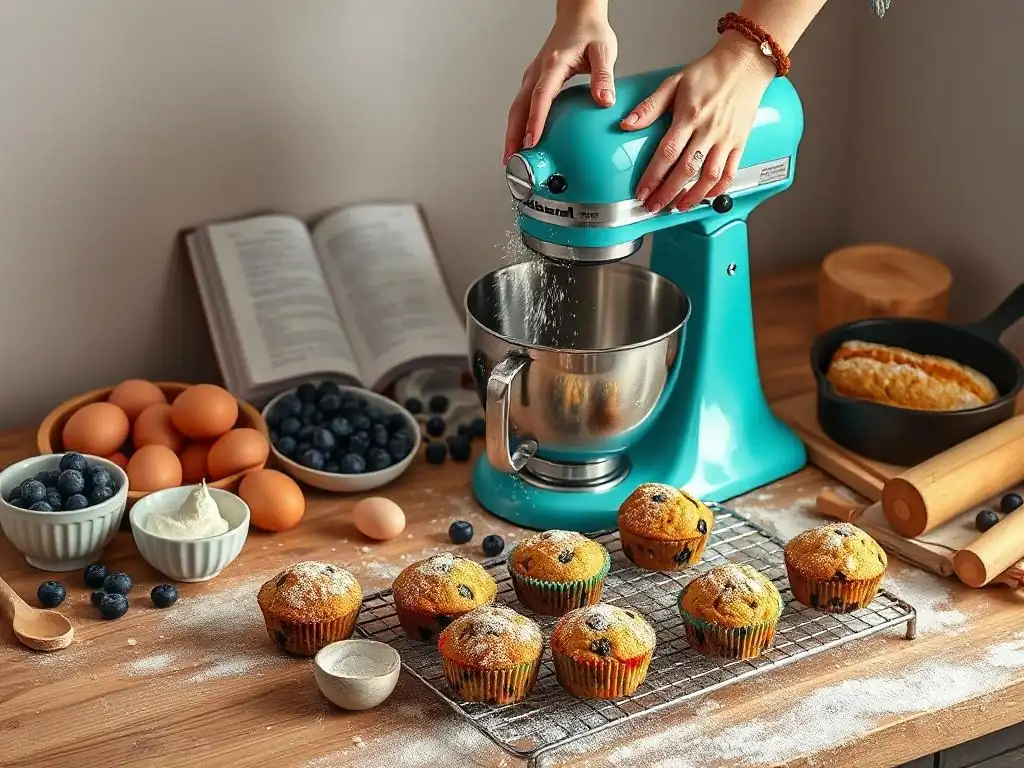
Welcome to BakeWithEase, your passport to confident baking! Ever wondered how a stand mixer can transform your baking game? Unlock the secrets to effortless creations with our Stand Mixer Baking Tutorials for Beginners. Discover how this versatile tool can elevate everything from simple cookies to complex cakes. Intrigued? Let's dive in and turn your kitchen into a sweet success story!
- Welcome to Stand Mixer Baking: A Beginner's Guide
- Mastering Stand Mixer Basics: Essential Techniques
- Beginner-Friendly Recipes: Your First Stand Mixer Bakes
- Troubleshooting Common Stand Mixer Issues
- Beyond the Basics: Expanding Your Stand Mixer Skills
- Resources for Further Learning
-
Frequently Asked Questions
- How do I choose the right stand mixer as a beginner baker?
- What are the essential stand mixer attachments for a beginner?
- Where can I find beginner-friendly stand mixer baking tutorials?
- What are some common mistakes beginners make when using a stand mixer?
- Can I use a stand mixer for all types of baking recipes?
- Final Reflection: The Sweetness of Skill, the Joy of Baking
- Unleash Your Inner Baker: Flour Power Awaits!
Welcome to Stand Mixer Baking: A Beginner's Guide
Why a Stand Mixer is Your Baking Best Friend
Learning to bake can feel like a complex process, especially when recipes call for extensive mixing, whipping, or kneading. This is where a stand mixer truly shines, acting as an invaluable partner for anyone starting their baking adventure. Unlike hand mixers or whisking by hand, a stand mixer provides consistent power and speed, ensuring ingredients are incorporated evenly every single time.
For beginners tackling tasks like creaming butter and sugar until they're light and fluffy – a process that might take 5-10 minutes of vigorous hand mixing – a stand mixer can achieve the same result in just 3-5 minutes with minimal effort on your part. This consistency is key to successful baking outcomes, from perfectly risen cakes to evenly textured cookies.
Moreover, using a stand mixer frees up your hands to add ingredients gradually or prepare the next steps of your recipe. This multitasking capability is a game-changer, making baking less stressful and more enjoyable for those new to the craft. Imagine needing to whip egg whites to stiff peaks for a meringue; doing this by hand can take 15-20 minutes of continuous, tiring whisking.
A stand mixer, equipped with a wire whip attachment, can accomplish this in often less than 5-7 minutes, allowing you to focus on tempering sugar or lining your baking sheet. It significantly reduces the physical effort required for many foundational baking techniques, making it easier for beginners to practice and perfect their skills without fatigue. These benefits make exploring stand mixer baking tutorials beginners a much more approachable path.
Unboxing Your Stand Mixer: First Steps
Bringing a new stand mixer into your kitchen is an exciting moment! Before you dive into your first recipe, there are a few essential first steps to take. Start by carefully removing all packaging materials from the box. Most mixers come with the main unit, a mixing bowl, and a set of basic attachments like the flat beater, wire whip, and dough hook.
Check the manual to identify each part and ensure you have everything listed. It's crucial to wash the bowl and all attachments thoroughly with warm, soapy water before their first use. This removes any manufacturing residues and ensures your equipment is clean and ready for food contact. Allow them to dry completely before attaching them to the mixer.
Once the parts are clean and dry, take a moment to familiarize yourself with the mixer itself. Locate the speed control dial or lever, the tilt-head lock or bowl lift lever, and the attachment hub where the accessories connect. Practice attaching and detaching the bowl and the different beaters.
Most mixers have a specific way the bowl locks into the base and how attachments click into place – understanding this mechanism is vital before you turn the power on. For instance, on many popular tilt-head models, you need to tilt the head back, insert the attachment by pushing it up and turning, and then lower the head before locking it. Getting comfortable with these physical steps is a fundamental part of stand mixer baking tutorials beginners often overlook, but it ensures a smooth start.
Mastering Stand Mixer Basics: Essential Techniques
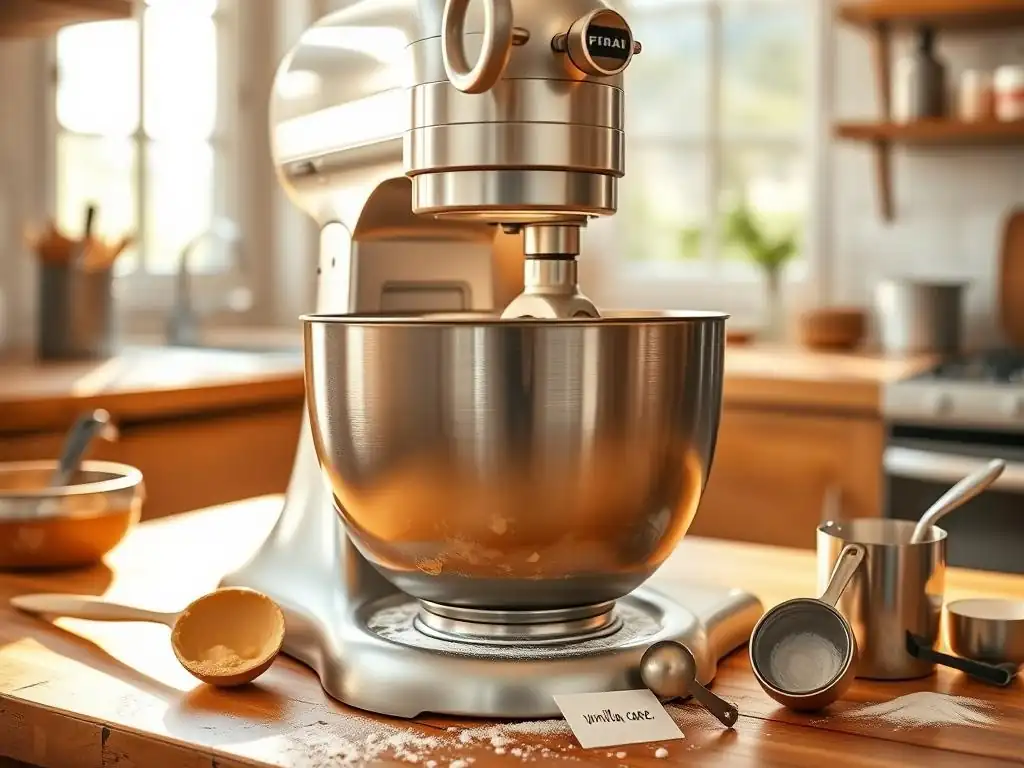
Understanding Stand Mixer Attachments: [Flat Beater, Wire Whip, Dough Hook]
One of the most powerful aspects of a stand mixer for beginners is its versatility, largely thanks to the interchangeable attachments. Each attachment is designed for specific tasks, making various baking processes significantly easier and more effective. Most standard mixers come with at least three core attachments: the flat beater, the wire whip, and the dough hook. Knowing which one to use for which job is a fundamental step in any beginner stand mixer baking guide. Using the correct attachment ensures optimal results, whether you're creaming butter, whipping egg whites, or kneading bread dough.
Think of these attachments as specialized tools in your baking toolkit. Trying to whip cream with a flat beater, for example, won't yield the same airy volume as using the wire whip. Similarly, attempting to knead a stiff bread dough with a flat beater could strain your mixer and won't develop the gluten structure needed for a good loaf.
As you explore stand mixer baking tutorials beginners will find that recipes almost always specify which attachment is needed for each step. Becoming familiar with their shapes and primary functions will quickly become second nature and dramatically improve your baking results.
The Flat Beater: Creaming, Mixing, and More
The flat beater, often called the paddle attachment, is likely the most used attachment for general baking tasks. Its design makes it perfect for thoroughly combining ingredients without incorporating too much air or developing gluten excessively. This is the go-to attachment for creaming butter and sugar, a crucial step in many cookie and cake recipes that helps incorporate air for leavening. You'll typically use this attachment on medium speeds (often speeds 2-4 on many mixers) for creaming until the mixture is lightened in color and fluffy, which usually takes about 3 to 5 minutes.
Beyond creaming, the flat beater is ideal for mixing batters for cakes, muffins, and quick breads (like banana bread), combining dry ingredients into wet, making frostings, and mixing cookie doughs. It excels at bringing ingredients together evenly, ensuring no pockets of unmixed flour or sugar.
When mixing batters or doughs, you'll often start on a low speed (like Stir or Speed 1) to combine initial ingredients without splashing, then move to a medium speed to finish mixing. Remember to occasionally stop the mixer and scrape down the sides and bottom of the bowl with a spatula to ensure all ingredients are fully incorporated – a simple tip that makes a big difference in beginner stand mixer baking.
The Wire Whip: Achieving Light and Airy Textures
The wire whip, resembling a balloon whisk, is specifically designed to incorporate air into ingredients, making it essential for achieving light, airy textures. Its numerous wires allow it to quickly aerate liquids and semi-liquids. The most common uses for the wire whip are whipping cream to make whipped cream, beating egg whites for meringues or soufflés, and making light frostings like buttercream or stabilized whipped cream. For these tasks, you'll typically use medium to high speeds (often speeds 6-10, depending on your mixer model).
When whipping cream, start on a lower speed to avoid splashing, then gradually increase to high speed until soft, medium, or stiff peaks form. Whipping egg whites follows a similar process, often starting slow and increasing speed as they become frothy, adding sugar gradually for meringues.
Achieving stiff peaks for egg whites might take anywhere from 3 to 7 minutes on high speed, depending on the quantity and temperature of the eggs. Mastering the wire whip is a key step in expanding your skills beyond basic mixing in your stand mixer baking tutorials beginners journey, opening up recipes for delicate desserts and pastries.
The Dough Hook: Kneading Dough with Ease
For anyone venturing into bread baking, the dough hook is a game-changer. This spiral or C-shaped attachment is designed to mimic the action of hand kneading, stretching and folding yeast doughs to develop gluten structure. Developing gluten is crucial for creating elastic doughs that can trap gases produced by yeast, resulting in well-risen, airy bread. Using the dough hook saves significant time and effort compared to kneading by hand, which can often take 10-15 minutes of continuous work.
When using the dough hook, you typically work on low speeds (often speeds 1-3). Higher speeds can overheat the dough or strain the mixer. You'll mix the ingredients on a low speed first to bring them together, then switch to the dough hook and knead for the time specified in your recipe, often ranging from 6 to 12 minutes depending on the dough type and mixer.
The dough should eventually pull away from the sides of the bowl and become smooth and elastic. This attachment is indispensable for yeast breads, pizza dough, pasta dough, and other recipes requiring significant kneading, making it a core component of any stand mixer baking tutorials beginners might follow for bread making.
Stand Mixer Speed Settings: A Practical Guide
Understanding your stand mixer's speed settings is fundamental to successful baking. Most mixers have a range of speeds, typically numbered from 1 to 10, sometimes with a "Stir" setting below 1. Each speed is suited for different tasks, and using the correct one is vital for achieving the desired texture and preventing issues like splashing or overmixing. For beginners, starting slow and gradually increasing speed as needed is always a good approach.
- Stir / Speed 1: This is the lowest speed, perfect for gently combining dry ingredients, adding flour to wet ingredients without creating a "flour cloud," or incorporating delicate items like chocolate chips into cookie dough. It's also useful for starting to mix before increasing speed.
- Speed 2-4 (Low to Medium-Low): These speeds are ideal for mixing heavier batters like cakes and muffins, creaming butter and sugar with the flat beater, mixing cookie doughs, and starting to knead yeast dough with the dough hook. Most general mixing happens within this range.
- Speed 5-7 (Medium-High): Use these speeds for whipping cream with the wire whip (after starting slow), making icings and frostings, and sometimes for mixing stiffer batters.
- Speed 8-10 (High): These are the highest speeds, used primarily with the wire whip for beating egg whites to stiff peaks for meringues or achieving maximum volume in whipped cream. Note: Do not use high speeds with the dough hook or for very stiff doughs, as this can damage the mixer.
Following recipe instructions regarding speed is important, but understanding the purpose of each speed range will help you adapt and troubleshoot as you gain experience with stand mixer baking tutorials beginners.
Stand Mixer Safety: Tips for a Smooth Baking Experience
Safety should always be the top priority in the kitchen, and working with a powerful appliance like a stand mixer is no exception. Following simple safety guidelines ensures a smooth and accident-free baking experience, especially as you embark on your stand mixer baking tutorials beginners journey.
- [ ] Always turn the mixer off and unplug it before attaching or detaching the bowl or any attachments, scraping down the bowl, or reaching into the bowl for any reason. This prevents accidental activation.
- [ ] Keep fingers, spatulas, and other utensils away from the moving attachment while the mixer is running. Use the attachment's splash guard if your mixer has one.
- [ ] Ensure the mixer head is securely locked (if it's a tilt-head model) or the bowl is properly seated (if it's a bowl-lift model) before turning the mixer on.
- [ ] Do not overload the mixer with more ingredients or a stiffer dough than its capacity allows. Check your mixer's manual for its maximum capacity, usually specified in cups of flour for dough or number of egg whites. Overloading can strain the motor.
- [ ] Keep the power cord away from hot surfaces like ovens or stovetops and ensure it's not dangling where it could be pulled.
By incorporating these simple safety practices into your routine, you can enjoy all the benefits of your stand mixer with peace of mind, focusing on the fun of baking rather than potential hazards.
Beginner-Friendly Recipes: Your First Stand Mixer Bakes
Ready to put your new skills to the test? Starting with simple, reliable recipes is the best way to gain confidence using your stand mixer. We've chosen three classic beginner-friendly bakes that perfectly showcase the stand mixer's capabilities for different tasks: a simple cake, easy cookies, and a quick bread. These recipes are staples in many stand mixer baking tutorials beginners follow and provide a solid foundation for future baking adventures.
Simple Cake Recipes for Stand Mixers: [Classic Yellow Cake]
A classic yellow cake is a perfect starting point for using your stand mixer for cake batters. This type of cake relies heavily on the creaming method – beating butter and sugar together until light and fluffy – which is a task the stand mixer excels at. The consistent mixing provided by the flat beater helps create a tender crumb structure and ensures all ingredients are evenly distributed, leading to a uniform rise and texture.
Making a simple yellow cake batter involves a few key stages where the stand mixer is indispensable. First, you'll use the flat beater on medium speed to cream softened butter and granulated sugar. This step incorporates air, which is critical for leavening.
Next, you'll add eggs one at a time, mixing until each is fully incorporated. Finally, you'll alternate adding the dry ingredients (like flour, baking powder, and salt) and wet ingredients (like milk and vanilla extract), starting and ending with the dry, mixing on a low speed just until combined. The mixer makes these stages quick and efficient, ensuring you don't overmix the batter, which can result in a tough cake.
Stand Mixer Yellow Cake Recipe: Step-by-Step Instructions
Here's a breakdown of the process focusing on stand mixer use for a classic yellow cake, perfect for beginner stand mixer baking.
- Prep: Ensure your softened butter and eggs are at room temperature. Preheat your oven and prepare your cake pan(s) by greasing and flouring or lining with parchment. Attach the flat beater to your stand mixer.
- Creaming: Add the softened butter and sugar to the stand mixer bowl. Mix on medium speed (Speed 3-4) for 3-5 minutes. The mixture should become noticeably lighter in color and fluffy in texture. This is where your stand mixer truly shines, achieving results difficult to replicate by hand quickly.
- Add Eggs: With the mixer on medium-low speed (Speed 2-3), add the eggs one at a time, mixing well after each addition until no streaks of yolk remain. Scrape down the sides of the bowl as needed to ensure everything is incorporated.
- Add Dry & Wet: In a separate bowl, whisk together your dry ingredients (flour, baking powder, salt). In another container, combine your wet ingredients (milk, vanilla). With the mixer on low speed (Speed 1-2), add about one-third of the dry ingredients to the creamed mixture, mix briefly, then add half of the wet ingredients, mix briefly. Repeat, ending with the dry ingredients. Mix just until combined – avoid overmixing. The mixer makes this alternating addition smooth and controlled.
- Finish: Stop the mixer and scrape down the bowl one last time to ensure all pockets of dry ingredients are mixed in. Give it a final brief mix on low if needed. The batter is now ready to be poured into your prepared pan(s) and baked.
Cookies are another excellent entry point for beginner stand mixer baking. Many cookie recipes, like classic peanut butter cookies, use the creaming method similar to cakes, making the stand mixer incredibly useful. The mixer ensures a consistent dough texture, which leads to uniformly baked cookies. Plus, mixing thick cookie dough by hand can be quite a workout!
A stand mixer simplifies the process of making peanut butter cookies significantly. You'll start by creaming together softened butter, peanut butter, and sugars (both granulated and brown) using the flat beater on medium speed. This step is crucial for achieving the right texture. Then, you'll add the egg and vanilla extract, mixing until fully incorporated. Finally, you'll add the dry ingredients (flour, baking soda, salt) on a low speed, mixing just until the dough comes together. The stand mixer handles the stiffness of the dough with ease, ensuring all ingredients are evenly distributed without overworking the mixture.
Stand Mixer Peanut Butter Cookie Recipe: A Beginner's Delight
Here’s how your stand mixer makes classic peanut butter cookies easy for beginners:
- Prep: Ensure butter is softened. Attach the flat beater to your stand mixer.
- Creaming: Add softened butter, peanut butter, granulated sugar, and brown sugar to the stand mixer bowl. Mix on medium speed (Speed 3-4) for 2-4 minutes until the mixture is light and fluffy. The mixer powers through the thicker peanut butter, creating a smooth base.
- Add Wet: Add the egg and vanilla extract. Mix on medium-low speed (Speed 2-3) until fully combined, scraping down the bowl as needed.
- Add Dry: In a separate bowl, whisk together flour, baking soda, and salt. With the mixer on low speed (Speed 1-2), gradually add the dry ingredients to the wet ingredients. Mix just until the flour streaks disappear and the dough comes together. Avoid overmixing at this stage. The mixer handles the increasingly stiff dough effortlessly.
- Form & Bake: Remove the dough from the mixer, form into balls, press with a fork, and bake according to your recipe's instructions. The uniform mixing from the stand mixer helps ensure consistent cookie size and texture.
Easy Bread Recipes with a Stand Mixer: [Banana Bread]
While many bread recipes require the dough hook for kneading yeast doughs, quick breads like banana bread are incredibly simple to make using just the flat beater in your stand mixer. Banana bread doesn't require kneading or gluten development in the same way yeast breads do; it relies on chemical leaveners like baking soda and baking powder. This makes it a perfect "bread" recipe for beginners to try with their stand mixer, using skills already practiced with cakes and cookies.
Using your stand mixer for banana bread simplifies the process significantly. You'll use the flat beater to cream softened butter and sugar, add eggs and mashed bananas, and finally mix in the dry ingredients. The key is to mix thoroughly enough to combine everything but gently enough to avoid developing too much gluten from the flour, which would result in a tough loaf. The stand mixer provides controlled mixing, making this balance easier to achieve than vigorous hand mixing.
Stand Mixer Banana Bread Recipe: Perfect for New Bakers
Here’s how the stand mixer simplifies making delicious banana bread, a great recipe for stand mixer baking tutorials beginners:
- Prep: Ensure butter is softened and bananas are mashed. Preheat oven and prepare loaf pan. Attach the flat beater to your stand mixer.
- Creaming: Add softened butter and sugar to the stand mixer bowl. Mix on medium speed (Speed 3-4) for 2-3 minutes until combined and slightly lightened. This incorporates some air and blends the fats and sugar smoothly.
- Add Wet: Add the eggs one at a time, mixing on medium-low speed (Speed 2-3) until incorporated. Add the mashed bananas and vanilla extract and mix until just combined. Don't worry if the mixture looks slightly curdled – it will come together.
- Add Dry: In a separate bowl, whisk together flour, baking soda, salt, and any spices like cinnamon. With the mixer on low speed (Speed 1-2), add the dry ingredients to the wet ingredients. Mix just until the dry ingredients are incorporated and no streaks of flour remain. It's okay if there are a few small lumps of banana. Avoid overmixing.
- Finish: Stop the mixer, scrape down the bowl, and give a final brief mix if needed. If adding nuts or chocolate chips, fold them in gently by hand with a spatula. Pour the batter into your prepared loaf pan and bake according to your recipe. The stand mixer makes creating this thick batter quick and easy.
Troubleshooting Common Stand Mixer Issues
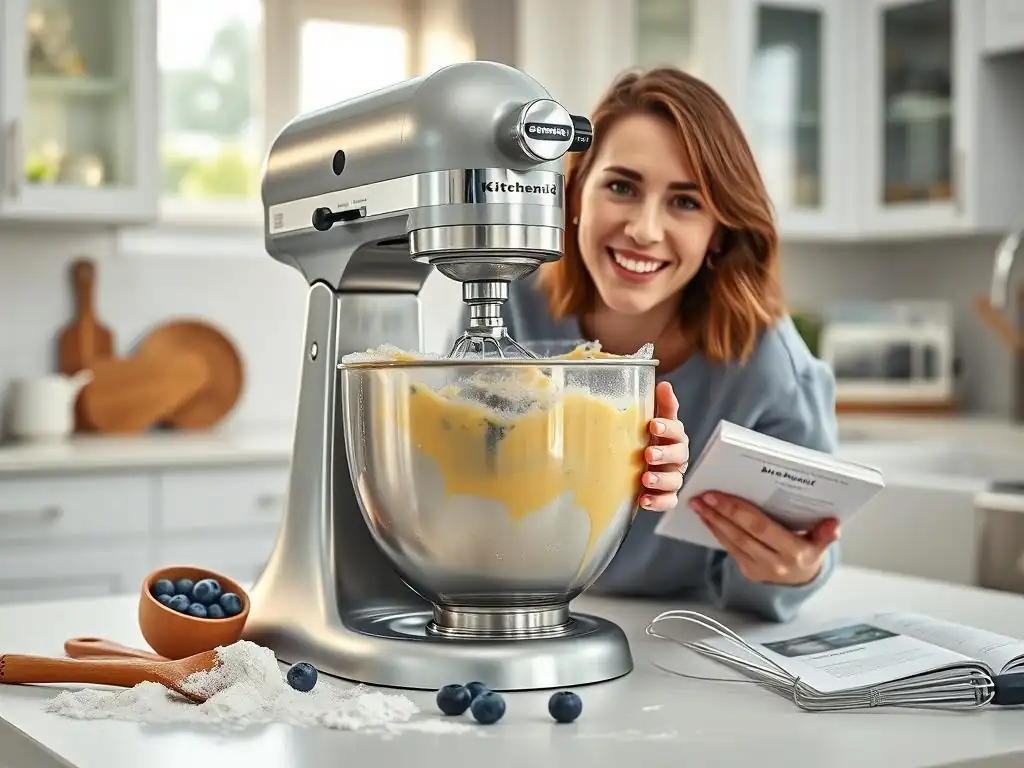
Even with the best stand mixer baking tutorials beginners might encounter minor issues. Don't worry, many common problems have simple solutions. Understanding what might be going wrong can save you frustration and help you learn more about your mixer and ingredients.
My Stand Mixer is Overheating: What to Do?
If your stand mixer feels hot to the touch or you notice a burning smell, it's likely overheating. This typically happens when the mixer is being overworked, either by trying to mix too much dough or a dough that is too stiff for the mixer's capacity. Yeast doughs, especially whole wheat or very low-hydration doughs, can be particularly taxing on the motor, as can large batches of stiff cookie dough.
If your mixer starts to overheat, immediately turn it off and unplug it. Allow it to cool down completely before attempting to use it again. Consult your mixer's manual to check the recommended maximum capacity for the type of dough or batter you were making.
For instance, a typical 4.5-quart mixer might handle about 6-8 cups of flour for bread dough, while a 6-quart model might handle up to 12-14 cups. If you were within the recommended capacity, try reducing your batch size in the future or ensure your dough isn't excessively stiff. Some mixers have thermal protection and will automatically shut off to prevent damage.
Batter Not Combining Properly: Tips and Tricks
Sometimes, you might notice that despite mixing, some ingredients aren't fully incorporating – perhaps there's a layer of unmixed batter at the bottom of the bowl or dry streaks along the sides. This is a common issue, especially when working with thicker batters or doughs. The attachment might not be reaching all areas of the bowl effectively, or ingredients might be sticking to the sides.
The simplest and most effective solution is to frequently stop the mixer and scrape down the sides and bottom of the bowl with a rubber spatula. Do this multiple times during the mixing process, especially after adding new ingredients. Ensure your ingredients, particularly butter and eggs, are at the correct temperature (usually room temperature) as specified in the recipe; cold ingredients don't emulsify or combine as easily.
Also, check that your attachment is properly seated and, if your mixer has an adjustment screw (often on tilt-head models), that the attachment clearance is set correctly so it reaches close to the bottom of the bowl without hitting it. These small adjustments are key troubleshooting tips in any good stand mixer baking tutorials beginners guide.
Dough Sticking to the Bowl: How to Prevent It
When working with dough, particularly yeast doughs being kneaded with the dough hook, you want the dough to eventually pull away from the sides of the bowl. If it's excessively sticky and clinging stubbornly, it's usually an indication that the dough is too wet. Different flours and environmental humidity can affect how much liquid a dough absorbs.
If your dough is too sticky, try adding a tablespoon of flour at a time while the mixer is running on low speed, allowing each addition to incorporate before adding more. Continue adding flour until the dough begins to pull away from the sides of the bowl, though a little sticking at the very bottom is sometimes normal. Ensure you are using the correct speed for kneading (low speeds, typically 1-3); higher speeds can generate heat which makes dough stickier.
Also, ensure you are kneading for the recommended time; sometimes, extended kneading helps the dough develop structure and become less sticky. For beginner stand mixer baking, understanding dough consistency comes with practice.
Beyond the Basics: Expanding Your Stand Mixer Skills
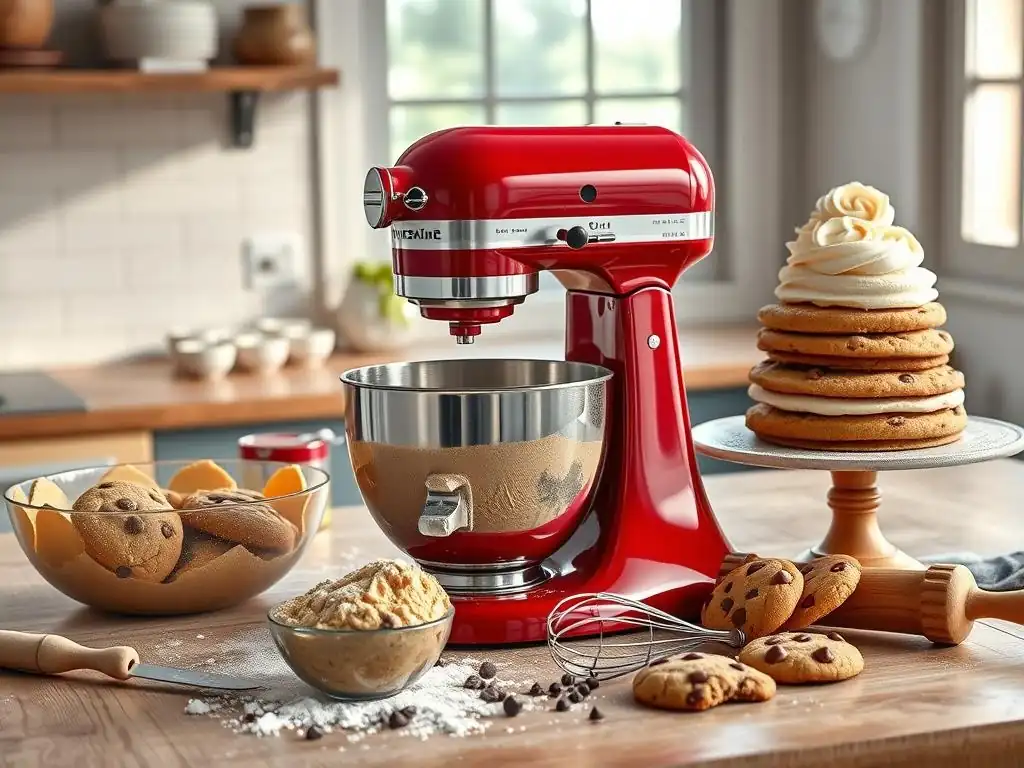
Once you've mastered the fundamental techniques and recipes, your stand mixer can help you tackle more complex baking projects. Moving beyond simple cakes, cookies, and quick breads allows you to explore new textures and flavors, further enhancing your skills learned through stand mixer baking tutorials beginners.
Exploring Intermediate Techniques: Meringues and Pastries
With your stand mixer, intermediate techniques like making stable meringues or classic choux pastry become much more accessible. Achieving perfectly whipped, glossy egg whites for meringues requires consistent, high-speed whipping – a task the wire whip performs effortlessly. You can quickly progress from basic whipped cream to creating beautiful meringue cookies, pie toppings, or components for layered desserts.
Similarly, making choux pastry (used for éclairs, cream puffs, and gougères) involves mixing cooked flour and liquid with eggs. This dough can be quite stiff, but the flat beater handles it well, incorporating the eggs smoothly and efficiently to create the right consistency for piping and baking. Exploring these techniques with your stand mixer builds confidence and opens the door to a wider range of impressive baked goods.
Exploring Advanced Recipes: Sourdough Bread and Layer Cakes
For those ready for a challenge, the stand mixer is an invaluable tool for advanced baking projects. Sourdough bread, known for its complex flavor and chewy texture, requires significant kneading to develop the gluten structure. While traditional methods involve lengthy hand kneading, the dough hook can handle the heavy work, often kneading the dough for 10-15 minutes or more to achieve the desired elasticity. This makes baking sourdough at home much more manageable.
Creating elaborate layer cakes also benefits greatly from a stand mixer. You can efficiently prepare multiple batches of cake batter and different types of frosting (like Swiss meringue buttercream, which uses the wire whip for meringue and the flat beater for butter incorporation). The mixer ensures consistency across layers and frostings, leading to professional-looking results. Tackling these more complex recipes with your stand mixer is a rewarding step in your baking journey.
Stand Mixer Maintenance: Cleaning and Care
Keeping your stand mixer clean and well-maintained is essential for its longevity and performance. Proper care ensures your mixer is always ready for your next baking project and remains a reliable tool for all your stand mixer baking tutorials beginners and advanced alike.
After each use, detach the bowl and attachments immediately and wash them. Most standard attachments (flat beater, wire whip, dough hook) and the bowl are dishwasher safe, but check your manual to be sure. If washing by hand, use warm, soapy water and dry thoroughly. Avoid letting dough or batter dry onto the attachments or bowl, as it becomes much harder to clean. Wipe down the mixer body with a damp cloth to remove any splatters, ensuring the mixer is unplugged first. Avoid getting water into the motor vents.
Periodically check the attachment hub and where the bowl connects for any built-up residue. For mixers with a tilt-head, ensure the locking mechanism is clean and functioning smoothly. Some mixers may require occasional lubrication of specific parts as outlined in the manual. Storing the mixer and its attachments properly (some models have specific storage solutions) also helps protect them from dust and damage. Simple, consistent cleaning and care will keep your stand mixer running smoothly for years of baking enjoyment.
Resources for Further Learning
Your stand mixer journey is just beginning! There are countless resources available to help you continue learning and growing your baking skills, building upon the foundation you've established with these initial stand mixer baking tutorials beginners.
Online Resources: [Baking Blogs, YouTube Channels]
The internet is a treasure trove of baking information, perfect for finding more stand mixer baking tutorials beginners can follow. Baking blogs often provide detailed recipes specifically written for stand mixers, complete with photos and helpful tips. Searching for "stand mixer recipes for beginners" or "how to use stand mixer for cake" can yield a wealth of information.
YouTube is another fantastic resource, offering visual step-by-step guides. Watching someone demonstrate how to cream butter, whip egg whites, or knead dough on a stand mixer can be incredibly helpful for understanding the techniques. Many popular baking channels feature extensive tutorials on using stand mixers for various recipes. These platforms allow you to learn at your own pace and revisit instructions as needed.
Connecting with other bakers is a wonderful way to enhance your learning and stay inspired. Online baking forums, social media groups focused on baking, or even local baking clubs offer opportunities to share your successes, ask questions, and get advice from more experienced bakers.
Sharing photos of your bakes, whether they're your first simple cookies or a more ambitious loaf of bread, can be incredibly rewarding. Engaging with the community provides encouragement, constructive feedback, and exposure to new ideas and recipes to try with your stand mixer. Don't hesitate to participate; the baking community is generally very friendly and supportive of beginners!
Frequently Asked Questions
How do I choose the right stand mixer as a beginner baker?
Choosing a stand mixer depends on your baking frequency and batch sizes. Look for a model with sufficient power (around 300 watts) and a bowl size that suits your needs. A tilt-head model is often easier for beginners.
What are the essential stand mixer attachments for a beginner?
The basic attachments are a dough hook, a paddle, and a whisk. These cover most beginner baking needs, from kneading dough to creaming butter and sugar.
Where can I find beginner-friendly stand mixer baking tutorials?
BakeWithEase.com offers step-by-step guides and easy-to-follow recipes specifically designed for beginners using stand mixers. You can find tutorials for various pastries, breads, and cakes.
What are some common mistakes beginners make when using a stand mixer?
Overmixing is a common mistake. Also, failing to scrape down the bowl sides frequently can lead to uneven mixing. Ensure ingredients are at the correct temperature as specified in the recipe.
Can I use a stand mixer for all types of baking recipes?
While versatile, stand mixers are best suited for recipes requiring thorough mixing and kneading, like doughs, batters, and frosting. For delicate recipes, hand mixing might be preferable.
Final Reflection: The Sweetness of Skill, the Joy of Baking
The humble stand mixer, once a luxury appliance, has become a gateway to culinary creativity for countless home bakers. Its whirring power isn't just about convenience; it's about unlocking a world of possibilities, from perfectly aerated meringues to flawlessly kneaded bread dough. This journey from basic operation to brilliant bakes is a testament to the power of learning and the enduring appeal of homemade goodness.
The impact of the stand mixer extends far beyond the kitchen; it's a symbol of empowerment, a tool that allows individuals to connect with food on a deeper level. It fosters a sense of accomplishment, transforming simple ingredients into something truly special. As Julia Child famously said, Find something you're passionate about and keep tremendously interested in it.
For many, that passion is ignited by the satisfying hum of a stand mixer and the delicious results it produces. It's a journey of self-discovery, patience, and the rewarding experience of creating something beautiful and delicious with your own two hands.
Now, it's your turn. Don't let the initial learning curve intimidate you. Embrace the process, experiment with different recipes, and most importantly, enjoy the journey. Each perfectly risen loaf, each flawlessly frosted cake, is a testament to your growing skills and a delicious reward for your efforts. So, dust off your stand mixer, gather your ingredients, and let the baking begin. The world of culinary creativity awaits!
Unleash Your Inner Baker: Flour Power Awaits!
Thanks for taking the time to explore the wonderful world of stand mixers with us! We hope you've gained valuable insights and are feeling inspired to create culinary magic. Now it's time to put that knowledge to the test!
- Master a New Recipe: Choose one of your favorite recipes (or try a new one!) and let your stand mixer do the heavy lifting. Notice the difference in texture and efficiency!
- Share Your Baking Journey: Post a picture of your creation on social media and tag us @BakeWithEase - we'd love to see your baking triumphs!
- Explore Advanced Techniques: Dive deeper into stand mixer capabilities by researching dough kneading or meringue-making techniques.
Ready to transform your baking game? What delicious creation will you tackle first?