
Maintenance Guide: Keep Your Bread Machine Running Perfectly for Years

Welcome to BakeWithEase, where baking becomes a joy, not a chore! Ever wonder why your bread machine isn't quite producing that perfect loaf? Dive into our comprehensive Bread Machine Maintenance Troubleshooting Guide to unlock the secrets to a long-lasting and high-performing machine. Discover simple solutions and preventative measures to keep your bread-making journey smooth and delicious. What are you waiting for? Let's get baking!
- Bread Machine Maintenance Troubleshooting Guide
- Troubleshooting Common Problems
- Deep Cleaning: A Quarterly Routine
- Preventing Mold and Bacteria
- Part Replacement: When and How
- Proactive Maintenance Tips
-
Frequently Asked Questions
- How often should I clean my bread machine?
- What are some common signs that my bread machine needs maintenance?
- Can I use any kind of oil to lubricate the bread machine parts?
- How do I prevent the kneading paddle from getting stuck in the bread?
- Where can I find replacement parts for my bread machine if something breaks?
- Final Reflection: The Enduring Loaf: Maintaining Your Bread Machine and Your Passion
- Unleash Your Inner Baker: Keep Your Bread Machine Baking!
Bread Machine Maintenance Troubleshooting Guide
Consistent care is the cornerstone of keeping your bread machine performing at its peak. This section serves as a comprehensive bread machine maintenance troubleshooting guide, walking you through the essential steps to clean your machine effectively and address common operational issues that might arise. Following these procedures diligently will not only prevent future headaches but also significantly extend the working life of your appliance, ensuring it continues to produce delicious loaves cycle after cycle.
Understanding the nuances of your specific bread machine model is also part of effective maintenance. While this guide provides general steps applicable to most machines, always consult your owner's manual for model-specific instructions, especially regarding cleaning agents or part handling. A little attention to detail now can save you time and frustration down the road, making this bread machine maintenance troubleshooting guide an invaluable resource for any home baker.
Step-by-Step Cleaning Guide
Regular cleaning is perhaps the most critical aspect of maintaining your bread machine. Residue from flour, yeast, and dough can build up over time, affecting performance and potentially harboring bacteria. This step-by-step guide outlines the proper way to clean your machine after each use, preventing buildup and keeping it hygienic.
Following these steps immediately after the machine has cooled down makes the cleaning process much easier, as residue is less likely to harden. This routine is a fundamental part of any effective bread machine maintenance troubleshooting guide, ensuring that minor issues stemming from cleanliness are avoided from the start.
Unplugging and Preparing
Before you begin any cleaning process, the absolute first step is safety: ensure the bread machine is unplugged from the power outlet. This eliminates any risk of electric shock while you are working with the machine's interior components. Allow the machine to cool completely after its last baking cycle; the baking pan and interior can retain heat for a significant amount of time, posing a burn risk.
Once unplugged and cool, gather your cleaning supplies. You'll typically need warm, soapy water, a soft cloth or sponge, a non-abrasive brush (like an old toothbrush or a specialized cleaning brush), and a dry towel. Avoid using harsh chemicals, abrasive pads, or steel wool, as these can damage the non-stick coatings and plastic surfaces of your machine.
Cleaning the Baking Pan
The baking pan is where all the magic happens, and it needs careful cleaning after every single use. Start by removing the pan from the machine. If there's any stubborn dough residue stuck to the sides or bottom, fill the pan with warm, soapy water and let it soak for 10-15 minutes. This soaking time helps loosen baked-on bits without the need for excessive scrubbing.
After soaking (or immediately if there's minimal residue), use a soft sponge or cloth to gently wipe down the interior and exterior of the pan. Pay special attention to the area around the paddle shaft. Rinse the pan thoroughly with clean water and dry it completely with a soft towel before returning it to the machine or storing it. Ensure no moisture is left, especially around the paddle shaft, as this can cause issues later.
Cleaning the Kneading Paddle
The kneading paddle is responsible for mixing and developing your dough, and it often accumulates baked-on dough residue. After removing the baking pan, detach the paddle from its shaft. Sometimes, the paddle might be stuck; a small amount of warm water soaked around the shaft can help loosen it. Be gentle when removing it to avoid bending the shaft.
Clean the paddle using warm, soapy water and a soft brush or sponge to remove all dough remnants. Pay close attention to the small gap where the paddle fits onto the shaft. Rinse the paddle thoroughly and dry it completely. Ensure there is no dough or water left on the paddle or the pan's shaft before reattaching or storing, as this is a common area for buildup that can hinder proper operation.
Wiping Down the Exterior
The exterior of your bread machine can attract flour dust, spills, and fingerprints. Simply use a damp, soft cloth to wipe down the outer casing. If your machine has a viewing window, use a non-abrasive glass cleaner or a solution of vinegar and water applied to the cloth (not directly to the window) to keep it clear for monitoring your bake.
Avoid getting water into any vents or openings on the machine's exterior. Ensure the cloth is damp, not dripping wet. After wiping, go over the surfaces with a dry cloth to remove any moisture streaks and leave the machine looking clean and tidy. This not-so-obvious step contributes to the overall bread machine maintenance troubleshooting guide by preventing dust and grime from entering the machine's internal components.
Cleaning the Interior
While you shouldn't immerse the machine or get water into the electrical components, the interior cavity around where the pan sits also needs attention. Use a dry pastry brush or a soft, dry cloth to brush away any flour dust or crumbs that may have fallen into the heating chamber. Be careful around the heating element at the bottom.
For any spills or sticky spots inside the cavity, use a slightly damp cloth (wrung out thoroughly) to gently wipe the area. Immediately follow up with a dry cloth to remove all moisture. Never pour water or cleaning solutions directly into the interior cavity. Ensuring this area is clean and dry is vital for preventing odors and potential damage to the heating element or sensors, reinforcing the importance of thorough interior cleaning in your bread machine maintenance troubleshooting guide.
Troubleshooting Common Problems
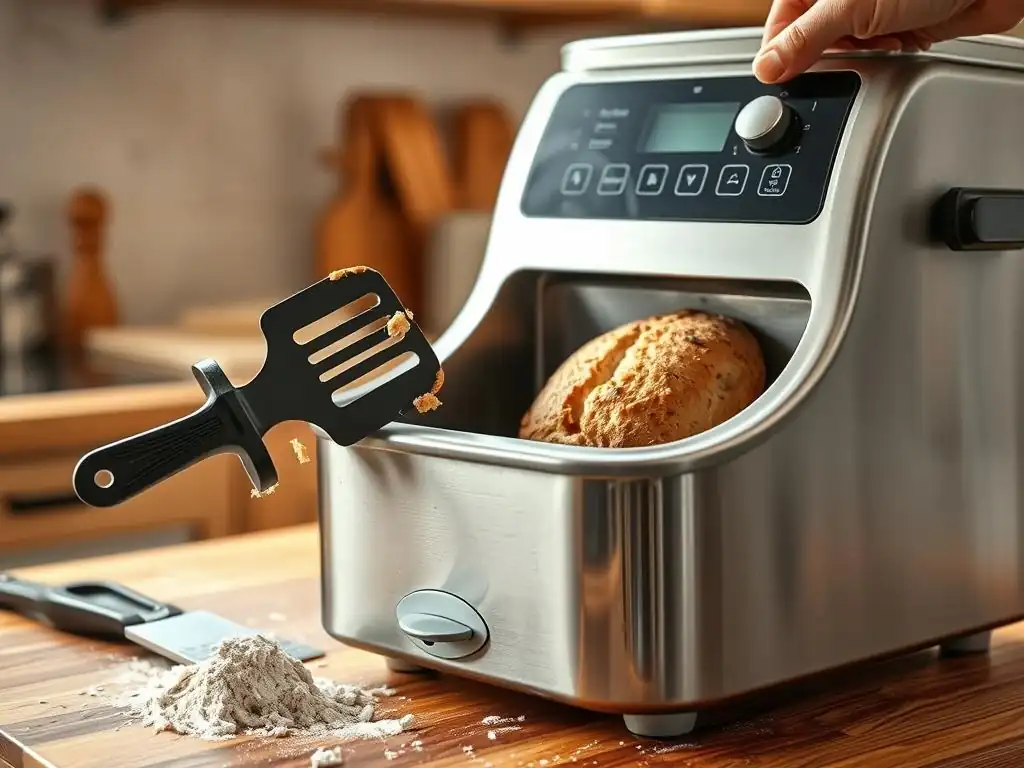
Even with diligent maintenance, sometimes issues arise during the baking process. This section of the bread machine maintenance troubleshooting guide addresses some of the most common problems users encounter, offering practical solutions to get your machine back on track. Identifying the symptom is the first step to finding the fix.
Understanding the potential causes behind common issues like poor kneading, sticking bread, or inconsistent baking is key to effective troubleshooting. Often, the solution is simpler than you might think, relating to ingredient ratios, preparation, or minor mechanical hitches that can be easily resolved with the right knowledge.
Addressing Kneading Paddle Issues
The kneading paddle is a critical moving part, and problems with its operation can significantly impact the quality of your bread. Whether the paddle is stuck, not moving, or appears damaged, addressing these issues promptly is essential for successful baking. These problems are frequently encountered by users and are a core part of any bread machine maintenance troubleshooting guide.
Issues with the paddle often stem from dough buildup or mechanical wear. Keeping the paddle and its shaft clean, as outlined in the cleaning guide, is the best preventative measure. If a problem occurs, a systematic approach to identify the cause will usually lead to a straightforward solution.
Paddle Stuck
A stuck kneading paddle is a very common issue, usually caused by dried dough residue accumulating around the paddle shaft inside the baking pan. If the paddle is stuck after baking, do not force it off. This can damage the paddle or the pan's shaft mechanism. Instead, remove the pan from the machine and fill it with enough warm water to cover the paddle and the base of the shaft.
Let the pan soak for 15-30 minutes. The warm water will rehydrate and loosen the dried dough. After soaking, gently try to twist or pull the paddle off. If it's still resistant, soak for a little longer. Once removed, clean the paddle and the shaft area thoroughly as described in the cleaning section to prevent this from happening again.
Paddle Not Kneading
If your bread machine starts the cycle but the paddle isn't turning to knead the dough, there could be a few causes. First, ensure the baking pan is correctly seated in the machine's cavity. If the pan isn't properly locked into place, the drive mechanism underneath might not engage with the pan's shaft. Remove the pan and re-insert it, making sure it clicks or locks securely according to your machine's design.
Another possibility is an issue with the paddle itself or the shaft. Check that the paddle is correctly attached to the shaft. If it seems loose or wobbly, it might not be engaging properly. If the paddle and pan are correctly assembled and seated but still not turning, there might be an internal mechanical issue requiring professional service, although this is less common than pan seating issues.
Paddle Damage
Over time, or with improper handling, the kneading paddle can become worn or damaged. Signs of damage include bent fins, a cracked coating, or excessive looseness where it attaches to the shaft. A damaged paddle may not knead the dough effectively, leading to poor dough development and a dense loaf.
If you suspect your paddle is damaged, compare it to photos in your owner's manual or online for your specific model. A visibly bent or cracked paddle should be replaced. Using a damaged paddle can also potentially harm the pan's shaft. Replacement paddles are typically available from the manufacturer or third-party suppliers; ensure you get the correct one for your machine model. This is a key point in any detailed bread machine maintenance troubleshooting guide.
Handling Baking Pan Problems
The baking pan is subjected to high temperatures and the friction of kneading. Issues with the pan, such as sticking, damage, or improper seating, directly impact the outcome of your bread. Addressing these problems promptly ensures your loaves release cleanly and bake evenly.
Many pan issues are related to the non-stick coating. Proper care, avoiding metal utensils, and thorough drying are crucial preventative measures. When problems do occur, identifying whether it's a cleaning issue, wear and tear, or a seating problem is the first step in troubleshooting.
Dough Sticking
Dough sticking to the baking pan is a common frustration. Often, this is due to wear and tear on the non-stick coating over time. However, sometimes it can be caused by not allowing the bread to cool slightly in the pan after baking (typically 5-10 minutes before inverting) or by using recipes with very sticky dough.
If the non-stick coating is older, you might try lightly greasing the pan with a little oil or butter before adding ingredients, although this isn't usually necessary with a healthy non-stick surface. Ensure you are following the correct ingredient order and ratios for your recipe, as excessively wet dough can stick more. If the coating is significantly scratched or worn, replacing the pan is often the best solution for consistent non-stick performance.
Scratched or Damaged Pan
The non-stick coating inside the baking pan is relatively delicate. Using metal utensils to remove the bread or paddle, or abrasive cleaning pads, can easily scratch and damage this coating. Once the coating is scratched, dough will begin to stick in those areas, and the damage will likely worsen over time.
Inspect your pan regularly for scratches, peeling, or dents. A pan with significant damage to the non-stick coating should be replaced. Continuing to use a damaged pan will lead to consistently stuck bread and makes cleaning very difficult. Using only plastic or wooden utensils when interacting with the pan and paddle will help preserve the coating.
Pan Not Seating
For the bread machine to operate correctly, the baking pan must be securely seated in the machine's cavity. If the pan isn't properly aligned or pushed down fully, the kneading mechanism might not engage, or the heating element might not function optimally around the pan.
Ensure there are no crumbs or debris in the bottom of the machine's cavity that could prevent the pan from sitting flat. Check the pan's locking mechanism (if it has one) to ensure it's correctly aligned and engaged according to your machine's instructions. If the pan seems loose or wobbly after seating, remove it, check for obstructions, and try re-inserting it firmly. Proper pan seating is a fundamental check in this bread machine maintenance troubleshooting guide.
Dealing with Temperature Issues
Accurate temperature control is vital for the yeast to activate and the bread to bake properly. If your bread is not rising correctly, is over-baking, or has inconsistent texture, temperature issues might be the culprit. Troubleshooting these problems involves checking the machine's environment and internal components.
Temperature problems can sometimes be linked to the machine's sensors or heating element, but often they are influenced by external factors or how the machine is used. Understanding these influences is part of a thorough bread machine maintenance troubleshooting guide.
Bread Not Rising
If your bread isn't rising adequately, it could be due to several factors, including issues with the yeast (expired, wrong type for machine), liquid temperature being too hot or cold, or incorrect ingredient measurements. However, if you've ruled out ingredient issues, a potential cause could be the machine's heating element not providing enough warmth during the proofing stages.
Ensure the machine is placed in a location free from drafts or cold spots, especially in cooler environments. The ambient temperature can affect the dough's rise, particularly in the initial stages. If you consistently have poor rise despite correct ingredients and placement, there might be an issue with the internal thermostat or heating element not reaching the optimal temperature for yeast activation (typically between 75-85°F or 24-29°C), which might require professional inspection.
Bread Over-Baking
Bread that is consistently too dark on the crust or overcooked can indicate the machine is running too hot or baking for too long. First, verify you are using the correct cycle setting for the type of bread you are making (e.g., Basic, Whole Wheat, French). Using a longer or hotter cycle than necessary will result in over-baking.
If the settings are correct, ensure the machine is not placed in direct sunlight or next to another heat source, which could cause it to overheat externally and affect internal temperatures. A malfunctioning temperature sensor could also cause the machine to overheat. While less common, consistent over-baking with correct settings and placement might point to an internal component issue needing service.
Inconsistent Baking
Sometimes, you might find the bread is baked unevenly – perhaps darker on the bottom or one side, or denser in certain areas. This can sometimes be linked to inconsistent heat distribution or issues with the kneading process not fully developing the dough throughout the loaf.
Ensure the machine is placed on a stable, level surface. An uneven surface can affect how the dough mixes and rises, potentially leading to uneven texture. Also, check that the vents on the machine's exterior are not blocked, as these help regulate temperature. If the issue persists, it could potentially be related to the heating element or an internal sensor not maintaining a stable temperature throughout the baking cycle, which would require professional evaluation as part of a comprehensive bread machine maintenance troubleshooting guide.
Deep Cleaning: A Quarterly Routine
While daily or after-use cleaning is essential, a more thorough deep cleaning routine every three to four months is highly recommended. This process addresses areas that aren't easily reached during regular cleaning and helps prevent long-term buildup that can affect performance and hygiene. Incorporating deep cleaning into your schedule is a vital part of long-term bread machine maintenance.
This deeper dive into cleaning ensures that hidden crumbs, spills, or residue are removed, maintaining the machine's efficiency and preventing potential issues down the line. It's a preventative measure that complements your regular bread machine maintenance troubleshooting guide efforts.
Disassembling Components
Before deep cleaning, ensure the machine is unplugged and completely cool. Remove the baking pan and the kneading paddle. Depending on your specific model, there might be other removable components, such as a lid or a seed dispenser; consult your manual for guidance on what can be safely detached.
Have a clear space to lay out the removed parts. This helps keep track of everything and ensures nothing is misplaced during the cleaning process. While you won't be fully disassembling the machine's internal workings, removing accessible parts allows for a more thorough cleaning of the main cavity and the parts themselves.
Soaking and Scrubbing
For the removed baking pan and paddle, follow the soaking and cleaning steps outlined in the regular cleaning section, allowing for a longer soak time if necessary to tackle any accumulated residue. Pay extra attention to the paddle shaft area on the pan and the paddle's connection point.
Use a non-abrasive brush (like a bottle brush or old toothbrush) to gently scrub around crevices and hard-to-reach spots on the pan and paddle. For the interior cavity of the machine (with the pan removed), use a dry brush or vacuum attachment to remove crumbs. For any stuck-on spills inside the cavity, a cloth very lightly dampened with warm, soapy water can be used, immediately followed by a dry cloth.
Cleaning the Heating Element
The heating element is typically located at the bottom of the machine's interior cavity. It's crucial to keep this area clean but also to avoid damaging the element itself. Ensure the machine is unplugged and cold. Use a dry pastry brush or a soft, dry cloth to gently brush away any crumbs or flour dust that may have fallen onto or around the heating element.
Never use water or cleaning solutions directly on the heating element, as this can cause damage or pose an electrical hazard. If there are any sticky spills around the element but not directly on it, use a cloth very slightly dampened with water and immediately dry the area thoroughly. Maintaining a clean heating element ensures efficient and even baking, a key aspect covered in a thorough bread machine maintenance troubleshooting guide.
Reassembling
Once all the components are clean and completely dry – this is critical to prevent mold and electrical issues – carefully reassemble your bread machine. Place the baking pan back into the cavity, ensuring it is properly seated and locked if your model has a locking mechanism.
Reattach the kneading paddle to the pan's shaft, ensuring it fits snugly. Close the lid and ensure everything is in its correct place. Your machine is now ready for its next use, having benefited from a comprehensive deep clean that addresses areas missed in routine maintenance.
Preventing Mold and Bacteria
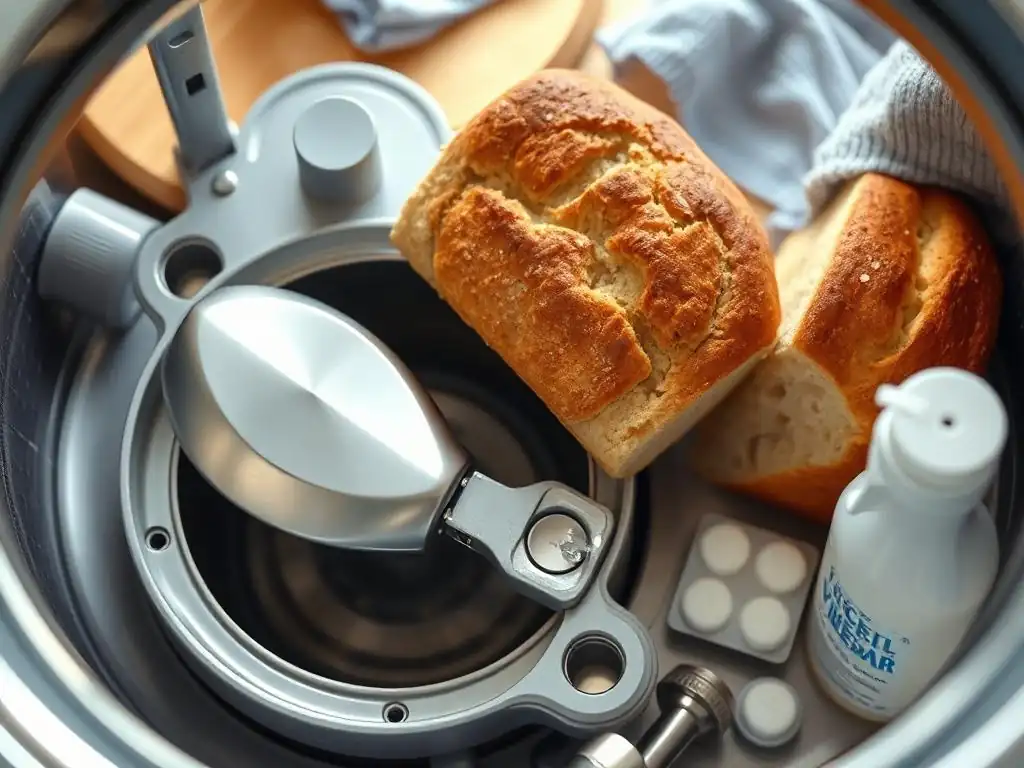
Mold and bacteria can grow in residual moisture and food particles, posing health risks and potentially damaging your machine. Preventing their growth is a vital part of bread machine maintenance, particularly in humid environments. Simple steps after each use can make a big difference.
A clean, dry machine is an inhospitable environment for mold and bacteria. Focusing on these preventative measures is just as important as knowing how to troubleshoot issues once they arise, forming a complete picture of bread machine maintenance.
Proper Drying
After washing the baking pan and kneading paddle, it is absolutely essential to dry them completely before storing or reassembling the machine. Use a clean, dry towel to wipe down all surfaces, paying close attention to the area around the paddle shaft on the pan and the paddle's connection point where water can hide.
Allowing the parts to air dry fully after towel drying is also a good practice. Leave the pan and paddle out for a while before putting them back into the machine. This extra step ensures that any lingering moisture evaporates, significantly reducing the risk of mold or bacterial growth.
Storing Correctly
How you store your bread machine between uses also impacts preventing mold. Ensure the machine is stored in a dry, well-ventilated area away from excessive humidity. Leaving the lid of the bread machine slightly ajar when not in use can also help with air circulation inside the baking cavity, preventing moisture buildup.
Avoid storing anything inside the baking pan or cavity that could trap moisture. A clean, dry machine stored in a suitable environment is far less likely to develop mold issues, contributing to its longevity and hygienic operation.
Identifying Mold
If you notice any unusual smells or visible spots inside your bread machine, especially in the baking pan or the main cavity, it could be mold. Mold can appear as fuzzy or discolored patches (green, black, white). Do not use the machine if you suspect mold is present.
To clean mold, you can use a solution of equal parts white vinegar and water. Wipe down the affected areas thoroughly with a cloth dampened with this solution. Vinegar is effective at killing mold spores. Follow this with a wipe down using a cloth dampened with clean water, and then dry everything completely. Repeat if necessary. If mold persists or is in hard-to-reach areas, it might be time to contact the manufacturer for advice or consider replacing the affected part or the machine if the mold is extensive.
Part Replacement: When and How
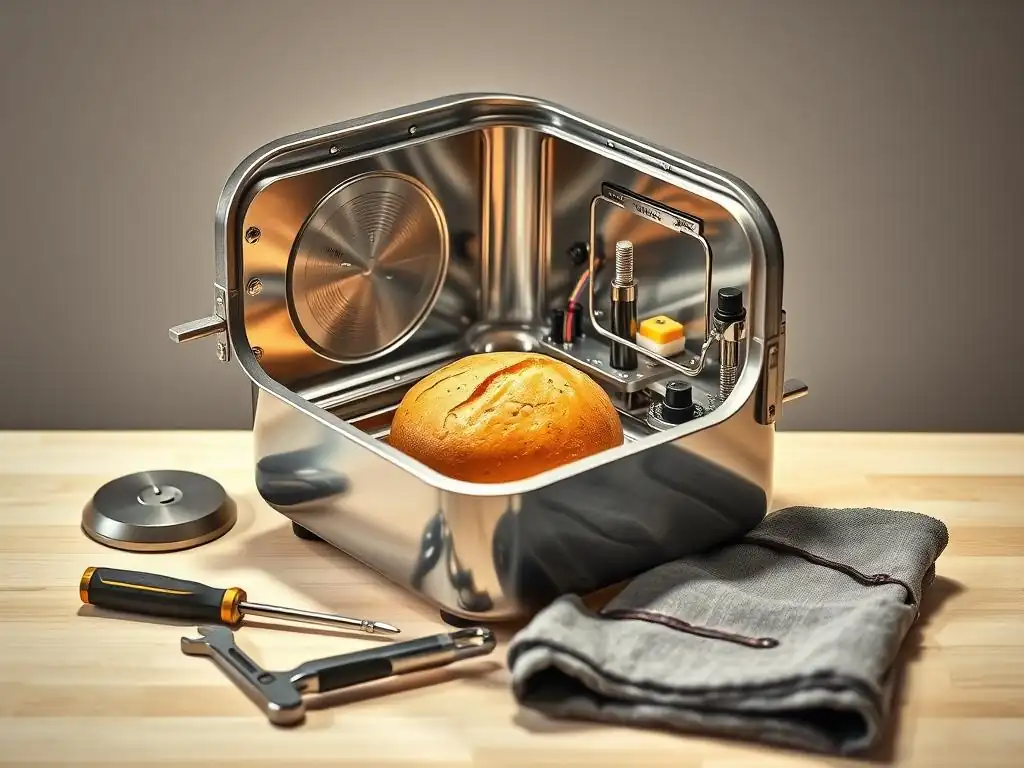
Even with the best bread machine maintenance, some parts will eventually wear out or become damaged. Knowing when to replace components like the kneading paddle or the baking pan is key to maintaining the machine's performance and avoiding frustration. This is a practical part of any bread machine maintenance troubleshooting guide.
Replacing worn parts is often more cost-effective than replacing the entire machine and can restore its functionality. Identifying signs of wear and knowing where to find replacements is important for keeping your machine running smoothly for years.
Identifying Damaged Parts
Regularly inspect the key components of your bread machine for signs of wear and tear. For the baking pan, look for significant scratches, peeling of the non-stick coating, dents, or leaks around the paddle shaft. For the kneading paddle, check for bent fins, cracks, or if it fits loosely on the shaft even after cleaning.
Other parts, like the lid seal or viewing window, can also show wear. A loose seal can affect heat retention, while a cracked window poses a safety risk. Refer to your owner's manual for illustrations of what the parts should look like when new. Addressing damaged parts proactively prevents them from causing further issues or poor baking results.
Replacing the Kneading Paddle
The kneading paddle is one of the most frequently replaced parts due to wear or damage. If your paddle is bent, cracked, or no longer effectively kneading the dough even when properly attached, it's time for a replacement.
To replace the paddle, simply remove the old one from the shaft (soaking may be needed if it's stuck) and slide the new one into place. Ensure you purchase a replacement paddle specifically designed for your bread machine model. Using an incorrect paddle may not fit properly or could damage the pan's shaft. Replacements are typically available directly from the manufacturer or authorized parts suppliers.
Replacing the Baking Pan
Replacing the baking pan is necessary if the non-stick coating is significantly damaged, if the pan leaks, or if the mechanism around the paddle shaft is faulty. A worn pan will cause bread to stick consistently, making removal difficult and potentially affecting the loaf's appearance.
To replace the pan, simply remove the old pan from the machine cavity and insert the new one, ensuring it seats correctly and locks into place if applicable. Like the paddle, it is crucial to purchase a replacement pan specifically made for your bread machine model to ensure proper fit and function. Using an incompatible pan can damage the machine's drive mechanism or heating element.
Proactive Maintenance Tips
Beyond cleaning and troubleshooting specific issues, adopting some proactive habits can significantly contribute to the longevity and performance of your bread machine. These simple tips help prevent common problems before they start, complementing your bread machine maintenance troubleshooting guide.
Integrating these practices into your baking routine requires minimal effort but offers substantial benefits in terms of machine reliability and consistent baking results. Think of them as small investments that pay off over the lifespan of your appliance.
Using Correct Ingredients
Using the correct type and amount of ingredients specified in your recipe and your machine's manual is fundamental. Ingredients like bread flour are recommended for their protein content, which is suitable for kneading. Using incorrect flour or excessive amounts of ingredients can strain the machine's motor and kneading mechanism.
Also, ensure ingredients are at the recommended temperature (often room temperature for most bread cycles). Extremes in temperature can affect dough consistency and place undue stress on the machine during mixing and kneading. Adhering to recipes designed for bread machines is a simple yet effective proactive maintenance step.
Avoiding Overfilling
Every bread machine has a maximum capacity, usually specified in terms of flour weight (e.g., for 1-pound, 1.5-pound, or 2-pound loaves). Overfilling the baking pan with too much dough or ingredients puts excessive strain on the motor and kneading paddle during the mixing and rising phases.
Overfilling can also lead to the dough rising too high and potentially overflowing, creating a mess and potentially damaging the machine's lid or vents. Always adhere to the maximum capacity recommended for your specific model to ensure smooth operation and prevent undue stress on the machine's components.
Allowing Cool Down
After a baking cycle is complete, resist the urge to immediately clean the machine or its components. Allow the machine, particularly the baking pan and heating cavity, to cool down completely. High temperatures can make cleaning residue harder to remove and pose a burn risk.
Rapid temperature changes can also potentially stress the materials of the pan and internal components over time. Giving the machine adequate time to cool down naturally is a simple habit that contributes to its overall durability and is a passive but important part of bread machine maintenance.
Inspecting Cords and Plugs
Periodically check the power cord and plug for any signs of damage, such as fraying, cuts, or bent prongs. A damaged cord can be a safety hazard and indicates potential issues with the electrical connection.
Ensure the power outlet you are using is in good condition and not overloaded. If you notice any damage to the cord or plug, or if the machine's power connection feels loose, discontinue use and contact the manufacturer or a qualified electrician for advice or repair. Electrical safety is paramount in any appliance maintenance, including your bread machine.
Frequently Asked Questions
How often should I clean my bread machine?
You should clean your bread machine after every use to prevent buildup and ensure consistent performance. A simple wipe-down with a damp cloth is usually sufficient.
What are some common signs that my bread machine needs maintenance?
Common signs include unusual noises, uneven mixing, or bread that is consistently under- or over-baked. These issues often point to problems with the motor or heating element.
Can I use any kind of oil to lubricate the bread machine parts?
No, you should only use food-grade lubricant specifically designed for bread machines. Other oils can contaminate your bread or damage the machine's components.
How do I prevent the kneading paddle from getting stuck in the bread?
Lightly coating the kneading paddle with cooking spray before adding ingredients can help prevent it from getting stuck. Also, ensure your ingredients are properly measured.
Where can I find replacement parts for my bread machine if something breaks?
Check the manufacturer's website or authorized retailers for specific replacement parts. Make sure the parts are compatible with your bread machine's model number.
Final Reflection: The Enduring Loaf: Maintaining Your Bread Machine and Your Passion
The humble bread machine, a kitchen workhorse often overlooked, deserves more than a dusty corner and occasional use. Its consistent performance hinges on proactive maintenance, ensuring years of delicious, homemade bread. Ignoring this crucial aspect can lead to frustration, wasted ingredients, and ultimately, a machine gathering dust.
The impact of readily available, high-quality bread extends far beyond mere sustenance; it's a connection to tradition, a source of comfort, and a symbol of home-baked goodness. Bread is the staff of life,
a simple phrase that speaks volumes about its importance throughout history and across cultures. This simple appliance allows us to reclaim that connection, to participate in a process that has fed humanity for millennia, and to share the fruits of our labor with loved ones. The maintenance, therefore, becomes a ritual, a small act of care that reflects our appreciation for this culinary cornerstone.
Now, consider your own bread machine. Is it humming along, ready to rise to the occasion? Or is it showing signs of neglect? I urge you to take a moment, open your instruction manual (yes, really!), and perform a thorough cleaning and inspection. By dedicating just a little time to preventative maintenance, you're not just extending the life of your machine; you're investing in the continued enjoyment of fresh, homemade bread for years to come. Embrace the process, appreciate the results, and savor the enduring satisfaction of a perfectly maintained bread machine.
Unleash Your Inner Baker: Keep Your Bread Machine Baking!
Thanks for taking the time to explore our bread machine maintenance guide! We hope you now feel confident in keeping your trusty appliance in top shape for years of delicious loaves. Ready to put your new knowledge into practice?
- Prioritize regular cleaning: This is your key to long-term bread machine happiness! Make cleaning a part of your baking routine to prevent build-up and ensure consistently perfect bread.
- Share your maintenance tips: Do you have a secret bread machine cleaning trick? Let us know in the comments below – we’d love to hear from you!
- Explore our recipe collection: Ready to bake something amazing? Dive into our extensive recipe collection for inspiration and get baking!
What's your favorite bread to bake, and what's your top bread machine maintenance tip? Let's chat in the comments!