
Learn the Basics: Simple Blondies That Taste Incredible

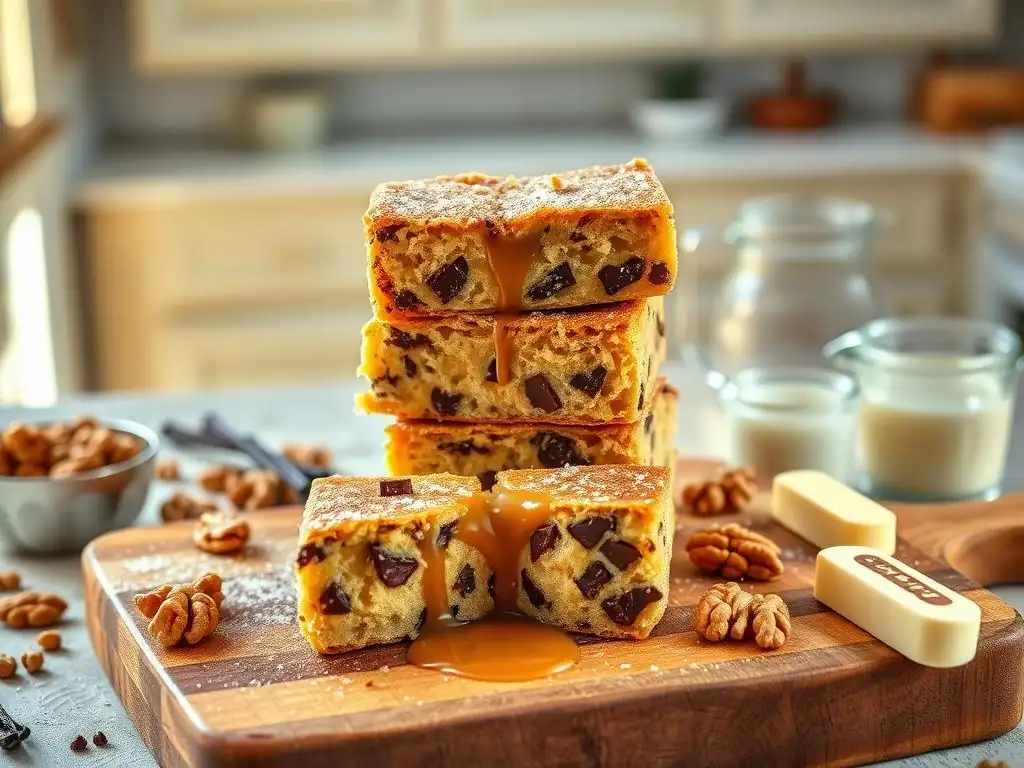
Welcome to BakeWithEase, where baking becomes a joy, not a chore! Ever dream of whipping up a batch of perfectly golden, melt-in-your-mouth blondies? You're in the right place. Dive into our easy blondies recipe for beginners and discover how simple it is to create bakery-worthy treats right in your own kitchen. What's the secret to achieving that irresistible chewy texture and rich, buttery flavor? Keep reading to find out!
- BakeWithEase: Your Guide to Easy Blondies for Beginners
- Why This Easy Blondies Recipe is Perfect for Beginner Bakers
- The Ultimate Easy Blondies Recipe: Step-by-Step Guide
- Blondie Variations & Flavor Combinations for Beginners
- Tips for Perfect Blondies Every Time
- Troubleshooting Common Blondie Baking Problems
- More Easy Baking Recipes from BakeWithEase
-
Frequently Asked Questions
- What makes this blondies recipe "easy" for beginners?
- How are blondies different from brownies, and why should I try this recipe?
- Can I customize this blondies recipe with different add-ins?
- What are some common mistakes beginners make when baking blondies, and how can I avoid them?
- What kind of equipment do I need to make these easy blondies?
- Final Reflection: The Unexpected Joy of Simple Baking
- Unlock Your Inner Baker: Make These Blondies Today!
BakeWithEase: Your Guide to Easy Blondies for Beginners
Welcome to BakeWithEase, where we believe that everyone can enjoy the simple pleasure of baking. If you're just starting your baking journey, you might be looking for a recipe that's forgiving, requires minimal fuss, and delivers maximum deliciousness. That's exactly what our easy blondies recipe for beginners is all about! Forget complicated techniques and endless ingredient lists. We're here to show you how to create gooey, chewy, and incredibly satisfying blondies with ease.
Blondies are often described as the vanilla equivalent of brownies. They offer a rich, buttery flavor profile with a delightful chewiness that makes them utterly irresistible. This easy blondies recipe is specifically designed with beginners in mind, breaking down each step into simple, manageable tasks. By the end of this guide, you'll have the confidence to bake a batch of perfect blondies and impress yourself and your friends with your newfound skills. Let's dive into the wonderful world of easy baking!
Why This Easy Blondies Recipe is Perfect for Beginner Bakers
Getting started in baking can feel daunting, but choosing the right first recipes makes all the difference. This easy blondies recipe is a fantastic entry point into the world of baking bars. Unlike some finicky cookies or complex cakes, blondies are quite forgiving. The ingredient list is short and uses pantry staples you likely already have on hand, reducing the need for special trips to the store. Plus, the mixing process is straightforward, often requiring just one bowl, which means less cleanup – a win for any beginner baker!
Another reason this is an ideal easy blondies recipe for beginners is the relatively short baking time and simple visual cues for doneness. There's no need to worry about intricate decorating or precise layering. You mix, you bake, you cool, and you cut. It's a straightforward process that builds confidence with each successful batch. Mastering this basic recipe opens the door to countless variations, allowing you to experiment and get creative as you become more comfortable in the kitchen.
Simple Ingredients for Delicious Blondies
One of the best aspects of this easy blondies recipe is its reliance on basic, readily available ingredients. You won't need any exotic flours or hard-to-find extracts. The core components are likely staples in your kitchen right now. Think all-purpose flour, granulated sugar, brown sugar, butter, eggs, and vanilla extract. These simple building blocks combine to create a surprisingly rich and complex flavor profile.
Using common ingredients also helps beginners focus on technique rather than sourcing specific items. For instance, using standard unsalted butter allows you to control the salt content, a fundamental concept in baking. Employing both granulated and brown sugar is key to achieving the signature chewy texture and moistness of a perfect blondie. Brown sugar, with its molasses content, adds depth of flavor and contributes significantly to that desirable chew.
Quick Baking Time for Busy Bakers
In today's fast-paced world, finding time for elaborate baking projects can be challenging. This easy blondies recipe respects your schedule with a relatively quick baking time. Once the simple batter is mixed, the blondies typically bake in about 20 to 25 minutes in a standard 8x8 inch pan. This means you can go from craving a warm, homemade treat to enjoying one in under an hour, including prep and a short cooling period.
The efficiency of this recipe makes it perfect for a weeknight dessert, a last-minute contribution to a potluck, or simply a spontaneous baking session. The short bake time also reduces the margin for error that can come with longer bakes, such as over-drying. It allows beginners to see results quickly, providing positive reinforcement and encouraging them to bake again.
The Ultimate Easy Blondies Recipe: Step-by-Step Guide
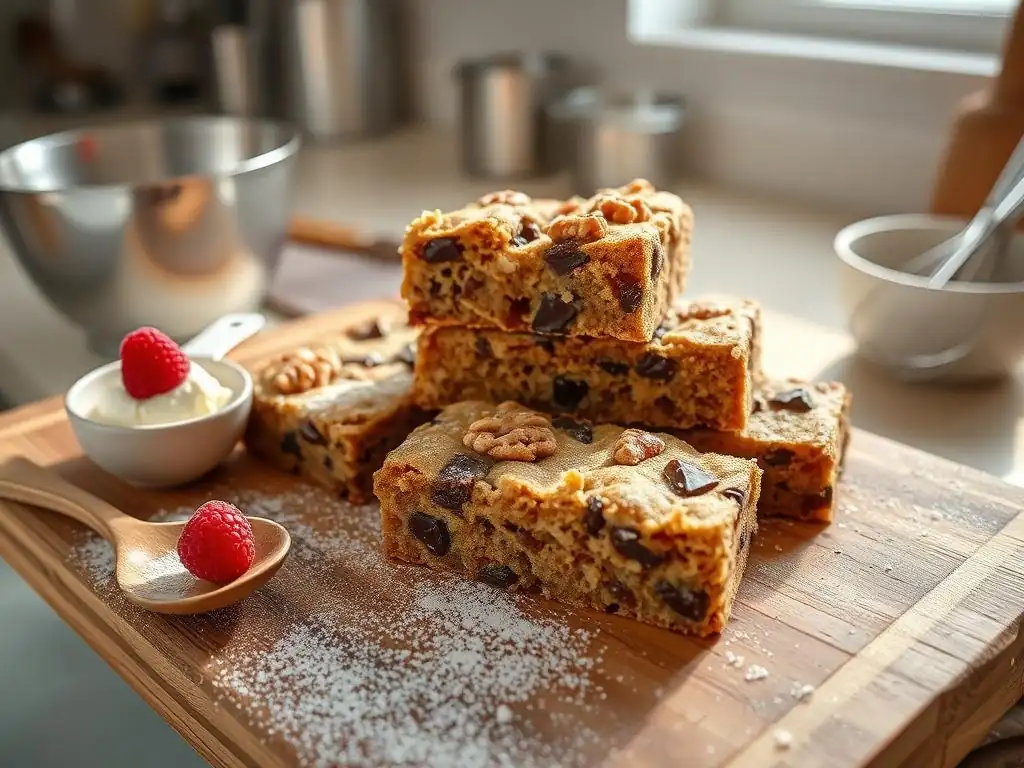
Ready to bake? This step-by-step guide will walk you through creating perfect easy blondies, even if you've never baked before. We'll cover everything from gathering your tools to the final cooling and cutting. Follow along, and you'll have a delicious batch ready in no time.
[ ] Gather ingredients
[ ] Preheat oven
[ ] Prepare baking pan
[ ] Mix wet ingredients
[ ] Add dry ingredients
[ ] Bake
[ ] Cool
[ ] Cut
Step 1: Gathering Your Blondie Ingredients
Before you start mixing, it's crucial to have all your ingredients measured and ready to go. This practice, known as "mise en place" in French, which means "everything in its place," is a cornerstone of efficient and successful baking. Having everything prepped prevents you from realizing you're out of eggs mid-recipe or having to measure flour with buttery hands. For this easy blondies recipe beginners will find this step invaluable for staying organized and reducing stress.
Take a few minutes to pull out everything listed in the ingredients section. Measure your flour, sugars, and other dry ingredients accurately. Crack your eggs into a small bowl (this also lets you catch any shell fragments). Melt your butter and let it cool slightly. This preparation ensures a smooth baking process from start to finish and is a fundamental habit for any aspiring baker.
Essential Baking Tools for Making Blondies
You don't need a professional kitchen setup to make this easy blondies recipe. A few basic tools are all that's required. You'll need a large mixing bowl, a whisk or electric mixer (even a hand mixer works great), measuring cups and spoons, a rubber spatula or wooden spoon, and an 8x8 inch square baking pan. Parchment paper is highly recommended for easy removal and cleanup.
Having the right tools makes the process much smoother. Accurate measuring cups and spoons are essential for consistency in baking, as baking is often a science requiring precise ratios. Using an 8x8 inch metal baking pan is standard for most blondie and brownie recipes, ensuring the correct thickness and baking time specified in the recipe. Lining the pan with parchment paper, leaving some overhang, is a simple trick that makes lifting the finished blondies out incredibly easy.
List of Ingredients for Easy Blondies
Here are the simple ingredients you'll need for this delicious easy blondies recipe:
- 1/2 cup (1 stick) unsalted butter, melted
- 1 cup packed light brown sugar
- 1/2 cup granulated sugar
- 1 large egg
- 1 teaspoon vanilla extract
- 1 cup all-purpose flour
- 1/2 teaspoon baking powder
- 1/4 teaspoon salt
- Optional additions: 1/2 cup chocolate chips, chopped nuts, etc.
Note: Using unsalted butter is standard in baking to control salt levels. If using salted butter, omit the added salt.
Step 2: Mixing the Blondie Batter
Now that your ingredients are prepped, it's time to combine them. This is where the magic starts to happen! The first step involves combining the melted butter and sugars. This mixture forms the base of your blondies, contributing significantly to their texture and sweetness. Using melted butter instead of softened creamed butter, as is common in many cookie recipes, contributes to the dense, chewy texture characteristic of blondies.
Once the butter and sugars are well combined, you'll add the wet ingredients: the egg and vanilla extract. Beating these in helps create a smooth batter and incorporates air, which contributes to the final texture. It's important not to overmix at this stage; just beat until everything is just combined and smooth. Overmixing can develop the gluten in the flour prematurely, potentially leading to tougher blondies later on.
Creaming Butter and Sugar for Blondies
While some blondie recipes call for creaming softened butter and sugar, this easy blondies recipe uses melted butter. This simplifies the process as you don't need to wait for butter to soften. Start by melting your 1/2 cup (1 stick) of butter. You can do this on the stovetop over low heat or carefully in the microwave. Once melted, pour it into your mixing bowl.
Add both the 1 cup packed light brown sugar and 1/2 cup granulated sugar to the melted butter. Whisk or stir with a spoon until the sugars are completely incorporated into the butter and the mixture is smooth. It will look like a thick, glossy syrup. This step is crucial for dissolving some of the sugar, which helps prevent a grainy texture in the final blondies and enhances chewiness.
Adding Eggs and Vanilla Extract to the Batter
With the butter and sugars combined, it's time to add the flavor powerhouses: the egg and vanilla extract. Crack the large egg into the bowl with the butter-sugar mixture. Add the 1 teaspoon of vanilla extract. Vanilla is essential for enhancing the rich, buttery flavor of the blondies.
Using a whisk or an electric mixer on low speed, beat the egg and vanilla into the mixture until they are fully combined and the batter is smooth and uniform in color. This usually takes less than a minute. Scrape down the sides of the bowl with your spatula to ensure everything is incorporated. The batter should be glossy and slightly thickened at this point.
Step 3: Incorporating Dry Ingredients
The next step is adding the dry ingredients to the wet mixture. This is where you build the structure of your blondies. The primary dry ingredients are flour, baking powder, and salt. It's important to measure these accurately, especially the flour and baking powder, as too much or too little can significantly impact the final texture.
When adding the dry ingredients, the key is to mix just until combined. Overmixing after adding flour develops gluten, which can make your blondies tough and cakey rather than soft and chewy. A rubber spatula or wooden spoon is often preferred for this step over an electric mixer to minimize the risk of overmixing.
Measuring Flour and Baking Powder Accurately
Accurate measurement of dry ingredients is vital in baking. For the 1 cup of all-purpose flour, the best method is the "spoon and level" method: gently spoon the flour into your measuring cup until it overflows, then level off the excess with a straight edge (like the back of a knife). Do not scoop the flour directly from the bag with your measuring cup, as this compacts the flour and results in using too much, potentially making your blondies dry.
Measure the 1/2 teaspoon of baking powder and 1/4 teaspoon of salt using standard measuring spoons. Baking powder is a leavening agent that gives the blondies a slight lift, preventing them from being too dense. The salt enhances the overall flavor profile and balances the sweetness. Whisk these three dry ingredients together briefly in a separate small bowl before adding them to the wet mixture to ensure they are evenly distributed.
Adding Chocolate Chips or Nuts (Optional)
Now for the fun part! If you're adding any mix-ins like chocolate chips, nuts, or sprinkles to your easy blondies recipe, this is the time to fold them in. The recipe calls for 1/2 cup of optional additions. Chocolate chips are a classic choice, adding pockets of melted chocolate goodness. Walnuts or pecans add a lovely crunch and nutty flavor.
Add your chosen mix-ins to the batter. Using your rubber spatula or wooden spoon, gently fold them into the batter until they are evenly distributed. Be careful not to overmix during this step. Just a few folds are usually enough to incorporate the additions without overworking the batter. This ensures your easy blondies have delicious surprises in every bite!
Step 4: Baking Your Blondies to Perfection
With the batter mixed and ready, it's time to bake! Preparing your pan correctly and knowing the optimal baking temperature and time are key to achieving that perfect blondie texture – slightly crispy edges and a soft, slightly gooey center. Overbaking is a common mistake that can lead to dry, crumbly blondies instead of the desired chewy treat.
Ensure your oven is fully preheated before placing the pan inside. Oven temperatures can vary, so using an oven thermometer can be helpful for accuracy. The specified temperature and time in the recipe are guidelines; keep an eye on your blondies as they bake, especially towards the end of the baking time, as oven variations can affect the outcome.
Preparing the Baking Pan
For this easy blondies recipe, an 8x8 inch square metal baking pan is ideal. To prevent sticking and make removal a breeze, you have a couple of options. You can grease the pan with butter or cooking spray and then dust it lightly with flour. This creates a non-stick surface.
Alternatively, and highly recommended for easy cleanup and removal, is to line the pan with parchment paper. Cut a piece of parchment paper that fits the bottom of the pan and extends up the sides, leaving an overhang. Lightly grease the pan first so the parchment paper sticks to the bottom and sides. This method allows you to lift the entire batch of cooled blondies out of the pan before cutting.
Optimal Baking Temperature and Time
Preheat your oven to 350°F (175°C). This moderate temperature allows the blondies to bake through evenly without the edges burning before the center is done. Once the oven is preheated and the pan is prepared and filled with batter, place the pan in the center of the oven.
Bake for approximately 20 to 25 minutes. The blondies are done when the edges are set and lightly golden brown, and the center looks slightly soft but not wet or liquid. A toothpick inserted into the center should come out with moist crumbs attached, not completely clean like it would for a cake. If it comes out wet with raw batter, bake for a few more minutes. If it comes out completely clean, they may be slightly overdone, but still likely delicious!
Step 5: Cooling and Cutting Your Blondies
Patience is a virtue, especially when it comes to baking bars! Allowing your blondies to cool properly is just as important as the baking itself. Cutting into warm blondies can result in a gooey mess that doesn't hold its shape well. Cooling allows the structure to set and makes for cleaner cuts.
Once the blondies are out of the oven, let them cool in the pan for about 10-15 minutes. If you used the parchment paper method, you can then carefully lift the entire batch out of the pan and transfer it to a wire rack to cool completely. This complete cooling process can take anywhere from 1 to 2 hours. Resist the urge to cut them warm!
Allowing Blondies to Cool Completely
Transferring the blondies to a wire rack after the initial pan cooling allows air to circulate around all sides, speeding up the cooling process and preventing the bottom from getting soggy from residual heat. Allowing the blondies to cool completely ensures they firm up properly. This is especially important for achieving that desirable chewy texture.
Cutting warm blondies is difficult because they are still quite soft and fragile. As they cool, the sugars and fats solidify slightly, giving the blondies structure. Cooling also allows the flavors to meld together. So, while it's tempting to dig in right away, waiting for them to cool completely will result in a much better texture and easier cutting experience.
Cutting Blondies into Perfect Squares
Once the blondies are completely cool, it's time to cut them into squares. If you used parchment paper, lift the blondies out of the pan and place them on a cutting board. Use a sharp knife to slice through the bars. For an 8x8 inch pan, cutting into 4 rows by 4 rows typically yields 16 squares, which is a standard serving size.
For cleaner cuts, wipe the knife blade clean with a damp cloth between cuts, especially if you included chocolate chips. This prevents the knife from dragging melted chocolate or crumbs through the blondies. The edges will be slightly firmer, while the center pieces will be softer and chewier. Arrange them on a plate or store them for later enjoyment! This easy blondies recipe provides a perfect base for many delicious variations.
Blondie Variations & Flavor Combinations for Beginners
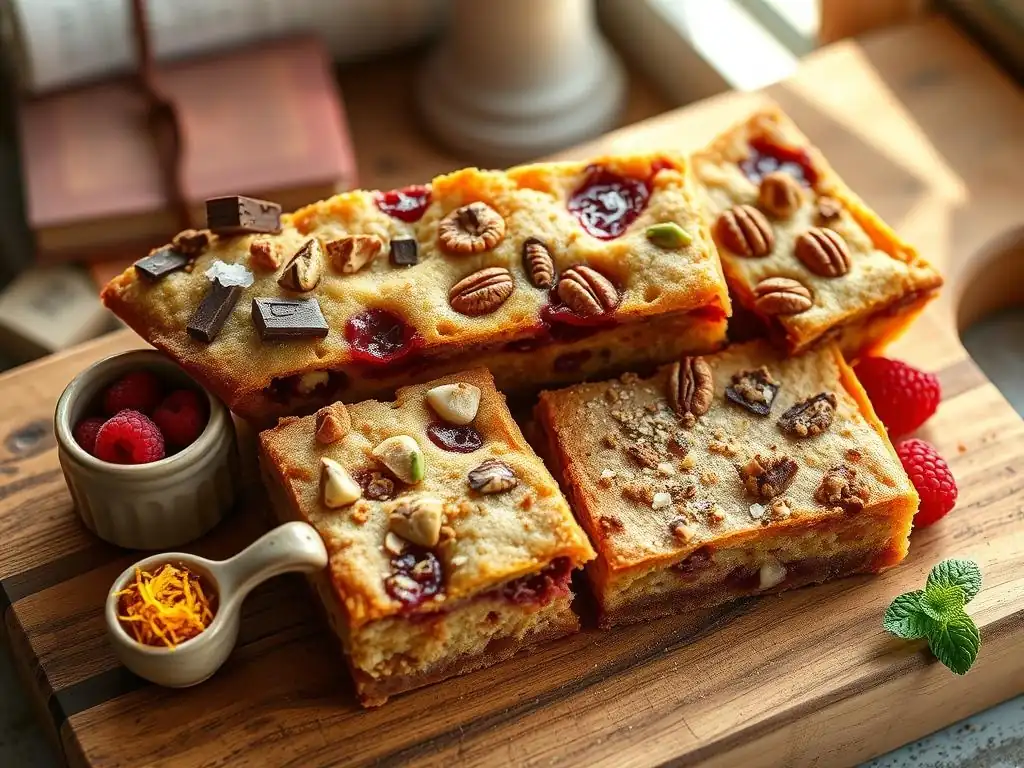
Once you've mastered the basic easy blondies recipe, you can start experimenting with different flavor combinations and mix-ins. Blondies are incredibly versatile and pair well with a variety of additions. Adding different ingredients can introduce new textures and tastes, making each batch a unique creation.
Don't be afraid to get creative! Start with simple additions and see what you enjoy. The base blondie batter is a blank canvas waiting for your personal touch. Below are a few popular and easy variations perfect for beginners looking to explore beyond the classic.
Adding Chocolate Chips to Your Easy Blondies Recipe
Perhaps the most popular variation is adding chocolate chips. The rich, slightly bitter chocolate is a perfect contrast to the sweet, buttery blondie base. You can use semi-sweet, milk, or even dark chocolate chips, depending on your preference. As mentioned in Step 3, add about 1/2 cup of chocolate chips when incorporating the dry ingredients.
For an extra touch, reserve a few tablespoons of chocolate chips to sprinkle on top of the batter before baking. As they bake, these chips will melt and create lovely pools of chocolate on the surface of your blondies. This simple addition elevates the visual appeal and adds extra chocolatey goodness to this easy blondies recipe.
Creating Nutty Blondies with Walnuts or Pecans
If you love a bit of crunch in your baked goods, adding nuts is a fantastic option. Walnuts and pecans are classic choices that pair wonderfully with the brown sugar and butter flavors of blondies. Chop about 1/2 cup of your preferred nuts into small pieces before adding them to the batter.
Add the chopped nuts at the same time you would add chocolate chips – when folding in the dry ingredients. Toasting the nuts lightly in a dry pan for a few minutes before adding them can enhance their flavor significantly, but this is an optional step. The nuts provide a delightful textural contrast to the chewy blondie base.
Experimenting with Different Extracts (Almond, Maple)
While vanilla extract is essential in the basic easy blondies recipe, you can substitute or add other extracts to create different flavor profiles. Almond extract, for example, adds a lovely subtle nuttiness that complements the blondie flavor. Start by substituting half of the vanilla (1/2 teaspoon vanilla, 1/2 teaspoon almond) or adding just a 1/4 teaspoon of almond extract alongside the vanilla, as almond extract is quite potent.
Maple extract is another delicious option, enhancing the brown sugar flavor and giving the blondies a warm, comforting taste. Try adding 1/2 to 1 teaspoon of maple extract along with or instead of the vanilla. These simple extract swaps can dramatically change the character of your blondies without altering the core recipe structure.
Caramel Blondies: A Sweet and Easy Twist
Adding swirls of caramel is a decadent yet relatively easy twist on the classic easy blondies recipe. You can use store-bought caramel sauce or make a simple caramel sauce at home. After pouring the blondie batter into the prepared pan, dollop spoonfuls of caramel sauce over the top.
Use a knife or skewer to gently swirl the caramel into the batter. Don't over-swirl, or the caramel will disappear completely into the batter. Just a few swirls are enough to create beautiful patterns and pockets of gooey caramel throughout the blondies. Bake as directed, and the caramel will bake into delicious pockets of sweetness.
Tips for Perfect Blondies Every Time
Achieving that perfect balance of chewy, moist, and flavorful is the goal when baking blondies. While this is an easy blondies recipe, a few simple tips can help ensure your success every time. Pay attention to details like mixing technique and baking time, and you'll consistently produce delicious results.
Baking is a skill that improves with practice. Don't be discouraged if your first batch isn't absolutely perfect. Each attempt is a learning opportunity. By understanding the common pitfalls and how to avoid them, you'll improve with every batch of easy blondies you bake.
How to Avoid Dry Blondies
Dry blondies are often the result of overmixing or overbaking. To avoid a dry texture, mix the dry ingredients into the wet ingredients just until no streaks of dry flour remain. Stop mixing as soon as the ingredients are combined.
Secondly, be mindful of the baking time. Start checking for doneness at the lower end of the suggested time range (around 20 minutes for an 8x8 inch pan). Remember, a toothpick inserted into the center should come out with moist crumbs, not completely clean. It's better to slightly underbake blondies than to overbake them, as they will continue to set as they cool.
Achieving a Chewy Blondie Texture
The key to a wonderfully chewy blondie lies in the ingredients and baking technique. Using a higher ratio of brown sugar to granulated sugar, as this easy blondies recipe does, contributes significantly to chewiness due to the molasses in brown sugar. Using melted butter also promotes a denser, chewier texture compared to creamed butter.
Furthermore, slightly underbaking the blondies contributes to chewiness. Taking them out when the center is still slightly soft and gooey allows them to finish setting as they cool, resulting in that desirable dense, chewy texture rather than a cakey one.
Storing Your Blondies for Maximum Freshness
Once your easy blondies are completely cooled and cut, proper storage will keep them fresh and delicious for several days. Store them in an airtight container at room temperature. Placing a layer of parchment paper between layers of blondies can prevent them from sticking together.
Blondies will typically stay fresh at room temperature for 3-4 days. If you want to store them longer, you can freeze them. Wrap individual blondies or stacks tightly in plastic wrap, then place them in a freezer-safe bag or container. Frozen blondies can last for up to 2-3 months. Thaw them at room temperature or warm them gently in the microwave for a few seconds before enjoying.
Troubleshooting Common Blondie Baking Problems
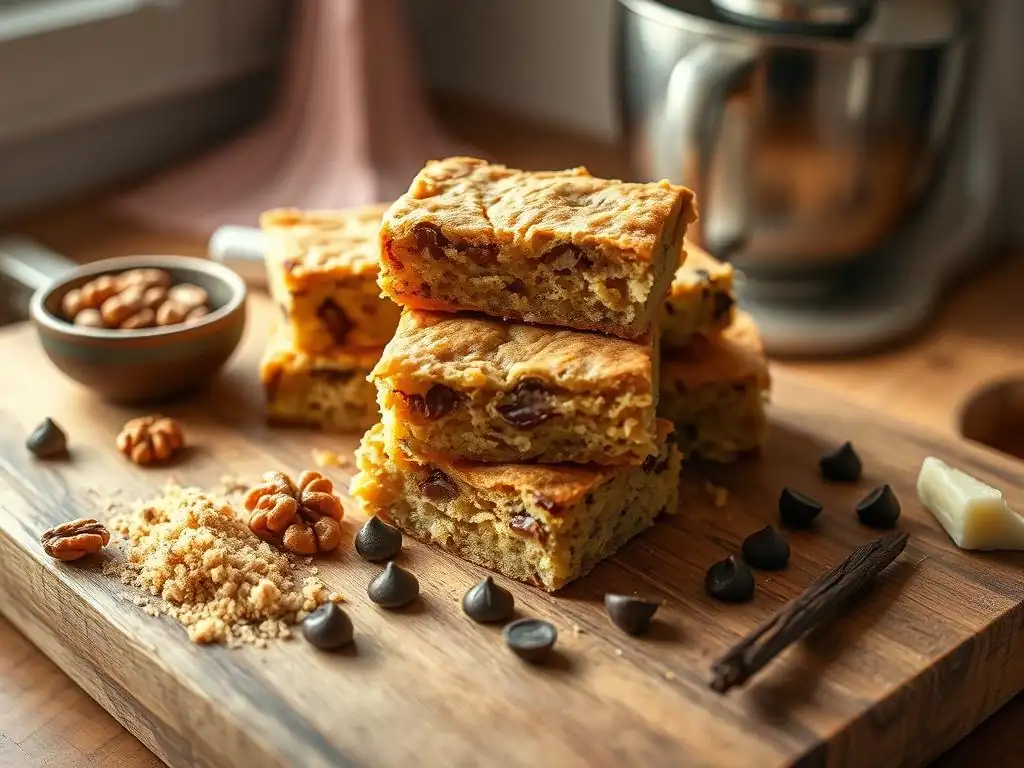
Even with an easy blondies recipe, minor issues can sometimes arise. Don't worry! Most common problems are easily identifiable and fixable for future batches. Understanding why something went wrong is the first step to becoming a more confident baker.
Here are a few common issues beginners might encounter when baking blondies and how to address them. Remember, baking is a learning process, and troubleshooting is part of the journey.
Blondies are Too Cakey
If your blondies turned out more like a cake than a dense, chewy bar, the most likely culprits are overmixing the batter or using too much flour. Overmixing develops gluten, leading to a cake-like structure. Ensure you stop mixing as soon as the dry ingredients are just combined.
Also, double-check how you measure your flour. Scooping flour directly from the bag can result in using up to 25% more flour than needed, which will definitely make your blondies dry and cakey. Always use the spoon and level method for accurate flour measurement.
Blondies are Too Gooey
While a slightly gooey center is desirable for chewiness, if your blondies are excessively gooey or seem raw in the middle, they were likely underbaked. This can happen if your oven temperature is inaccurate or if you removed them too soon.
Use an oven thermometer to verify your oven's temperature. For the next batch, bake for the full recommended time (25 minutes for an 8x8 inch pan) or a few minutes longer if needed. Remember, a toothpick test should show moist crumbs, not wet batter. Check the center of the pan, as the edges will set first.
Blondies are Burning on the Edges
Burning edges while the center is still underdone often indicates that your oven is running too hot, or perhaps the pan is too dark (dark pans absorb more heat) or positioned too close to a heating element.
Verify your oven temperature with a thermometer. If your oven runs hot, try reducing the temperature by 25°F (about 15°C). Ensure your pan is placed in the center rack of the oven. If you consistently have this issue, you might try using a lighter colored metal pan or reducing the baking time slightly and covering the edges loosely with foil if they start to brown too quickly.
More Easy Baking Recipes from BakeWithEase
Mastering this easy blondies recipe is just the beginning! BakeWithEase is filled with simple, approachable recipes designed for bakers of all levels. If you enjoyed making these blondies, you'll find plenty more to explore in our collection.
From classic cookies to simple cakes and other delightful bars, we have recipes that use basic ingredients and straightforward techniques. Keep practicing, keep exploring, and most importantly, keep enjoying the process of baking!
If you loved making these easy blondies, you'll feel right at home in our Cookie Bar & Brownie collection. This section features a variety of recipes for chewy bars and fudgy brownies that are perfect for sharing (or not! ).
You'll find recipes for classic fudge brownies, different types of blondies with various mix-ins, and other creative bar recipes like lemon bars or oat bars. These recipes build upon the simple techniques you learned with this easy blondies recipe, allowing you to expand your baking repertoire within a familiar format.
Discover Beginner-Friendly Baking Recipes
Our Beginner Baking Recipes category is specifically curated for those new to the kitchen. It includes a wide range of recipes that are simple, forgiving, and require minimal special equipment or advanced skills.
From easy chocolate chip cookies and simple loaf cakes to quick bread recipes and muffins, this section is your go-to resource for building confidence in baking. Each recipe includes clear instructions and helpful tips, just like this easy blondies recipe beginners guide. Happy baking!
Frequently Asked Questions
What makes this blondies recipe "easy" for beginners?
The recipe focuses on simple techniques and uses easy-to-find ingredients that most beginners will already have in their pantry. It also provides step-by-step instructions to avoid confusion.
How are blondies different from brownies, and why should I try this recipe?
Blondies lack the chocolate found in brownies, relying instead on brown sugar and vanilla for a caramel-like flavor. This recipe is a great starting point because it's quick, simple, and satisfying, offering a different flavor profile.
Can I customize this blondies recipe with different add-ins?
Absolutely! Feel free to add chocolate chips, nuts, sprinkles, or even dried fruit. This recipe is a versatile base that can be easily adapted to your preferences.
What are some common mistakes beginners make when baking blondies, and how can I avoid them?
Overbaking is a common mistake, leading to dry blondies. Keep a close eye on them and use a toothpick test to ensure they're just done. Also, measure ingredients accurately for best results.
What kind of equipment do I need to make these easy blondies?
You'll need basic baking equipment like a mixing bowl, measuring cups and spoons, a baking pan, and a spatula. No special equipment is required, making it perfect for beginners.
Final Reflection: The Unexpected Joy of Simple Baking
The ease of creating something delicious shouldn't be underestimated; these simple blondies prove that baking mastery doesn't require years of experience. Mastering a basic recipe like this unlocks a world of culinary confidence, empowering even the most hesitant beginner to create something truly satisfying. It's a gateway to a richer, more flavorful life, one delicious square at a time.
The impact of simple recipes like this extends beyond just the immediate gratification of a tasty treat. It fosters a sense of accomplishment and connection, reminding us of the joy found in creating something with our own hands. The best things in life are simple.
This quote perfectly encapsulates the essence of this recipe and its ability to bring joy to both the baker and those who share in the delicious results. It's a reminder that sometimes, the most rewarding experiences come from the simplest of beginnings.
Now, I invite you to take this newfound confidence and experiment! Don't be afraid to tweak the recipe, to add your own personal touch. Perhaps a sprinkle of sea salt, a swirl of chocolate, or even a different type of nut. The possibilities are endless, and the journey of culinary exploration is yours to embark on. So, gather your ingredients, preheat your oven, and discover the unexpected joy of simple baking – you might surprise yourself with what you create.
Unlock Your Inner Baker: Make These Blondies Today!
Thanks for taking the time to explore our simple blondie recipe! We hope you've gained the confidence to tackle this delicious treat. Now it's time to put your newfound baking skills to the test.
- Bake a batch of these amazing blondies! Use the recipe you just read and adjust it to your taste. Experiment with different add-ins!
- Share your blondie creation with us on social media! Use #BakeWithEaseBlondies and tag us – we love seeing your baking adventures.
- Challenge a friend to a blondie-baking duel! See who can create the most delicious and creative variation.
So, what delicious adventure awaits you in the kitchen today?