
Start Here: Your First Foolproof NoBake Dessert Recipe

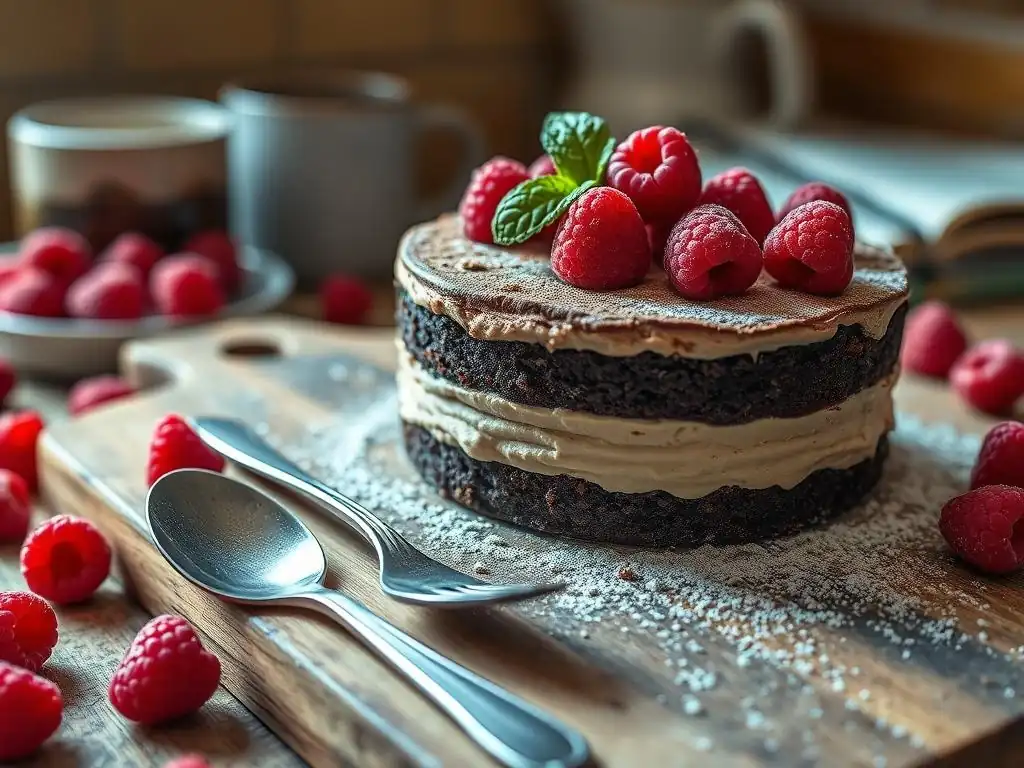
Welcome to BakeWithEase, where baking becomes a joy, not a chore! Are you ready to dive into the world of delectable desserts without ever turning on your oven? Perfect! This is where you'll find the secrets to creating stunning treats with minimal effort. Intrigued? Let's begin with our foolproof no bake dessert recipe and discover just how easy it is to whip up something truly amazing. Prepare to be delighted!
- BakeWithEase Presents: The Easiest No-Bake Dessert Recipe for Beginners
- Why Choose No-Bake Desserts? A Beginner's Baking Dream
- Introducing Your First Foolproof No-Bake Dessert: Chocolate Peanut Butter Bars
-
Gathering Your Ingredients: No-Bake Dessert Essentials
- Ingredient Checklist: No-Bake Chocolate Peanut Butter Bars
- No-Bake Dessert Shopping List for Beginners: Graham Crackers
- No-Bake Dessert Shopping List for Beginners: Peanut Butter
- No-Bake Dessert Shopping List for Beginners: Chocolate Chips
- Tips for Choosing the Best Ingredients for Your No-Bake Dessert
- Step-by-Step Guide: Creating Your No-Bake Masterpiece
- No-Bake Dessert Recipe: Pro Tips & Tricks for Success
- Storing Your No-Bake Dessert: Keeping It Fresh
- Celebrate Your Success: Enjoy Your Easy No-Bake Dessert!
- Frequently Asked Questions
- Final Reflection: The Sweet Simplicity of No-Bake Bliss
- Unleash Your Inner Baker: No-Bake Dessert Adventures Await!
BakeWithEase Presents: The Easiest No-Bake Dessert Recipe for Beginners
Welcome to BakeWithEase! We're thrilled you're taking your first steps into the wonderful world of creating delicious treats. If the thought of preheating ovens, precise baking times, and potential burning makes you nervous, then you've come to the right place. We believe that baking should be fun and accessible, and there's no better way to start than with a simple, forgiving no bake dessert recipe.
This guide is specifically designed for absolute beginners. We've chosen a classic that requires minimal equipment, common ingredients, and zero oven time. Get ready to discover how incredibly satisfying it is to create something sweet and delightful with your own hands, proving that you absolutely can bake (or, in this case, not bake!) with ease.
Why Choose No-Bake Desserts? A Beginner's Baking Dream
No-Bake Baking: Perfect for Kitchen Newbies
Stepping into the kitchen to bake for the first time can feel overwhelming. There are so many variables: oven temperature calibration, understanding different types of flour, the science of leavening. No-bake desserts elegantly bypass many of these complexities. You don't need to worry about uneven baking, cakes sinking, or cookies spreading too much. The process is often more about mixing, layering, and chilling, which are generally simpler techniques to master.
Think of no-bake recipes as your culinary training wheels. They allow you to build confidence by focusing on foundational skills like measuring accurately, combining ingredients properly, and understanding textures, all without the added pressure of managing an oven. Many beginners find that successfully completing a simple no bake dessert recipe gives them the encouragement they need to try more ambitious baking projects later on. It’s a low-stress entry point that guarantees a tasty reward.
Quick Dessert Fix: No Oven Required
One of the most significant advantages of a no bake dessert recipe is the speed and convenience. Traditional baking often involves preheating an oven for 15-20 minutes and then baking for another 20-60 minutes or more, not including cooling time. A no-bake dessert, by contrast, often requires only mixing and assembly, followed by chilling time. This means you can often go from craving to creation much faster, sometimes having the dessert ready to chill in under 30 minutes.
Moreover, skipping the oven saves energy. A typical electric oven uses between 2,000 and 5,000 watts per hour when active, while a refrigerator (needed for chilling) uses significantly less power over the same period. This makes no-bake options a more energy-efficient choice, especially during hot summer months when you might want to avoid heating up your kitchen. It's a practical solution for busy schedules or when you just need a quick sweet treat without the fuss.
Simple Ingredients, Delicious Results: The Beauty of Easy No-Bake Recipes
You might be surprised at how few ingredients are needed for many easy no-bake recipes, yet they deliver incredibly satisfying flavors and textures. Often, you'll find yourself using pantry staples you likely already have on hand, such as cookies, butter, sugar, cream cheese, pudding mixes, or chocolate. This simplicity not only makes the recipes approachable but also cost-effective.
The magic of a good no bake dessert recipe lies in the clever combination of these basic elements. Crushed cookies form a simple crust, whipped cream or pudding creates a creamy filling, and melted chocolate adds a rich topping. There's no need for complex flours, yeast, or finicky leavening agents. This straightforward approach ensures that even with minimal experience, you can achieve delicious results that look and taste impressive.
Introducing Your First Foolproof No-Bake Dessert: Chocolate Peanut Butter Bars
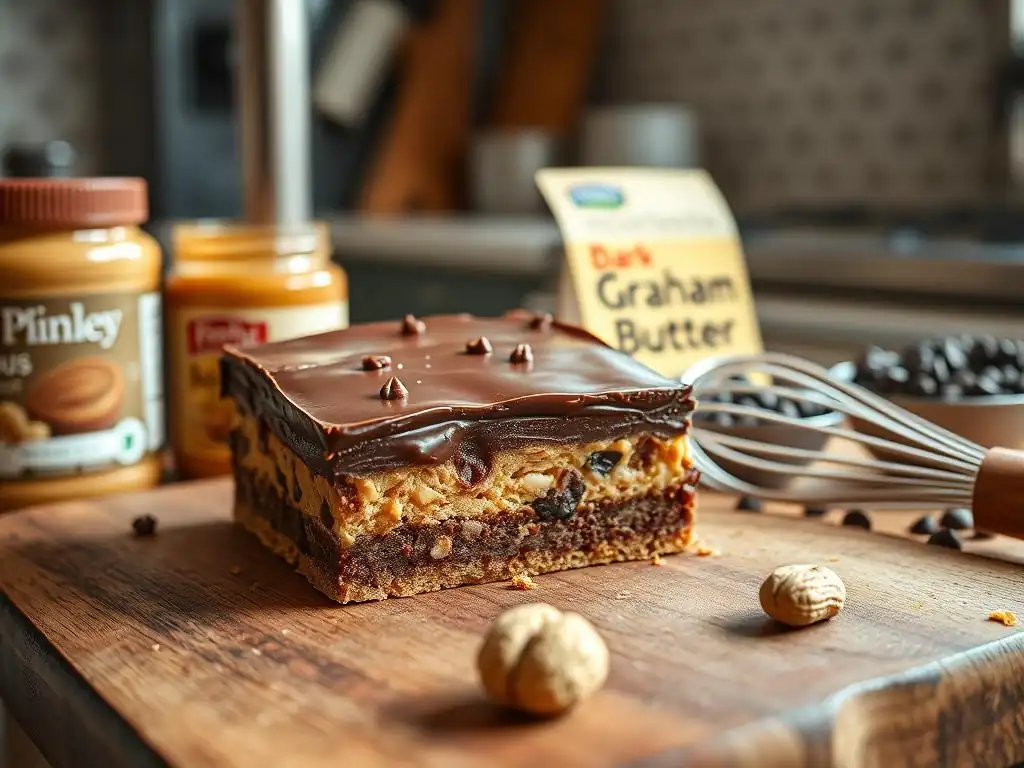
We've chosen a classic for your first venture into no-bake delights: Chocolate Peanut Butter Bars. This particular no bake dessert recipe is beloved for its irresistible combination of sweet chocolate and salty peanut butter, and it's incredibly forgiving for beginners. It doesn't require any special equipment beyond basic mixing bowls and a pan, and the steps are straightforward and easy to follow.
Imagine a dense, slightly crumbly base topped with a rich, creamy peanut butter layer, all finished with a smooth blanket of chocolate. This dessert hits all the right notes and is almost universally loved. It's the perfect candidate for your first successful homemade treat, proving that making a fantastic dessert doesn't have to involve turning on the oven.
What Makes This No-Bake Dessert Recipe So Easy?
The ease of this specific no bake dessert recipe stems from its simple structure and minimal technique requirements. The base is typically made from crushed cookies (like graham crackers or vanilla wafers) mixed with melted butter – a common no-bake crust method that requires no baking. You simply mix, press into a pan, and chill.
The peanut butter layer is usually a simple combination of peanut butter, powdered sugar, and softened butter, sometimes with a touch of milk or vanilla. It's mixed together until smooth and spreadable. The topping is often just melted chocolate chips or a simple ganache (chocolate and cream), which is poured over the chilled peanut butter layer. Each component is simple to prepare individually, and the assembly is just layering. There are no complex steps like tempering chocolate or folding delicate batters. This makes it an ideal entry point for learning how to make a no bake dessert.
No-Bake Dessert Recipe: The Ultimate Beginner-Friendly Treat
This chocolate peanut butter bar no bake dessert recipe is a true champion for beginners because it's hard to mess up significantly. Proportions are fairly flexible within reason, and minor mistakes in mixing won't ruin the final product. For instance, if your peanut butter layer is slightly too soft, chilling it longer will usually firm it up. If your chocolate topping isn't perfectly smooth, it still tastes delicious.
The distinct layers also make the process easy to visualize and execute. You tackle one layer at a time, ensuring each component is correct before moving to the next. This segmented approach reduces complexity and helps prevent feeling overwhelmed. It’s a recipe that builds confidence with each successful step, culminating in a truly satisfying and impressive no bake dessert that you made yourself!
Gathering Your Ingredients: No-Bake Dessert Essentials
One of the joys of this particular no bake dessert recipe is that the ingredients are readily available at any standard grocery store. You won't need to hunt for specialty items. This section outlines exactly what you'll need, focusing on the key components that make these bars so delicious and easy to prepare. Having everything measured and ready before you start is a great practice for any recipe, no-bake or otherwise!
Getting organized with your ingredients not only makes the process smoother but also helps prevent those mid-recipe "oops, I'm missing something!" moments. For this no bake dessert recipe, the list is short and sweet, allowing you to focus on the fun part: assembling your treat.
Ingredient Checklist: No-Bake Chocolate Peanut Butter Bars
Here is a simple checklist for the main ingredients needed for this classic no bake dessert recipe. Quantities can vary slightly depending on the specific variation of the recipe you follow, but these are the core components.
- [ ] Graham Crackers (or similar cookie)
- [ ] Butter (melted for the base, softened for the filling)
- [ ] Powdered Sugar (confectioners' sugar)
- [ ] Peanut Butter (creamy works best for smoothness)
- [ ] Chocolate Chips (semi-sweet are common, but milk or dark work too)
- [ ] A touch of Milk or Cream (optional, for texture)
- [ ] Vanilla Extract (optional, for flavor)
No-Bake Dessert Shopping List for Beginners: Graham Crackers
Graham crackers form the base of many easy no-bake recipes, including these bars. You'll typically need about 1.5 to 2 cups of fine graham cracker crumbs, which usually equates to one standard box (about 14.4 ounces or 400 grams) of graham cracker sheets. Crushing them yourself is easy – you can use a food processor for fine, even crumbs in seconds, or place them in a zip-top bag and crush them with a rolling pin or the bottom of a sturdy glass.
When choosing graham crackers, the plain variety works perfectly. Avoid flavored ones unless you specifically want that flavor profile (like honey or cinnamon, though these might slightly alter the classic taste). Ensure the box is fresh to get a good, crisp texture before crushing. This simple ingredient is the foundation for a sturdy and delicious no-bake base.
No-Bake Dessert Shopping List for Beginners: Peanut Butter
Peanut butter is the star of the creamy filling in this no bake dessert recipe. For the smoothest, most consistent filling, creamy peanut butter is highly recommended over chunky. Natural peanut butter that requires stirring can sometimes separate and make the filling oily, so a standard, no-stir creamy peanut butter (like Jif or Skippy) is often easier for beginners to work with.
You'll likely need around 1.5 to 2 cups of peanut butter for the filling, depending on the desired thickness of the layer. Make sure your peanut butter is at room temperature or slightly softened before mixing, as this will help it combine smoothly with the other ingredients and prevent lumps.
No-Bake Dessert Shopping List for Beginners: Chocolate Chips
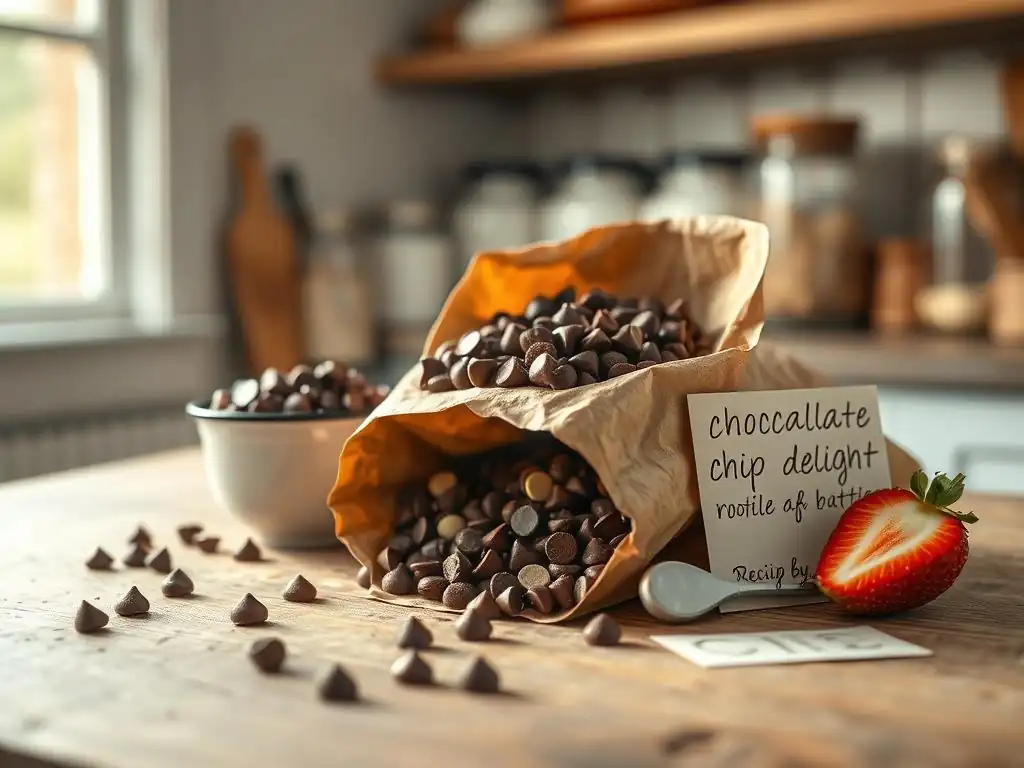
The final flourish for your no bake dessert is the chocolate topping. Semi-sweet chocolate chips are a popular choice as they offer a good balance of sweetness and rich chocolate flavor. However, feel free to experiment with milk chocolate for a sweeter topping or dark chocolate for a deeper, less sweet profile, depending on your preference.
You'll typically need about one standard bag (around 10-12 ounces or 280-340 grams) of chocolate chips for the topping. While chips are convenient because they are designed to hold their shape when heated, you can also use chopped chocolate bars or chocolate wafers for melting. Ensure you have enough to create a generous layer that completely covers the peanut butter filling.
Tips for Choosing the Best Ingredients for Your No-Bake Dessert
While this no bake dessert recipe is forgiving, using quality ingredients will elevate the final taste. For butter, use unsalted butter for better control over the saltiness, especially since peanut butter is already salty. If you only have salted butter, you might slightly reduce any added salt in the recipe (though many versions don't add salt).
Regarding powdered sugar, ensure it's fresh and sifted if it appears lumpy; lumps can make the peanut butter filling uneven. For chocolate, choose a brand you enjoy eating on its own, as its flavor will be prominent in the topping. Don't overthink it – the beauty of this easy no bake dessert recipe is that it works well even with standard supermarket ingredients.
Step-by-Step Guide: Creating Your No-Bake Masterpiece
Making this no bake dessert recipe is a straightforward process broken down into simple stages: preparing the base, mixing the filling, assembling the layers, and chilling. Follow these steps one by one, and you'll be well on your way to enjoying your first homemade no-bake treat. Remember to use an 8x8 or 9x13 inch pan, typically lined with parchment paper or foil for easy removal.
Taking your time with each step, especially the chilling periods, is key to achieving the best texture and ensuring your bars hold together nicely when cut. There's no rush when you're making a no bake dessert – the refrigerator does the heavy lifting for the setting process.
Step 1: Preparing Your No-Bake Dessert Base
The first step is to create the crust for your no bake dessert. Start by crushing your graham crackers into fine crumbs. A food processor is the quickest way, yielding consistent crumbs. If using a bag and rolling pin, aim for a sandy texture with no large pieces remaining. Measure out the required amount of crumbs, typically around 1 ½ cups.
Next, melt the butter. You can do this gently on the stovetop or in the microwave in 30-second intervals. Combine the melted butter thoroughly with the graham cracker crumbs in a bowl until the mixture resembles wet sand and holds together when squeezed.
Press this mixture firmly and evenly into the bottom of your prepared pan. Use the bottom of a glass or a flat measuring cup to really compact the crust; this is crucial for preventing it from crumbling when you cut the bars later. Once pressed, place the pan in the refrigerator while you prepare the next layer.
Step 2: Mixing the No-Bake Dessert Filling
While the base chills, prepare the creamy peanut butter filling for your no bake dessert. In a large bowl, combine softened butter (ensure it's truly soft, not melted) and creamy peanut butter. Beat these together until smooth and well combined, using an electric mixer or a sturdy whisk.
Gradually add the powdered sugar, mixing on low speed or stirring carefully to avoid a cloud of sugar dust. Continue mixing until all the powdered sugar is incorporated and the mixture is smooth and thick. If the mixture seems too stiff, you can add a teaspoon or two of milk or cream to reach a spreadable consistency, but be careful not to add too much liquid. Some recipes also call for a splash of vanilla extract at this stage for added flavor depth.
Step 3: Assembling Your Delicious No-Bake Dessert
Now it's time to bring the layers together to create your no bake dessert bars. Retrieve the chilled pan with the compacted graham cracker crust from the refrigerator. Spoon the peanut butter filling evenly over the crust.
Spread the filling smoothly across the entire surface using an offset spatula or the back of a spoon. Aim for an even thickness so that each bar has a consistent layer of peanut butter. Once the peanut butter layer is smooth, place the pan back into the refrigerator while you prepare the chocolate topping. This allows the peanut butter layer to firm up slightly, making it easier to pour the warm chocolate over it without the layers mixing.
Step 4: Chilling for Perfect No-Bake Dessert Consistency
The final step before enjoying your treat is adding the chocolate topping and allowing the entire no bake dessert to chill and set properly. Melt the chocolate chips gently. You can do this in a double boiler on the stove or in the microwave in short bursts (20-30 seconds), stirring between each burst, until smooth and melted. Be careful not to overheat the chocolate, as it can seize.
Pour the melted chocolate evenly over the chilled peanut butter layer, spreading it quickly to cover the surface completely. If desired, you can create swirls or patterns with a knife or fork before the chocolate sets. Once the chocolate topping is applied, return the pan to the refrigerator. This is the longest step in the process for this no bake dessert recipe; the bars need to chill for at least 2-3 hours, or ideally until the chocolate is firm and the layers are set. Chilling overnight is even better for the firmest texture.
No-Bake Dessert Recipe: Pro Tips & Tricks for Success
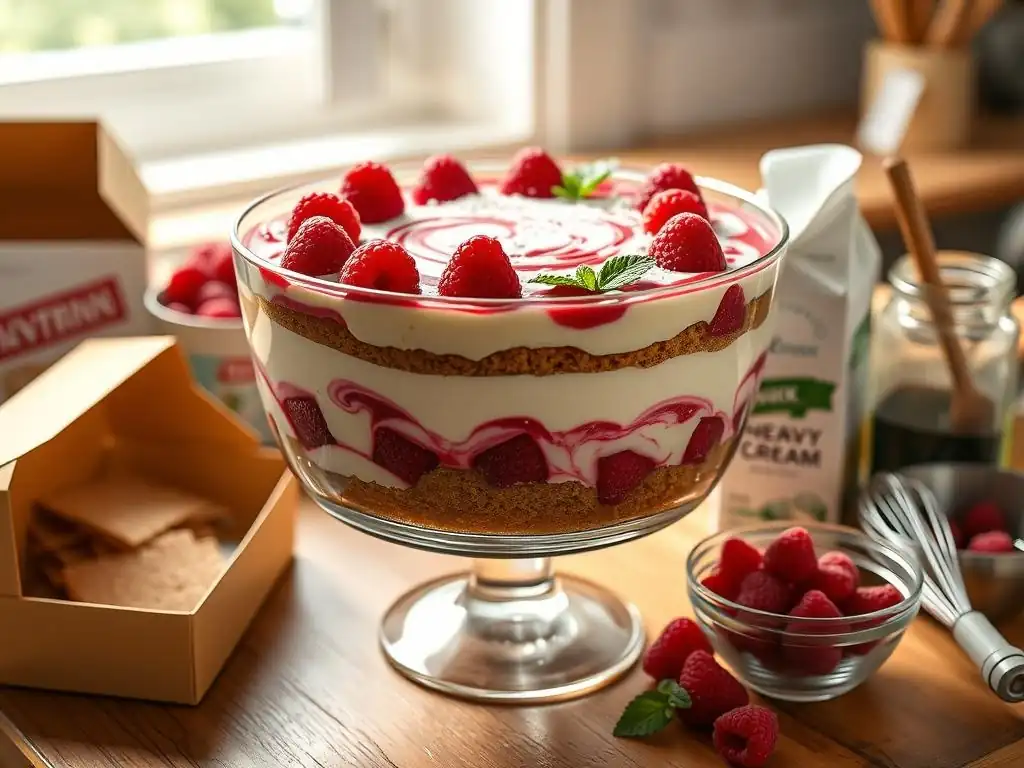
Even though this is a simple no bake dessert recipe, a few tips can help ensure your first attempt is a smashing success and looks as good as it tastes. Mastering small techniques can make a big difference in the final texture and appearance of your bars.
Don't be afraid to experiment slightly once you've made the recipe as written the first time. Understanding why certain steps are important, like firming the crust, will help you achieve consistent results with this or any other no bake dessert recipe you try in the future.
Achieving the Perfect Texture in Your No-Bake Treat
Texture is key to a satisfying no bake dessert. For the base, ensuring your graham cracker crumbs are fine and that you press the mixture very firmly into the pan is crucial. This compaction is what makes the crust hold together when you cut the bars. A loose crust will crumble easily.
For the peanut butter layer, the texture depends on the ratio of peanut butter, butter, and powdered sugar. If it's too soft after mixing, add a little more powdered sugar, a tablespoon at a time, until it's firm but still spreadable. If it's too stiff, a tiny splash of milk can help. The chilling time is also essential; adequate chilling allows the butter in both the base and the filling to solidify, firming up the entire dessert. Aim for at least 2-3 hours, or until the chocolate is completely set and the bars feel solid.
Variations and Adaptations: Customizing Your No-Bake Dessert
Once you've mastered the basic no bake dessert recipe, feel free to get creative! The beauty of no-bake is how easily you can swap components. Instead of graham crackers, try using crushed Oreos (including the cream filling!) for a chocolate base, or shortbread cookies for a buttery flavor.
For the filling, consider adding mix-ins like chopped peanuts, mini chocolate chips, or a swirl of caramel or marshmallow fluff into the peanut butter layer before adding the chocolate. The chocolate topping can also be varied – sprinkle with sea salt, chopped nuts, or colorful sprinkles immediately after pouring the melted chocolate, before it sets. This easy no bake dessert recipe is a fantastic canvas for your culinary imagination.
No-Bake Dessert Troubleshooting: Common Issues and Solutions
While this no bake dessert recipe is quite forgiving, a few common issues might arise.
- Problem: The crust is crumbly and doesn't hold together. Solution: You likely didn't use enough melted butter or didn't press the crust firmly enough into the pan. Ensure you use the specified amount of butter and press hard with a flat object.
- Problem: The peanut butter layer is too soft or oily. Solution: This can happen if the butter wasn't soft enough (or was melted) or if using natural peanut butter. Ensure butter is softened, not melted. If using natural peanut butter, stir it very well to recombine the oil before measuring. Chilling longer will also help firm it up.
- Problem: The chocolate topping seized or became lumpy when melting. Solution: This usually happens from overheating or getting water into the chocolate. Melt chocolate slowly over low heat or in short bursts in the microwave, stirring frequently. Ensure your melting bowl is completely dry. If it seizes, you can sometimes rescue it by stirring in a teaspoon of vegetable oil or melted shortening, but it may affect the final texture slightly.
Storing Your No-Bake Dessert: Keeping It Fresh
Proper storage is important to maintain the texture and freshness of your homemade no bake dessert bars. Since they contain dairy (butter) and require chilling to set, they should always be stored in the refrigerator.
Keeping them properly sealed will also prevent them from absorbing odors from other foods in your fridge and keep the layers distinct and delicious. This simple step ensures that each piece of your no bake dessert is as good as the first, allowing you to enjoy your creation over several days.
Proper Storage Techniques for Your No-Bake Creation
Once your no bake dessert has fully set in the refrigerator, you can cut it into squares directly in the pan. Using a sharp knife wiped clean between cuts will give you neat edges. For longer storage, it's best to keep the bars in an airtight container.
You can store the cut bars in a single layer, or separate layers with parchment or wax paper to prevent sticking. Alternatively, if you haven't cut the bars yet, you can cover the entire pan tightly with plastic wrap and then aluminum foil before storing. Storing them cold is essential for keeping the layers firm, especially the chocolate topping, which can soften quickly at room temperature.
Shelf Life of Your Homemade No-Bake Dessert
When stored properly in an airtight container in the refrigerator, your chocolate peanut butter no bake dessert bars will typically stay fresh for about 5-7 days. The graham cracker crust might soften slightly over time, but the flavors will remain vibrant.
For longer storage, these bars also freeze well. Cut the bars and place them in a single layer on a baking sheet lined with parchment paper. Freeze until solid, then transfer the frozen bars to a freezer-safe airtight container or freezer bag, again separating layers with parchment paper. Frozen no-bake bars can last for 1-2 months. Thaw them in the refrigerator for a few hours before serving.
Celebrate Your Success: Enjoy Your Easy No-Bake Dessert!
Congratulations! You've successfully made your first foolproof no bake dessert recipe. Take a moment to appreciate what you've created – a delicious, homemade treat that required no oven and minimal stress. This is a significant achievement for a beginner baker, proving that you have the skills to create wonderful things in the kitchen.
Slice up your bars, share them with friends and family, or simply enjoy a piece (or two!) yourself. Savor the creamy peanut butter, the crunchy crust, and the rich chocolate. You earned it! This successful experience is just the beginning of your baking journey with BakeWithEase.
Sharing your first homemade no bake dessert is a fantastic way to celebrate your success. Offer a piece to someone you care about, bring them to a gathering, or simply present them proudly to your household. The joy of baking often comes from sharing the delicious results.
Don't be shy about telling people it's your first attempt at a no bake dessert recipe! Their positive reactions will be a great boost to your confidence and encourage you to keep exploring new recipes and techniques. Making something with your hands and sharing it is a truly rewarding experience.
Next Steps: Exploring More Easy No-Bake Recipes on BakeWithEase
Now that you've conquered your first no bake dessert recipe, you're ready to explore further! BakeWithEase has a wealth of other easy no-bake options perfect for beginners. From simple puddings and mousses to layered parfaits and other types of no-bake bars, there's a whole world of desserts waiting for you.
Look for recipes that use similar techniques or ingredients to build upon the skills you've just learned. Perhaps try a no-bake cheesecake, a layered icebox cake, or a fruit trifle. Each new recipe is an opportunity to learn something new and expand your repertoire. We're here to guide you every step of the way on your delicious baking adventure!
Frequently Asked Questions
What makes a dessert a "no-bake" recipe?
A "no-bake" dessert is simply a dessert that doesn't require the use of an oven or stovetop for the majority of its preparation. It typically relies on refrigeration or freezing to set.
What are some common ingredients in no-bake dessert recipes?
Common ingredients include graham crackers, cream cheese, whipped cream, chocolate, and fruit. These ingredients are often combined to create layered treats or chilled desserts.
Are no-bake desserts easier to make than baked desserts?
Generally, yes! No-bake desserts are often considered easier because they eliminate the risk of burning or uneven baking. They typically involve simpler steps and fewer ingredients.
How long does it usually take for a no-bake dessert to set in the refrigerator?
The setting time varies depending on the recipe, but most no-bake desserts require at least 2-4 hours of refrigeration. Some might even need overnight chilling for optimal firmness.
Can I customize a no-bake dessert recipe to my liking?
Absolutely! One of the best things about no-bake desserts is their versatility. You can easily substitute ingredients, add different toppings, or adjust the sweetness to suit your preferences.
Final Reflection: The Sweet Simplicity of No-Bake Bliss
The accessibility of no-bake desserts transcends mere convenience; it unlocks a world of culinary creativity for everyone. This article provided a foundational recipe, a stepping stone to a realm of delicious possibilities, proving that delightful treats don't require hours of oven time or complex techniques. The ease of preparation opens doors for beginners and seasoned bakers alike, fostering a sense of accomplishment and joy in the kitchen.
The impact of simple recipes like this extends beyond individual kitchens; they foster connection and shared experiences. No-bake desserts often become cherished family traditions, passed down through generations and imbued with personal memories. They represent a simpler time, a focus on shared moments over elaborate preparations. The best things in life are simple,
a sentiment perfectly embodied by the ease and satisfaction of a well-made no-bake dessert.
Now, I invite you to consider your own culinary journey. What simple pleasures bring you joy? Perhaps it's time to experiment with variations on this recipe, adding your own personal touch and creating a dessert that reflects your unique tastes. Don't be afraid to get creative, to explore the endless possibilities that lie within the realm of no-bake baking. The sweet taste of success awaits!
Unleash Your Inner Baker: No-Bake Dessert Adventures Await!
Thanks for joining us on this delicious journey into the world of no-bake desserts! You've just unlocked the secret to effortless baking bliss. Now it's time to put your new skills to the test.
- Dive straight in and make the recipe! This is your chance to experience the joy of a perfectly creamy, flawlessly delicious dessert without turning on the oven.
- Share your creation! Show us your masterpiece on social media using #BakeWithEaseNoBake. We'd love to see your culinary triumph.
- Explore more no-bake recipes: Discover a whole world of easy, delicious desserts on BakeWithEase.com (this is to be removed from the final version because we cannot include links)
Ready to create something truly amazing? What's your favorite no-bake dessert ingredient?