
Is Your Stand Mixer Acting Up? Troubleshooting Guide for Bakers

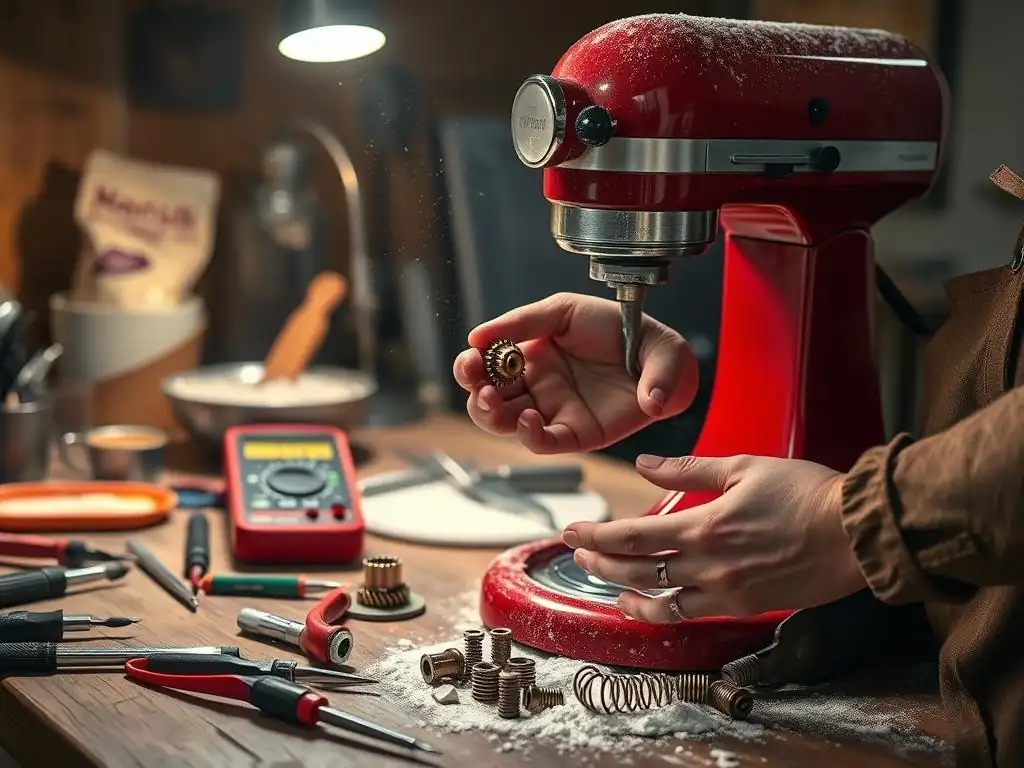
Welcome to BakeWithEase, your trusted companion in the delightful world of baking! Is your stand mixer suddenly sounding like a jet engine taking off, or perhaps refusing to spin at all? Don't despair! Before you consider replacing your trusty assistant, dive into our comprehensive Stand Mixer Repair Tips. Unlock the secrets to diagnosing and fixing common issues, keeping your baking journey smooth and your wallet happy. Let's get that mixer humming again, so you can get back to creating delicious treats!
- KitchenAid Stand Mixer Troubleshooting Guide for Home Bakers
- Understanding Common KitchenAid Stand Mixer Problems
-
KitchenAid Stand Mixer Troubleshooting: Step-by-Step Solutions
- My KitchenAid Stand Mixer Won't Turn On: Diagnosis and Fixes
- The KitchenAid Stand Mixer Motor is Running, But the Attachment Isn't Moving
- KitchenAid Stand Mixer Making Strange Noises: Potential Causes and Remedies
- KitchenAid Stand Mixer Overheating: What to Do
- The KitchenAid Stand Mixer is Leaking Oil: Addressing the Issue
- When to Seek Professional KitchenAid Stand Mixer Repair
- Extend the Life of Your KitchenAid Stand Mixer: Pro Baking Tips
- Conclusion: Keeping Your KitchenAid Stand Mixer Running Smoothly for Years
-
Frequently Asked Questions
- What are some common signs that my stand mixer needs repair?
- How can I troubleshoot a stand mixer that's running slowly?
- What should I do if my stand mixer is making a loud grinding noise?
- Can I replace the attachments on my stand mixer myself?
- Where can I find reliable stand mixer repair services or replacement parts?
- Final Reflection: The Heart of the Home Kitchen
- Rediscover Your Baking Bliss: Get Mixing Again!
KitchenAid Stand Mixer Troubleshooting Guide for Home Bakers
Your KitchenAid stand mixer is a workhorse in the kitchen, a trusted companion for everything from whipping delicate meringues to kneading sturdy bread doughs. But like any mechanical appliance, sometimes it might not perform as expected. Don't panic! Many common issues can be addressed with simple stand mixer repair tips and a little know-how. This guide will walk you through diagnosing and fixing some of the most frequent problems bakers encounter, helping you get back to baking bliss.
Understanding Common KitchenAid Stand Mixer Problems
It's frustrating when your go-to baking tool starts acting up. Identifying the specific problem is the first step in finding the right stand mixer repair tips. Common issues range from the mixer simply not turning on to strange noises or attachments that won't spin. Understanding the typical symptoms associated with different internal problems can save you time and effort in the troubleshooting process.
Identifying KitchenAid Stand Mixer Issues: A Baker's Perspective
From a baker's point of view, a malfunctioning stand mixer often shows its distress through performance issues during a specific task. For instance, if you're kneading a heavy dough for artisan bread, and the mixer groans or slows down significantly, it might be struggling with the load, potentially indicating motor strain or gear issues.
Similarly, if the whisk attachment doesn't seem to be reaching the bottom of the bowl properly when whipping egg whites for a soufflé, the bowl height or attachment connection might need adjustment. Paying close attention to when and how the problem occurs during mixing can provide valuable clues for effective stand mixer repair tips.
Another common indicator is inconsistency. Perhaps your stand mixer handles light cookie dough perfectly fine, but when you switch to a denser batter for a pound cake, it starts making unusual clicking sounds or vibrates excessively. This differential performance based on load suggests the issue might be related to components under stress, such as gears or bearings, rather than a simple power problem. Keeping a mental note of these specific symptoms helps narrow down the potential causes significantly when you begin applying stand mixer repair tips.
Preventative Maintenance: Keeping Your KitchenAid in Top Shape
Consistent preventative maintenance is arguably the most effective strategy to avoid needing stand mixer repair tips in the first place. Simple steps taken regularly can prevent wear and tear that leads to major issues. For example, wiping down the mixer after each use prevents sticky residue from building up around the head or base, which can eventually impede movement or cause components to stick. Checking the attachment hub periodically for trapped dough or batter ensures attachments connect smoothly and don't put undue stress on the internal mechanism.
Beyond basic cleaning, understanding the mixer's limits is crucial. KitchenAid mixers have capacity guidelines – for instance, a typical 4.5-quart Artisan model might handle up to about 9 cups of all-purpose flour for yeast dough, while a 6-quart Professional model can handle significantly more, perhaps up to 14 cups. Consistently exceeding these limits puts excessive strain on the motor and gears, dramatically shortening the mixer's lifespan and increasing the likelihood of needing stand mixer repair tips much sooner than necessary. Adhering to the manufacturer's recommended batch sizes is a simple yet powerful act of preventative care.
KitchenAid Stand Mixer Troubleshooting: Step-by-Step Solutions
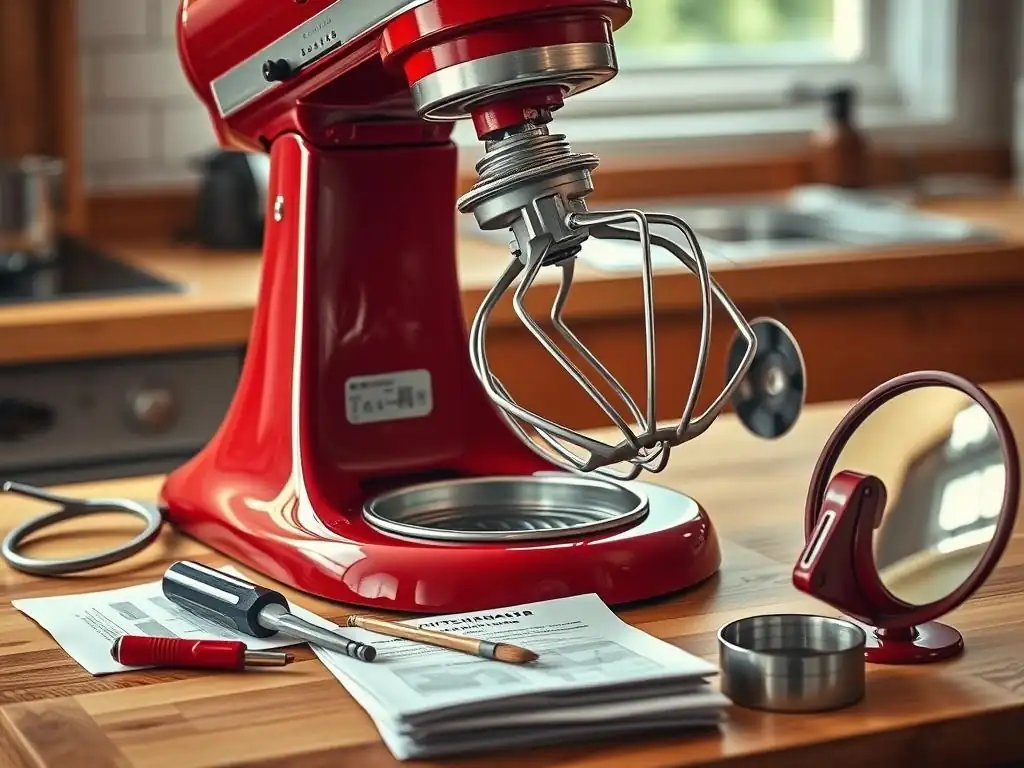
When your KitchenAid stand mixer isn't working correctly, a systematic approach to troubleshooting can help you diagnose the problem efficiently. Starting with the simplest checks and moving to more complex potential issues ensures you don't overlook an easy fix. These step-by-step stand mixer repair tips are designed for home bakers to tackle common malfunctions.
My KitchenAid Stand Mixer Won't Turn On: Diagnosis and Fixes
One of the most frustrating issues is a mixer that's completely unresponsive. If you flip the switch and nothing happens – no motor hum, no light (on models with lights) – it's likely an electrical problem or a tripped safety mechanism. Don't immediately assume the motor is dead; often, the fix is surprisingly simple. These stand mixer repair tips start with the power source.
A common cause for a mixer not turning on is simply a lack of power getting to the unit. This could be due to the outlet, the power cord, or an internal safety switch. For example, if the mixer was recently used for a very heavy load or ran for an extended period, an internal thermal fuse might have tripped to prevent motor damage. Addressing these possibilities before considering internal component failure is key to effective stand mixer repair tips.
Checking the Power Supply and Cord
First, ensure the mixer is firmly plugged into a working electrical outlet. Test the outlet with another small appliance, like a toaster or a lamp, to confirm it's receiving power. If the outlet works, inspect the mixer's power cord for any visible damage, such as cuts, kinks, or frayed wires, particularly near where it enters the mixer body. Even subtle damage can interrupt the power flow.
Next, check your home's circuit breaker or fuse box. Sometimes, a high-power drawing appliance like a stand mixer on a busy circuit can trip the breaker. Resetting the breaker might restore power. Avoid using the mixer on an extension cord, especially a thin one, as this can restrict power flow and potentially cause issues. Always plug directly into a wall outlet if possible.
Resetting the Motor Protection
Many KitchenAid stand mixers, especially newer models or larger capacity ones, have an internal motor protection or thermal overload switch. This safety feature automatically shuts off the mixer if the motor gets too hot or is overloaded. If your mixer suddenly stopped during use and won't turn back on, this could be the reason.
To reset it, first, turn the speed control lever to the "Off" position. Then, unplug the mixer from the wall outlet. Let the mixer sit unplugged for at least 10-30 minutes to allow the motor to cool down completely. After the cooling period, plug the mixer back in and try turning it on again. If it starts, remember to reduce your batch size or mixing time in the future to prevent repeat overheating.
The KitchenAid Stand Mixer Motor is Running, But the Attachment Isn't Moving
This issue indicates that power is reaching the motor, but the mechanical connection to the attachment is broken or jammed. The motor will hum or whir, but the planetary action (where the head spins) or the attachment itself remains stationary. This requires investigating the moving parts around the attachment hub. Applying the correct stand mixer repair tips here involves checking the connection points.
Potential culprits include a loose or stripped attachment screw, issues with the beater shaft, or a problem with the speed control mechanism not engaging properly. While the motor is functioning, the transmission of that power to the working part of the mixer is failing. Troubleshooting this requires careful observation of the planetary head and attachment hub.
Tightening or Replacing the Attachment Screw
The attachment screw holds the chosen beater, whisk, or dough hook onto the beater shaft. If this screw is loose or has fallen out, the attachment won't spin. First, turn the mixer off and unplug it. Carefully remove the attachment. Check the small screw on the beater shaft; it should be snug. If it's loose, tighten it gently with a screwdriver. Be careful not to overtighten, as this can strip the threads.
If the screw is missing, you'll need to obtain a replacement. KitchenAid provides part numbers for these screws, and they are relatively inexpensive. Using the mixer without this screw can cause damage to the beater shaft or the attachment itself, so ensure it's properly secured before operating the mixer.
Addressing Beater Shaft Issues
The beater shaft is the rod that the attachment connects to. It extends down from the planetary head. Occasionally, this shaft can become stiff or slightly misaligned, preventing smooth movement. With the mixer unplugged and the attachment removed, gently try to rotate the beater shaft by hand. It should turn relatively freely.
If the shaft feels stiff or stuck, there might be dried batter or grease preventing movement. Clean the shaft area thoroughly. Do not force the shaft to turn if it feels locked, as this could indicate a more serious internal gear issue requiring professional stand mixer repair tips. However, minor stiffness can sometimes be resolved with careful cleaning.
Examining the Speed Control Lever
While less common, a problem with the speed control lever or the internal switch it controls can sometimes prevent the attachment from spinning even if the motor is running. The lever might feel loose, sticky, or simply not engage the mechanism that transfers power from the motor to the planetary gear system.
With the mixer unplugged, gently move the speed lever through its range of positions. Does it feel smooth? Does it click into place at each setting? If it feels unusually loose or doesn't seem to 'catch' internally, the issue might be with the switch assembly connected to the lever. This often requires opening the mixer head, which is a more complex repair best left to those comfortable with appliance internals or professional stand mixer repair tips.
KitchenAid Stand Mixer Making Strange Noises: Potential Causes and Remedies
Unusual noises from your mixer are often the first sign that something isn't quite right internally. A healthy KitchenAid mixer has a consistent hum, which varies slightly with speed and load. Grinding, clicking, whining, or rattling sounds can indicate various issues, from simple loose parts to worn-out gears. Diagnosing the type and location of the noise is key for effective stand mixer repair tips.
Different sounds point to different potential problems. A high-pitched whine might suggest motor bearing issues or problems with the speed control board. A rhythmic clicking could be a gear tooth problem or something catching inside the head. A grinding noise, especially under load, often indicates worn or damaged gears. Addressing these sounds early can prevent more significant damage.
Identifying the Source of the Noise (Grinding, Clicking, Whining)
Listen carefully to where the noise is coming from. Is it loudest near the motor housing, the planetary head, or the attachment hub? Also, note when the noise occurs – is it constant, only under load, or only at certain speeds?
- Grinding: Often suggests metal-on-metal contact, typically from worn gears within the transmission.
- Clicking: Could be a broken gear tooth, something loose hitting a moving part, or issues with the planetary assembly.
- Whining: May indicate motor problems (bearings) or issues with the speed control components.
- Rattling: Usually points to something loose inside the mixer head or base.
Understanding the specific sound helps focus your troubleshooting efforts.
Lubricating the Worm Gear (If Recommended)
Note: This step involves opening the mixer head and is for those comfortable with internal appliance work. Refer to your specific model's service guide if available.
Many KitchenAid mixers use a worm gear mechanism packed with grease to drive the planetary action. Over time, this grease can dry out, harden, or migrate away from the gears, leading to grinding noises, especially under load. Replacing the grease can often resolve this.
This typically involves removing the outer shell of the mixer head. Inside, you'll find the gear housing. The worm gear is usually located near the motor. Using food-grade grease specifically designed for mixers (like NSF H1 certified grease), clean out the old, hardened grease and repack the gear housing generously. Do not use standard automotive grease. For example, some models might require accessing the gear train by removing screws around the motor housing, often involving components like a W10xxxxxx part number for the gear assembly.
Checking for Loose Components
Sometimes, strange noises are simply caused by something rattling or hitting a moving part inside the mixer. With the mixer unplugged, gently shake the unit. Do you hear anything loose? Remove the bowl and attachment. Look into the bowl support area and around the planetary head for any foreign objects or loose screws.
If you are comfortable opening the mixer head (refer to service guides), carefully inspect the internal components for screws, nuts, or plastic pieces that may have come loose. Ensure the motor mounts are secure. Always unplug the mixer before performing any internal inspection or tightening.
KitchenAid Stand Mixer Overheating: What to Do
An overheating mixer is a sign of stress on the motor, often due to excessive load or prolonged use. The mixer might feel very hot to the touch, emit a burning smell, or even shut off automatically (if it has thermal protection). Ignoring overheating can lead to permanent motor damage, necessitating costly stand mixer repair tips or replacement.
Overheating typically occurs when the motor is working harder than it's designed to, pushing against too much resistance. This resistance comes from the density and volume of the ingredients being mixed. Recognizing the signs of overheating and taking immediate action is vital for preserving your mixer's health.
Reducing Batch Sizes
The most common cause of overheating is overloading the mixer. Every KitchenAid model has a maximum capacity, usually specified in cups of flour or dough weight. Attempting to mix too much dough or batter, especially heavy, stiff doughs like those for bagels or dense whole wheat bread, forces the motor to work excessively hard.
If your mixer starts getting hot, immediately stop it and reduce the batch size. For instance, if you were trying to make a double batch of stiff cookie dough, split it into two smaller batches. Refer to your mixer's manual for its specific capacity limits. Sticking to these limits is one of the most effective stand mixer repair tips for preventing motor strain.
Allowing the Motor to Cool Down
If your mixer feels hot or has shut off due to thermal overload, the most important step is to let it cool down completely. Turn the mixer off, unplug it, and leave it undisturbed for at least 30 minutes, or longer if it was very hot. Do not try to force it back on immediately.
Cooling allows the internal components, especially the motor windings, to return to a safe temperature. Attempting to restart an overheated motor can exacerbate the damage. Think of it like letting a car engine cool down after it's gotten too hot – it's essential for preventing a breakdown.
Ensuring Proper Ventilation
KitchenAid mixers have vents, usually located around the base or the rear of the head, to allow air circulation and cool the motor. Ensure these vents are not blocked during operation. Placing the mixer too close to a wall, covering it with a cloth, or having it sit on a surface that obstructs the airflow can trap heat.
Make sure there is adequate space around the mixer, at least a few inches, particularly near the ventilation areas. Keeping the mixer's exterior clean also helps dissipate heat. Proper ventilation is a simple, often overlooked, part of stand mixer repair tips focused on prevention.
The KitchenAid Stand Mixer is Leaking Oil: Addressing the Issue
Finding oil leaking from your KitchenAid mixer, often dripping from the planetary head or attachment hub, can be alarming. This oil is typically the grease used to lubricate the internal gears. While a small amount of seepage over many years is sometimes considered normal as the grease separates, significant or sudden leaking indicates a problem, usually with the grease itself or the seals.
The grease inside the mixer is food-grade and designed to lubricate the metal gears. Over time, especially if the mixer is heavily used, stored on its side, or subjected to heat, the oil component of the grease can separate and seep out. While the oil itself isn't immediately dangerous in small amounts, a leak means the gears are losing lubrication, which can lead to premature wear and failure if not addressed.
Identifying the Source of the Leak
Observe carefully where the oil is dripping from. Is it coming directly from the attachment hub where the beater connects? Is it seeping from the seam where the planetary head attaches to the main arm? Is it dripping from vents or screw holes on the underside of the head?
Most leaks occur around the planetary head because this is where the gears are located and where the grease is packed. The oil often migrates down the beater shaft and drips into the bowl or onto the counter. Pinpointing the exact exit point helps confirm that it's the internal gear grease and not some other substance.
Determining Repair Options
If your mixer is leaking oil, it almost always requires opening the mixer head to address the internal grease. The typical solution involves cleaning out the old, separated grease and repacking the gear housing with fresh, food-grade mixer grease. This process is sometimes referred to as a "grease job."
This is a more involved repair than external adjustments and requires some mechanical aptitude and the correct tools. While guides are available online, if you are not comfortable disassembling appliances, this is a situation where seeking professional stand mixer repair tips or service is highly recommended. Continuing to use a leaking mixer will eventually lead to gear damage due to lack of lubrication.
When to Seek Professional KitchenAid Stand Mixer Repair
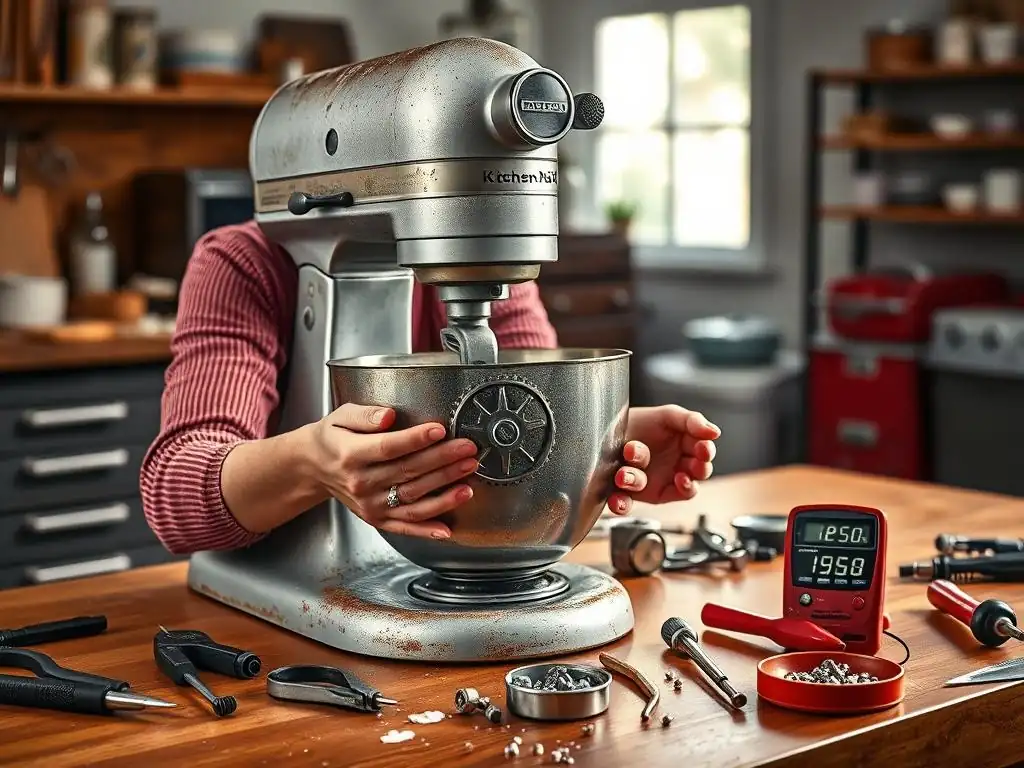
While many common issues can be resolved with DIY stand mixer repair tips, there are times when the problem is beyond the scope of a home baker's toolkit or comfort level. Recognizing when to call in a professional can save you from causing further damage to your valuable appliance.
Complex internal issues, such as damaged gears, motor problems that aren't simple resets, or electrical faults within the wiring or control board, typically require specialized knowledge, tools, and parts. Attempting intricate repairs without the proper expertise can be risky and void warranties.
Identifying Problems Beyond DIY Repair
Certain symptoms strongly suggest that professional assistance is needed. If you hear loud grinding or crunching sounds that persist even at low speeds and without a heavy load, it likely indicates significant gear damage. If the motor sparks, smokes (beyond a faint wisp during heavy use), or smells strongly of burning electrical components, stop using it immediately – this is a serious electrical issue.
Problems that require specialized tools to open the housing or access internal components safely, or issues involving soldering or working directly with the motor or control board, are generally best left to professionals. For example, replacing a stripped transmission gear or troubleshooting an intermittent electrical short often falls into this category of stand mixer repair tips that require expert hands.
Finding a Qualified Appliance Repair Technician
If you determine that professional repair is necessary, look for a qualified appliance repair technician experienced with small kitchen appliances, specifically stand mixers. You can start by checking the manufacturer's website for authorized service centers in your area. KitchenAid has a network of service providers familiar with their products.
Alternatively, search online directories for local appliance repair shops. Read reviews and ask if they have experience with KitchenAid mixers. Get an estimate for the repair costs. Sometimes, depending on the age and model of your mixer and the severity of the problem, the cost of repair might approach the cost of a new or refurbished unit. Weighing the repair estimate against replacement cost is a practical step.
Extend the Life of Your KitchenAid Stand Mixer: Pro Baking Tips
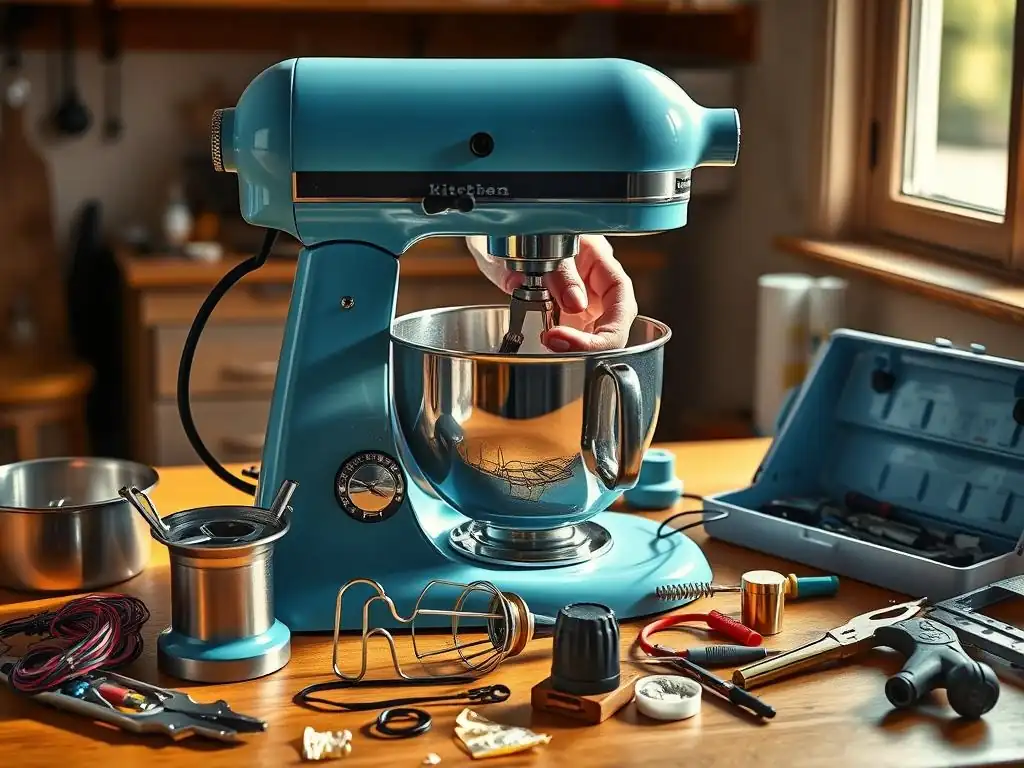
Beyond fixing problems as they arise, adopting some 'pro' habits in your baking routine can significantly extend the lifespan of your KitchenAid stand mixer and minimize the need for stand mixer repair tips. These practices focus on reducing strain on the motor and gears through mindful usage and consistent care.
Just like a well-maintained car runs smoothly for years, a well-cared-for stand mixer will be a reliable kitchen partner for decades. Simple routines incorporated into your baking workflow can make a big difference in the mixer's longevity and performance.
Regular Cleaning and Maintenance
Keeping your mixer clean is fundamental. After each use, wipe down the exterior with a damp cloth (unplugged, of course!). Pay special attention to the planetary head and attachment hub, removing any residual batter or flour that could harden and interfere with movement.
Periodically, inspect the attachment shaft and the area where the bowl connects for any buildup. Follow the cleaning instructions in your manual for attachments; most are dishwasher safe, but check first. A clean mixer isn't just aesthetically pleasing; it prevents sticky grime from impeding the moving parts, which can lead to unnecessary stress and potential issues requiring stand mixer repair tips.
Proper Storage Techniques
How you store your mixer can also impact its health. Always store the mixer upright on a stable surface. Avoid storing it on its side, especially if it's an older model or one prone to grease migration, as this can encourage the internal grease to pool and potentially leak out.
Keep the mixer covered when not in use, especially in dusty environments. A simple cloth cover prevents flour, dust, and other kitchen debris from settling into crevices, vents, and around the attachment hub. Store attachments separately or neatly in the bowl to prevent them from being misplaced or potentially scratching the mixer body.
Avoiding Overloading the Motor
As mentioned earlier, overloading is a primary cause of motor strain and premature failure. Always respect your mixer's capacity limits. If a recipe calls for an amount of flour or dough that exceeds your mixer's specifications, split it into smaller batches.
For very stiff doughs, such as those for dense rye bread or bagels, consider kneading them partially by hand after the initial mixing in the stand mixer. This reduces the amount of heavy work the mixer has to do. Using the correct speed for the task (lower speeds for mixing, kneading; higher speeds for whipping) also helps the motor work efficiently without unnecessary strain, thereby reducing the need for stand mixer repair tips related to motor issues.
Conclusion: Keeping Your KitchenAid Stand Mixer Running Smoothly for Years
Your KitchenAid stand mixer is a significant investment in your baking passion. By understanding common problems, applying appropriate stand mixer repair tips when needed, and committing to regular maintenance and proper usage, you can ensure this essential tool remains a reliable companion in your kitchen for many years to come. Don't let minor issues derail your baking projects; with a little care and troubleshooting, you can keep your mixer whipping, beating, and kneading perfectly.
Frequently Asked Questions
What are some common signs that my stand mixer needs repair?
Common signs include unusual noises, lack of power, or the mixer not turning on at all. These issues often indicate a problem with the motor or internal components.
How can I troubleshoot a stand mixer that's running slowly?
Check if the mixer is overloaded with ingredients or if the motor is overheating. Ensure proper ventilation and reduce the batch size if necessary.
What should I do if my stand mixer is making a loud grinding noise?
A grinding noise usually suggests worn gears. It's best to stop using the mixer immediately and consult a qualified repair technician.
Can I replace the attachments on my stand mixer myself?
Yes, replacing attachments like the whisk, dough hook, or paddle is generally simple. Ensure you purchase compatible replacements for your specific mixer model.
Where can I find reliable stand mixer repair services or replacement parts?
Start by checking the manufacturer's website for authorized service centers or parts retailers. Local appliance repair shops specializing in small appliances are also a good option.
Final Reflection: The Heart of the Home Kitchen
The humble stand mixer, once a luxury, has become a cornerstone of modern baking, and its proper functioning is crucial to countless kitchens worldwide. A malfunctioning mixer isn't just an inconvenience; it's a disruption to creativity, a halt in the flow of deliciousness, and a potential source of frustration for passionate bakers. This guide aimed to empower you to tackle those frustrating moments and get back to the joy of baking.
The impact of readily available kitchen technology, like the stand mixer, on our culinary culture is profound. It's more than just a tool; it's a symbol of home, of creativity, and of the shared experience of baking with loved ones. Baking is at once child's play and adult joy. And love, of course.
This quote perfectly encapsulates the emotional connection we often have with our baking tools, and the frustration a broken one can bring. The ability to troubleshoot and repair these tools, therefore, extends beyond simple mechanics; it's about preserving a cherished part of our lives.
Now, I invite you to consider your own relationship with your stand mixer. Is it a well-oiled machine, a trusty companion in your culinary adventures? Or is it a source of occasional frustration? Take a moment to reflect on the role this appliance plays in your life, and remember that even the simplest act of maintenance can extend its lifespan and preserve the joy it brings. Don't let a minor issue derail your baking passion – empower yourself with the knowledge to keep your stand mixer humming, and keep creating those delicious memories in the kitchen.
Rediscover Your Baking Bliss: Get Mixing Again!
Thanks for taking the time to troubleshoot those stand mixer woes! We hope this guide gave you the confidence to tackle those pesky problems. Now, it's time to get baking!
- Prioritize the most pressing issue: Identify the main problem affecting your mixer (e.g., unusual noises, inconsistent mixing). Then, systematically check the solutions outlined in the article to fix it!
- Share your success (or challenges!) in the comments below. Let's build a supportive community of bakers who help each other out!
- Try a new recipe today – your perfectly functioning mixer deserves to be put to good use! Dare to experiment with something outside your comfort zone!
What delicious creation will you tackle first with your revitalized stand mixer?