
Preventing Bulging Sides: Layer Cake Assembly Done Right

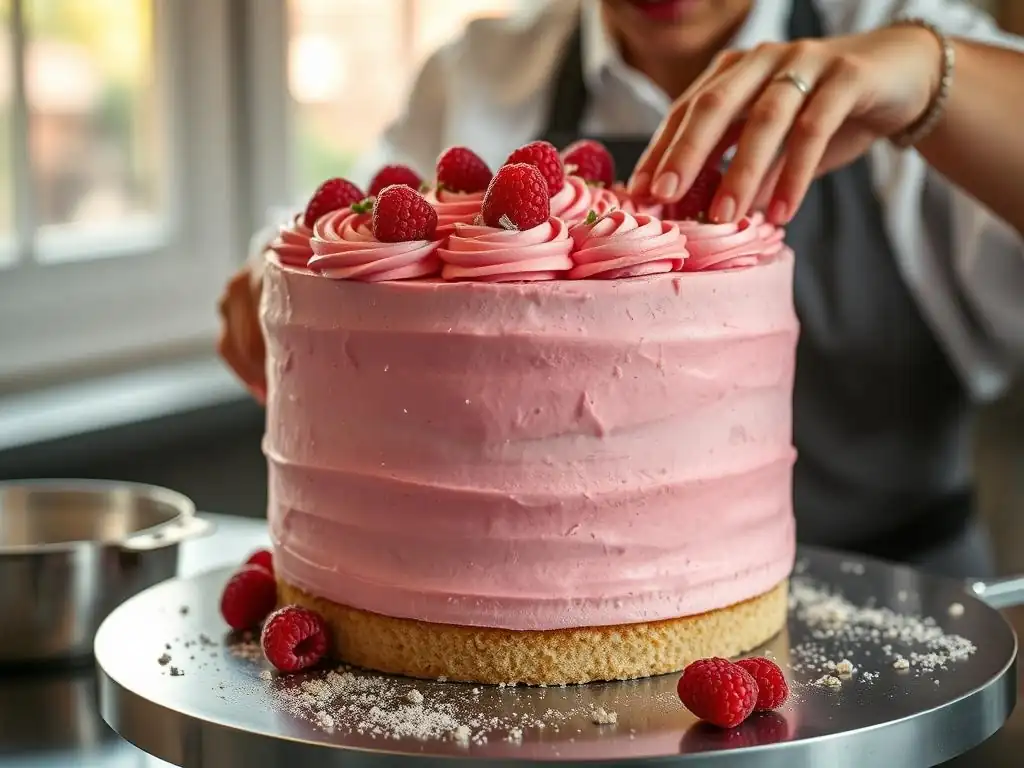
Welcome to BakeWithEase, your secret ingredient to baking success! Ever wondered why your beautifully baked layer cakes end up with bulging sides? Unlock the secrets to achieving perfectly smooth and structurally sound creations. This article dives deep into essential layer cake assembly tips, offering practical guidance to ensure your desserts stand tall and impress. Get ready to say goodbye to bulging sides and hello to baking perfection – let's get started!
- Preventing Bulging Sides: Layer Cake Assembly Done Right - BakeWithEase.com
- Introduction: Achieving Perfect Layer Cake Assembly
- Understanding the Causes of Bulging Layer Cakes
- Essential Layer Cake Assembly Tips and Techniques
- Mastering the Layer Cake Assembly Process: A Step-by-Step Guide
- Advanced Layer Cake Assembly Techniques for Preventing Bulging
- Troubleshooting Common Layer Cake Assembly Issues
- Layer Cake Assembly Tools and Equipment Recommendations
- Conclusion: Bake With Ease and Assemble Perfect Layer Cakes
-
Frequently Asked Questions
- How can I prevent my layer cake from bulging in the middle after assembly?
- What is the best way to ensure my cake layers are level before assembling a layer cake?
- How long should I chill my assembled layer cake before frosting it?
- What kind of frosting is best for preventing bulging sides in a layer cake?
- How important is a crumb coat in layer cake assembly, and how does it help?
- Final Reflection: The Sweet Science of Layer Cake Perfection
- Unleash Your Inner Cake Artist: Perfect Layer Cake Assembly
Preventing Bulging Sides: Layer Cake Assembly Done Right - BakeWithEase.com
Introduction: Achieving Perfect Layer Cake Assembly
Why Layer Cake Assembly Matters for a Professional Finish
Achieving a professional finish on your layer cakes goes far beyond just baking moist layers and making delicious frosting. The way you assemble those components fundamentally impacts the cake's final appearance and structural integrity. A well-assembled cake stands tall and straight, with clean, smooth sides and defined layers, looking impressive on any dessert table. Conversely, poor assembly can lead to leaning towers, uneven frosting, and the dreaded bulging sides that detract from the cake's aesthetic appeal, no matter how tasty it is.
Proper layer cake assembly is the crucial bridge between baking the components and decorating the final masterpiece. It ensures that your frosting goes on smoothly, your decorations sit correctly, and the cake holds its shape when sliced. Mastering these layer cake assembly tips not only elevates the look of your cakes but also makes the entire decorating process much more enjoyable and less frustrating. It's about building a stable foundation that allows your creative frosting and decoration work to shine.
Common Layer Cake Assembly Problems: Bulging Sides Explained
One of the most common and frustrating issues bakers face during layer cake assembly is the appearance of bulging sides. This happens when the filling between cake layers gets pushed outwards, creating an unsightly bulge around the cake's circumference, often near the bottom layers where pressure is highest. It can make the cake look sloppy, distort the straight lines you worked hard to achieve with your frosting, and sometimes even threaten the cake's stability.
Bulging sides are a clear sign that something went wrong during the stacking process. The primary culprits typically involve a combination of factors: the condition of your cake layers, the type and amount of filling used, and how the cake was handled and chilled after assembly. Understanding why these bulges occur is the first step in preventing them and ensuring your layer cake assembly results in a perfectly straight, professional-looking dessert every time.
Understanding the Causes of Bulging Layer Cakes
Uneven Cake Layers: The Foundation of the Problem
Cakes baked in a round pan often develop a dome on top. Stacking these domed or otherwise uneven layers creates gaps and angled surfaces between them. When you apply filling and stack subsequent layers, the weight from above presses down on these uneven surfaces, naturally pushing the softer filling into the spaces – which inevitably means outwards towards the sides. Even a slight tilt in a layer can become exaggerated as more layers and frosting are added.
Think of it like building a wall with uneven bricks; the mortar (filling) will be thicker in some spots than others, and the wall will be unstable. Similarly, uneven cake layers provide an unstable base for your filling and the layers above. This instability, combined with gravity and pressure, is a primary driver behind filling being squeezed out, leading to bulging sides. Starting with flat, level layers is perhaps the most fundamental of all layer cake assembly tips.
Too Much Filling: A Recipe for Disaster
While a generous amount of delicious filling is certainly appealing, using too much between layers is a common cause of bulging. Each layer of filling adds height and flavor, but also adds pressure on the cake layers below. If the filling layer is excessively thick, the weight of the cake layers and frosting above has nowhere to go but outwards. The filling acts like a hydraulic system, where downward pressure translates into outward force.
For an 8-inch layer cake, a filling layer thickness of about 1/4 to 1/2 inch is usually sufficient and stable. Using significantly more than this, perhaps 3/4 inch or more, dramatically increases the risk of the filling being pushed out, especially if the filling isn't very firm or the cake layers aren't perfectly level and chilled. It's a delicate balance between desired flavor impact and structural integrity during layer cake assembly.
Soft Fillings and Cake Instability
The consistency of your filling plays a crucial role in preventing bulges. Fillings that are too soft, runny, or unstable offer little structural support to the cake layers resting on them. Examples include thin fruit purees, loose whipped cream, or custards that haven't fully set. When weight is applied, these soft fillings compress easily and seek the path of least resistance, which is typically out the sides of the cake.
In contrast, firm fillings like stiff buttercream, dense ganache, or stable pastry cream provide a solid layer of support between cake layers. They hold their shape under pressure and help maintain the cake's structure. If you plan to use a softer filling, incorporating stabilizers like gelatin or cornstarch, or using a "cake dam" (a ring of firm frosting) to contain it, becomes essential for successful layer cake assembly.
Warm Cake Layers: A Structural Weakness
Attempting layer cake assembly with cake layers that are still warm, or even just at room temperature after cooling, is a recipe for disaster. Warm cake is softer, more fragile, and more prone to compressing under weight compared to chilled cake. Stacking layers that aren't firm can cause them to sag or shift, creating unevenness and pushing filling outwards.
Furthermore, warm cake layers will quickly soften any frosting or filling they come into contact with. This combination of soft cake and soft filling creates an environment where bulging is almost inevitable. The cake layers lack the rigidity to hold the filling in place, and the filling itself becomes too pliable to resist the outward pressure. Always ensure your cake layers are completely cool, and ideally chilled, before you begin the assembly process.
Essential Layer Cake Assembly Tips and Techniques
Leveling Cake Layers for a Flat Surface
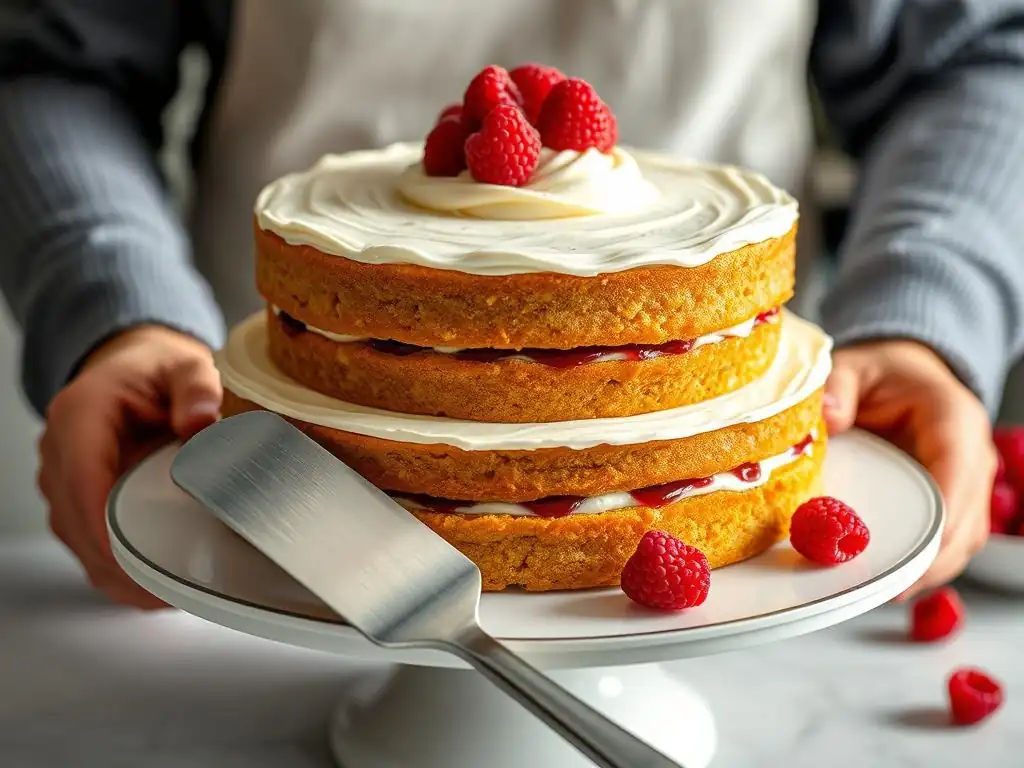
Starting with flat, level cake layers is the single most important step in preventing bulging sides. A level surface ensures that each layer sits squarely on the one below, distributing the weight evenly and minimizing gaps where filling can escape. There are a couple of effective ways to achieve this crucial flatness.
Using a Serrated Knife for Even Cake Layering
A long serrated knife is a simple and effective tool for leveling cake layers. Once your cake is completely cooled, place it on a flat surface. Hold the serrated knife parallel to the counter and carefully slice off the dome with a gentle sawing motion. For guidance, you can insert toothpicks or skewers around the cake's perimeter at the desired cutting height and rest the knife blade on them as you slice. This method requires a steady hand but is very accessible.
The Importance of a Cake Leveler
For consistent and easy leveling, a cake leveler is an invaluable tool. Available in adjustable wire or blade styles, a cake leveler allows you to set a precise height and simply saw through the cake layer horizontally. This ensures a perfectly even cut every time, significantly reducing the risk of creating slanted layers that contribute to bulging. It's a small investment that pays off in perfectly flat, stable layers, making your layer cake assembly much smoother.
Choosing the Right Filling for Your Layer Cake
The filling you choose greatly impacts the stability of your layer cake. While flavor is paramount, considering the filling's consistency is vital for successful layer cake assembly.
Filling Consistency and Stability: What to Look For
Ideal fillings for stacked cakes are those that are thick enough to hold their shape when spread but still soft enough to eat. Think of classic American buttercream, Swiss meringue buttercream, cream cheese frosting, or a firm chocolate ganache. These fillings provide structural support between layers. A good test is if a dollop of the filling holds its peak and doesn't immediately spread out on a plate.
Avoiding Fillings That Are Too Runny or Soft
Be cautious with very soft or runny fillings like thin fruit sauces, loose whipped cream, or custards that aren't well-set. These fillings are prone to squeezing out under pressure. If you wish to use them, consider thickening them (e.g., with cornstarch or gelatin for fruit or cream) or, more effectively, containing them within a firm 'dam' made of buttercream or ganache around the edge of the cake layer. This is a critical layer cake assembly tip for using delicate fillings.
Chilling Cake Layers: A Crucial Step for Stability
Chilling your cake layers before assembly is a step that many beginners skip, but it makes a significant difference in preventing bulges and achieving clean results.
How Chilling Strengthens the Cake Structure
When cake layers are chilled, the crumb becomes firmer and less delicate. This makes the layers much easier to handle without breaking or tearing, and more importantly, they become more rigid and capable of supporting weight without compressing or shifting. A cold, firm cake layer provides a stable platform for applying filling and stacking subsequent layers.
Optimal Chilling Time for Layer Cakes
After leveling, wrap your cake layers individually in plastic wrap and chill them in the refrigerator for at least 30 minutes to 1 hour. Ideally, chilling them for 2-3 hours, or even overnight, makes them incredibly easy to work with. They should feel firm and cool to the touch. This chilling step is fundamental for solid layer cake assembly.
Mastering the Layer Cake Assembly Process: A Step-by-Step Guide
Step 1: Preparing Your Cake Layers and Filling
Begin by ensuring your cake layers are completely cooled, leveled, and thoroughly chilled. Have your chosen filling prepared and ready. If using a filling that needs a dam, have your piping bag filled with firm buttercream or ganache ready as well. Choose a sturdy cake board or serving plate that is the same size or slightly larger than your bottom cake layer. Place a small dollop of frosting on the board before placing the first layer to help secure it.
Step 2: Applying a Crumb Coat for a Smooth Finish
Once your layers are stacked with filling (using a dam if needed), apply a thin layer of frosting to the entire exterior of the cake – top and sides. This is called a crumb coat.
Why a Crumb Coat is Essential
The primary purpose of a crumb coat is to trap any loose crumbs from the cake layers, preventing them from mixing into your final, visible layer of frosting. It creates a clean, sealed surface for the final coat. Additionally, a crumb coat helps smooth out any minor imperfections in the cake's surface and further stabilizes the layers, providing a better foundation for the final frosting. It's a non-negotiable step for professional-looking layer cake assembly.
Techniques for Applying a Thin, Even Crumb Coat
Use an offset spatula to apply a small amount of frosting over the top and sides of the cake. Spread it thinly, working quickly to avoid tearing the cake. Don't worry about making it look perfect; the goal is just to cover the surface and trap crumbs. Scrape off any excess frosting – you only need a thin layer.
Step 3: Chilling the Crumb Coated Cake
After applying the crumb coat, place the cake back in the refrigerator to chill for at least 20-30 minutes. This allows the thin layer of frosting to firm up and set completely. A firm crumb coat effectively seals in the crumbs and creates a solid, non-sticky surface.
Chilling the crumb-coated cake is crucial before applying the final frosting. It ensures that when you apply the thicker final layer, you won't drag crumbs into it, resulting in a beautifully smooth finish. This step also further stabilizes the cake structure, reducing the likelihood of bulges developing during the final frosting stage or later.
Step 4: Applying the Final Layer of Frosting
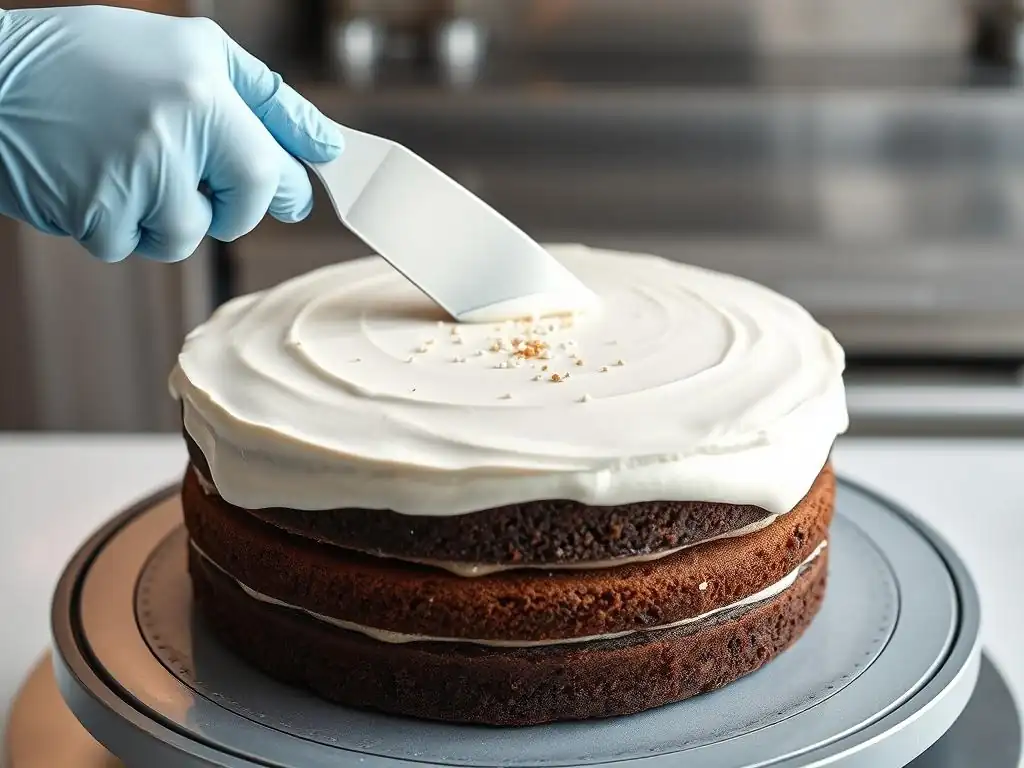
Once the crumb coat is firm, it's time to apply the final, thicker layer of frosting that will be visible.
Achieving a Smooth and Professional Finish
Apply a generous amount of frosting to the top and sides of the chilled cake. Use a large offset spatula or a bench scraper held at a 45-degree angle to the cake to smooth the sides, rotating the cake on a turntable if you have one. Smooth the top by pulling excess frosting towards the center. For extra smooth sides, briefly warm your bench scraper under hot water, dry it completely, and use it to smooth the frosting surface.
Tips for Avoiding Air Bubbles
Air bubbles in frosting can be frustrating. To minimize them, mix your buttercream or frosting on low speed for several minutes after it's made to remove trapped air. When applying to the cake, work methodically and try not to overwork the frosting on the surface. If you spot small bubbles, gently pop them with the tip of your spatula and smooth over the area.
Step 5: Final Chilling and Decoration
After applying the final layer of frosting, return the cake to the refrigerator for a final chill of at least 30-60 minutes. This allows the outer layer of frosting to set firm.
A firm outer frosting layer makes the cake much easier to handle for decorating. You can pipe borders, add sprinkles, or place toppers without risking smudging the smooth finish or causing the frosting to shift. The final chill also gives the entire cake structure time to settle and firm up, reducing the chance of any last-minute bulges appearing before serving. This completes the basic layer cake assembly process.
Advanced Layer Cake Assembly Techniques for Preventing Bulging
Using a Cake Dam to Contain Fillings
For softer fillings or when using generous amounts of filling, a cake dam is an invaluable technique to prevent bulging sides.
How a Cake Dam Prevents Filling Overflow
A cake dam is essentially a ring of firm frosting or ganache piped around the outer perimeter of a cake layer before the filling is added. This creates a barrier, forming a 'well' in the center of the layer. The softer filling is then placed inside this well, contained by the dam. When the next cake layer is placed on top, the dam supports the weight and prevents the filling from being squeezed outwards.
Making a Cake Dam with Buttercream or Ganache
Use a piping bag filled with firm buttercream or ganache. Fit it with a medium-sized round tip (like an Ateco 805) or simply snip a corner off the bag. Pipe a continuous, even ring of frosting just inside the edge of your leveled cake layer, making it about 1/2 to 3/4 inch high and wide. Ensure the dam is complete with no gaps. Then, carefully spoon your softer filling into the center well, keeping it below the height of the dam. This simple step is a powerful layer cake assembly tip for tricky fillings.
Supporting Tall Layer Cakes with Dowels
When stacking cakes that are three layers or taller, especially if they are wide or heavy, internal support is necessary to prevent the lower layers from compressing and bulging under the weight of the tiers above. This support comes in the form of dowels.
When to Use Dowels for Cake Support
Dowels (plastic or wooden) are essential for multi-tiered cakes or even very tall single-tier cakes (4+ layers). They transfer the weight of the upper cake layers and their components directly down to the base layer or cake board, bypassing the cake layers below. Without dowels, the lower cake layers would bear the full weight, leading to compression, distortion, and significant bulging.
How to Insert Dowels Correctly
Insert a dowel into the bottom cake layer (or the layer supporting the tier above) where the tier above will sit. Mark the dowel precisely at the height of the cake's surface. Remove the dowel and cut all the required dowels to this exact length.
Insert the cut dowels into the cake layer, spacing them evenly within the area that the upper tier will occupy. Ensure the tops of the dowels are flush with the cake surface so the cake board of the upper tier rests solely on the dowels, not the cake. For a standard 8-inch cake supporting a 6-inch tier, 3-4 dowels are usually sufficient.
The Inverted Layer Cake Assembly Method
An alternative technique for maximizing stability and achieving perfectly flat sides is the inverted layer cake assembly method.
Building Stability from the Top Down
This method involves assembling the cake upside down. You start by placing the top cake layer face down on a flat surface or the final cake board. You then add your filling, place the next layer (also upside down), add filling, and continue until the original bottom layer is on top. The entire stack is then wrapped and thoroughly chilled.
When the chilled cake is flipped right-side up, the weight of the cake layers above has compressed everything downwards during the chilling process, resulting in incredibly flat layers and straight sides. This method is particularly effective for achieving sharp edges and minimizing any potential for bulging, offering a unique approach to layer cake assembly.
Troubleshooting Common Layer Cake Assembly Issues
Fixing Uneven Layers After Assembly
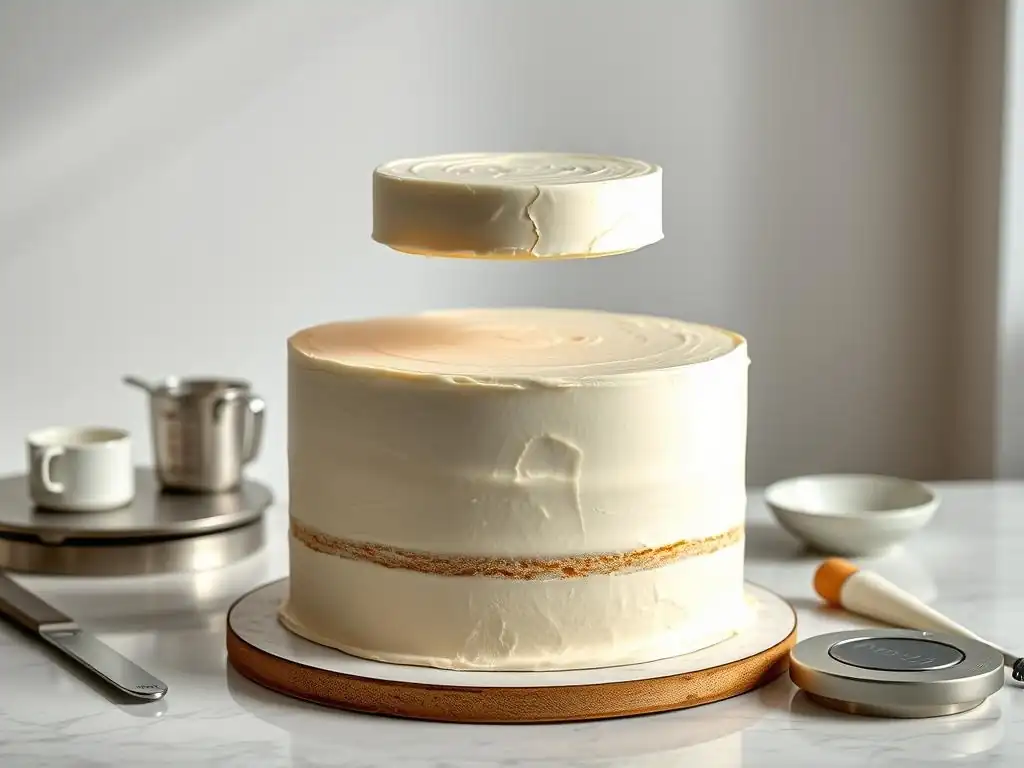
If you've stacked your cake and notice it's leaning or the layers are uneven, don't panic immediately. If caught early, before frosting, you might be able to gently push or nudge the layers back into alignment. For more significant issues, you may need to carefully disassemble the cake, re-level the problematic layers, and restack.
If the cake is already crumb coated and chilled, fixing unevenness is harder. You can try using extra frosting during the final coat to build up thinner areas and create the illusion of straight sides. However, for major leans or gaps, disassembly and starting the layer cake assembly process again with properly leveled layers is often the most effective solution for a stable and attractive result.
Repairing Bulging Sides After Frosting
If bulges appear after you've applied the final frosting layer, it typically means the filling is pushing out. For minor bulges, you can sometimes gently smooth the area with a warm offset spatula, melting the frosting slightly to help it conform.
For more significant bulges, you might need to carefully scrape off the frosting around the affected area, gently try to push the filling back in (if possible and if the filling is soft), and then reapply frosting smoothly. The best strategy is prevention: ensure layers are level, filling is stable, and the cake is thoroughly chilled before applying the final frosting layer to avoid this problem altogether during your layer cake assembly.
Salvaging a Collapsed Layer Cake
A collapsed layer cake can be disheartening, often indicating a fundamental issue like insufficient support for a tall structure or extremely soft components. Assess the extent of the collapse. If it's just a slight slump, thorough chilling might help firm it up.
If the collapse is significant, especially with multiple tiers, it might be difficult or impossible to fully salvage it as a traditional stacked cake. In such cases, consider repurposing the cake into another dessert format, such as a trifle (layered cake pieces, filling, and cream in glasses), cake pops, or individual mini layered desserts. Sometimes, accepting the loss and learning from the experience to improve your next layer cake assembly is the best approach.
Layer Cake Assembly Tools and Equipment Recommendations
Essential Tools for Leveling, Filling, and Frosting
Having the right tools makes the layer cake assembly process significantly easier and more successful. Beyond your basic baking equipment, a few specialized items are highly recommended. A long serrated knife or, even better, an adjustable wire cake leveler is crucial for getting those perfectly flat layers.
For applying filling and frosting, you'll need offset spatulas. Having a set with both a small (around 4-6 inches) and a large (around 8-10 inches) offset spatula provides versatility for different tasks. A sturdy cake board or drum is essential for building the cake on, providing a stable base for lifting and decorating.
The Best Frosting Spatulas and Turn Tables for Cake Assembly
Offset spatulas are superior to straight spatulas for frosting cakes because the angled blade keeps your hand and knuckles clear of the cake and frosting, allowing for smoother application. Look for ones with comfortable handles and flexible blades.
A cake turntable is arguably one of the most impactful tools for improving your layer cake assembly and decorating. It allows you to smoothly rotate the cake while applying frosting or smoothing the sides with a bench scraper, resulting in incredibly even and professional finishes. A heavy, stable turntable with a non-slip base is ideal. These tools are key to executing effective layer cake assembly tips.
Conclusion: Bake With Ease and Assemble Perfect Layer Cakes
Mastering Layer Cake Assembly: Key Takeaways
Preventing bulging sides and achieving a professional-looking layer cake comes down to diligence in a few key areas during assembly. Always start with cake layers that are completely cooled, leveled flat, and ideally chilled. Choose fillings that are stable and firm enough to support the weight of the layers above, and use them in appropriate quantities – avoid overfilling.
Utilizing techniques like applying a crumb coat and thoroughly chilling the cake at various stages are crucial for stability and a smooth finish. For softer fillings or taller cakes, incorporating advanced layer cake assembly tips like using a cake dam or internal dowel supports provides essential structural integrity.
Further Resources for Improving Your Cake Baking Skills on BakeWithEase.com
Mastering layer cake assembly takes practice, but by focusing on these fundamental principles and techniques, you can dramatically improve your results and consistently create beautiful, stable cakes. For more guidance on baking perfect cake layers, developing stable frosting recipes, or exploring decorative techniques that complement excellent assembly, explore the wealth of resources available on BakeWithEase.com.
Our site offers detailed guides, step-by-step tutorials, and recipes designed to help bakers of all levels succeed. Continue experimenting with different cake and filling combinations, practice your leveling and frosting skills, and refer back to these layer cake assembly tips whenever you're stacking. With patience and practice, you'll be assembling stunning layer cakes with confidence and ease.
Frequently Asked Questions
How can I prevent my layer cake from bulging in the middle after assembly?
The most common cause of bulging is excess filling. Use a consistent and even amount of filling between each layer, and avoid overfilling. You can also use a dam of buttercream around the edge of each layer to contain softer fillings.
What is the best way to ensure my cake layers are level before assembling a layer cake?
Leveling your cake layers is crucial for a professional-looking cake. Use a serrated knife or a cake leveler to trim off any domes from the top of each layer. This ensures a flat surface for stacking.
How long should I chill my assembled layer cake before frosting it?
Chilling the assembled cake allows the layers and filling to set and become more stable. A minimum of 30 minutes in the refrigerator is recommended, but longer is better. An hour or more will make frosting easier.
What kind of frosting is best for preventing bulging sides in a layer cake?
Stiffer frostings, like American buttercream or Swiss meringue buttercream, provide more structure and support. Avoid overly soft frostings that can contribute to bulging. A sturdy frosting is key.
How important is a crumb coat in layer cake assembly, and how does it help?
The crumb coat is essential for preventing crumbs from mixing into your final frosting layer. It acts as a barrier, sealing in loose crumbs. It also provides a smooth base for the final coat of frosting.
Final Reflection: The Sweet Science of Layer Cake Perfection
The art of layer cake assembly, once a daunting task, is now within everyone's reach. Mastering this skill isn't just about creating a visually stunning dessert; it's about understanding the fundamental principles of structure and balance, ensuring a consistently delicious and satisfying experience for both the baker and the eater. This knowledge translates directly to other baking endeavors, fostering confidence and creativity in the kitchen.
The impact of a perfectly assembled layer cake extends far beyond the individual slice. It's a symbol of celebration, a testament to patience and precision, and a delicious centerpiece at countless gatherings. The joy of creating something beautiful and delicious is a powerful feeling, and the process itself can be incredibly therapeutic. The best things in life are homemade.
This simple sentiment perfectly encapsulates the satisfaction derived from mastering a skill like layer cake assembly, a skill that connects us to generations of bakers past and empowers us to create lasting memories.
Now, consider your own baking journey. What challenges have you faced in assembling layer cakes? What techniques have you found most effective? I encourage you to experiment, to embrace the occasional imperfection, and to find joy in the process of creation. Don't be afraid to try new things, to adapt techniques to your own style, and to share your creations with those you love. The perfect layer cake is waiting to be born from your own hands – and the journey to get there is just as rewarding as the destination.
Unleash Your Inner Cake Artist: Perfect Layer Cake Assembly
Thanks for taking the time to learn the secrets of perfectly assembled layer cakes! You're now equipped to avoid those frustrating bulges and create stunning, even layers every time. Ready to put your new skills to the test?
- Bake your masterpiece: Use the techniques you've just learned to create your dream layer cake. Don’t forget to chill your layers for easier handling!
- Share your success: Tag us on social media @BakeWithEase (using #BakeWithEaseLayerCakes) and show off your perfectly assembled creation! We'd love to see your baking artistry.
- Explore our other cake decorating tutorials for even more inspiration! Find them on bakewithease.com
What flavor combination will you try next to perfect your layer cake skills?