
Rustic Polish Chleb Wiejski: Bake Country Bread with Ease

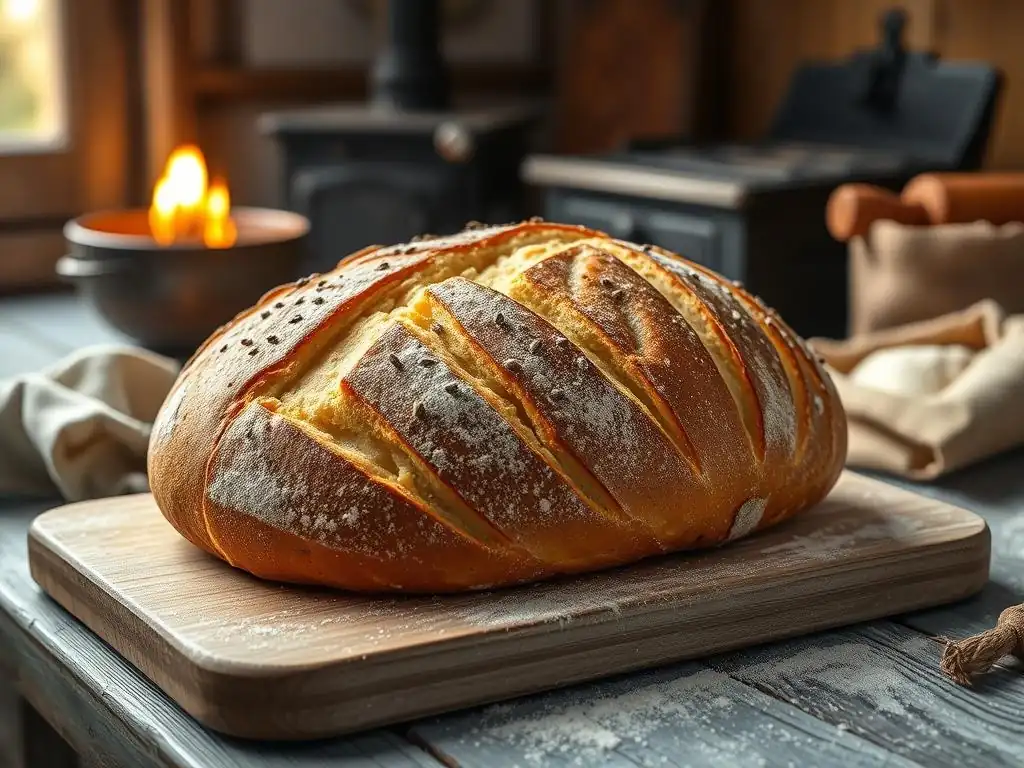
Welcome to BakeWithEase, your trusted guide to baking bliss! Ever dreamt of effortlessly creating a loaf that's both beautiful and bursting with flavor? Prepare to be amazed, because we're demystifying the art of bread baking. Today, we're diving into the heart of rustic tradition with our guide to Easy Rustic Polish Bread. Chleb Wiejski, as it's known, offers a taste of the countryside, and we'll show you how to achieve that authentic, hearty flavor right in your own kitchen. Intrigued? Let's uncover the secrets to this delicious and surprisingly simple loaf!
- Sourdough Starter: Cultivating Your Own Natural Leaven
- Discover the Magic of Sourdough: Creating Your Own Starter
- What is Sourdough Starter? Understanding Natural Leaven
- Creating Your Starter: A Step-by-Step Guide
- Feeding and Maintaining Your Sourdough Starter
- Troubleshooting Common Starter Problems
- Using Your Sourdough Starter in Baking
- Storing Your Sourdough Starter for Optimal Health
- Why You Should Cultivate Your Own Sourdough Starter
-
Frequently Asked Questions
- How difficult is it to make Chleb Wiejski (Rustic Polish Bread) using BakeWithEase's recipe?
- What are the key ingredients I'll need to bake Chleb Wiejski?
- Can I customize the Chleb Wiejski recipe from BakeWithEase to my liking?
- How does BakeWithEase ensure success for beginners attempting Chleb Wiejski?
- What makes BakeWithEase's Chleb Wiejski recipe different from other Polish bread recipes online?
- Final Reflection: The Enduring Charm of Simple Baking
- Unleash Your Inner Baker: Craft Your Own Chleb Wiejski!
Sourdough Starter: Cultivating Your Own Natural Leaven
Discover the Magic of Sourdough: Creating Your Own Starter
Embarking on the journey of creating your own sourdough starter is a truly rewarding experience that unlocks a world of flavor and texture in your baking. It's the heart of many traditional breads, including variations of easy rustic Polish bread. Instead of relying solely on commercial yeast, you'll cultivate a living ecosystem of wild yeasts and beneficial bacteria present naturally in your flour and environment. This simple mix of flour and water, nurtured over time, becomes your personal, active leavening agent.
Cultivating your own starter allows you to control the flavor profile and activity level, tailoring it to your specific baking needs and preferences. It's a surprisingly straightforward process, though it requires a bit of patience and consistency. Think of it as a kitchen companion that grows with you, ready to transform simple ingredients into loaves with incredible crust, airy crumb, and that signature tangy sourdough taste. With a healthy starter, baking becomes an exploration of natural fermentation, making even complex recipes feel more accessible and, dare we say, easy.
What is Sourdough Starter? Understanding Natural Leaven
At its core, a sourdough starter is a symbiotic culture of wild yeast and lactic acid bacteria (LAB) that ferments a mixture of flour and water. Unlike commercial yeast, which is a single, isolated strain of Saccharomyces cerevisiae, a sourdough starter contains a diverse community of microorganisms. This microbial diversity is what gives sourdough its unique characteristics – not just its leavening power, but also its complex aroma, flavor, and often, improved digestibility compared to breads made with commercial yeast alone.
This natural leaven has been used for thousands of years, long before commercial yeast was available. It relies on the microorganisms naturally present on grain kernels and in the air to colonize and ferment the flour and water. As these microbes consume the sugars in the flour, they produce carbon dioxide gas, which causes dough to rise, and various organic acids, primarily lactic and acetic acids, which contribute the characteristic tang and help preserve the bread. Understanding this basic concept is the first step towards successful sourdough baking.
The Science Behind Sourdough Fermentation
The magic of sourdough lies in a fascinating biochemical process driven by the collective activity of wild yeasts and lactic acid bacteria. The wild yeasts (often species like Candida milleri or Saccharomyces exiguus in young starters, eventually giving way to Saccharomyces cerevisiae in mature ones) consume simple sugars derived from the flour's starches. Their primary outputs are carbon dioxide (CO2), which creates bubbles and causes the starter and dough to rise, and ethanol (alcohol).
Simultaneously, lactic acid bacteria (LAB), such as Lactobacillus sanfranciscensis (a common species found in mature starters), metabolize sugars to produce lactic acid and acetic acid. Lactic acid provides a milder, yogurt-like tang, while acetic acid offers a sharper, vinegary note. The balance of these acids influences the starter's flavor profile and helps create an acidic environment (typically pH 3.5-4.5) that inhibits the growth of undesirable microorganisms like mold and harmful bacteria. This symbiotic relationship between yeast and LAB ensures the starter remains healthy and potent, ready to leaven your easy rustic bread.
Key Characteristics of a Healthy Sourdough Starter
Identifying a healthy, active sourdough starter is crucial for successful baking. Visually, a healthy starter, especially after a feeding, will show significant activity: it will develop numerous bubbles throughout its structure and increase noticeably in volume, often doubling or even tripling. Observing its rise and subsequent fall (indicating it has peaked and is running out of food) is a key indicator of its vitality.
A healthy starter also has a distinct aroma. It should smell pleasant and tangy, perhaps slightly yeasty, like ripe fruit, or fermented dairy like yogurt or buttermilk. Avoid strong, unpleasant odors like nail polish remover (acetone), which indicates it's overly hungry and producing excessive alcohol. The texture should be bubbly and somewhat elastic.
A simple test is the "float test": take a small spoonful of starter at its peak (when it's most expanded and bubbly) and gently drop it into a glass of water. If it floats, it's generally considered ready to bake with, as the CO2 trapped within provides buoyancy. A starter kept at a consistent room temperature of around 75°F (24°C) and fed regularly should typically double within 4-8 hours.
Creating Your Starter: A Step-by-Step Guide
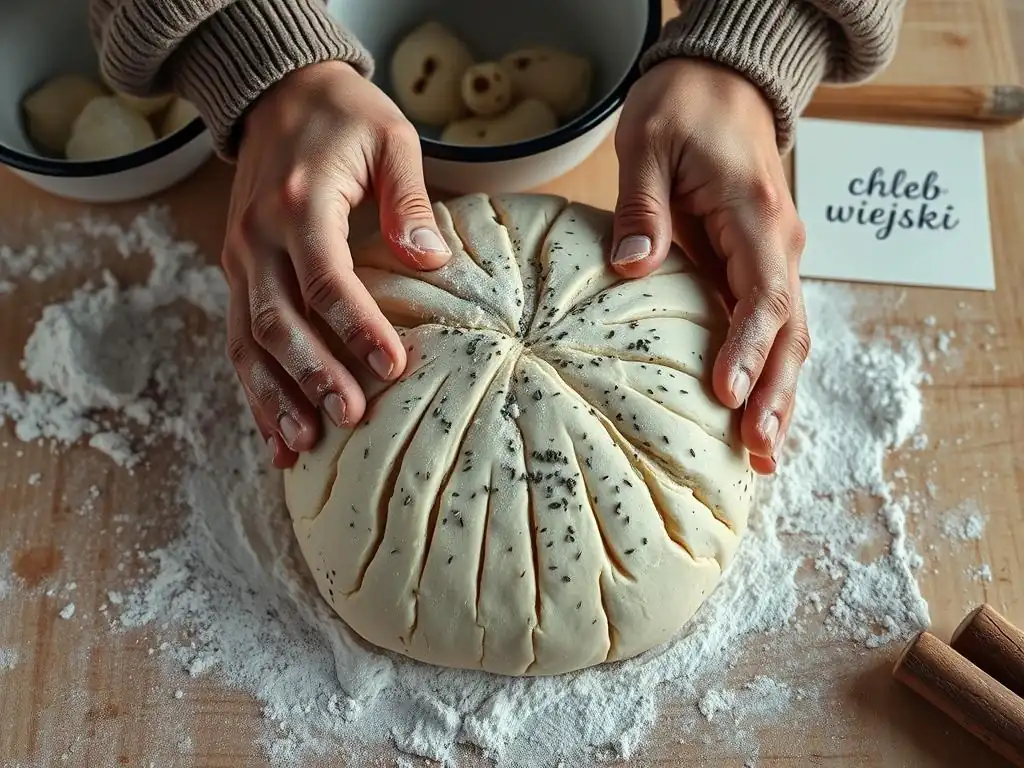
Starting your own sourdough culture from scratch is a process that unfolds over several days, requiring minimal effort but consistent attention. It begins with a simple mixture of flour and water, left to capture wild yeasts and bacteria from the environment. The key is regular feeding, which provides fresh food for the developing microbial community and removes waste products.
Over the first week or two, you'll observe changes: perhaps initial bubbling, then a lull, followed by more consistent activity. Don't be discouraged by slow progress in the early days; it's a natural part of the process as the desired microorganisms establish dominance. Patience is truly a virtue here. By following a simple daily routine of mixing, feeding, and observing, you'll gradually cultivate a robust and reliable natural leaven, ready to use in recipes like easy rustic Polish bread.
Ingredients for a Basic Sourdough Starter
Creating a basic sourdough starter requires just two ingredients: flour and water. While seemingly simple, the type of flour and water you use can impact the starter's initial development and long-term health. Many bakers recommend starting with rye or whole wheat flour for the first few days, as these flours contain a higher concentration of natural microorganisms and nutrients, which can help kickstart fermentation. After the initial phase, you can switch to or mix in all-purpose or bread flour.
The water should be non-chlorinated, as chlorine can inhibit or kill the beneficial microbes you are trying to cultivate. Filtered water, bottled spring water, or tap water left out for 24 hours to allow chlorine to dissipate are good options. For consistency, it's highly recommended to measure your ingredients by weight using a kitchen scale. A common starting ratio is 1:1 flour to water by weight (e.g., 50 grams flour and 50 grams water), resulting in a 100% hydration starter, which is easy to mix and observe.
Essential Equipment for Starter Cultivation
While you don't need specialized tools to begin, having a few essential items makes the process much easier and more consistent. A clean jar or container is necessary to hold your starter. Glass jars are popular because they allow you to easily observe the activity, but food-grade plastic containers work too. Choose a container large enough to accommodate the starter's growth – at least a 1-quart (approx. 1-liter) capacity is advisable, as a healthy starter can double or triple in volume.
A kitchen scale is arguably the most important piece of equipment. Measuring flour and water by weight (in grams) ensures accuracy and consistency in your feeding ratios, which is critical for maintaining a healthy culture. Using volume measurements (cups) can be inaccurate due to variations in how flour is packed.
You'll also need a spoon or spatula for mixing. The container should have a lid, but it should not be airtight, especially in the early, active stages, as the starter produces gas. A loose-fitting lid or a piece of cloth secured with a rubber band works perfectly, allowing gases to escape while protecting the starter from contaminants.
Feeding and Maintaining Your Sourdough Starter
Once your starter shows consistent signs of activity – reliably bubbling and doubling in volume after feeding – it's considered mature and ready for regular maintenance. Feeding is the process of discarding a portion of the old starter and mixing the remainder with fresh flour and water. This provides a continuous supply of food for the microorganisms, keeps the starter active, and maintains a manageable volume.
The frequency of feeding depends primarily on temperature. A starter kept at warm room temperature will ferment faster and require more frequent feeding than one stored in a cooler environment. Consistency in your feeding schedule and ratio is key to developing a predictable and robust culture that's always ready to leaven your easy rustic bread or other baked goods. Regular maintenance ensures your starter remains healthy, vigorous, and capable of producing excellent results.
Establishing a Feeding Schedule: Consistency is Key
The frequency at which you feed your sourdough starter is dictated by its activity level and the ambient temperature. If you keep your starter at warm room temperature (around 70-75°F or 21-24°C), daily feeding is typically necessary to keep it happy and active. For very warm conditions (above 75°F or 24°C), or if you use a low feeding ratio (like 1:1:1 starter:water:flour), you might even need to feed it twice a day.
If you don't plan to bake frequently, storing your starter in the refrigerator significantly slows down fermentation, allowing you to reduce feedings to once a week or even every two weeks. Before refrigerating, it's a good practice to feed your starter to ensure it has fresh food. When you want to bake after refrigeration, bring the starter back to room temperature and feed it a couple of times until it shows consistent activity again. Establishing a routine helps you anticipate when your starter will be at its peak and ready to use.
Identifying Signs of a Healthy vs. Unhealthy Starter
Recognizing the signs of a healthy sourdough starter is fundamental to successful cultivation. As mentioned, consistent doubling or tripling in volume after feeding, a bubbly texture, and a pleasant, tangy aroma are prime indicators of health. You might also observe a slightly domed surface after feeding, which later flattens or collapses as the starter passes its peak.
Conversely, an unhealthy starter may show little to no activity after feeding, develop mold (fuzzy spots of various colors), or emit very strong, off-putting smells beyond the usual tang. A strong smell of acetone (nail polish remover) usually means the starter is very hungry and acidic; it needs more frequent feeding or a higher feeding ratio. While inactivity can often be fixed by adjusting temperature or feeding, mold is a sign that the starter is contaminated and should be discarded entirely to prevent health risks.
Discarding and Using Sourdough Discard
Discarding a portion of your sourdough starter before feeding is a necessary step to maintain a manageable volume and ensure the microbes have enough food relative to their population size. If you didn't discard, your starter would quickly grow too large for its container, and the ratio of fresh food to microbes would become too low, leading to an overly acidic, inactive starter.
The "discard" is simply the portion of the starter that you remove before feeding. Instead of throwing it away, this discard can be a fantastic ingredient in various baked goods that don't rely solely on sourdough for leavening. It adds flavor and moisture. Popular uses for sourdough discard include pancakes, waffles, crackers, muffins, quick breads, and even pasta. Many discard recipes call for a specific amount, often ranging from 100g to 250g, providing a practical way to minimize waste and add a touch of sourdough tang to other easy baking projects.
Troubleshooting Common Starter Problems
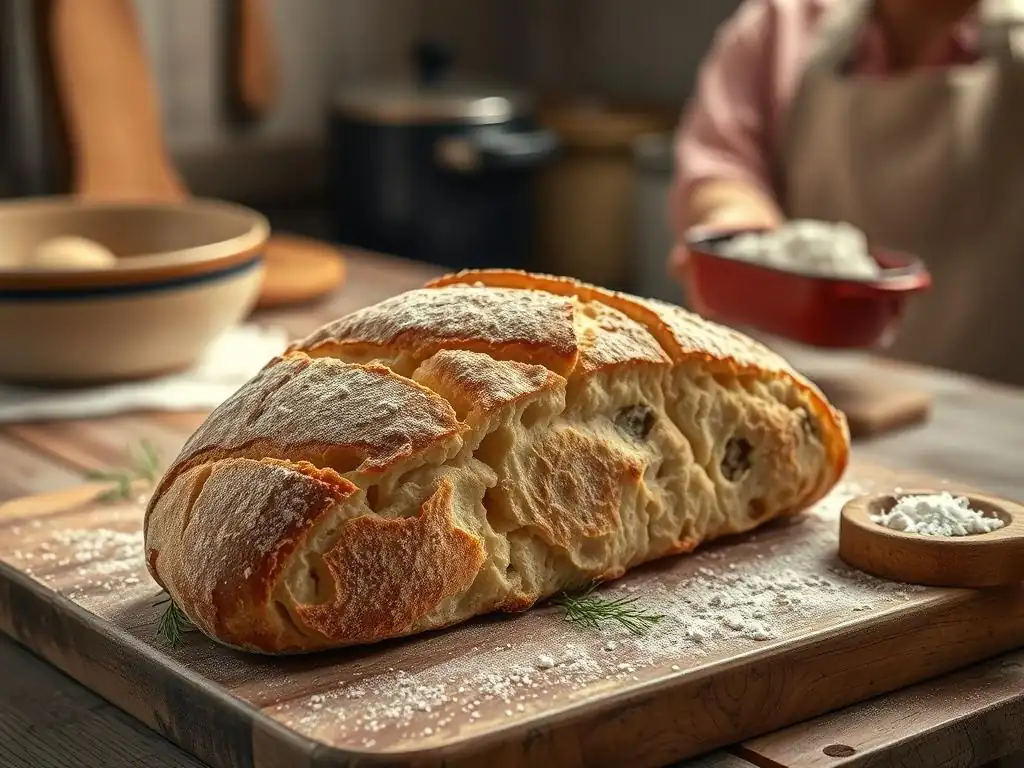
Even with careful attention, your sourdough starter might occasionally seem sluggish or develop unusual characteristics. Don't panic! Most common issues are easily fixable with minor adjustments to your feeding routine or environment. Think of it as learning to understand the needs of your unique microbial culture.
The most frequent problems include a lack of activity, unusual smells, or, less commonly in established starters, mold. Addressing these issues promptly is key to getting your starter back on track. By observing its behavior and making informed adjustments based on common troubleshooting techniques, you can revive a sluggish starter and ensure it remains a reliable leavening agent for all your baking adventures, including that easy rustic Polish bread you're aiming for.
Addressing Issues: [Mold, Inactivity, Unusual Smells]
Mold is perhaps the most concerning issue. It appears as fuzzy patches of various colors (white, green, black, pink). Mold indicates contamination, and unfortunately, if you see mold on your starter, it's best to discard the entire batch and start over to avoid potential health risks.
Inactivity is more common and usually fixable. If your starter isn't bubbling or rising after feeding, consider the temperature; it might be too cold. Moving it to a warmer spot (e.g., near a warm appliance, but not too hot) can help. Sometimes switching flour types (e.g., adding some rye) or ensuring you're using non-chlorinated water can provide a boost.
Strong smells like acetone (nail polish remover) signify that your starter is very hungry and has produced excess alcohol. This is a sign it's been too long between feedings or the feeding ratio is too low. Increase feeding frequency or switch to a higher ratio (e.g., 1:2:2 or 1:3:3 starter:water:flour) to dilute the acidity and provide more food.
Adjusting Feeding Ratios: Adapting to Your Environment
The ratio of starter to fresh flour and water you use when feeding significantly impacts how quickly your starter ferments and how long it takes to peak. The most common ratio is 1:1:1 (starter:water:flour by weight). This ratio results in relatively fast fermentation, often peaking within 4-8 hours at room temperature (around 75°F or 24°C), making it suitable for daily feeding.
If you need to go longer between feedings, or if your kitchen is warm, you can use a higher ratio, such as 1:2:2 or 1:3:3. For example, using a 1:3:3 ratio (e.g., 25g starter, 75g water, 75g flour) provides significantly more food for the microbes relative to their population.
This slows down the fermentation process, allowing the starter to stay active and healthy for 12-24 hours at room temperature before needing another feed. Experimenting with ratios helps you find what works best for your schedule and environment, ensuring your starter is always ready when you want to bake your easy rustic bread.
Using Your Sourdough Starter in Baking
Once your sourdough starter is mature, active, and reliably doubling after feeding, it's ready to work its magic in your baking. The key to successful sourdough baking is often using your starter when it's at its peak activity – typically when it has doubled or tripled in volume after feeding and is full of bubbles, just before it starts to collapse.
Many recipes call for a specific amount of 'active' starter. Sometimes, you might build a 'levain' or 'leaven' specifically for a bake. This involves taking a small amount of your main starter and feeding it with a specific ratio of flour and water hours before mixing the final dough. This ensures you have a sufficient quantity of starter at its peak of activity, optimized for the particular bread or recipe you're making. From crusty loaves to lighter bakes, an active starter is your ticket to delicious results.
Converting Starter to Levain for Baking
Many sourdough bread recipes specify using a 'levain' rather than directly using your maintenance starter. A levain is essentially a build from your main starter, specifically prepared for a bake. It's created by taking a small portion of your established starter and feeding it with a larger amount of fresh flour and water according to a specific ratio outlined in the recipe (e.g., 1:5:5, 1:10:10 starter:water:flour).
The purpose of building a levain is multifaceted. It allows you to use only a small amount of your main starter, preserving the bulk of it for future feedings. It ensures you have a sufficient quantity of culture at its absolute peak of activity precisely when you need to mix your dough.
It also allows bakers to adjust the flour type or hydration of the leavening agent to match the recipe's requirements, optimizing the microbial balance for the specific bread being baked, such as an easy rustic Polish bread. A typical levain build might use 20g of starter fed with 100g flour and 100g water, ready in 8-12 hours at room temperature.
Sourdough Recipes: [Bread, Pancakes, Waffles]
The versatility of an active sourdough starter extends far beyond just baking traditional loaves of bread. While it's the star ingredient in crusty artisan loaves, like many easy rustic bread recipes, its unique flavor and leavening power can enhance a wide range of baked goods.
You can use your active starter or sourdough discard in various recipes. For instance, discard is perfect for making light and fluffy pancakes or crispy waffles, adding a subtle tang. It can also be incorporated into muffin batters, quick breads, crackers, and even pastry doughs, adding flavor and sometimes contributing to texture. Many sourdough bread recipes, like a classic country loaf or a simple easy rustic Polish bread, typically use a levain or active starter that accounts for 15-25% of the total flour weight in the recipe, providing both structure and flavor.
Storing Your Sourdough Starter for Optimal Health
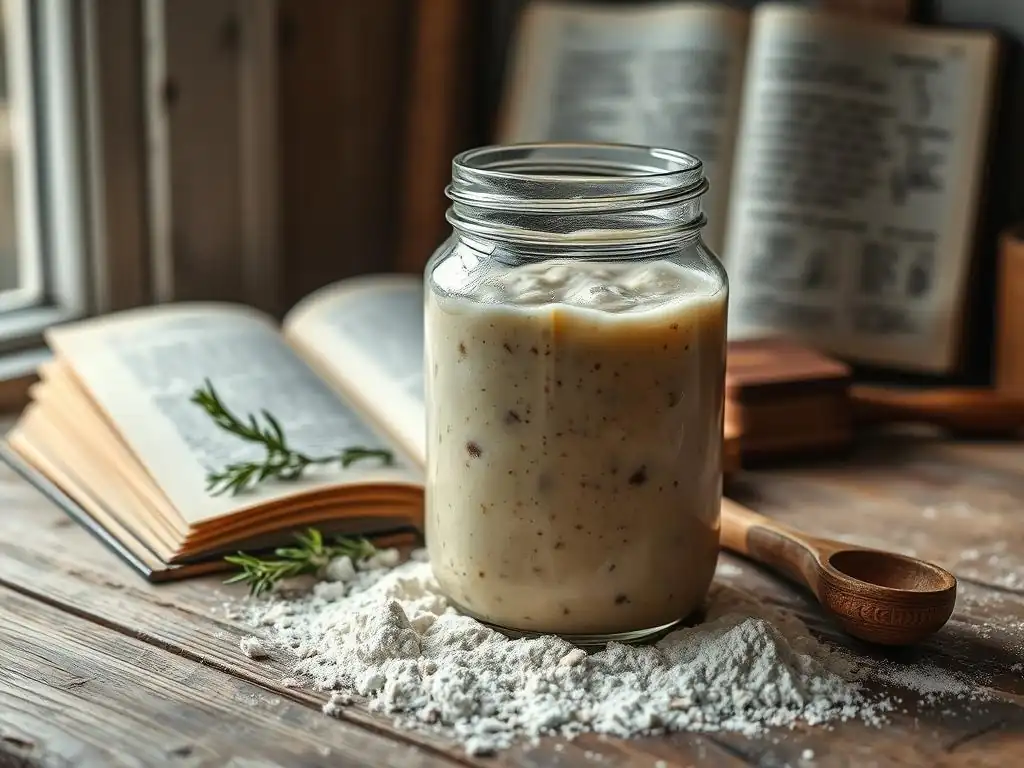
Maintaining a sourdough starter doesn't have to be a daily commitment. While daily feeding at room temperature keeps it most active and ready for spontaneous baking, there are effective methods for storing your starter for longer periods when you're not baking frequently. Proper storage ensures your microbial culture remains healthy and viable, ready to be revived when needed.
The most common method for longer-term storage is refrigeration. This significantly slows down the metabolic activity of the yeasts and bacteria, allowing you to extend the time between feedings from hours to days or even weeks. Understanding how to properly store and revive your starter is key to enjoying the benefits of sourdough baking without feeling tied to a strict daily routine.
Short-Term and Long-Term Storage Techniques
For short periods (a few days), you can leave your starter at room temperature, adjusting the feeding ratio to provide enough food to last until the next planned feeding. For example, using a 1:2:2 or 1:3:3 ratio instead of 1:1:1 can keep it happy for 12-24 hours.
For longer periods (weeks to months), refrigeration is the standard method. After feeding your starter, let it sit at room temperature for 1-2 hours to begin activating, then place it in the refrigerator (ideally at 38-40°F or 3-4°C). The cold temperature drastically slows fermentation.
You'll only need to feed it about once every 1-2 weeks. When you're ready to bake, take the starter out, let it come to room temperature, and feed it daily until it's active and bubbly again, which usually takes 1-3 feedings. Drying a portion of your starter is another long-term storage method that can preserve it for years.
Reviving Dormant Starter: Bringing it Back to Life
If your sourdough starter has been stored in the refrigerator for an extended period or has become sluggish due to infrequent feeding, it will need to be revived before it's ready to bake with. The process is straightforward: take a small amount of the dormant starter (e.g., 20-50g) and feed it at room temperature using your regular feeding ratio (e.g., 1:1:1). Discard the rest of the dormant starter.
Mix the fed starter and place it in a warm spot. Observe its activity. The first feeding might show little change. Discard a portion again the next day and feed it fresh flour and water. Repeat this process daily. With each feeding, the microbial activity should increase. Your starter is considered revived and ready for baking when it consistently doubles or triples in volume within 4-8 hours after feeding, indicating a healthy, active population of yeasts and bacteria. Patience is key during this revival phase; it might take 2-5 days depending on how long it was dormant.
Why You Should Cultivate Your Own Sourdough Starter
Cultivating your own sourdough starter is more than just a step in baking; it's an entry into a rich tradition and a way to enhance the quality and flavor of your homemade goods. It puts you in control of your leavening, free from commercial additives, and connects you directly to the natural process of fermentation.
Beyond the practical benefits of having a readily available leavening agent for everything from easy rustic bread to pancakes, nurturing a starter offers a unique sense of accomplishment. It's a living project that teaches patience and observation. The resulting baked goods boast complex flavors and textures that are difficult to replicate with commercial yeast alone, making the effort truly worthwhile for any home baker.
The Benefits of Sourdough: Flavor and Digestion
One of the most compelling reasons to use sourdough is the unparalleled depth of flavor it imparts to baked goods. The lactic and acetic acids produced by the bacteria in the starter contribute a distinctive tang that varies depending on the starter's hydration, feeding schedule, and the flours used. This complexity adds character to bread that commercial yeast simply cannot match, elevating even a simple easy rustic bread recipe.
Furthermore, sourdough fermentation can offer potential digestive benefits. The long fermentation process helps to break down complex carbohydrates and gluten proteins, potentially making the bread easier to digest for some individuals. The lactic acid bacteria also produce enzymes that can reduce levels of phytic acid, an antinutrient found in grains that can inhibit the absorption of minerals. Studies have shown that sourdough fermentation can reduce phytic acid by up to 90%, potentially increasing the bioavailability of minerals like iron and zinc.
A Connection to Baking History: A Timeless Tradition
When you cultivate and bake with a sourdough starter, you are participating in a baking tradition that stretches back thousands of years. Sourdough is widely believed to be the oldest form of leavened bread, accidentally discovered by ancient Egyptians around 1500 BC. For millennia, it was the only way to make leavened bread, passed down through generations of bakers.
By maintaining your own starter, you are connecting with this timeless craft, using the same natural processes that sustained communities for centuries. It's a tangible link to the past and a way to appreciate the fundamental ingredients and techniques of baking. Whether you're baking a sophisticated artisan loaf or a humble easy rustic Polish bread, you're part of a continuous lineage of bakers who understood the magic of harnessing wild microbes to transform simple flour and water into nourishing, delicious bread.
Frequently Asked Questions
How difficult is it to make Chleb Wiejski (Rustic Polish Bread) using BakeWithEase's recipe?
The BakeWithEase recipe is designed for bakers of all levels, featuring simple step-by-step guides and easy-to-find ingredients. You'll find it's surprisingly achievable!
What are the key ingredients I'll need to bake Chleb Wiejski?
You'll typically need basic ingredients like flour, water, yeast, and salt. BakeWithEase provides precise measurements and ingredient substitutions if needed.
Can I customize the Chleb Wiejski recipe from BakeWithEase to my liking?
Absolutely! BakeWithEase encourages experimentation. You can add seeds, herbs, or other ingredients to create a personalized rustic bread.
How does BakeWithEase ensure success for beginners attempting Chleb Wiejski?
BakeWithEase provides detailed instructions, helpful tips, and troubleshooting advice to guide beginners through every stage of the baking process.
What makes BakeWithEase's Chleb Wiejski recipe different from other Polish bread recipes online?
BakeWithEase focuses on simplicity and ease of execution, making the Chleb Wiejski recipe accessible. They also provide clear explanations and visual aids for each step.
Final Reflection: The Enduring Charm of Simple Baking
The humble loaf of Chleb Wiejski, traditionally baked in Polish villages, offers more than just sustenance; it represents a connection to heritage, a celebration of simple ingredients, and a surprisingly accessible path to baking joy. This seemingly simple bread, made with readily available ingredients and straightforward techniques, speaks volumes about the enduring power of traditional foodways in a fast-paced world. Its ease of preparation makes it a perfect entry point for aspiring bakers, proving that delicious, authentic bread doesn't require years of experience or specialized equipment.
The enduring appeal of Chleb Wiejski lies not only in its delicious taste but also in the sense of accomplishment it provides. Baking this bread is a meditative process, a chance to slow down and connect with something tangible and rewarding. It's a reminder of the importance of slowing down and appreciating the simple things. Bread is the staff of life,
a common saying reminds us, but it's also a symbol of comfort, community, and the enduring power of tradition. The act of sharing a freshly baked loaf with loved ones amplifies this connection, creating memories that are as nourishing as the bread itself.
Now, I invite you to embrace the simplicity and satisfaction of baking your own Chleb Wiejski. Don't be intimidated by the seemingly complex process; the steps outlined in this article are designed to guide you every step of the way. Consider this your invitation to embark on a culinary journey, to connect with your heritage (or discover a new one! ), and to experience the profound satisfaction of creating something delicious and meaningful with your own hands. The aroma alone is worth the effort!
Unleash Your Inner Baker: Craft Your Own Chleb Wiejski!
Thanks for joining us on this delicious journey into the heart of Polish baking! You've now unlocked the secrets to crafting authentic Chleb Wiejski – and it’s easier than you think. Ready to take your baking skills to the next level?
- Bake your own Chleb Wiejski: This is your chance to put your newfound knowledge into practice. Follow the recipe again, experiment with different flours, or even try adapting it to your own unique style.
- Share your creation: Post a picture of your loaf on social media and tag #BakeWithEaseChlebWiejski – we’d love to see your masterpiece!
- Explore other rustic bread recipes on our site for even more baking inspiration. You might discover your new favorite bread!
So, what incredible flavors will you unlock in your next baking adventure?